Week 9:
Resistence sensor made in house!
Soil Moisture
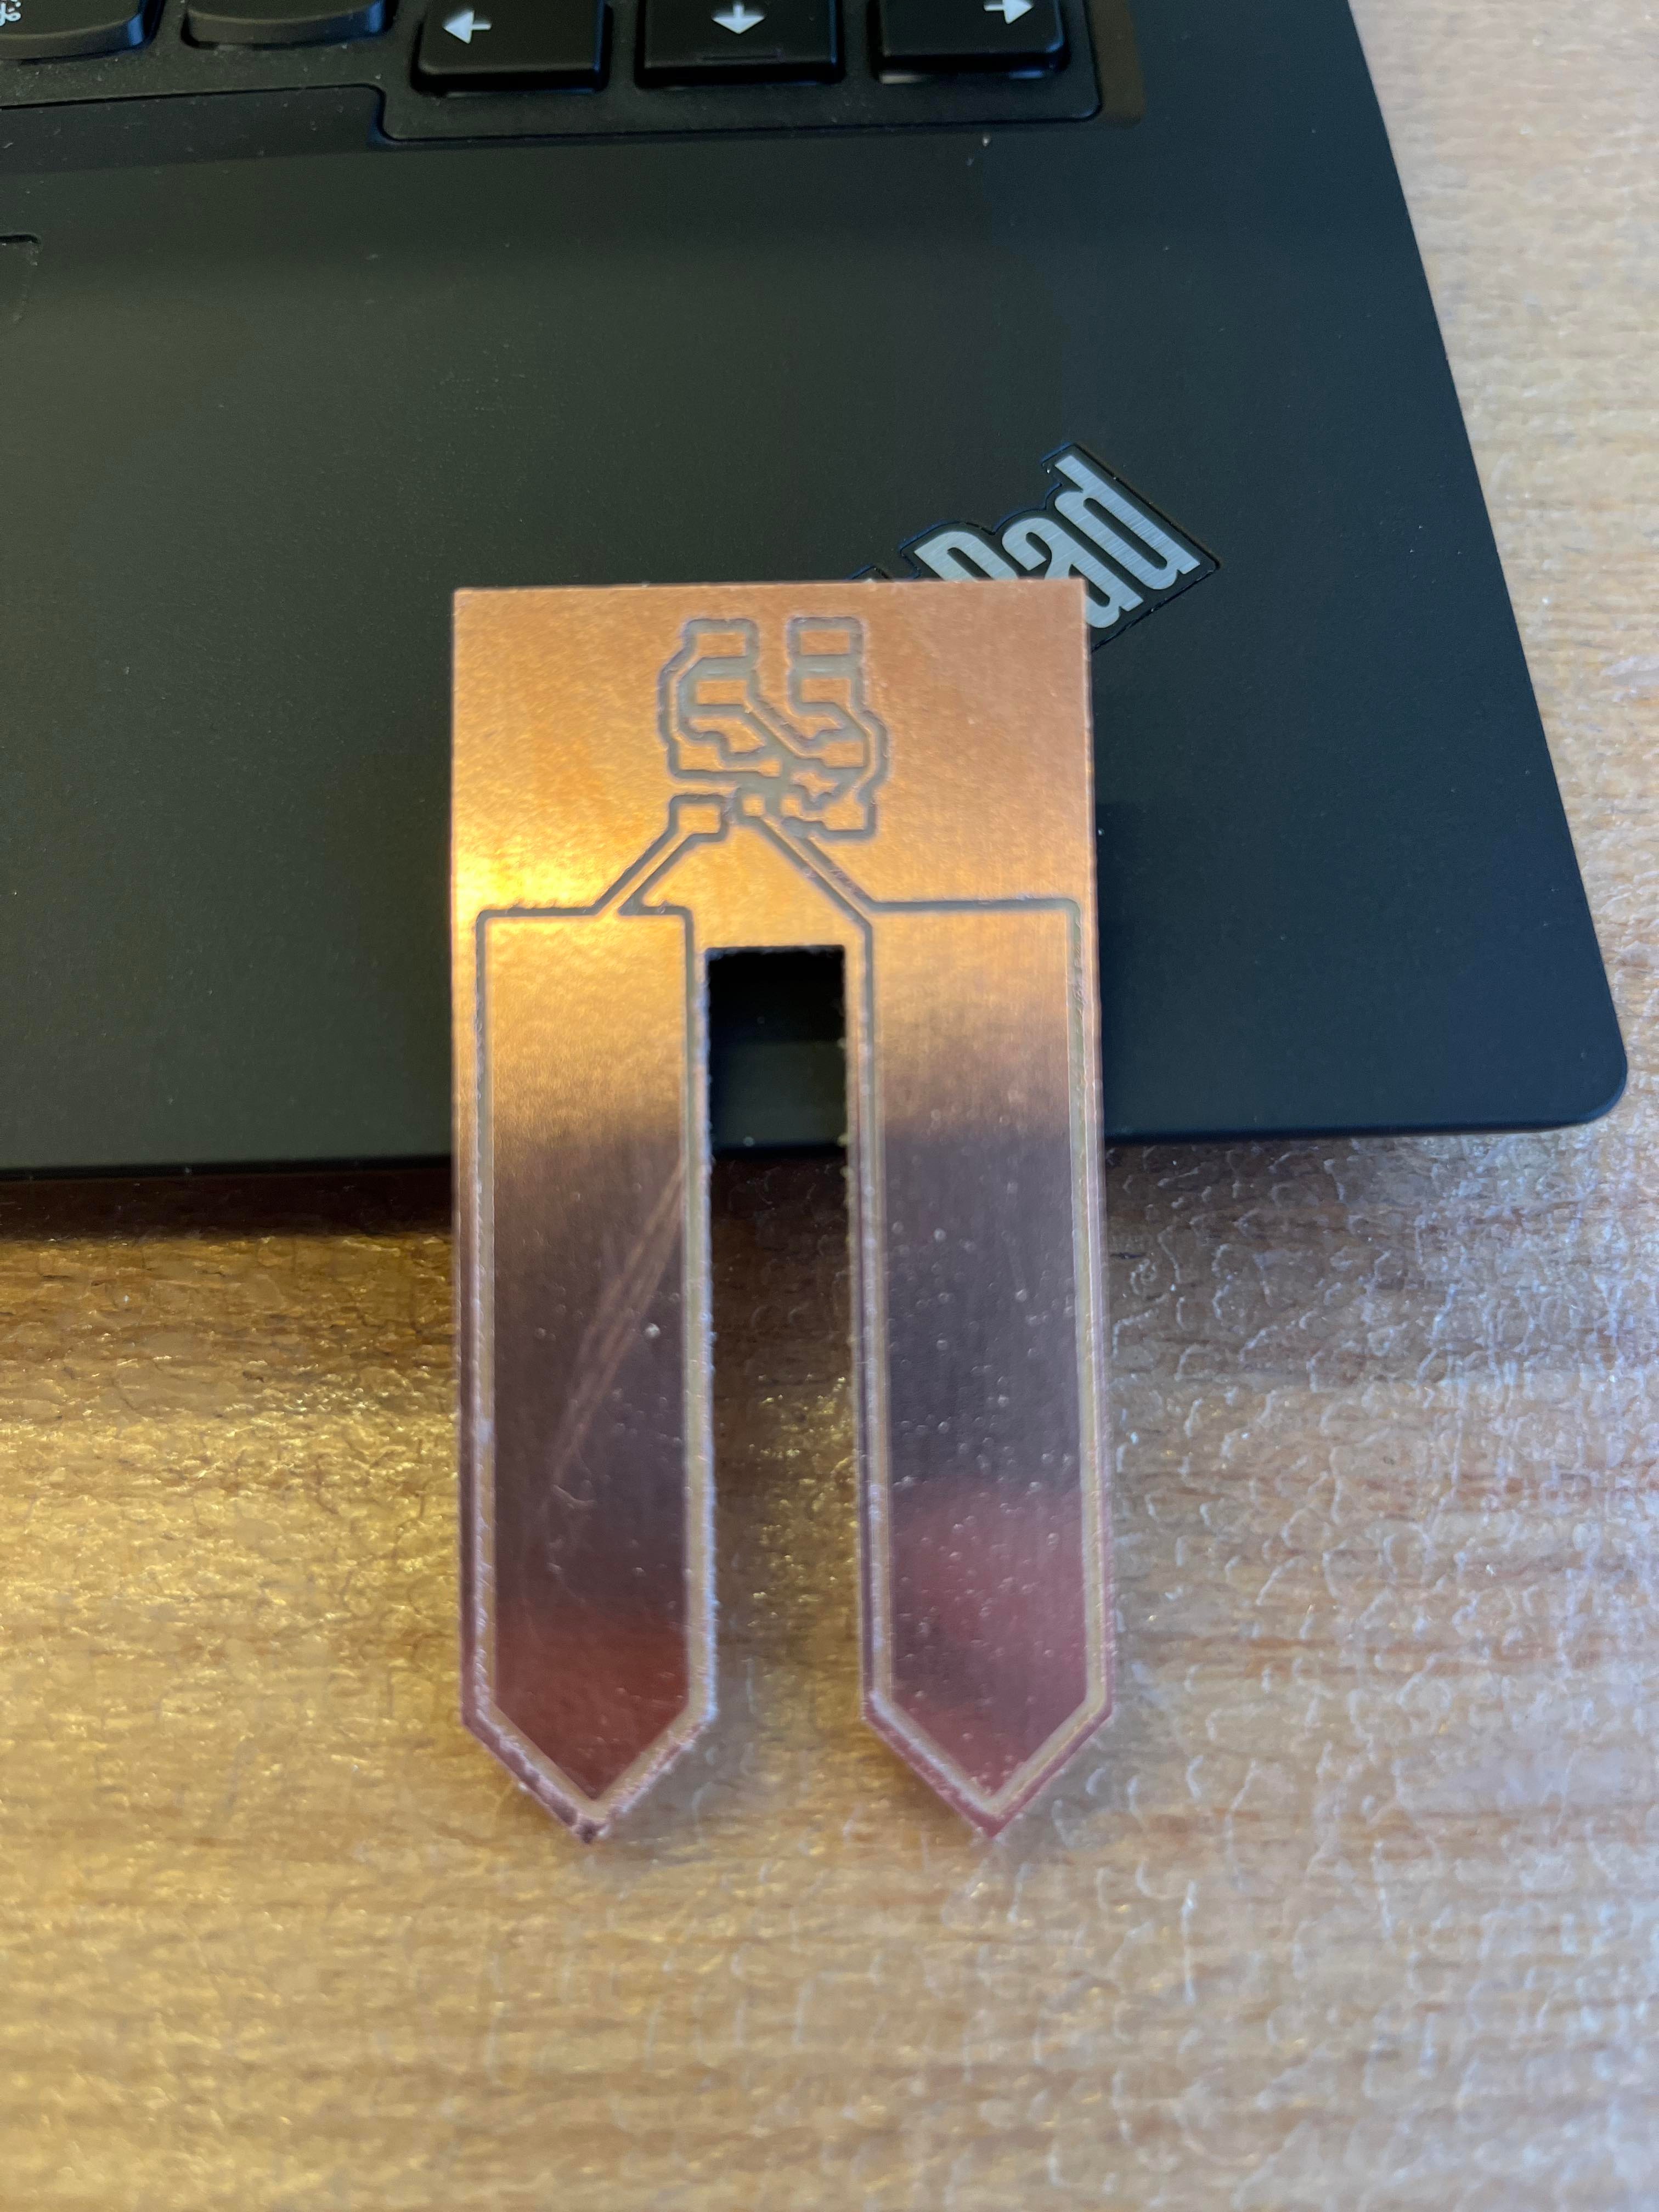
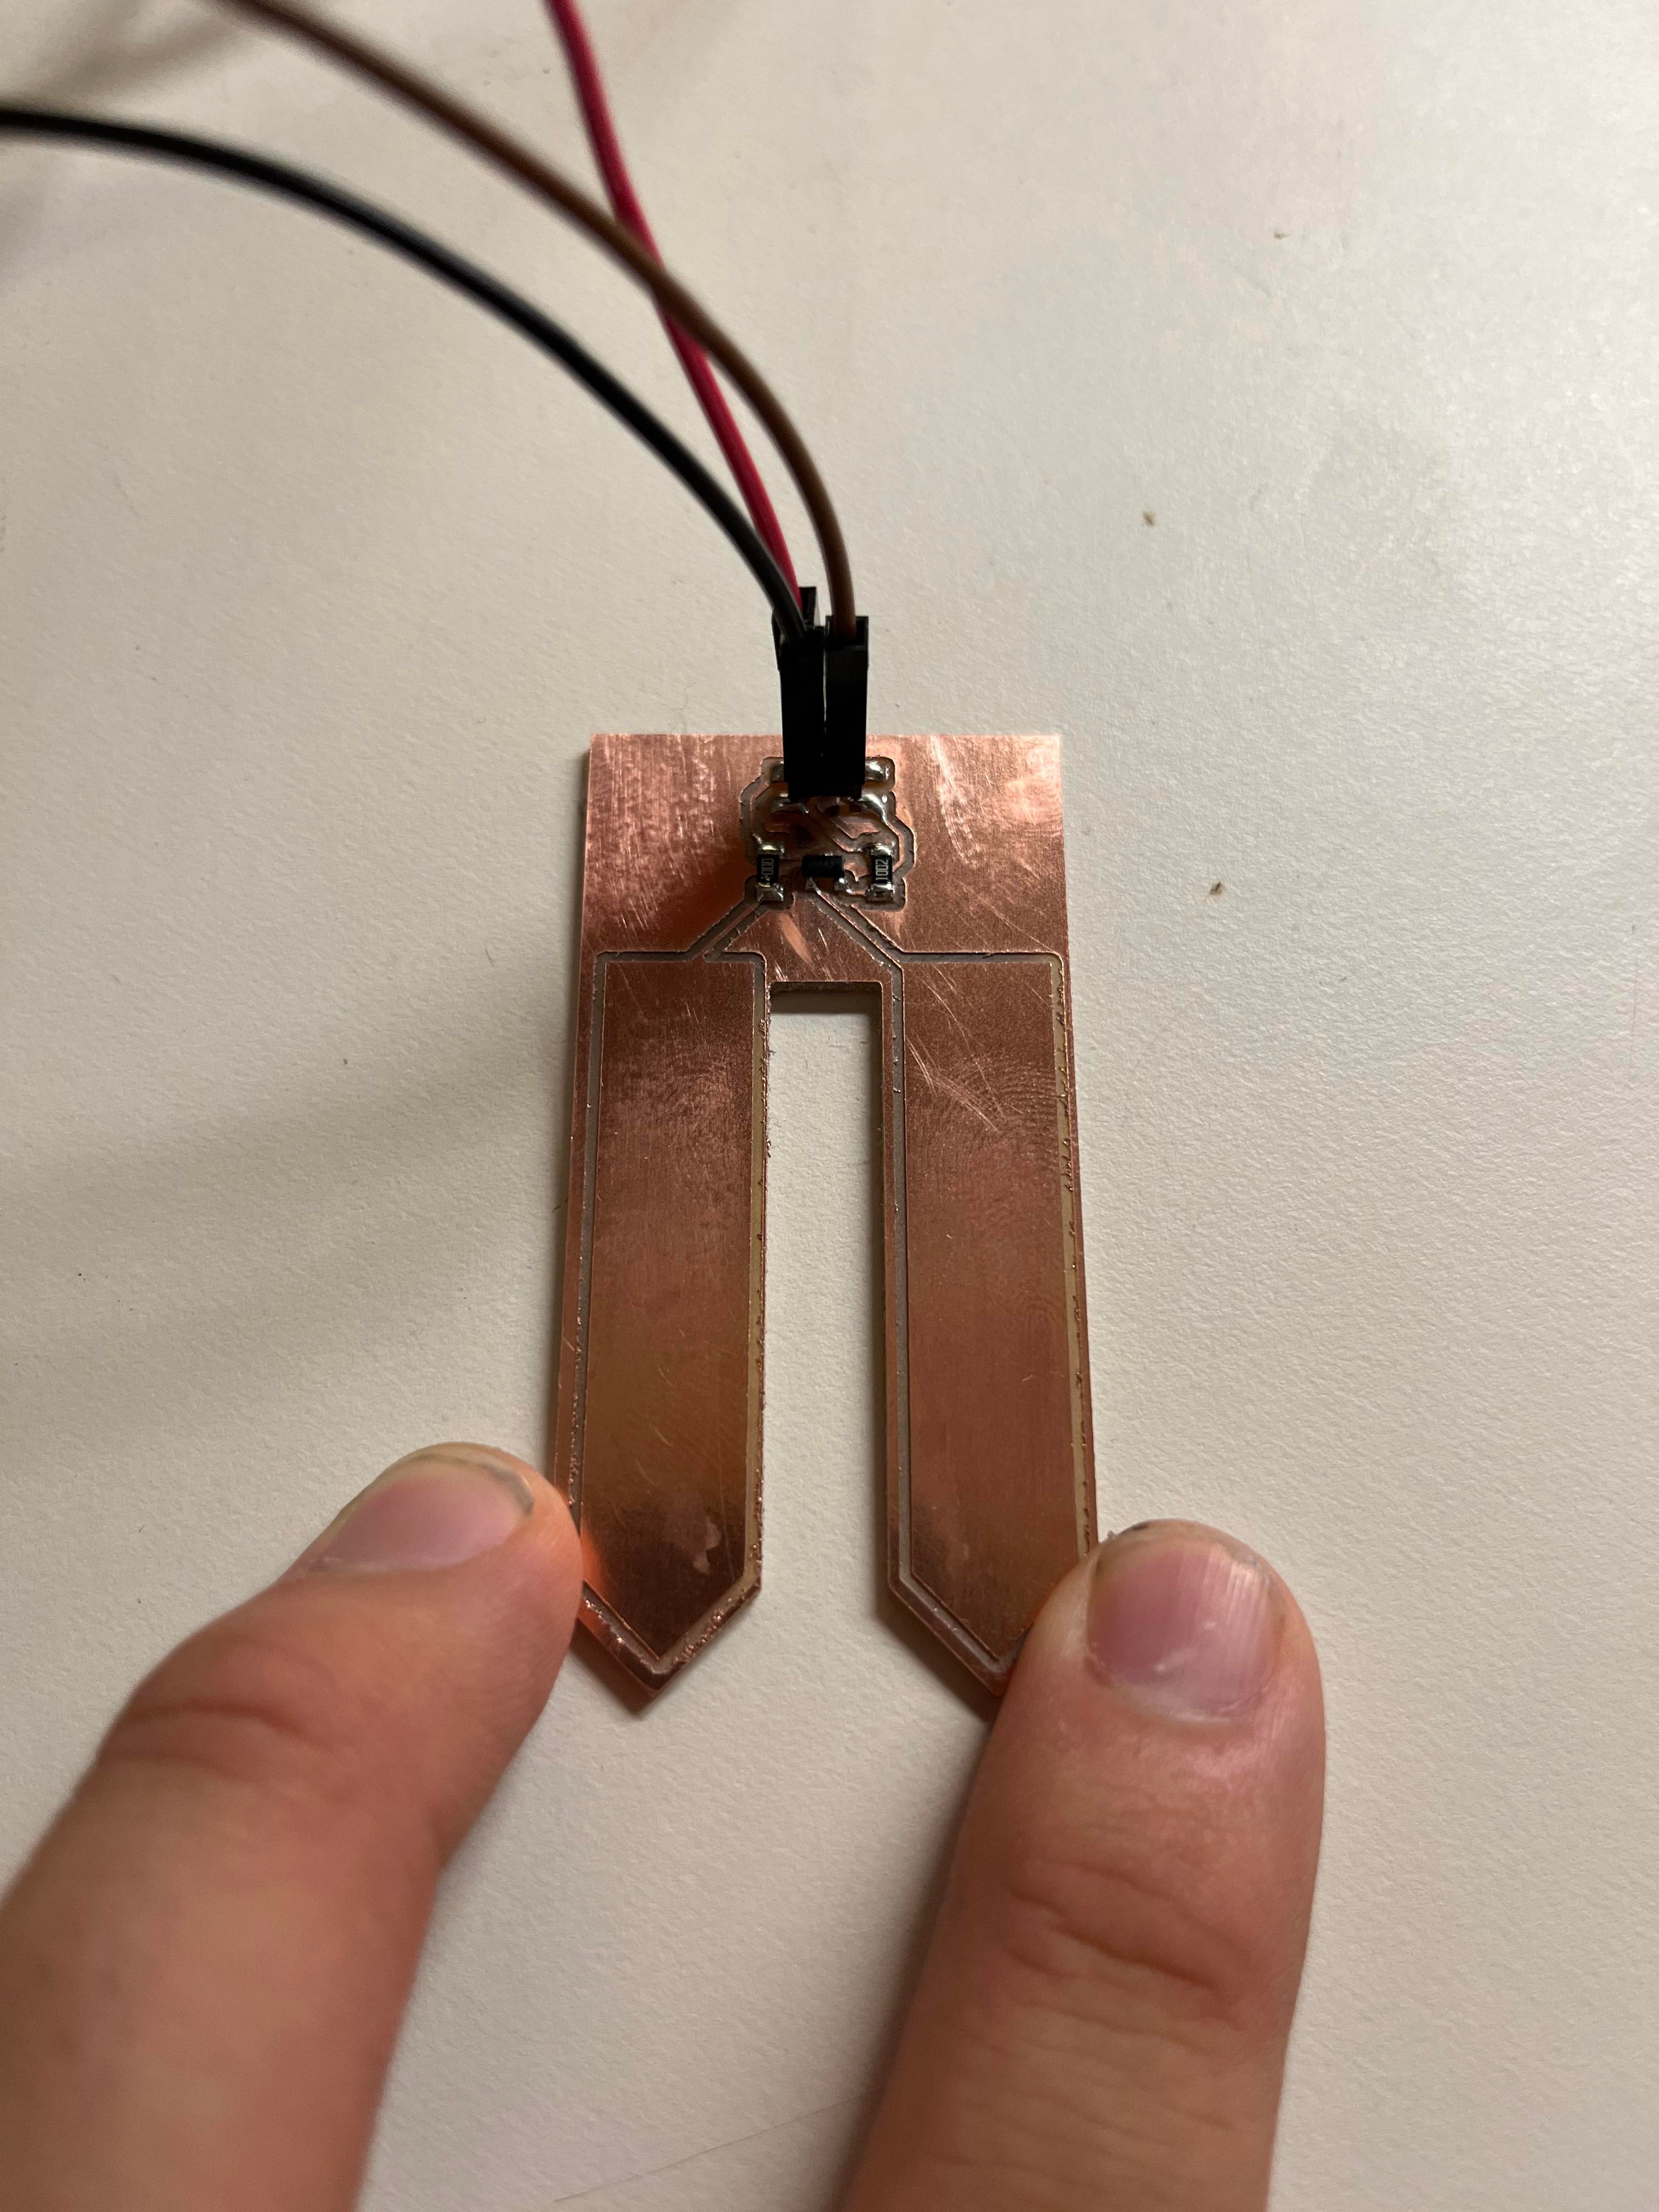
This build basically a DIY version of sparkfun soil moisture sensor. It is basically a resistance sensor. The resistance is inversely proportional to the moisture content in the soil. This tutorial talks in depth about how capacitive/resistance soil moisture sensor works and how to clibrate them. I basically copy the sparkfun design and modify the resistor on the chip to reach optimal resolutions. Here are some pitures of eagle board designs:


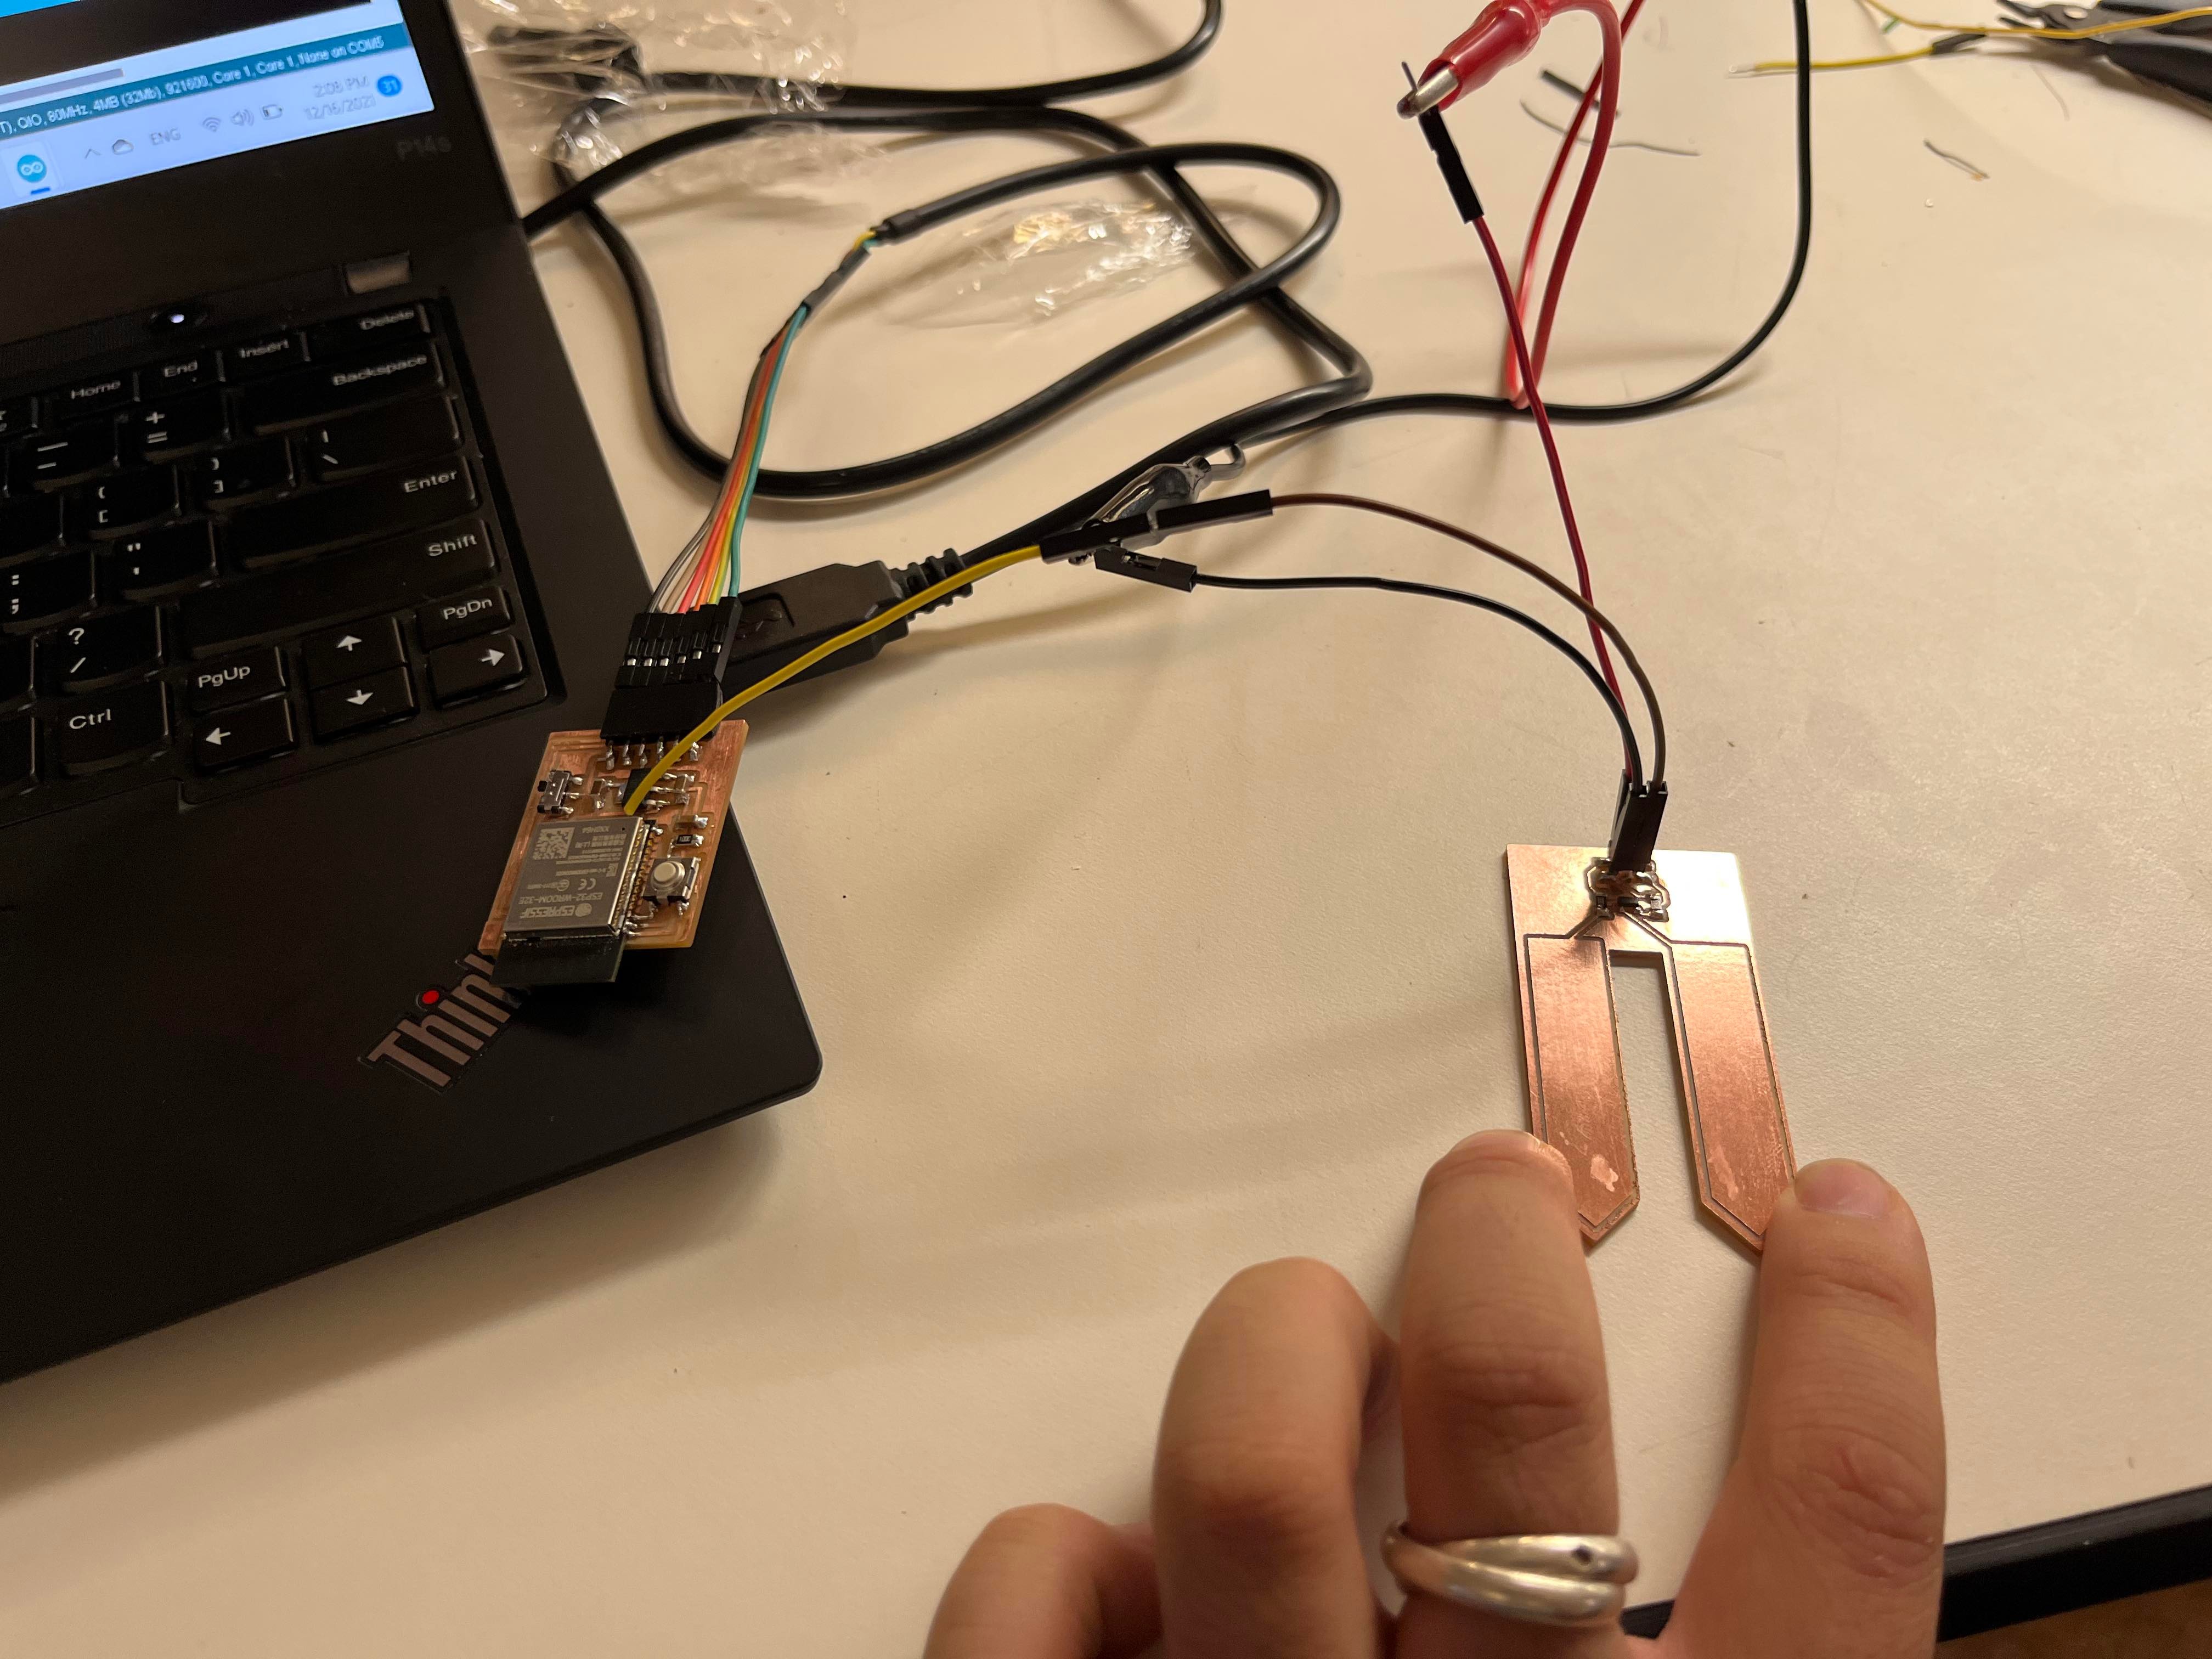
It is easy to make, requiring only 2 resistors and a MOSFET on the board. As the moisture content decreases, the reading goes up as the resistance decreases (voltage reading rises). To measure it with a micro controller, simply hook up the connect 3.3V/GND, and make sure to connect signal pin on the soil moisture sensor to one of the ADC pin or analog pin on the microcontroller. Here, I used the esp32 board I made in previous week and just soldered a jumper wire for ADC connection. You can see the set up in pictures below.


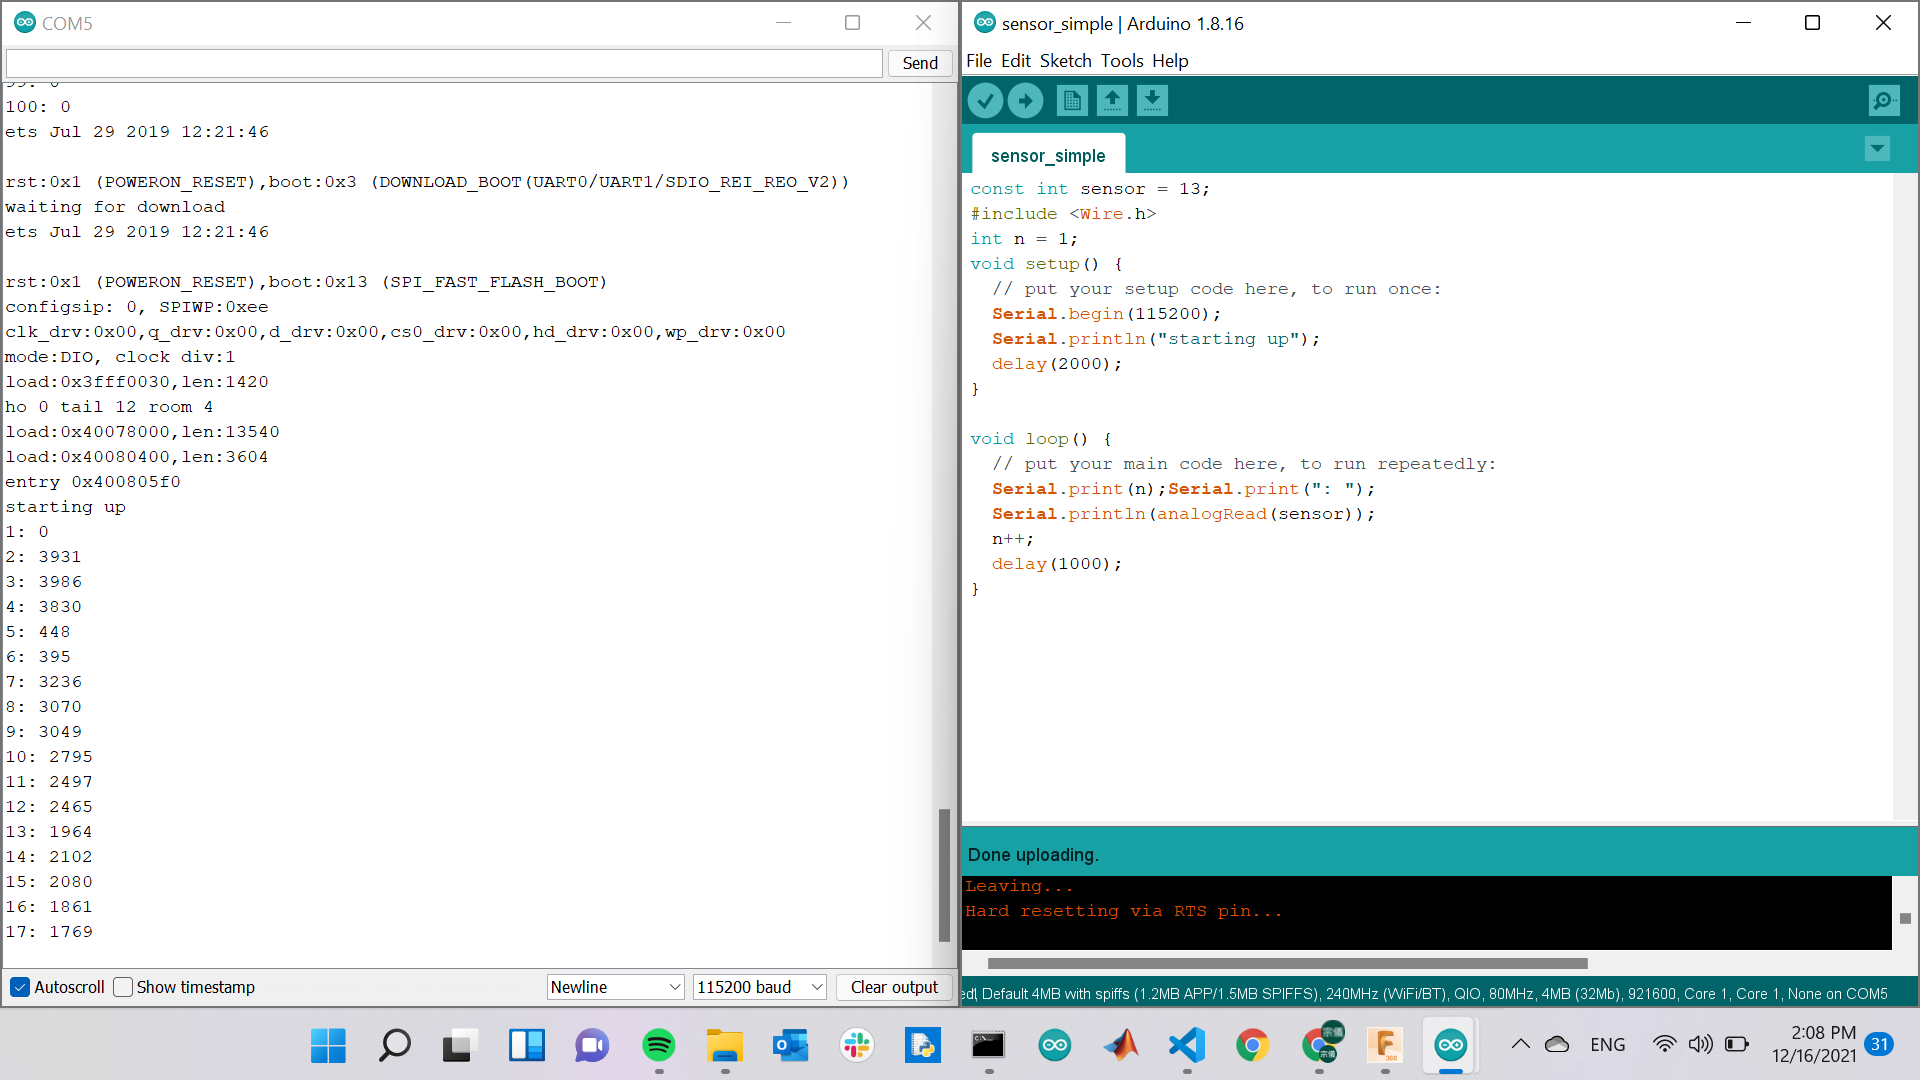
I then wrote a very short Arduino script to read signal and print it in the serial window. Here's the code and how it worked out:
const int sensor = 13;
#include
int n = 1;
void setup() {
  // put your setup code here, to run once:
  Serial.begin(115200);
  Serial.println("starting up");
  delay(2000);
}

void loop() {
  // put your main code here, to run repeatedly:
  //Serial.print(n);Serial.print(": ");
  Serial.println(analogRead(sensor));
  n++;
  delay(1000);
}
                                >
Today I Learned:
1) I tried putting the sensor into a cup of water and compare the reading with when the sensor was in dry air. I am not
convinced that my sensor gives liear response. I need to come up with a way to calibrate it.
2) There is also the other sensor design like this one (capacitive), using a oscillator to generate signals. This one
has the electrodes cover by resin, which protects the sensor from degrading over time (redox chemistry). I am concerned about water sipping in between the layers and delaminate the board, though.