In a Nutshell

Ideation and Sketching
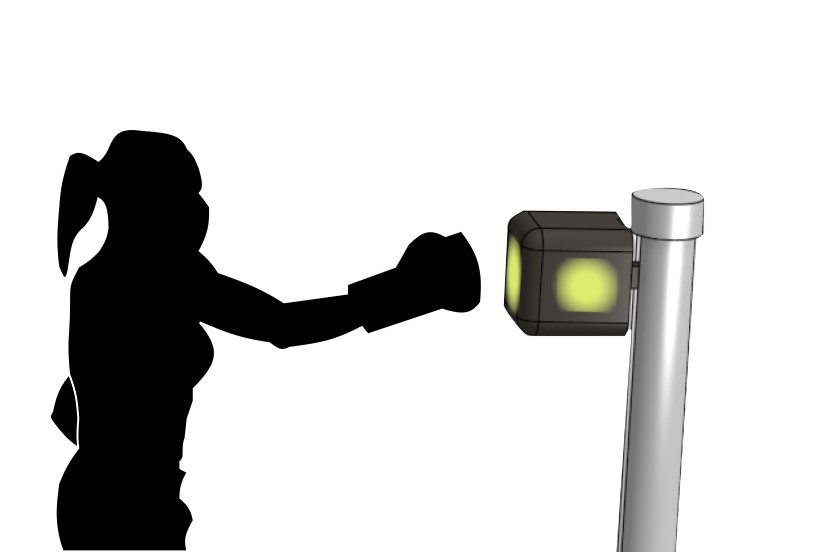
After sifting through a few ideas for the final project, I decided to build something which will use all the requisite skills from How to Make, and that I would also find an enjoyable, useful tool. When practicing martial arts, it's important to practice realistic technique before sparring with another human. Most apparatuses for this type of practice can either help with reflexes or form, but rarely both in an engaging and educational way. To that end, I'm excited to build a training device ala Dance Dance Revolution which hones reactive instincts as well as striking technique.

3D Modeling
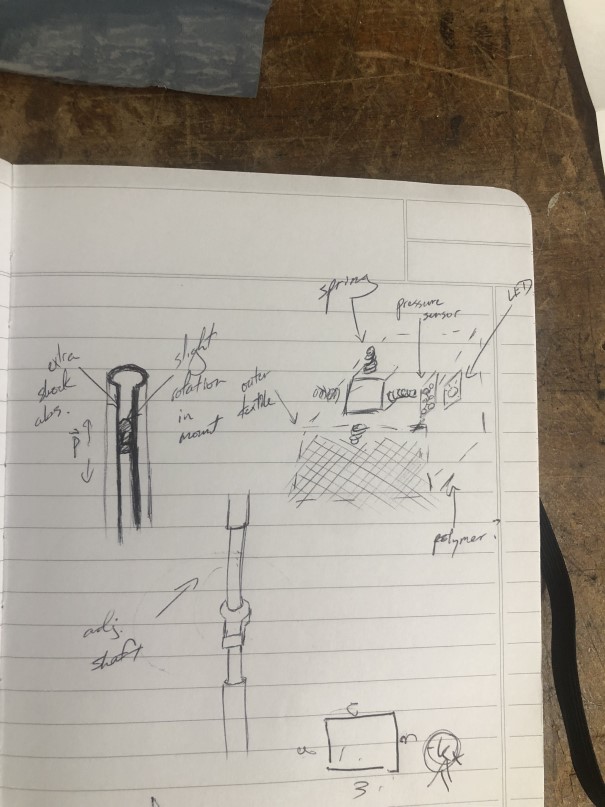
Since Doria has a background in math and physics, and we both love martial arts, it seemed like a perfect project to team up on. To break things down for the final assignment we decided that I would tackle the cube portion and she would build the support structure. We did a lot of iterating on the ideal form for this device, as it needed to be able to withstand realistic impact from a variety of angles, as well as adjust its position and house electronics. Ultimately we designed a lightweight cube with the electronics housed inside, attached via a center strut to a slotted steel beam stabilized in a trapezoidal base. Check out Doria's page for more info on her awesome stand.
Input Testing - Velostat
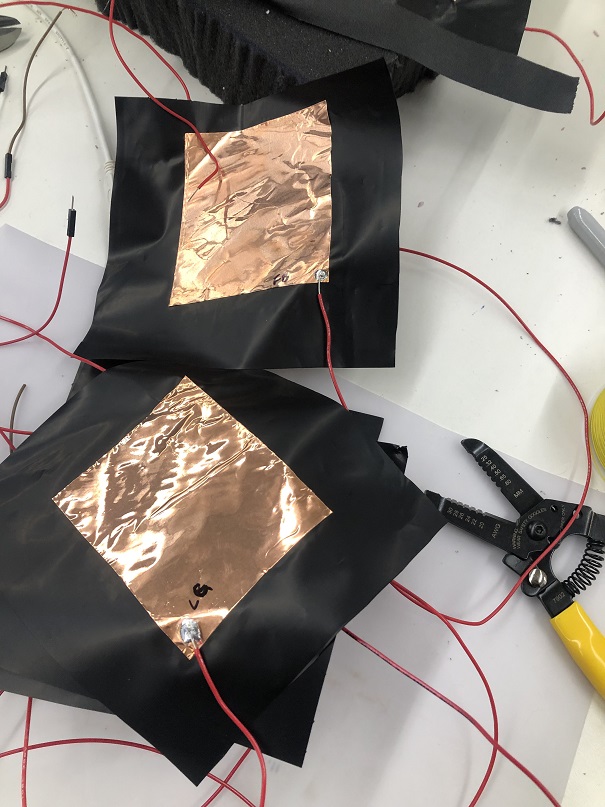
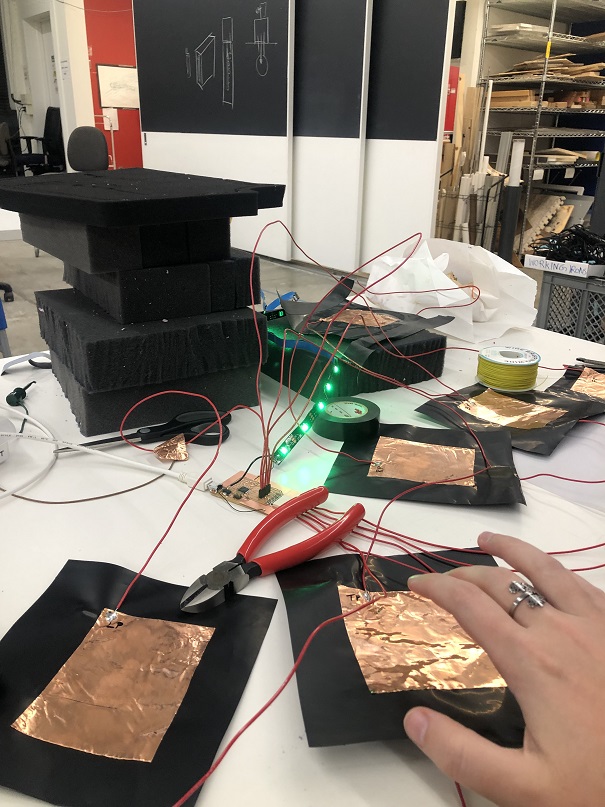
First I did a lot of velostat testing, which was more finicky than I thought it might be, but fun to work out. I started with copper tape attached to construction paper so I could easily adjust the placement, which worked intermittently but not with the desired consistency. After reading more documentation from previous HTM projects, I worked out effective copper sizing and placement on the velostat itself, imrpoved the connection by soldering on the wires, and swapped out for 100 ohm resistors to complete the voltage dividers on the board. All these edits resulted in a much more accurate read on a flexible pressure sensor that could work through foam while having enough give to withstand residual force. I then duplicated the pads, aligned them with the analog pin mapping on my board (an adapted version of Quentin's SAMD21E17A DevKit, shown more on the Input week page) and sequenced them in Arduino before adhering them to the box.

Testing the Box
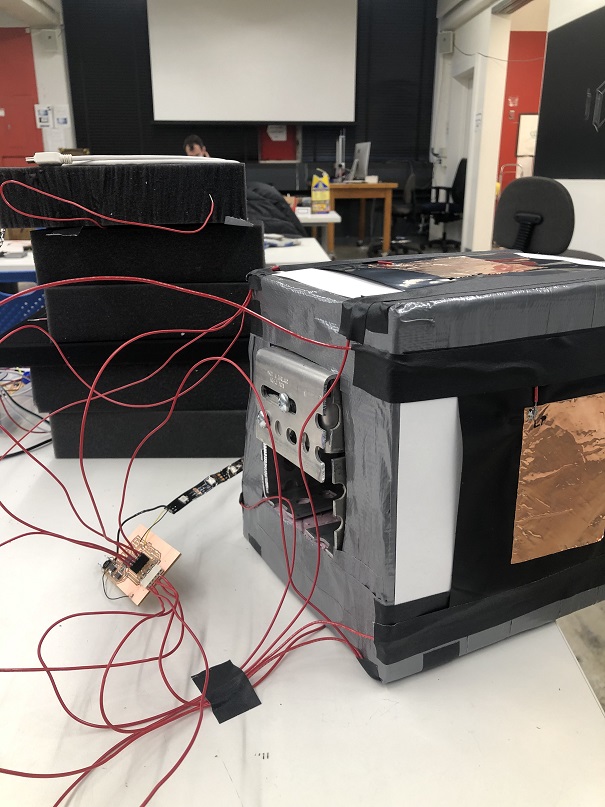
Next I merged form and function, constructing the box and adding the pads to test input and output to the LED strand. I actually didn't deviate much from the original sketches in terms of building the layers, starting with firm but lightweight styrofoam with a space drilled out to house the electronics, plus an aluminum casing Doria constructed to attach it to her stand. Next was the velostat and copper layer, with wires carefully laid to avoid tangles and high impact areas.
Wiring
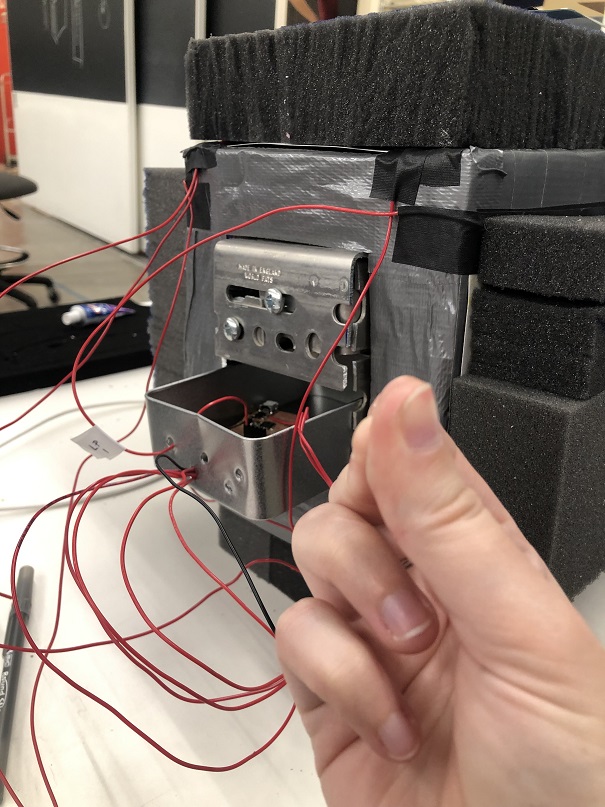
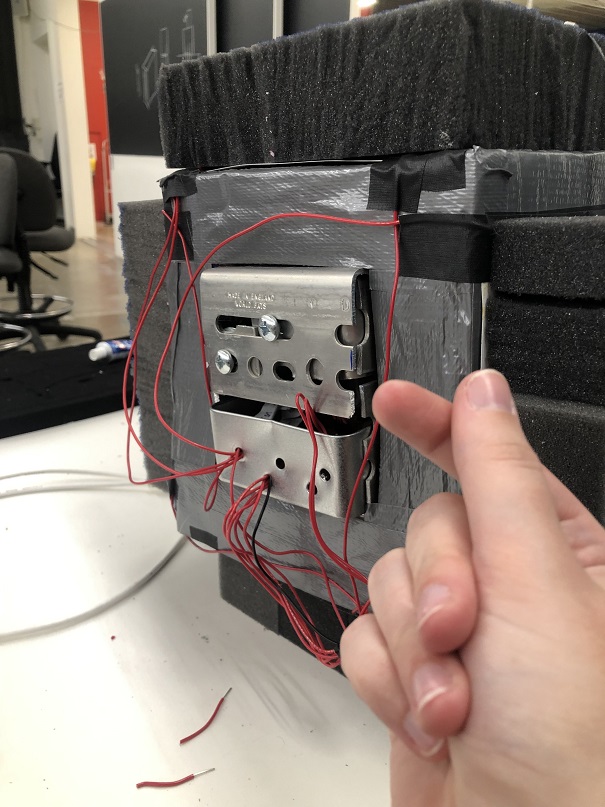
Now for a bit of cleanup, adjusting the wire lengths, feeding them into the housing and placing them nicely in the board, leaving a mechanism by which to remove and troubleshoot if needed. I also adjusted the board within the packaging to make more room for the power source (a mini USB cable fed out through one of the holes to connect with an extension cord) and added a couple female pins to make for easy wire adjustment and a potential relay to the ESP32 interface board.
Final Steps
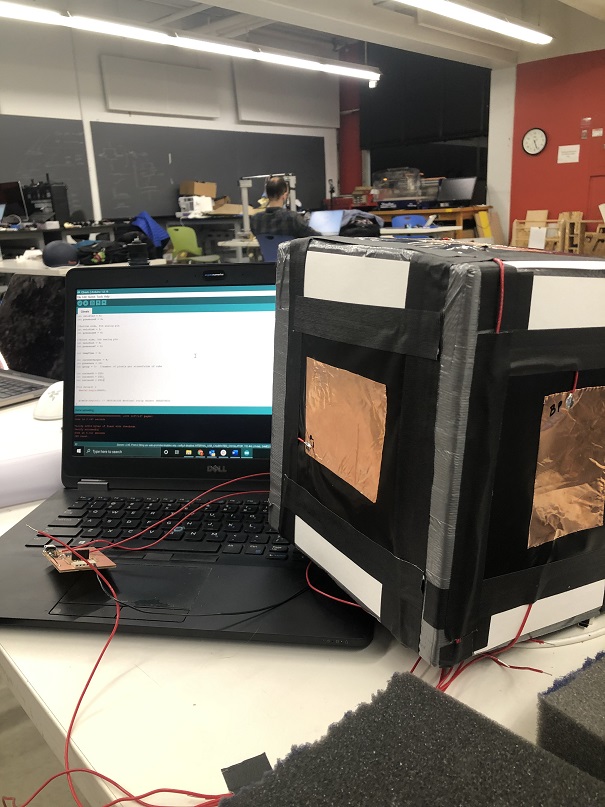
Lastly, I added the soft foam for extra resistance, fixed the neopixels around the sides, and created the semitransparent vinyl sleeve which would envelop the whole device. (Side note: the vinyl was a really excellent material that was sturdy yet smooth, so wouldn't damage knuckles or be damaged by them, while also diffusing the light nicely. However, I also learned how time-consuming and tricky it can be to heat seal vinyl, especially in a 3D shape, and I'm still waiting for some of the burns from the iron to fade.) With all the elements in place, I was really happy with the look and feel of the cube, especially since I only had a small budget to purchase more velostat and otherwise used only scraps available in the lab. All that was left then was adapting the program to fit the sequence to each side (with multiple "game" options for color and random vs planned sequencing). This required a bit of troubleshooting at the last minute, as the USB connection had eroded and created a "Device Not Recognized" error which didn't allow me to make final updates to the program, but Rob and Joon came through to help make the programming a success. Doria and I then did a quick test of the cube off the stand before filming the final sequence shown in the video above.
Update: I was thrilled that people seemed to enjoy the game at the HTM open house. For someone with very little fabrication experience coming into this class, it was awesome to see people enjoying something I'd built, and to see all the phenomenal projects others had created. BeatBox also needed a new home afterward, so we decided to donate it to the first-year Master in Design Engineering students so they could work out any stress or just enjoy a fun work break. It now lives in their studio space in Harvard's Science and Engineering Center for all to enjoy!
Copyright © 2018 - All Rights Reserved -
Template by OS Templates