Milling
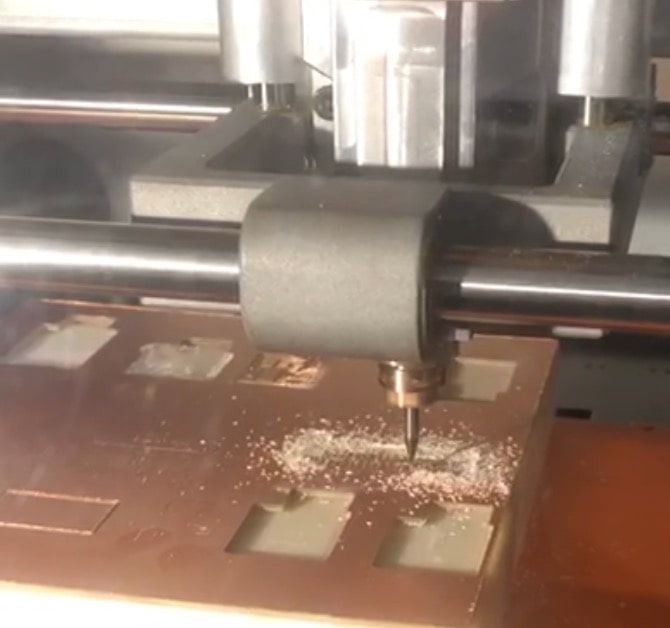
Milling this week's PCB was a harrowing but rewarding process. After hearing all of the precautions during the class and tutorial, I took care to protect the fragile 1/64" bit, gently but firmly fix the vertical positioning, and adjust the origin point. I only ran into 2 issues, which related to the positioning of the board. My first cut was too shallow in one corner and shifted unexpectedly during milling. After leveling and readhering the board, I managed to produce a beautiful cut! (Note: this photo is from the width test, which went much more smoothly.)
Soldering
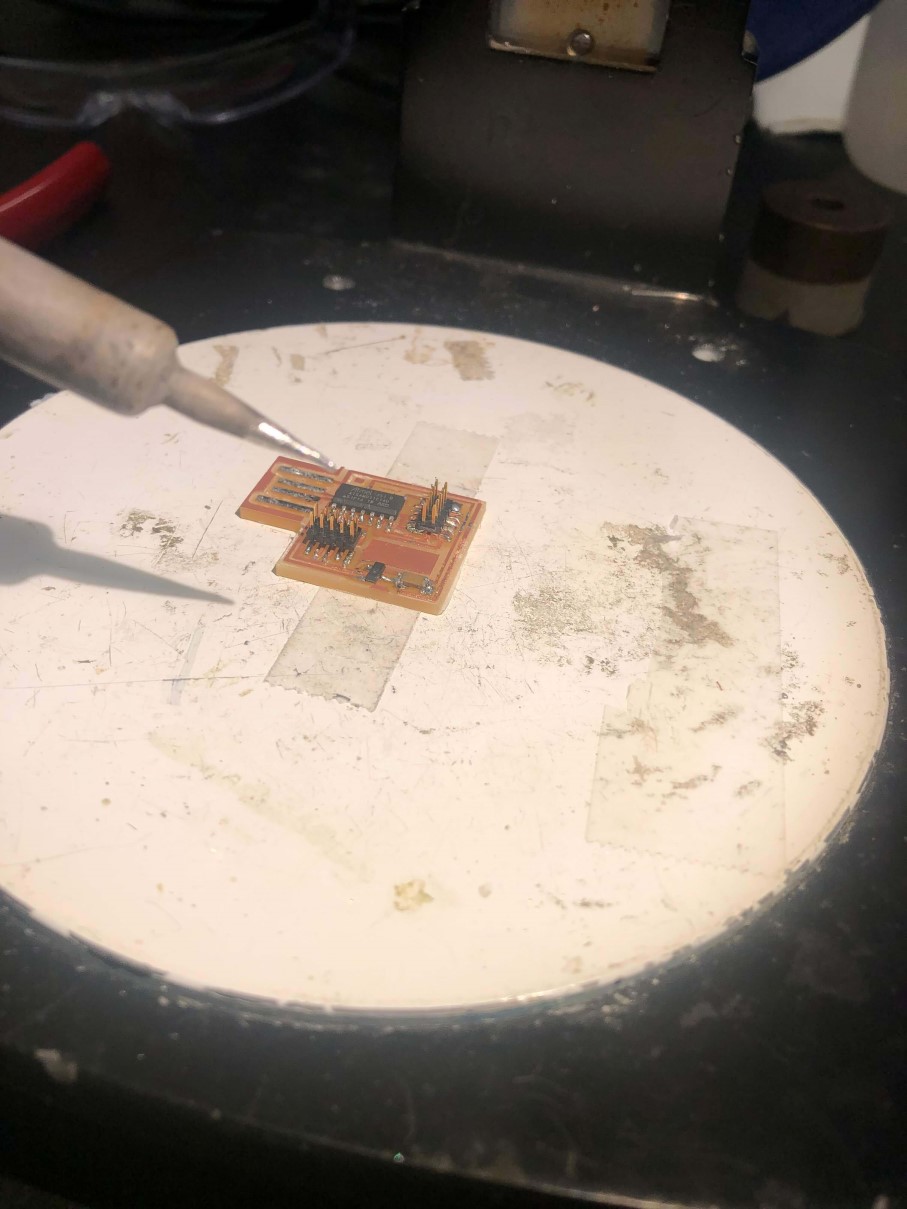
The most difficult part of stuffing the board was probably locating all the necessary components. While the diagram was helpful, deciphering what each part was and where to find it had a learning curve. Once I had all of them in place though, I settled into the somewhat meditative work of soldering. After botching the capacitor somewhat, I realized the value of precise tools, switching to an iron with a finer point for accuracy and adjusting my microscope and desk light for optimal visibility. Highly recommend if soldering tiny pins with tired eyes at the end of a long day.
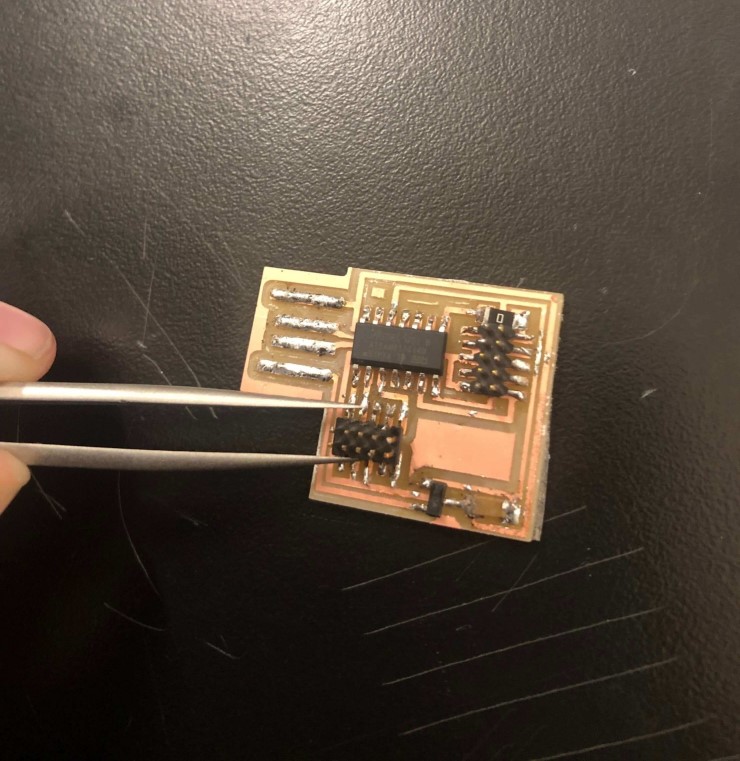
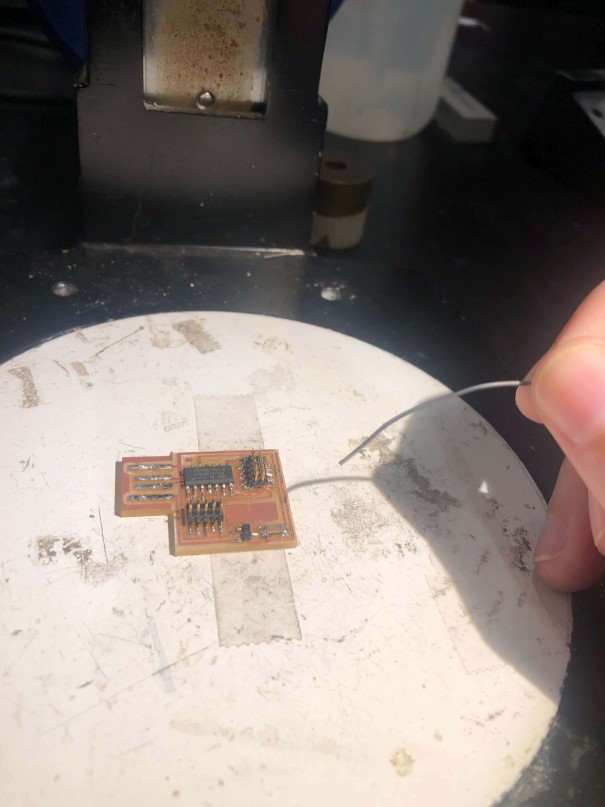
After a while, though, I settled into a groove and really enjoyed the process, finishing all the connections with tangible improvement and then going back to clean up some of the trouble spots. In the end, I was very happy with this first attempt, and was thrilled to hear that Nathan's test of it had worked!