Scanning
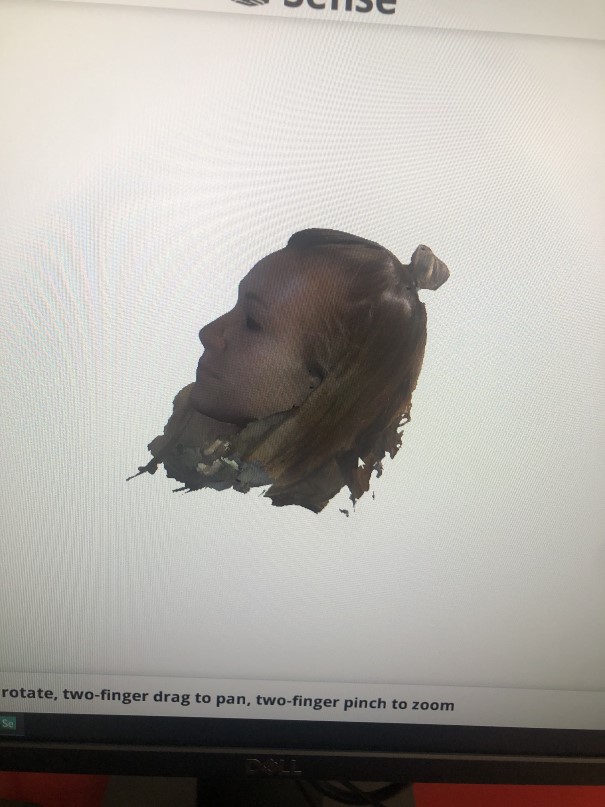
We had two types of 3D scanners available to us in the Harvard lab, one of which was a lower-end model and one which produces higher fidelity scans. Let's start with the Sense 3D scanner ($400-500), which utilizes an infrared array and image capture to replicate the object's shape and color. The UI for the accompanying software is very intuitive and simple to use, even coming with presets for faces and objects. It differentiated my head from the background very well, but did lose track of location somewhat frequently, even when moved very slowly. This either paused the scan completely or created a sort of merged image, as if a panorama shot had skipped a section and warped the resulting compilation. Also, more due to the constraints of human arms than anything else, it left a hole in the back of my head that I couldn't reach, but was then able to fill afterward. All in all, it took a pretty good scan for the price point, and was easy to edit and ship once the scan was complete.
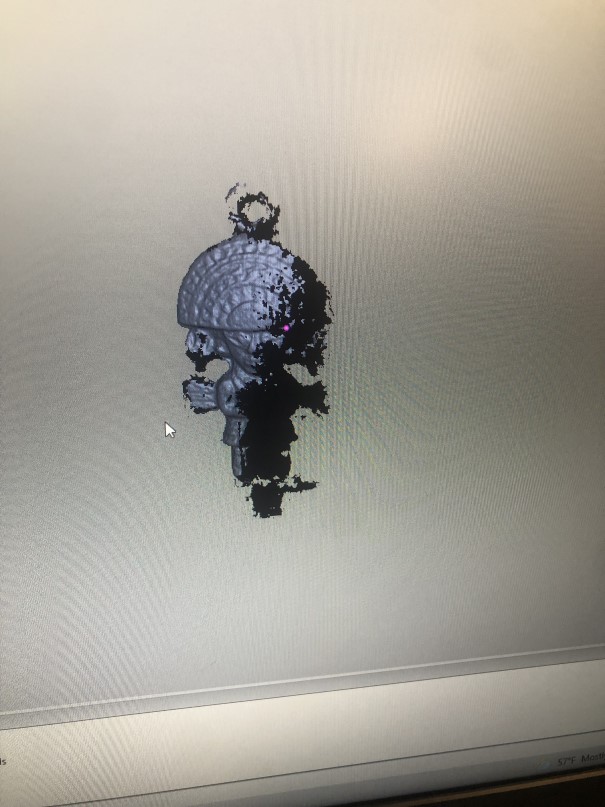
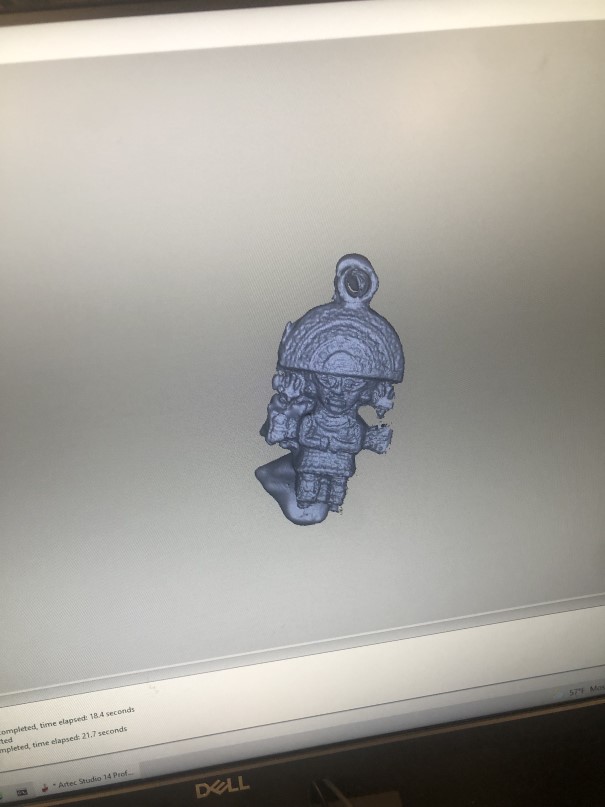
I was also able to use the Artec scanner ($25-30k), which uses structured light to achieve higher levels of resolution and color capture. The demo illustrated how this scanner is often used to capture museum artifacts in great detail, so I took inspiration from that and scanned the most artifact-like object I had on me at the time, a keychain of Inti (the Incan sun god) that I'd picked up when living in Perú. The scanner was bigger and heavier, and relied on a textured background to help differentiate the object from its surroundings. However, it visibly captured much more components of this tiny object, and the software had much more optionality for how to align the different front/back/side views and trim away excess material. Still, there was one segment that misaligned during processing, and the software took its best guess at a shape to fill with, resulting in the blob on the otherwise highly detailed final image.

Printing
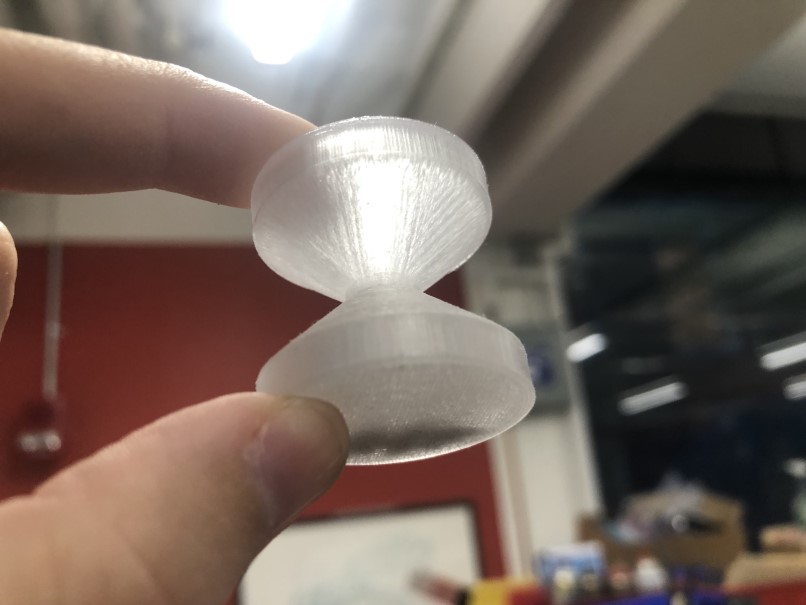
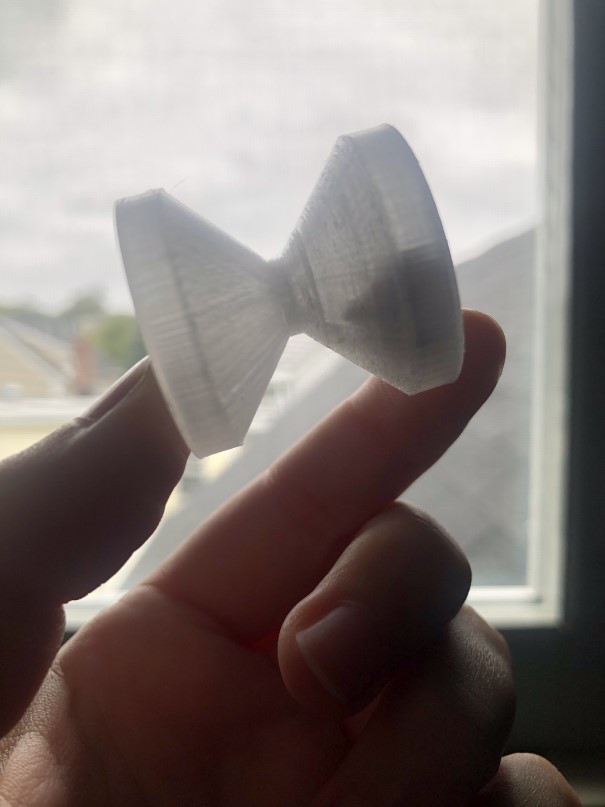
In the interest of time, I decided to print a simple enclosed design that would be much more difficult to construct subtractively, where it would require careful, uniform internal sculpting and adhesive to join the parts. Instead of crafting multiple pieces, I decided to print an hourglass, pause about 3/4 of the way through the print to add coarse sand inside the structure, and resumed the print to completely enclose this material.
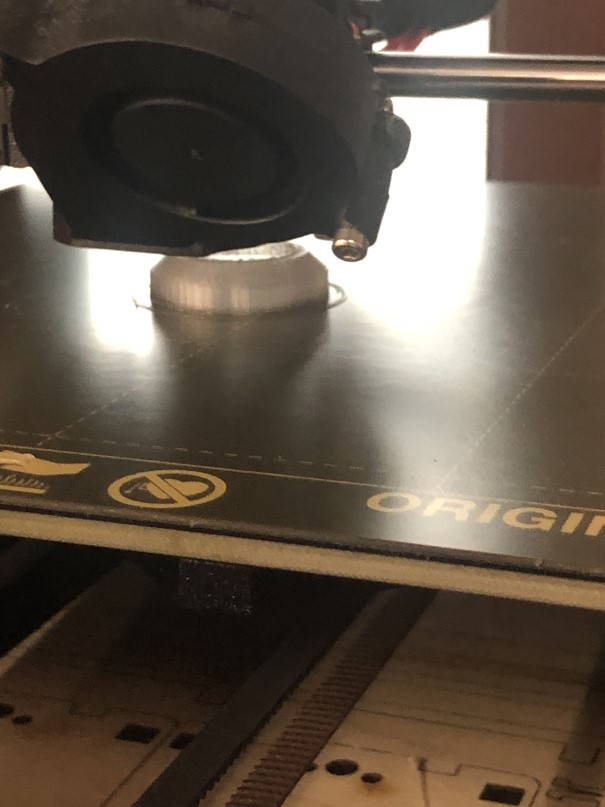
In most respects this design worked as expected, with the angles of each funnel falling within the normal bounds to withstand overhang and the wall thickness substantial enough to hold its shape while still being semi-transparent. (To that end, our group also tested various angles, gaps, and thicknesses on the printers to see what the boundaries might be. Check out the documentation here!) This was accomplished without needing support structures, however the center of the hourglass did seal itself off somewhat during the printing process, presumably because the narrow aperture melted together. The filament was also a bit more opaque than would be optimal to see inside the hourglass, but this was to be expected with the PETG that was used. When held up to light, the sand was still visible, albeit less mobile due to the obstruction in the center. With this test completed, I'm excited to try out more complex designs and prints!