Molding and Casting
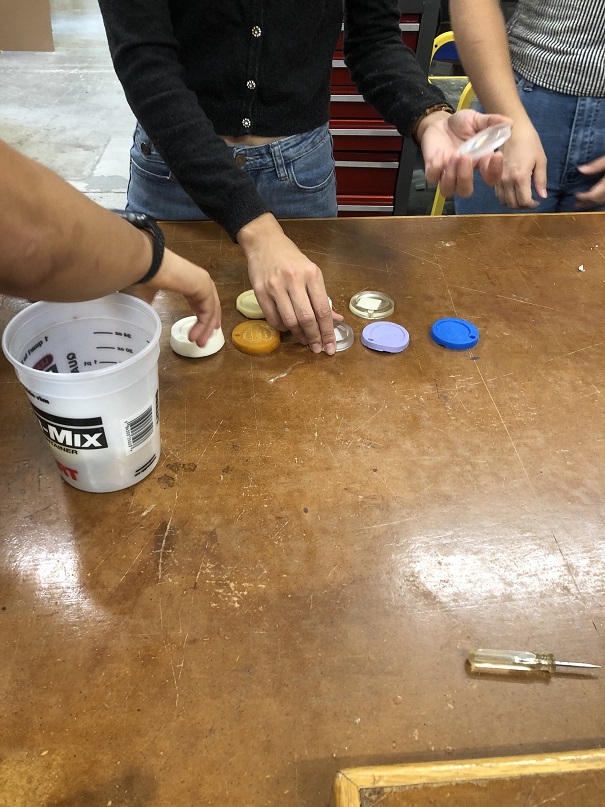
This week started off with training about how to subtractively create a mold and which substances could then be used to cast the model. We examined various material samples to assess their properties, and documented further explorations in our group project, located here.
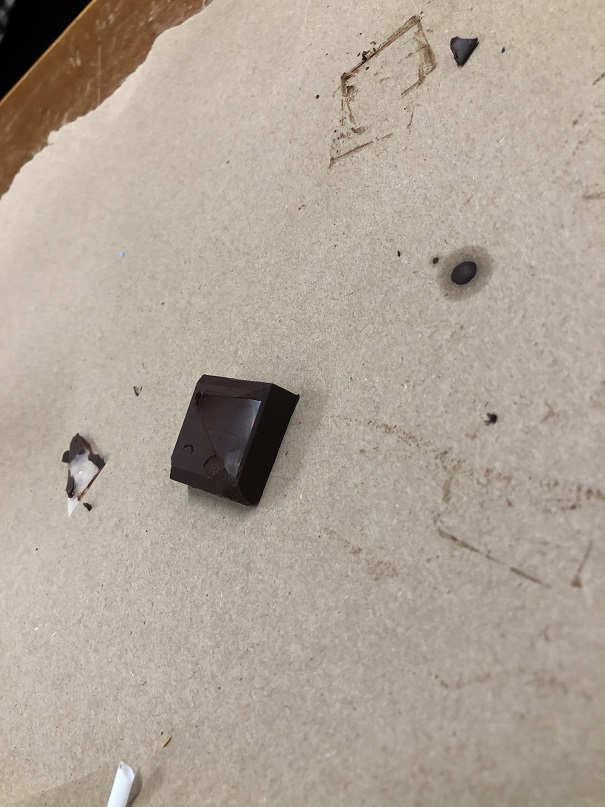
As a fun addition to our testing process, we each cast iridescent chocolate pieces by pouring dark chocolate into a rubber cube tray and applying the clear film which would transfer the colors. The group page has better photos of the output, but here's one I took as a brief glimpse into that project.
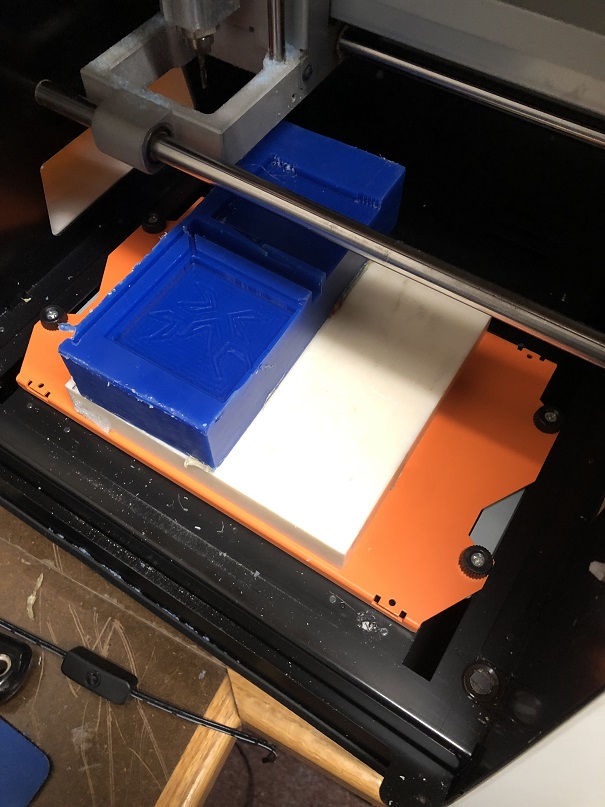
Next it was our turn to design and mill a mold. I decided to use this week to start building elements of my final project, so I created a square target with chevron indicators that could be placed on each side of the punching cube I'd envisioned. The design for this mold lives here.
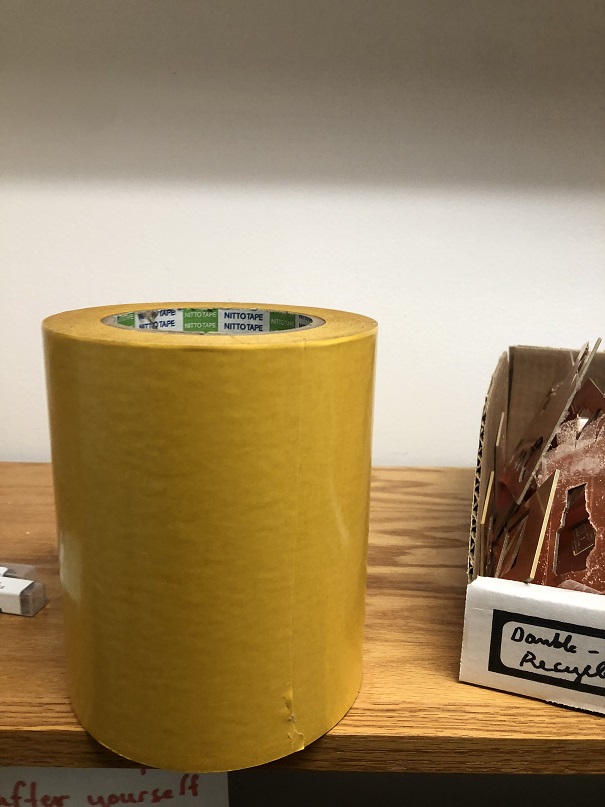
There were a lot of transferable skils this week from Make Something Big, as the toolpaths and prep were similar. One key difference, though, was the way the wax had to be held for milling. Unlike with the OSB in the large ShopBot, we were unable to nail the material down, so we tried out the new tape that had been recommended for milling PCB on the Roland. That method did keep the wax still to some extent, but it also had the side effect of creating an unholy mess with the wax shavings stuck to the sacrificial layer. After my test mold, Nathan and I recommended to others in the class that they adhere with hot glue for easy cleanup.
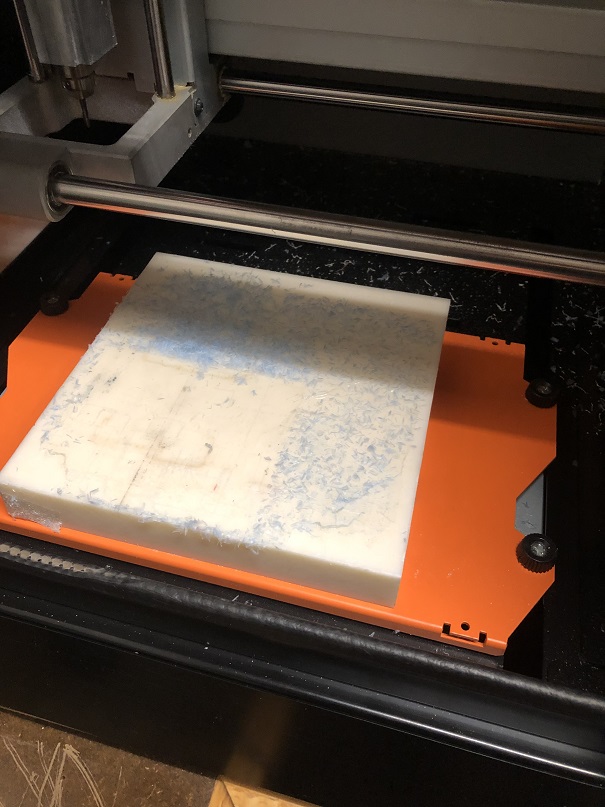
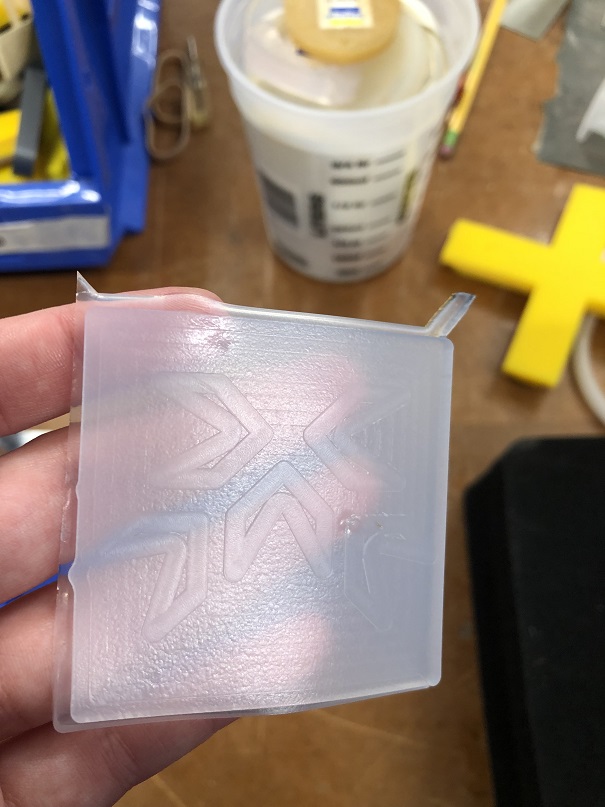
After completing my official mill, which took about 2 hours in total, I finally had a mold. Although one side of the lid was cut off, the nature of my mold meant I could still use the other side with the more important pattern on it, which would just produce a thinner version of the square target than originally intended.
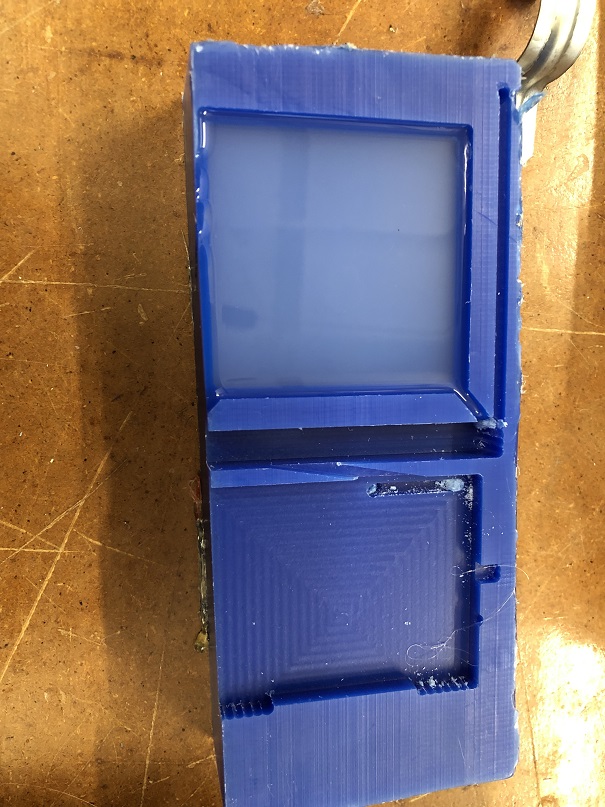
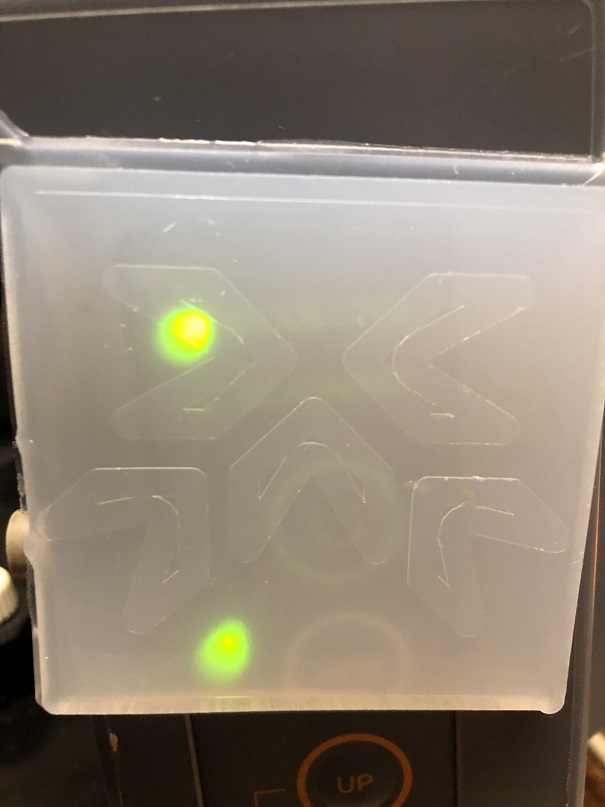
Lastly, I mixed the Ecoflex 30 that I wanted to cast in my mold, blending half of each solution and stirring out as many of the bubbles as I could, in the absence of a degassing chamber. I knew from a prior project that Ecoflex casts more quickly in a low temp oven, but decided to let it cast at room temp and come back after class to check on it. By the time I returned, I had a great little target with the right transparency to show an LED, which would be crucial for my final project. However, I had my doubts about how much force the Ecoflex could absorb, and it also tends to get increasingly dirty when handled. I may find another semi-transparent alternative for the final, but for now I at least have an additive and subtractive element in place, and a solid test of this material in case I need to use it again.