Week 1
Computer Controlled Cutting: Build a parametric construction kit
Hi, my name is Alayah Hines and I have 9 siblings, which is:
a) a lot of siblings
b) the reason/inspiration for my first project
One of my family's top favorite activities is family game night. We all come out from our respective rooms to compete at a variety of board games, but as we got older playing Monopoly and other classics got really boring. So I took it upon myself to make my own. Drum roll, please...
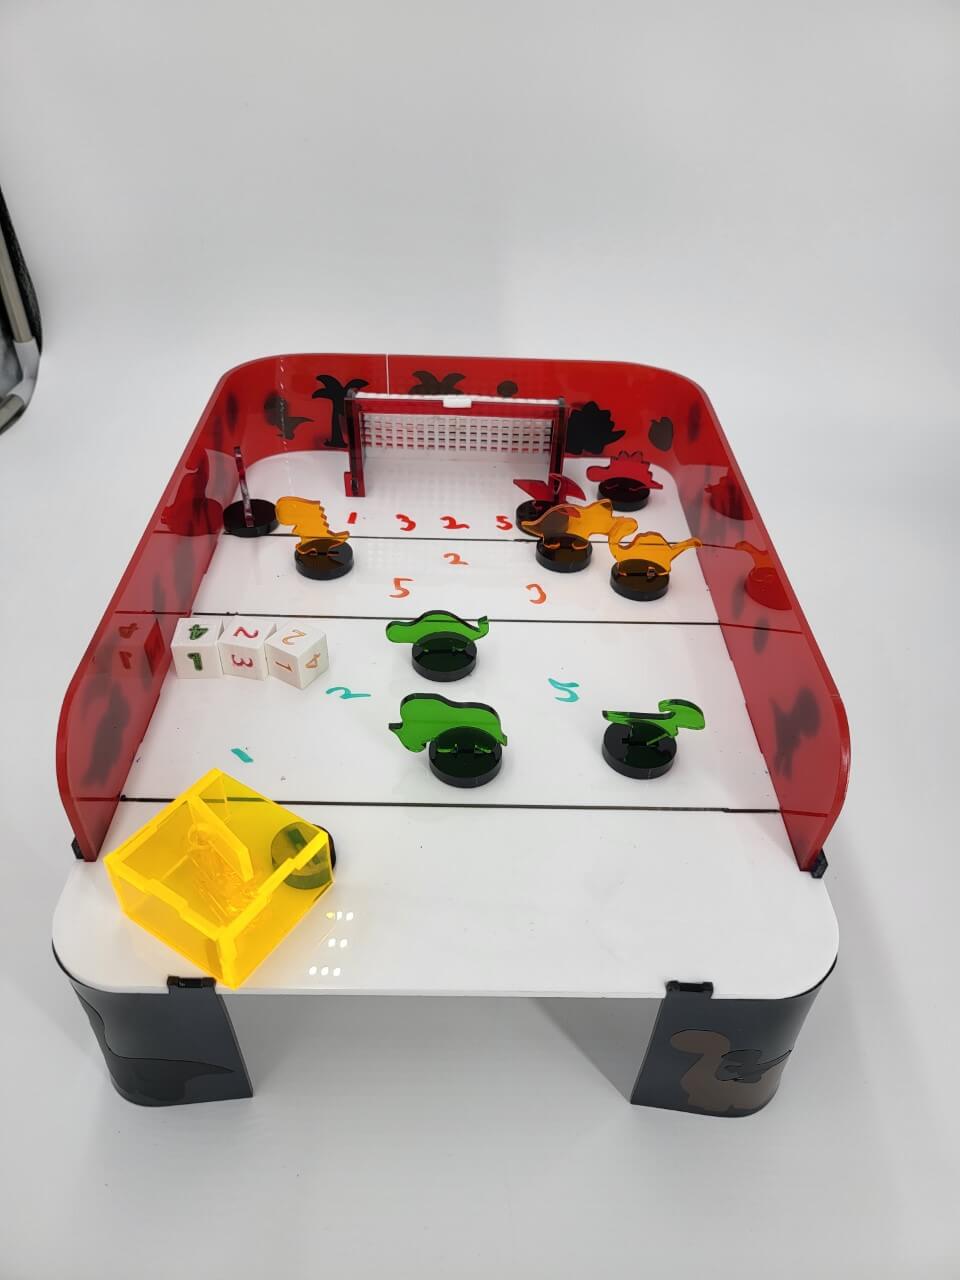
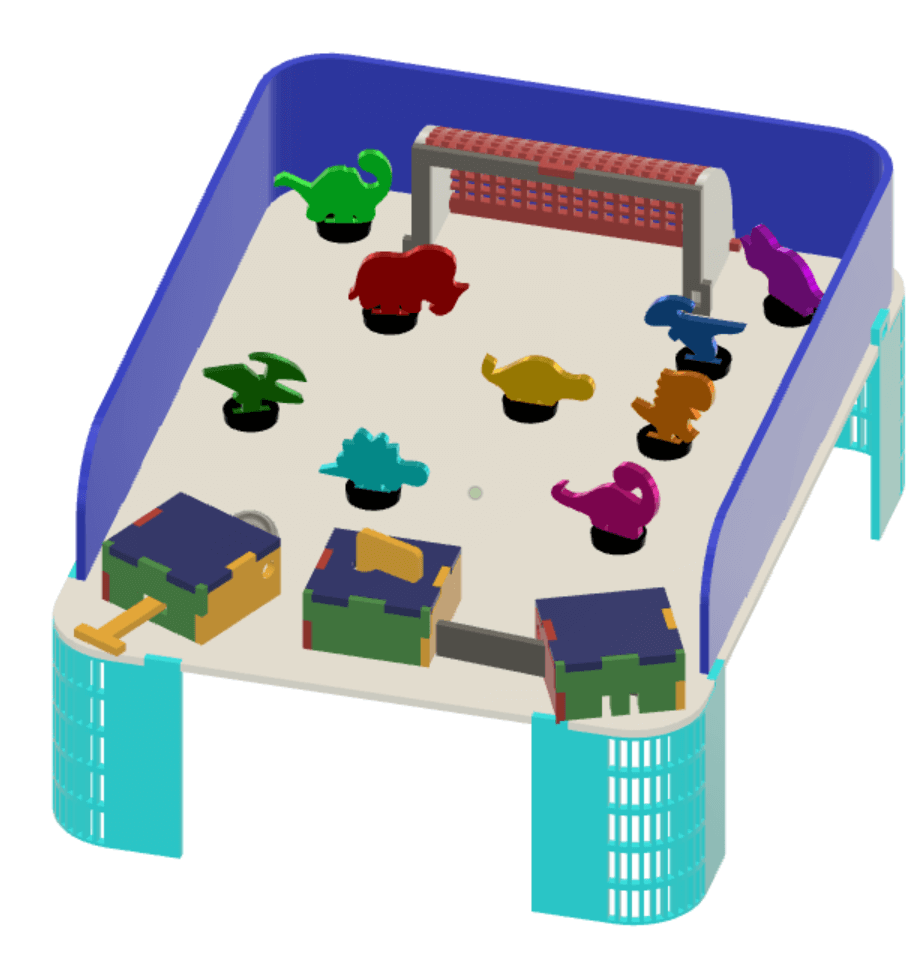
Introducing one of my favorite games I made with my younger siblings, new and improved, made of acrylic and wood instead of cardstock and popsicle sticks.
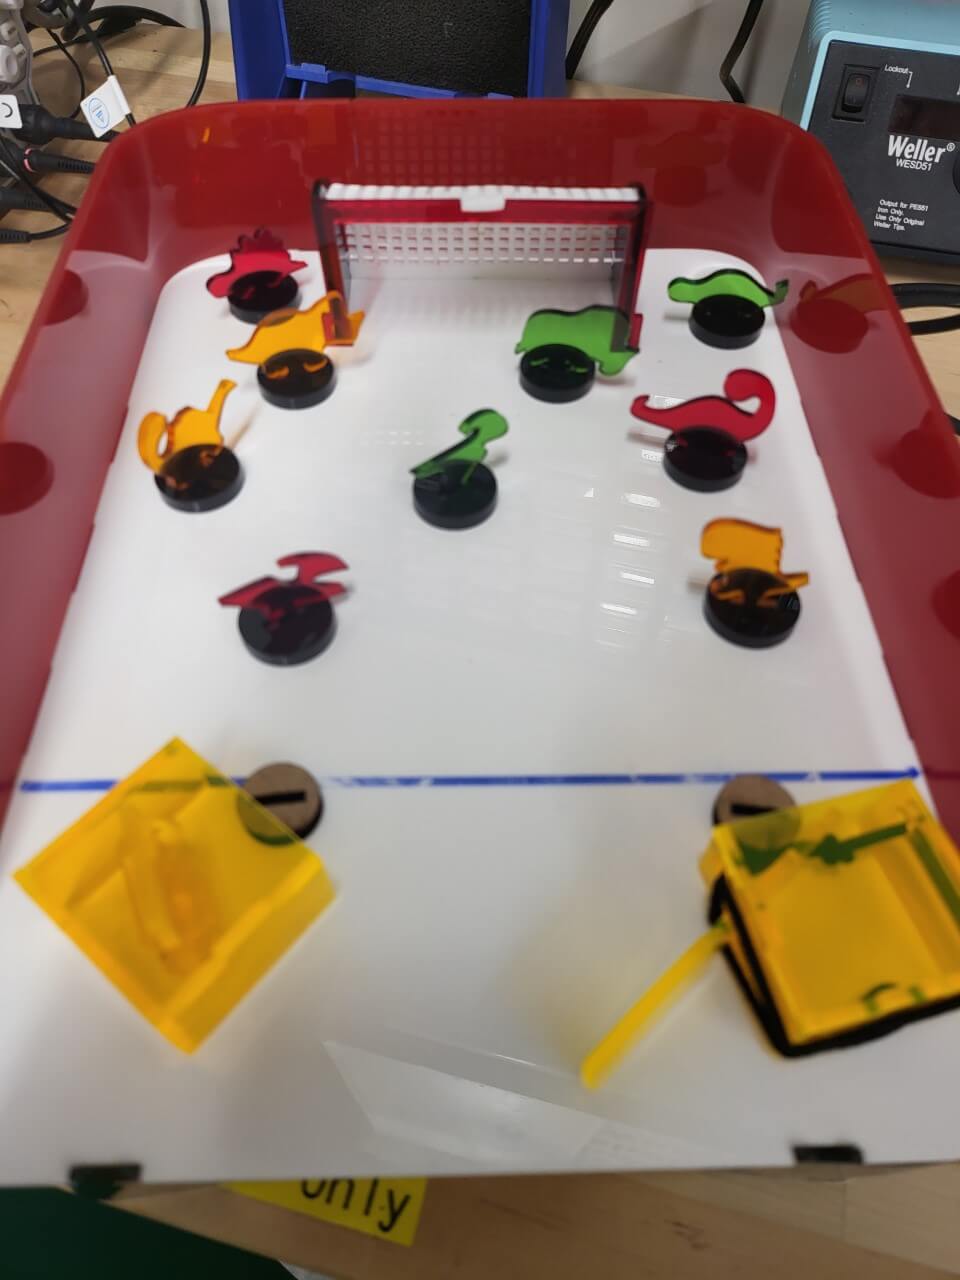
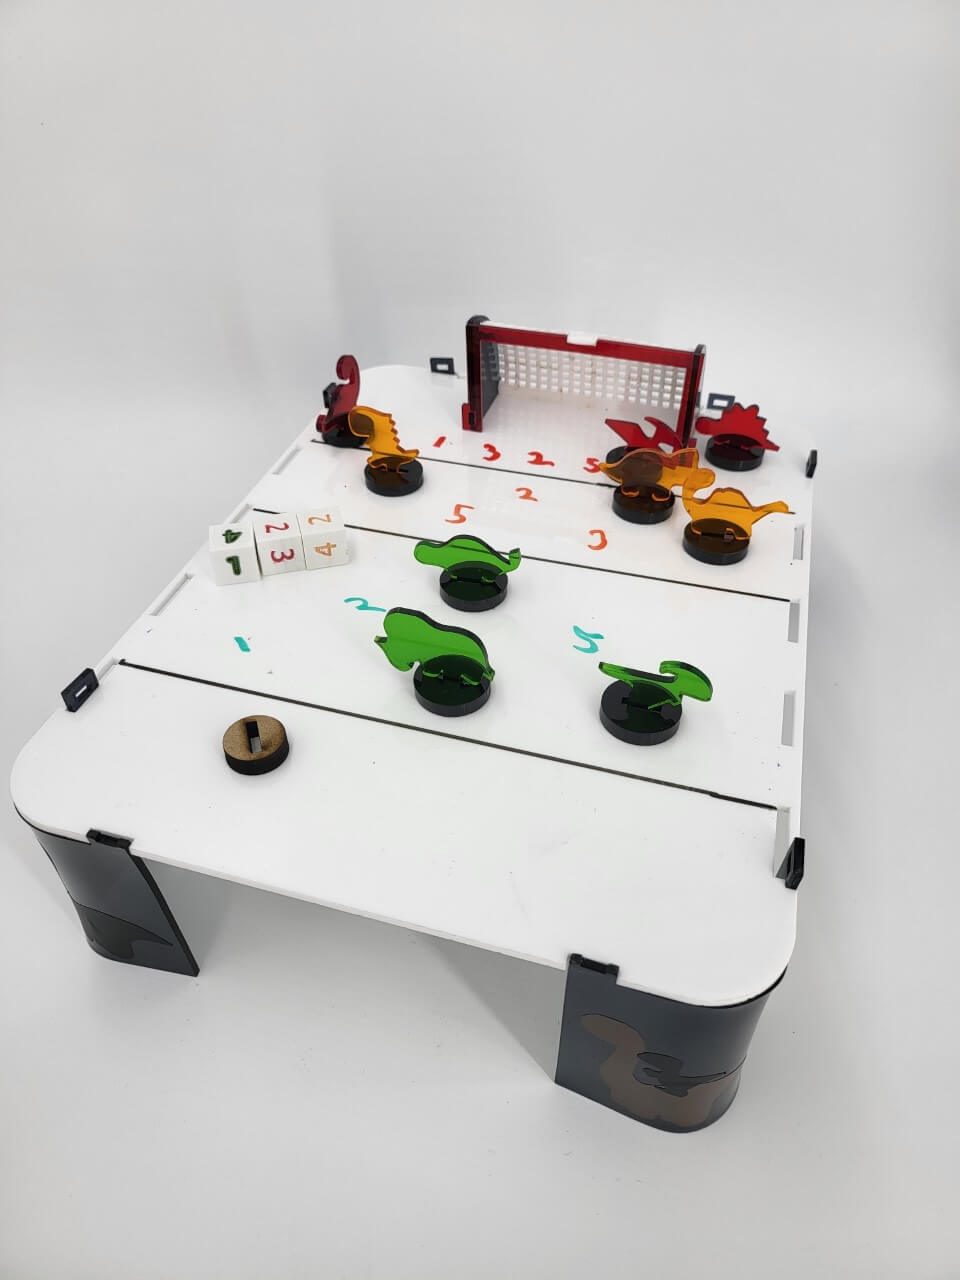
The idea was to recreate this game my little brothers and I made ages ago called finger soccer. The goal was to flick the ball (then a penny) into a goal, but before you can shoot you roll a die, and the number you get corresponded to the number and position of defenders your opponent could use to block you, the harder the shot the more points if you make it. We had a lot of fun playing/making this and I wanted to prove that contrary to their beliefs I did not go to college and forget all about them. This new version consists of an assemble-able stadium with dinosaur goalies (my youngest brother Alex loves dinosaurs) that you pop into disks and place around the board. I also created little launchers to launch the ball and “bumpers” which the first version of the game didn’t have, if you shoot it out of bounds it should stay out of play but Alex insists that bumpers are the best way to bowl and I guess that somehow applies here too.
What went wrong
Part 1: Cadding
Fusion360. Fusion360 went wrong. Or not wrong so much as I had to learn a lot more about cadding to get what I wanted to work, to work. I had never worked with parameters or sheet metal before so I had to learn both. My files are mostly parametric, and by mostly I mean that almost every value can be changed without breaking the sketch but material thickness, which is problematic but can be solved during post-processing. In my original design, I wanted to have bendy pieces using living hinges, but upon testing a few different designs I discovered that I had to pick between my choice of material, the very polished but very brittle acrylic, or the joints and decided that I could bend the acrylic with a heat gun.
Note: No dinosaurs were harmed in the making of my project, but the table did end up a bit burned.
I love Fusion360, it's a pain, but after hours of senseless struggling, it always makes everything look so clean and nice and colorful and the animations are terrible but you can get it to do simple things like fire the ball into the goal when you move the launcher. Fusion360 is the ideal… but real life was more complicated.
Part 2: Cutting
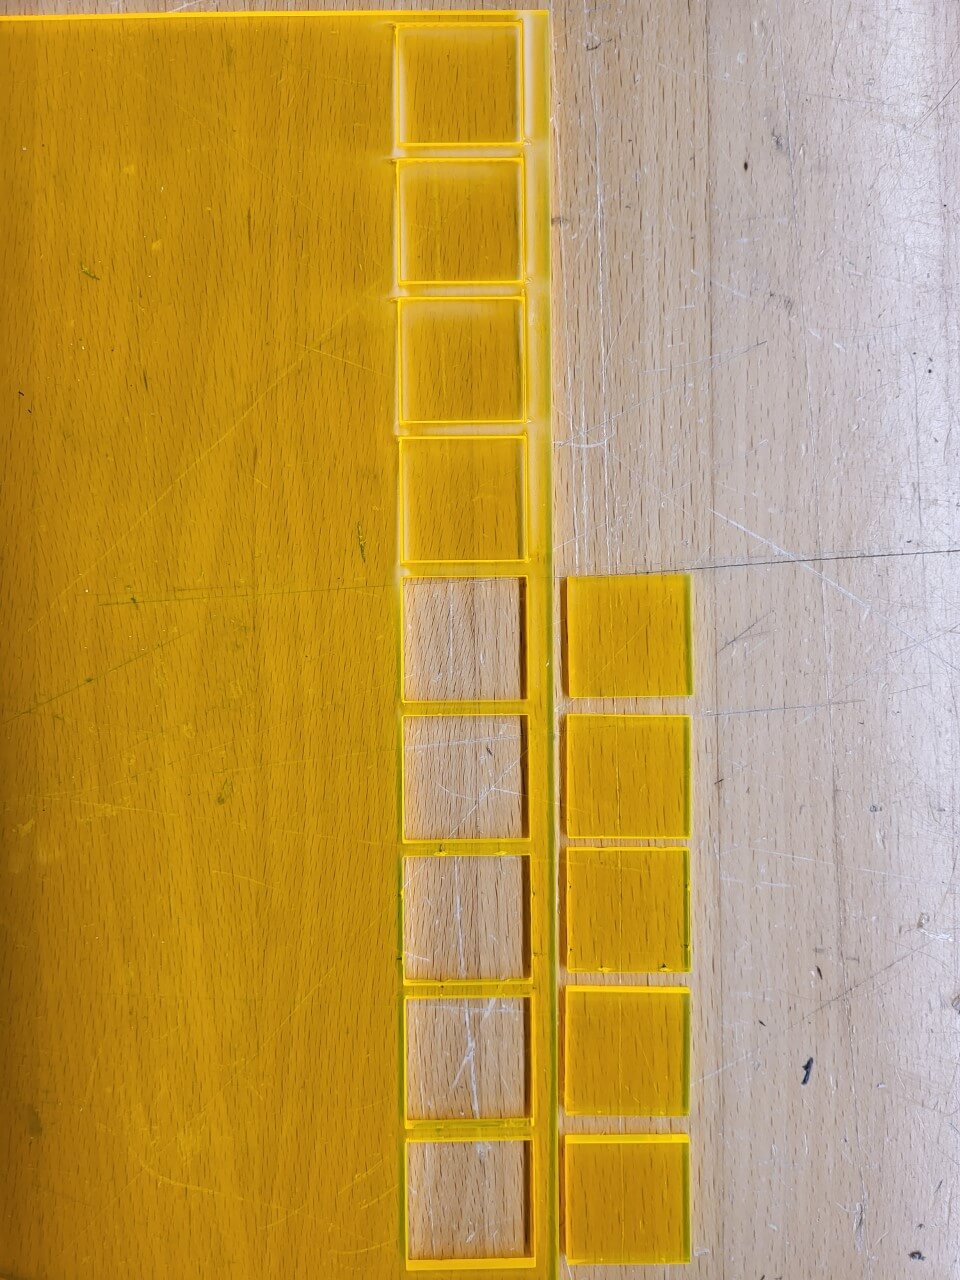
I measured a kerf of 0.005in on the laser cutter I used (his name is Carl and he lives in Metropolis and he is the fastest most reliable laser cutter a MechE could ask for). I decided to take this into account during post-processing and not during cadding, and luckily discovered a nice Fusion add-on that did the accounting for me. This occurred after hours of offsetting sketches on my own which was less lucky.
Carl did an excellent job cutting out the pieces and after a couple of test runs to figure out the relative setting for 1/8in acrylic (approximately 12 speed, 100 power, 100 frequency) I began to cut and assemble the stadium. Sometimes, the kerf was a bit off depending on the color of acrylic I used, but a firm push usually did the trick for getting pieces to fit.
Part 3: Assembly
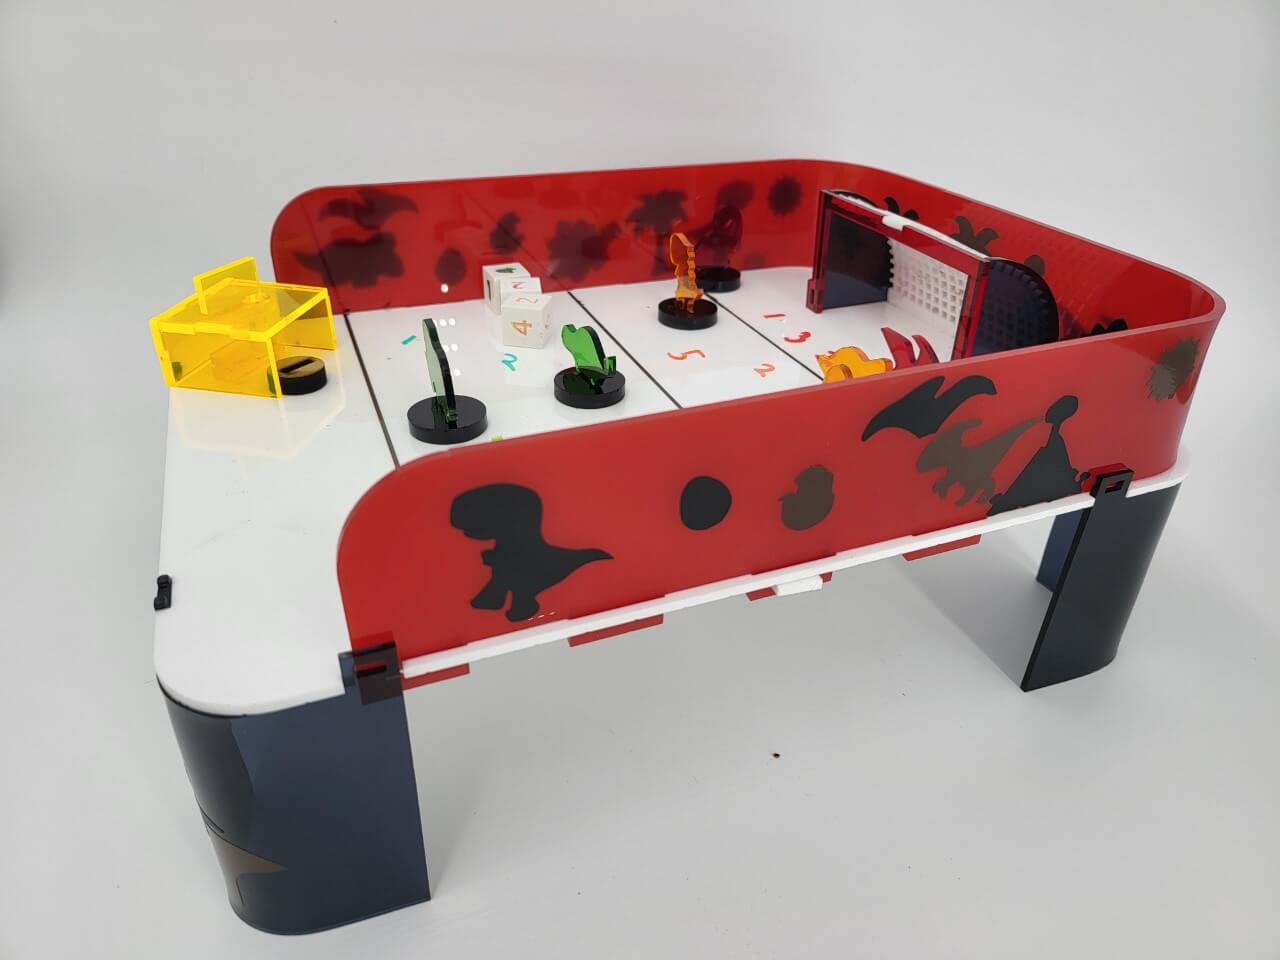
Bending acrylic with a heat gun is hard… especially when you only have two hands. Also, acrylic that is hot enough to bend is also hot enough to burn your finger. I had some trouble getting the curves to completely line up but got past this by bending the acrylic onto a chair that already had a curve in it, unfortunately, the chair was plastic and melted a bit too. I then switched to free-forming with my hands (now covered with my sleeves to prevent further burns) and checking by inserting the piece into its allotted spot. This step took quite a while.
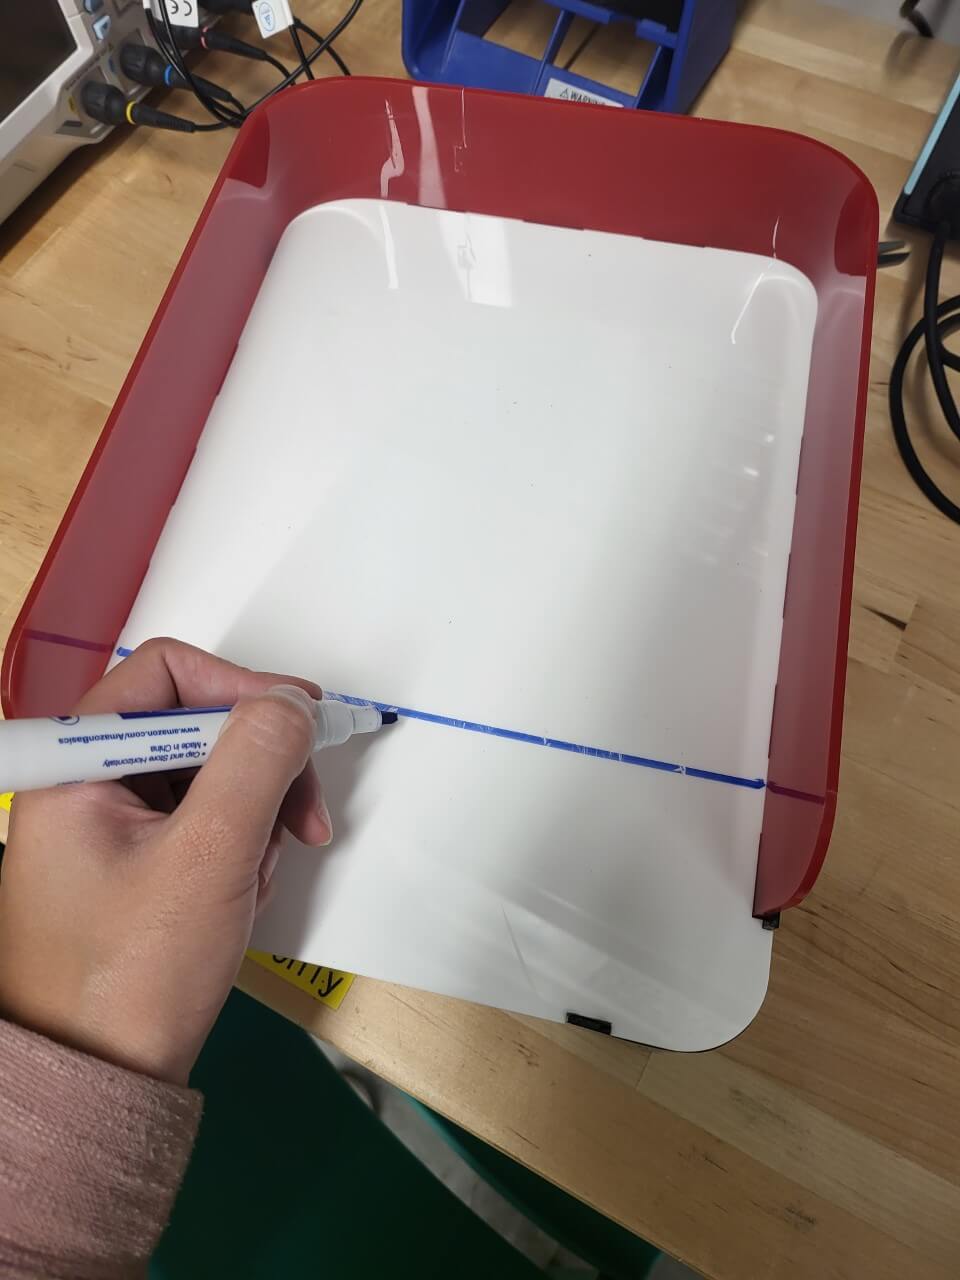
One great thing about acrylic is that you can write on it like a whiteboard, which is instrumental to gameplay so you can decide on things like foul lines and goaly placement, but recustomize the game later.
Part 4: Decoration
The Jurassic theme was looking a little sad so I vinyl cut some decals.

Part 5: Fin
My original idea called for way more types of launchers and additional pieces so users could create their own, I would also like to have finalized the gameplay and used a magnetic board with magnetic goalies so they don’t slide so much when hit by the ball. I learned a lot about cadding and cutting from this assignment and can’t wait to learn more!