Electronics Production
PCB making
This week we worked on PCB production, I've never made a PCB before but I got the general idea behind PCB milling. You start with a copper-plated board and remove the conductive copper material with a mini PCB-specific mill. The mini mill removes all the material you don't want there leaving conductive patches that work like wires or lines on a breadboard to connect pieces. I used the newer Roland Modelo found in the architecture shop to mill my board and although I was eventually successful, I had to start over three times.
Troubleshooting
I failed on my first attempt because the 1/64in endmill was replaced with a 1/32in endmill, I didn't double check that the piece matched the container and after shrugging it off as being a little large I sent out my job. The entire inside of the PCB was decoppered and not a single trace remained. I realized my mistake halfway through and cancelled the job.
Then I reset the Modelo and shifted to a new origin location away from the mess I had made on my first attempt and connected the correct endmill. This time almost nothing cut, the board was not level on the plate and although it went far down enough to cut the first quarter of the board, it only skimmed the surface on later passes.

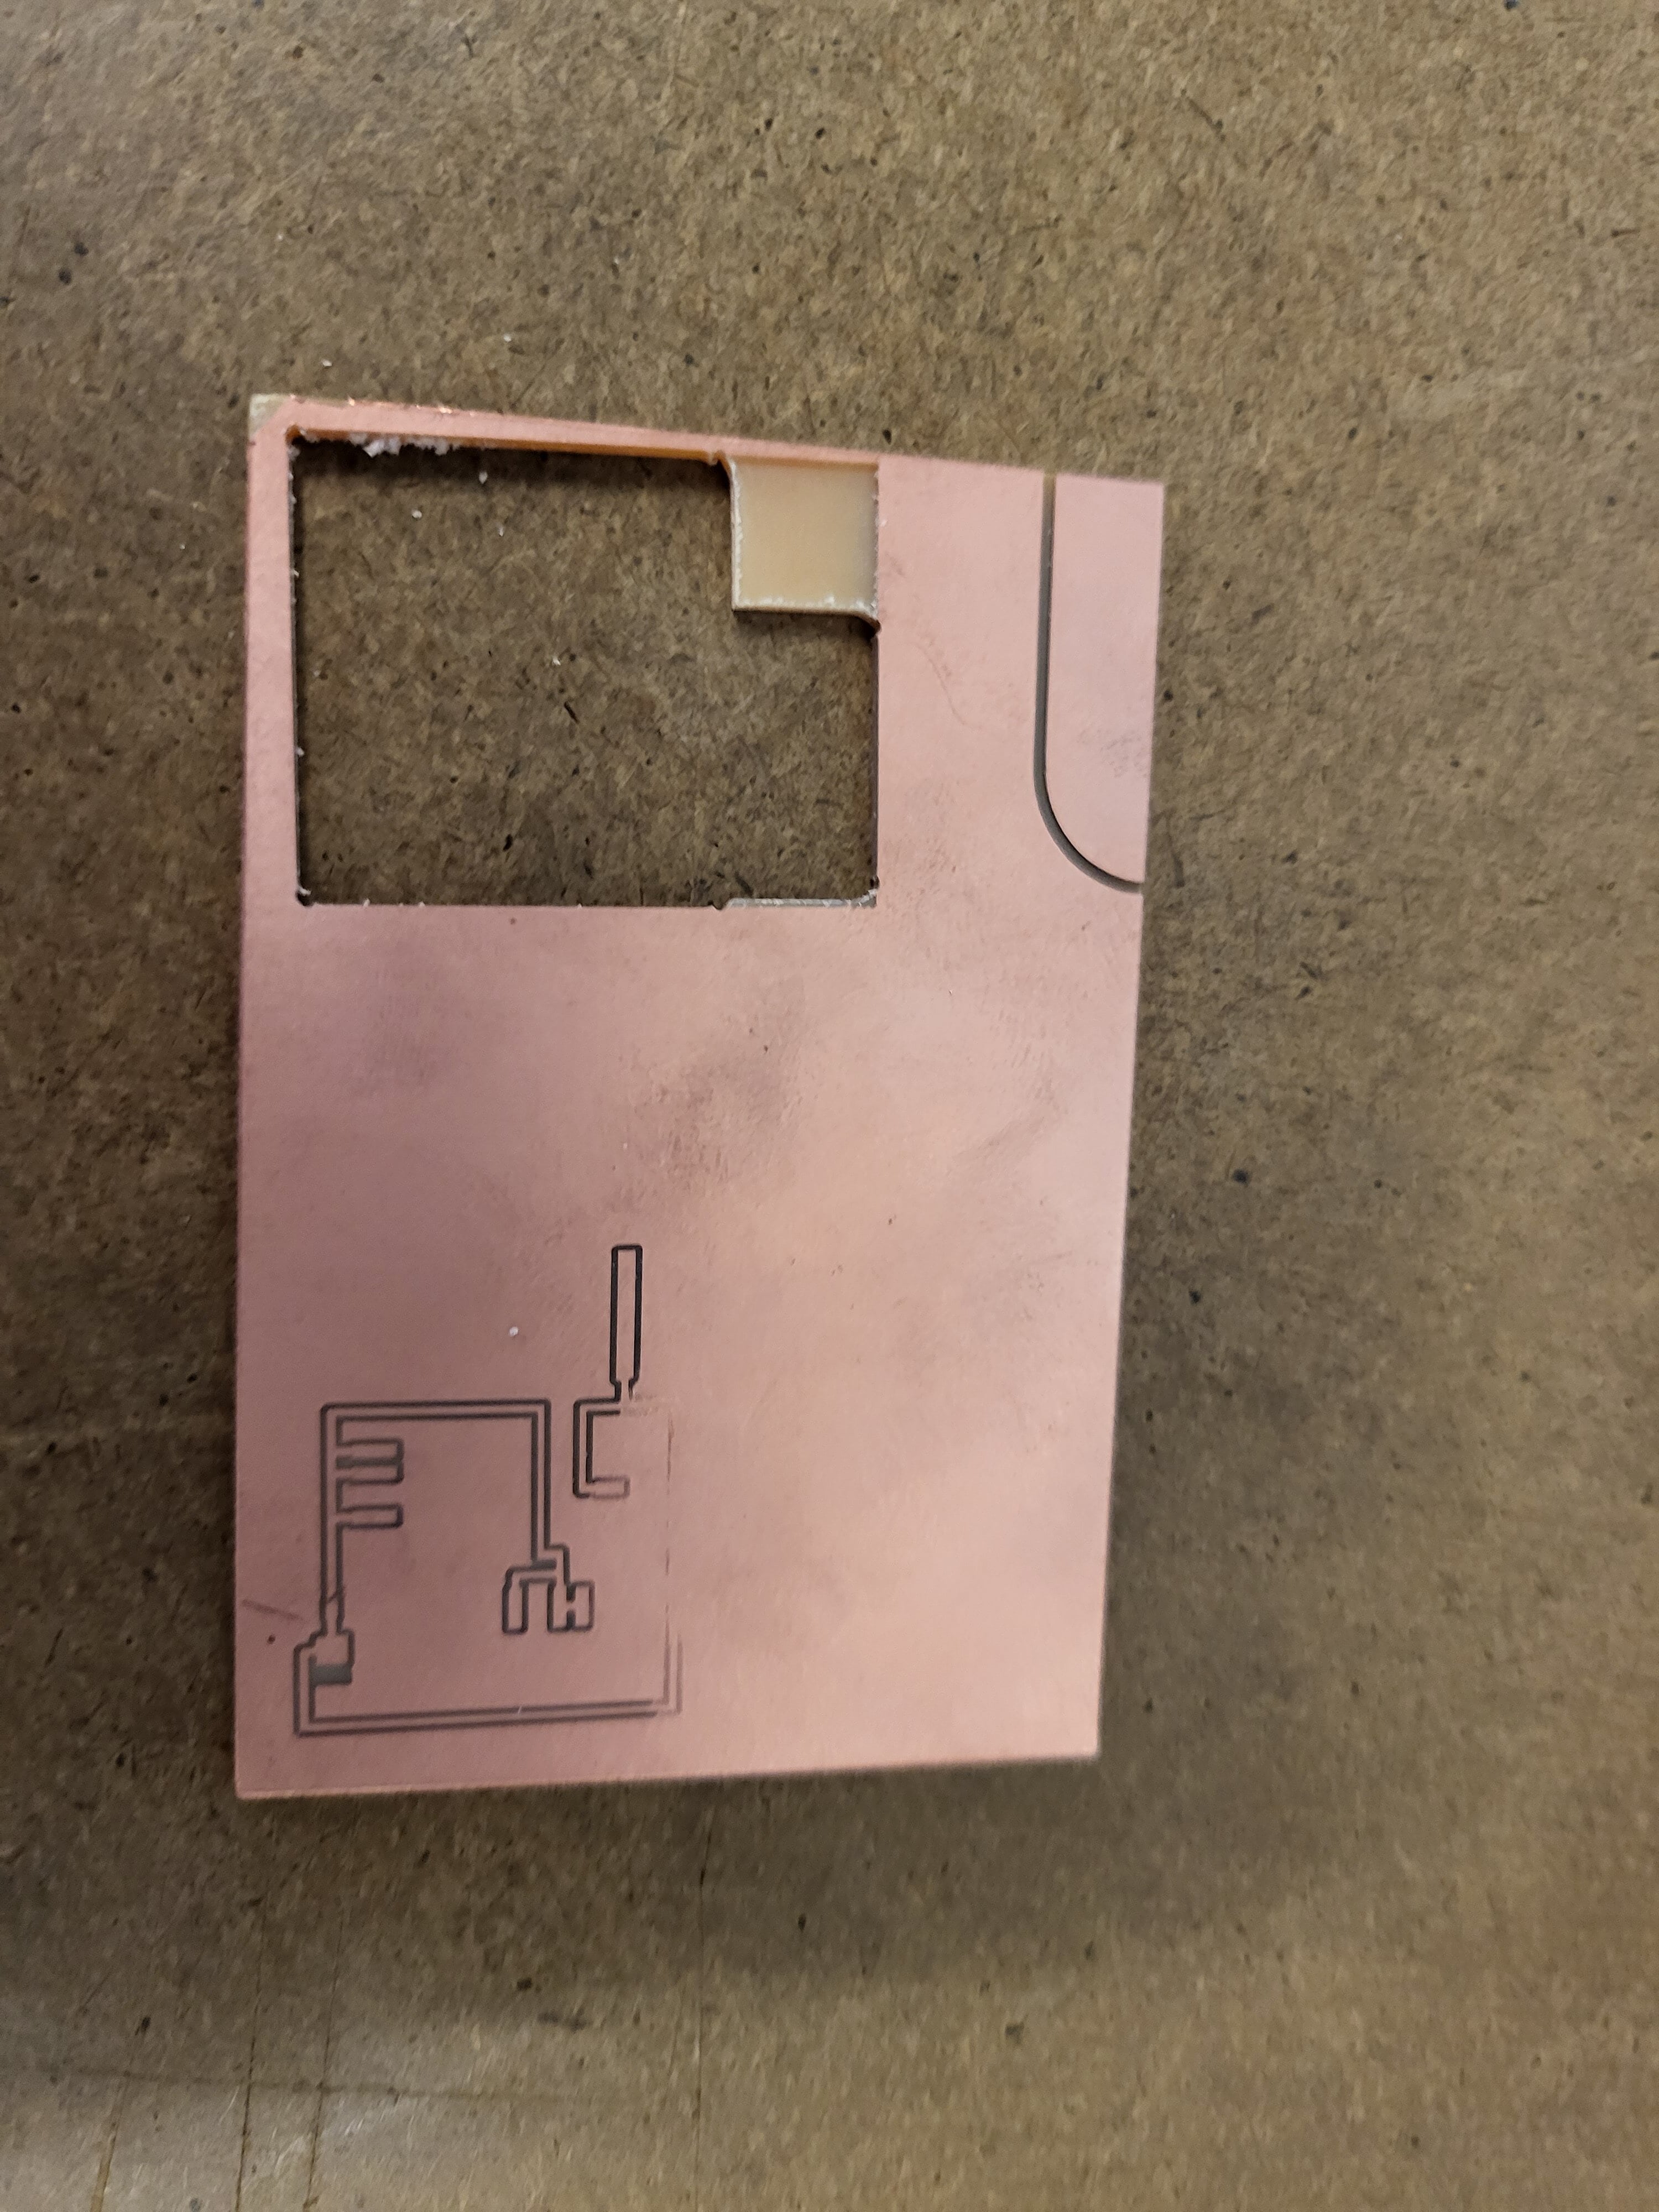
the entire process, things kept going wrong and the machine kept on needing to be reset, but I started attempt number three on the other side of the board, ensured that it was taped down perfectly flat, the correct endmill was inserted, I wasn't too far from the edge, there was plenty of room to fit the piece on the board, and that I had used the software correctly. To my surprise the trace went perfectly and the interior went great as well, I now had a PCB but it was missing all of its components.
Soldering
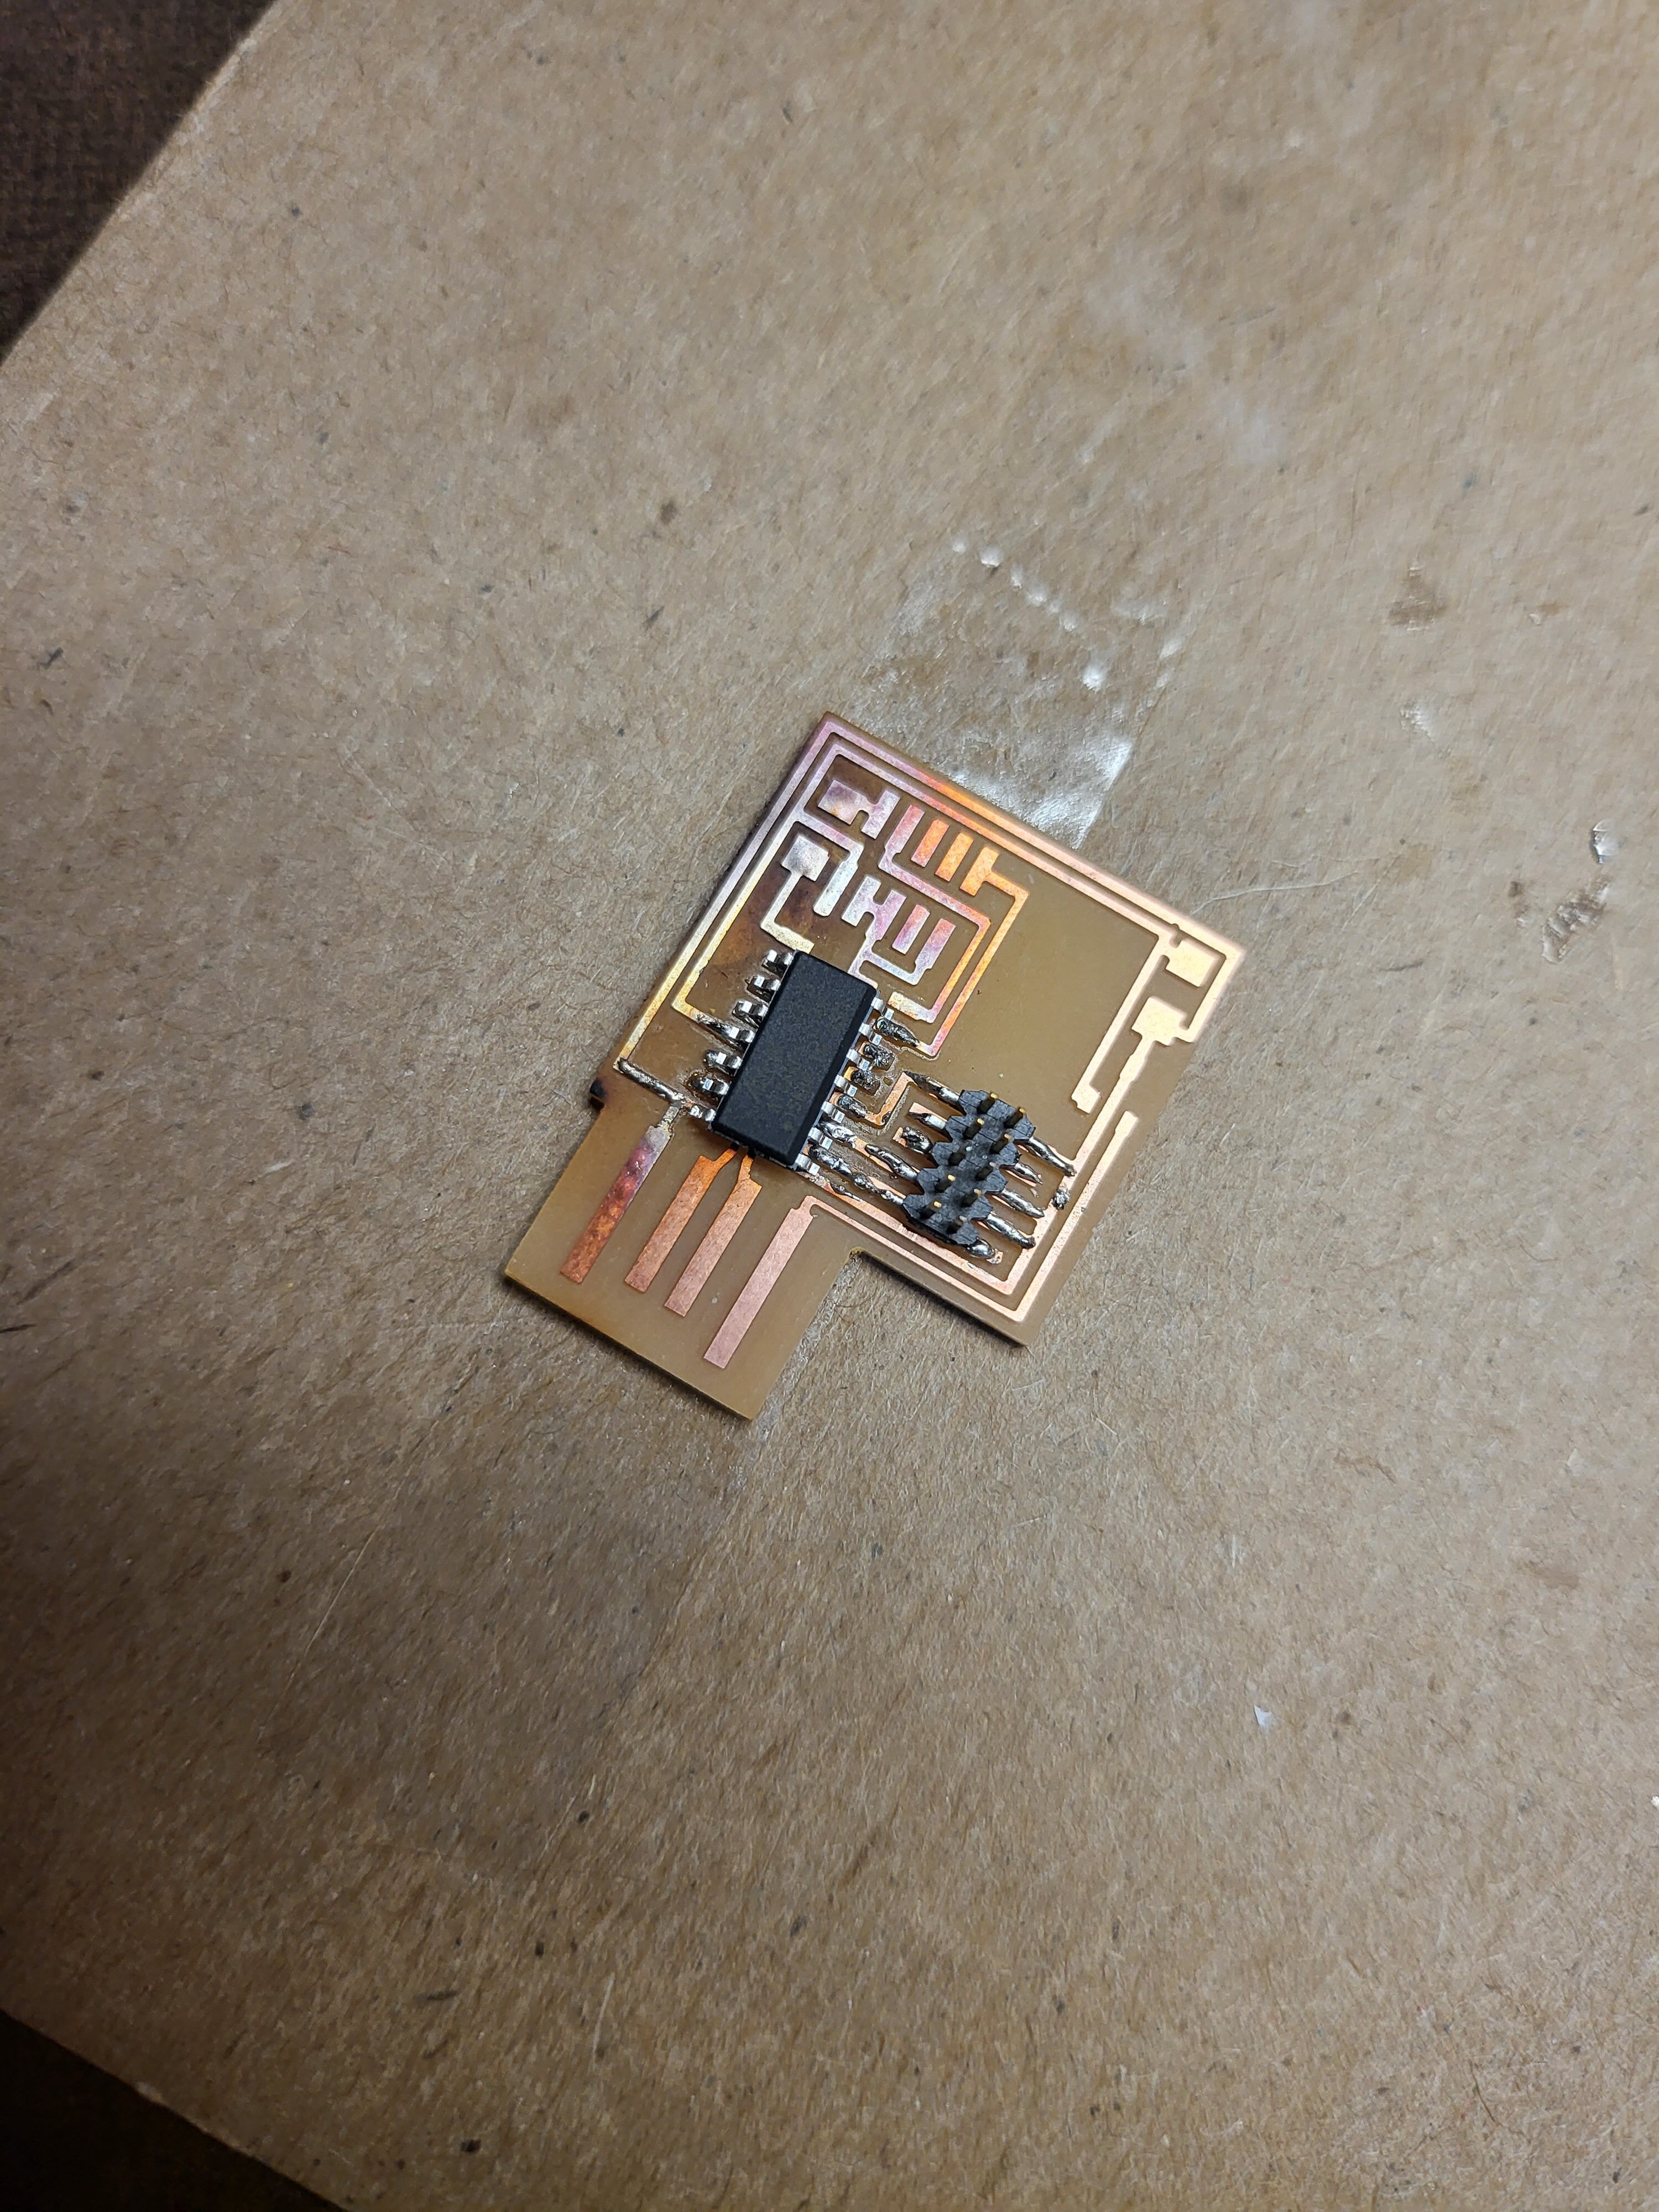
I thought I had prior experience soldering, but nothing could prepare me for how small the pieces were and how many little globs I had to lay down without touching. I initially had trouble getting and solder to stick but remembered that we were supposed to clean them from the training and after a nice bath in soap and water the solder adhered much better. About halfway through I remembered a trick we were taught in 2.00b about using the soldering iron to heat up the pins and melt the solder on the pins directly. This technique worked so much better than feeding the iron solder and depositing it on the board. I got my entire board soldered beautifully.. the only problem was I had the SAMD11 soldered in the wrong place (one wire higher than it should be). Luckily there was a TA around to assist me (thank you Demircan) and we were able to use the heat gun to melt the SAMD11 off (while also safely charring my board).
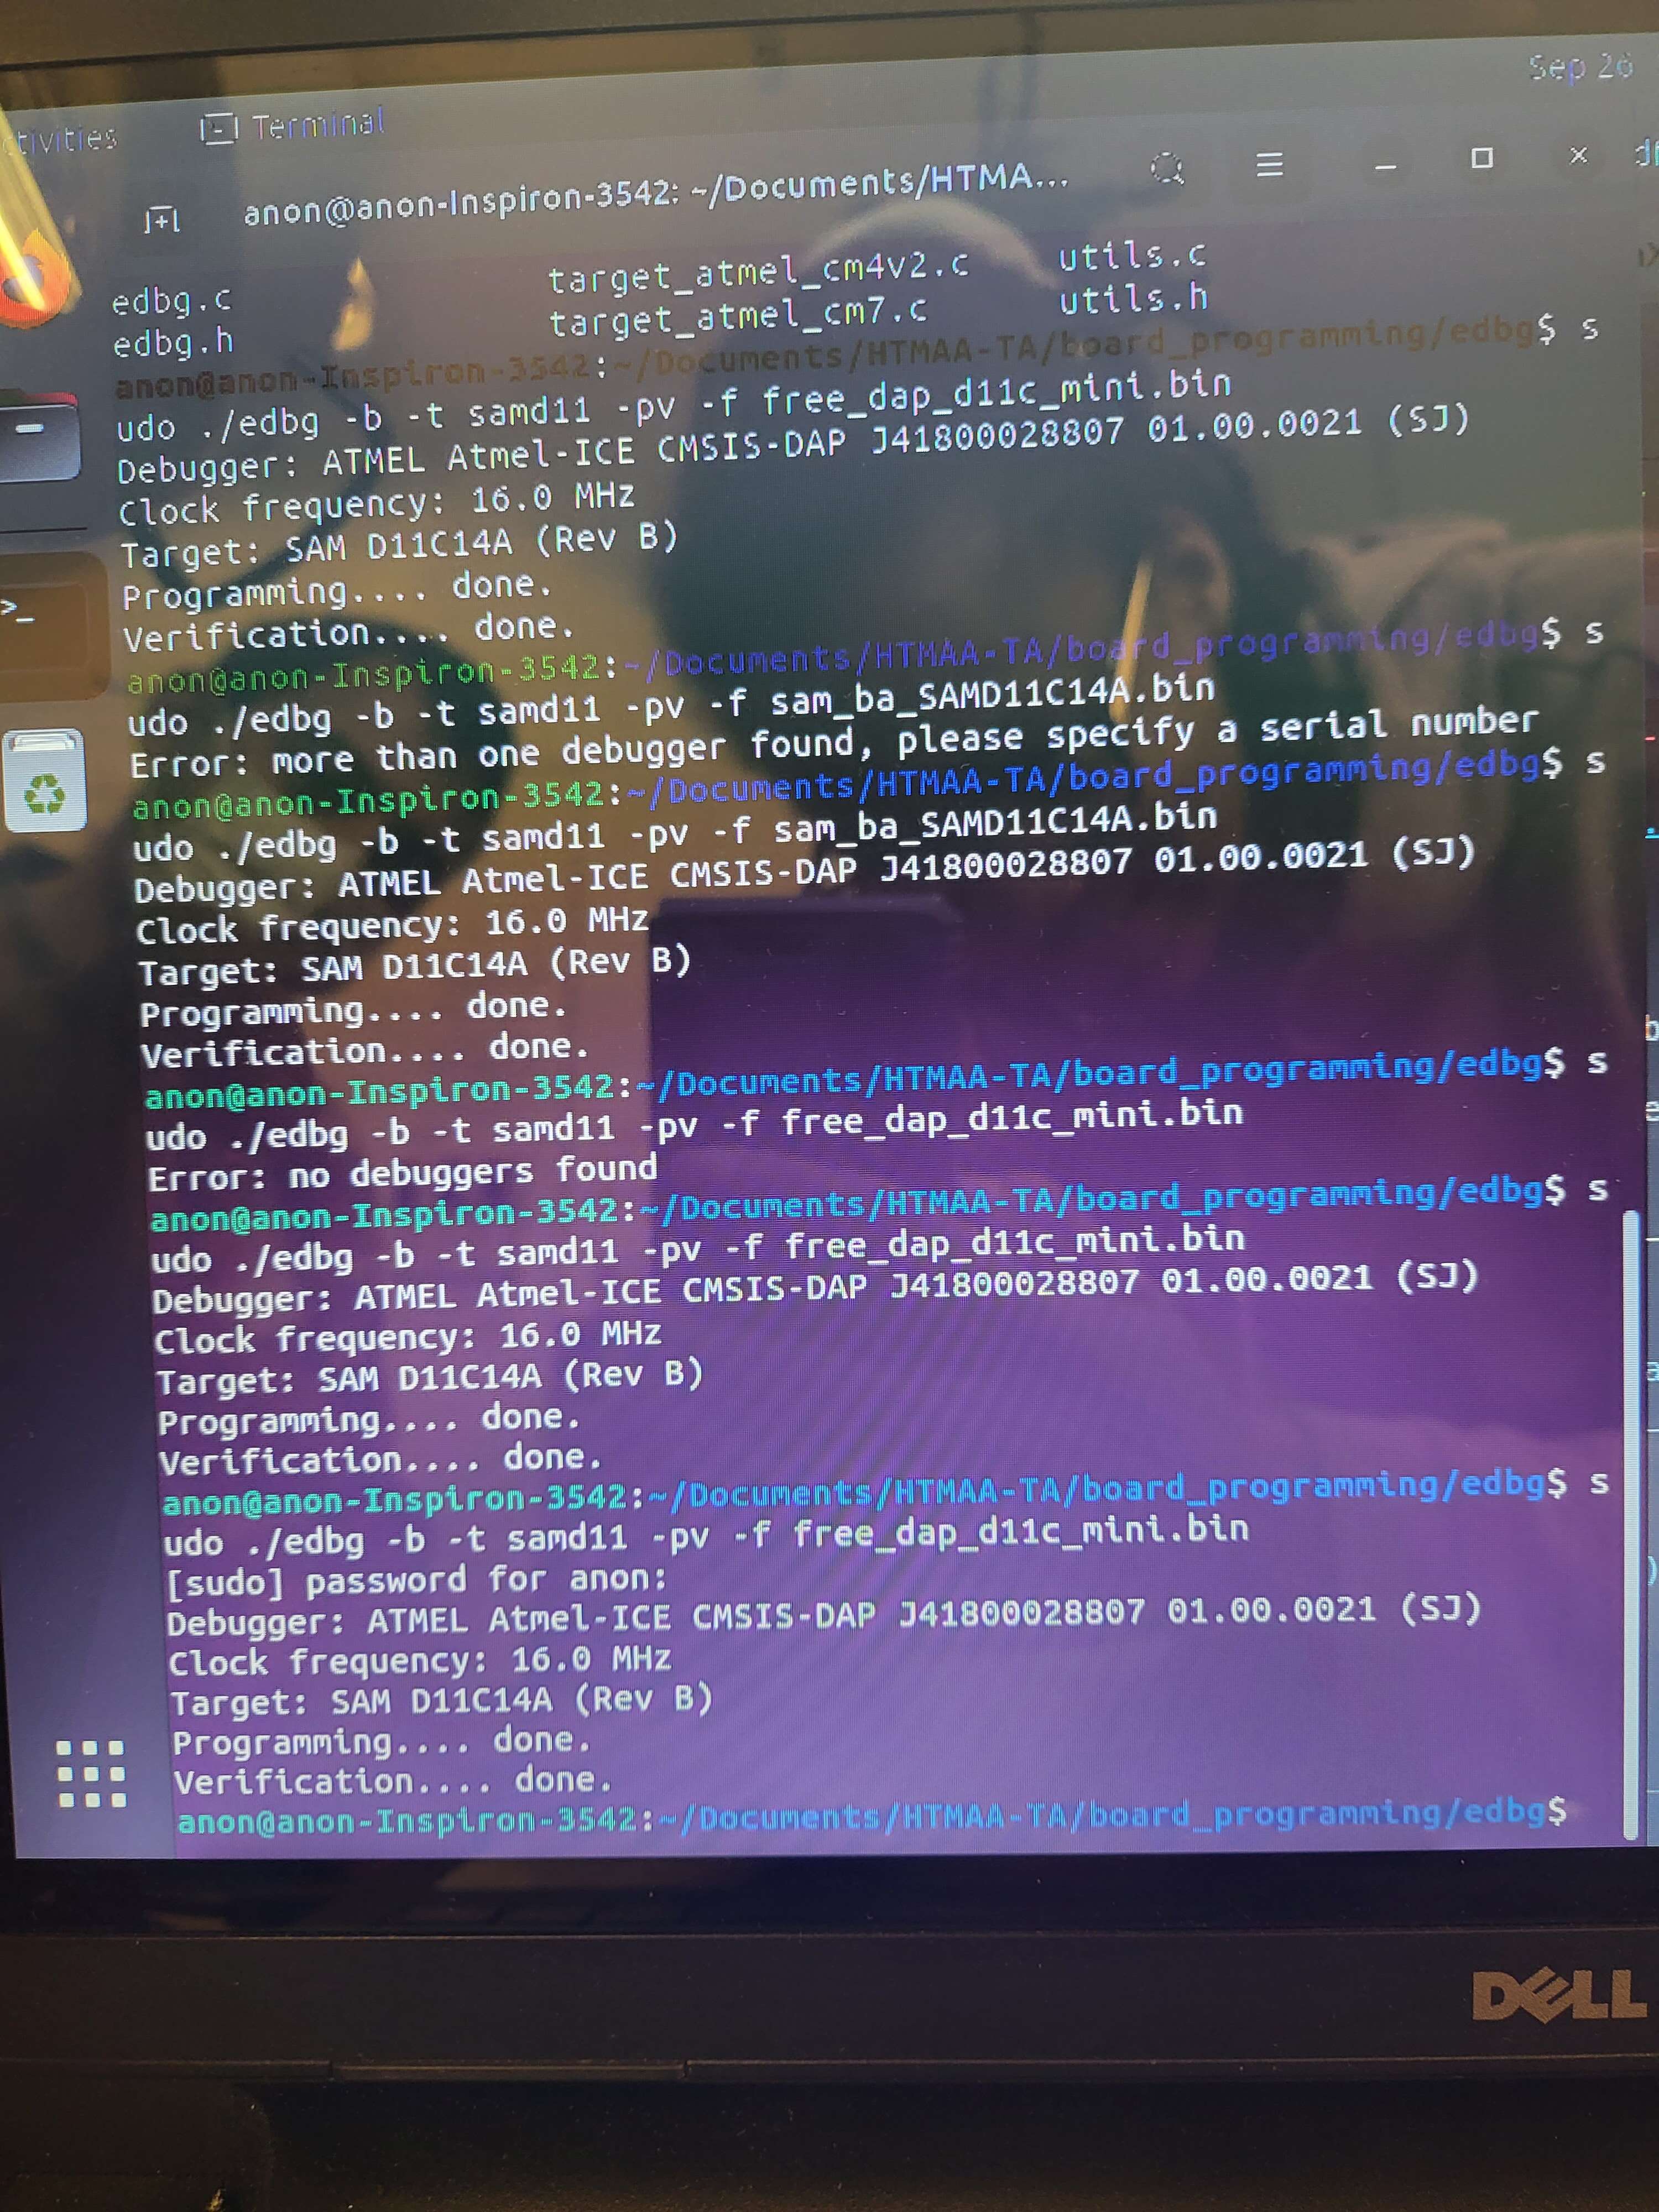
Programming: AKA The Moment of Truth
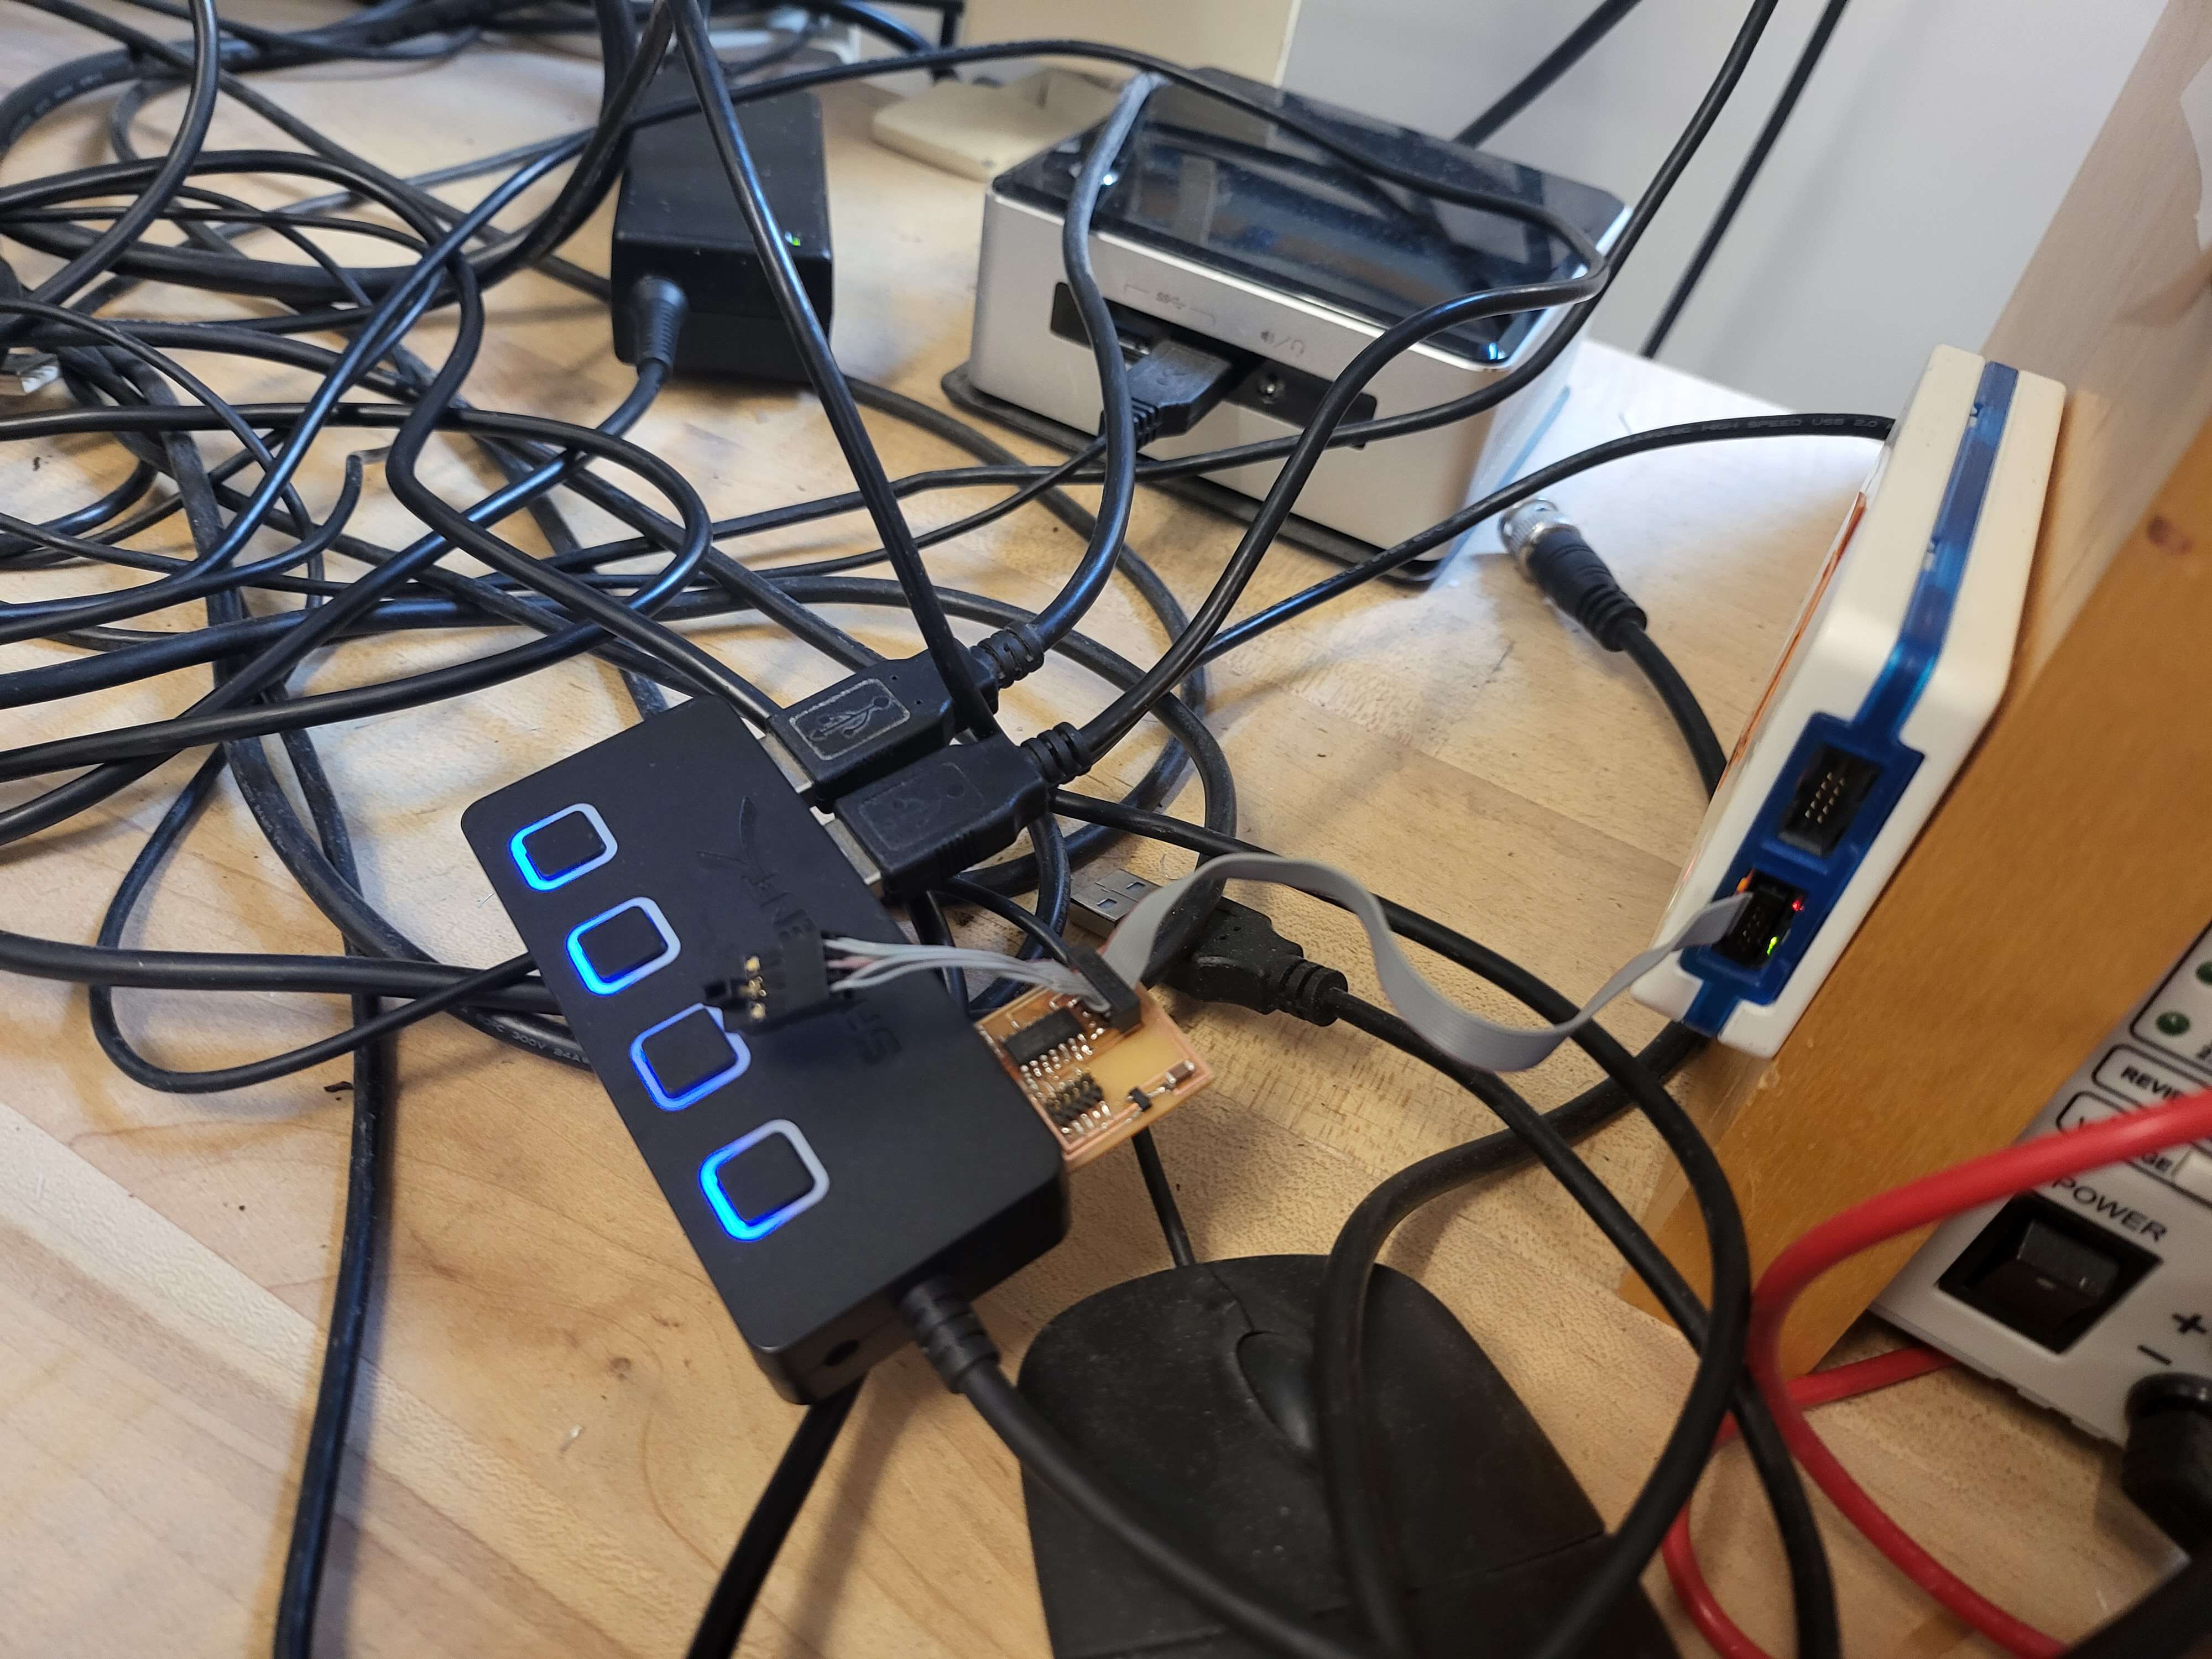
MY programmer was hooked up to the $100 programmer and with a rather unimpressive click of a button and couple lines of code it was all programmed up. YAY!
Group Project
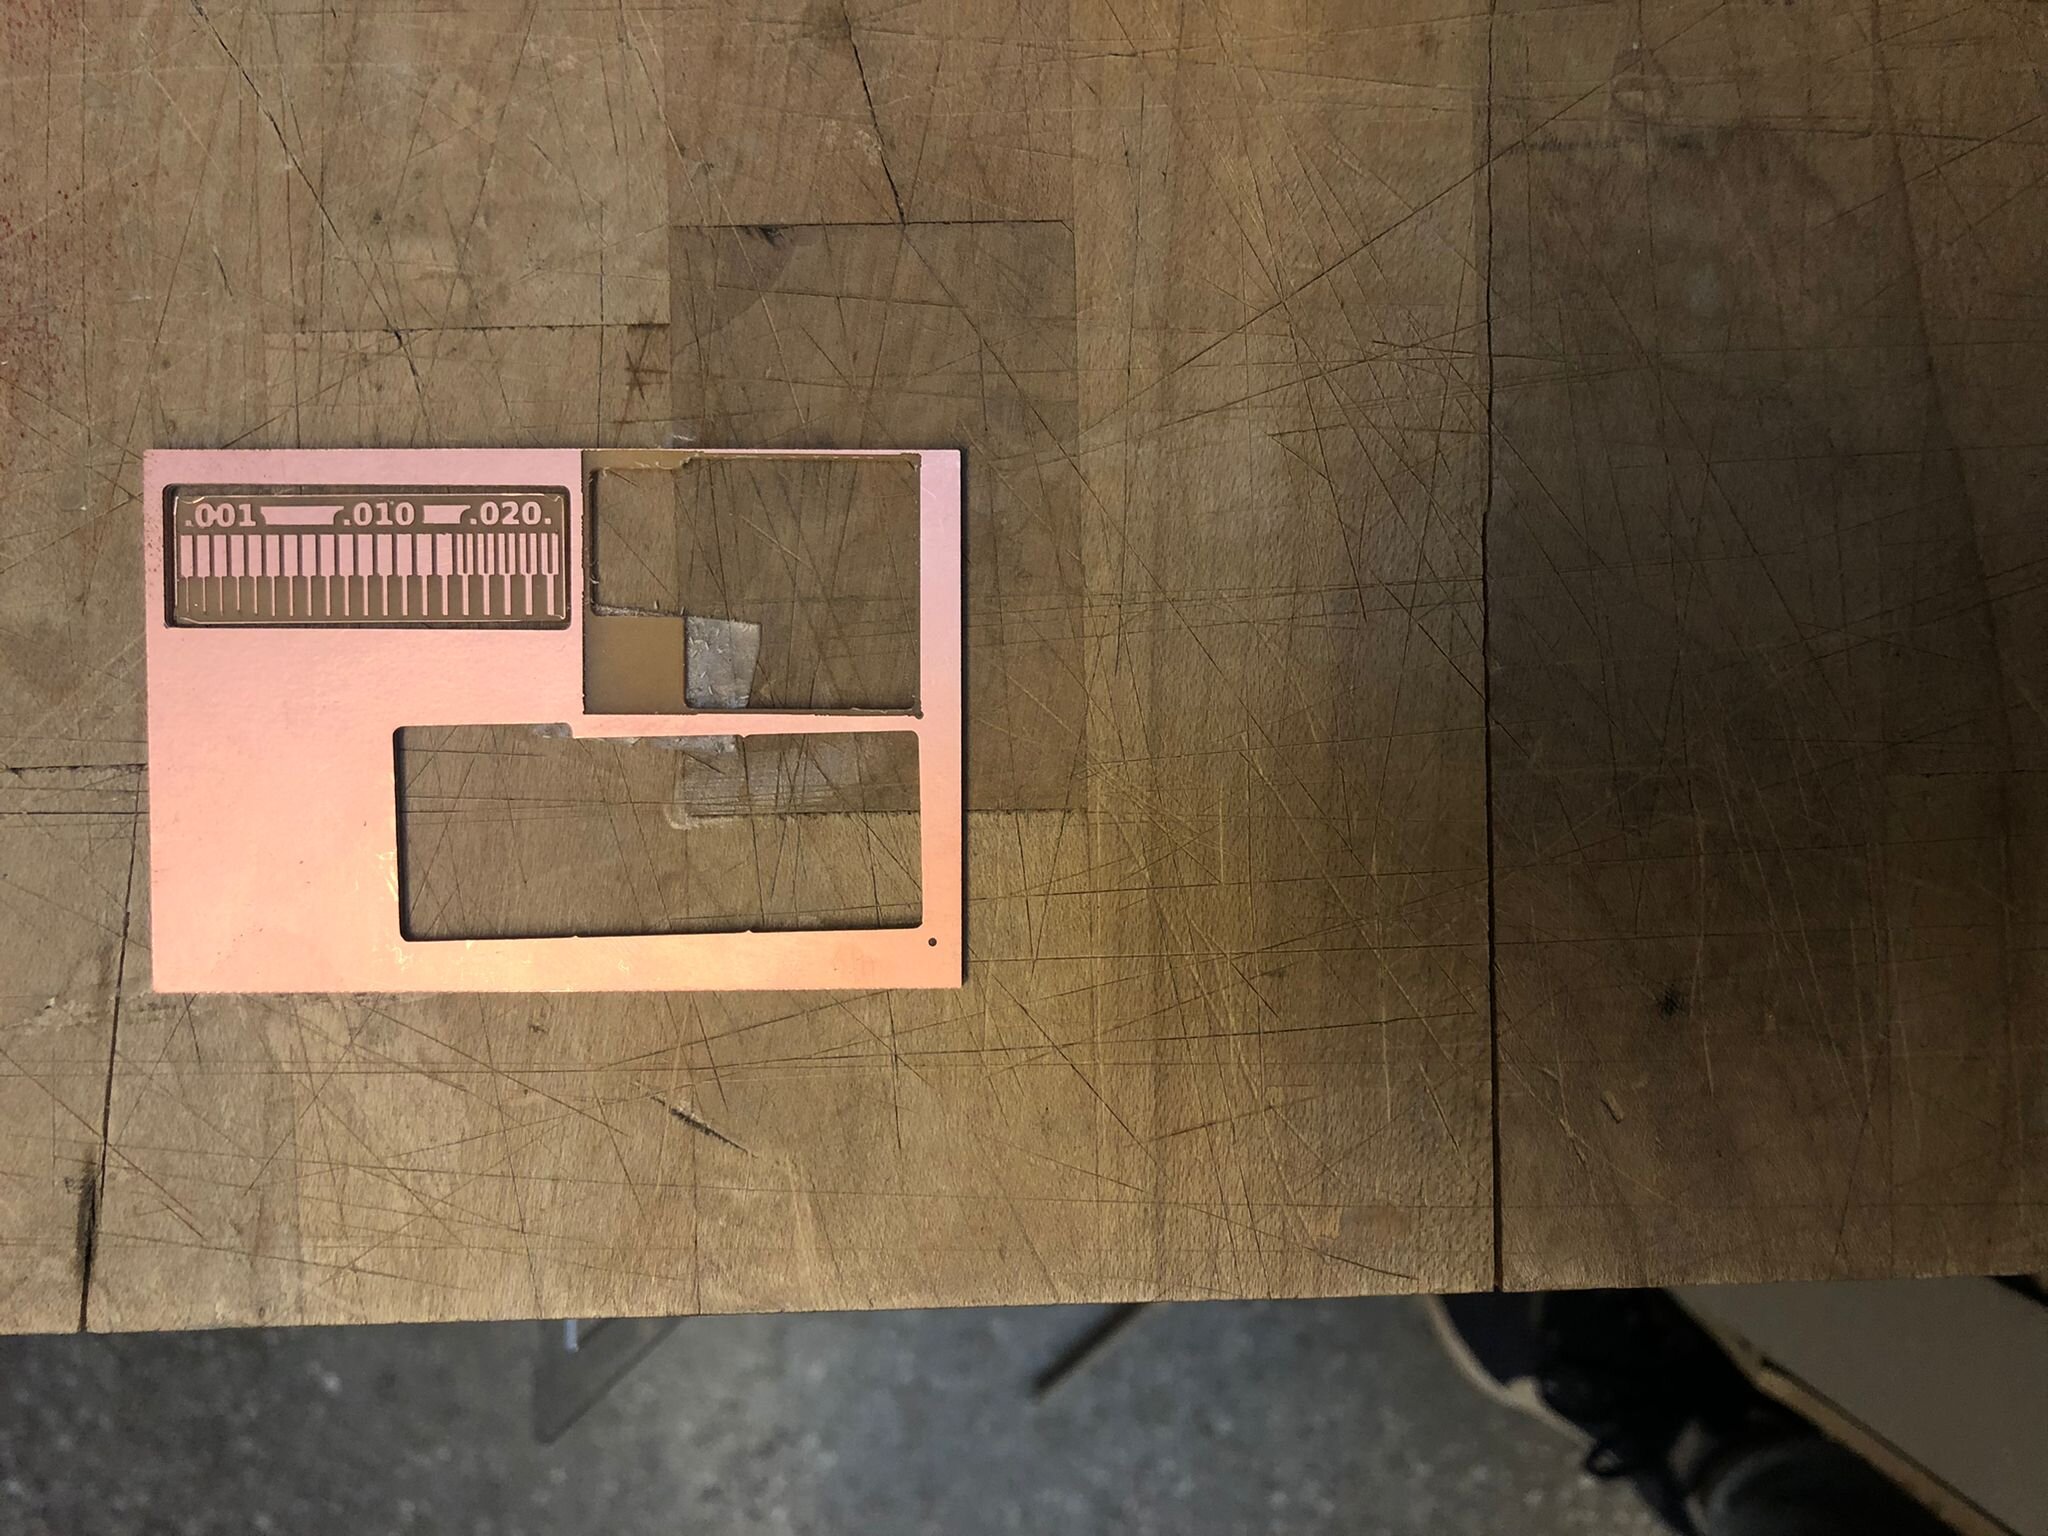
Here is a picture of our group project. The line test was milled out on the Modelo and conveyed that the endmill did indeed have the exspected offsets.