3d Printing and Scanning
3D Printing
I love cadding in Fusion360, like I'm borderline obsessed with it. I was so excited to work on 3D printing this week because it meant I would finally be able to bring my models to life, but like everything in life, it was hardly that simple. Mistakes were made a lot of mistakes, mostly mistakes involving other classes but still. I may or may not have pushed every last pset I had till the last moment in favor of cadding until way too eaarly in the morning, but I had fun and I learned tons and I have the long weekend to catch up on sleep so alls well that ends well and I have some pretty awesome models to stick on my website which is also awesome. I learned about a way to display Fusion models in the browser, but it doesn't seem to work well with chrome, so launch this in firefox and prepare to be slightly less unimpressed. Speaking of which I very clearly stated that you would be seeing a lot of CAD models not neccessarily 3D prints, this is because of the limits of the technology, ie. it's slow, I'm impatient, I love colorful things and didn't quite get access to a color printer on time (more on this later), also I love cadding to cad but cadding to print is a whole different world so many extrenuous factors have to be considered during the design process. Extrenuous factors I never consider until far too late. Anyways sit back and watch as we go through the ups and downs of another week in my quest to make almost anything.
Fusioning... AKA: the fun part
This section will be less about my process, which admitedly was just me cadding random objects in all my other classes, and more about the models themselves. Very few were optimized for 3D printing, but I just wanted to create something interesting and fun, which was a bit of a mistake. Always remember design intent. Design with manufacturing in mind, knoww the limits of your technology and work within those bounds, if you get too ambitious feel free to test the limits but do not be surprised when it doesn't work and find the right tool for the job.
Okay now that the boring stuff is out of the way it's time for a model extravaganza starting with...
Fun models I made during 2.003/2.001
What I really wanted to print and will get back to after optimizing file later
It's a fully working print in place figit controller, with 4 buttons, 3 spinners, a joystick, and a switch. I think a dissasembled one would be easier but go big or go home.
HatMIT models
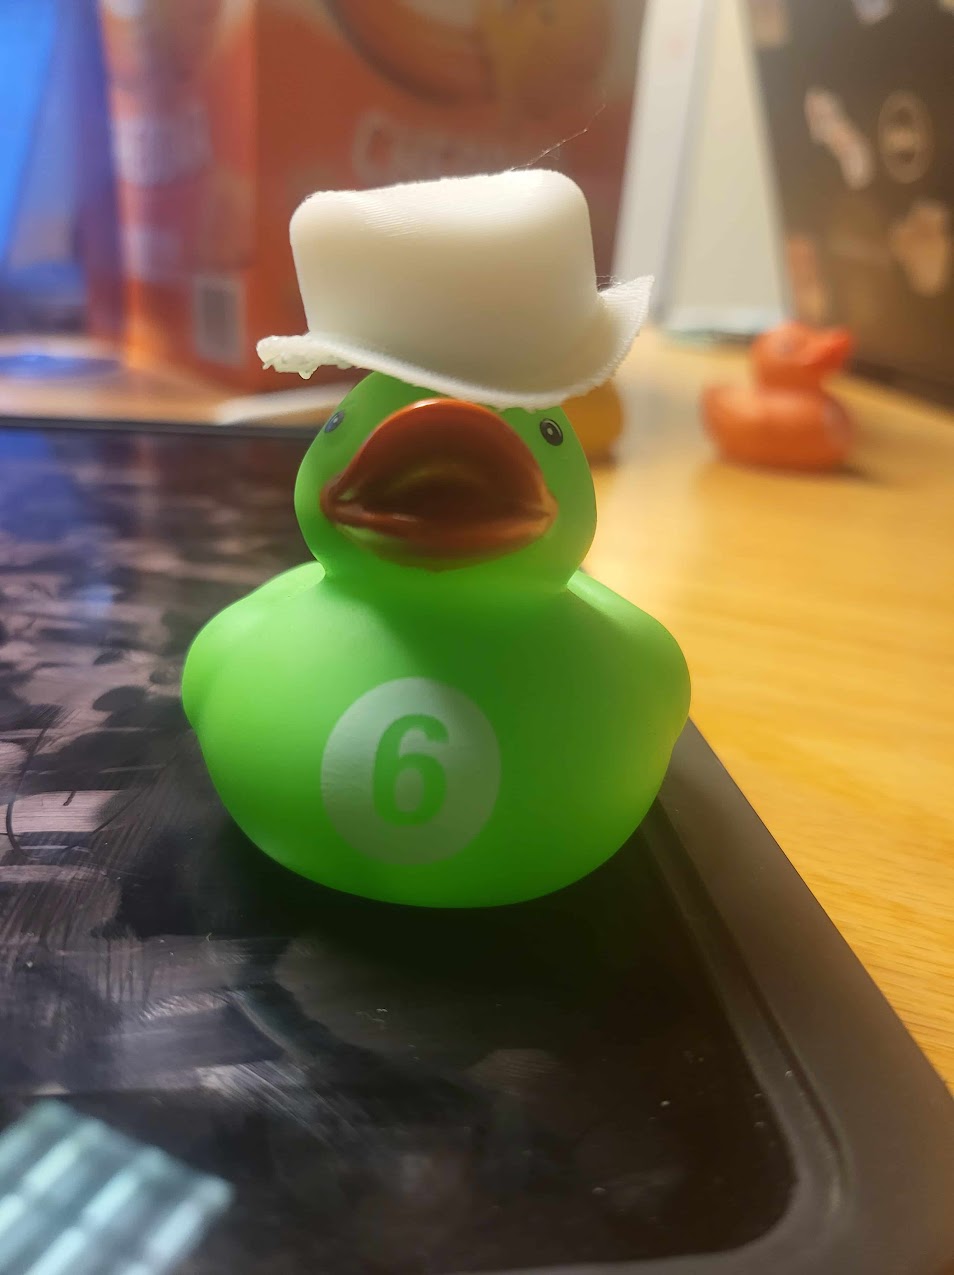
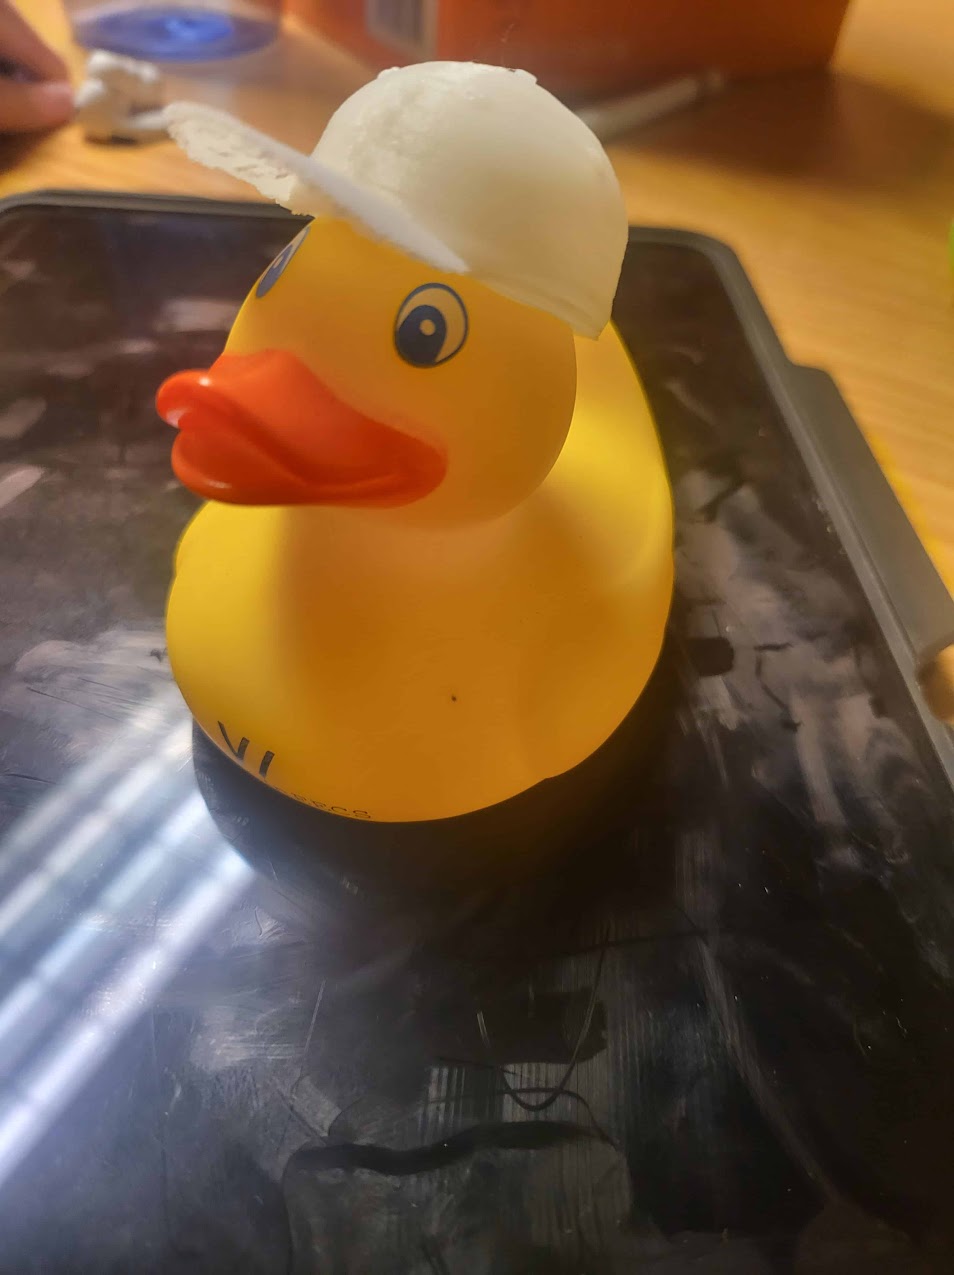
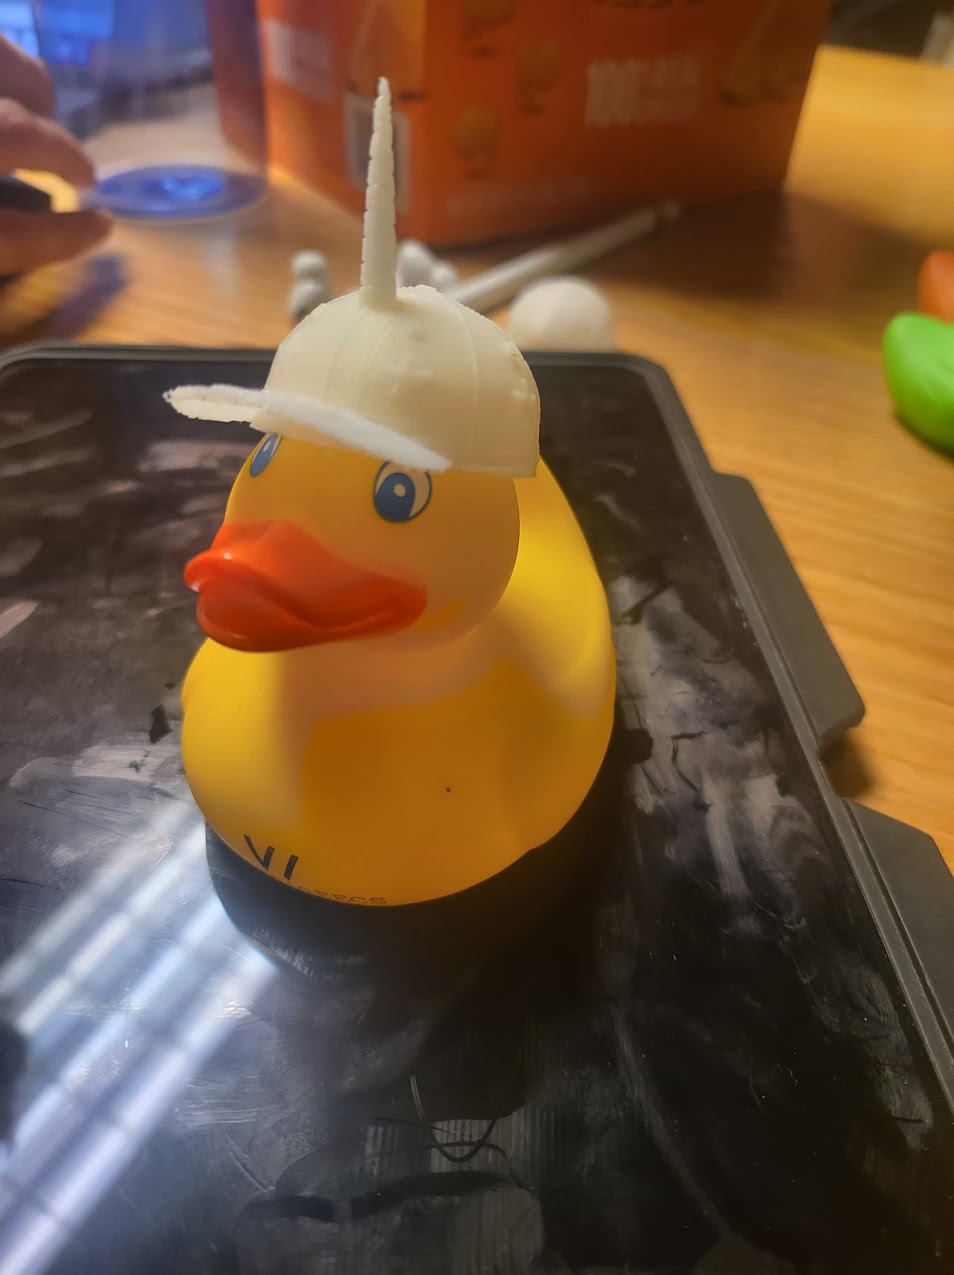
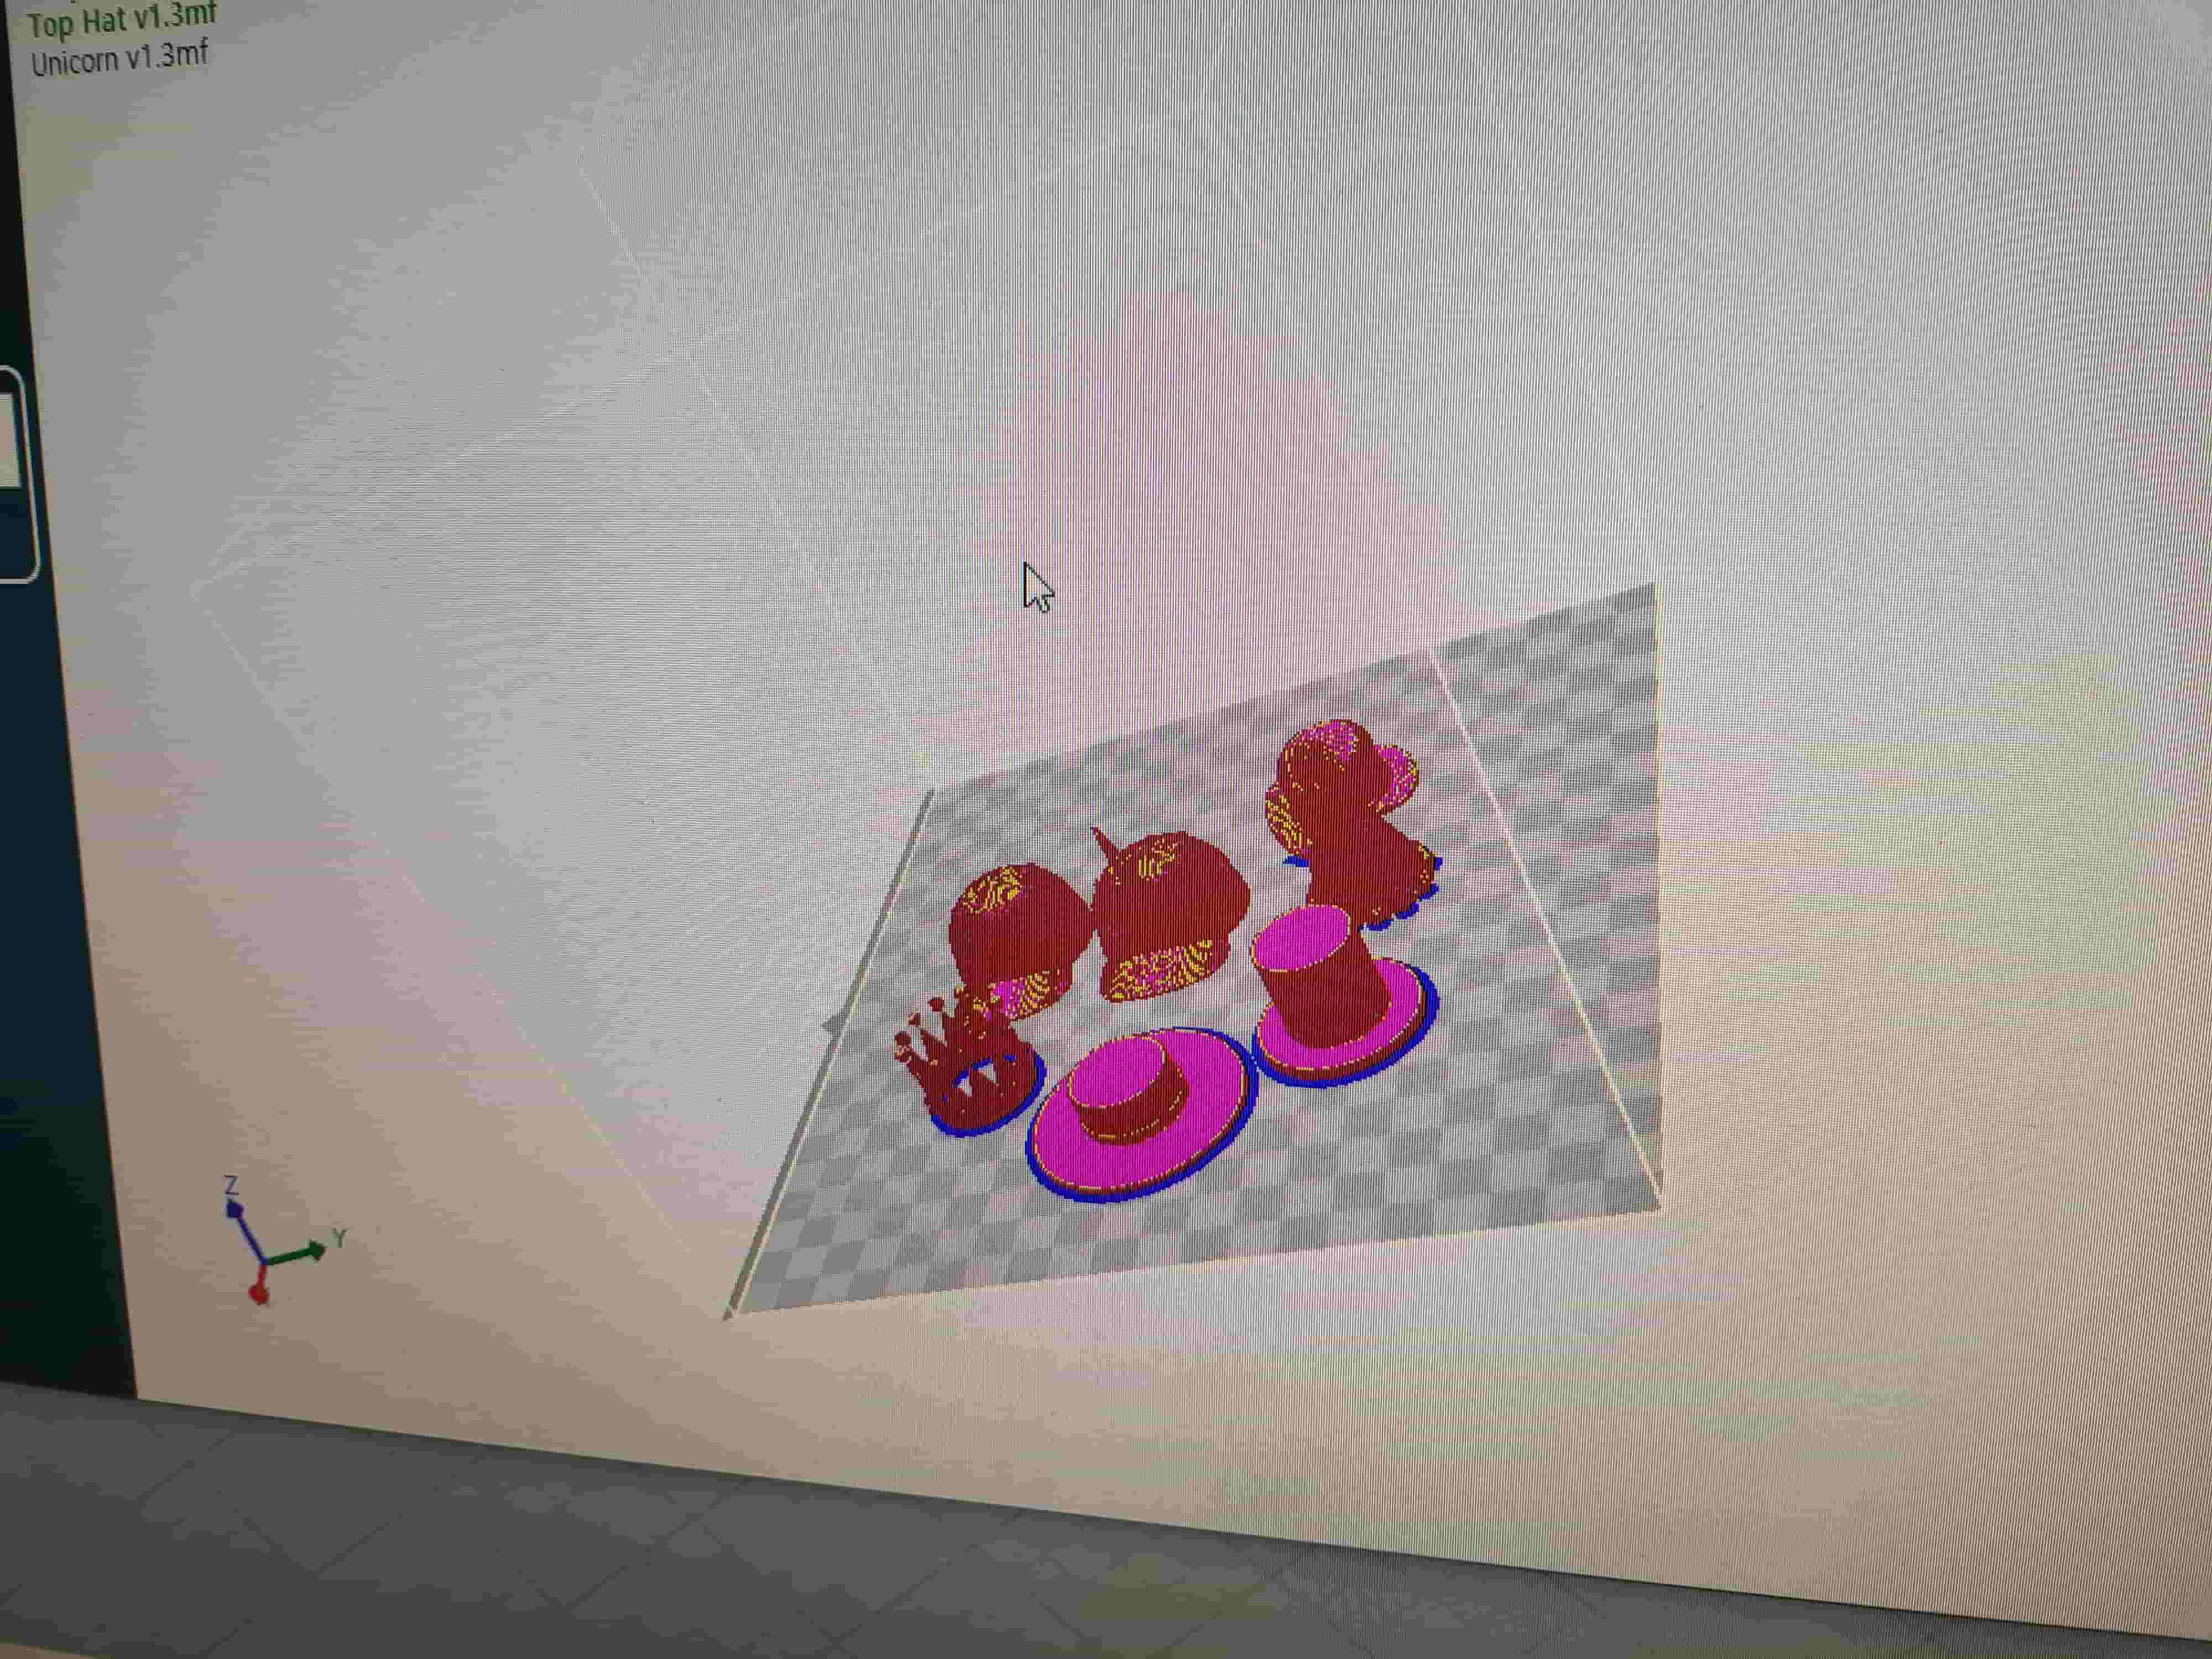
I preface this section by saying that I am not a coder and that I am really greatful to my HackMIT team for allowing me to just CAD the whole time. I'm glad that they did it and I know they thought it would end my cadding addiction, but instead I cadded far too many (I want to say like a total of 17) hats in under 24 hours. The following models all come from a hackMIT project for a website entitled Hattify where you upload a picture to the Hattify site and an AI software recommends the best hat for your facial features... and then displays a 3D model of a hat. The 3D hat model thing was an extra job created for the MechE in the group and honestly I had a lot of fun doing it. These did get printed so below you'll find both the model and the shrunken hats repurposed for rubber ducks.
Printing... AKA: why does reality constantly disappoint me
I had a lot of prints fail, one so spectacularly that I was told "it wasn't your fault but I have never seen that happen before"

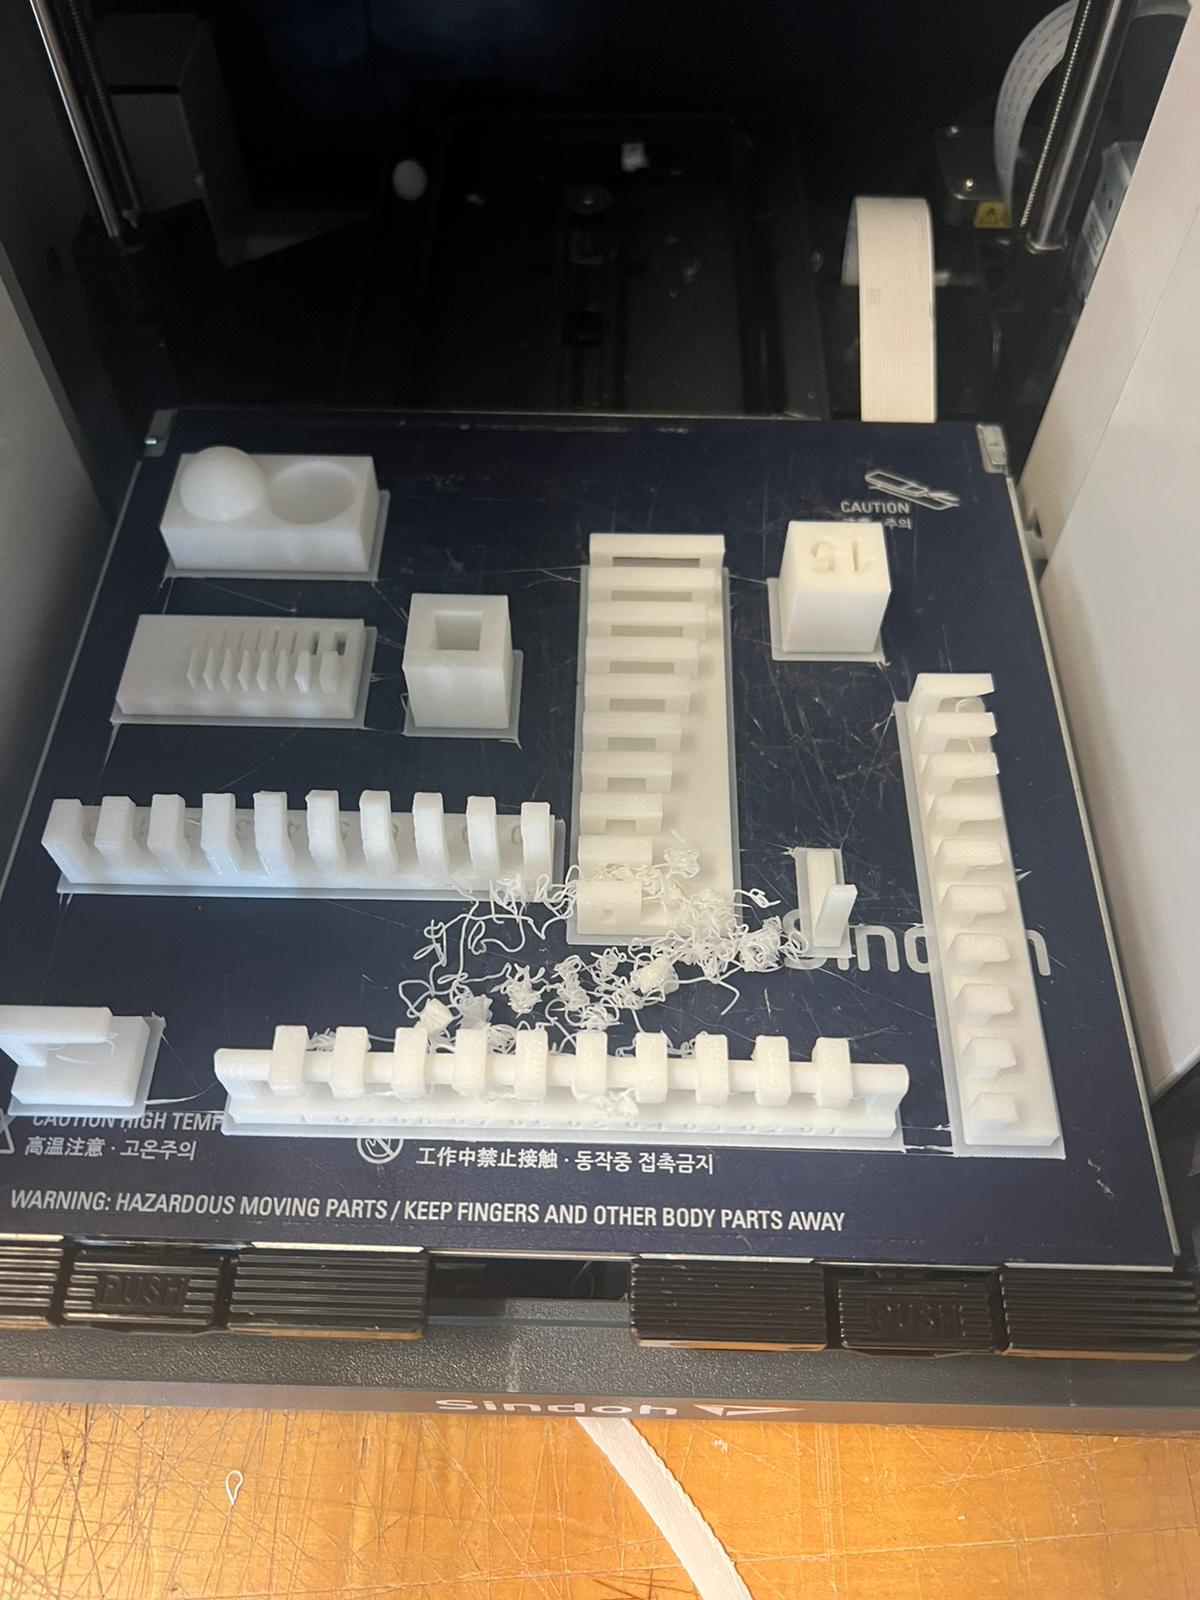
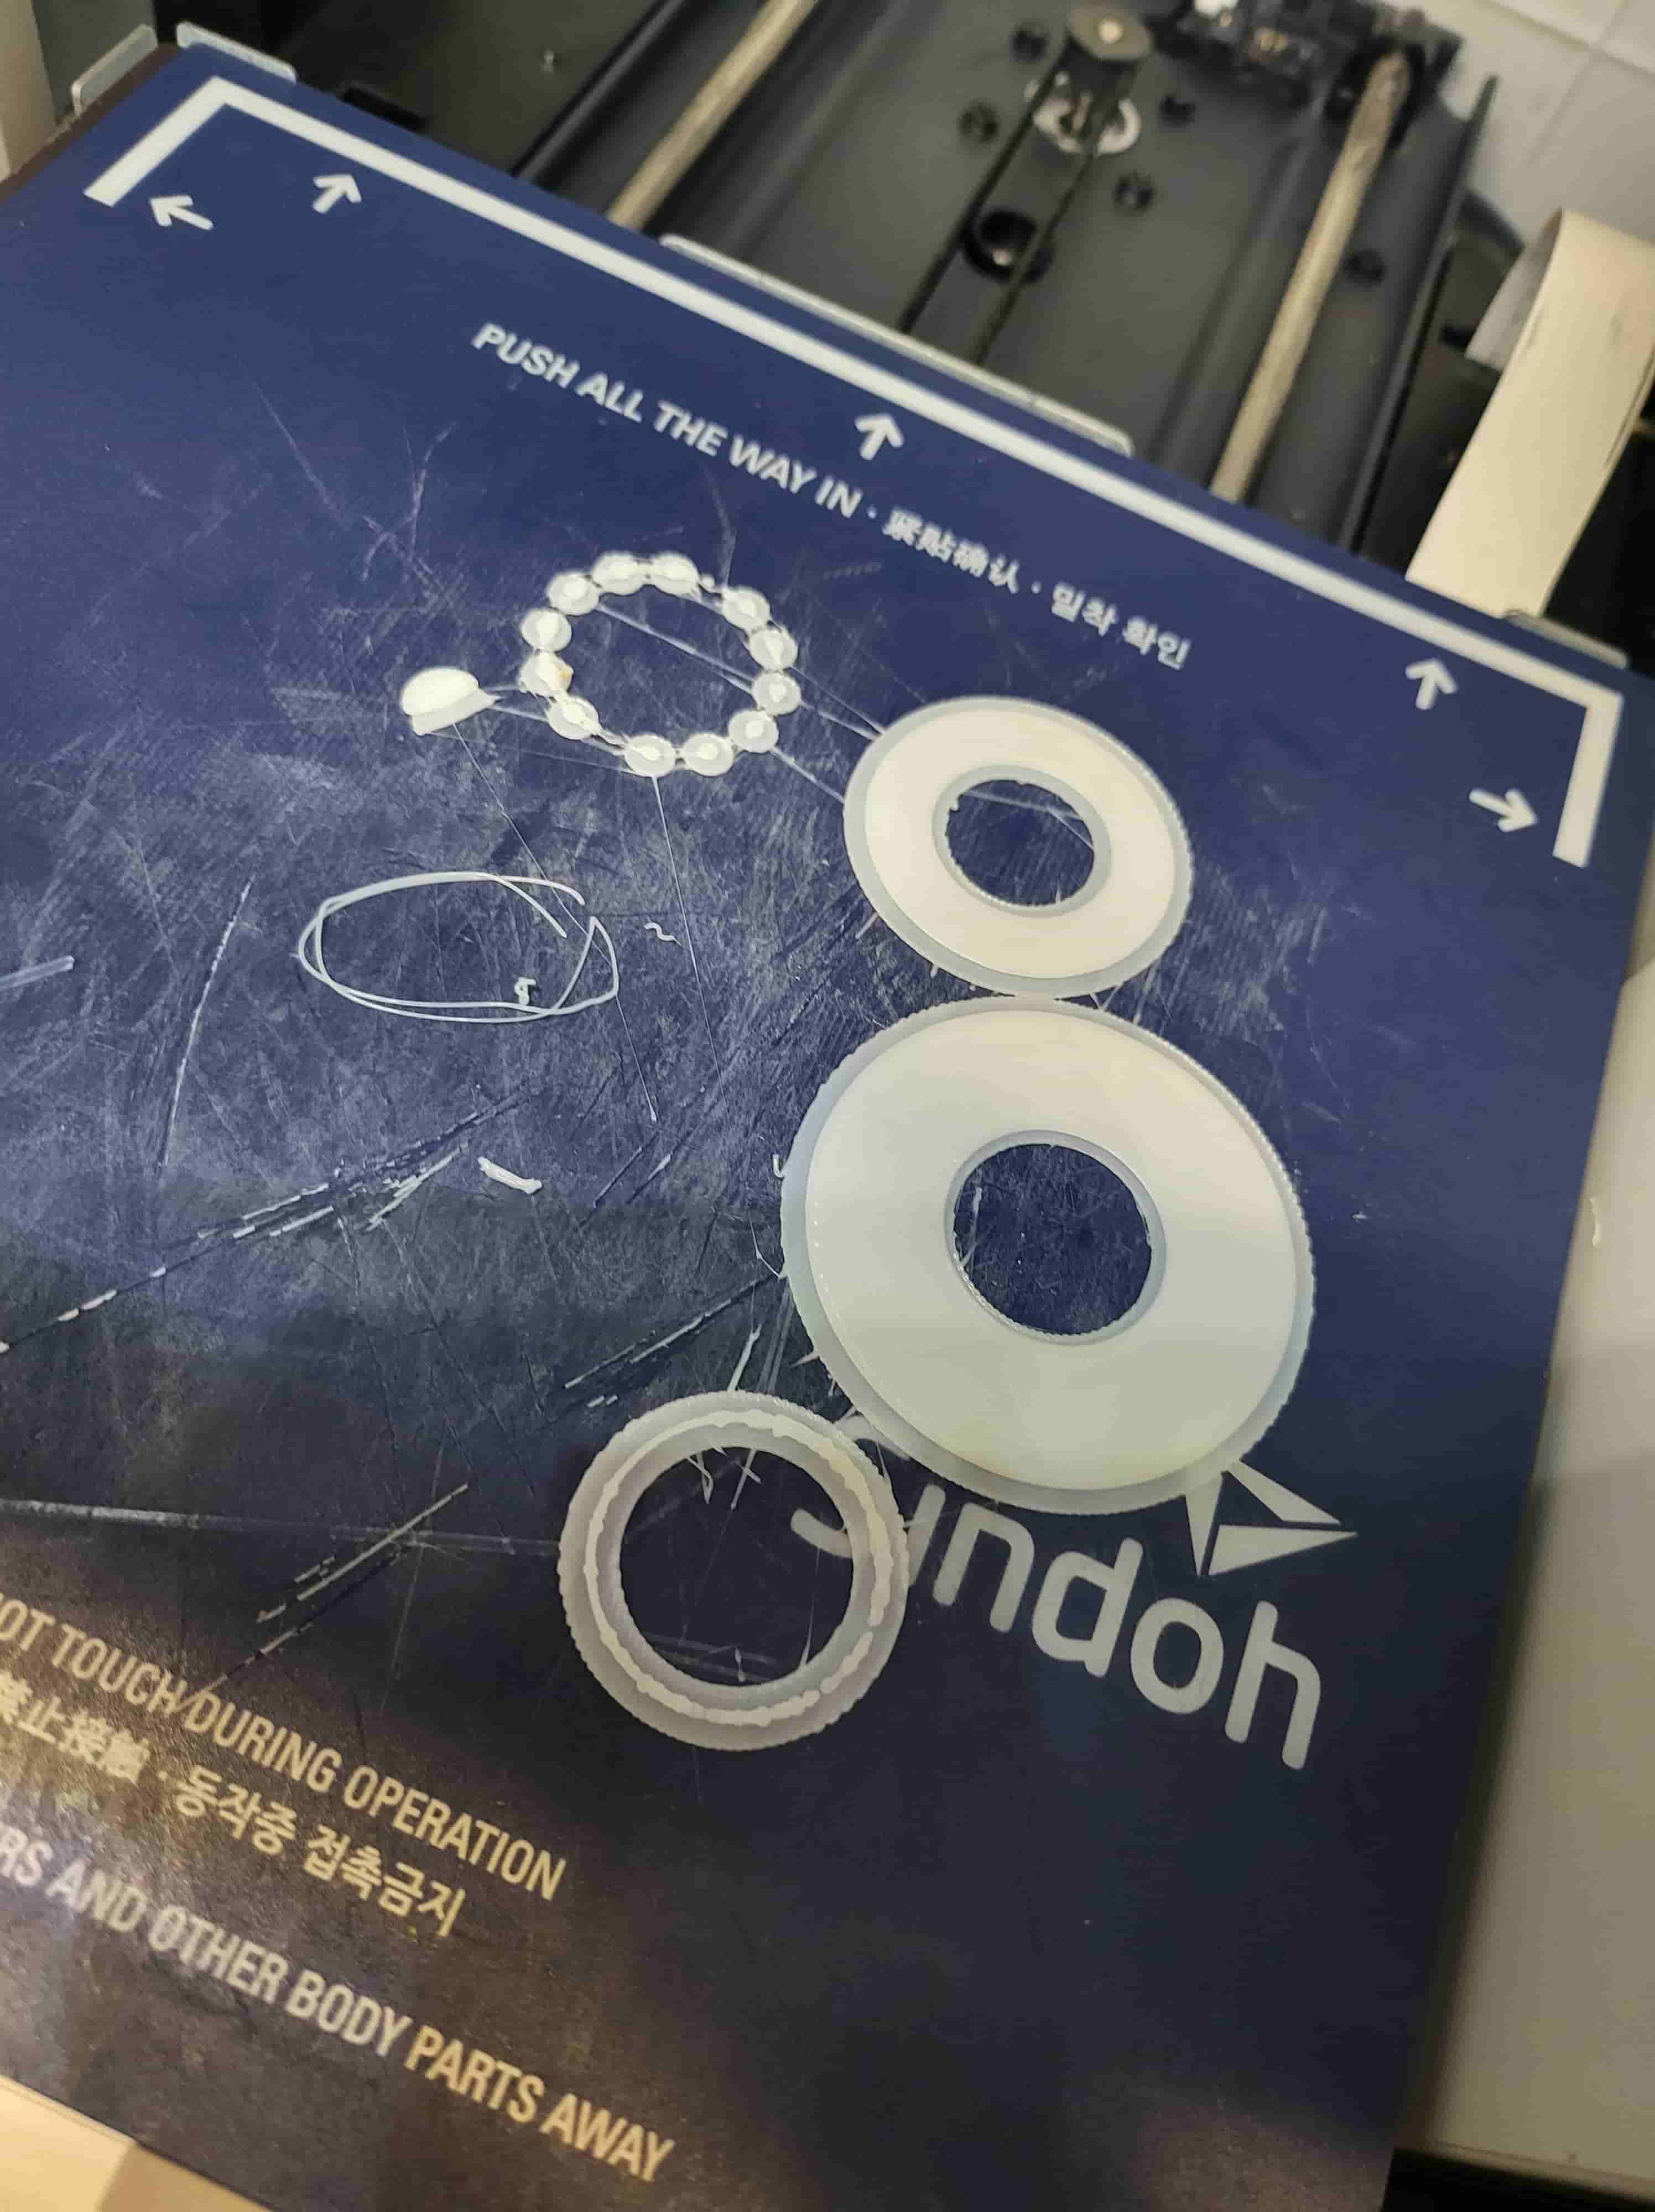
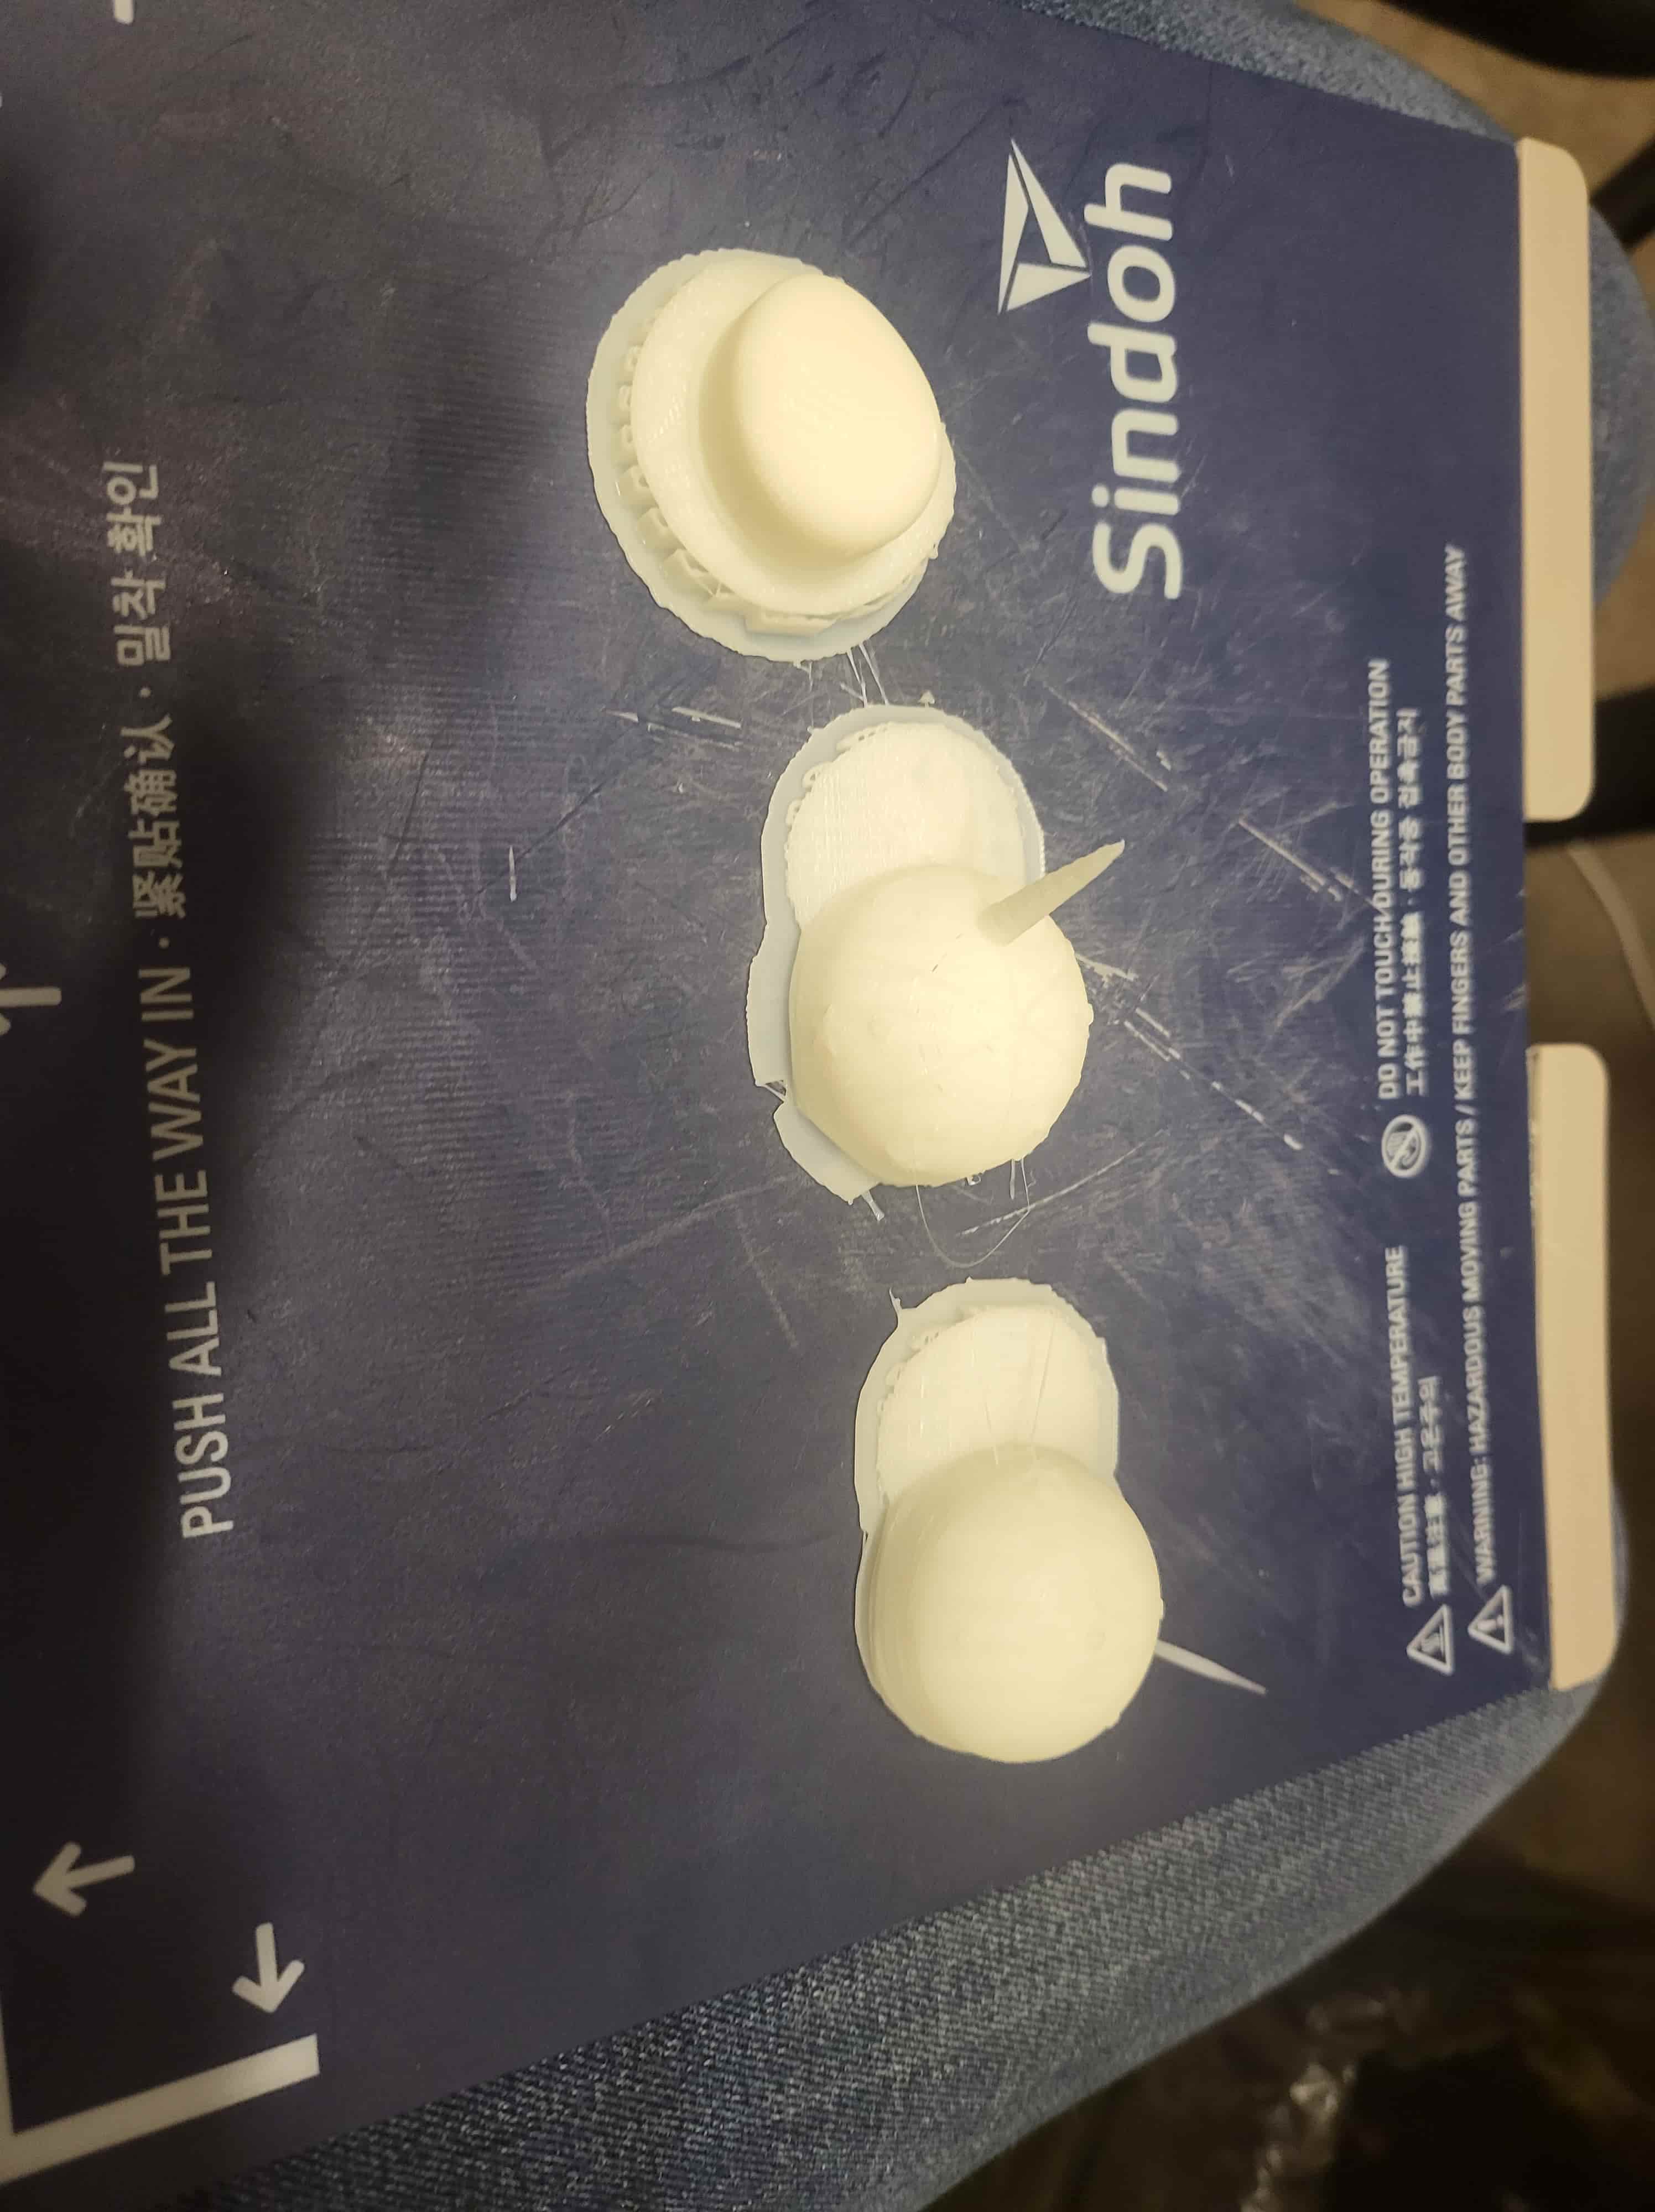
I used a lot of printers scattered all throughout campus, well not really just in Edgerton, the Arch shops, and Metropolis. I can confidently say that I like the Prusas more than the Sindohs even though costs says they should be worse. The setup is easier and I feel like even the quality and speed are better. Here are some pictures of prints on the Sindohs first and Prusas next.
I don't feel like I have a lot to say about the actual printing process, I've printed before and although the setup was different the basic concepts were the same.
Pending Production... AKA: I really want to use the color printer and will post what the aquarium looks like once it's done being printed
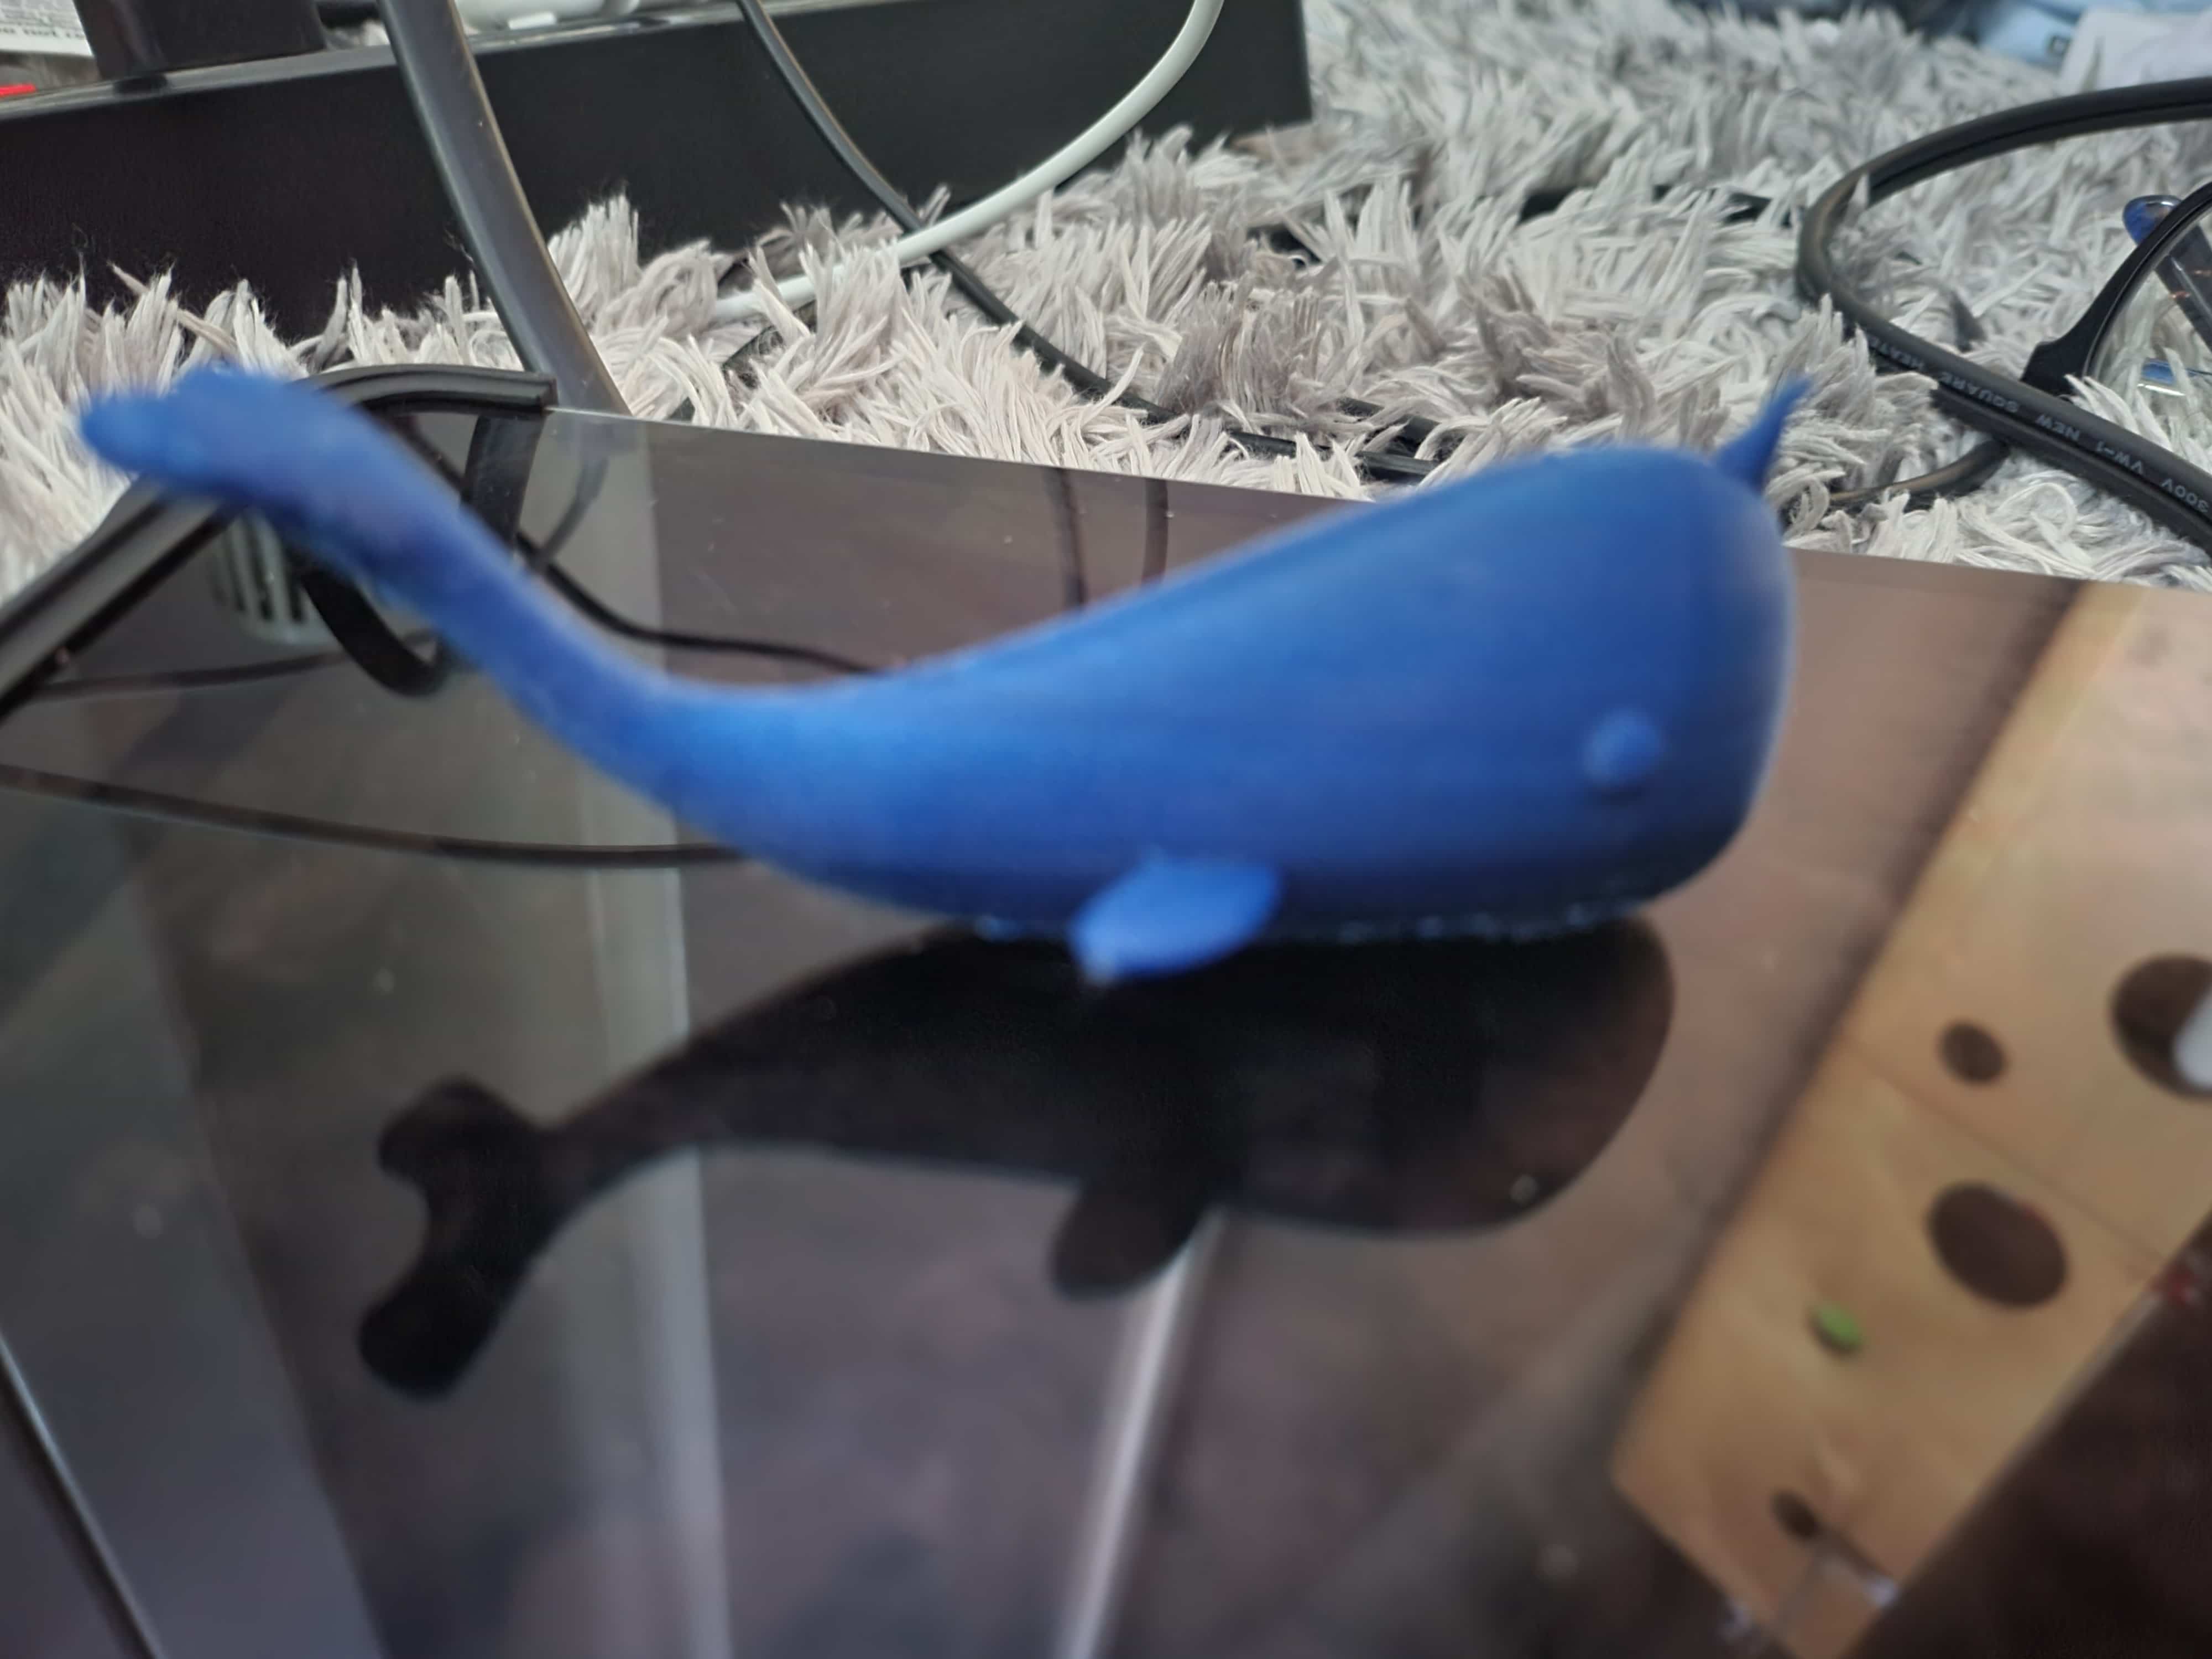
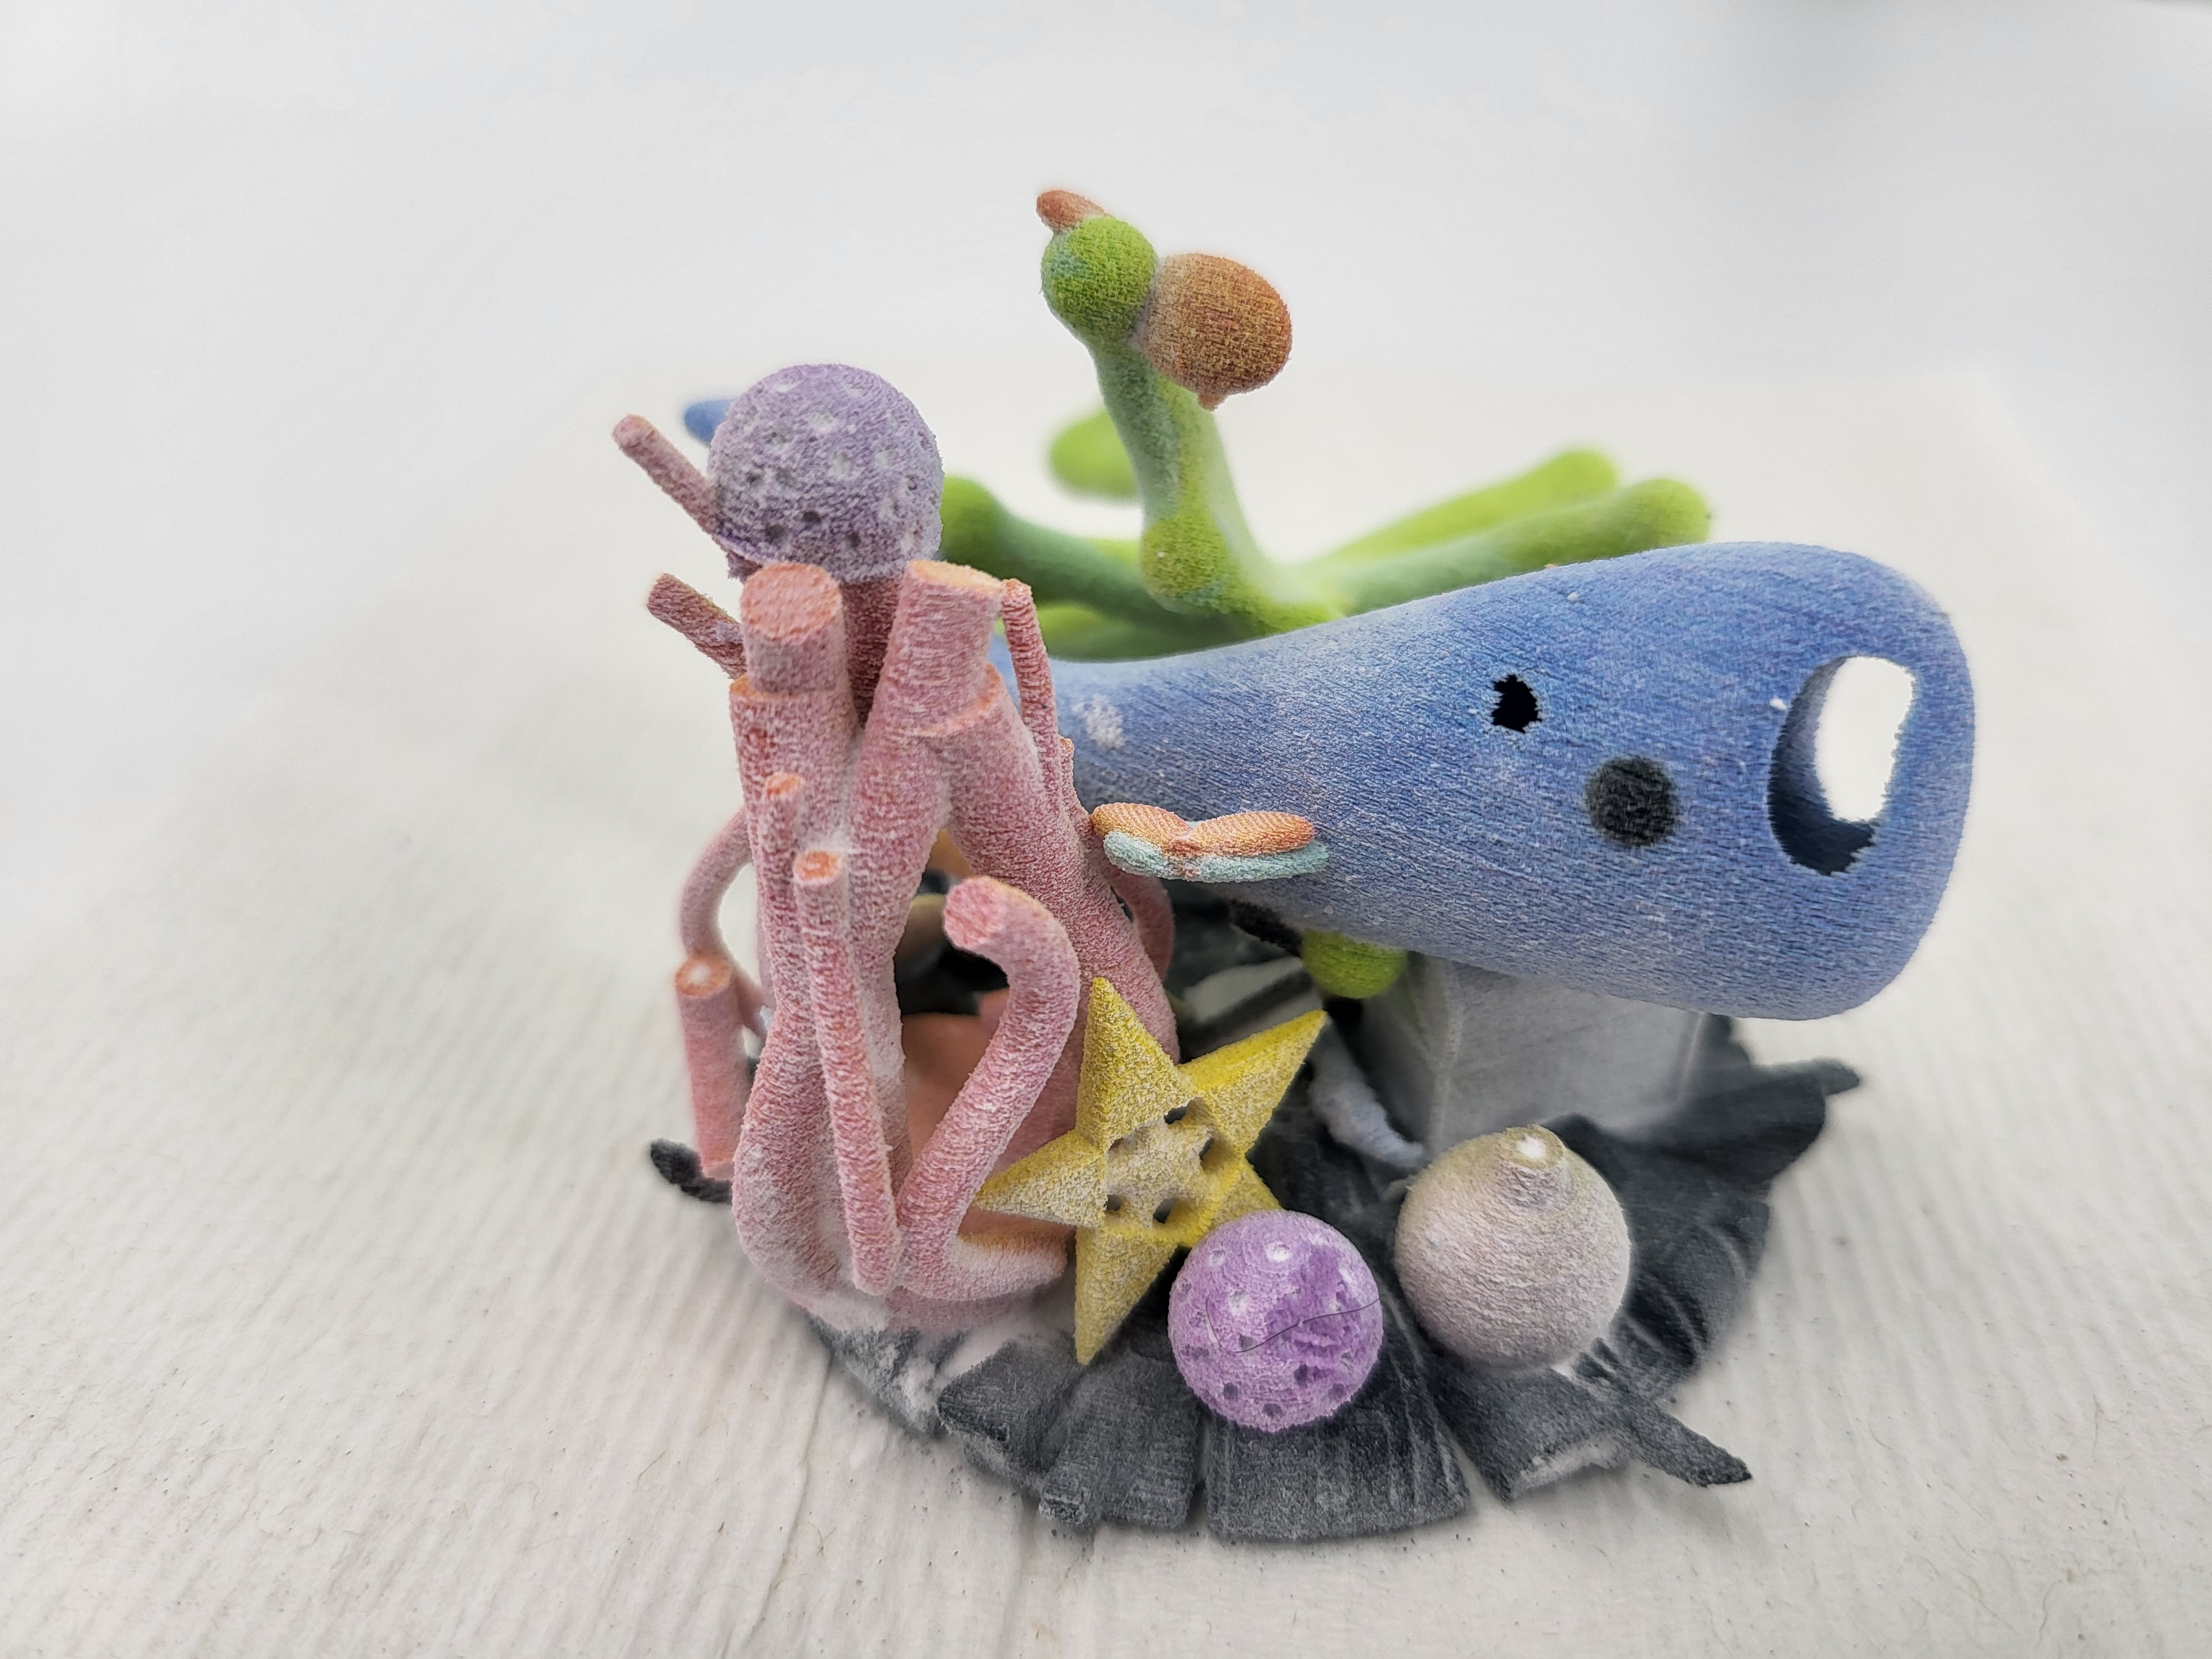
I sent out my job to the color print queue a little too late, but I'll updat my site when I finally get it printed out. In the meantime heres a picture of the narwhal that makes up the centerpiece of the design and a 3D model of the ideal product (a lot of the pieces will probably be too fragile and break)
Scanning... AKA: how I chose too many unscannable objects and ended up going with a test print
My first object was a giant fuzzy stuffed sloth, I wanted to see if it could get the fur, but it was too big for the bed so I tried to scan it using my phone and a scanner app. This is how it came out.

I then went on a mission to test all the things you can't scan. I'll list them out here and include pictures for evidence.
Black things
White things

Clear things
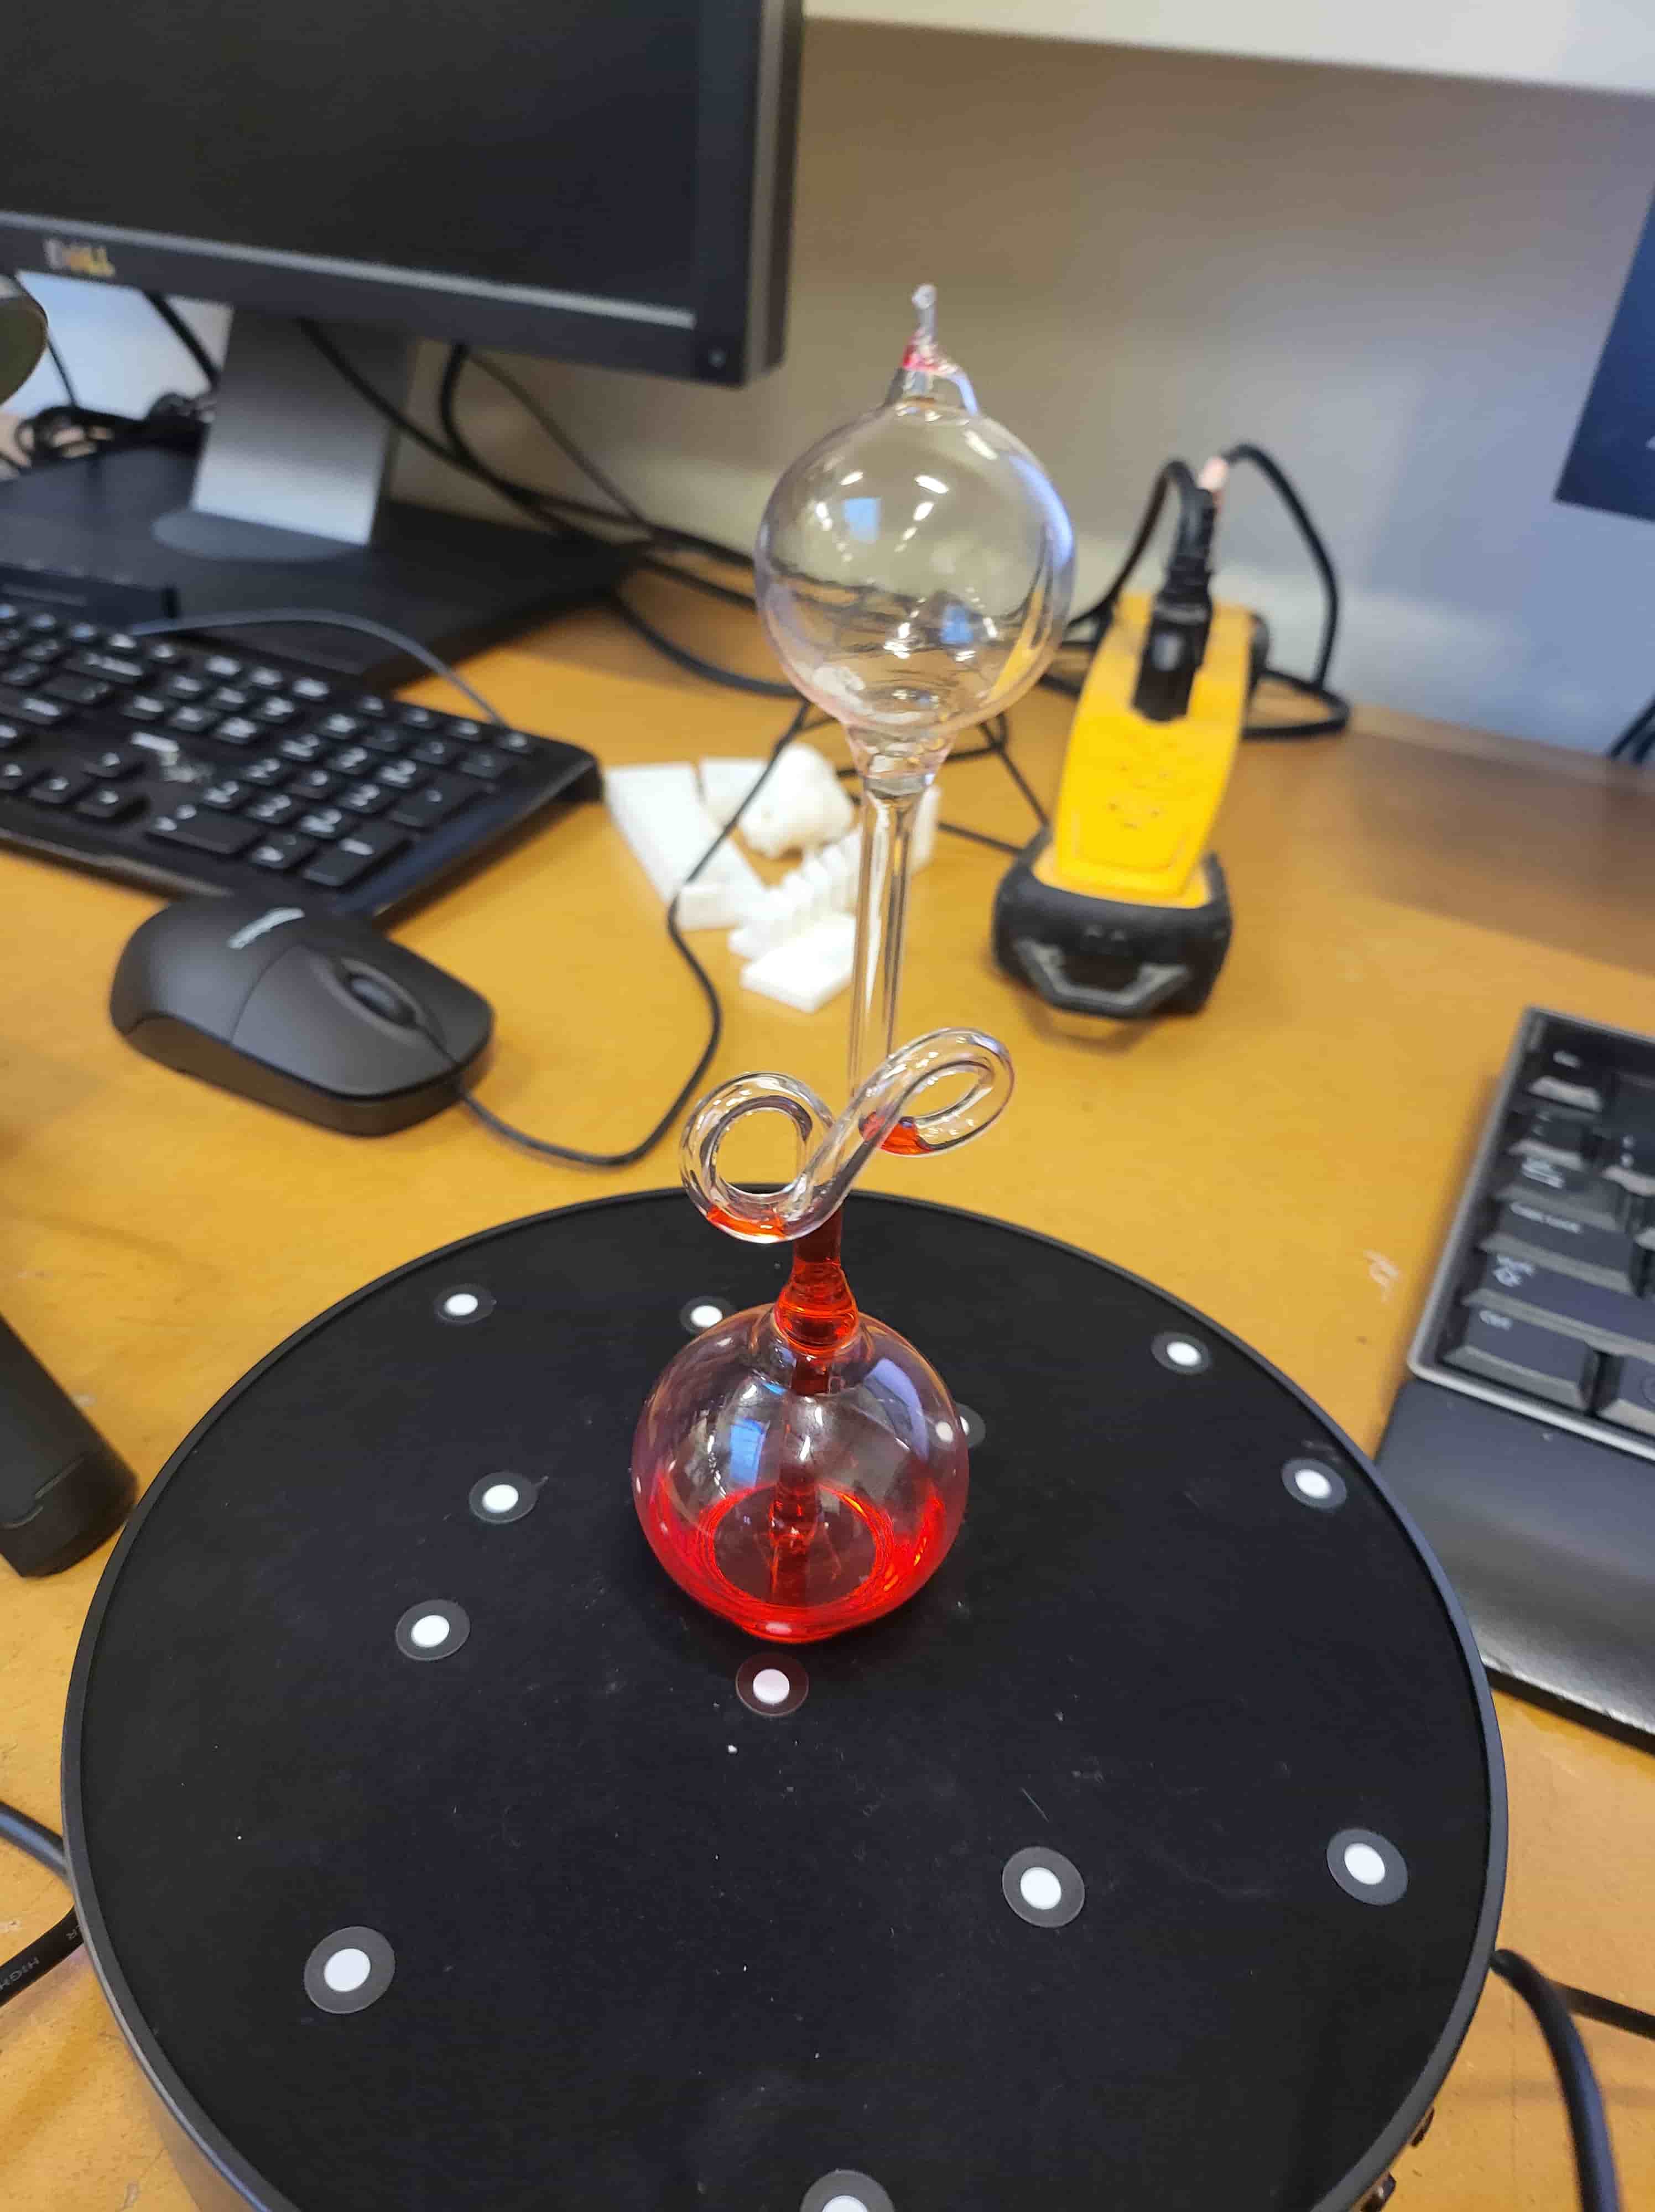
Shiny things
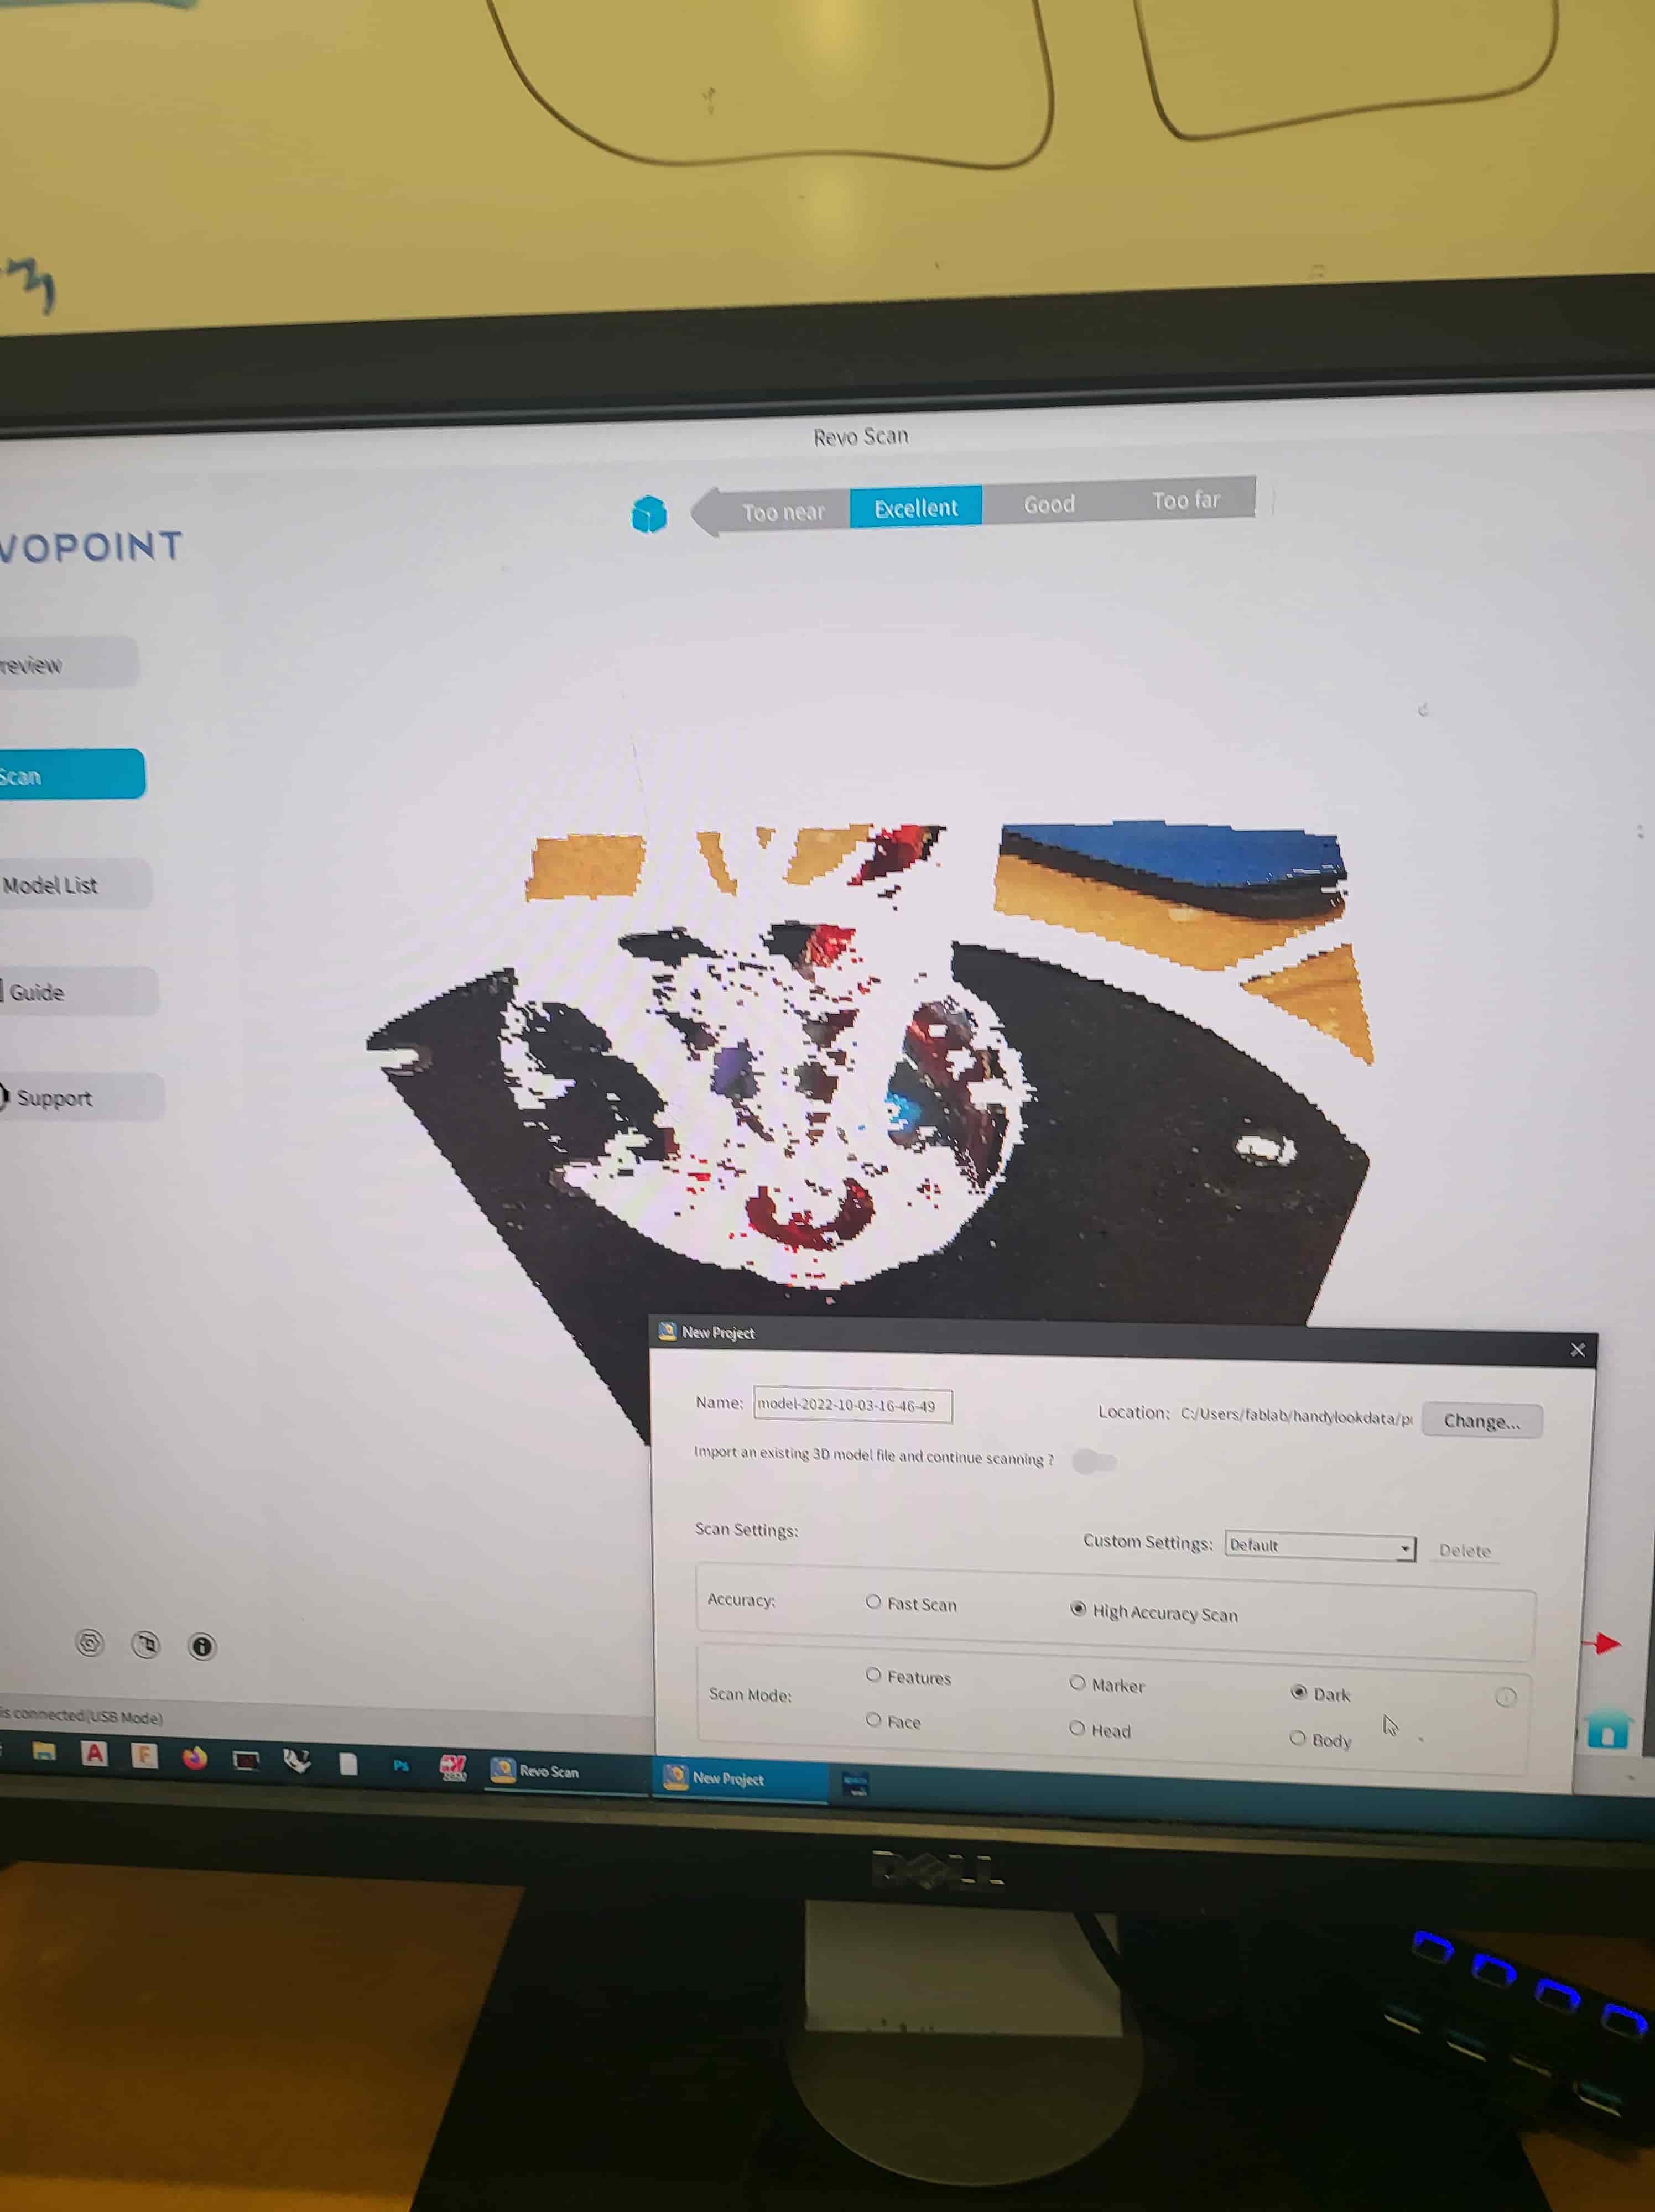
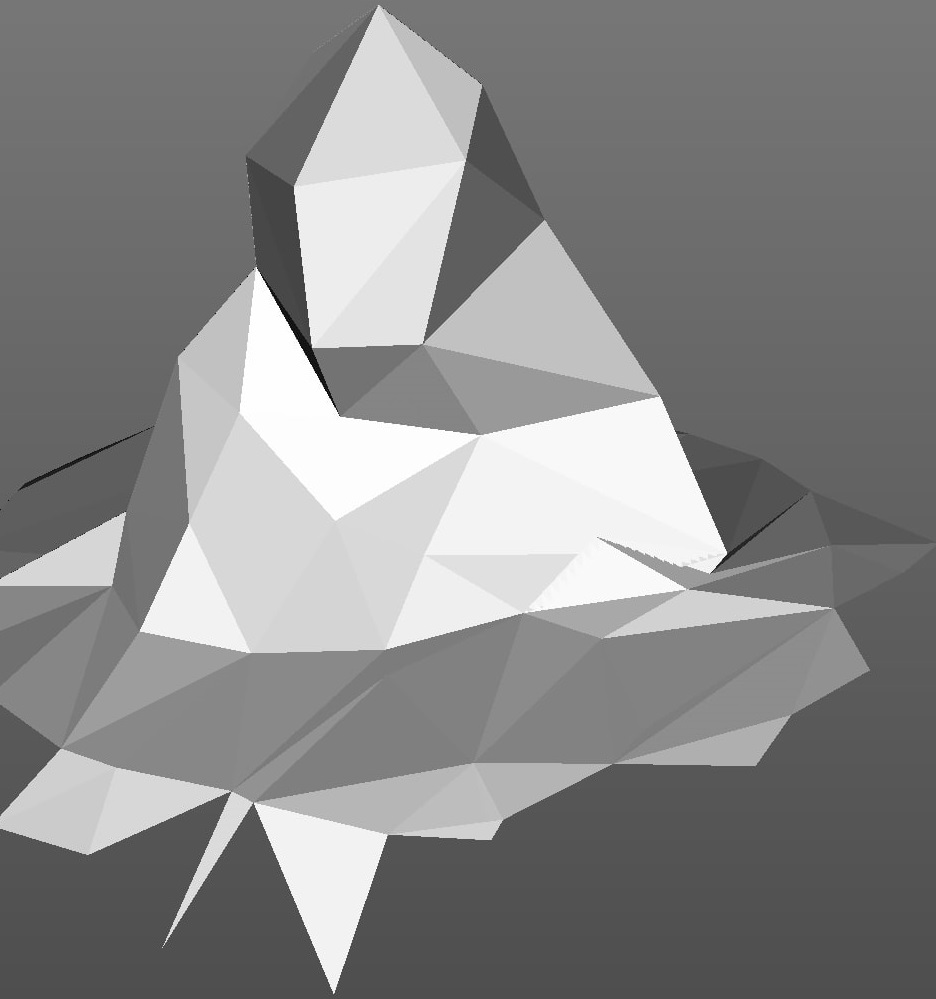
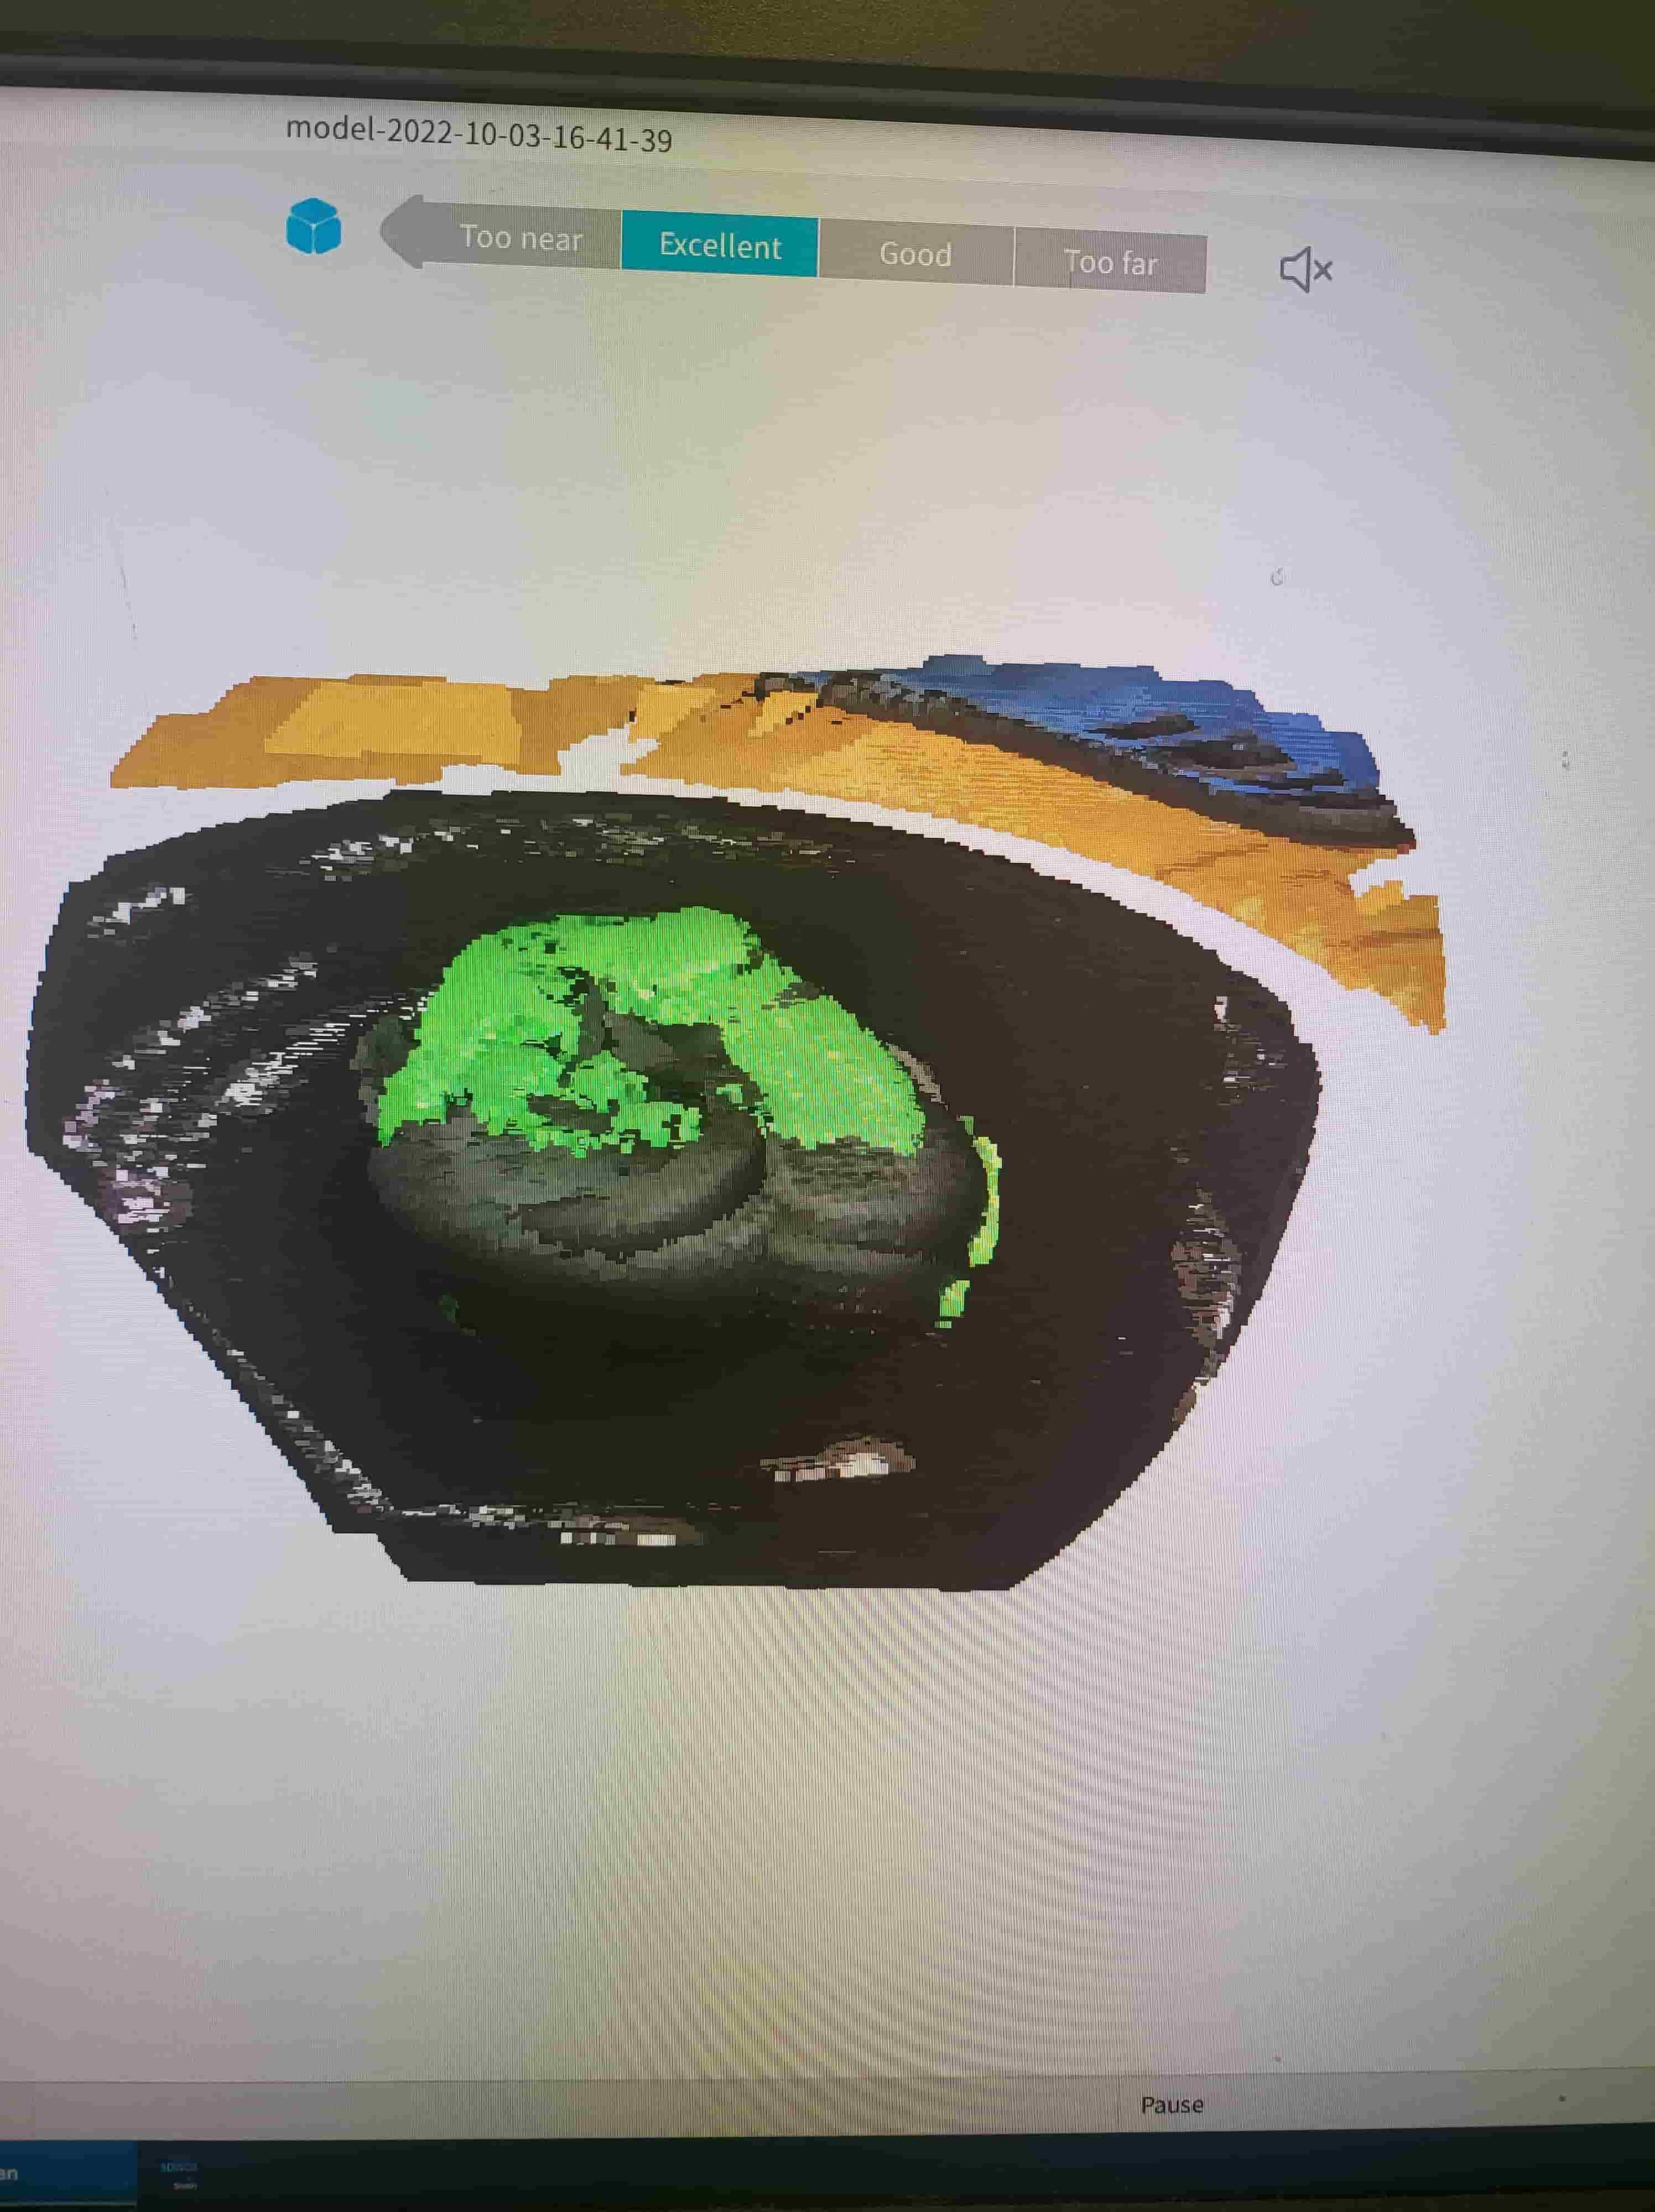
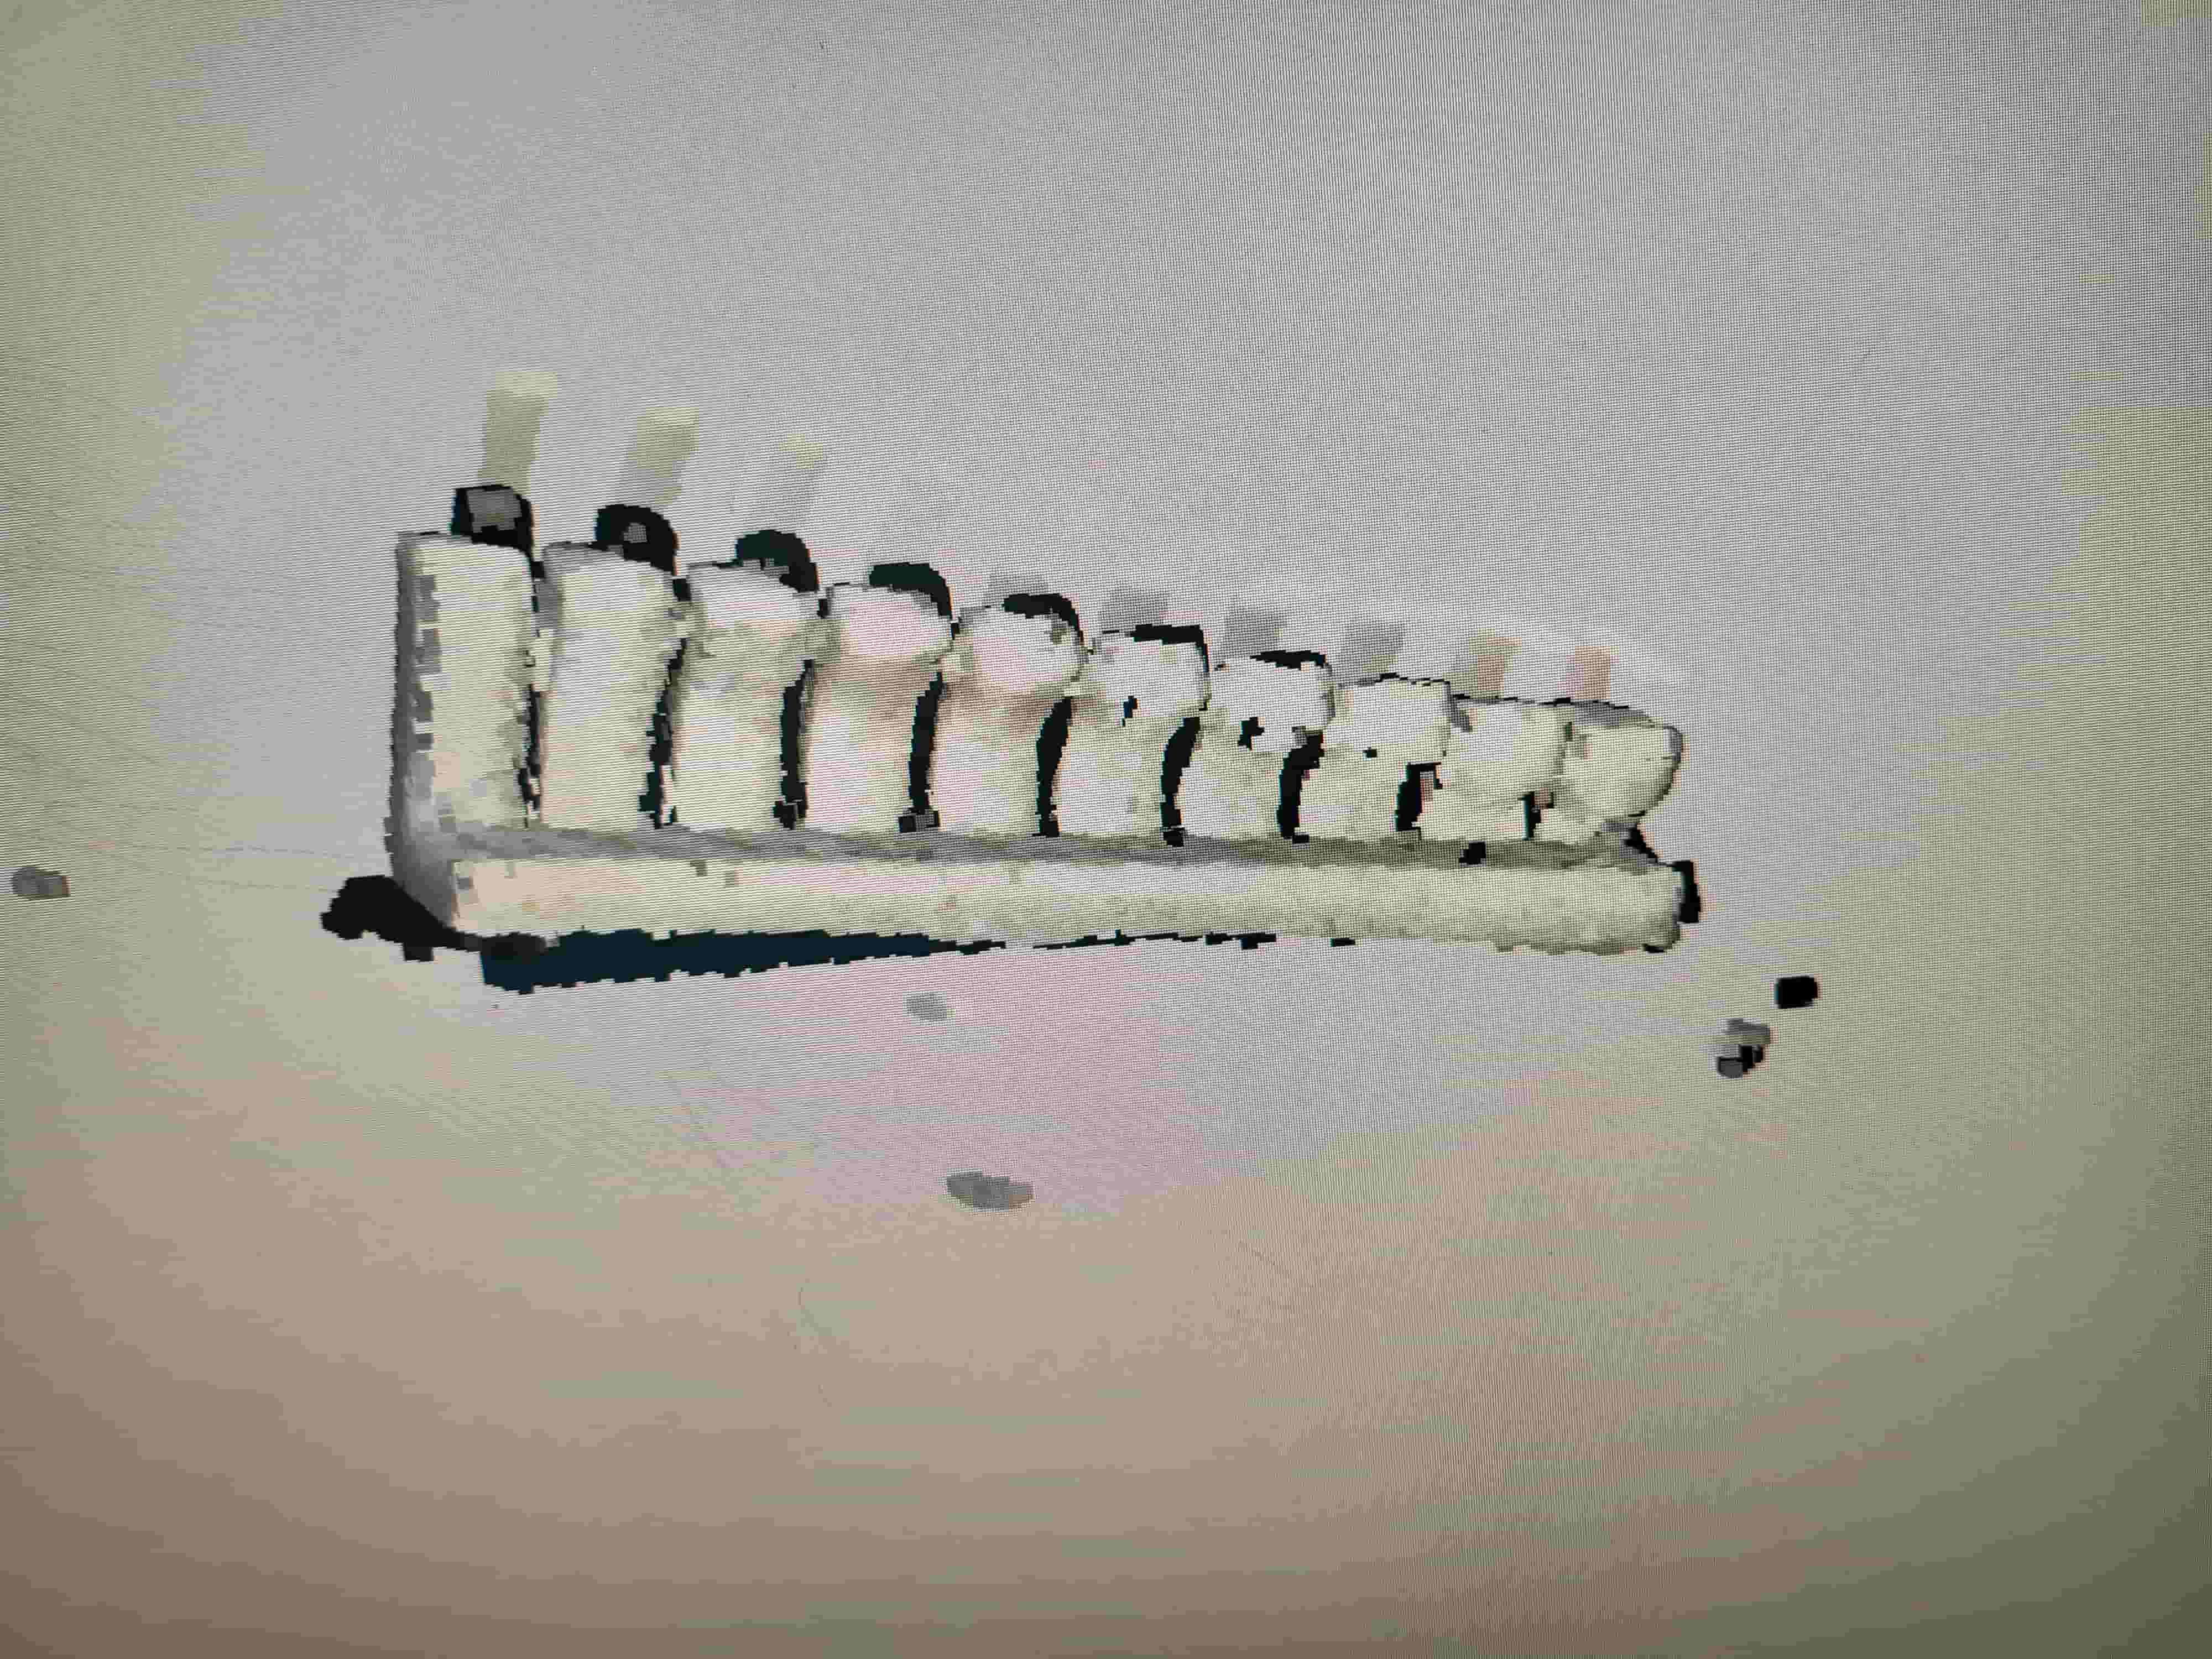
Most things I couldn't get scanned so I settled on scanning our group's test print. It didn't turn out too well. The scanner distorted the overhangs more than the 3D printer did, which I found very surprising. Perhaps there is a correct way to use this technology that makes it useful but overall I learned a whole lot of what not to do and would not recommend scanning most objects.
Group Project... AKA: okay maybe the technologies great and my designs are bad
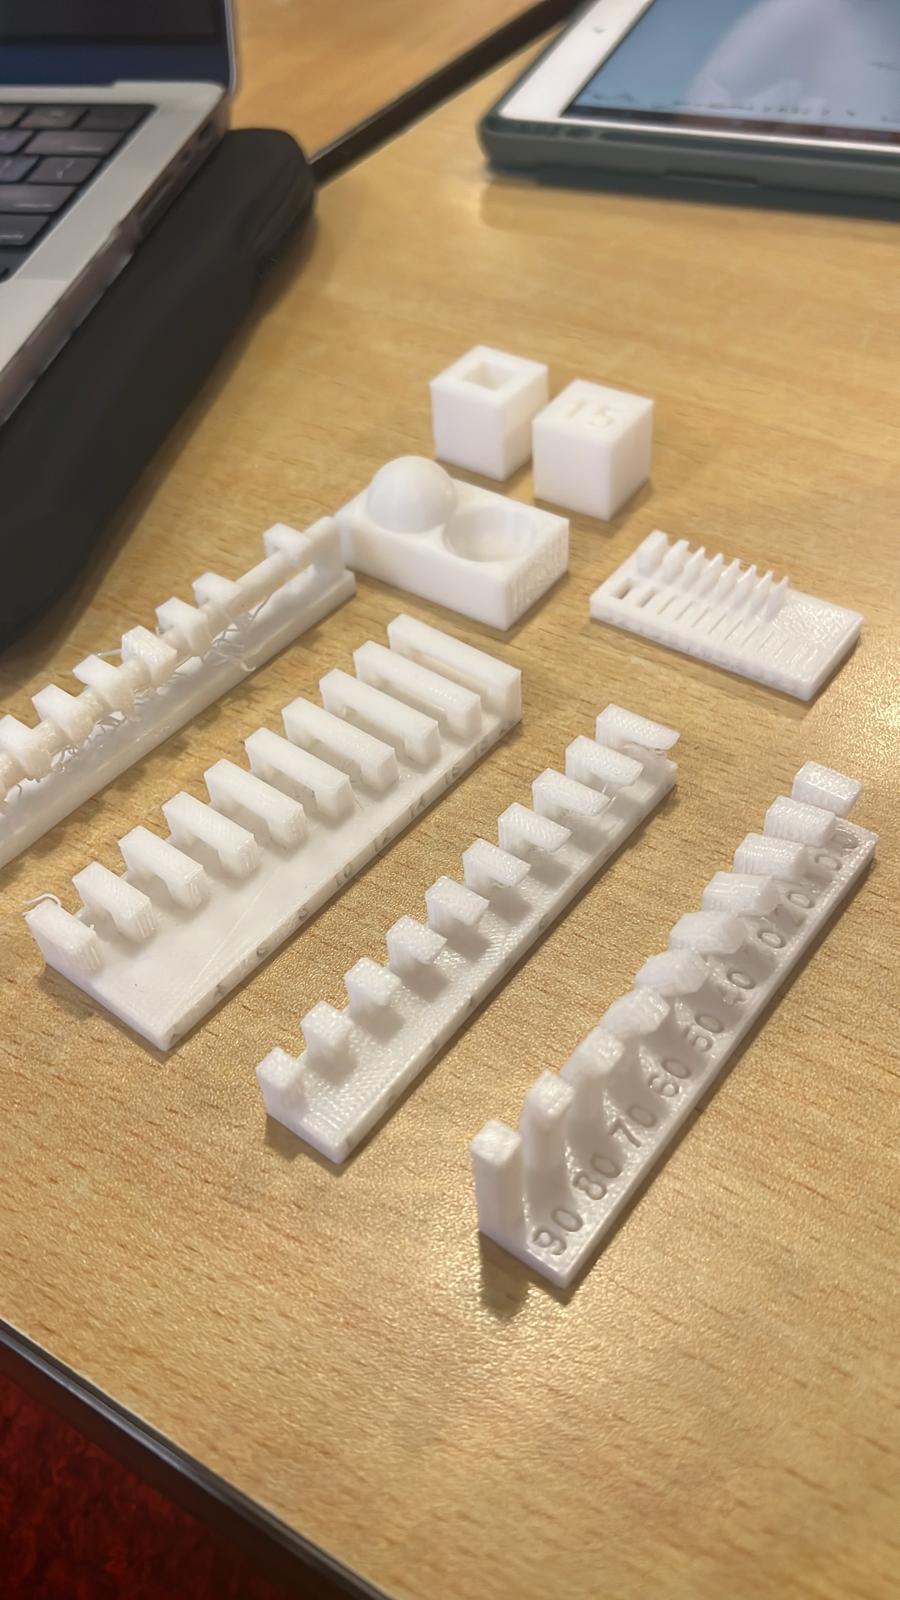
Here is a picture of our group project. The print tests were made on the Sindohs and proved that they are quite good with overhangs, bridging, and precision/small layering. I was very impressed with how far the overhang angle got down to with minimal peeling of the botttom layer