Computer Controlled Machining
Make Something Big
This week I set out with a straight forward goal, I would make a project that serves a purpose. After
confirming that no my roommate did not want a giant castle-shaped fort with a narwhal-shaped plaque in the
middle of our dorm room, I decided to build something useful. I often spend time at the Edgerton Student
Center which is a makerspace on campus in building 4. They've been doing a lot of reorganizing and have been
trying to create a place that is great to both work and hang out, their next addition was to bring in a
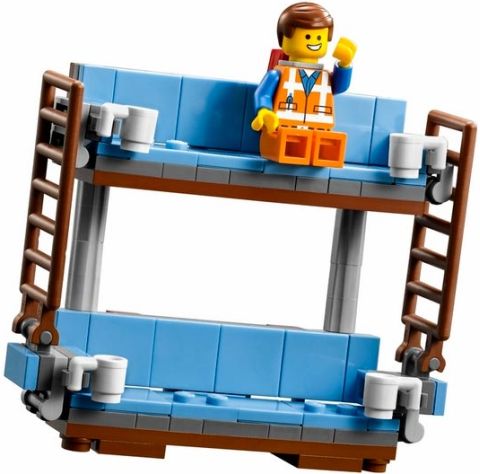
couch so I volunteered an idea. What if I was to make a couch.. and not just any couch but a double decker
couch.
I will admit that I went into this knowing that it was an ambitious project, but I had confidence that if I
followed a clear and time efficient path that it would turn out great. Theoretically it should have worked,
not just the idea but the steps to the conclusion. Almost everything was done right but things still found a
way to go wrong.
I being a mere mortal did not have the time, patience, skill, or resources to create both the bottom couch
and the lofted one so I decided to engage in my first partner project with Richard Beattie, his site is/will
be linked here.
Designing (this part was the most fun)
We started by asking a bunch of questions. How do couch frames look? What are the dimensions of a normal
couch? Why do they always follow a certain pattern? They have cushions, where do we get cushions? Do we have
enough wood? Is our wood strong enough? This part involved equal parts Googleing and fieldwork researching
(lounging about on sofas, measuring comfortable ones). It was so much fun to step through the design process
and think through all the things that made a couch a couch and all the extra things we'd have to do because
of what material we'd be using. Eventually it was decided that I would take the bottom couch and instead of
having a top couch, we'd create a platform that could hold a bean bag and host a fpold away desk for people
to work on. We found a nice small sofa that would fit into our preferred placement location and measured its
length to be around 48in but due to material constraints this was scaled down to 40in, it's width was 30in,
and it/s height was about 17 inches off the ground, but this number could be tuned while post-processing by
creating 2x4 legs. Now that the design was finished we began to CAD.
Before I move onto the next part of my assignment I would like to add some hindsight clarity. I should have
gotten the design checked off by Jen early in the process, she makes furniture and this would've been a
great use of resources, but instead I waited until too late and the structure was unsafe. Maybe it wouldn't
have helped because OSB was never the right material for the job, but we made it workish and I'm proud of
what I learned
Cadding (but in 2D, then 3D, then 2D again)
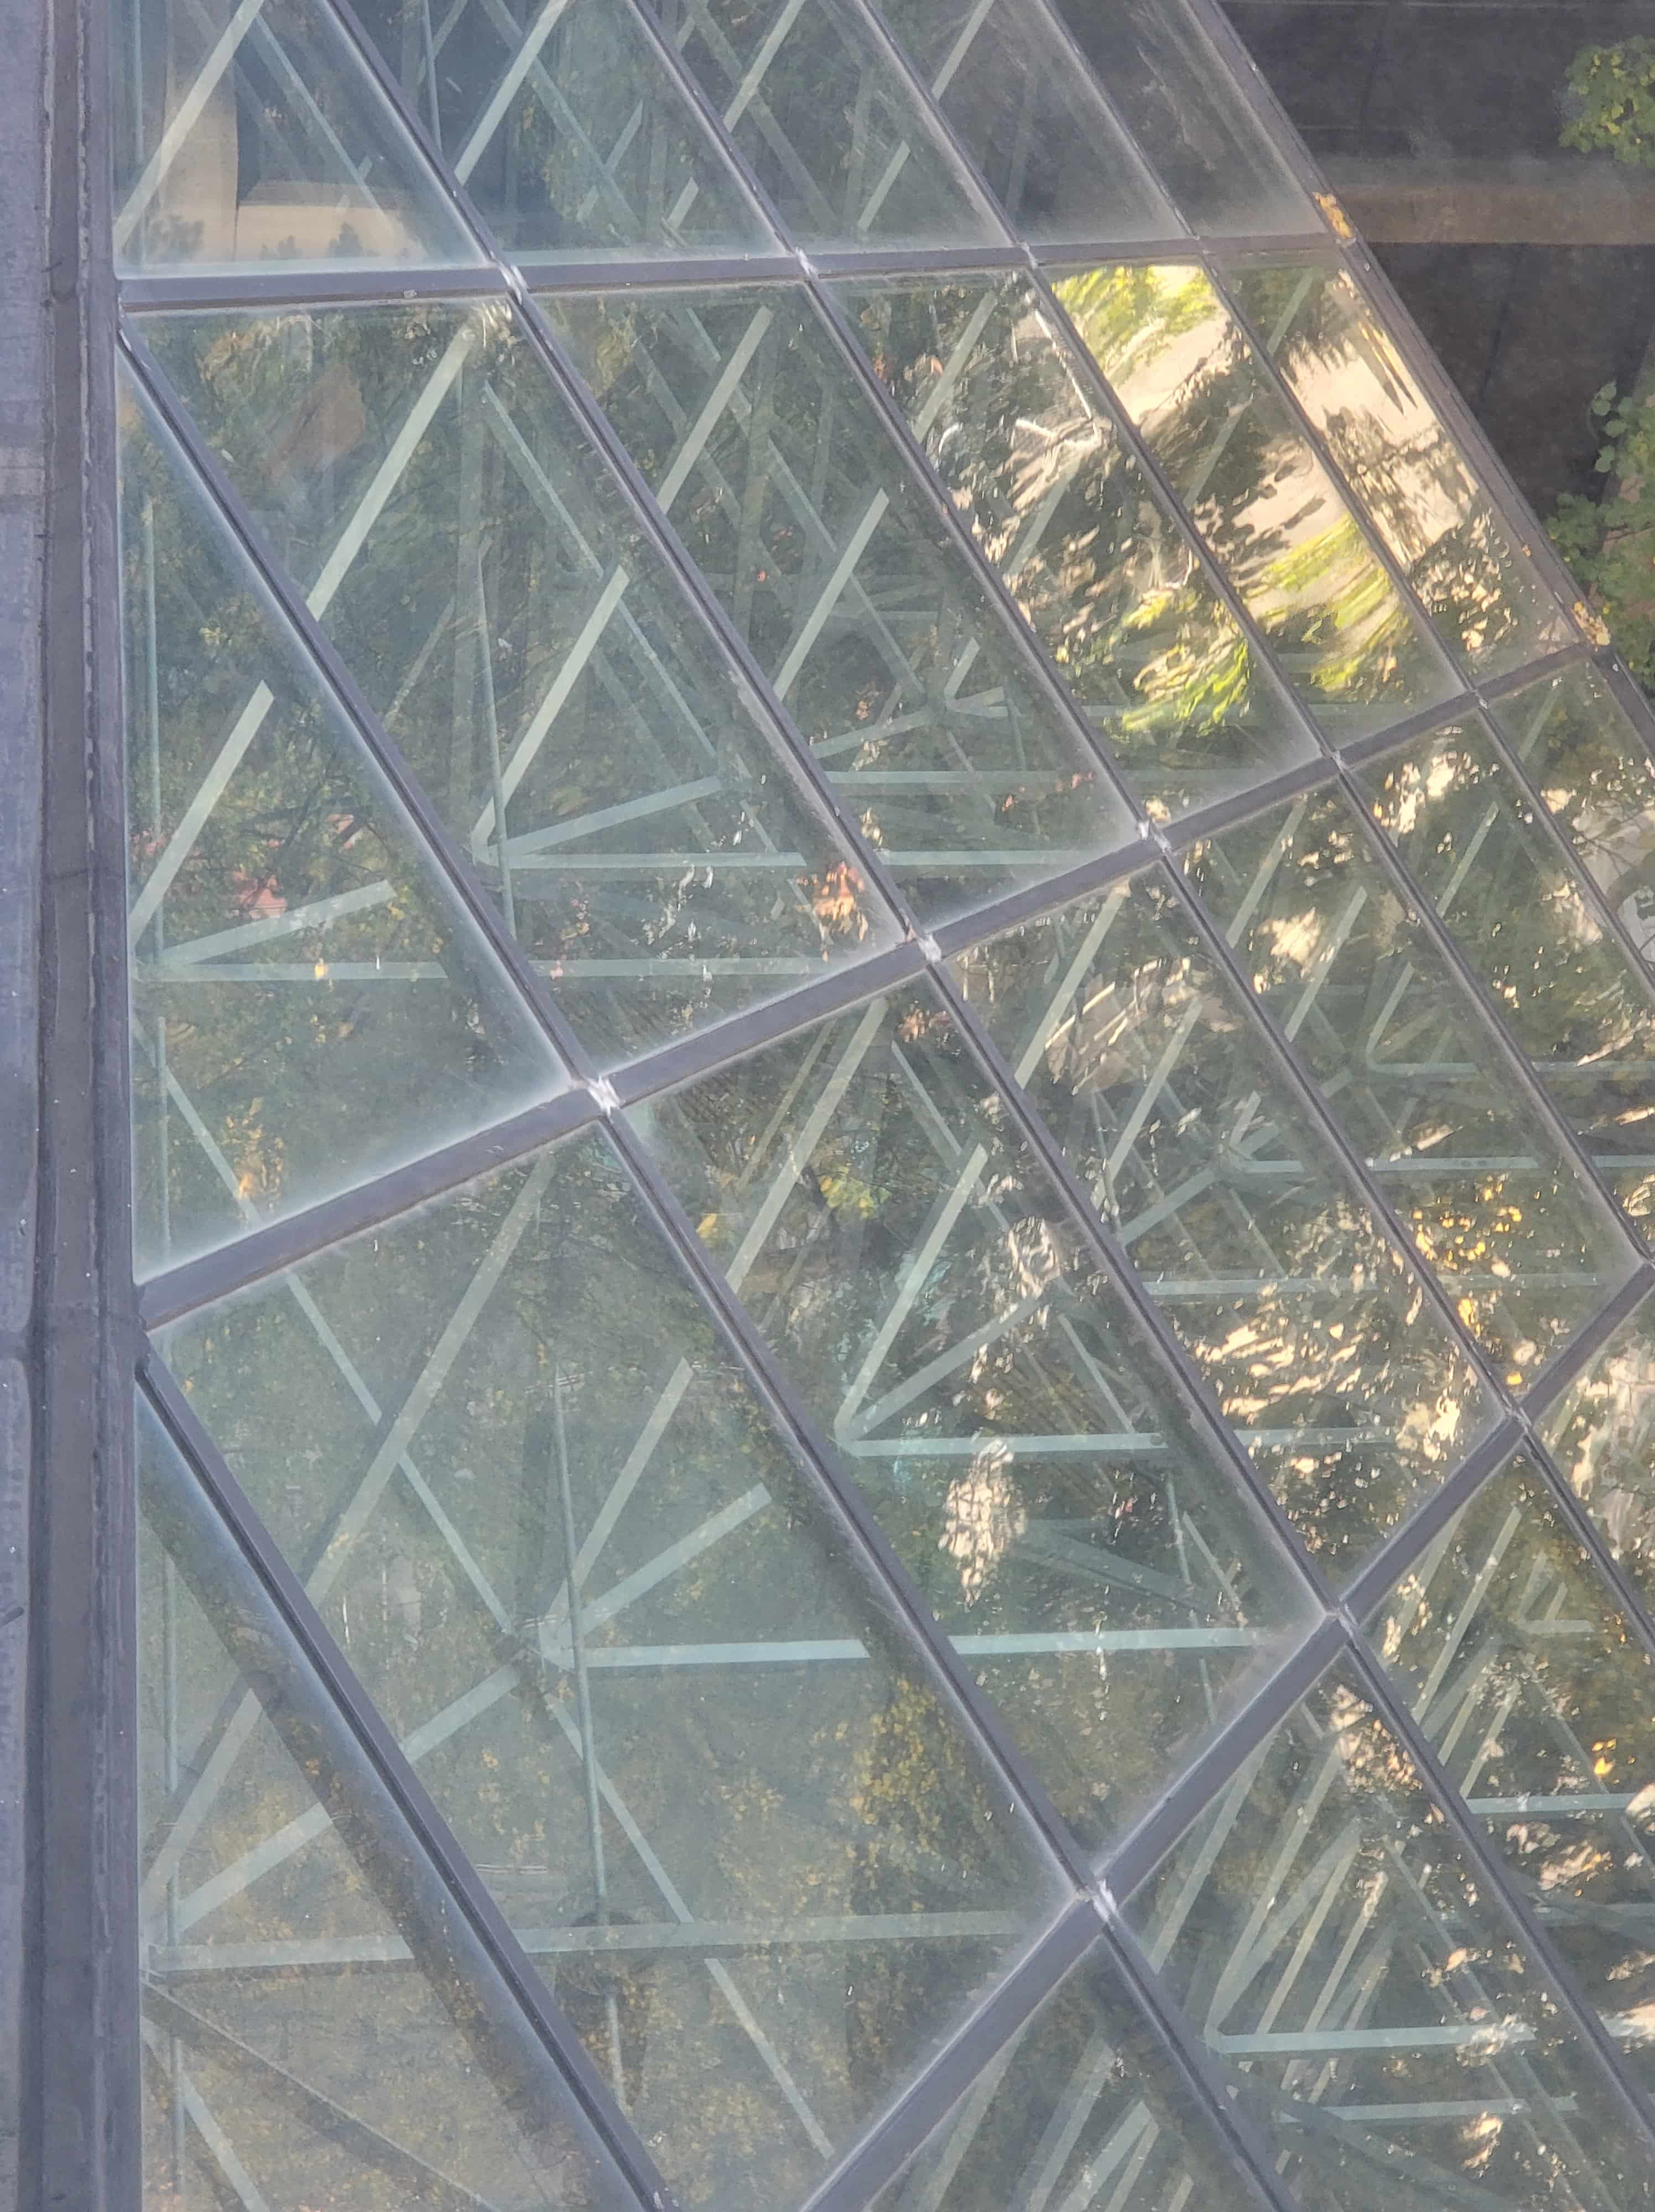
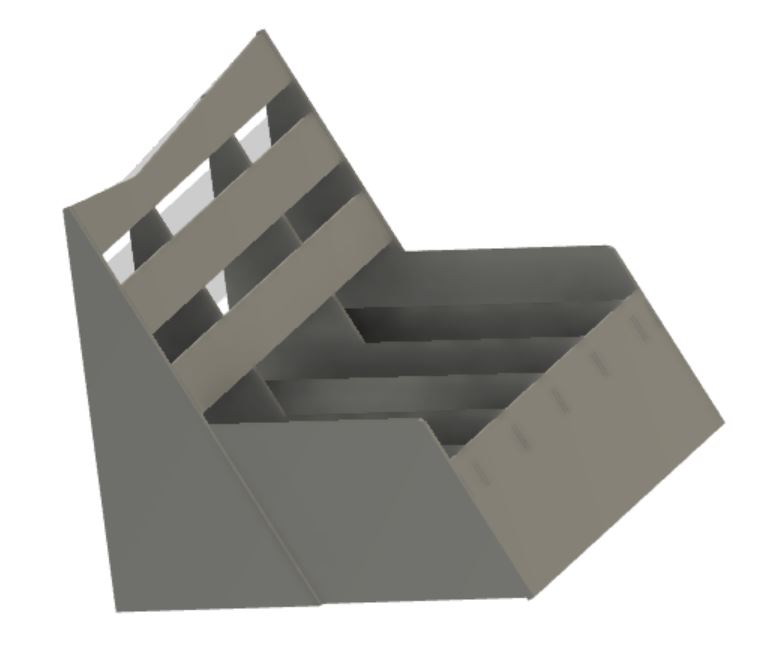
I decided to make a geometric couch because I love triangles, like probably a little too much, but they're
really good at handling force and so they were perfect for this assignment. Here's a picture of triangle
validation outside of EDS.
The couch was pretty easy to visualize putting together, so I began by creating a 2D sketch in Fusion with
all the parts I would need. After that all I had to do was set them up on the sheet to check them and I
would've been fine, but instead I spent hours making a parametric assembly, which was honestly not worth it,
but I did get this picture.
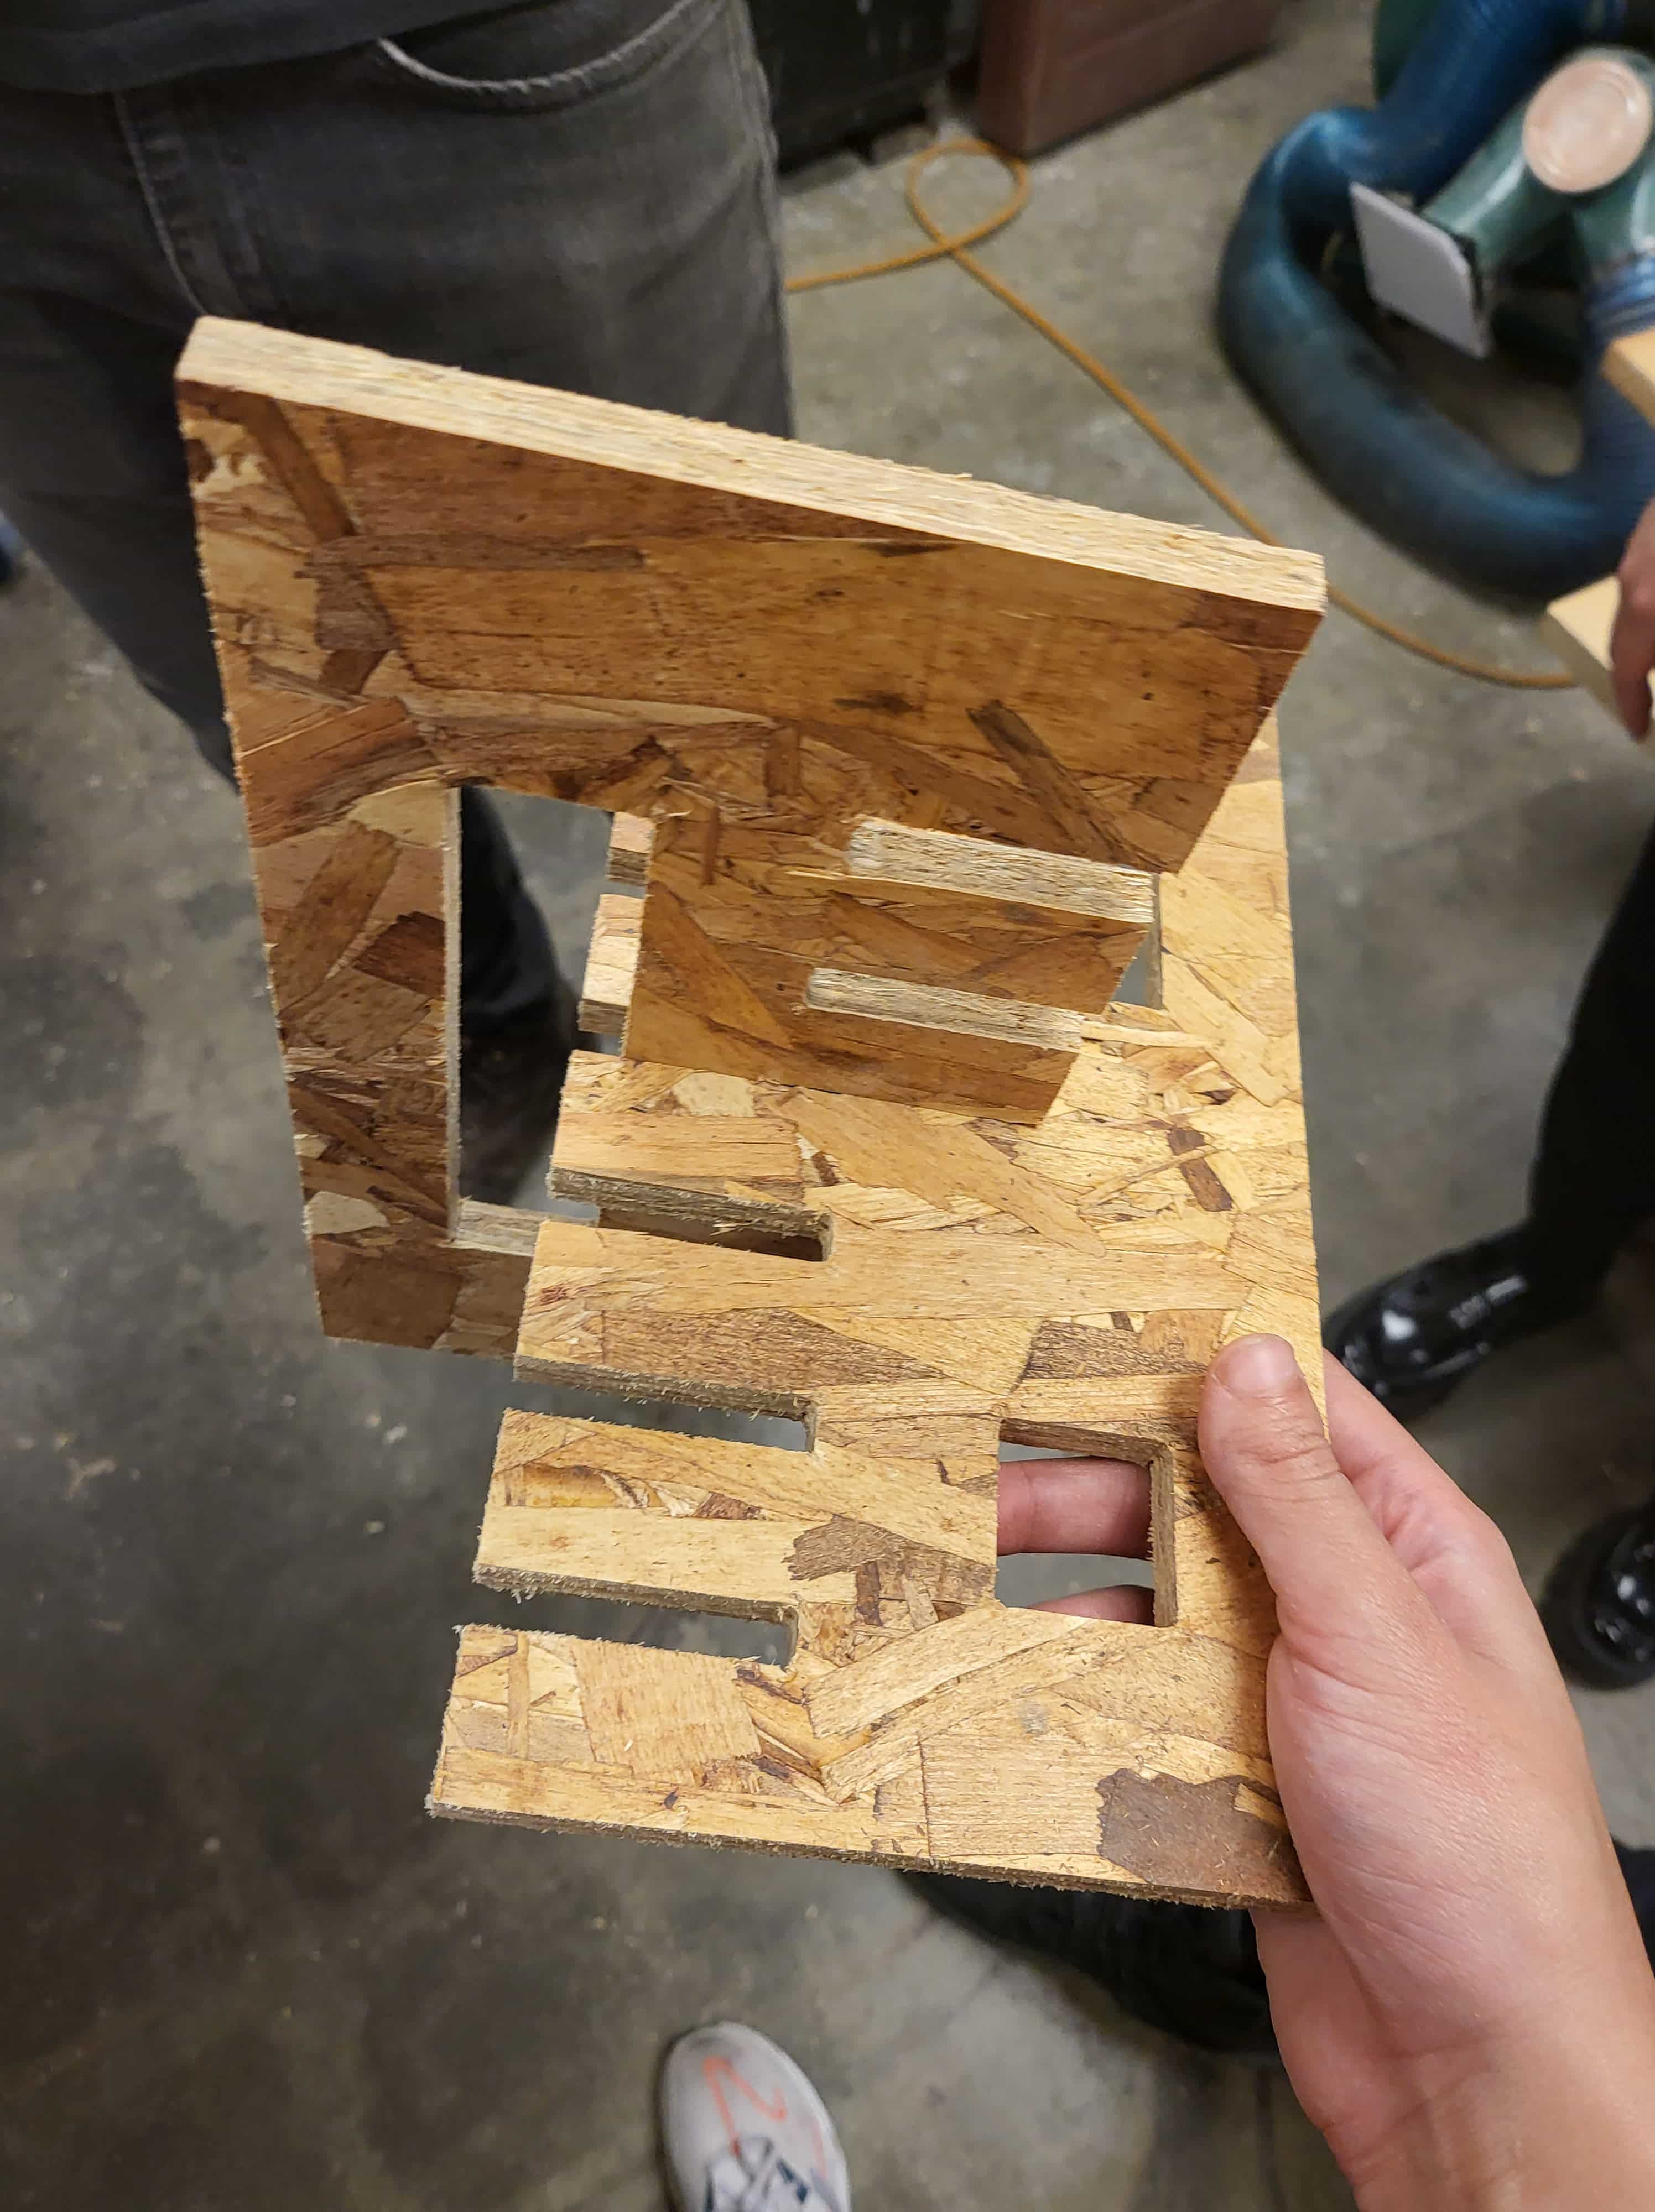
After spending all that time alligning pieces, I took it back apart and layed the pieces on the bed, it took me a couple of tries to get it to work optimally. One of my regrets is not making finger joints, because we wanted to make these couche extremely sturdy and finger joints wear out OSB we decided not to use them in our design, we talked to a furniture maker and he recommended using glue blocks, which are like Anthony's wooden brackets that you screw in but with glue not screws because he was scared that screws would just break the OSB (he was sort of right). But then Chris from N51 informed us that glue would only make a surface connection and OSB is constantly shedding its surface, so in the end we went with screws (which took so much longer than finger joints to assemble and aren't immensely more stable). In the end we weren't able to bunk the couches, OSB just wasn't the right material for this project, but as separate couch prototypes, they both came out really goood.
Concerned Email

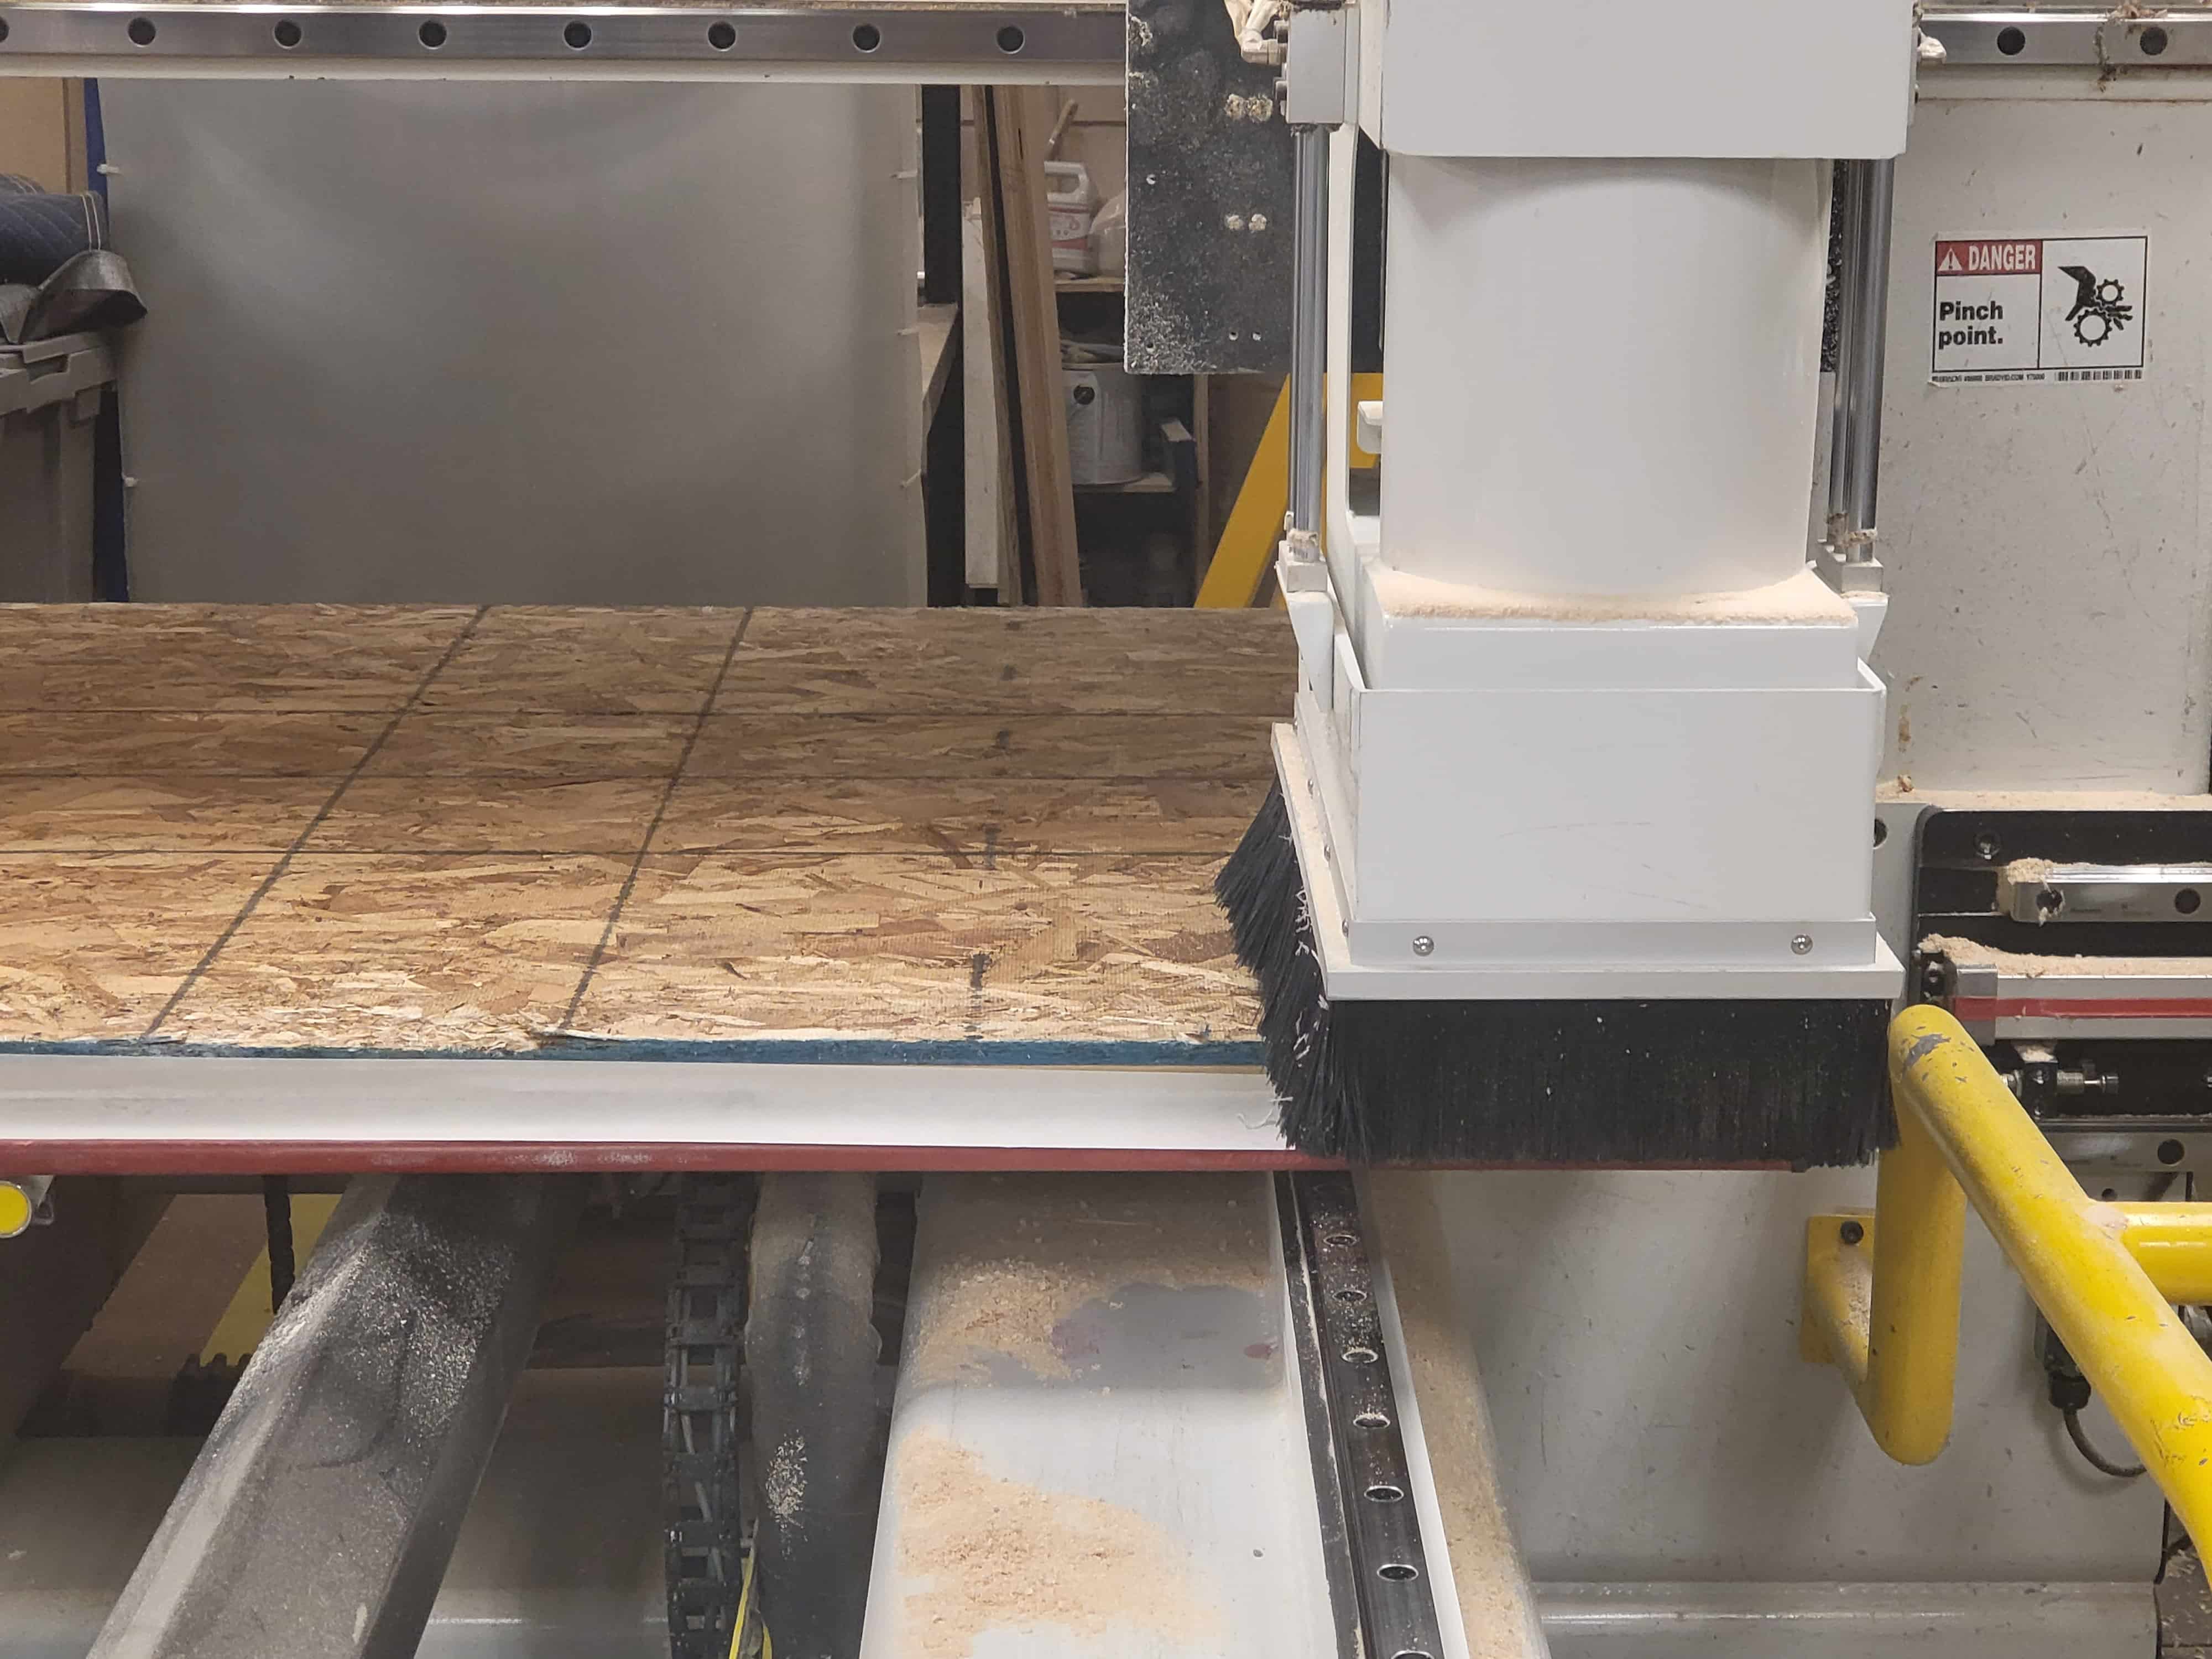
Cutting
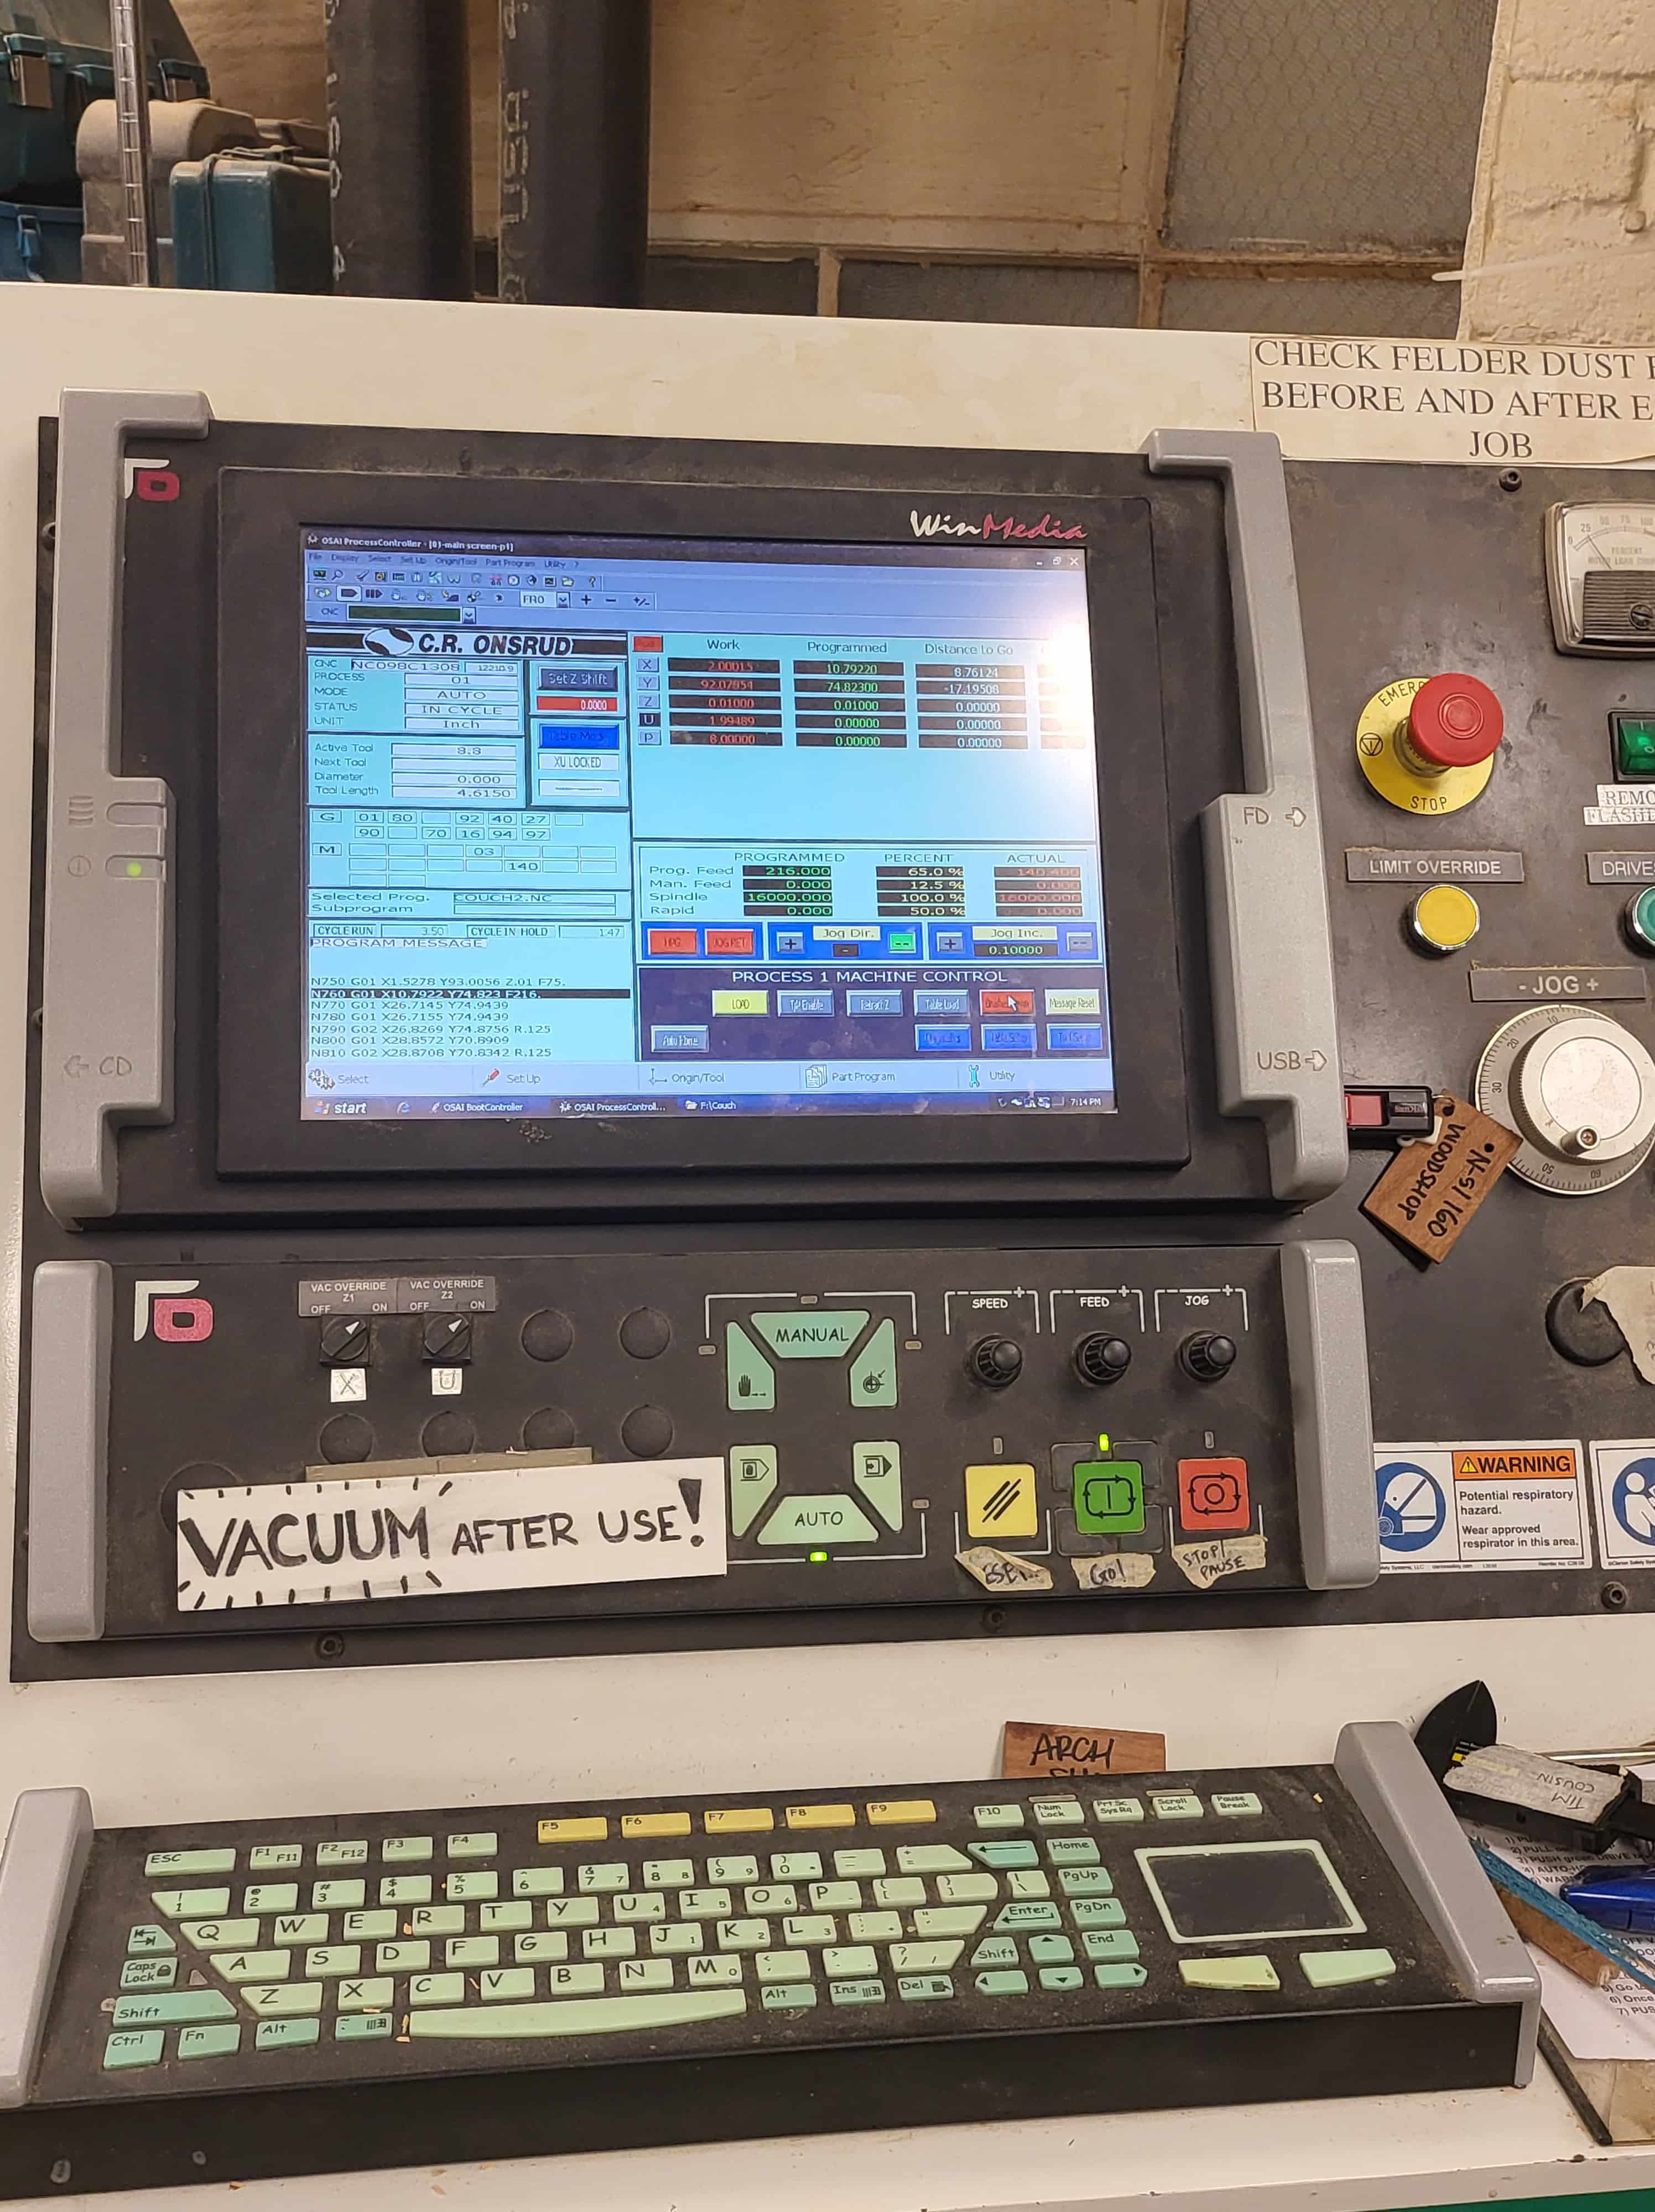
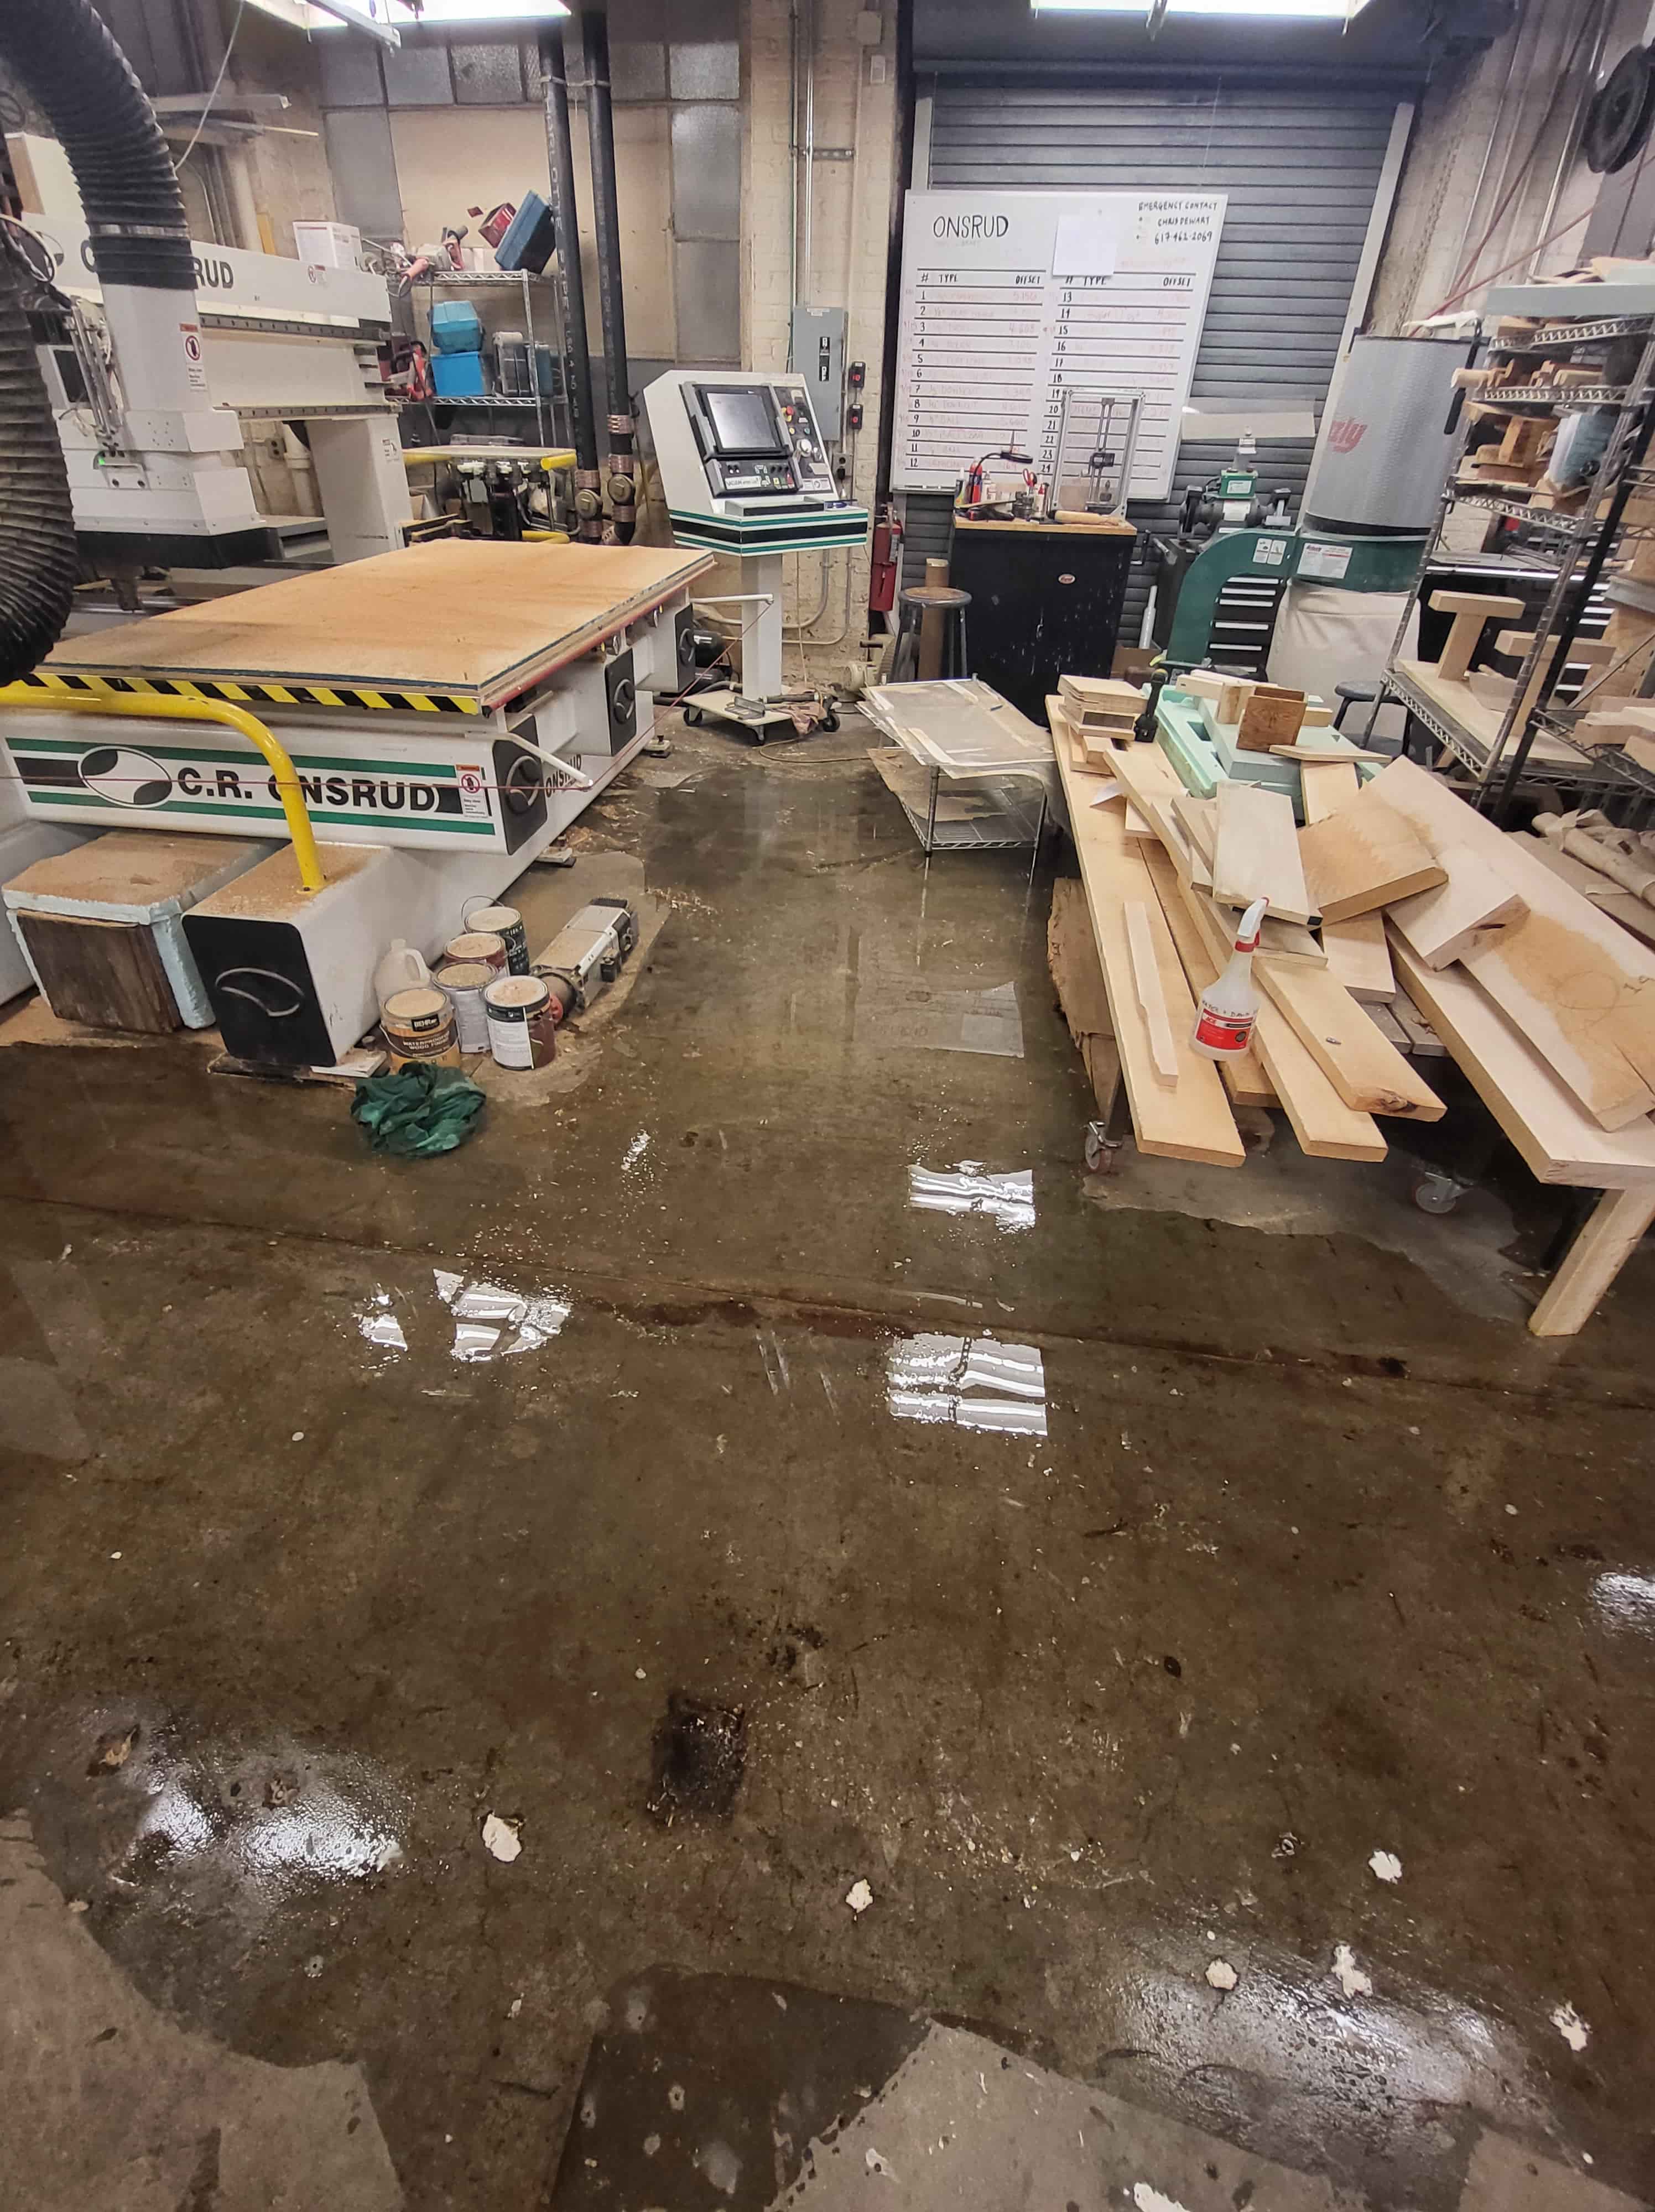
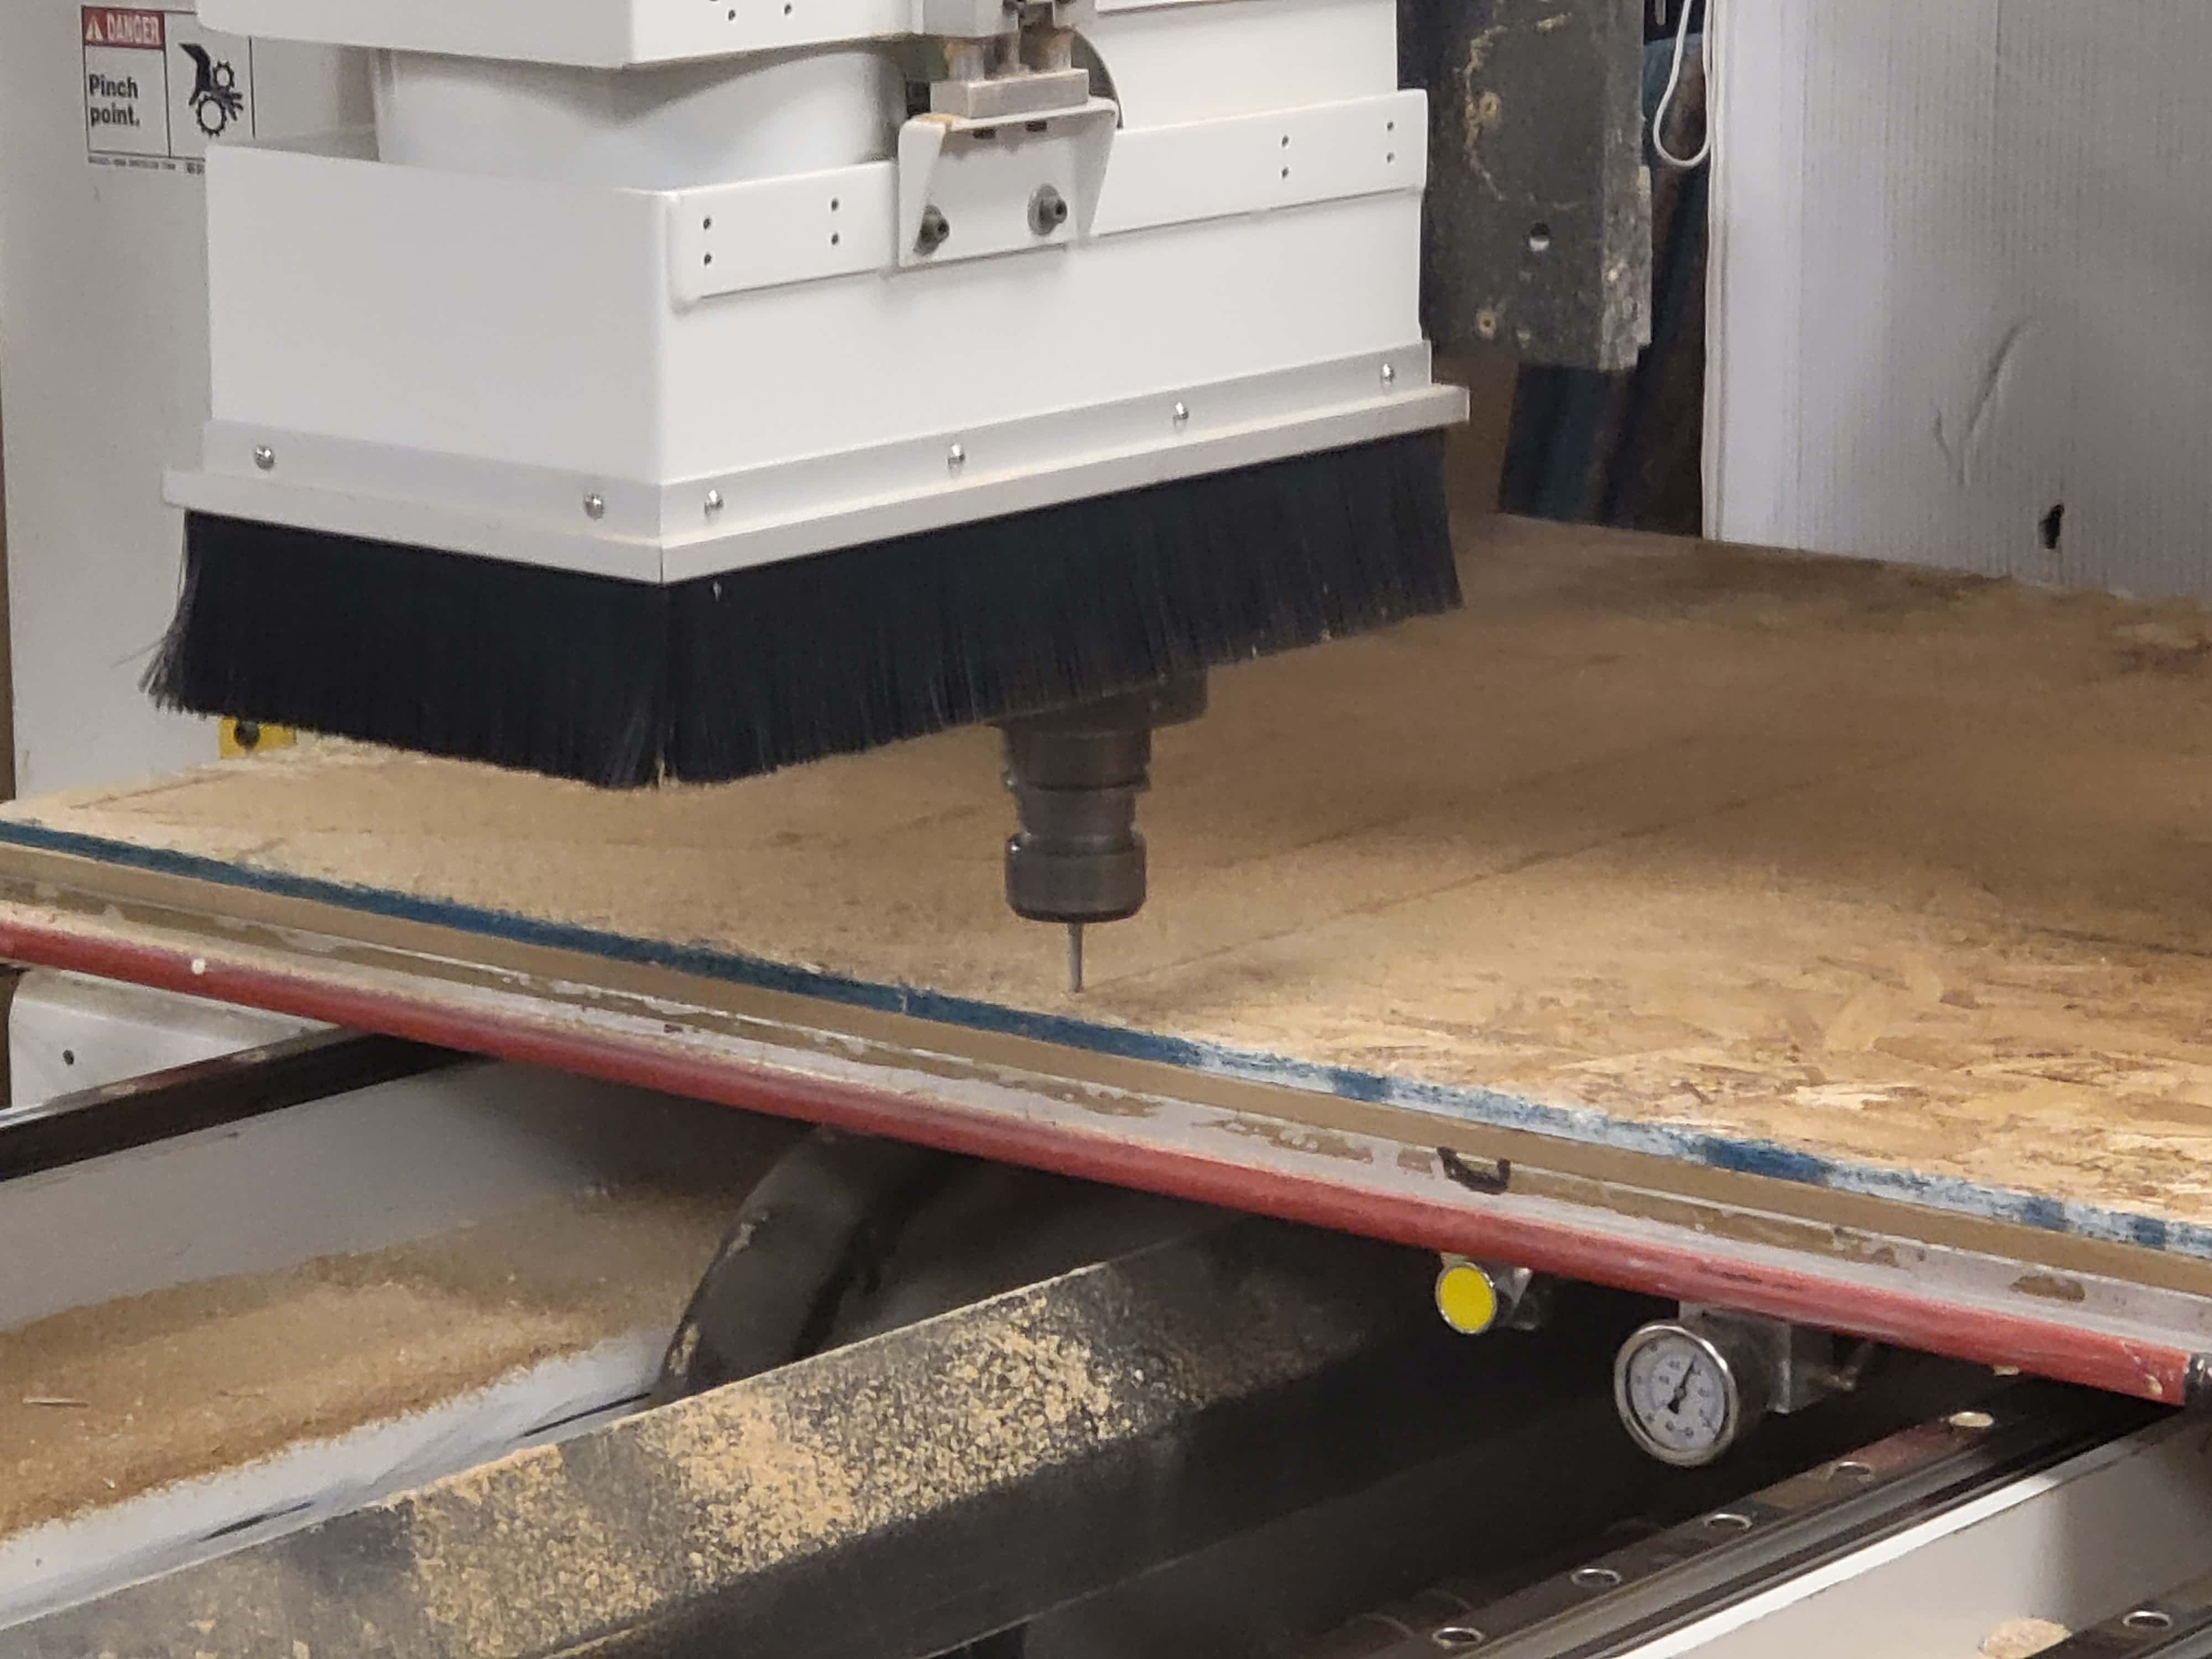
We used the giant Onsrud in N51 and honestly that machine is a little terrifying. The end mill broke a
couple times on cuts before ours so our CAM was changed to go through the thickness of the sheet in 2 passes
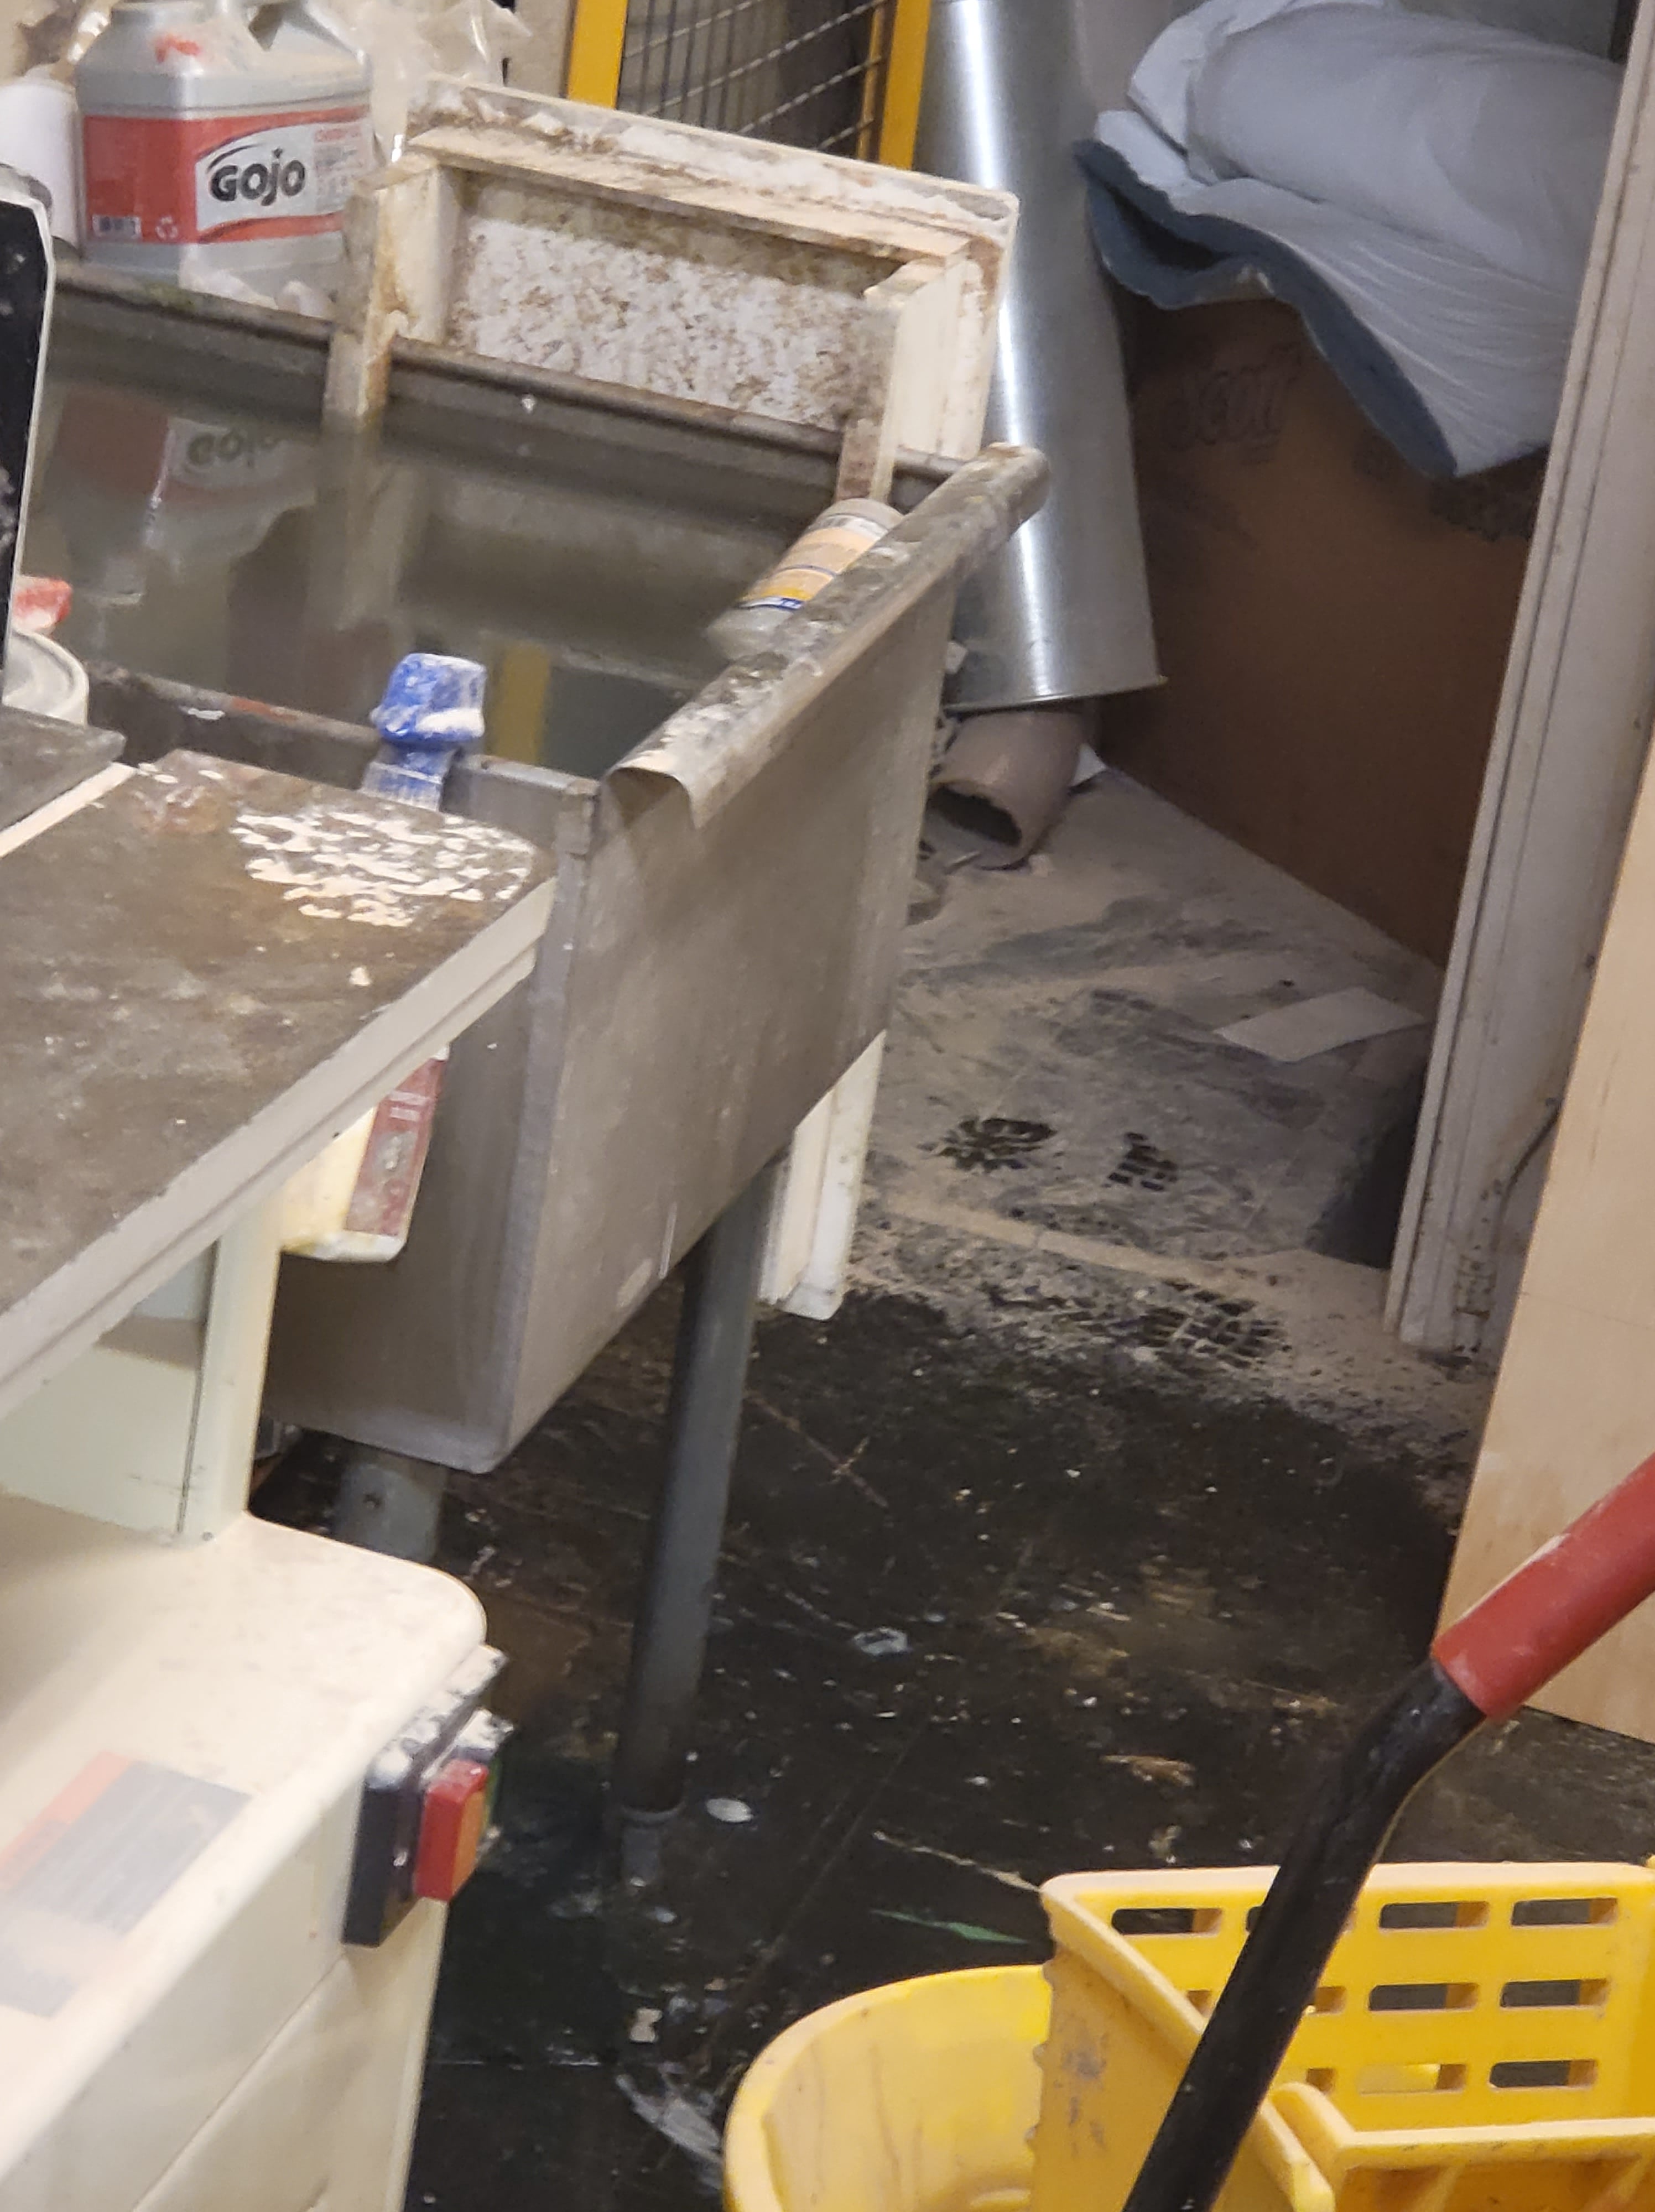
instead of one. I cut mine first and everything was going so well, until it wasn't. Someone left the sink
behind the router running and right near the end of my cut it overflowed. N51 was mildly flooded, and it
took quite a while to sweep all the water into the shady alley outside of the building. It was really a team
effort and in the end the floor was dry enough to resume my print.
Richard went and got his cut, then we sanded down the faces and onion skin and finally were ready for assembly.
Transporting
This deserves its own section because it was hard and exhausting and a little painful. We carried our cuts
back to Metropolis for assembly, thinking it's not too far and not worth getting a cart. We were wrong, we
were very wrong. But strangers are very kind and held open most inconvenient doors.
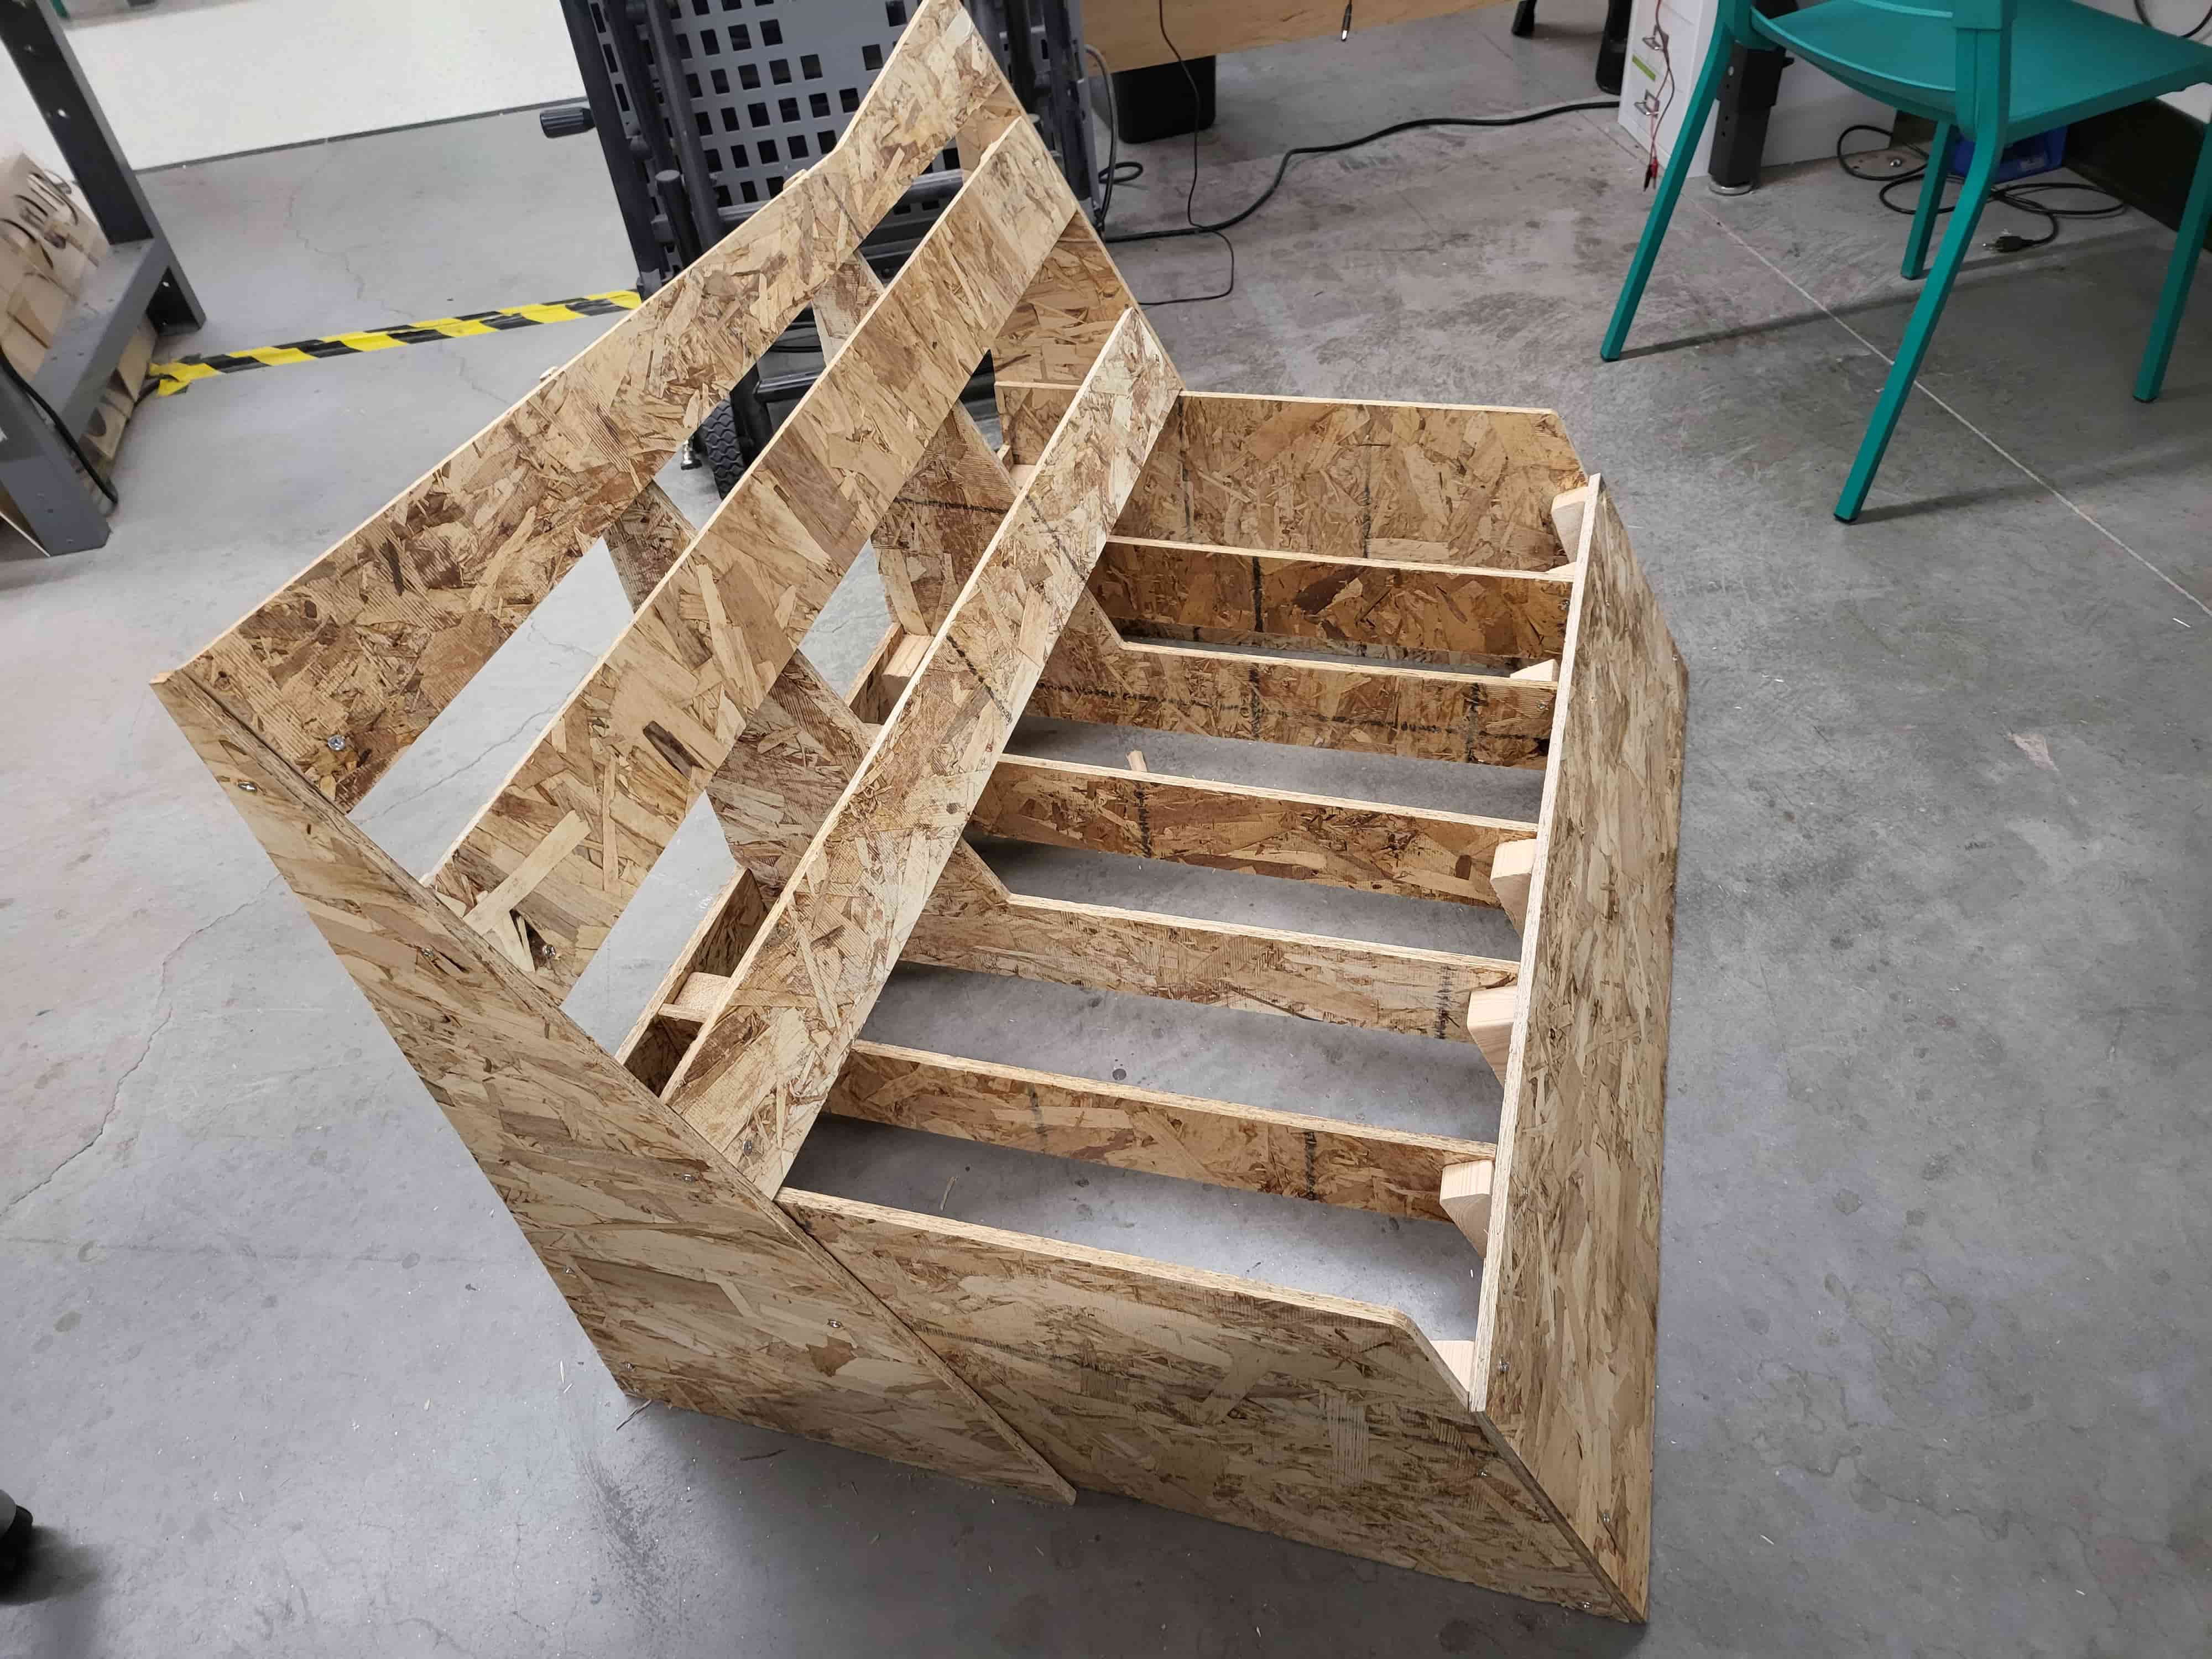
Assembling
I should've used finger joint. It would've been so much easier. But instead several hours were spent
drilling and clamping and stripping and splitting and cutting (I got to learn how to use the chop saw). Not
all the screws went in perfectly but in the end I had the frame for my couch! And Richard had his, which we
tested and found able to sustain our combined weights.
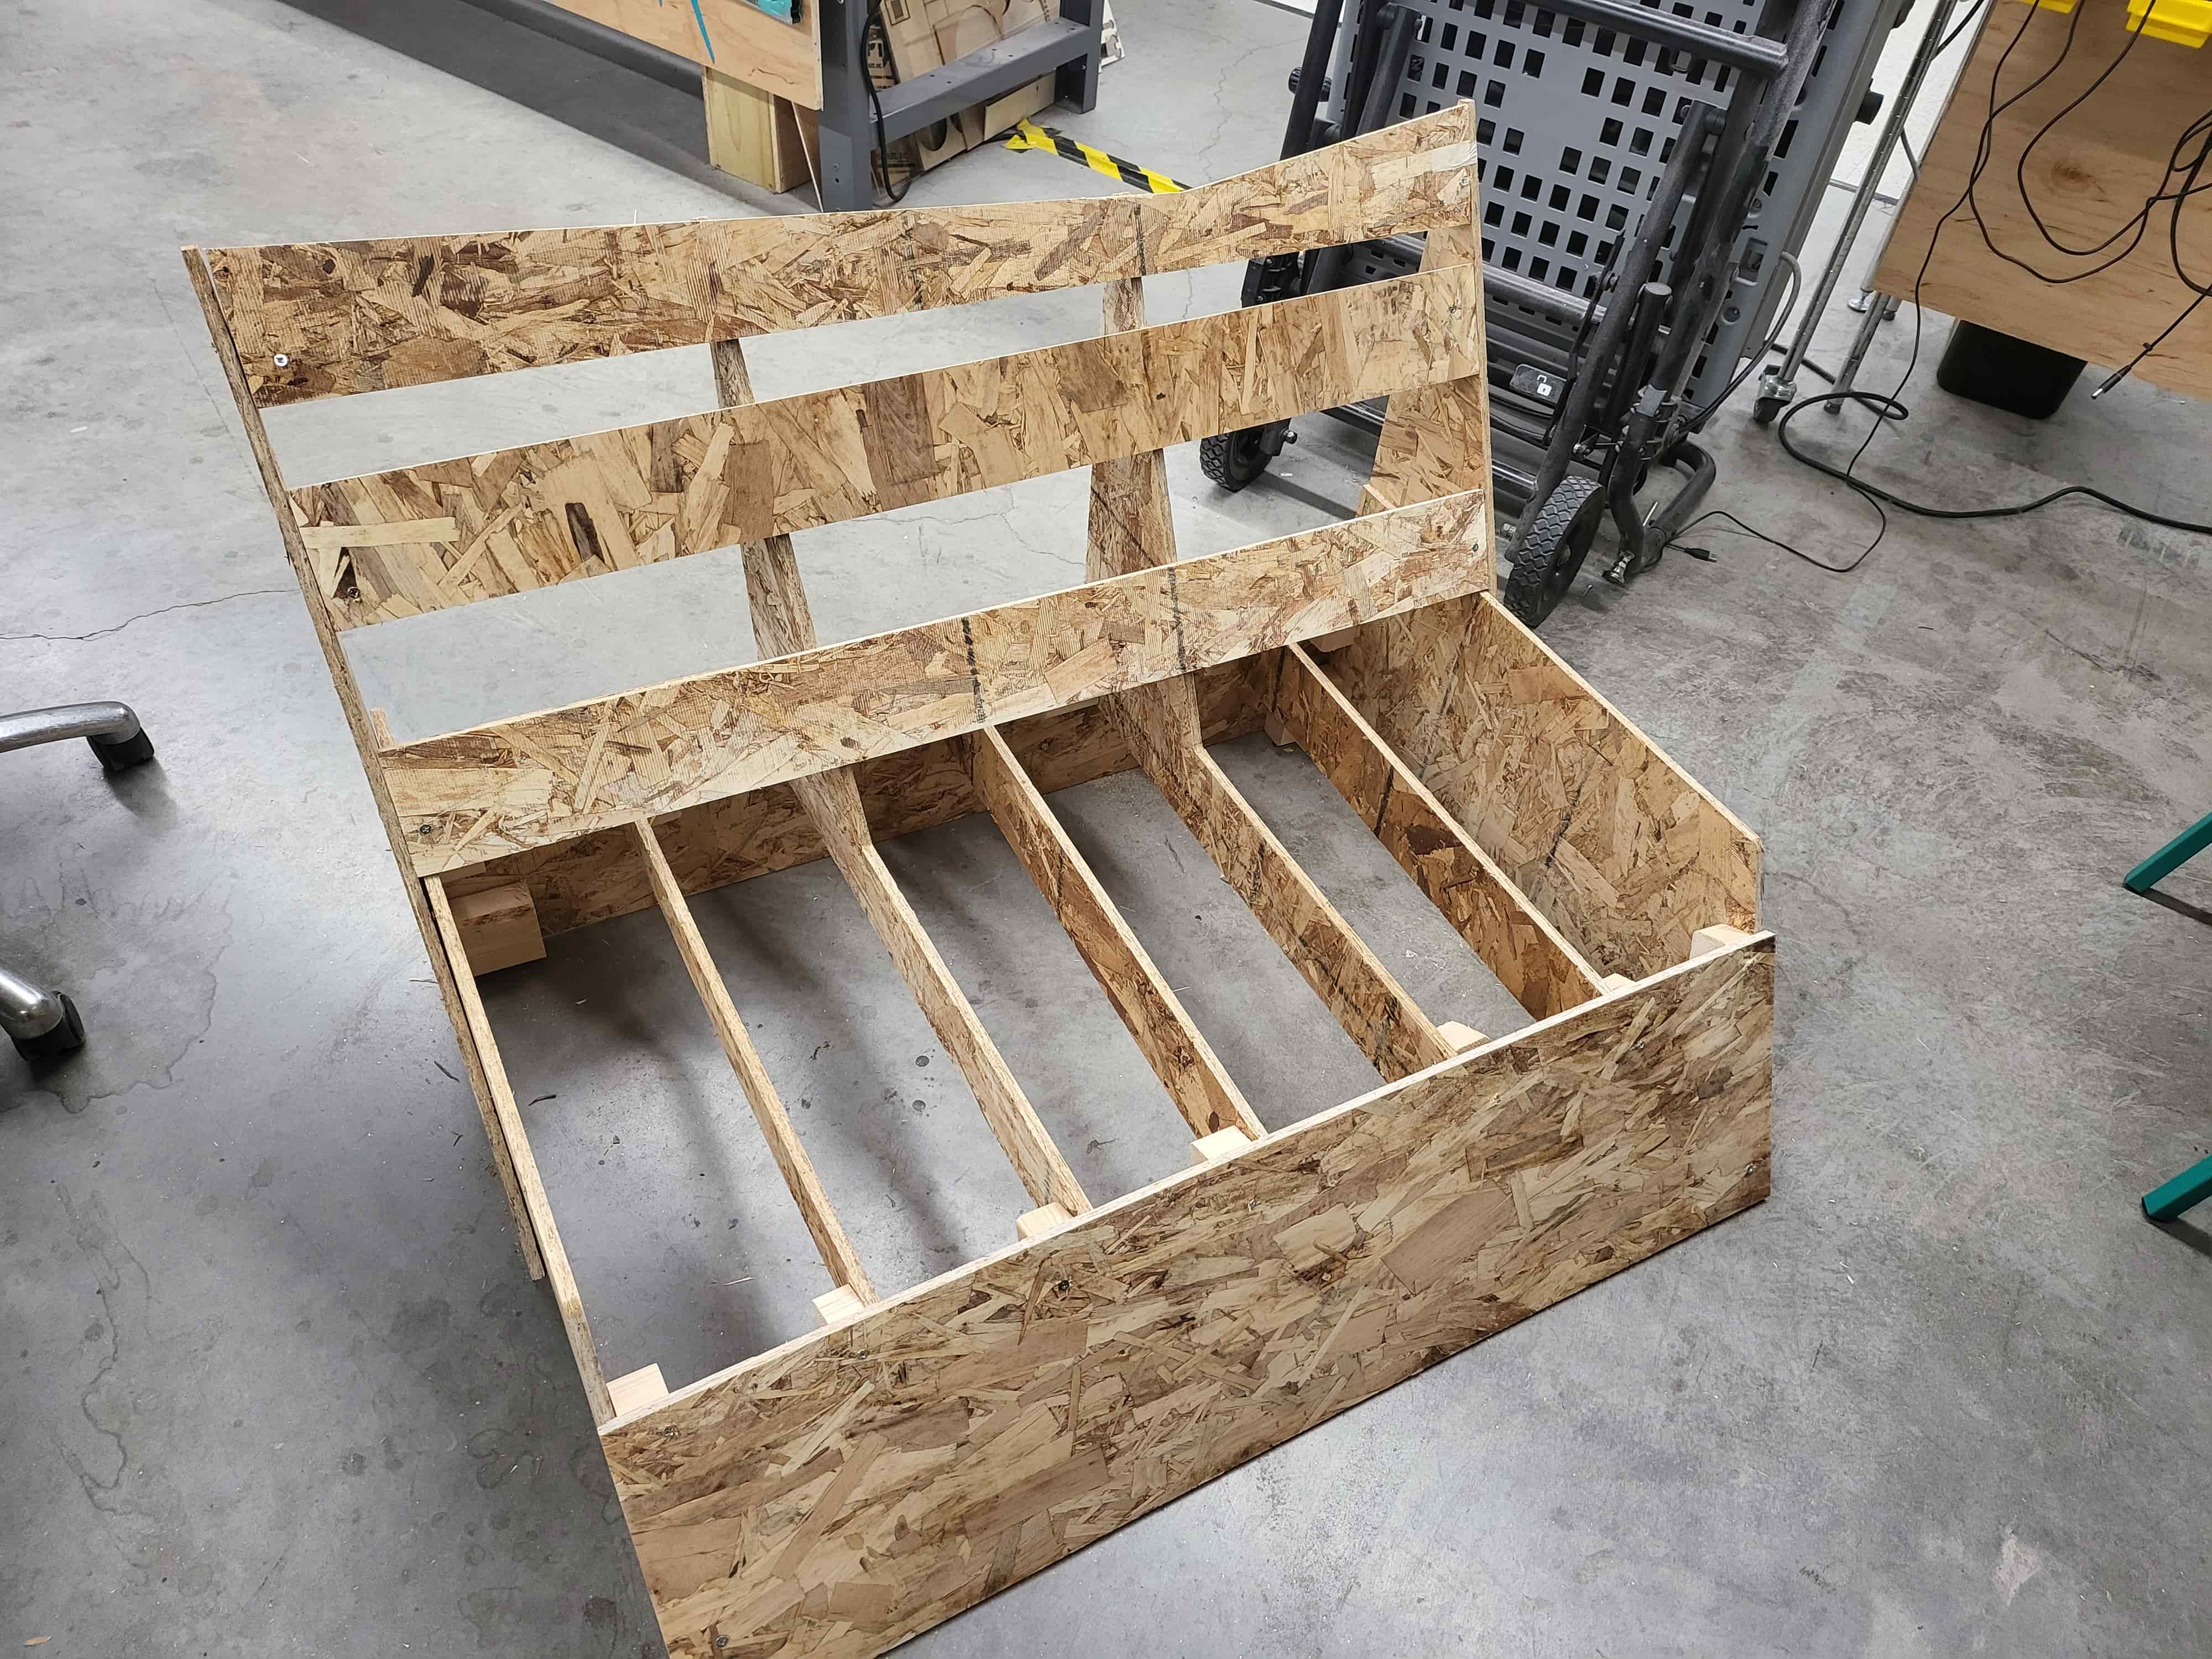
Now all that's left is making it into a functional couch by creating correctly sized cusions and stapling a covering over the wood and a tight sheet of fabric to hold the cuchions up.
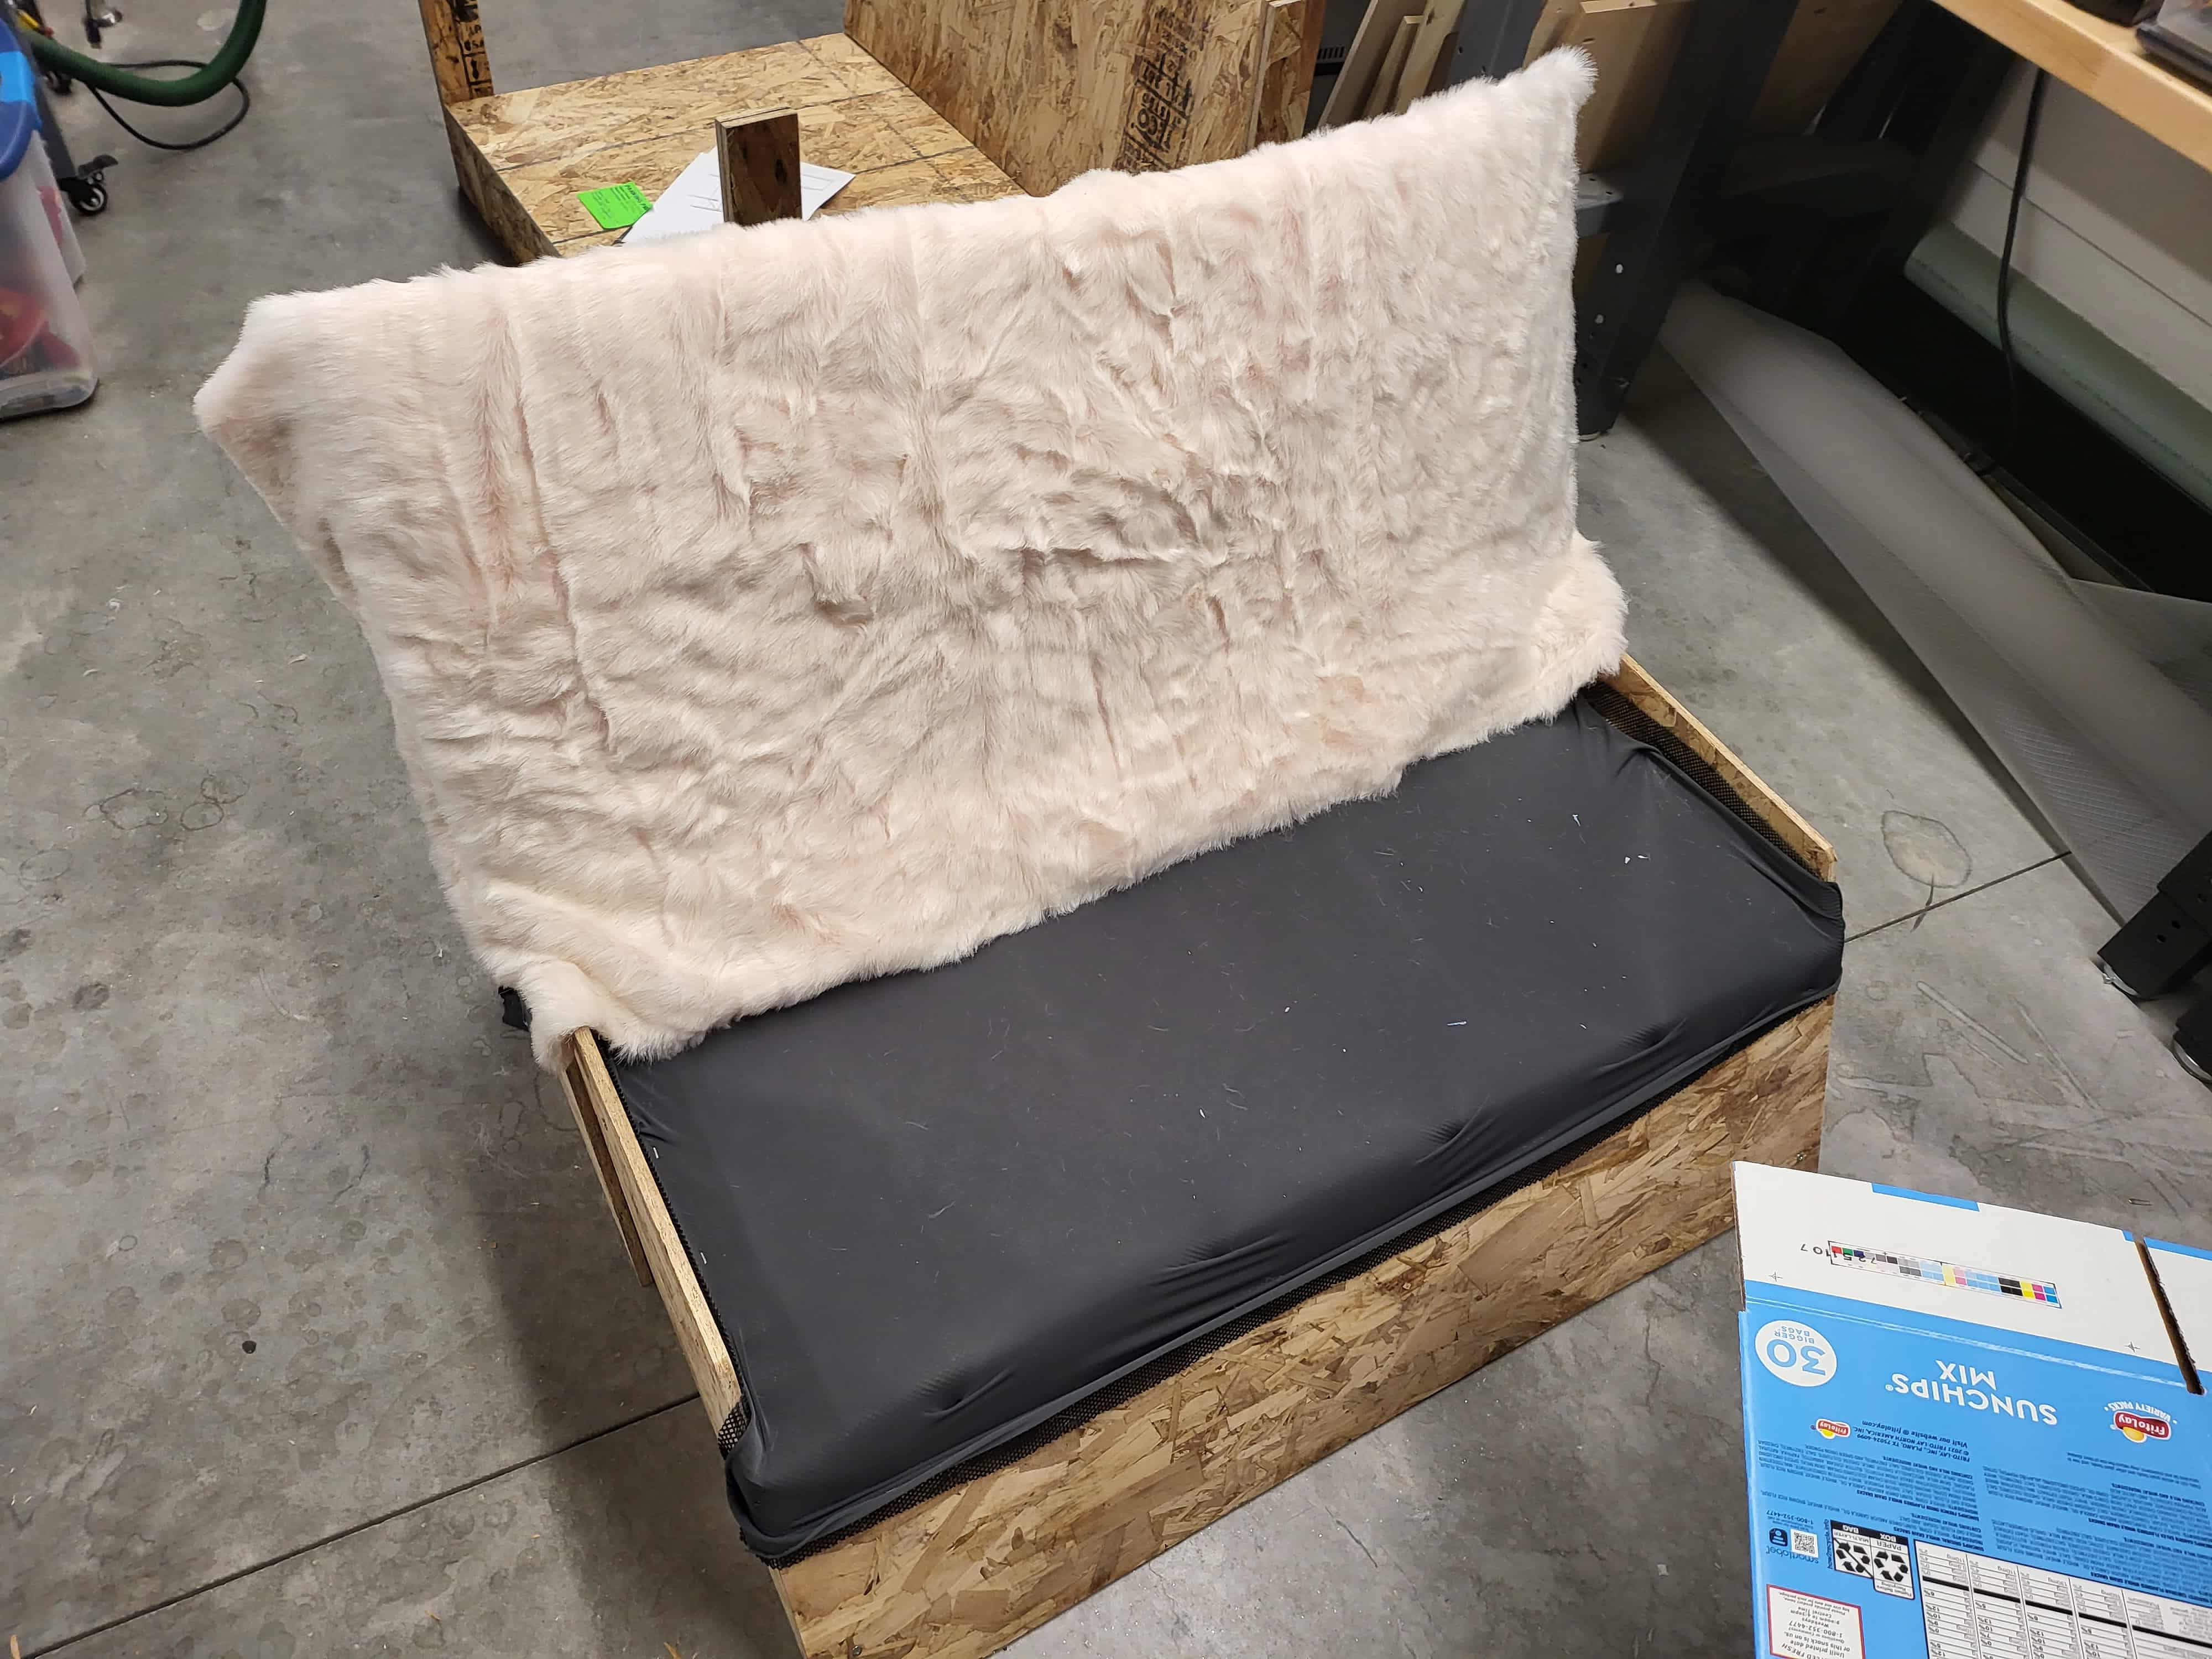
Finalizing
I am really proud of how the couch turned out. Especially the fact that all the materials were sourced and
aquired for the free. I found a host of free materials outside of the ocean engineering lab and used those
along with resources from Metropolis and Edgerton to build the entire thing. I began by using a plastic mesh
to create a place to sit, it took a lot of work to secure but by the end I had it pulled tight enough around
the base that there was a slightly uncormfortable platform avaailable for sitting. I then sealed the back of
the couch with a thinner plastic mesh and covered bothe meshes with stretchy grey fabric which helped for
two reasons. A: my method of fastening a staple gun went right through the meshes but was stopped by the
fabric, and B: it looked a lot more professional and cleaner. I then used fluffy pink fabric on the back of
the couch and reinforced the holes and slots with cardboard, it was so much fun acquiring materials, I
walked into the Edgerton center and asked for something soft and was directed to a suspicious bucket of pink
carpet-like fuzz, two layers of it worked wonderfully but it shed a lot so I wanted to cover and seal it.
This was all secured with a handy dandy staple gun, which was so much fun to use and worked beautifully on
OSB, though it was really hard to put enough pressure on it to activate. After this all the structural steps
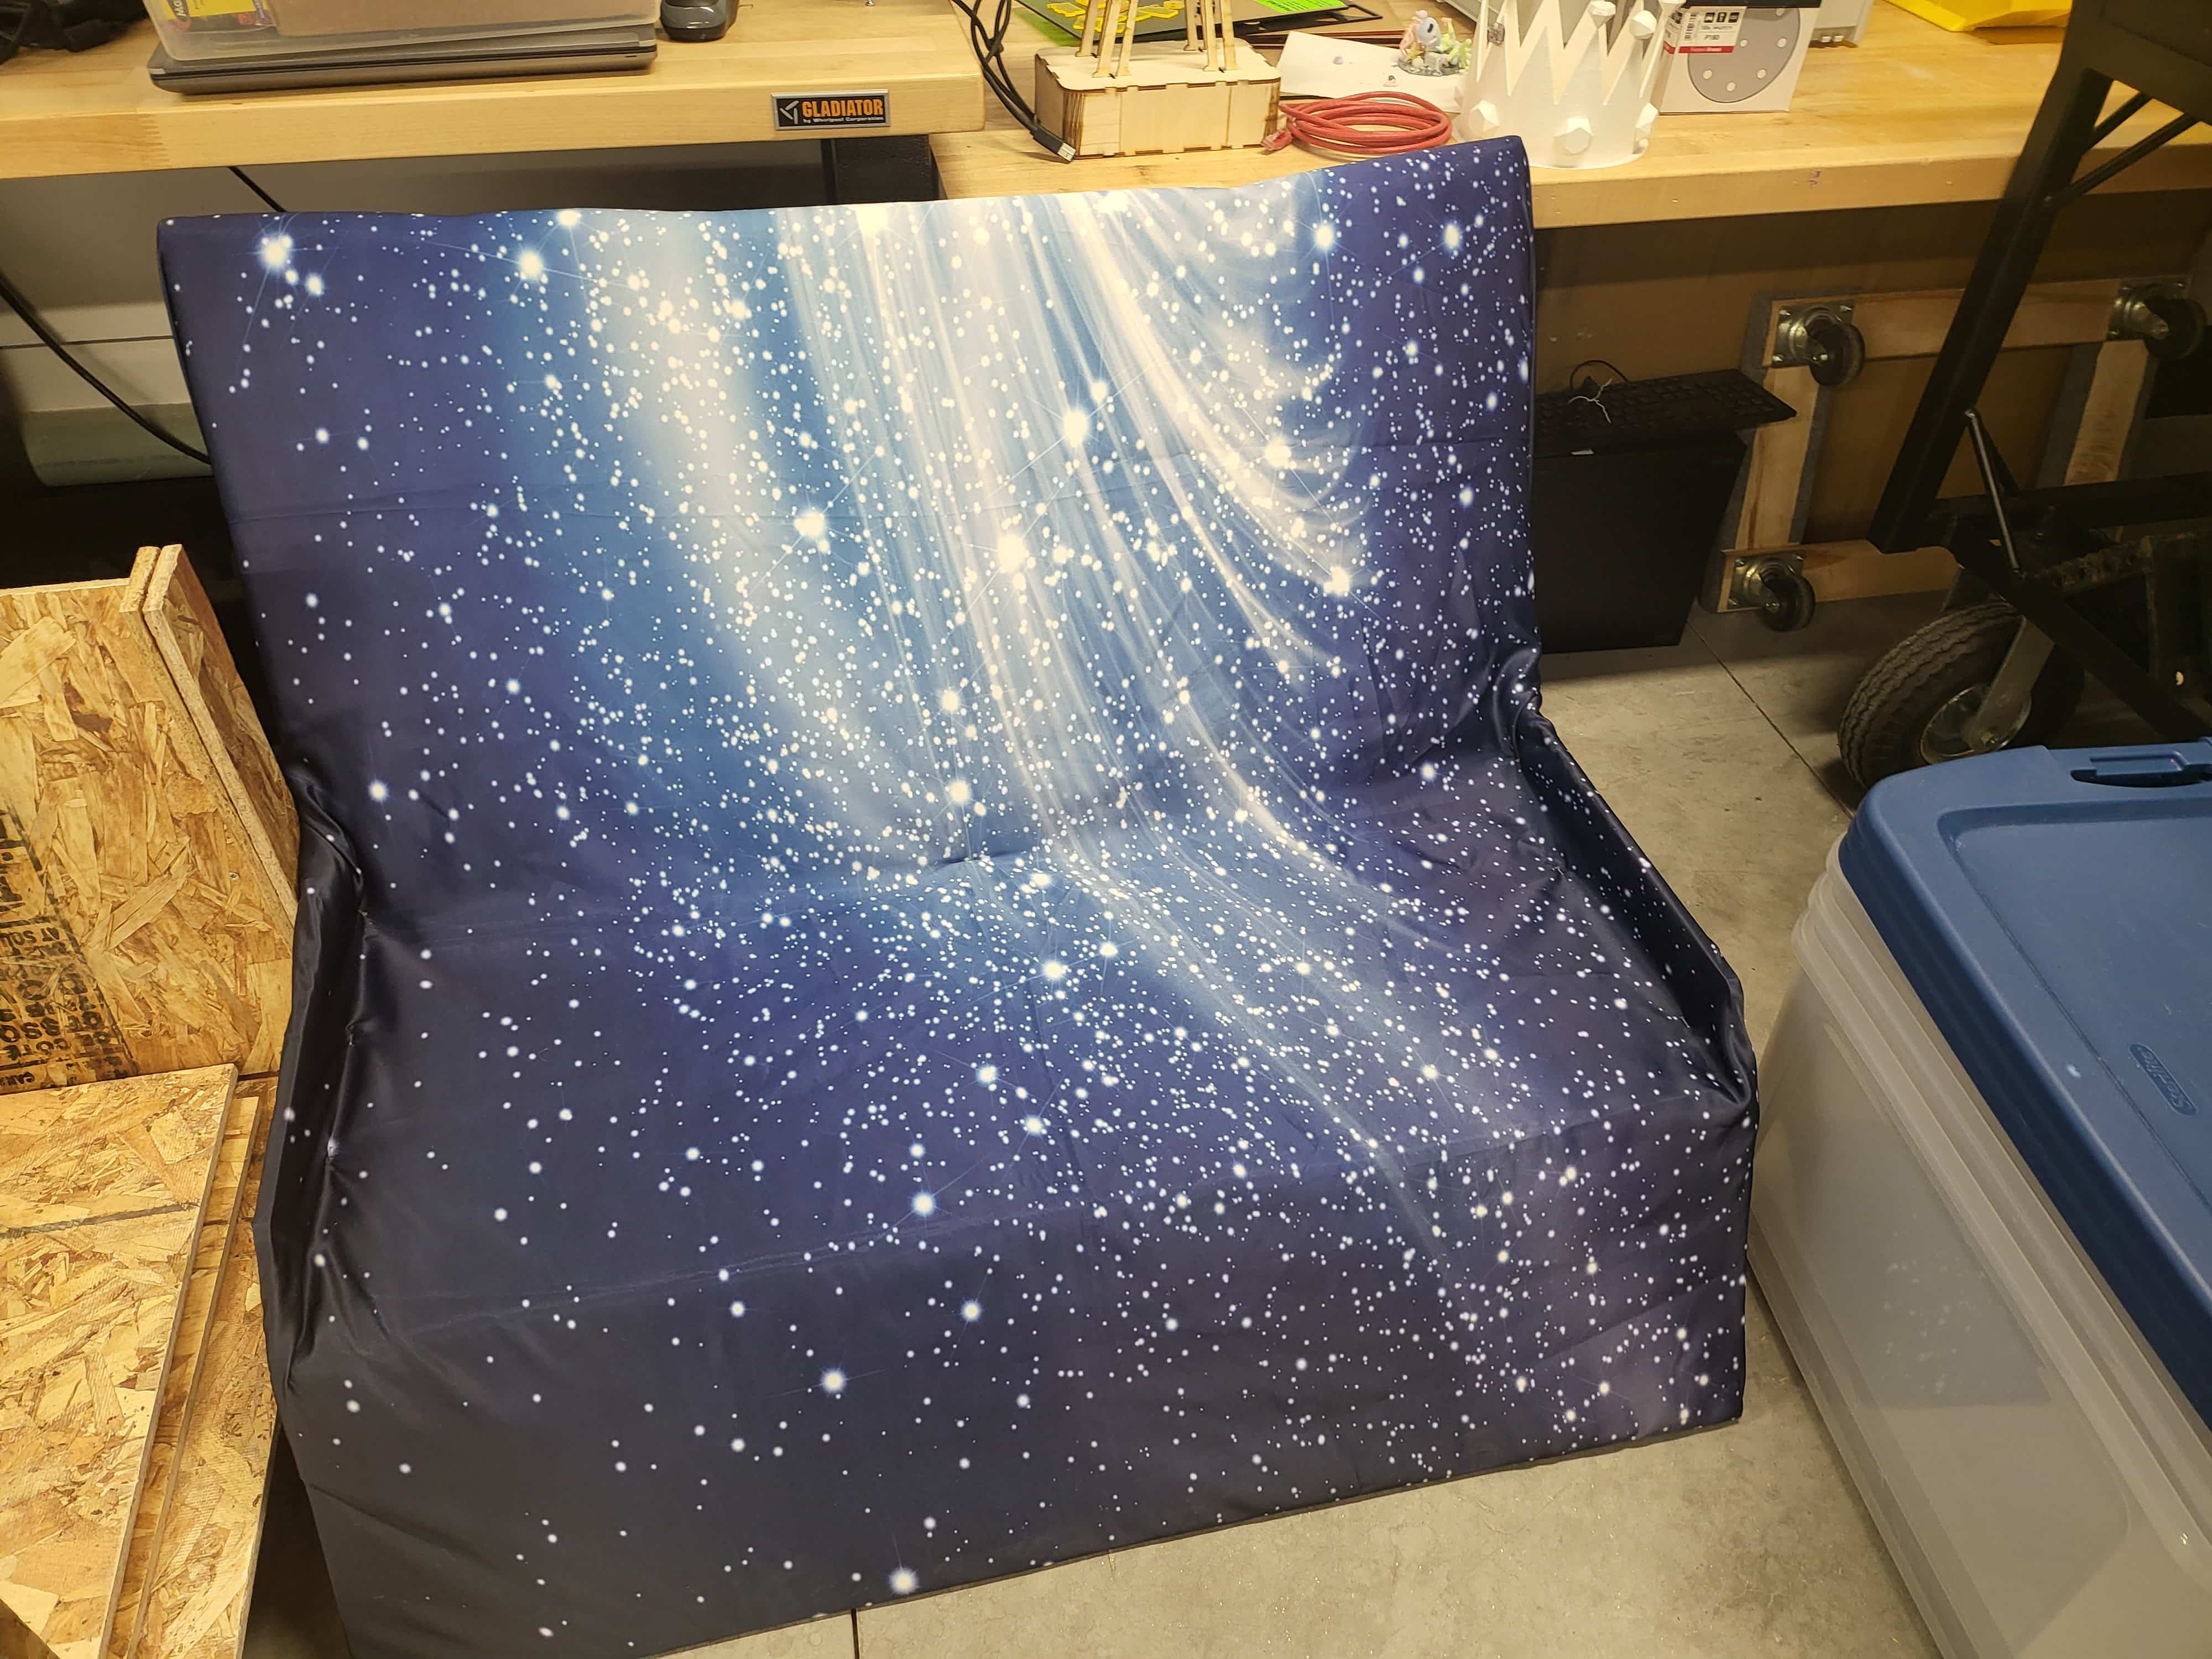
were complete and I went to work securing the outer layer of fabric which I just found in a drawer and it
just happened to be the perfect dimensions for wrapping the entire couch like a present. The fabric was
secured with a saple gun, at first only in locations where they couldn't be seen, but as I grew more
frustrated the stapling got sloppier. Luckily the fabric was dotted in little stars that resembled the
staples enough to allow them to go unnoticed. It took a lot of staples and folding and some cutting on the
side but the couch part was finished. I them set to making the cushion, which was made from this weird
squishy foam found outside of the ocean engineering department and later a layer of memory foam was added
because there was literally just a roll of it hding in a corner in Edgerton. I love making and makerspaces
so so much!!!! I sewed the cushion using what little fabric remained, which meant that it was a little
patchy but got the job done, I tried to mimic the big pillow cases that have two sides that meet underneath
the pillow and keep it sontained. Like I said it was patchy but it worked, and I even sewed on a zipper to
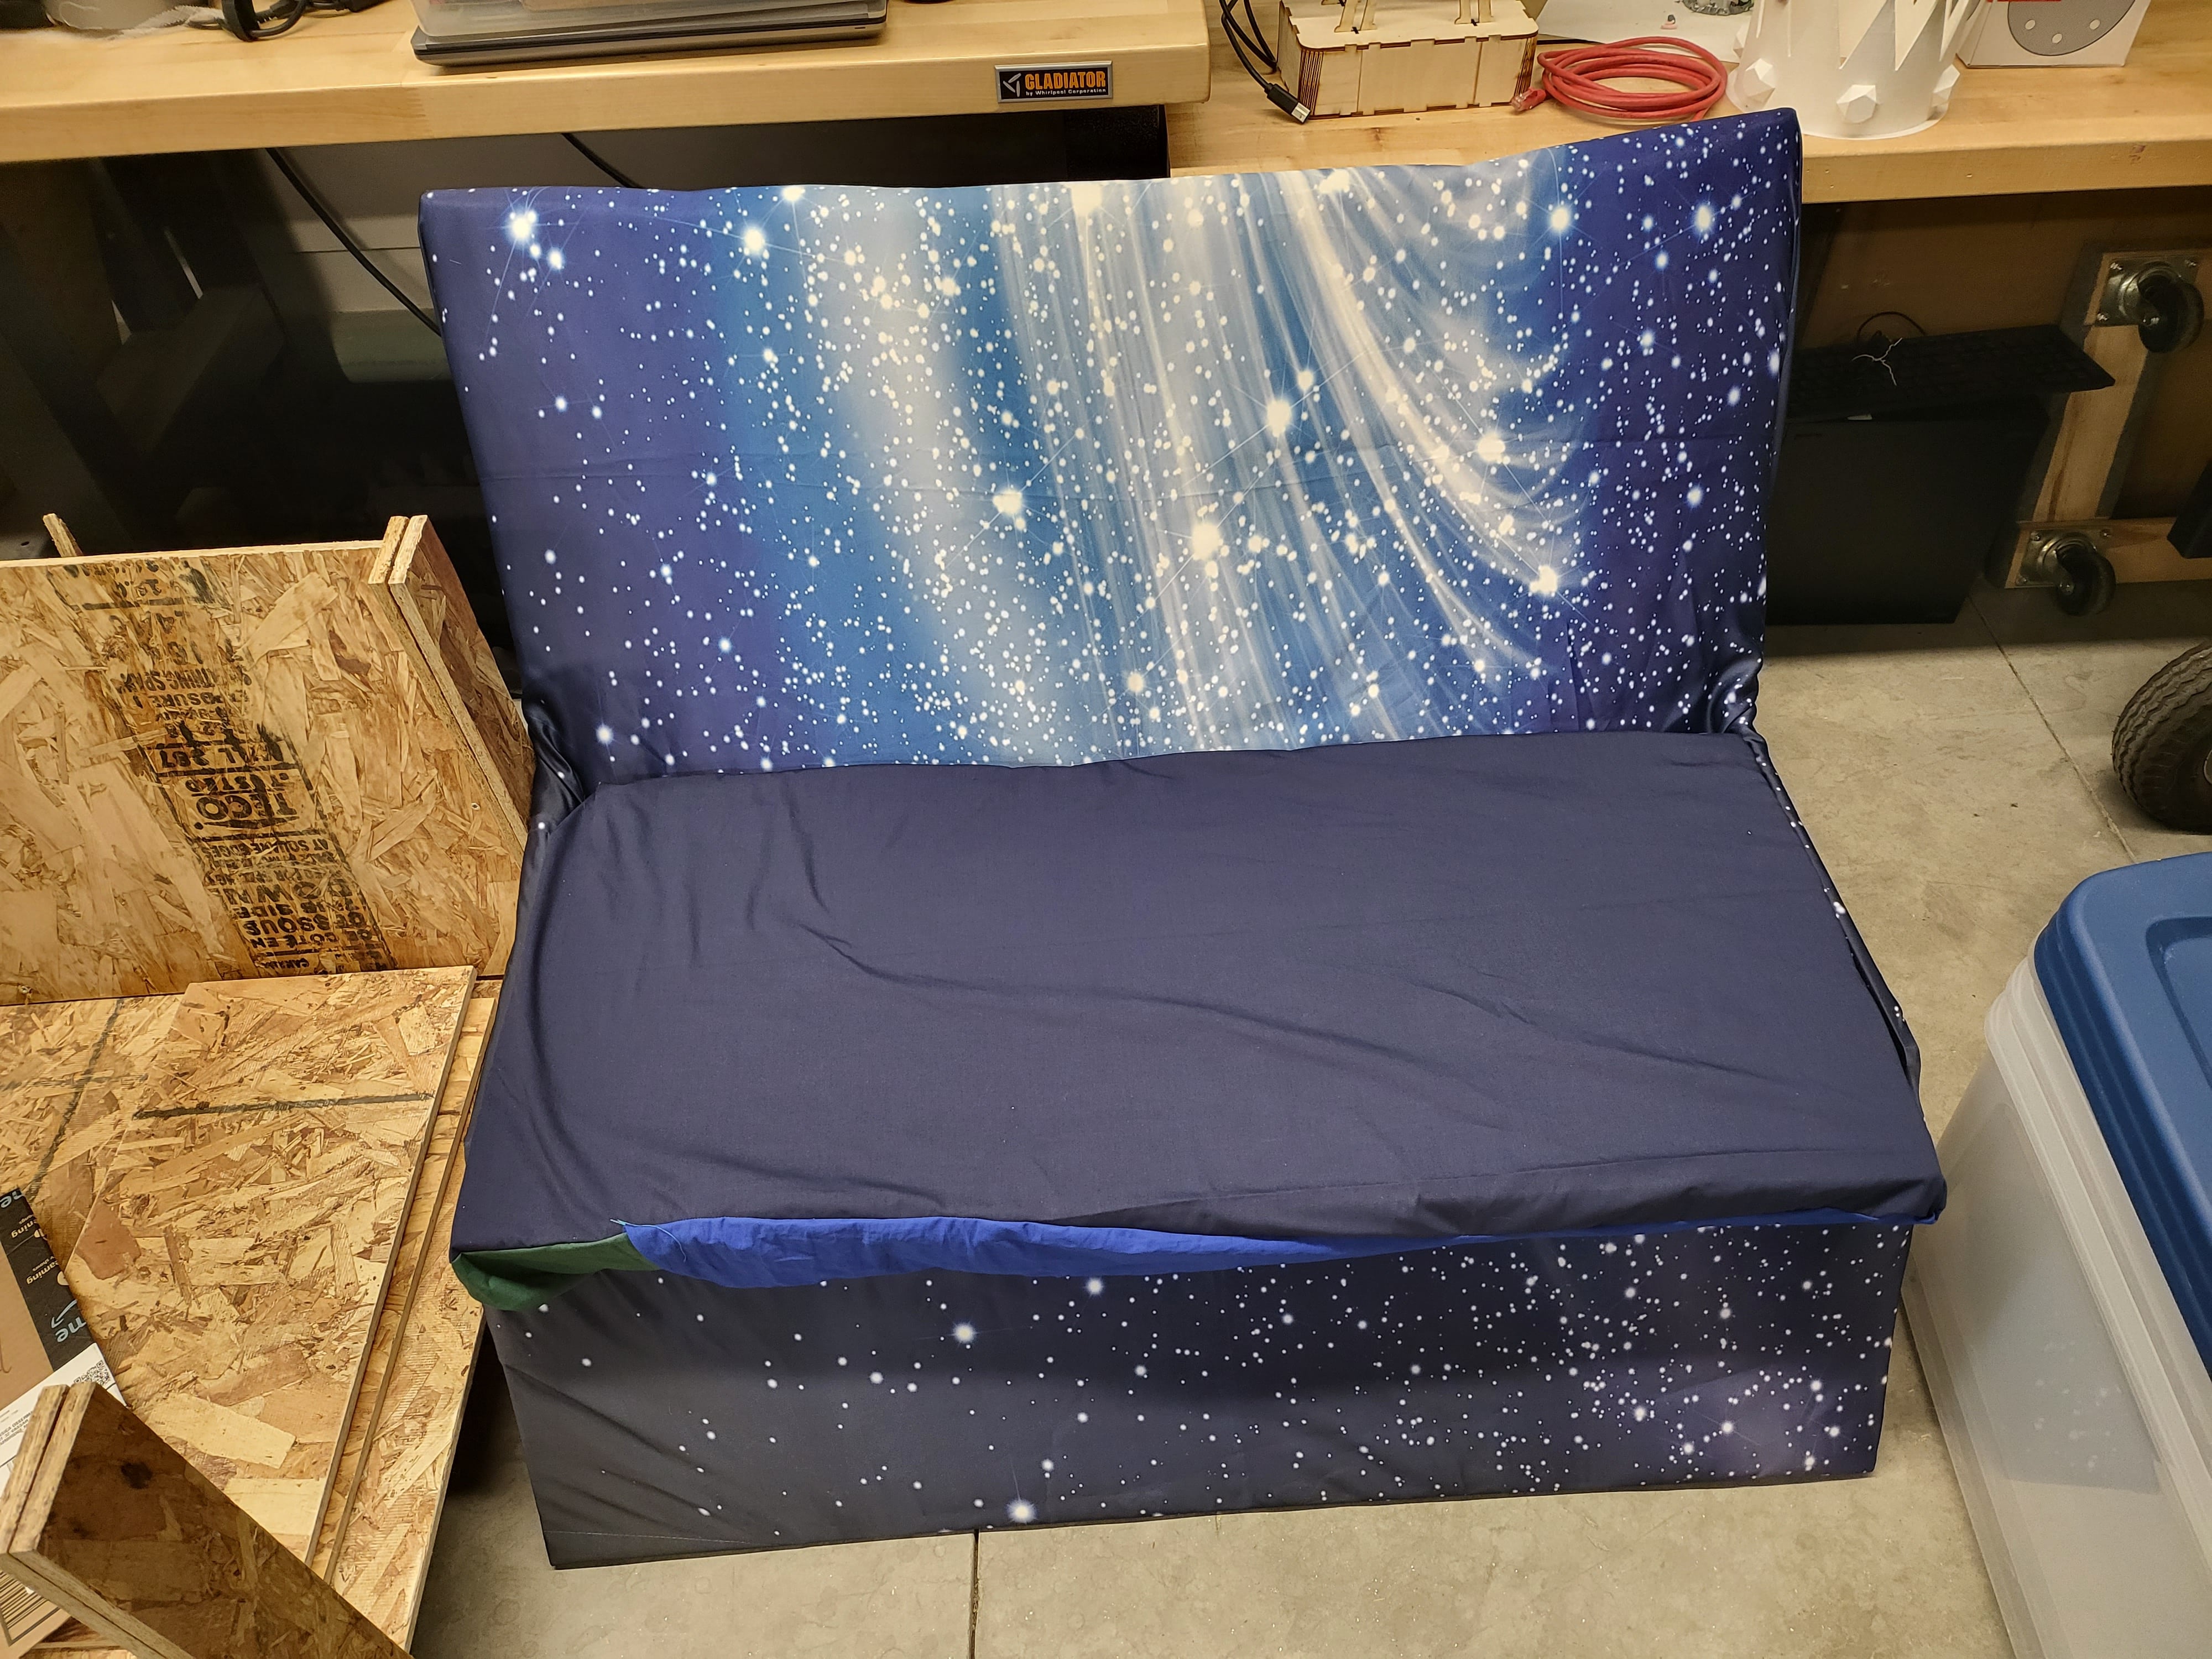
keep everything nice and tight.. a little too tight stuffing it was a pain. Here are some final pictures of
the couch, it now lives in my dorm room and gets plenty of love, I even made a little coffee tablee/dog
house (for my stuff animal Elliot) to compliment it.
Group Test
Here is a picture of our group test. We cut this on Thursday and had to screw the OSB to the bed, later on
the vacuum was sufficient. The sheets were slightly smaller than 0.5in but that was no real problem for my
parametric design