Molding and Casting
Group Assignment
This week I am starting with the group assignment because I was completely lost until we walked through how to use
the tools and machines. I have used smooth-on's products before but it was helpgul to review the safety data sheet
and realize the differences in toxicity of material. Luckily unlike epoxy and urethane, oohmoo and plaster are
relatively safe. We learned how to use the intelitek to mill wax and how to create a good wax mold to cast our
mold to cast our actual piece. The intelitek is rather slow and so is the curing process for both oohmoo and
plaster, or rather I am extremely impatient and that may or may not have reduced the quality of my final
product

Plan A Part B: the part where I get a little distracted and then wildly more so
I mentioned previously that I had used smooth-on's products before, specifically I had used it during a training
on how to mold, but that was last year and I hadn't touched molding since so I needed a refresher. I signed up to
take the training again, but it wasn't until Monday and it was an additional part of the assignment. Which meant
the reasonable thing to do was to focus on Plan A part A (AKA the actual assignment), sadly I have never been
known to be reasonable. During this training you are supposed to bring a small object to mold, instead of milling
wax to create a mold for our molds you skip right to the part with the negative of the piece. Lacking any cool
small objects I decided to make my own which is where I discovered something really cool any completely
distracting. Some brief notes for context:
1. My computer is currently very unhappy and will not download much
else (it gets especially moody with Eagle)
2. I love love love love love cadding
3. My love for cadding is
hindered only by my inability to create complex, curvy, organic shapes (I can mimic them using lofts and rails,
but that takes time and forethought and I'm not the best at it)
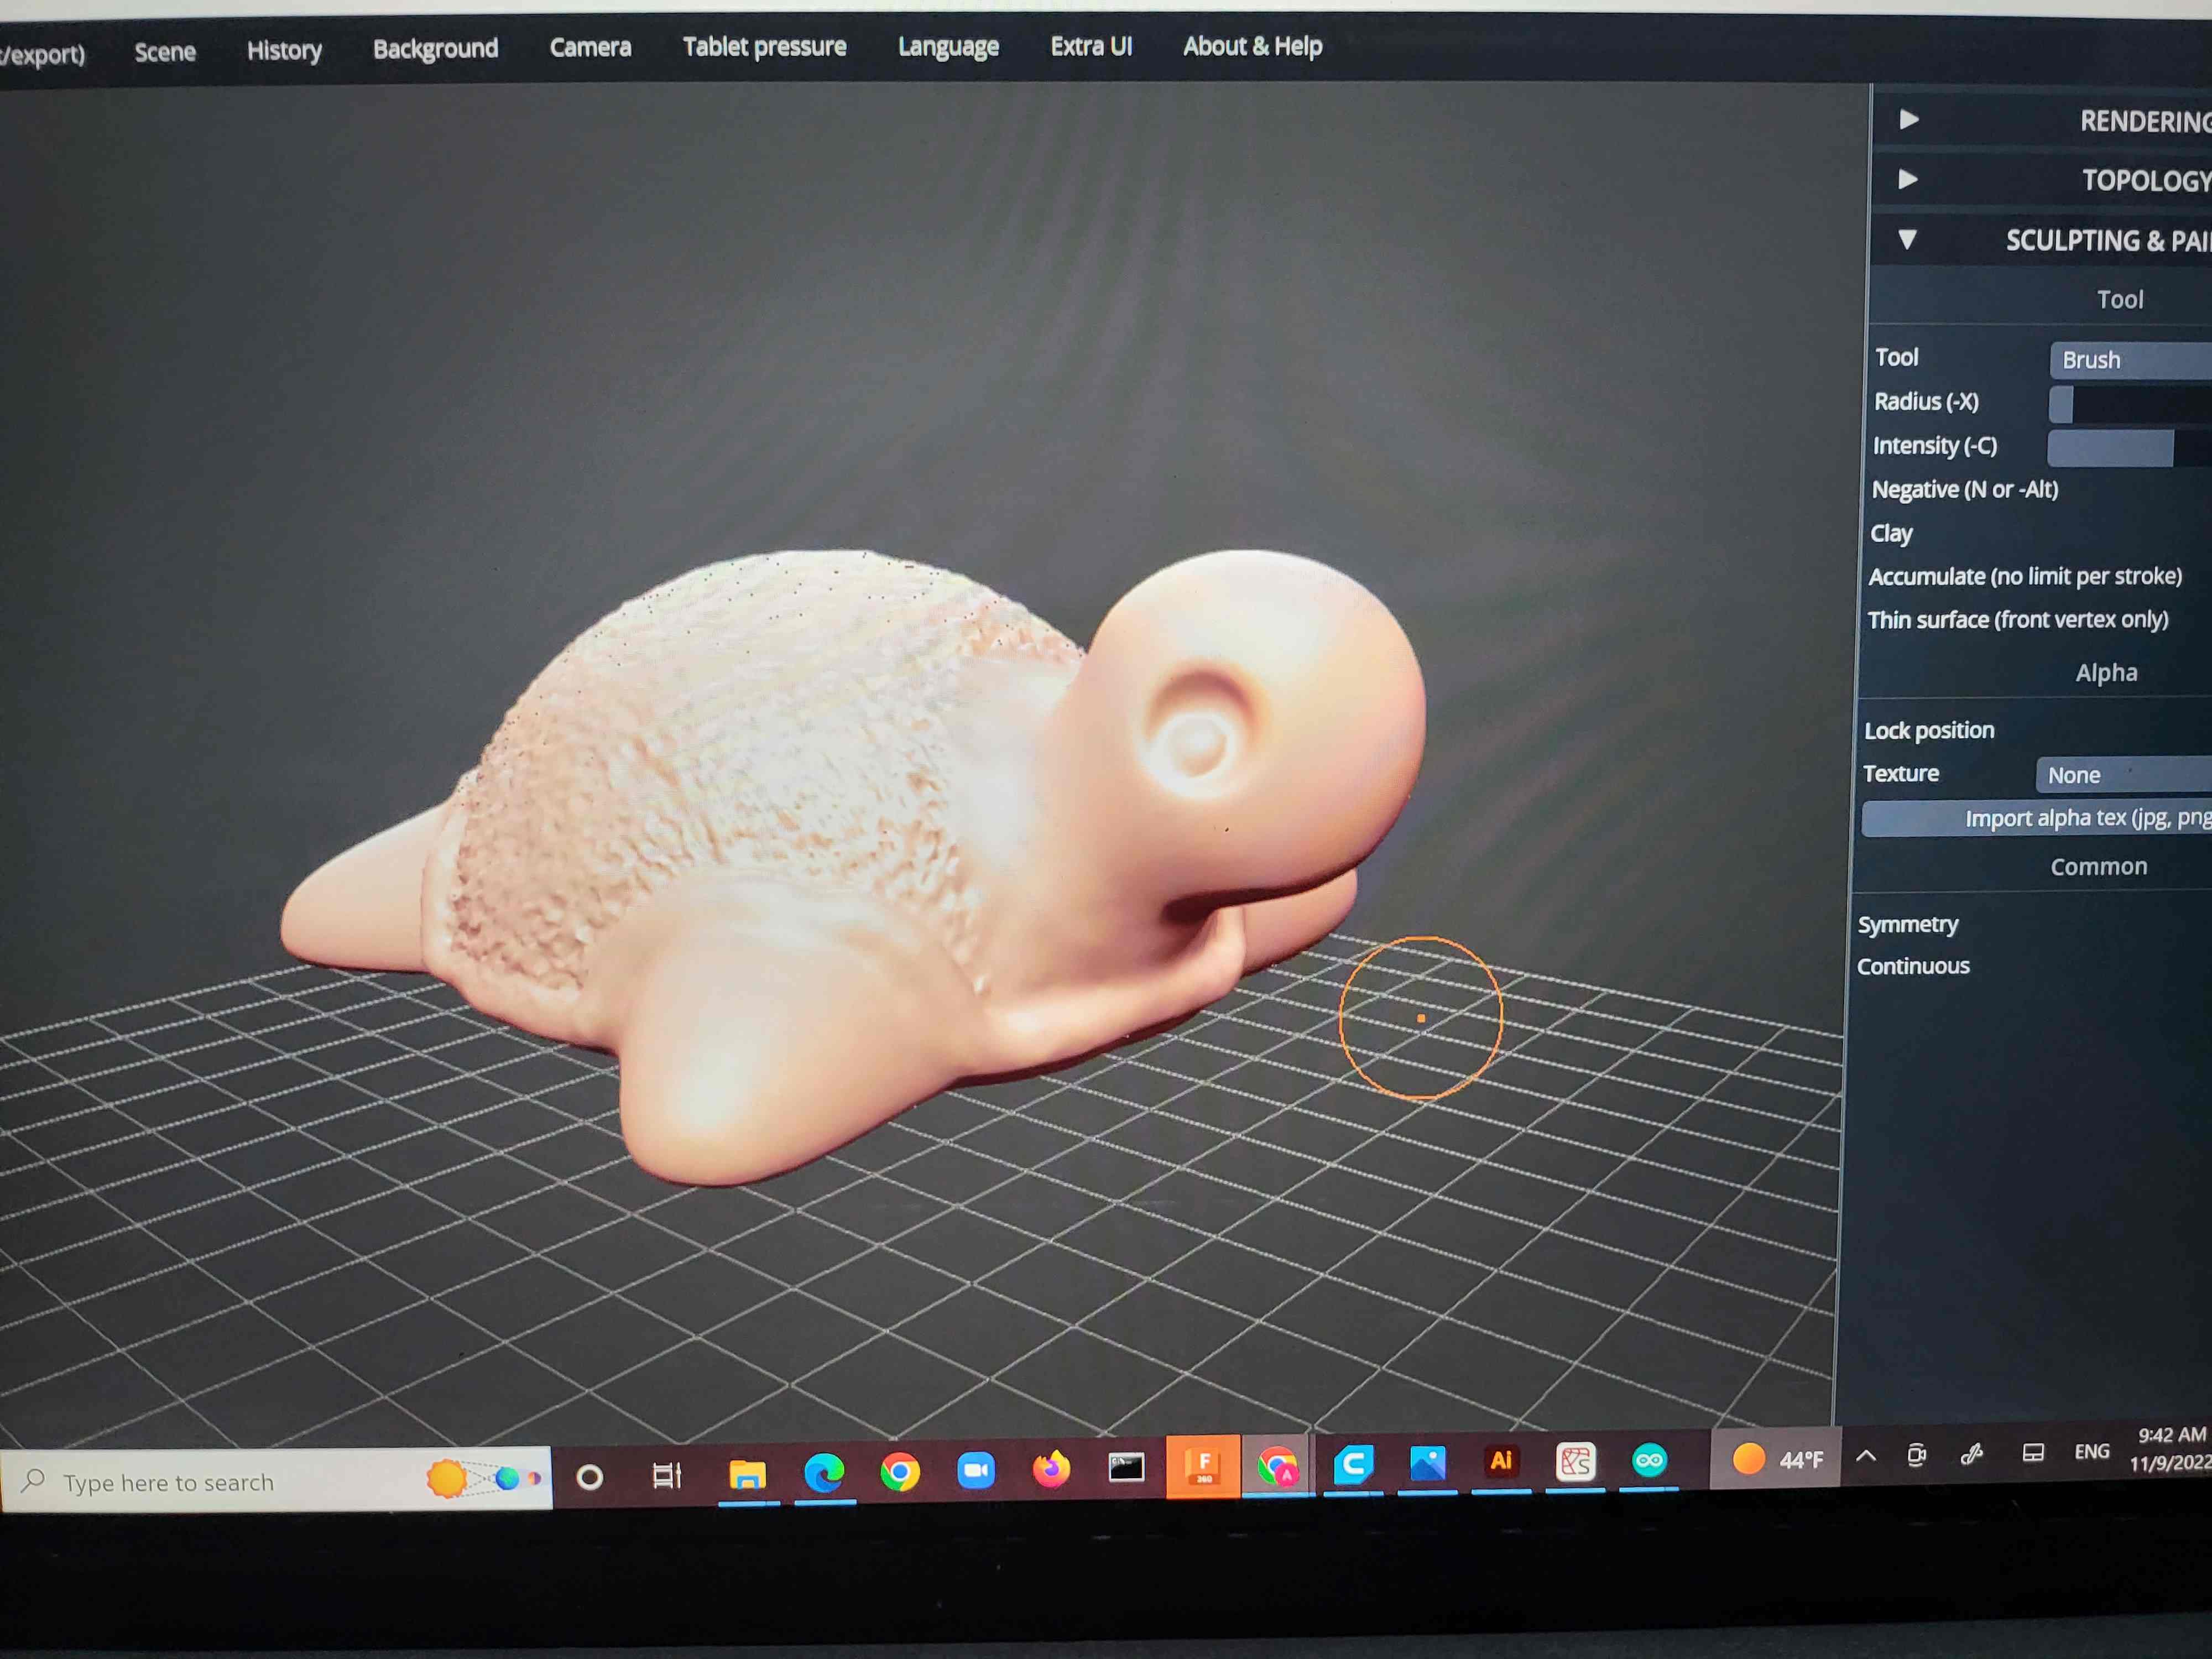
Okay so back to my project... I discovered this amazingly cool site that lets you easily sculpt 3D models without
needing to download, pay, have experience, or do much of anything. You can import models to edit and export ones
that can be easily 3D printed. This magical site is called
SculptGL and it is an opensource digital sculpting web app. Needless to say I made and designed so many
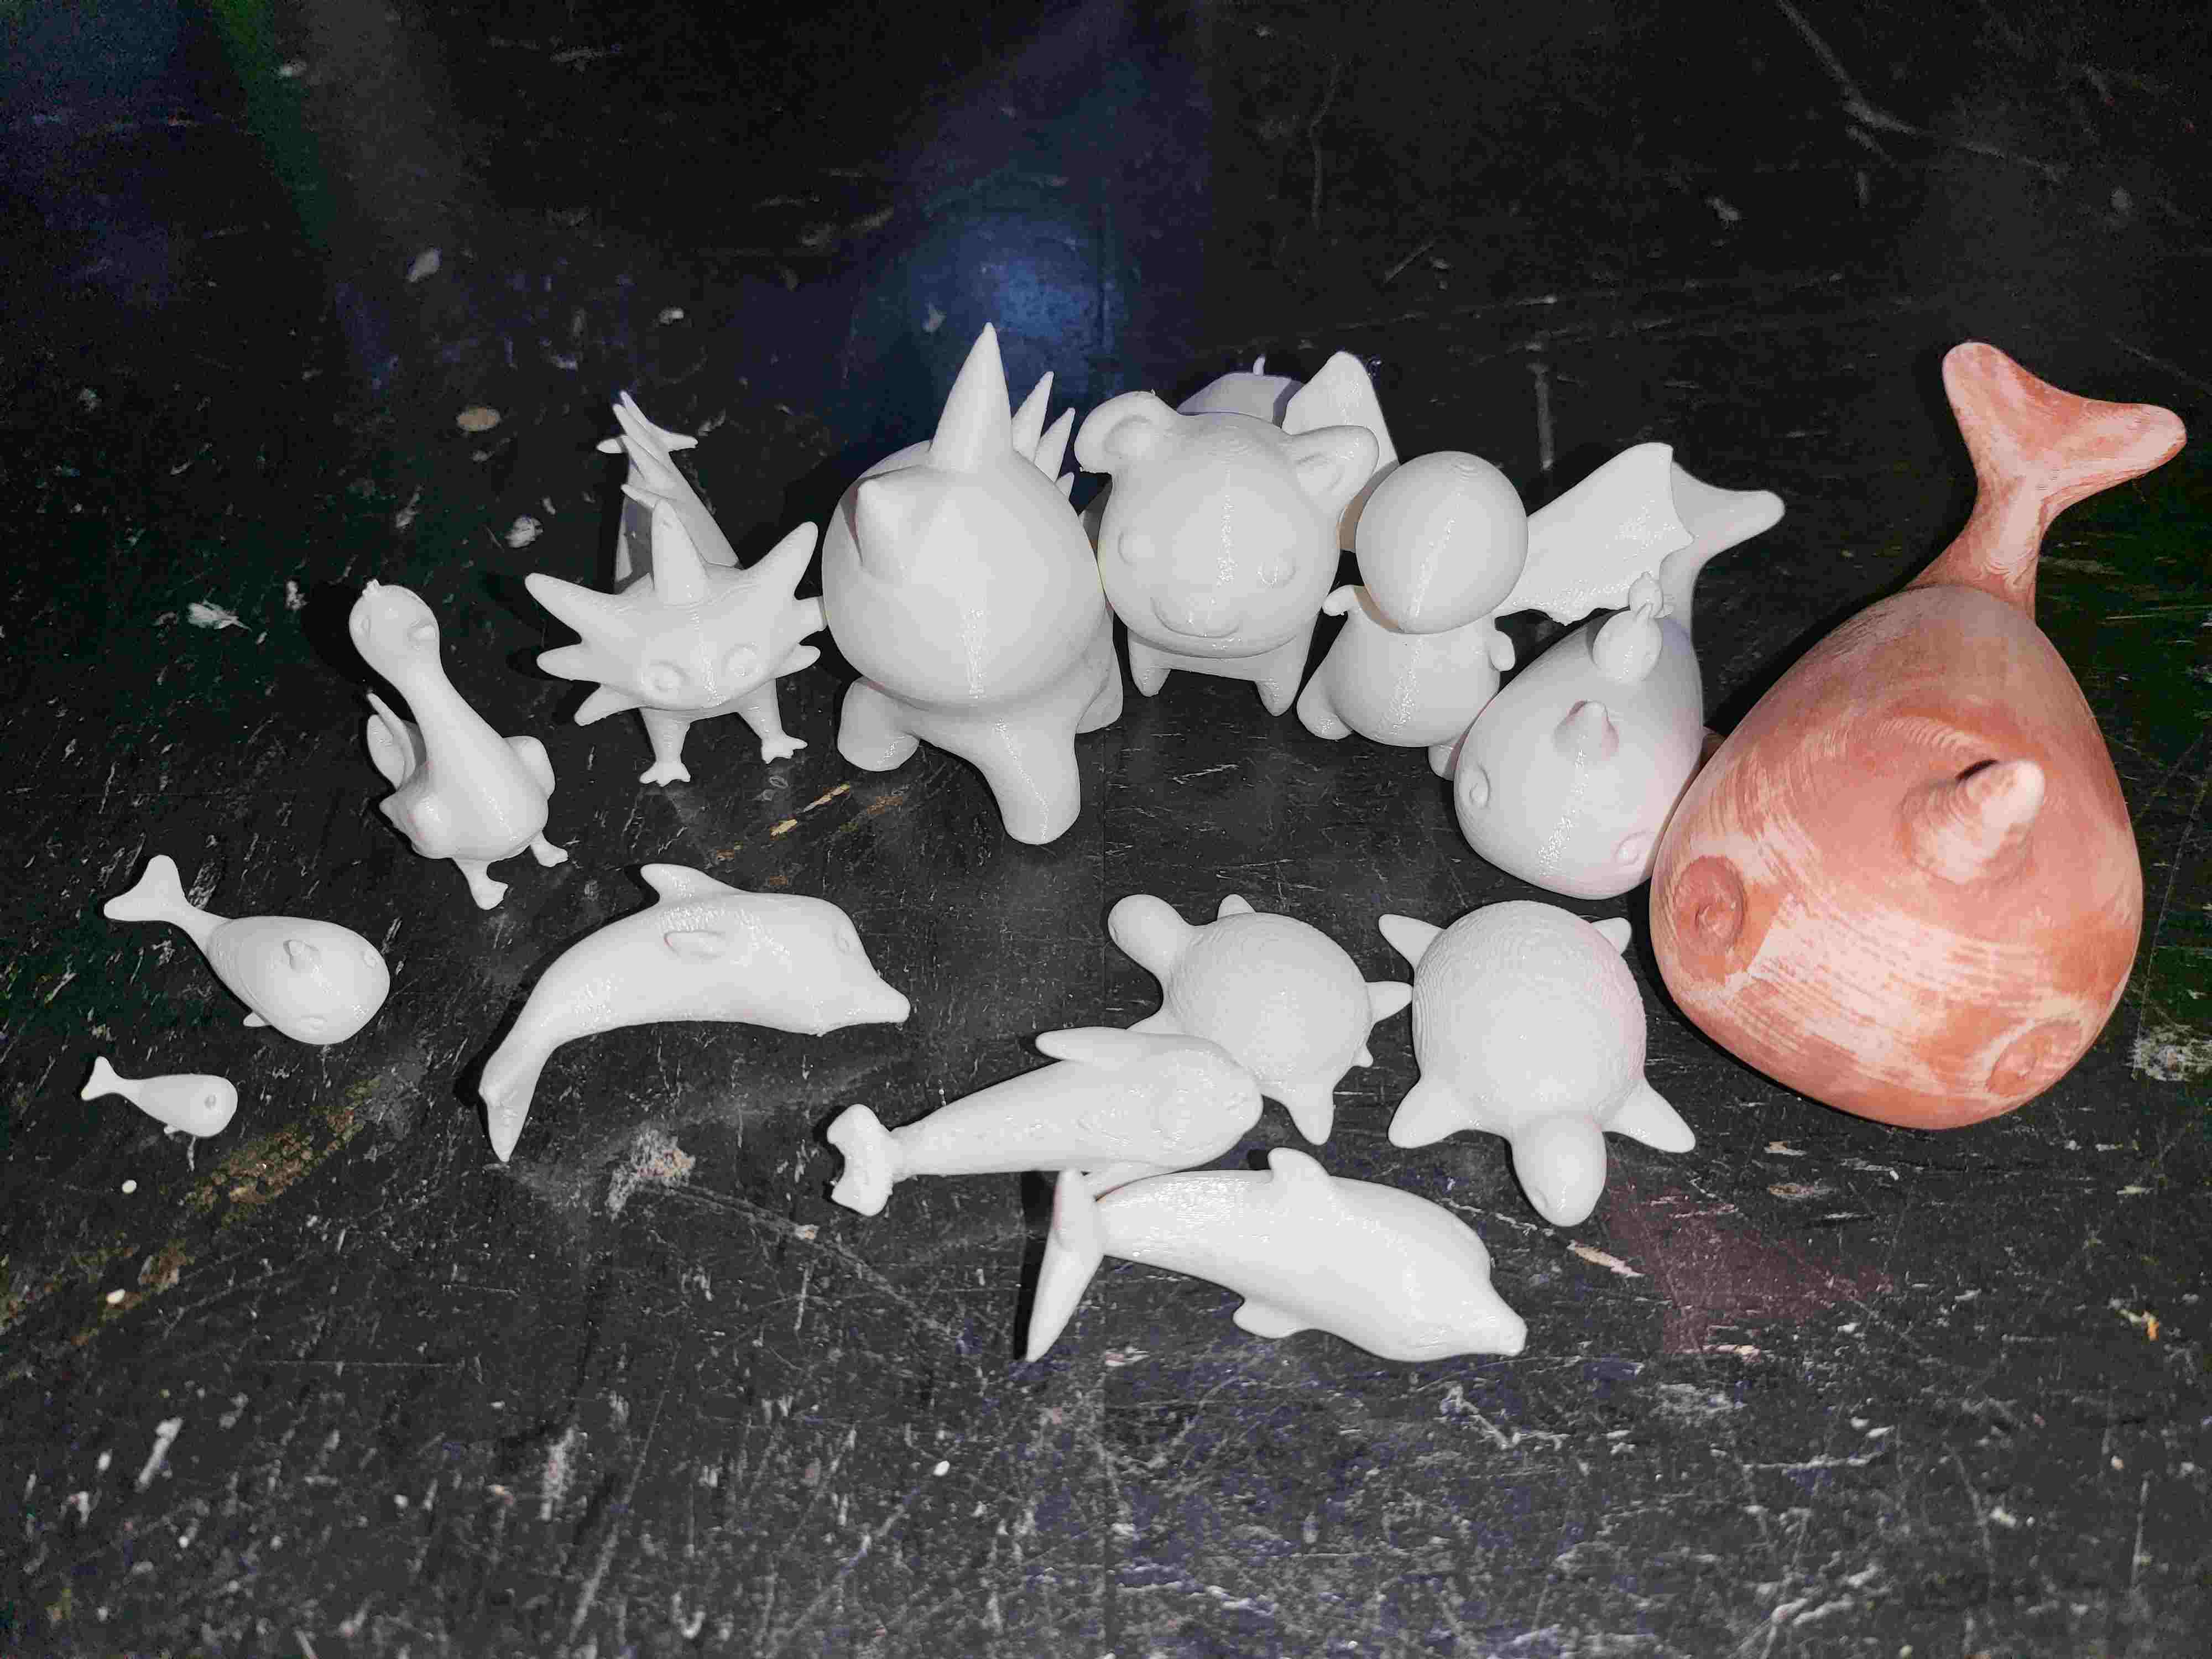
cool curvy animals and printed them with the hopes of getting them molded and cast into cooler materials than PLA.
I'll include some pictures of the models I made (I also decided that turtles, dolphins, and narwhals are my thing
this week).
Sadly nothing ever goes according to plan and molding this way was a nightmare, all my casts got stuck in my
molds because when I casted them in silicone and silicone wants to stick to silicone, I also had trouble pouring
the molds because my curvy beautiful objects were oddly shaped, I also had trouble filling the molds because I
wanted fancy sparkly colors and mixing fancy sparkly colors to just the right shade of blue/pink/green/orange
takes time more time than the potlife may allow. I failed MISERABLY, but I learned a thing or two.
1. When
casting in molds made of similar materials like silicone in silicone use mold release or your casts will stick and
tear and make you really really sad
2. When picking objects to mold think about whether or not they are
suitable for molding and where you'd need to put funnels so that you can fill your molds
3. Pot life is no joke
and your mixture can get thicker quicker than it reads on the package
4. Just be prepared for things to go
wrong and take steps to check over what you're doing before you do it.
One of my casts came out sort of good,
it was made of epoxy and cast in silicone so lack of mold release didn't effect it as much.

But the rest never stood a chance.

I definitely shouldn't have spent so much time on this part of the project.
Plan A Part A: The Actual Assignment
I love love love love cadding and had created so many models in the last week so it was hard choosing which one to
actually carve into wax. I wanted to try to make something like the tesseract Neil showed us in class, but with my
favotie shape the humble triangle (triangles aren't humble they're everywhere and in everything and rightfully
so). I designed a really cool 5 cell in Fusion360, a 5 cell is a 4 dimensional triangle, but I couldn't figure out
how to create a mold for the mold of it. I did eventually figure this out, but it was too late as demand side time
dictated that I simplify and send what I had to Jen to check over and CAM.


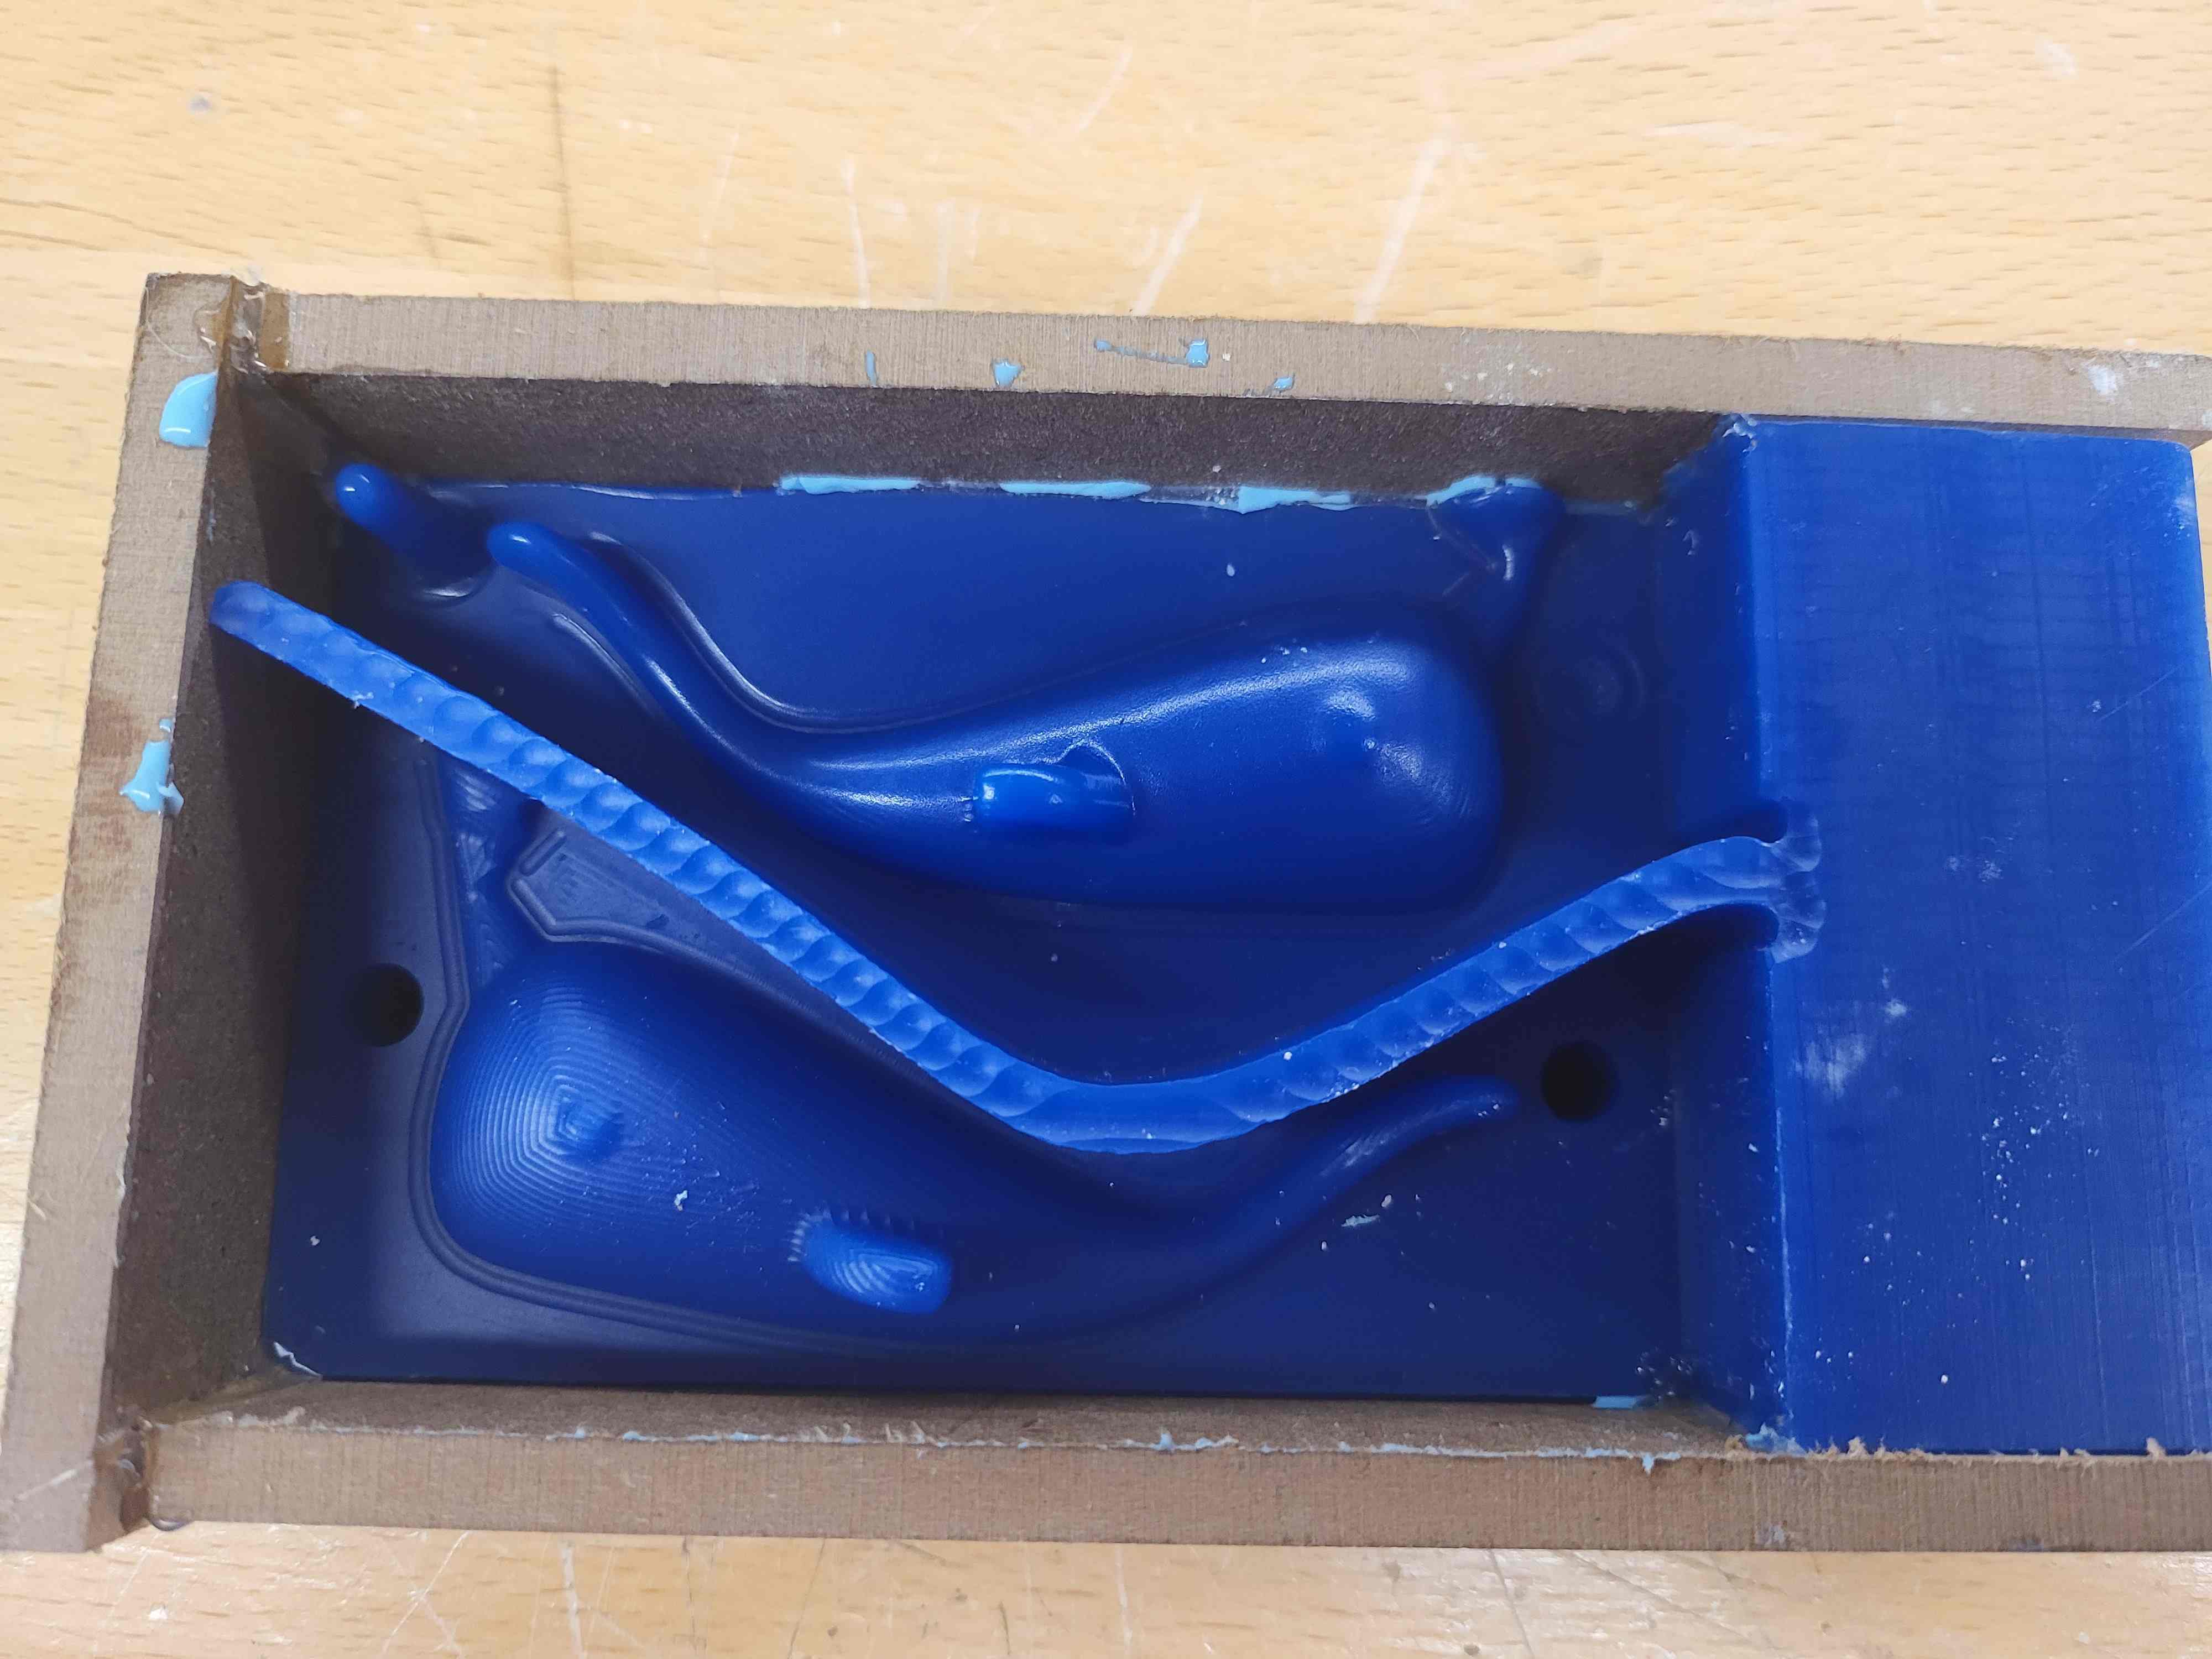
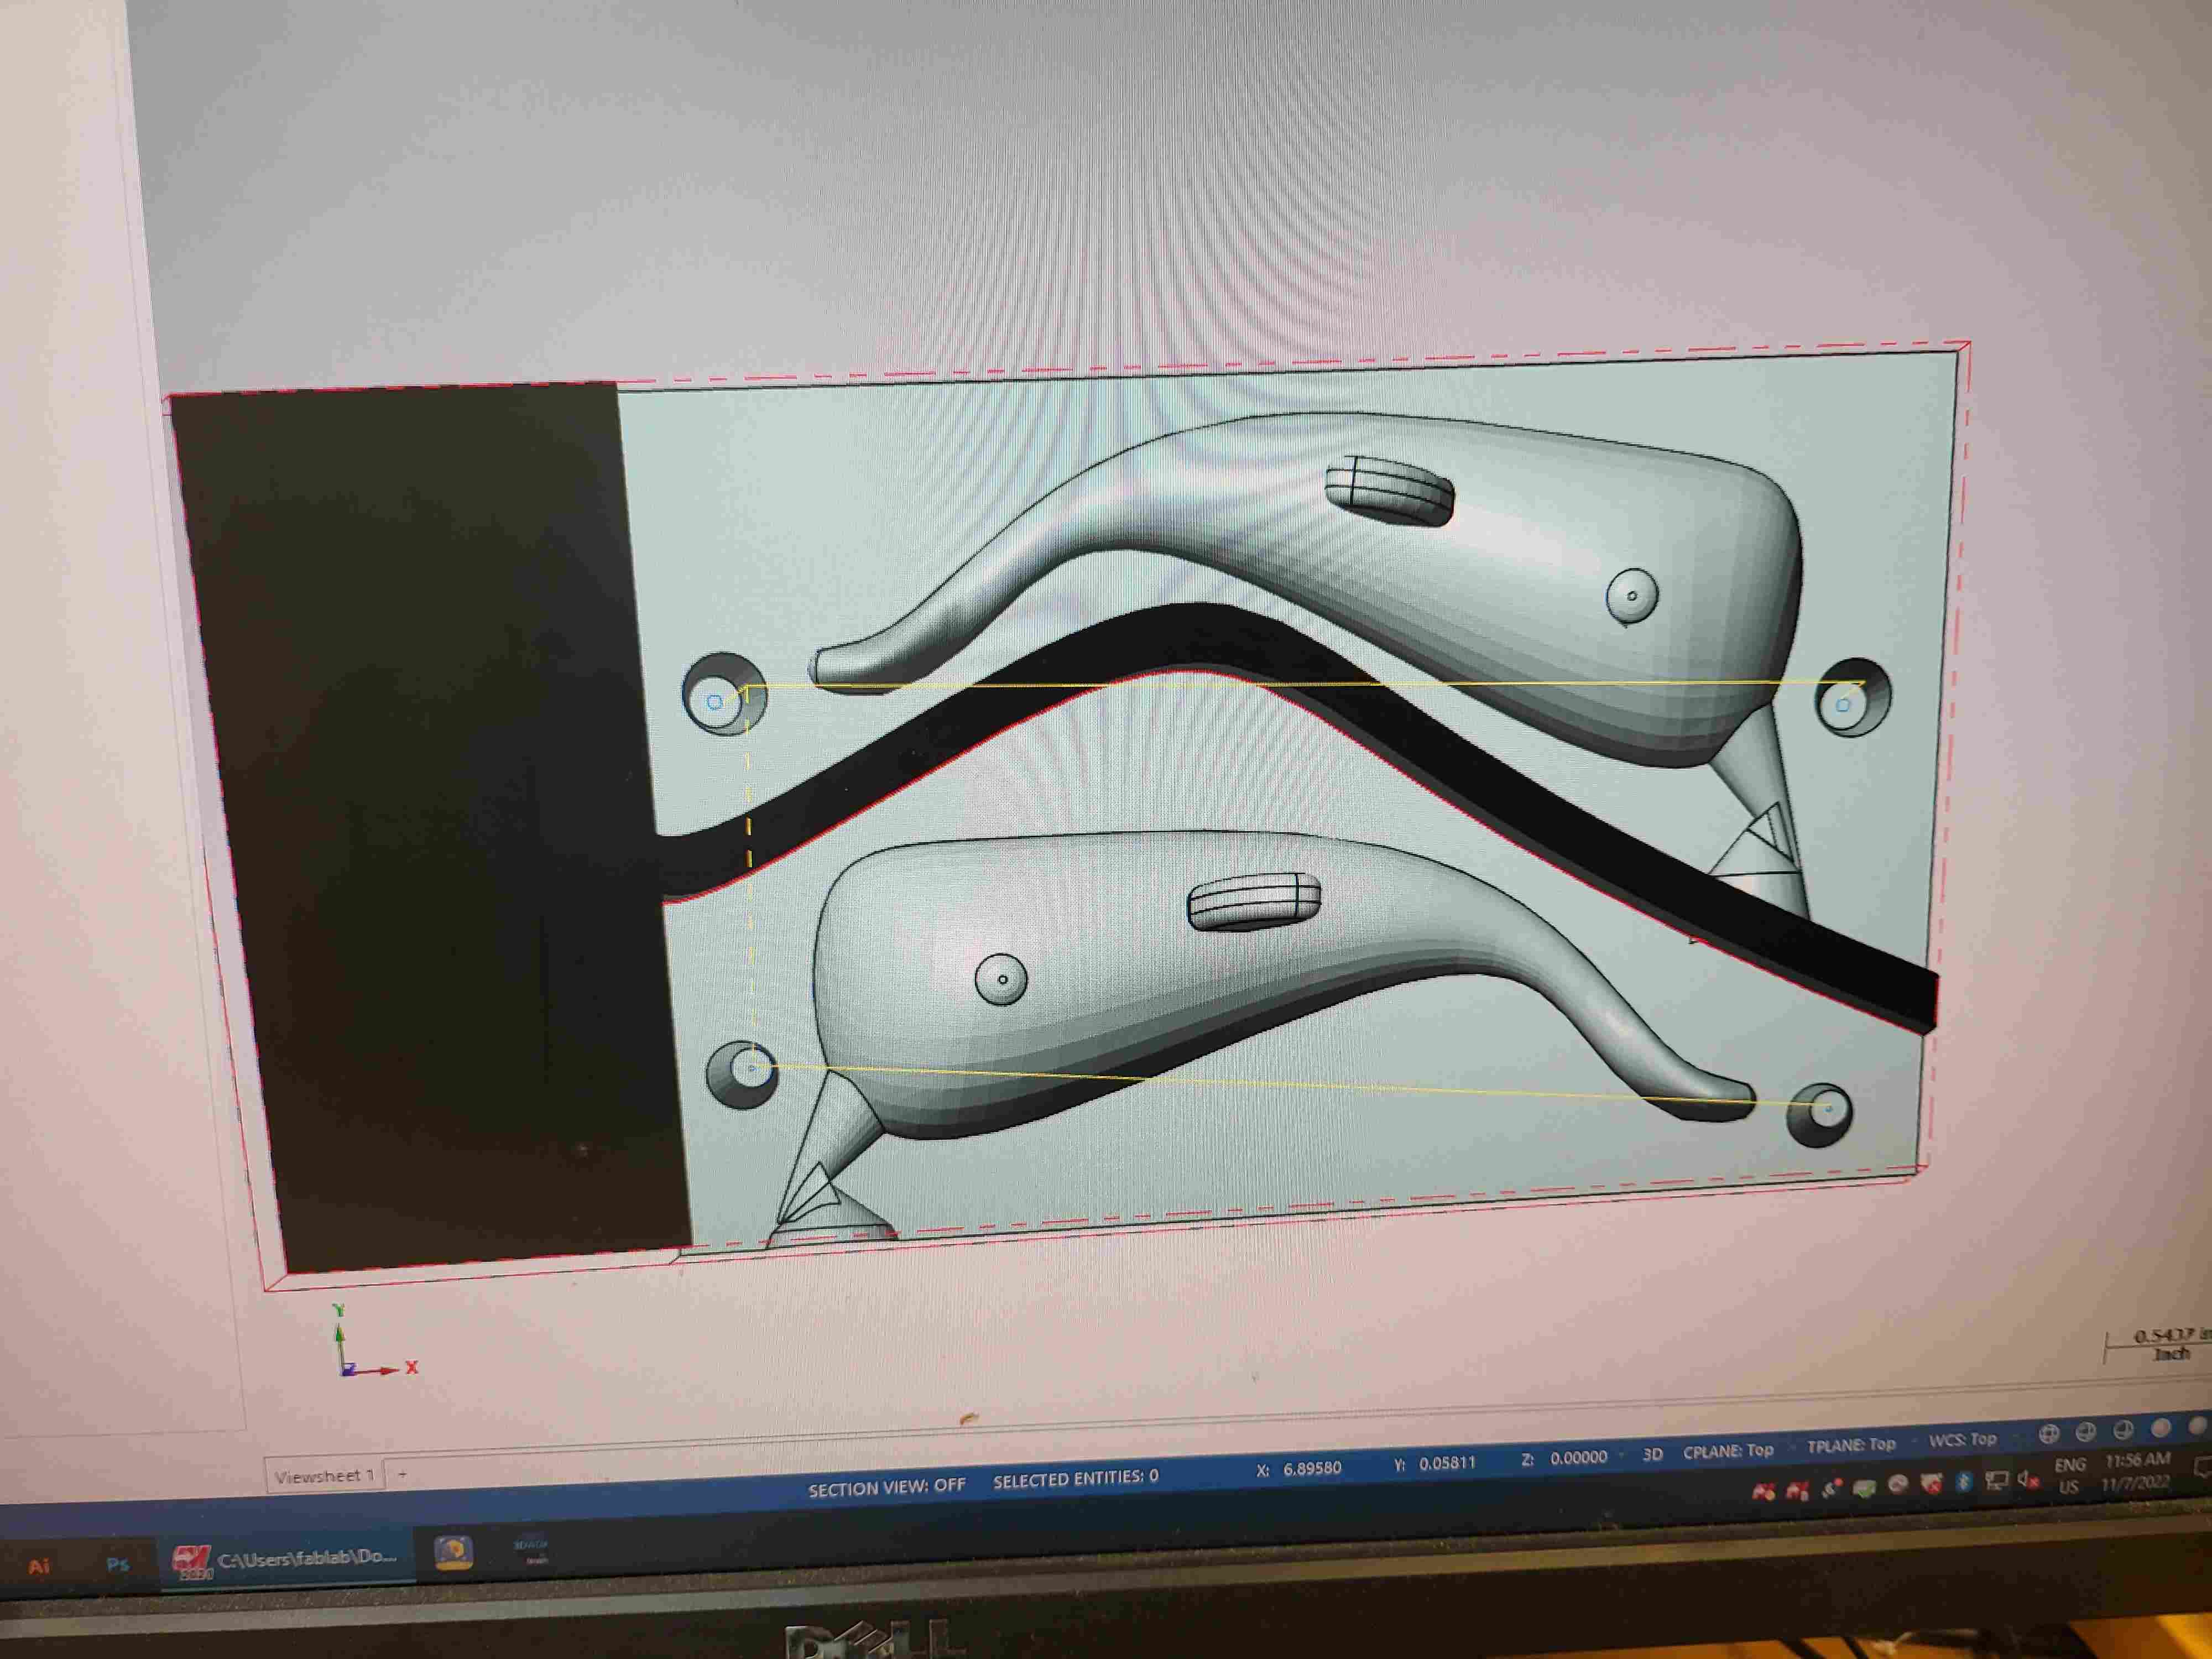
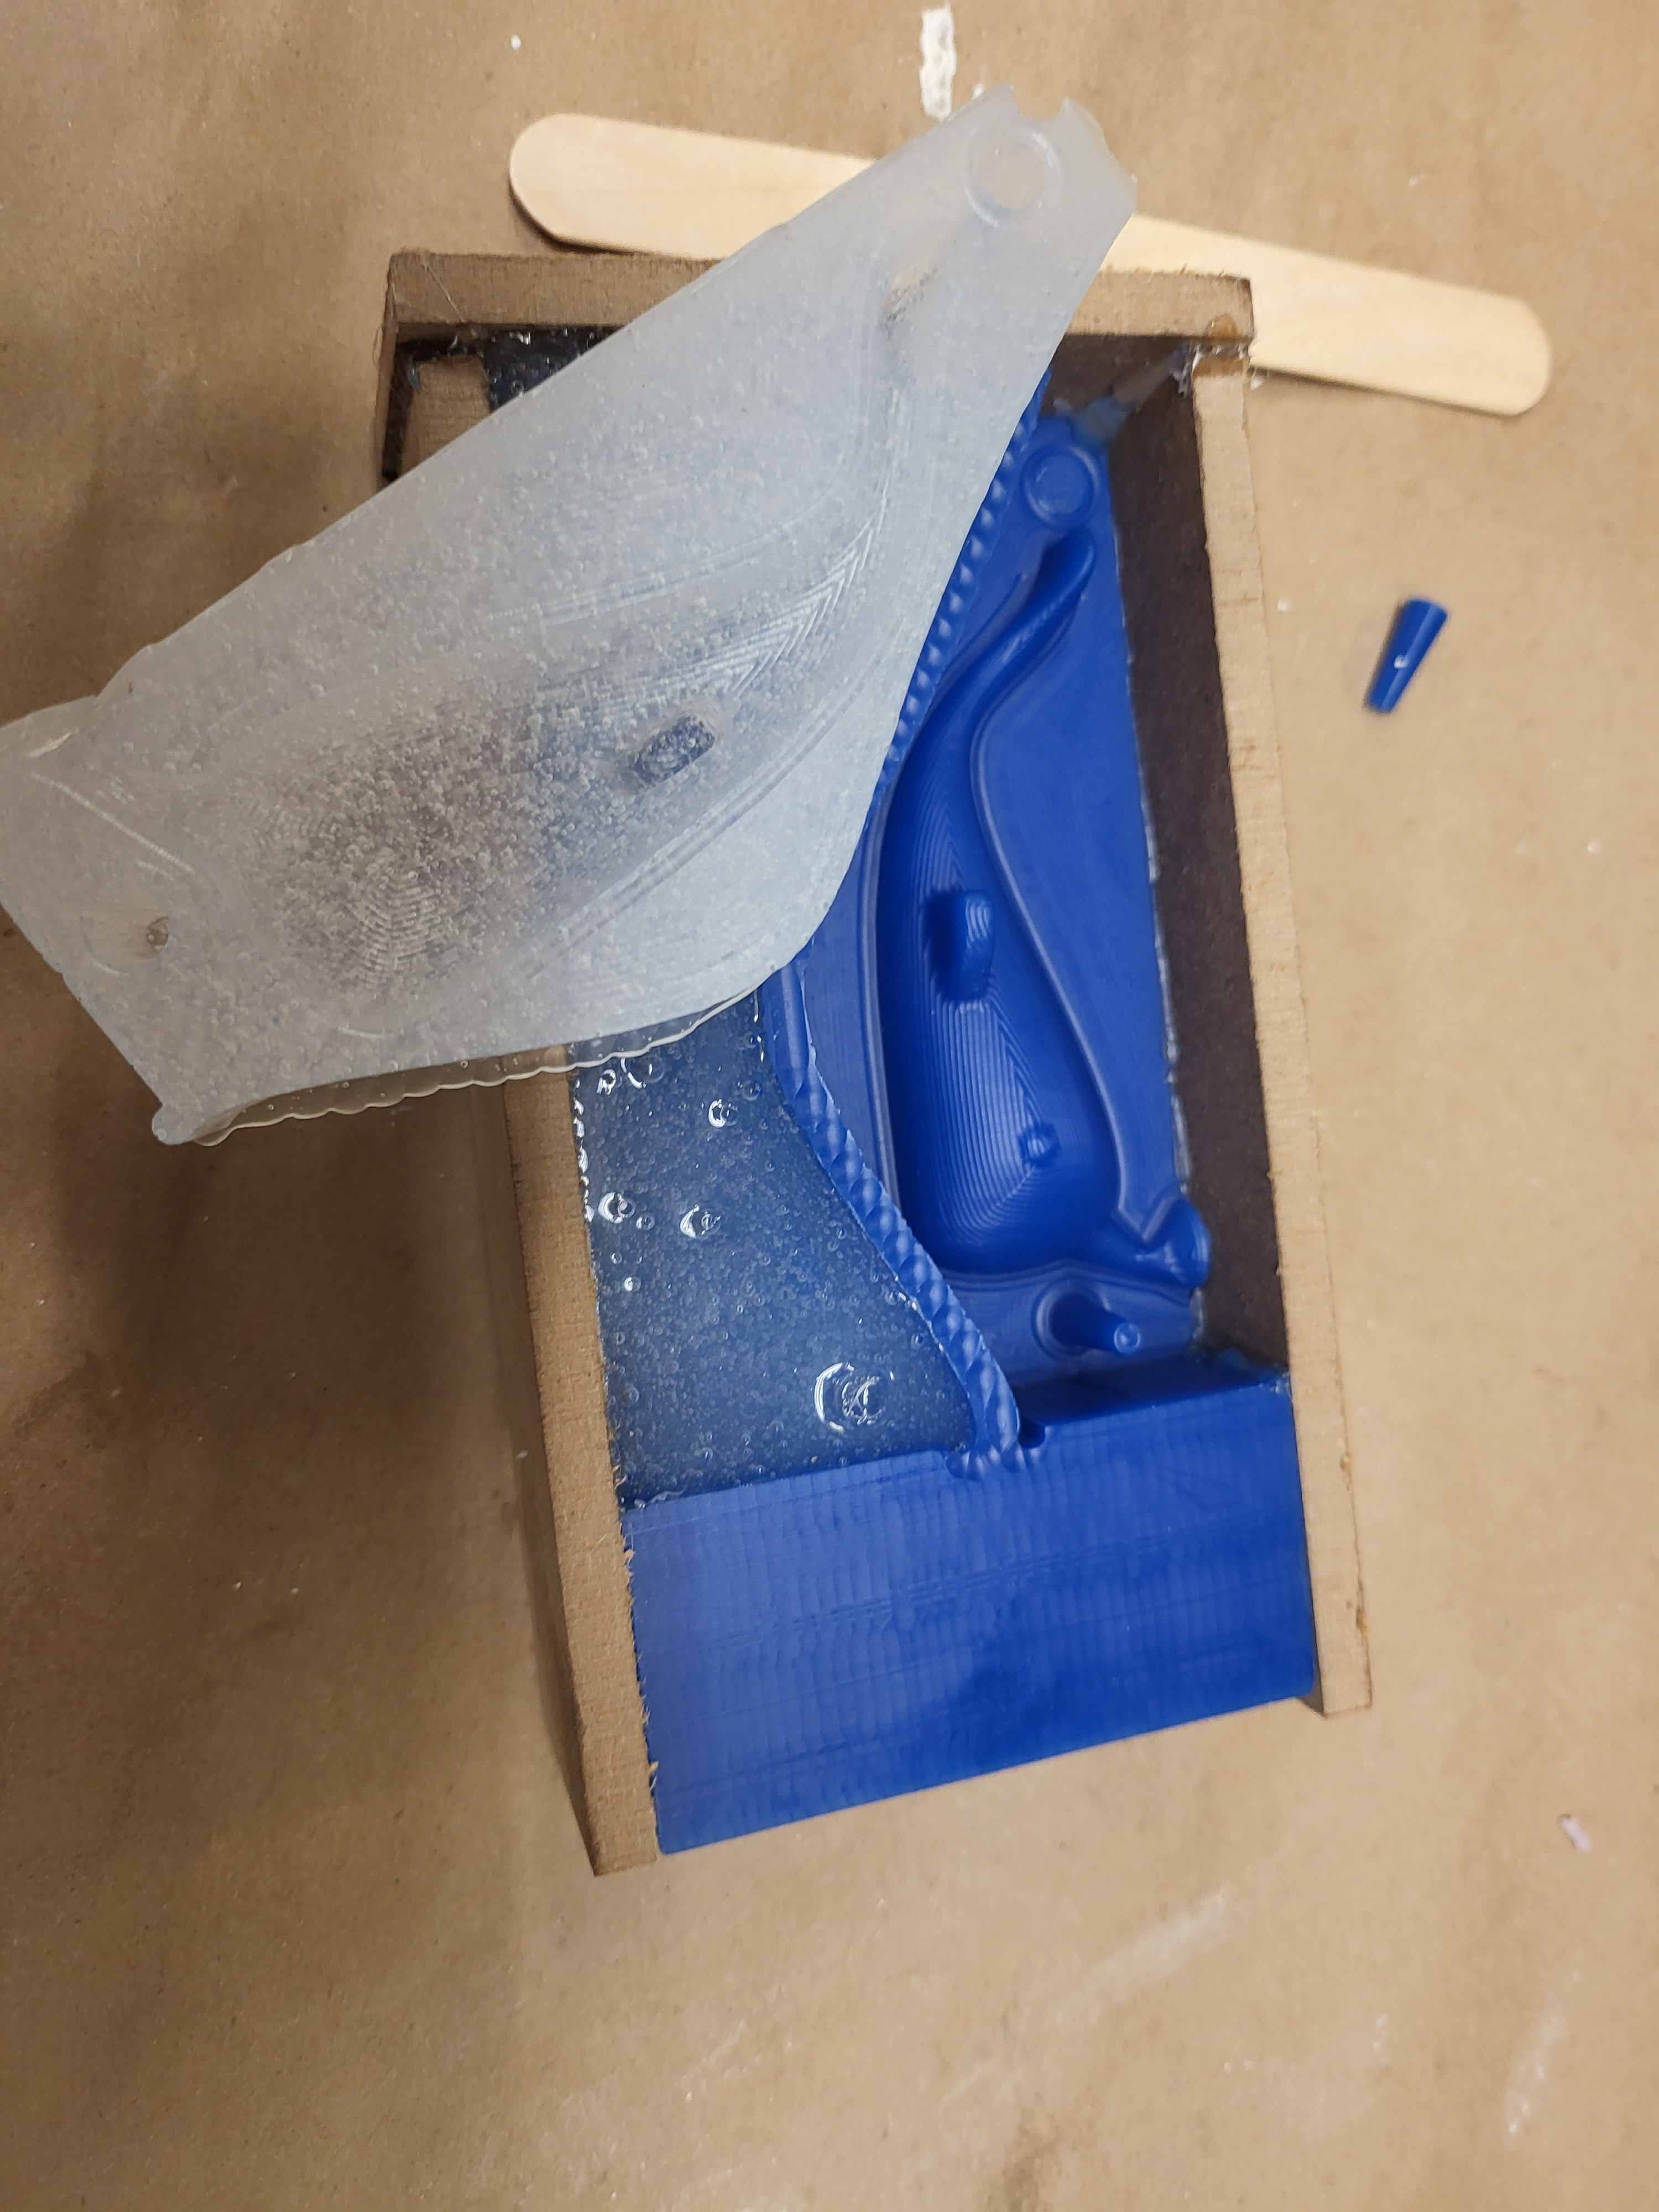
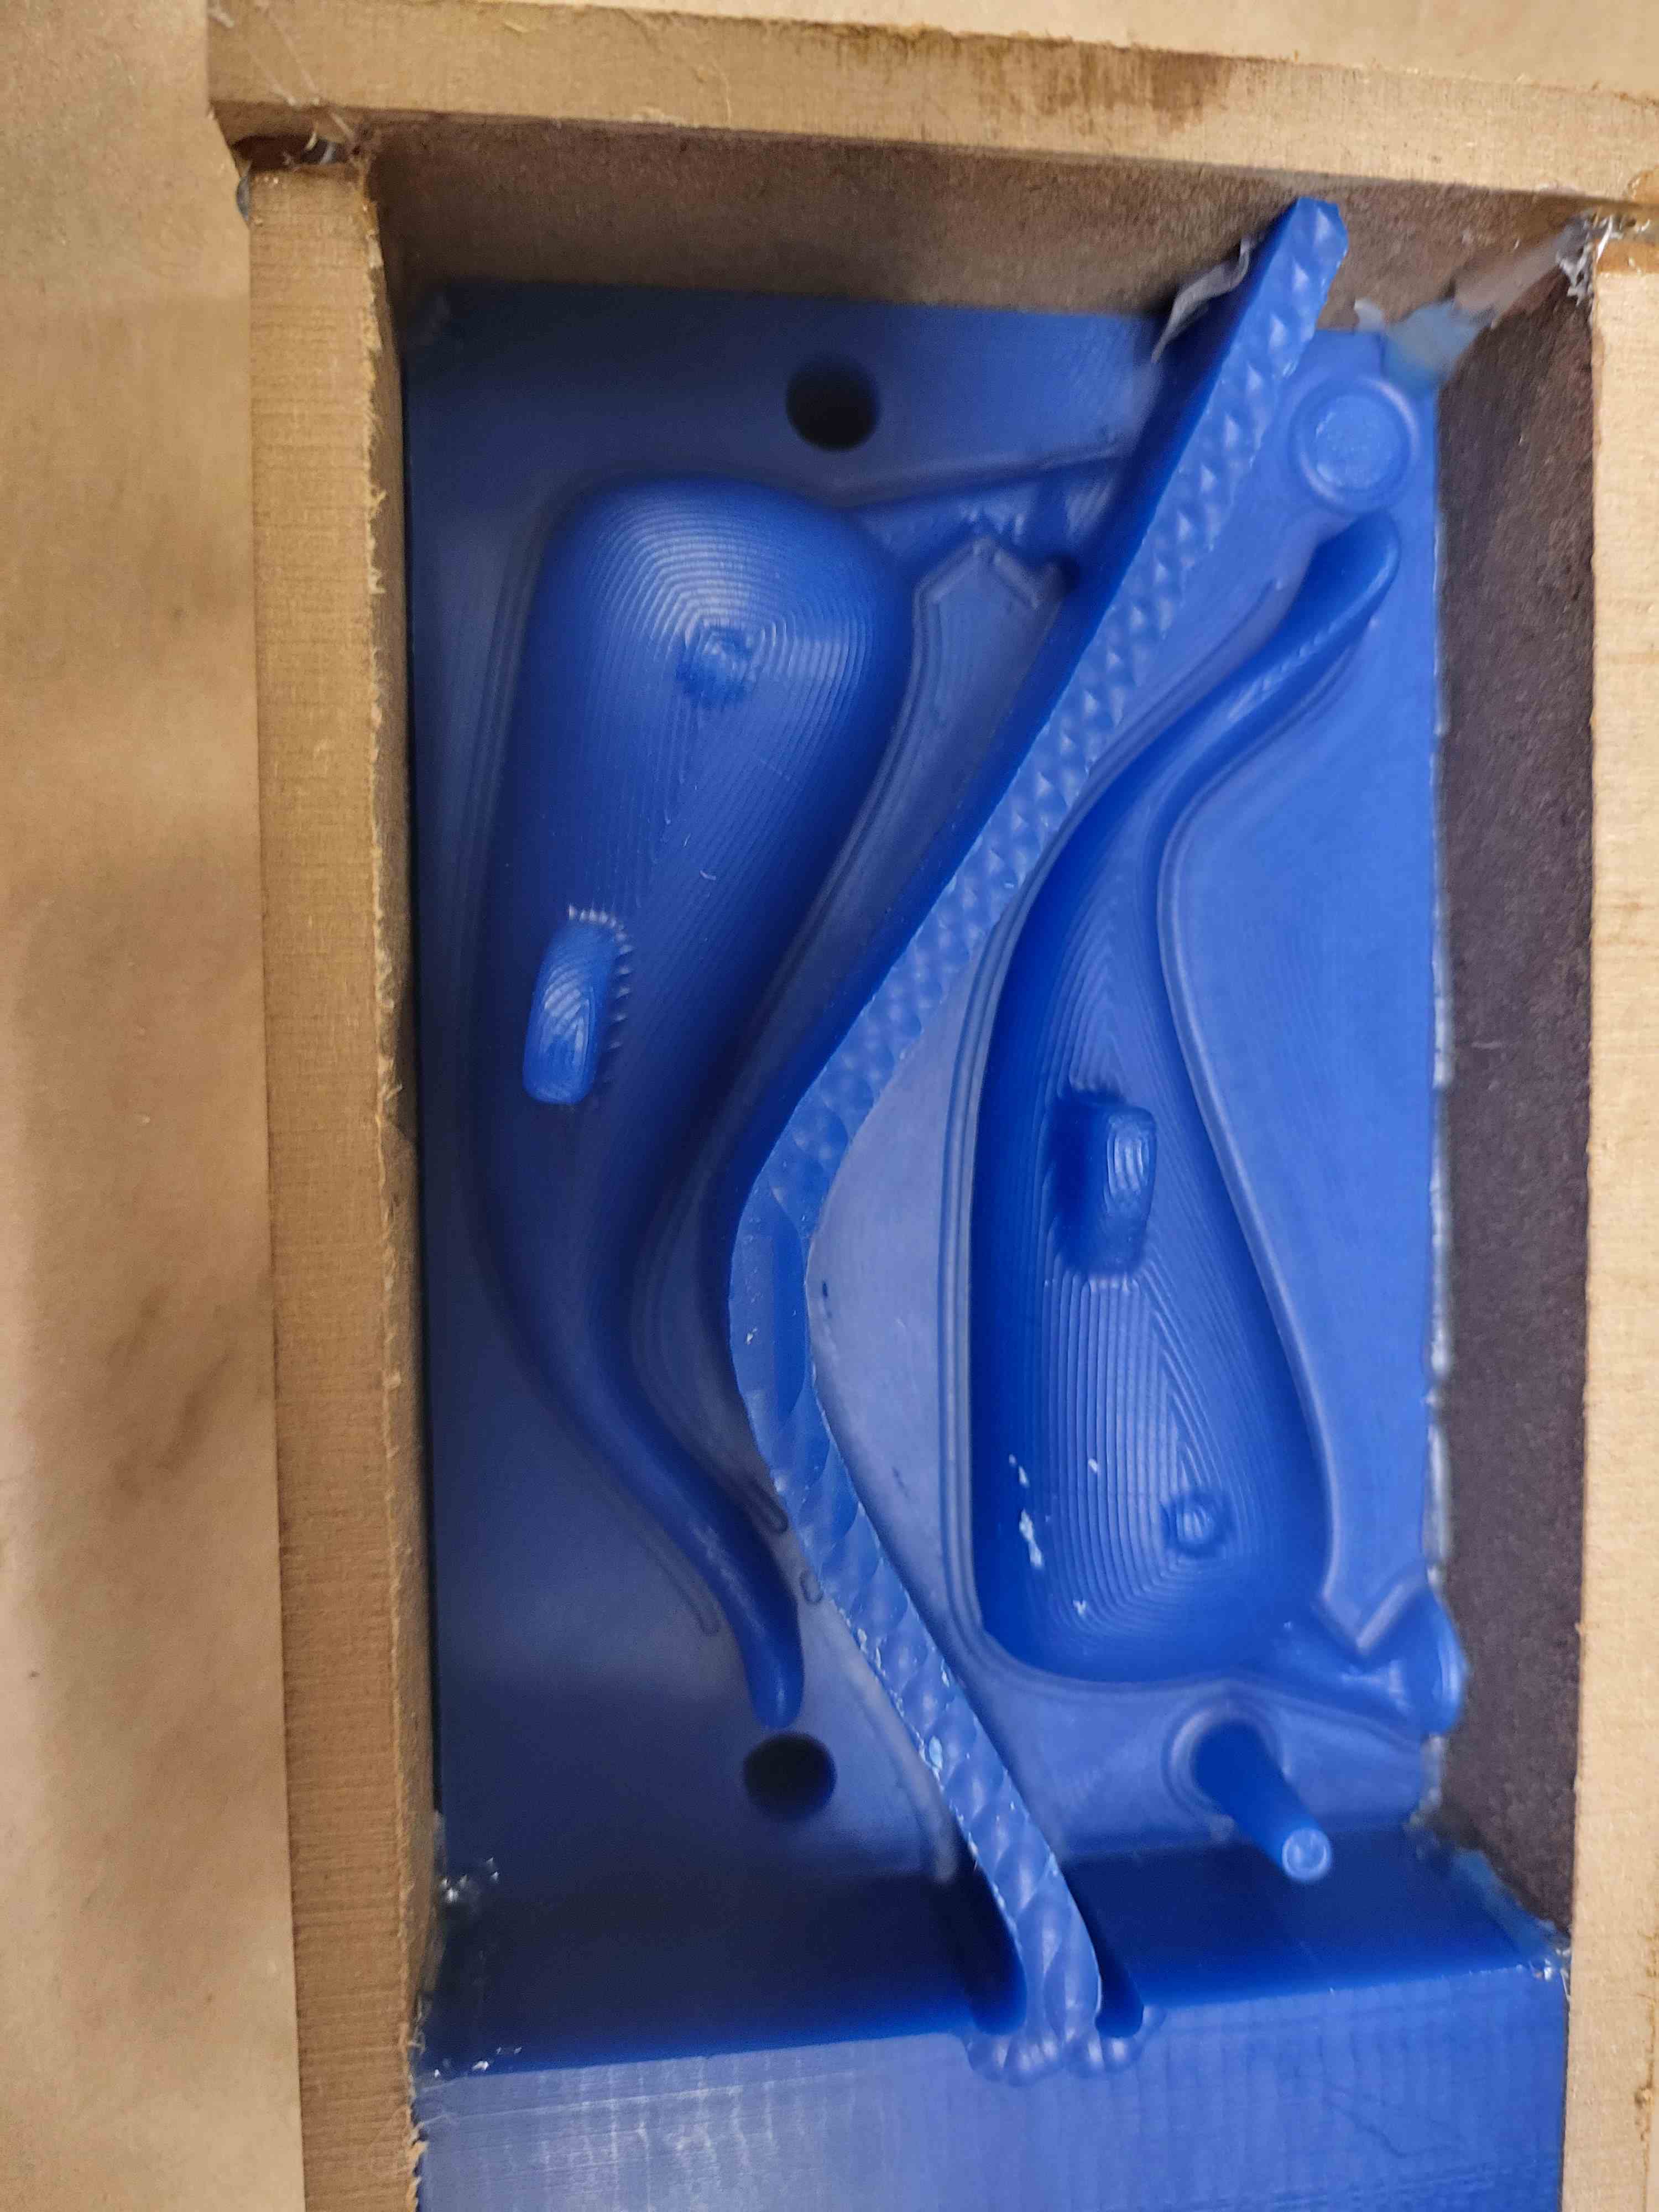
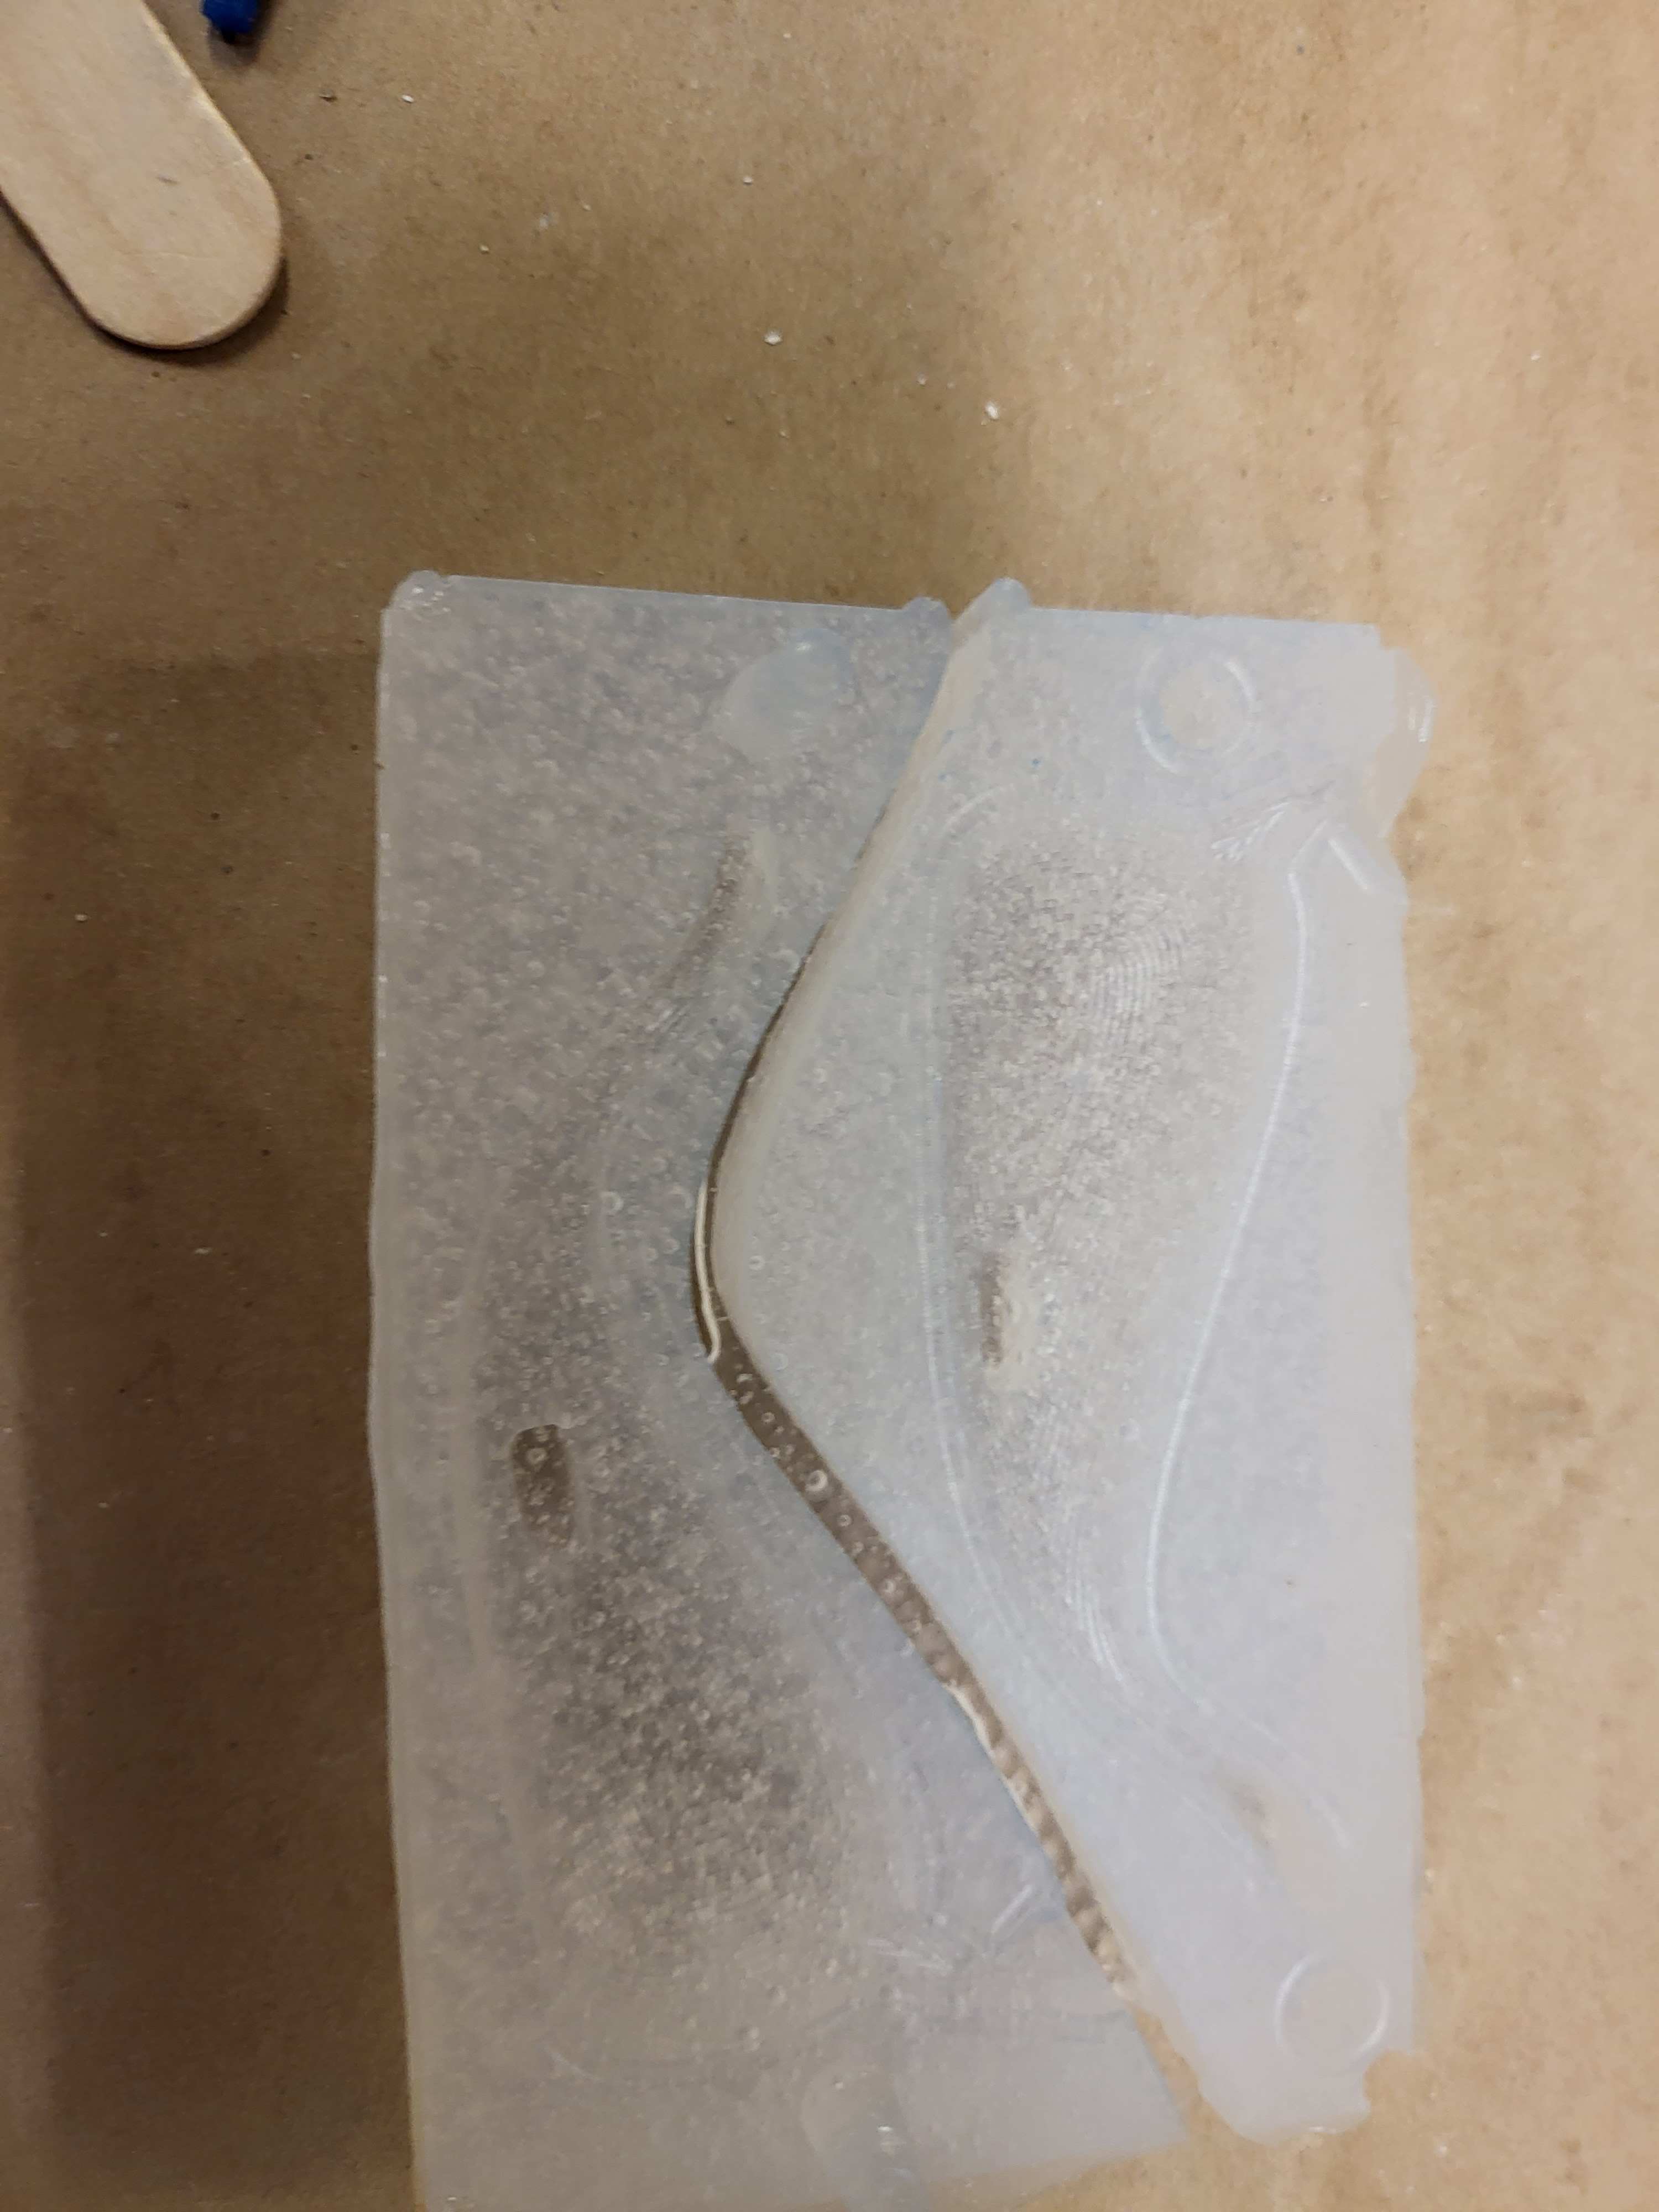
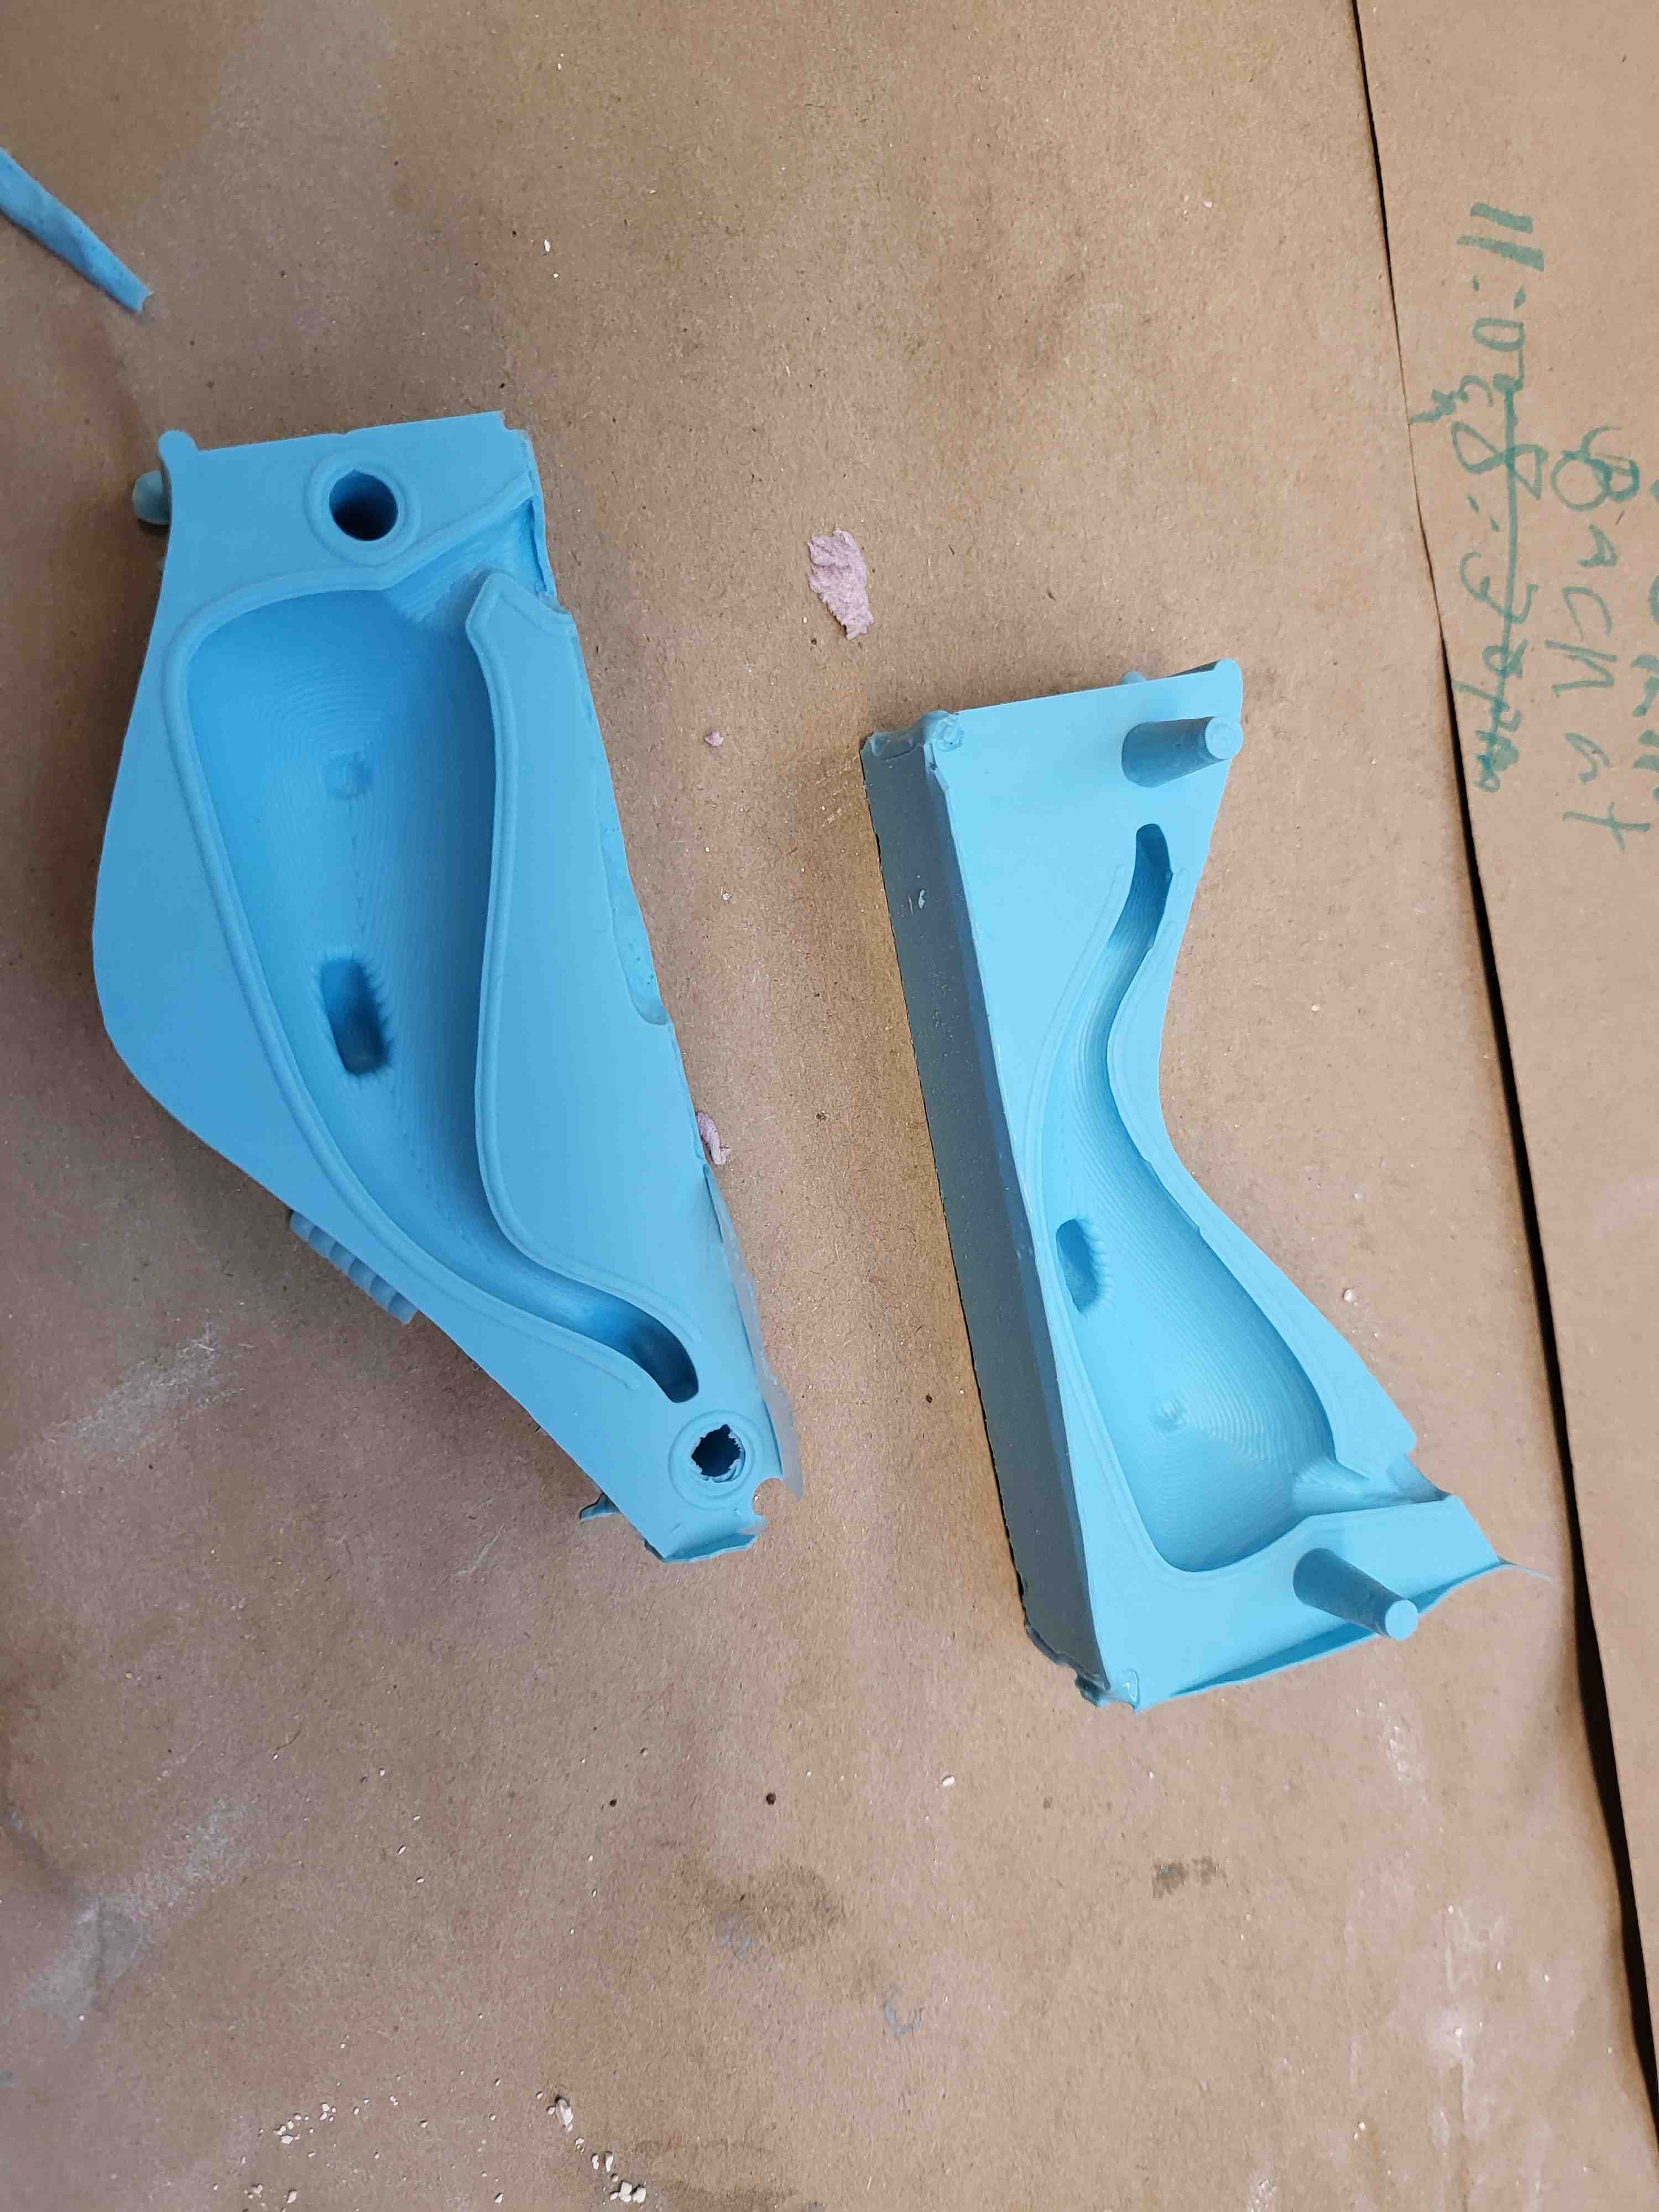
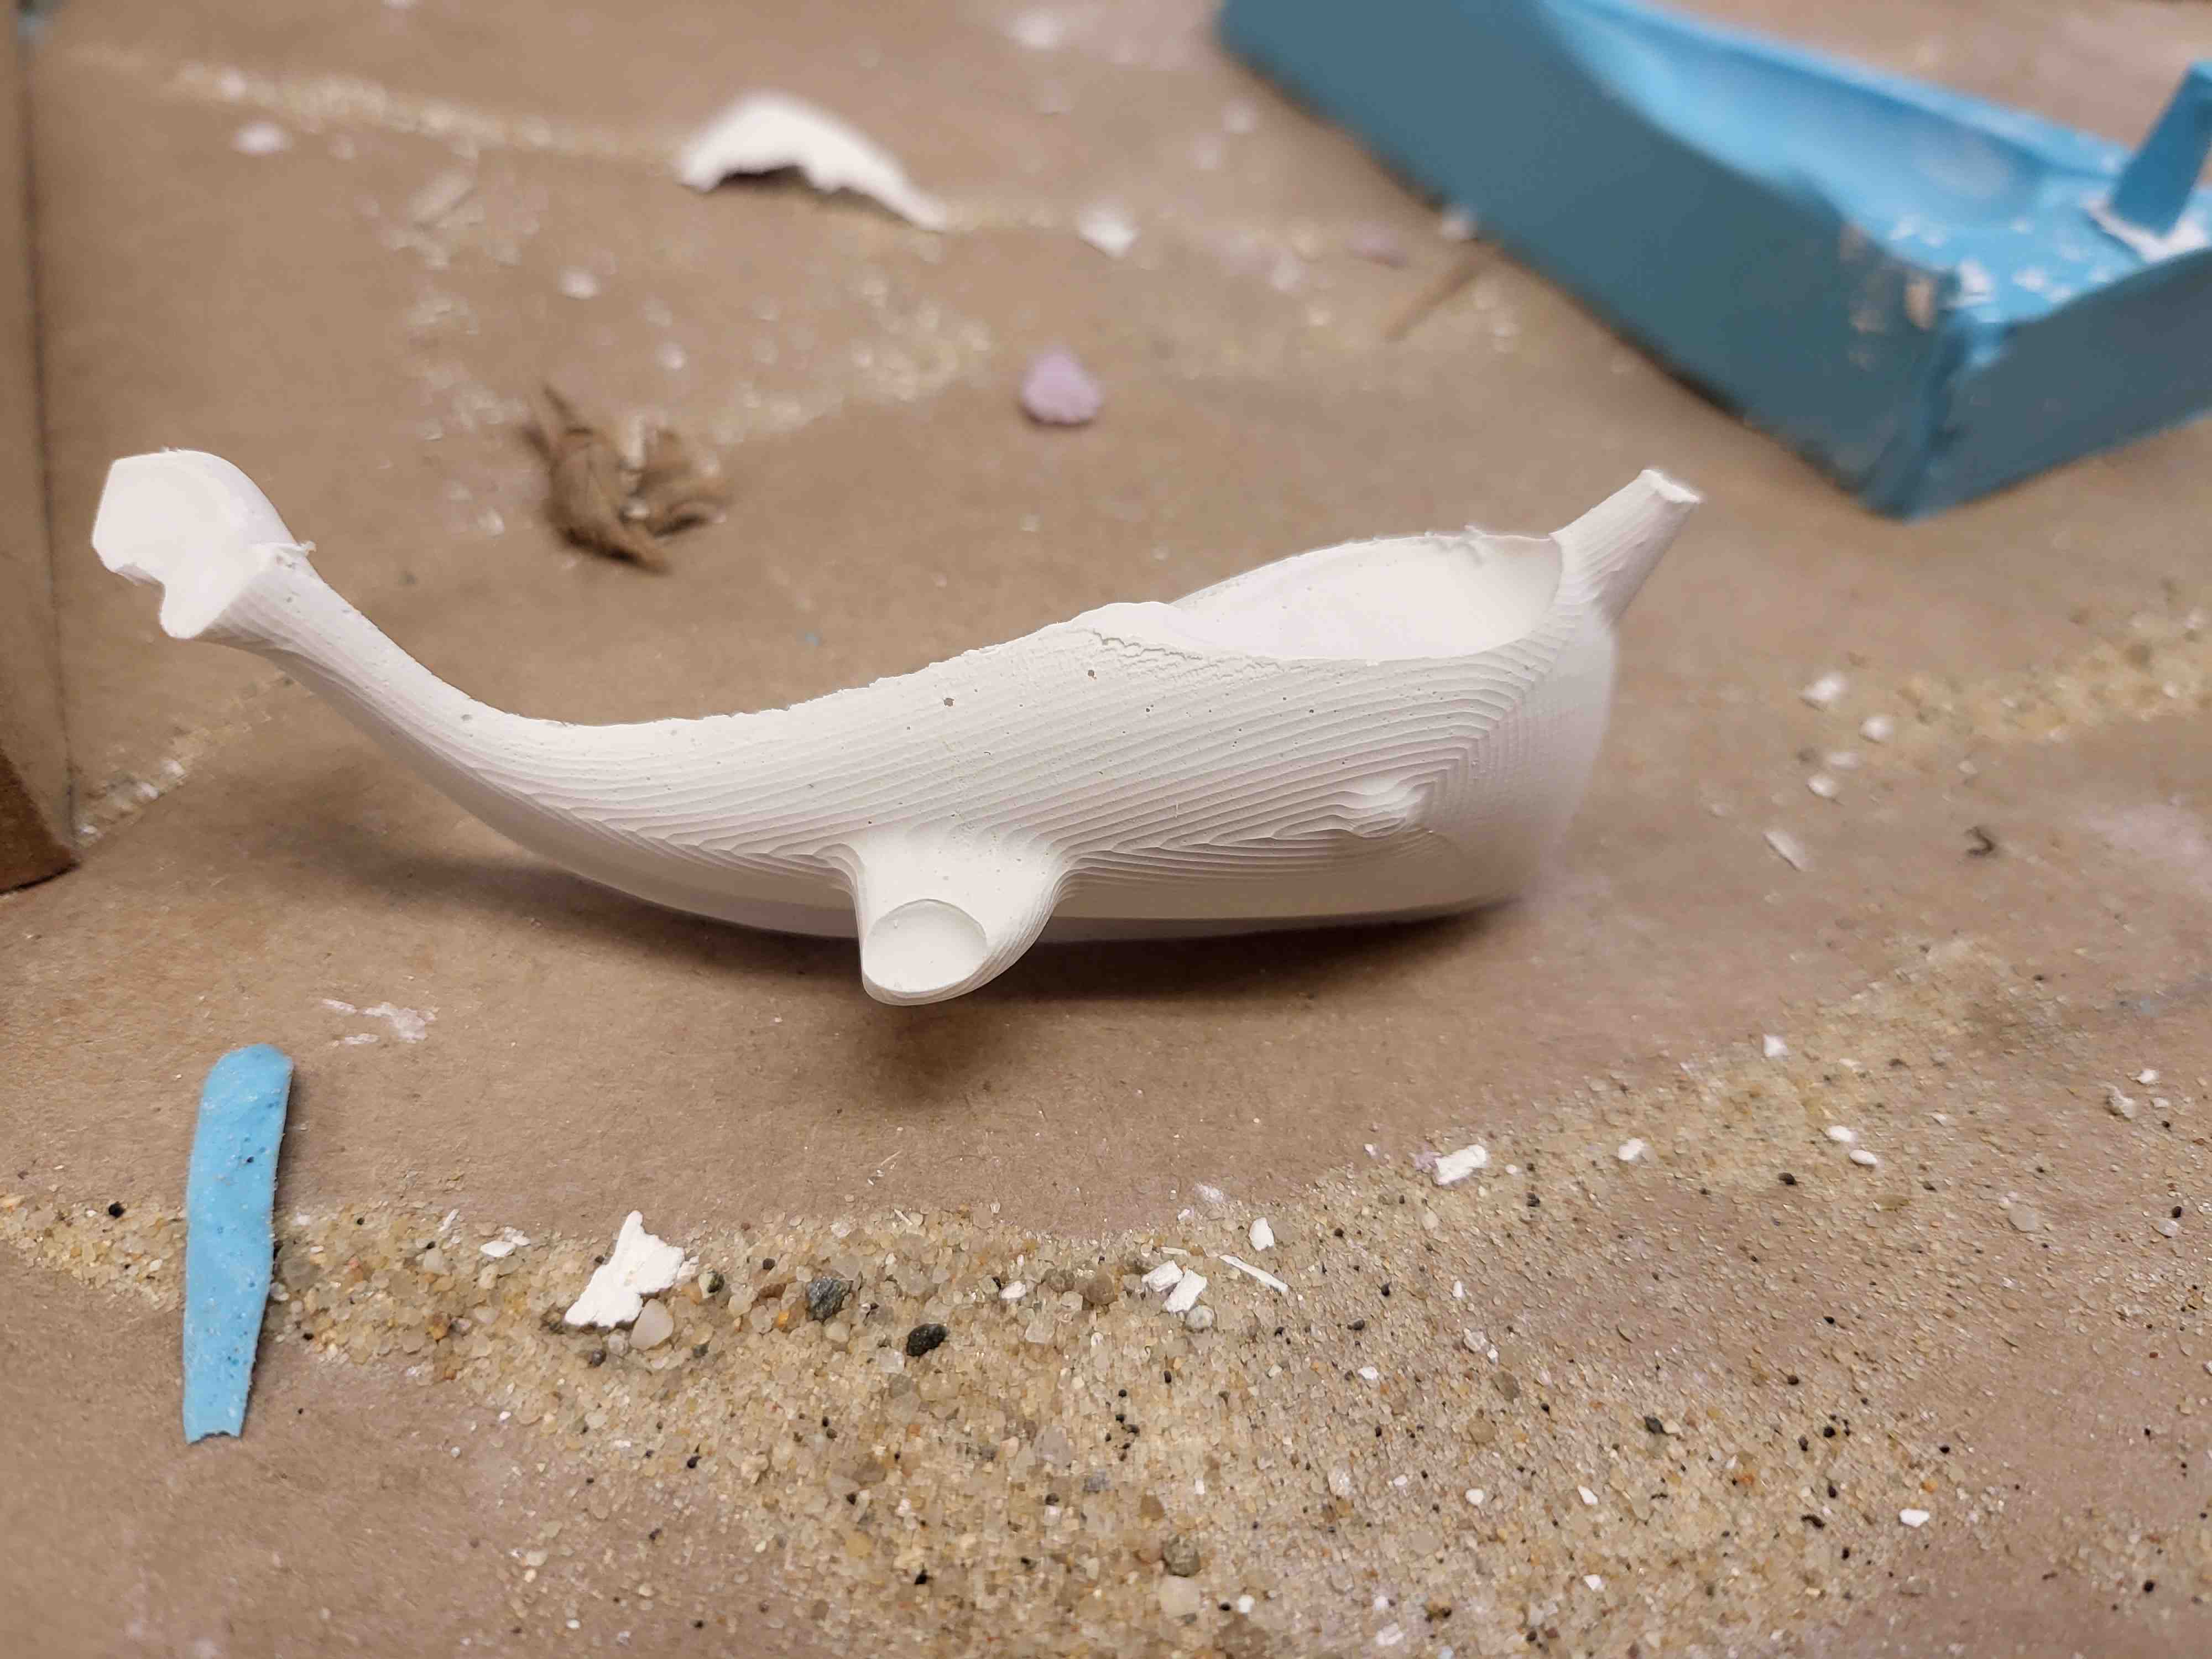
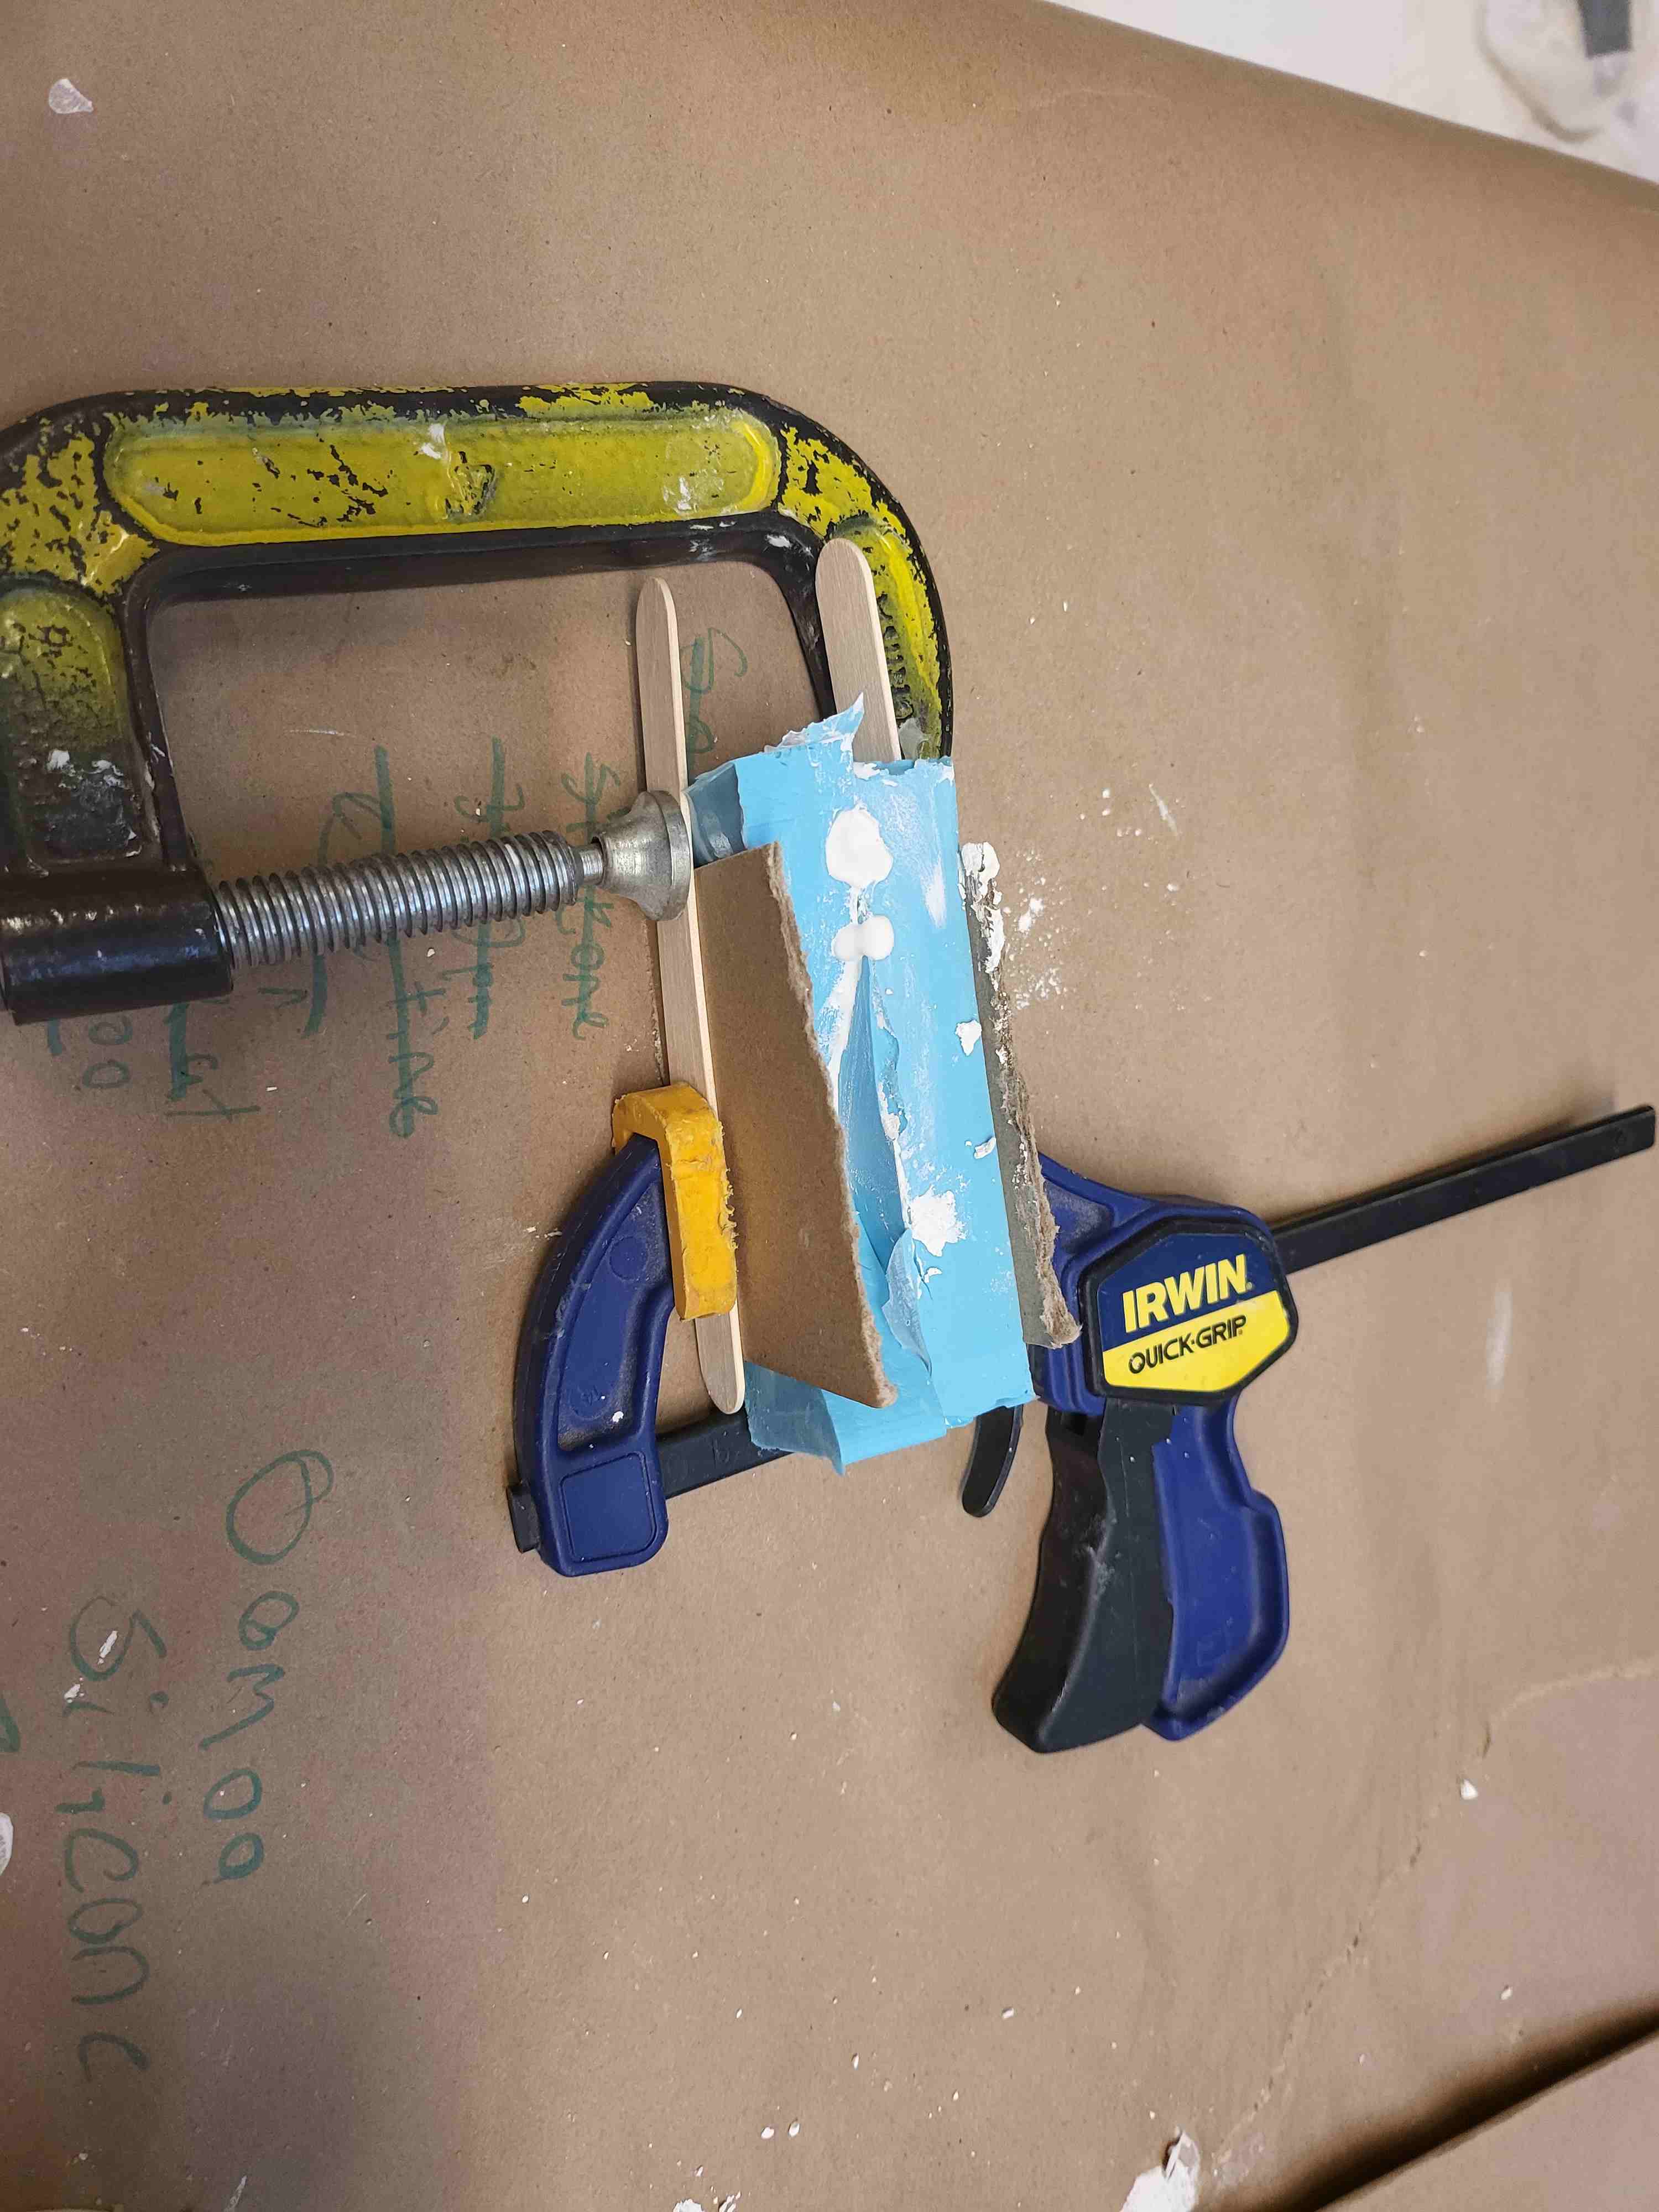
So I went with a classic and classy narwhal CAD. I was out for part of the week for this assignment, but when I came back I got my milling done which took nearly two hours because of how much material needed to be removed. I wanted to make this mold food shape, my sister and I love Jello and we have a mold at home for jello dinosaurs so I thought jello narwhals would be cool too, so I used sorta-clear to cast my mold the first time, then oohmoo for the assignment becuase I wanted to create a hydrostone narwhal as well. The molds themselves turned out great, but when I cast with hydrostone I ran into a familiar funnel size problem and overpoured so there were lines of hydrostone on the outside of the narwhal.

Plan B Part A: More Extra Stuff for the future
1. UNFAIL: I refuse to give up on my molding aspirations and plan to try molding my 3D prints again, but this time
I'll have to pay for materials. The stakes are higher but I'll be that much more cautious of my mistakes. THis is
however a project for another day because the grind don't stop.
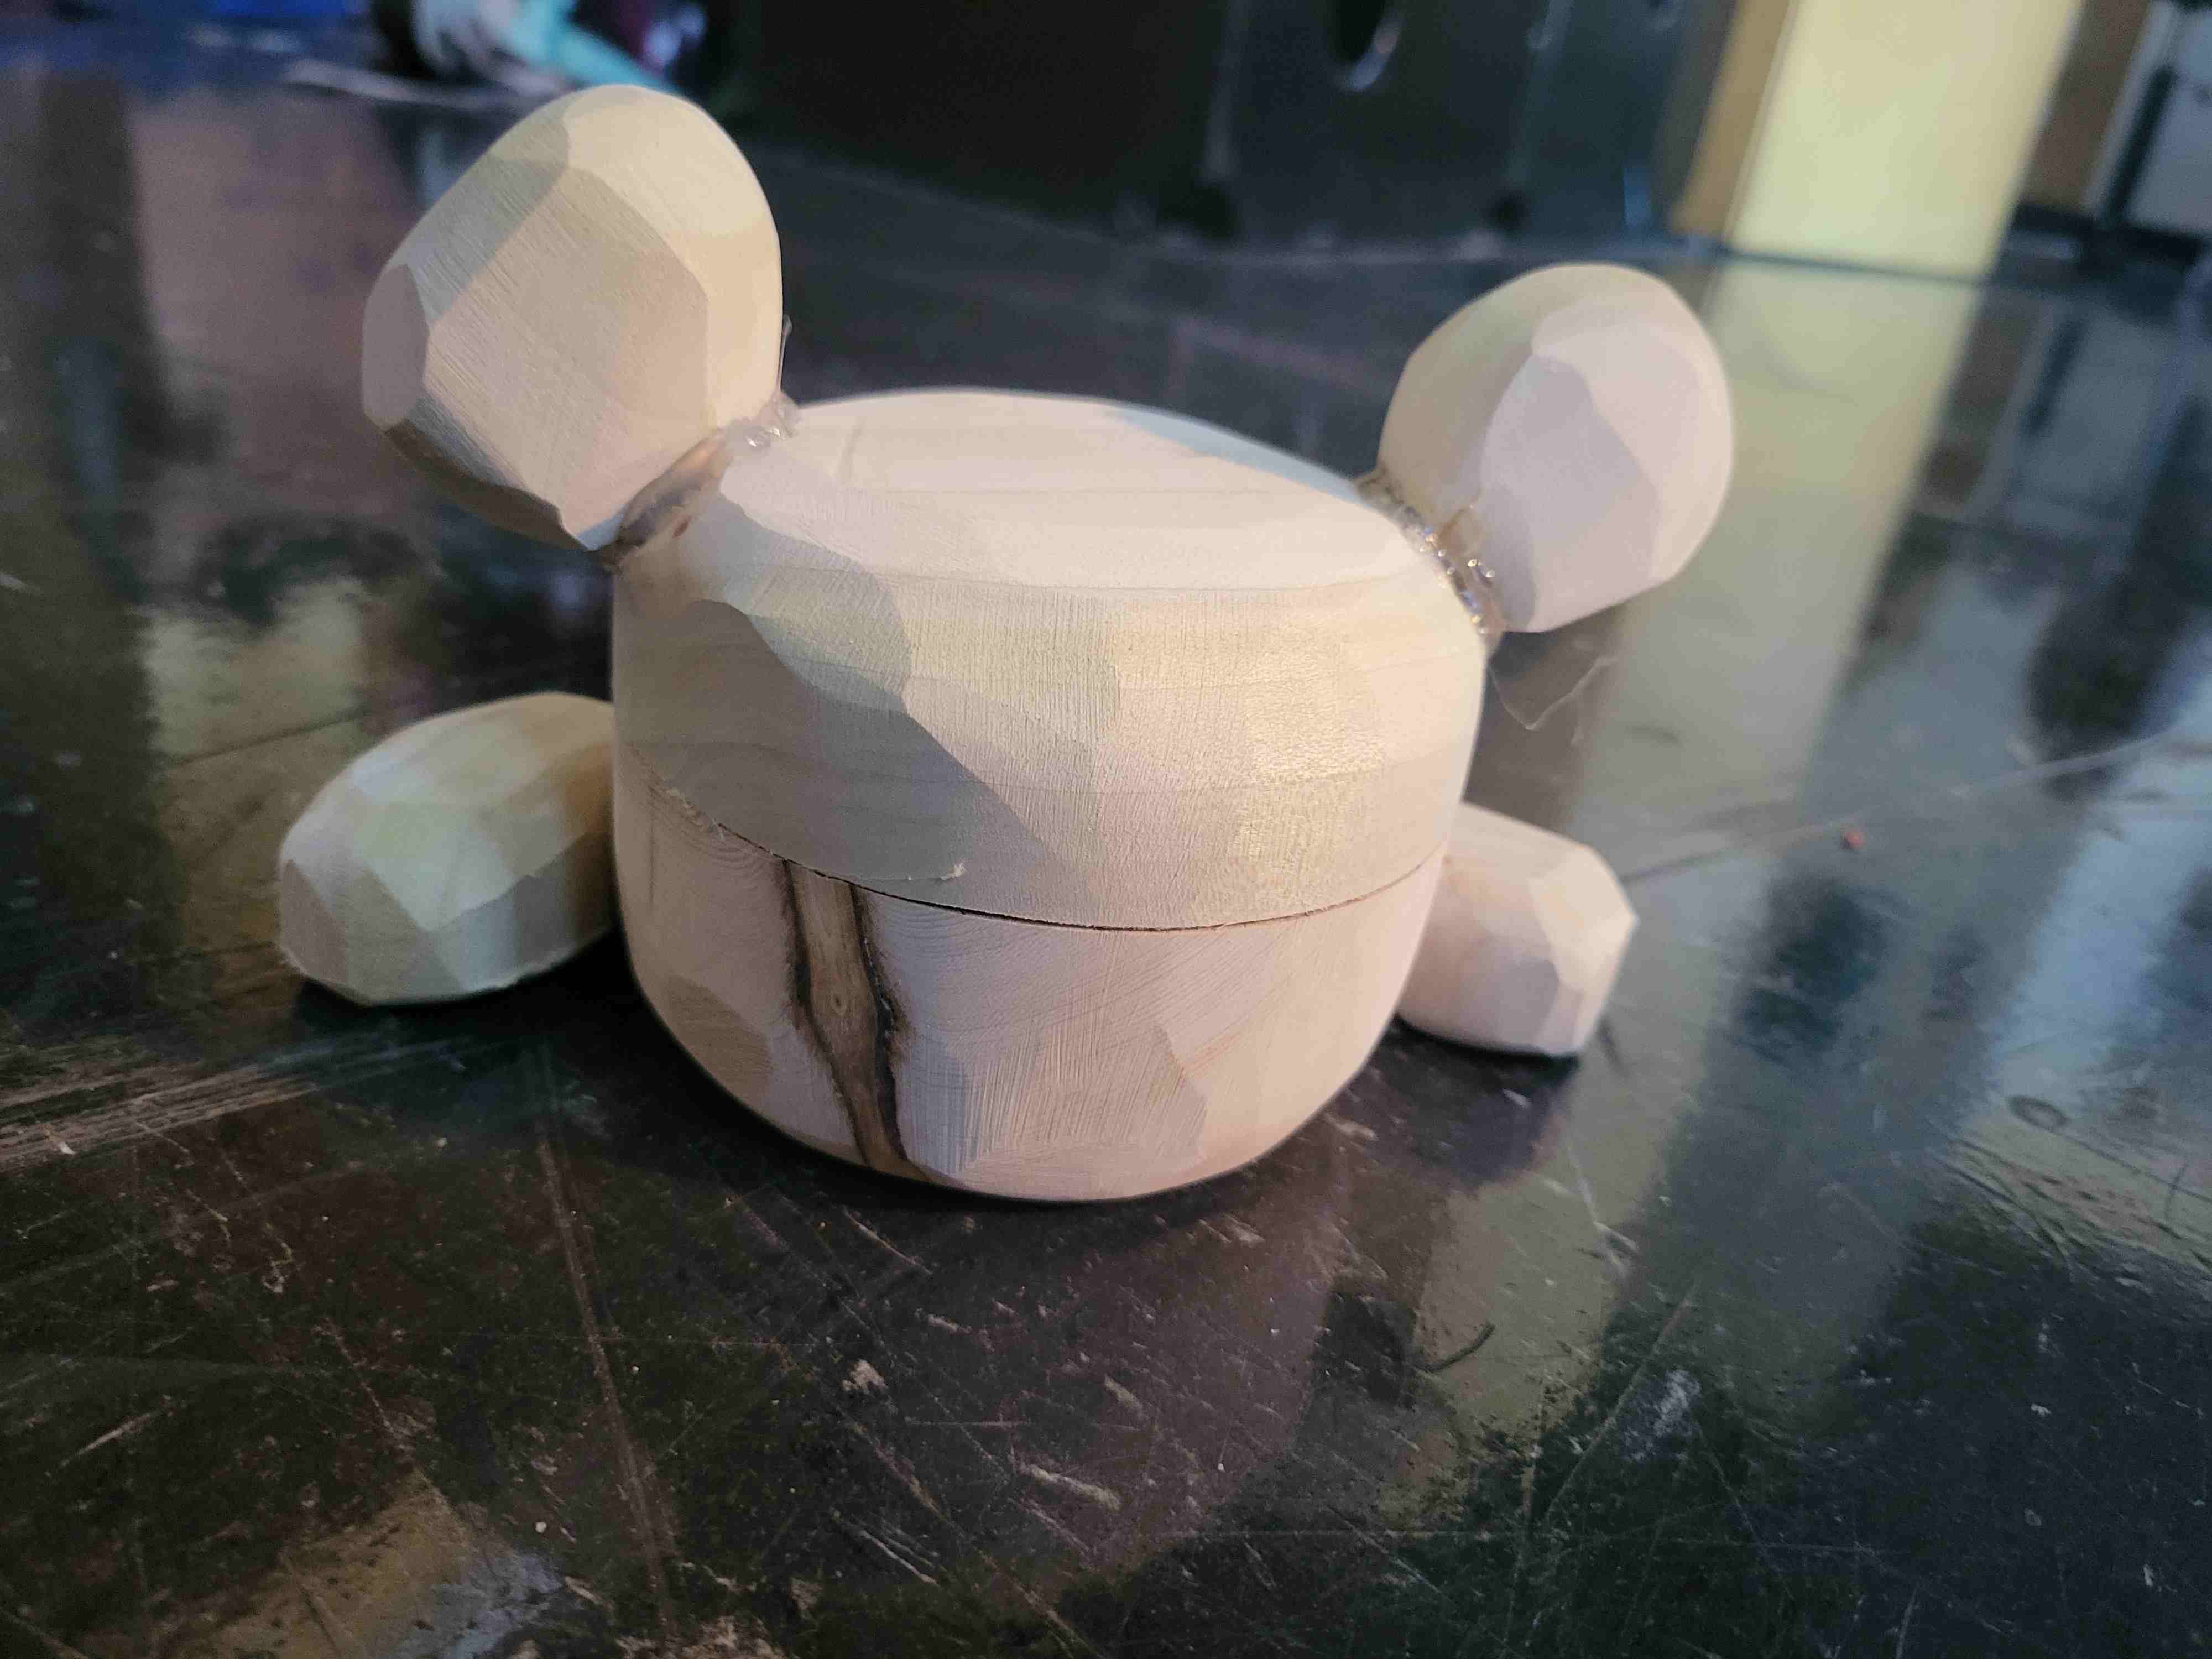
2. VACUFORM: I made a giant wooden panda that I want to vacuform to create a larger jello mold but first I'll need
to get a food safe vacuform sheet. Here's the panda though
3. PIXILATE: the mill left a not so smooth surface on my narwhal and I wanted it to be smooth so after making sure my project was completed I blasted my wax mold negative with a heat gun. For a while it didn't work, but on full power I was able to liquify just the surface of the mold and after cooling (nearly the instant after I removed the heat gun) the shapes looked smooth and clean. The one problem was that small detailes like the eyes were lost or got blurry like pixilating an image.