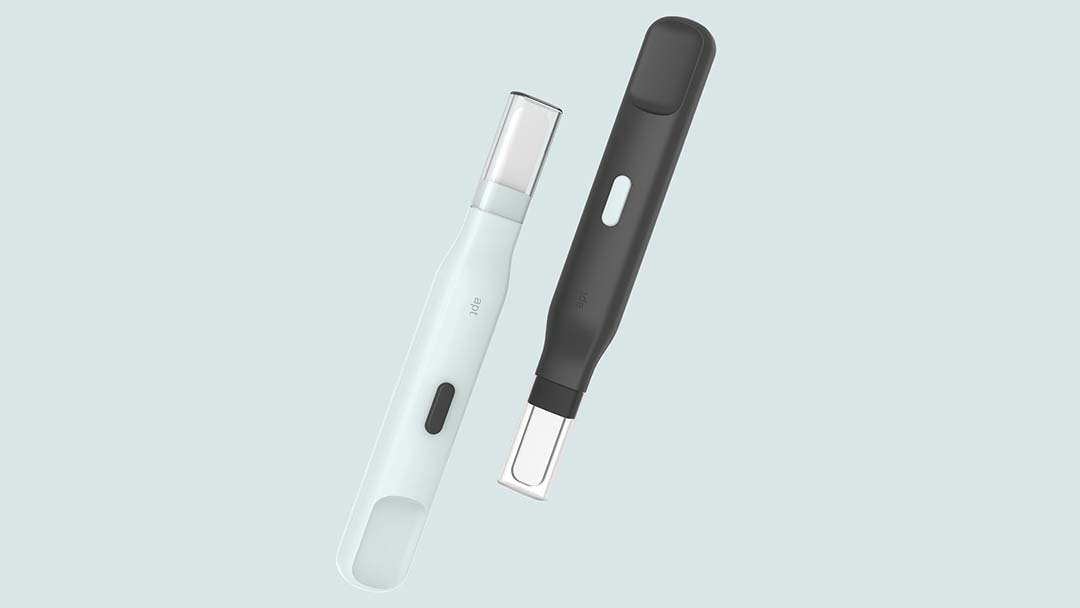
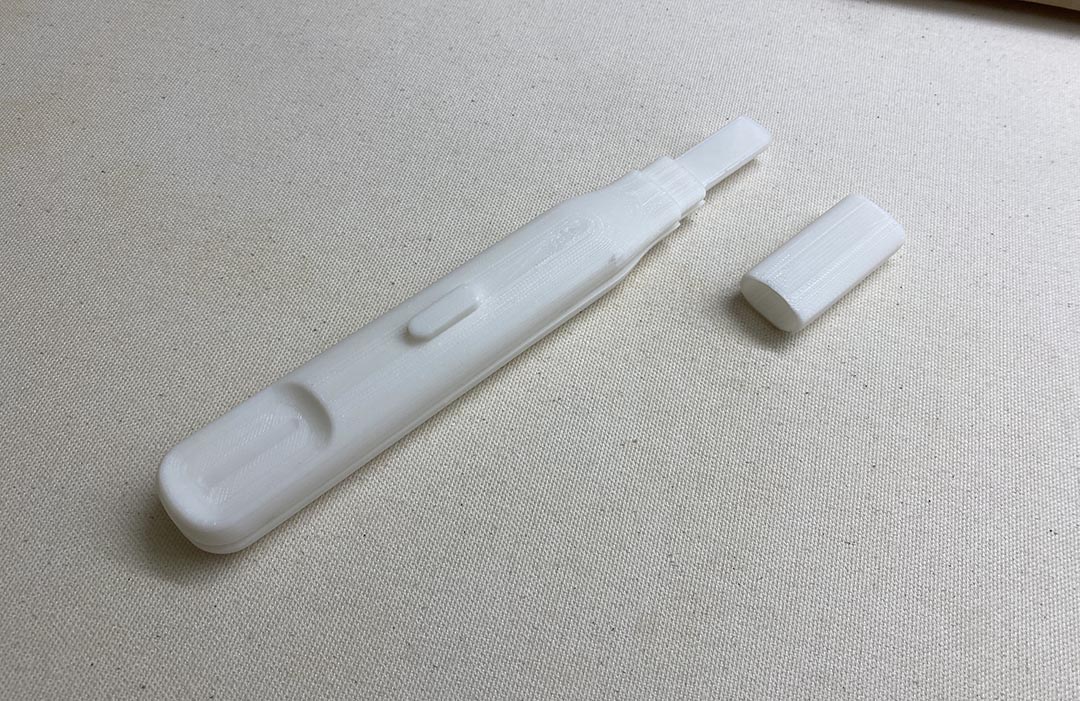
This week I wanted to 3d print the design of one of my projects, which
is a pregnancy test kit for people with a vision impairment. I
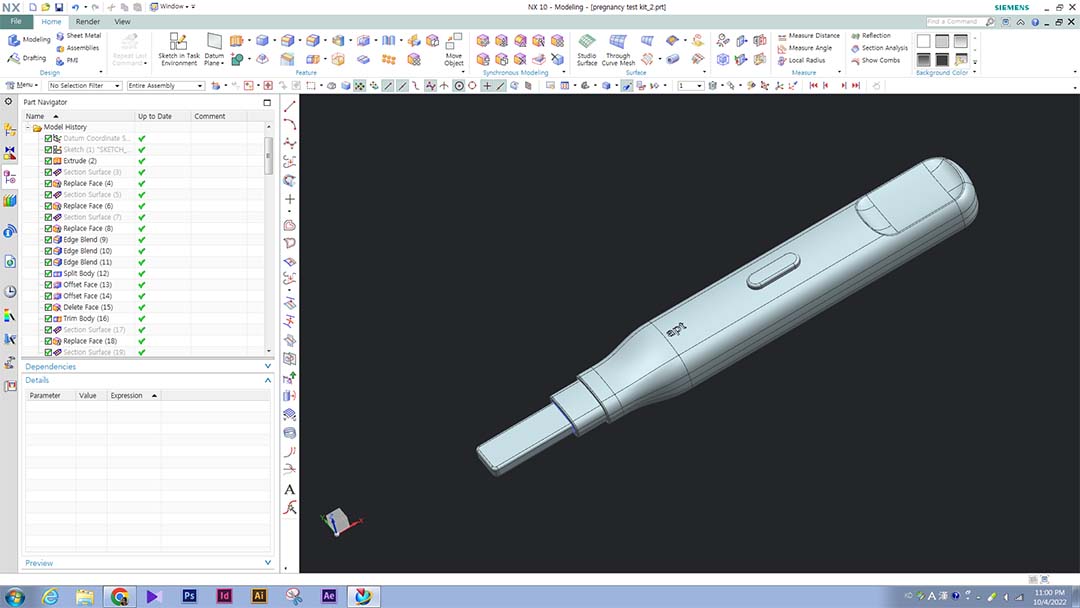
designed, and 3d modeled the product using NX software which I am
familiar with, and exported the file to STL.
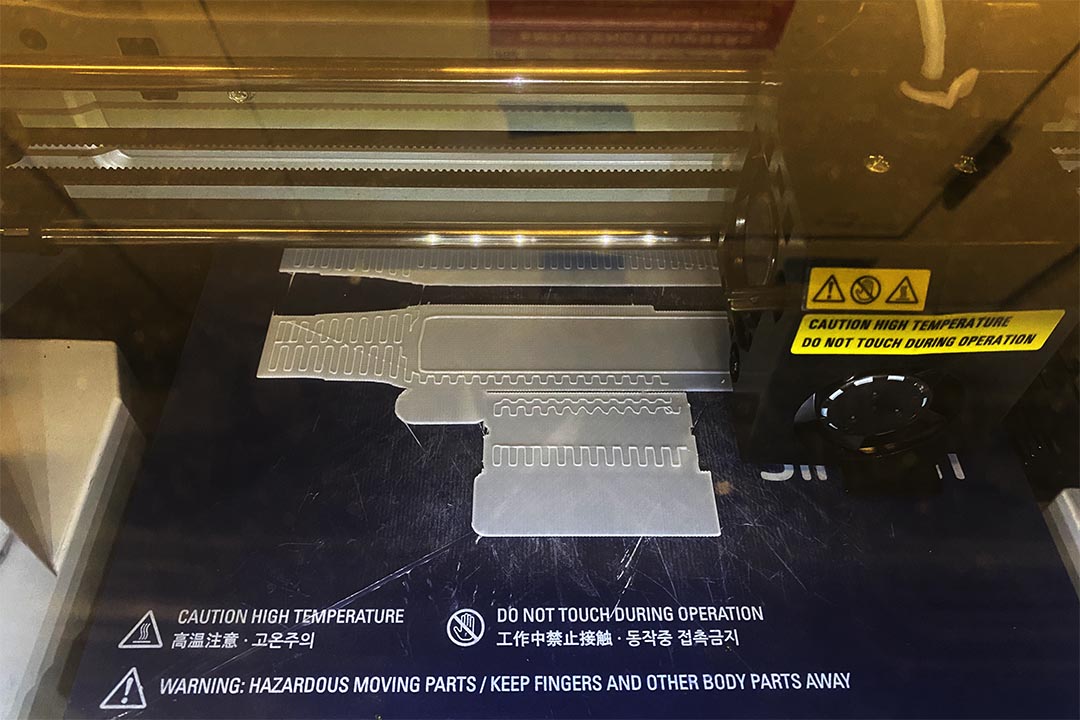
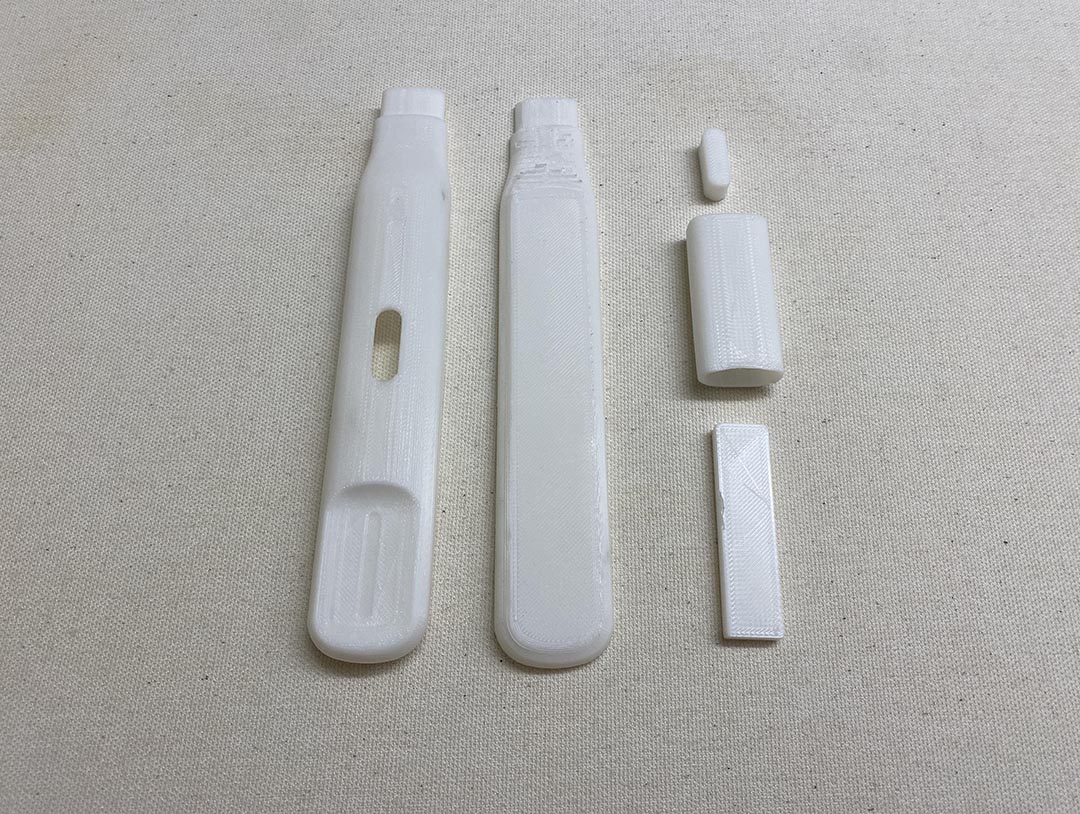
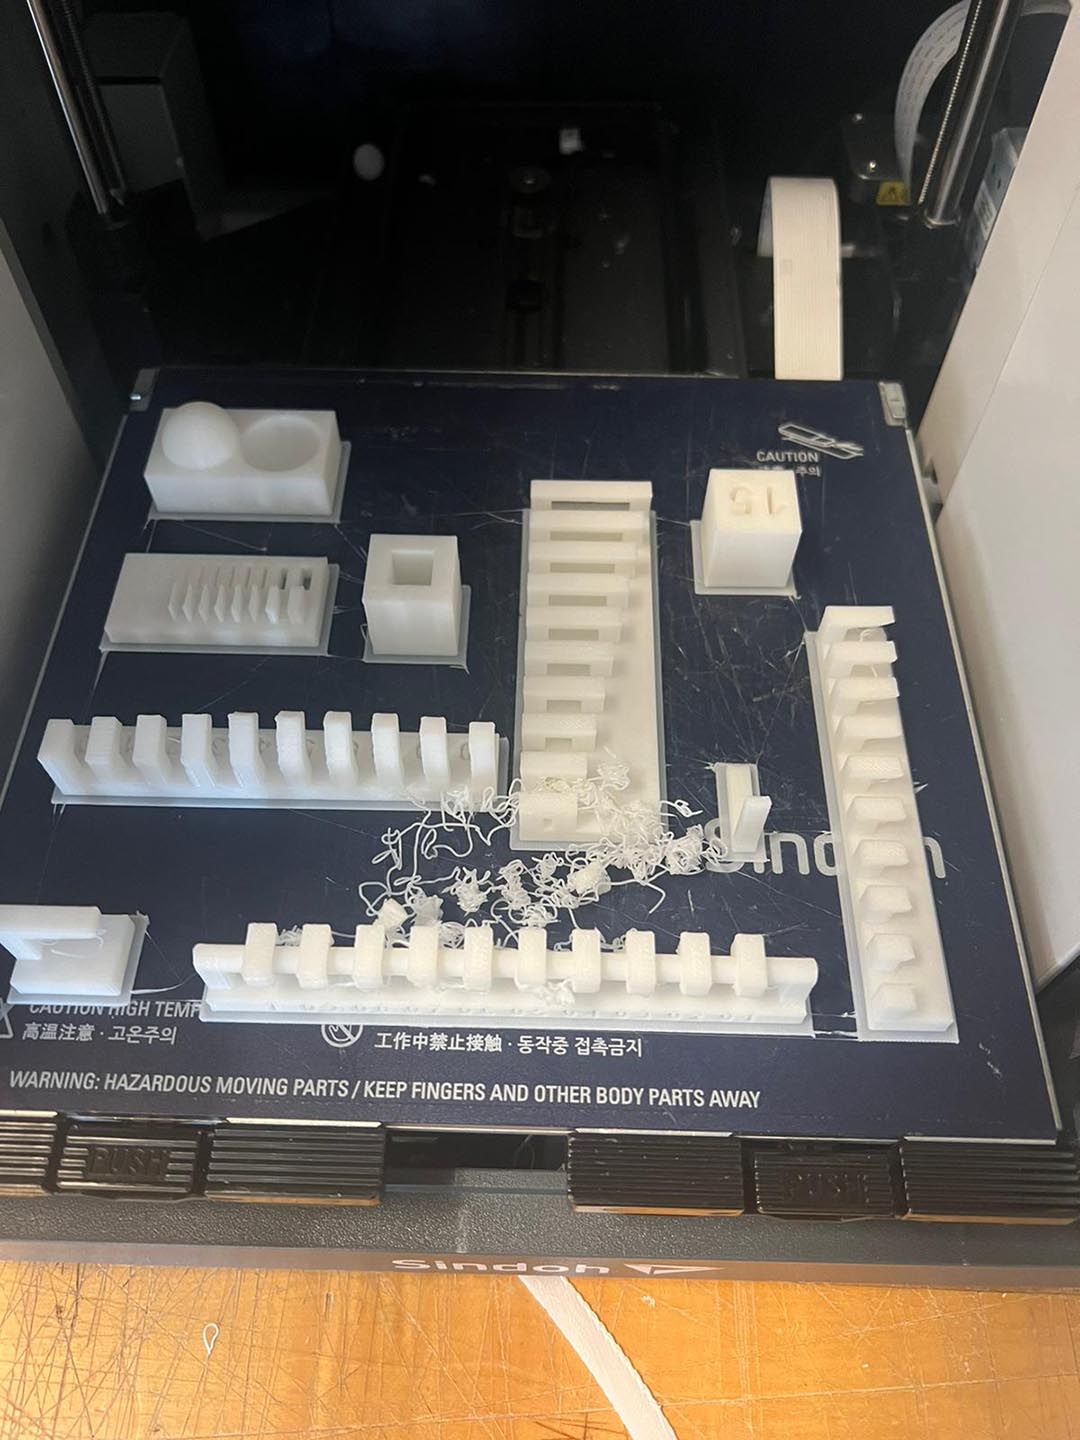
I 3d printed each component using Sindoh 3d printer. And I
successfully assembled it.
Group assignment.
02
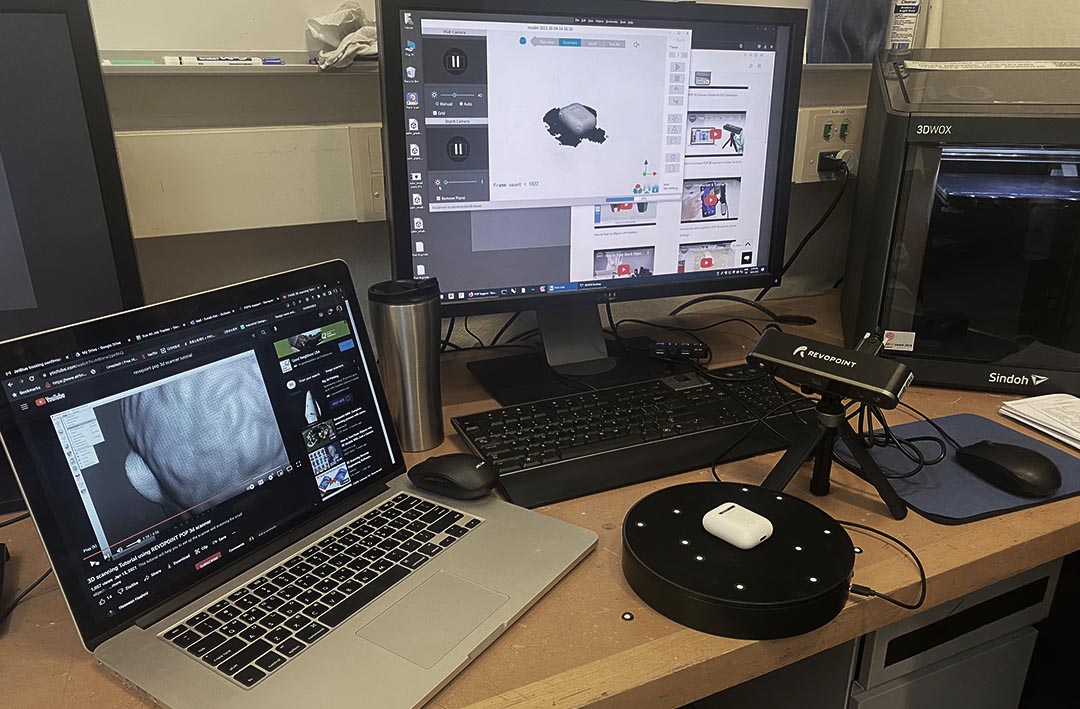
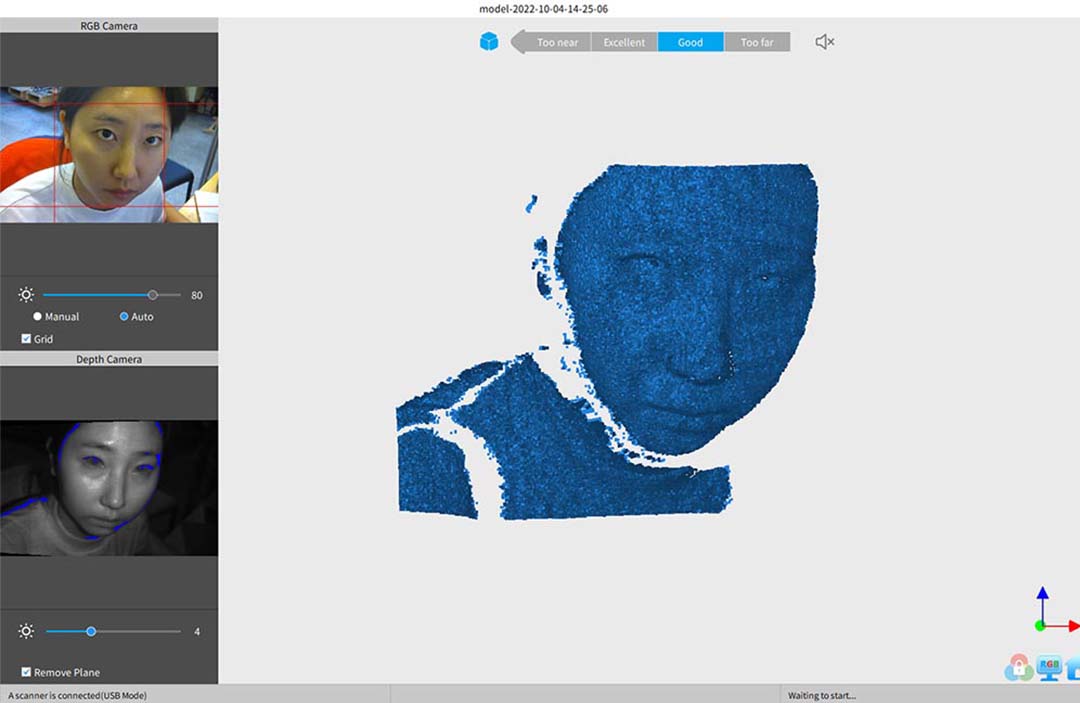
For the 3d scanning, I used the Revopint pop 2 scanners. This smaller
tabletop scanner works well on its tripod for small (apple-sized)
objects that can sit on the 10-inch diameter rotating table. It can
also be handheld like the Sense - it needs a USB connection to a
computer (or your phone) with the corresponding software installed.
First, I scan my iPad to test the setting. The software for Pop 2 is
also free to download -This scanner/software is straightforward to use
- but as with all scanners, defects can be hard to avoid depending on
the object being scanned.
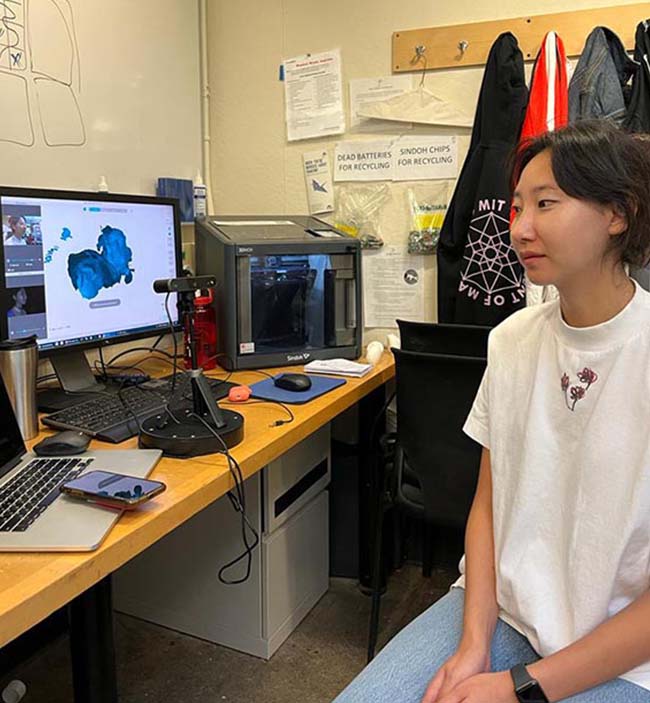
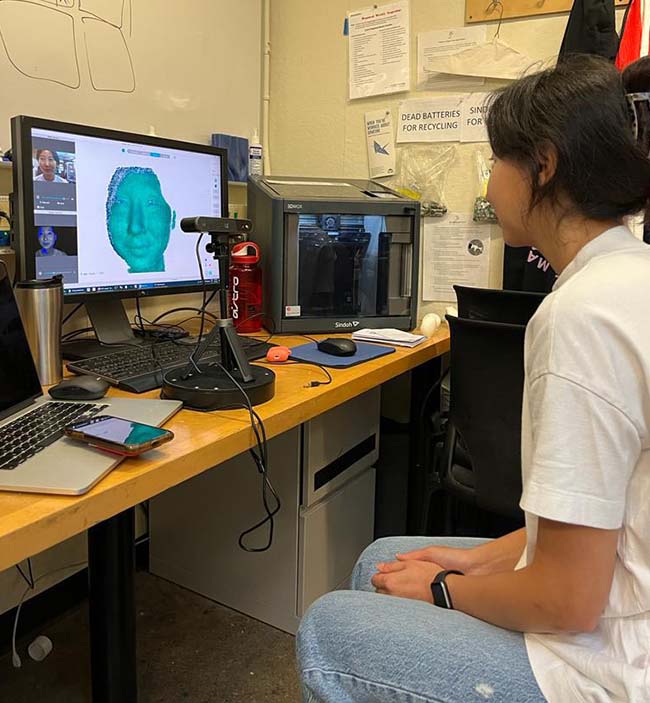
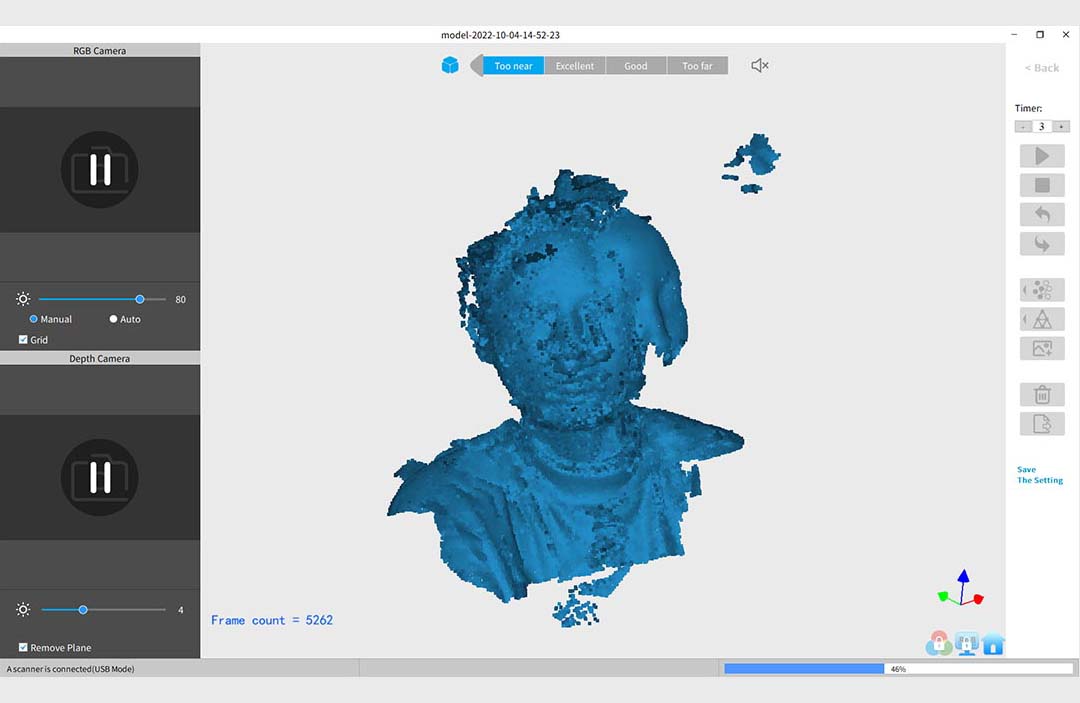
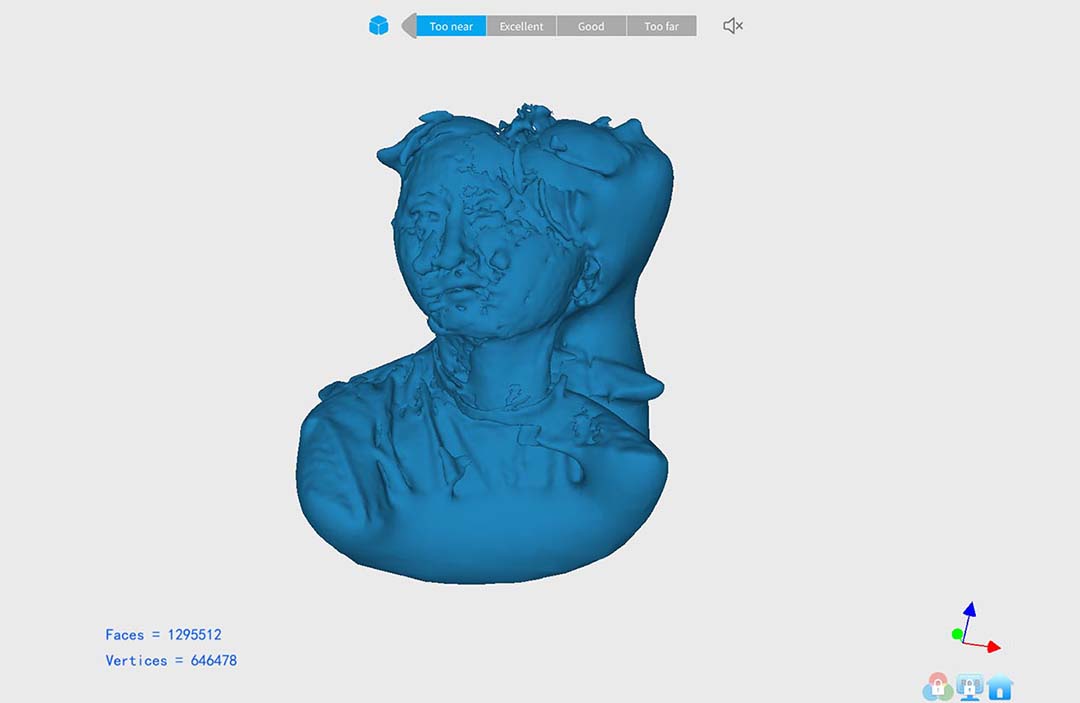
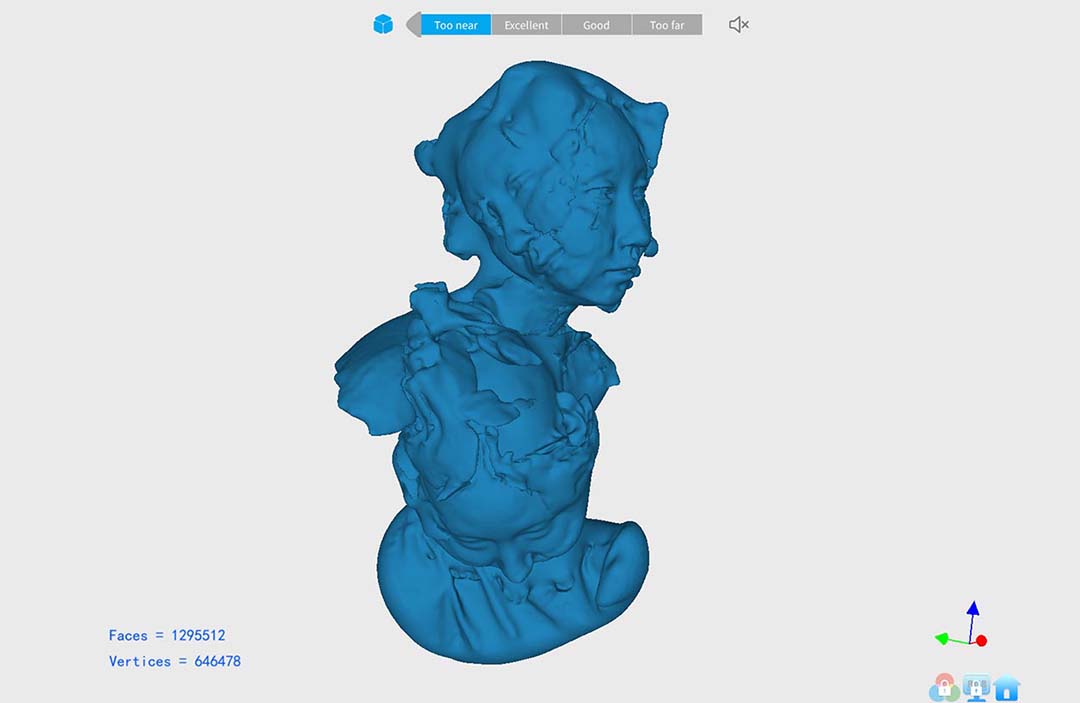
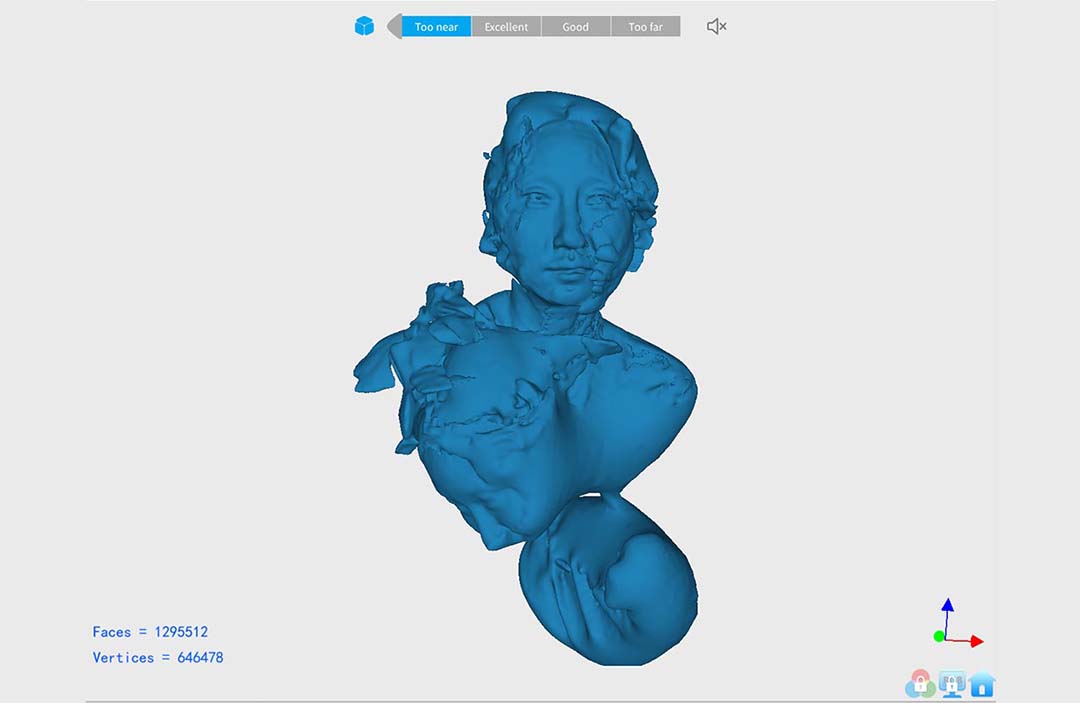
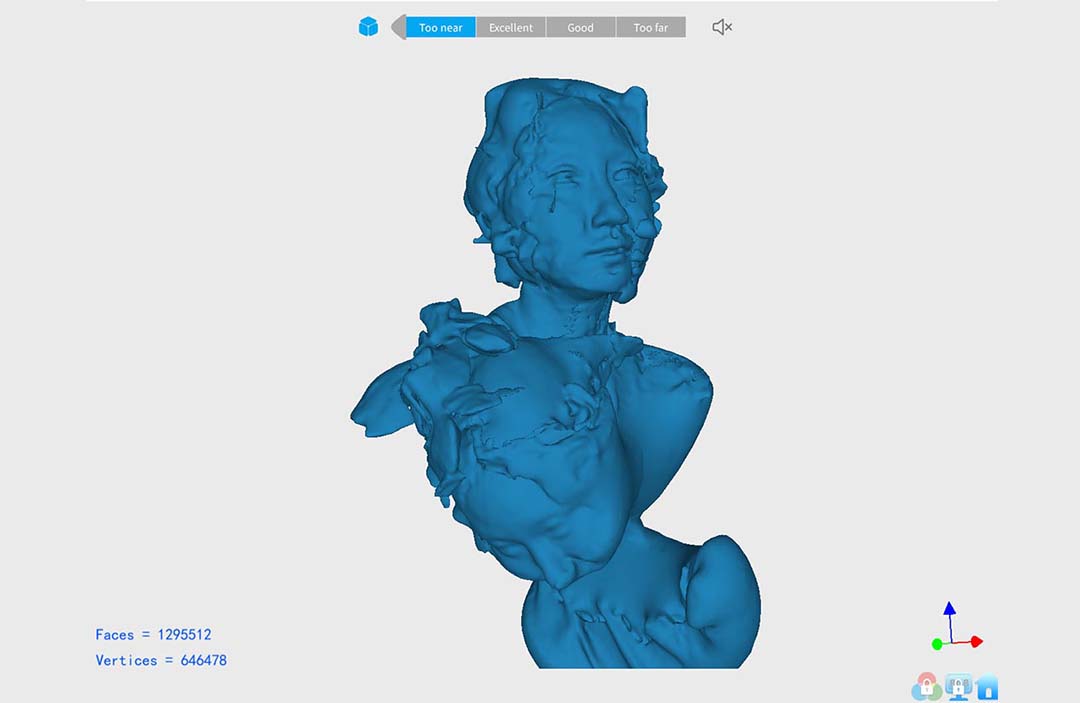
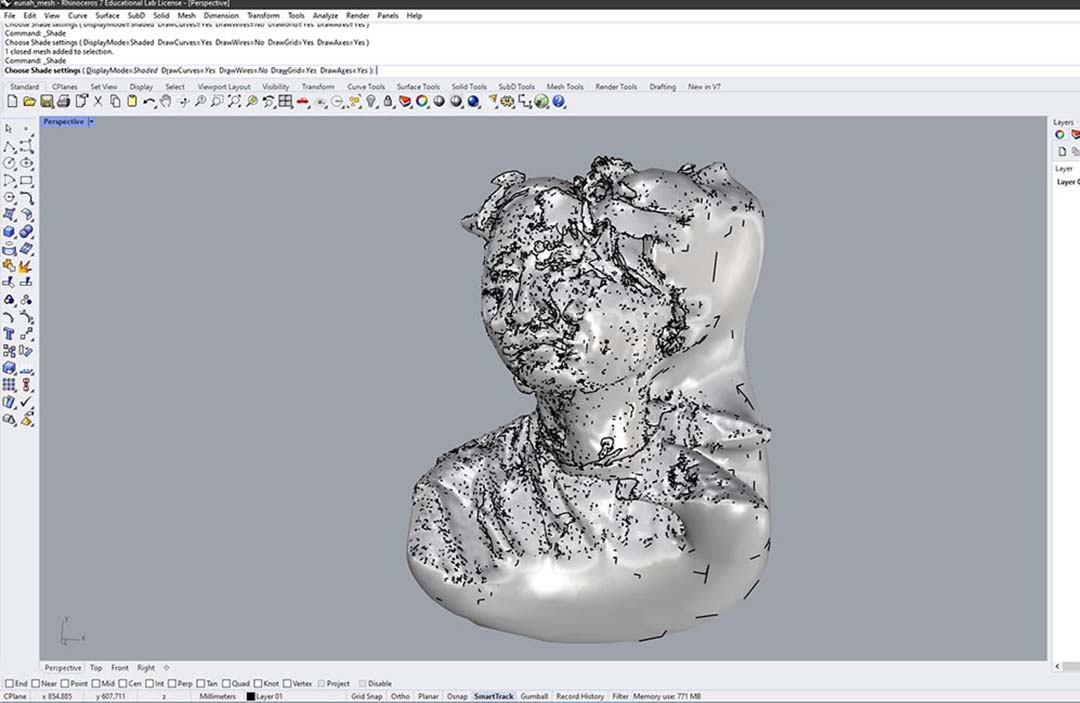
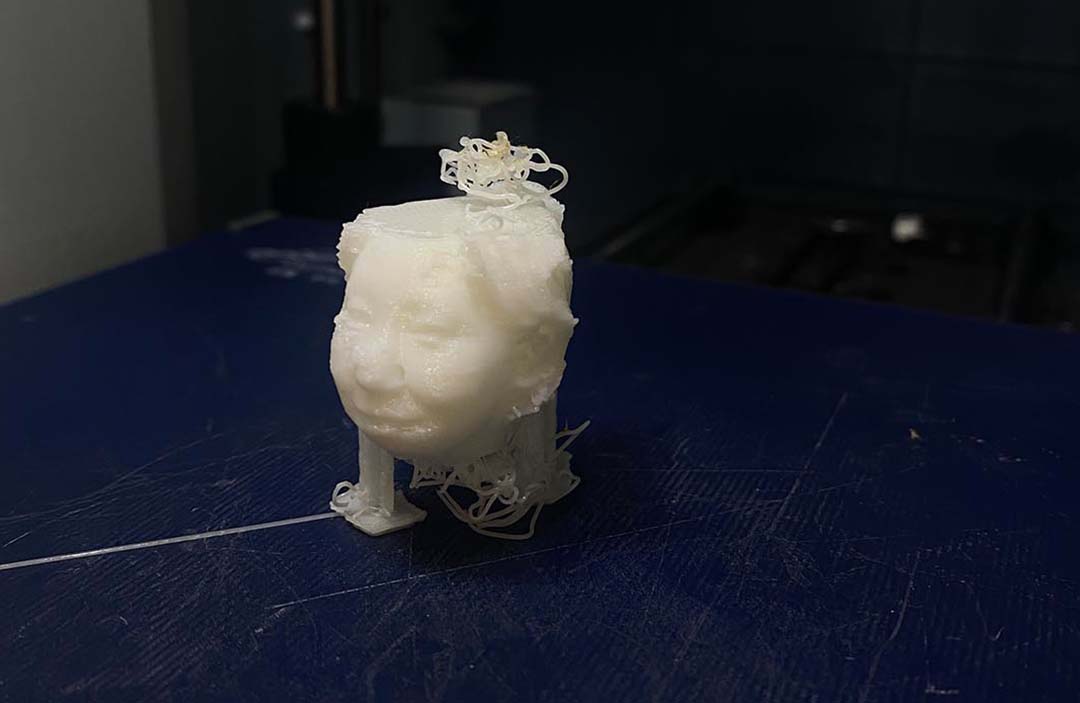
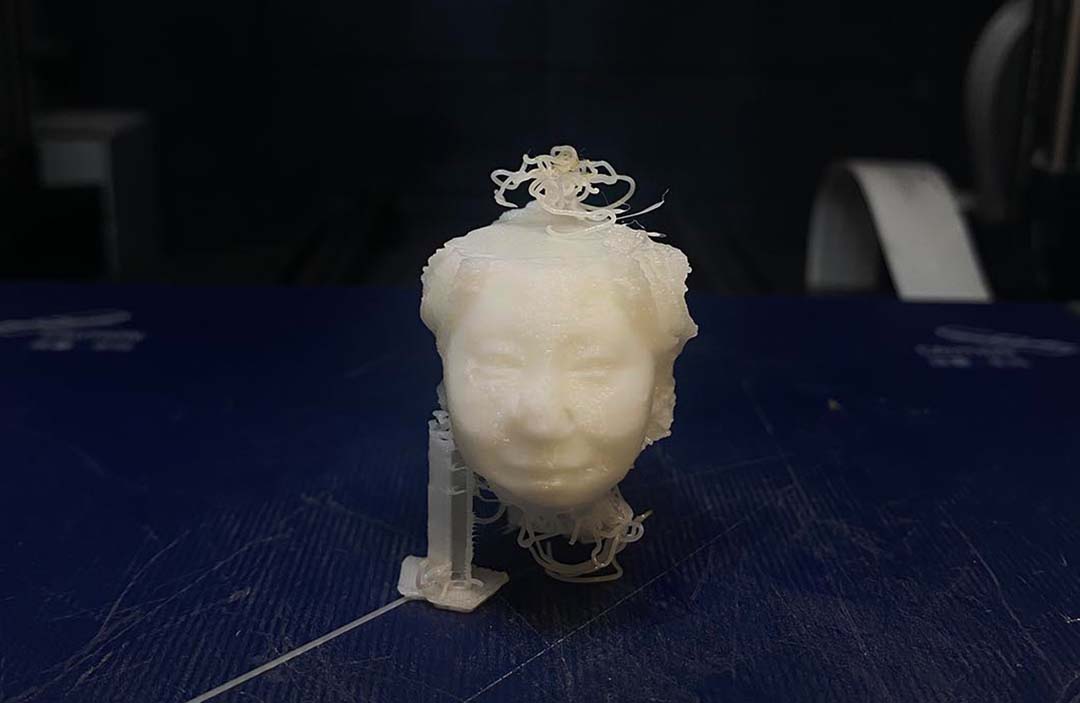
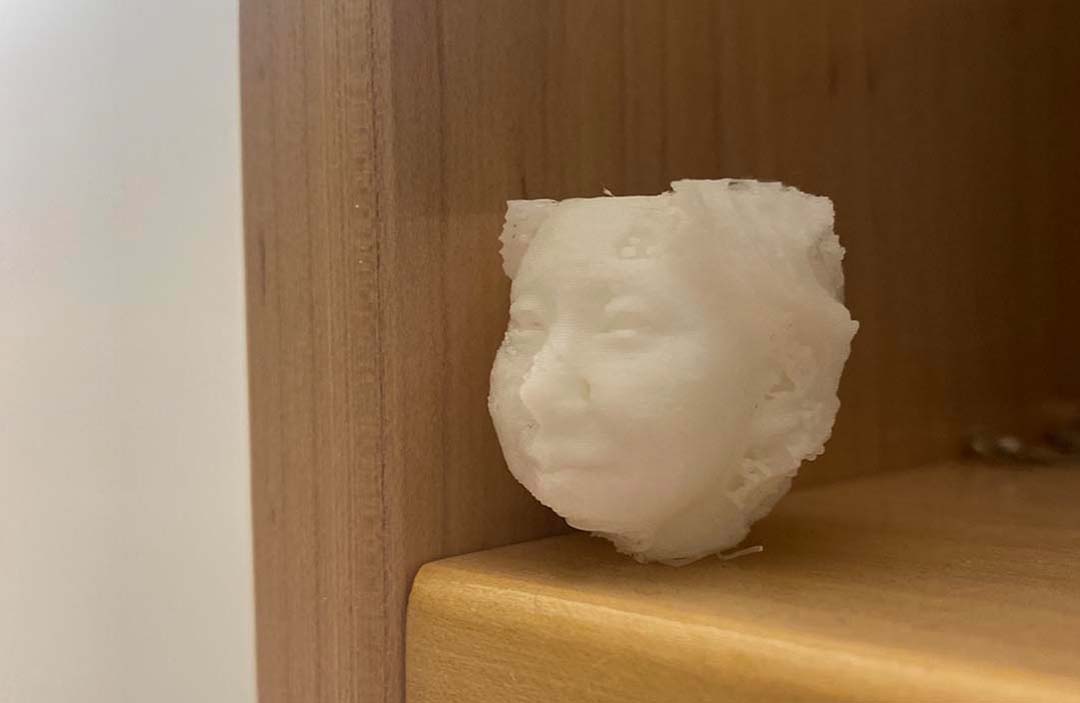
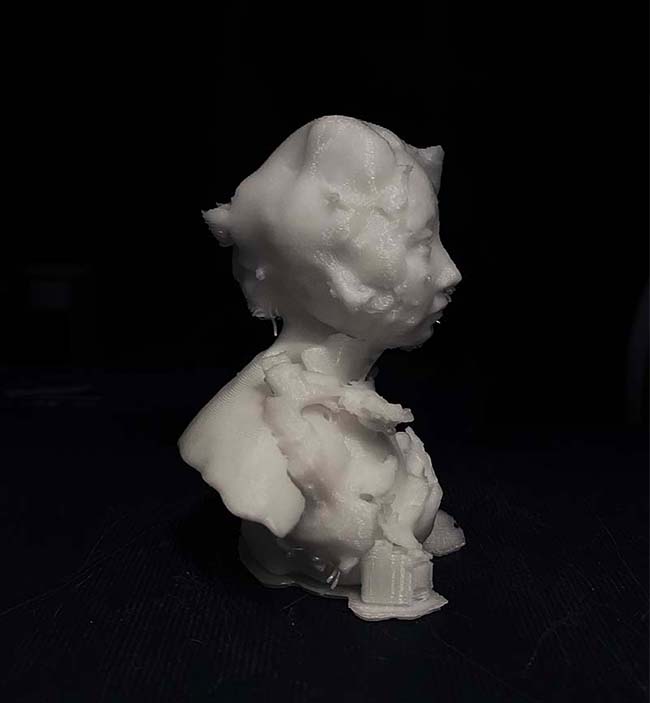
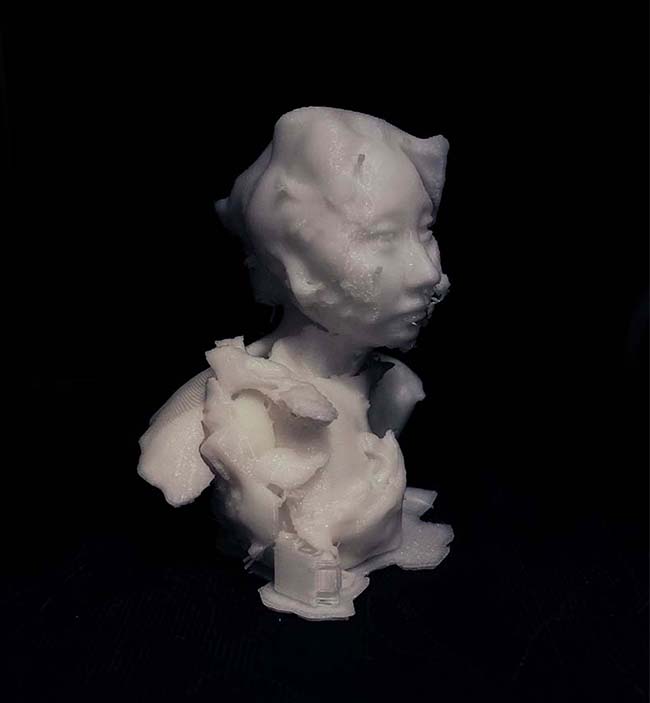
After testing, I want to try to scan myself. It was tough to scan
myself by myself without no one's help. So I used the rotation chair
to scan myself.
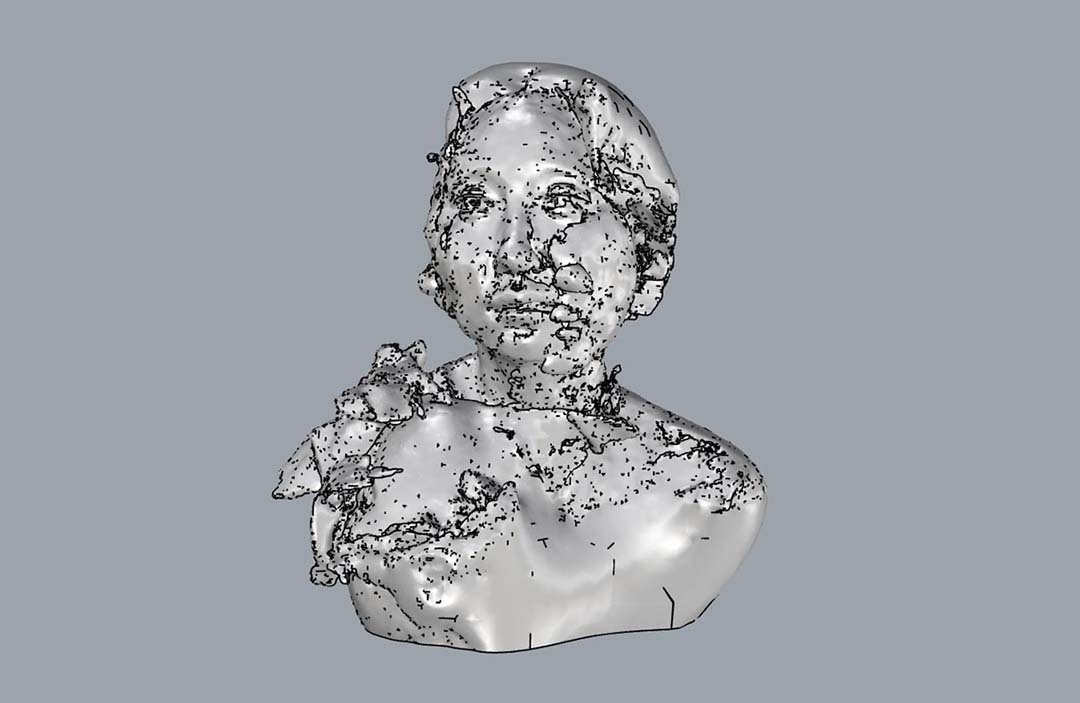
But the scanner can't position the scanned image together well since I
keep moving my face and the camera. So what it does is it randomly
locates the scanned image.
03
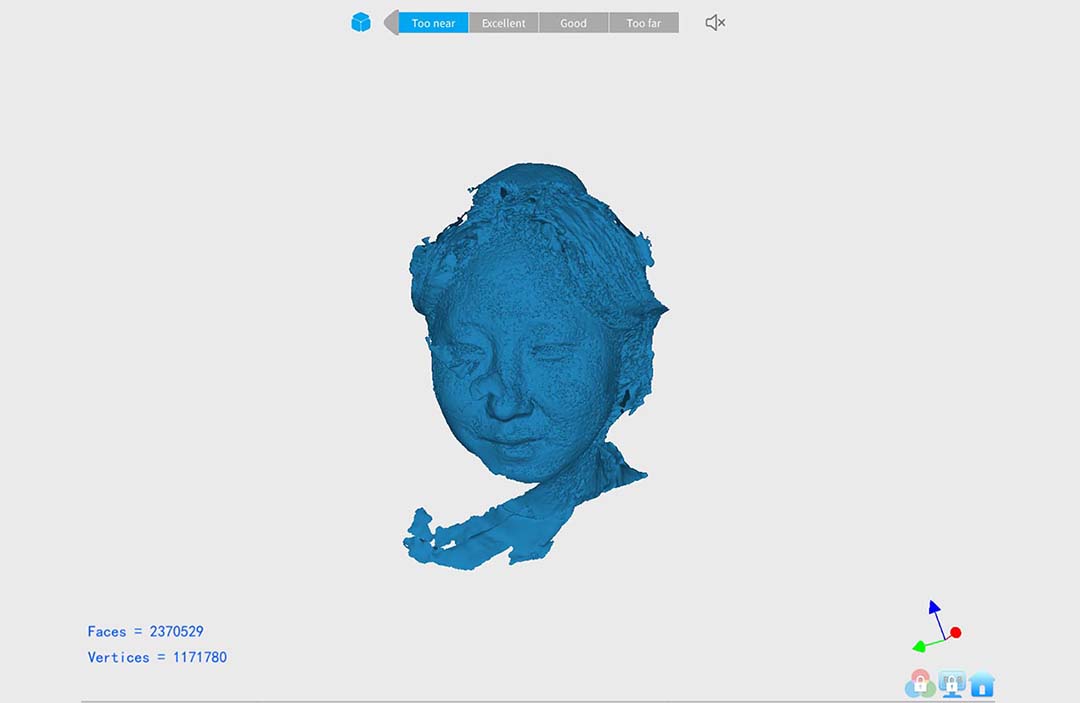
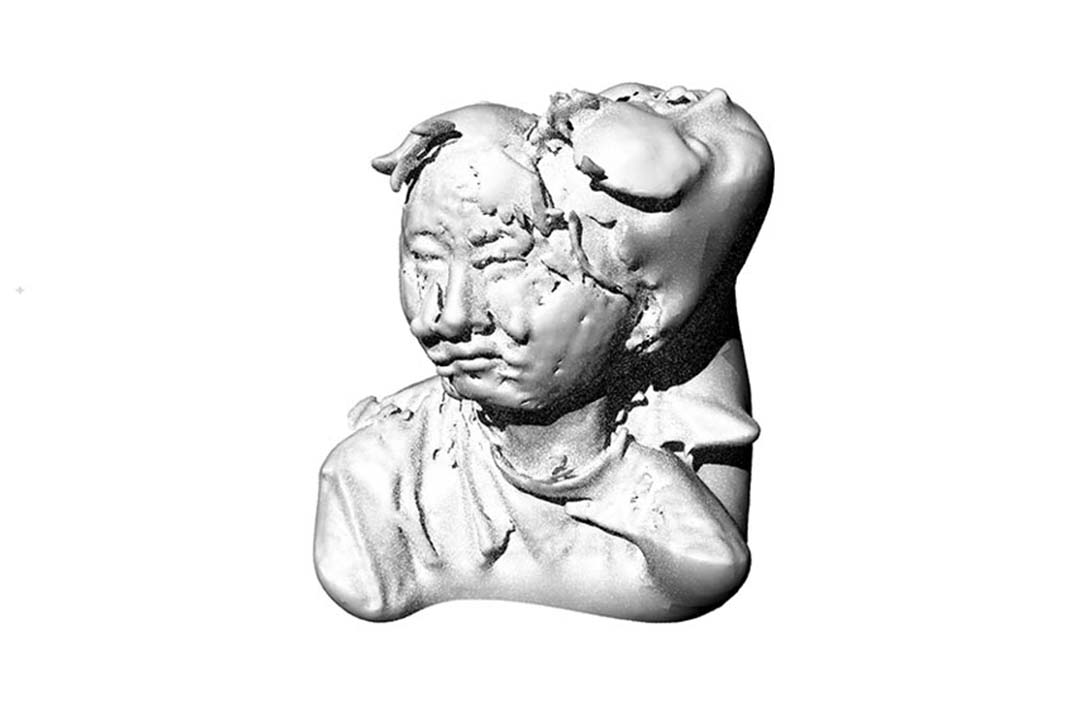
But it was interesting to see how it put together the scattered image.
And I like the impression it generates; it is very artistic and
grotesque with multiple faces.
03
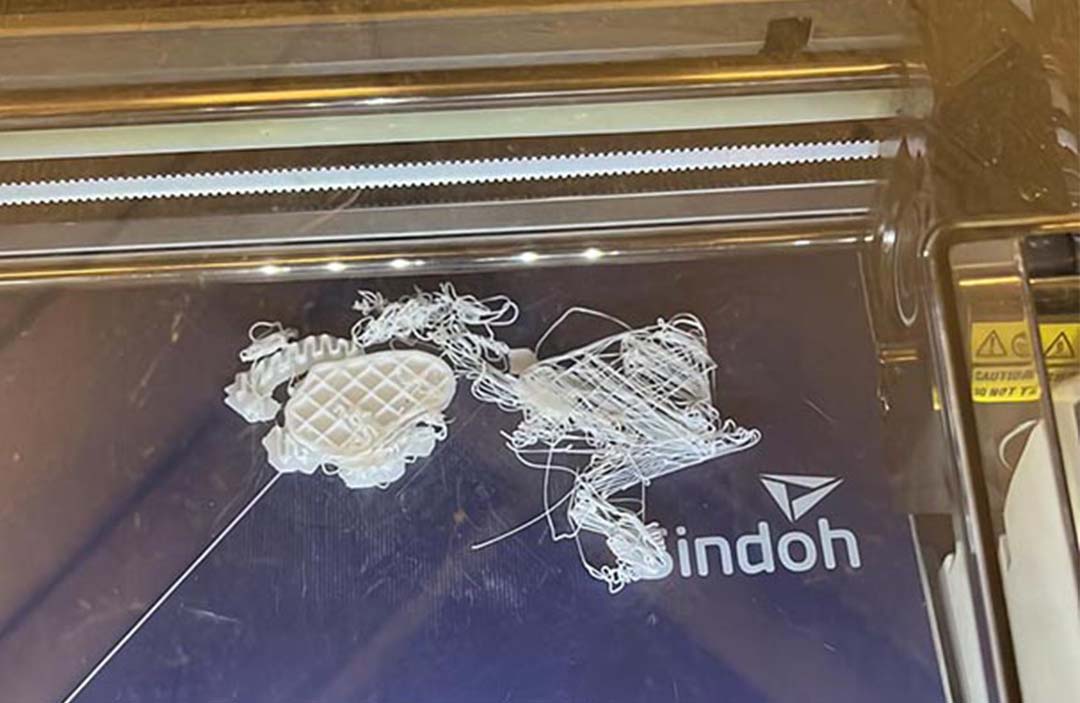
I exported it as a 3d file and I 3d printed two models.