Build a personal site describing you and your final project
Cut something on the vinyl cutter
Design, laser cut, and document a parametric construction kit
As a group, characterize your lasercutter's focus, power, speed, rate, kerf, joint clearance and types
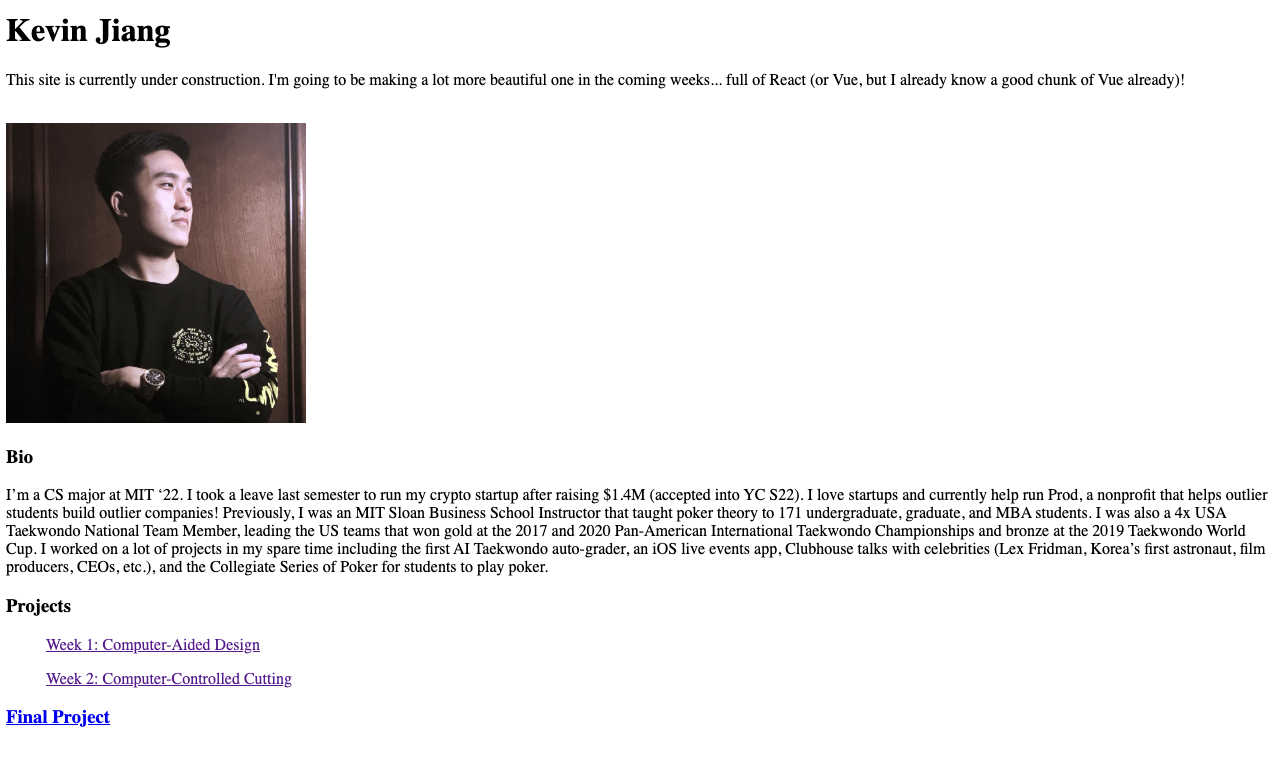
Personal Website
As a computer science (6-3) major at MIT, I've done a decent amount of website development in the past. Several years ago, I learned
a bit about React and developed some extremely basic websites. A couple years ago, I did a deep dive into Vue (also component based), mainly through 6.170
Software Studio. My plan for this semester is to pick up React and build a nice, responsive website :)! For this week, however, I was quite busy :( - so I
built a plain html website.
Vinyl Cutter
This was quite fun for me because I've never really "made" physical things before from scratch. Sure, I've done a lot of embedded programming on a breadboard,
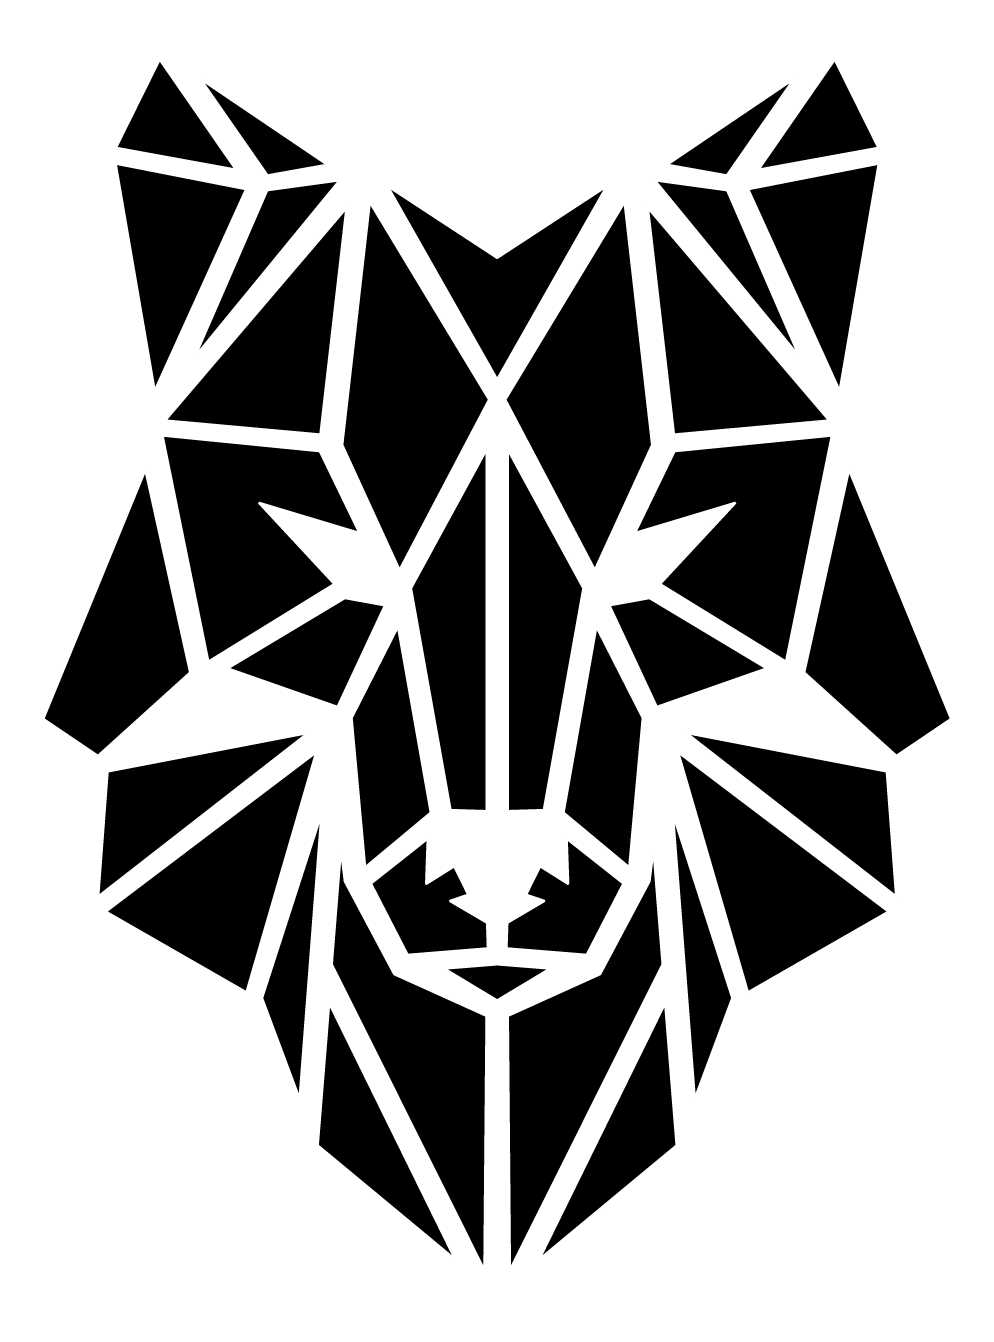
but it felt cool to be more on the "artistic", free-form side of things with the vinyl and laser cutter. The first item I wanted to vinyl cut was a polygon wolf
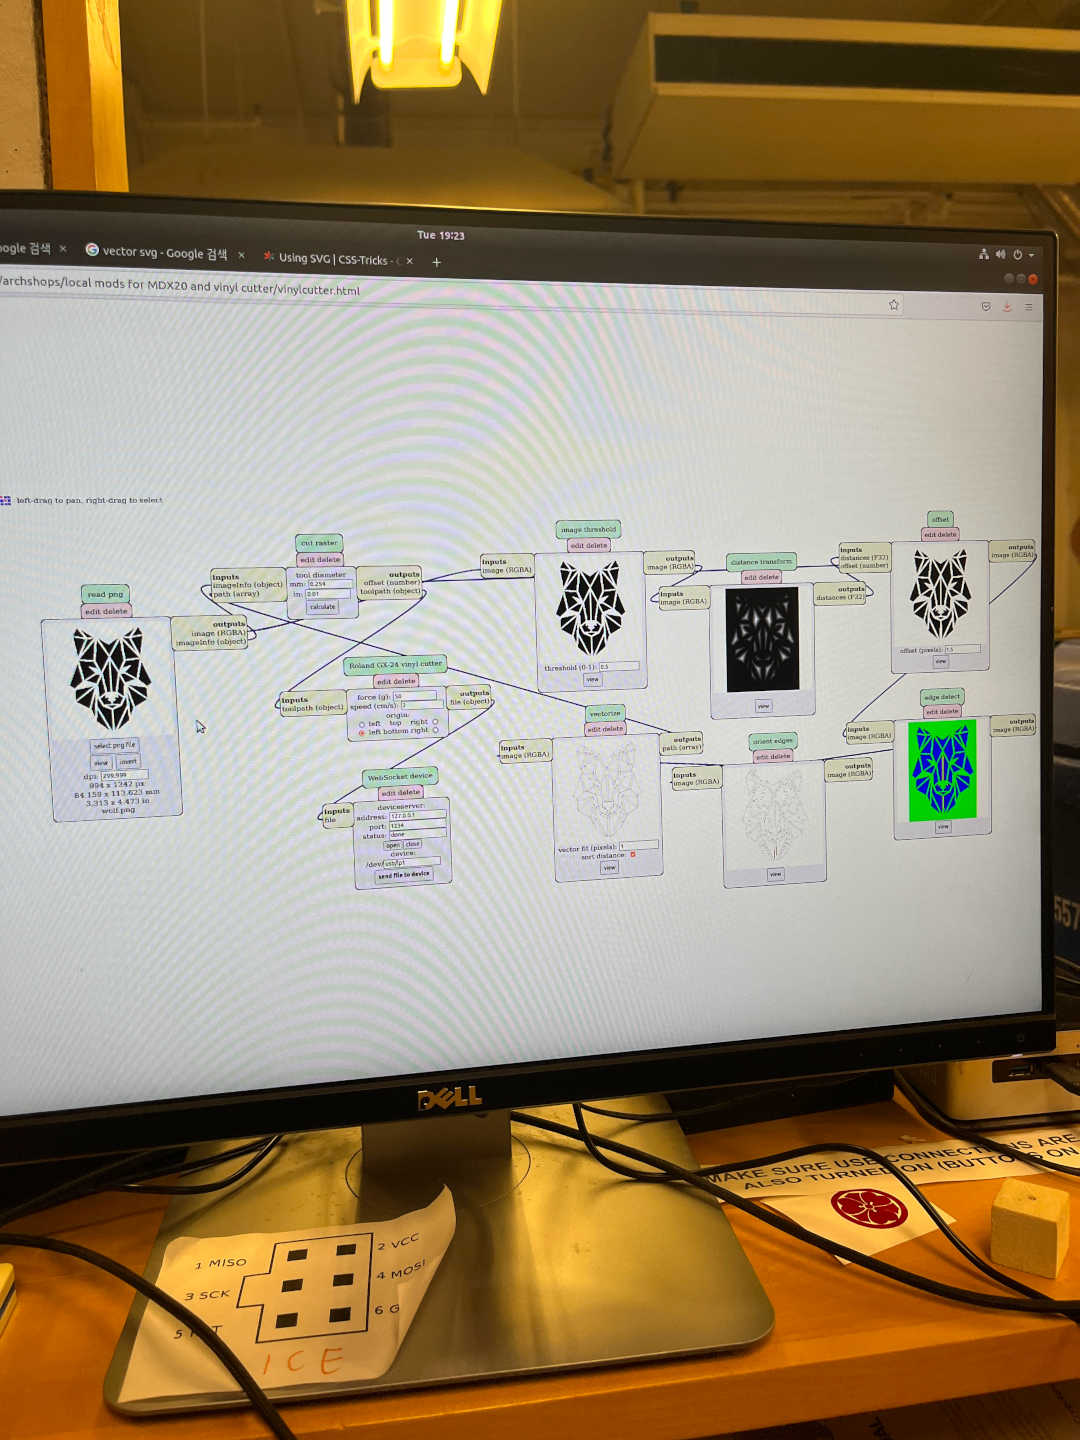
because I like the spirit of wolves! From left to right in the pictures below, I edited a wolf picture to invert the colors via Illustrator (I did not know that
it didn't matter - I learned later that we only need to care about the edges), set up the vinyl cutter to calculate the path, executed the cut (~5 minutes),
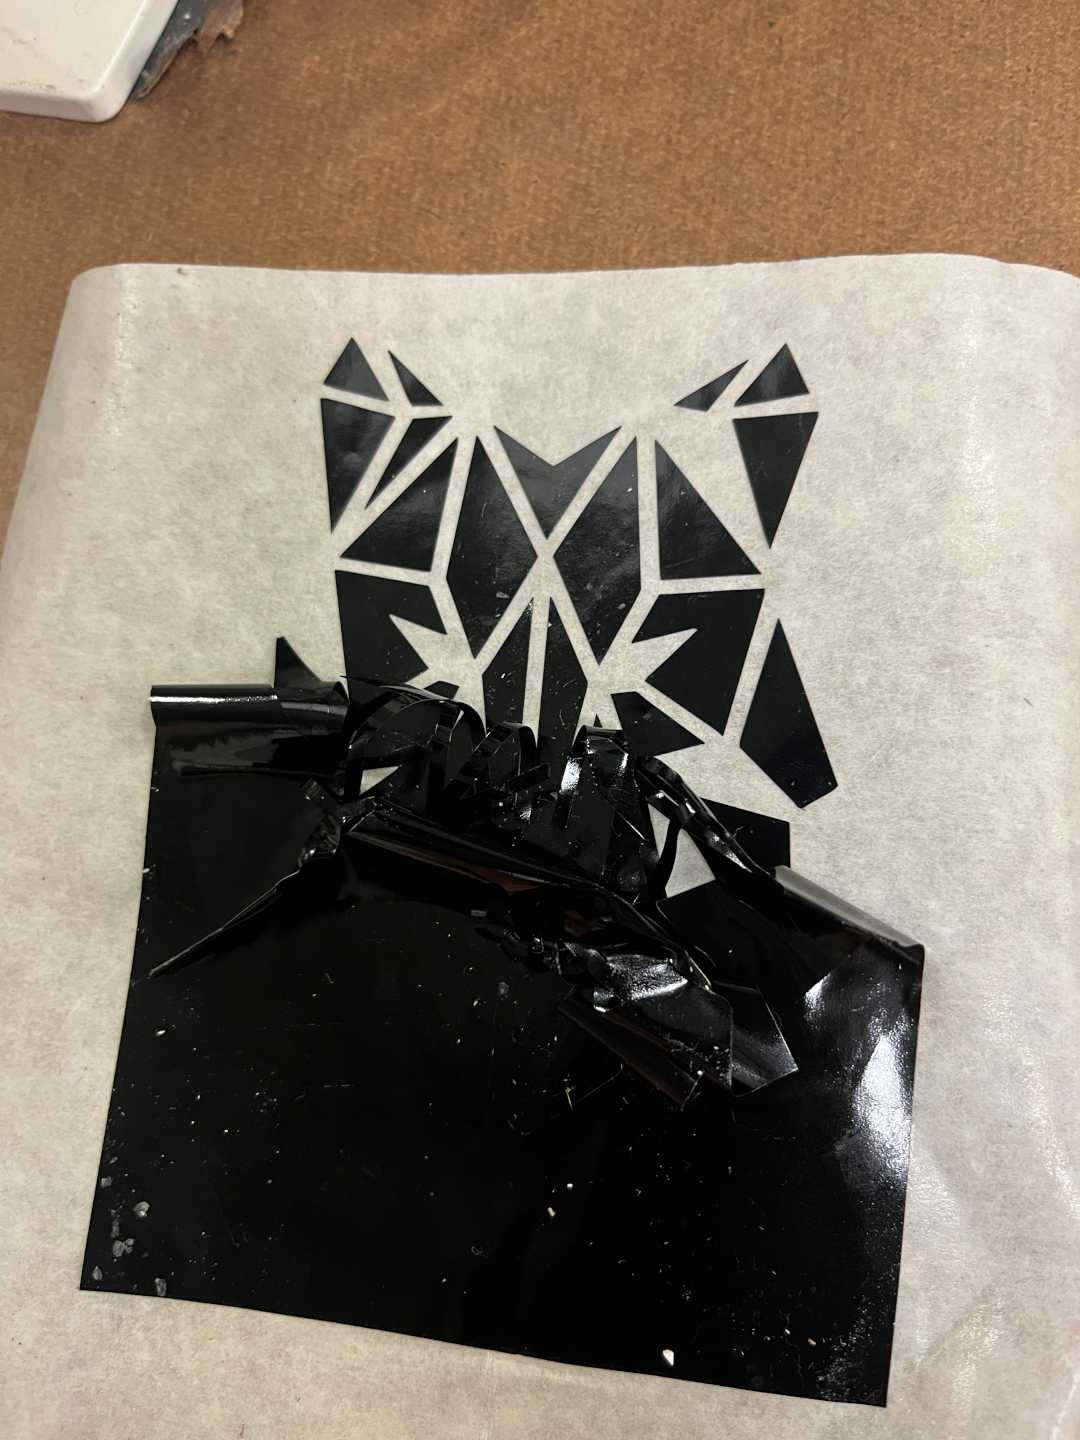
and took a picture of my attempt at peeling the right parts off!
Unfortunately, I went to help some of my fellow section students, and my sticker had fallen onto the ground, which got it dirty. I didn't really feel like
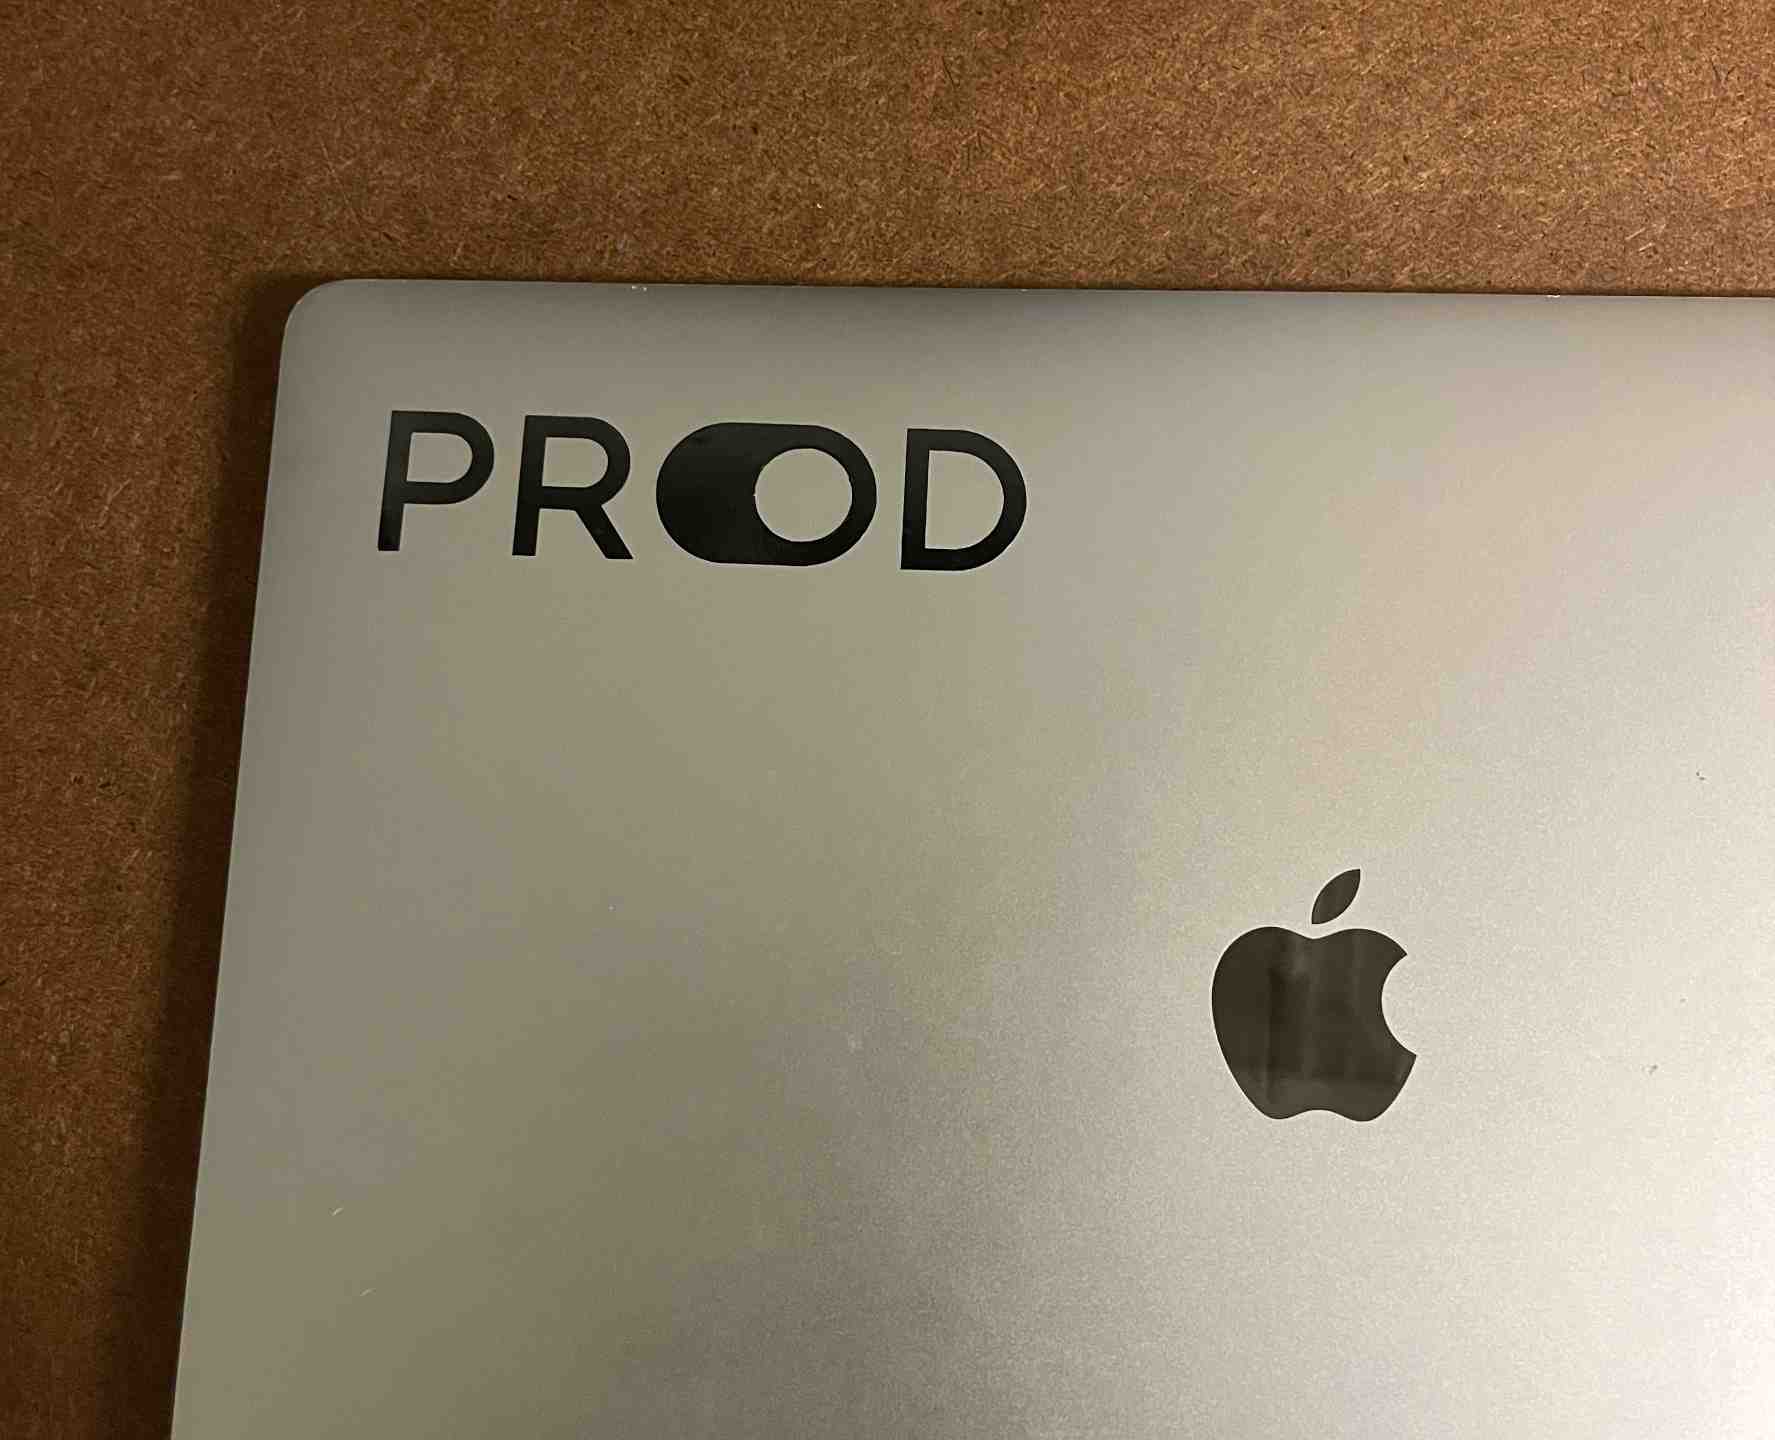
peeling it more and actually realized I wanted to do another cut instead: our Prod logo, a non-profit that I help lead on the MIT side, dedicated towards
helping outlier students build outlier startups! And so I went through the same process... here is the result:
Laser Cutter
I've never used a laser cutter before, and I've got to say. It was cool! Some part of me feels good that I can make physical things, especially since I've
mainly been building software before this class. Coming from a more entrepreneurial background, I wanted to see what problems I could solve with a simple
laser cutter. This line of thinking of a solution in search of a problem is not ideal, but then again, I'm not actually trying to build a startup :).
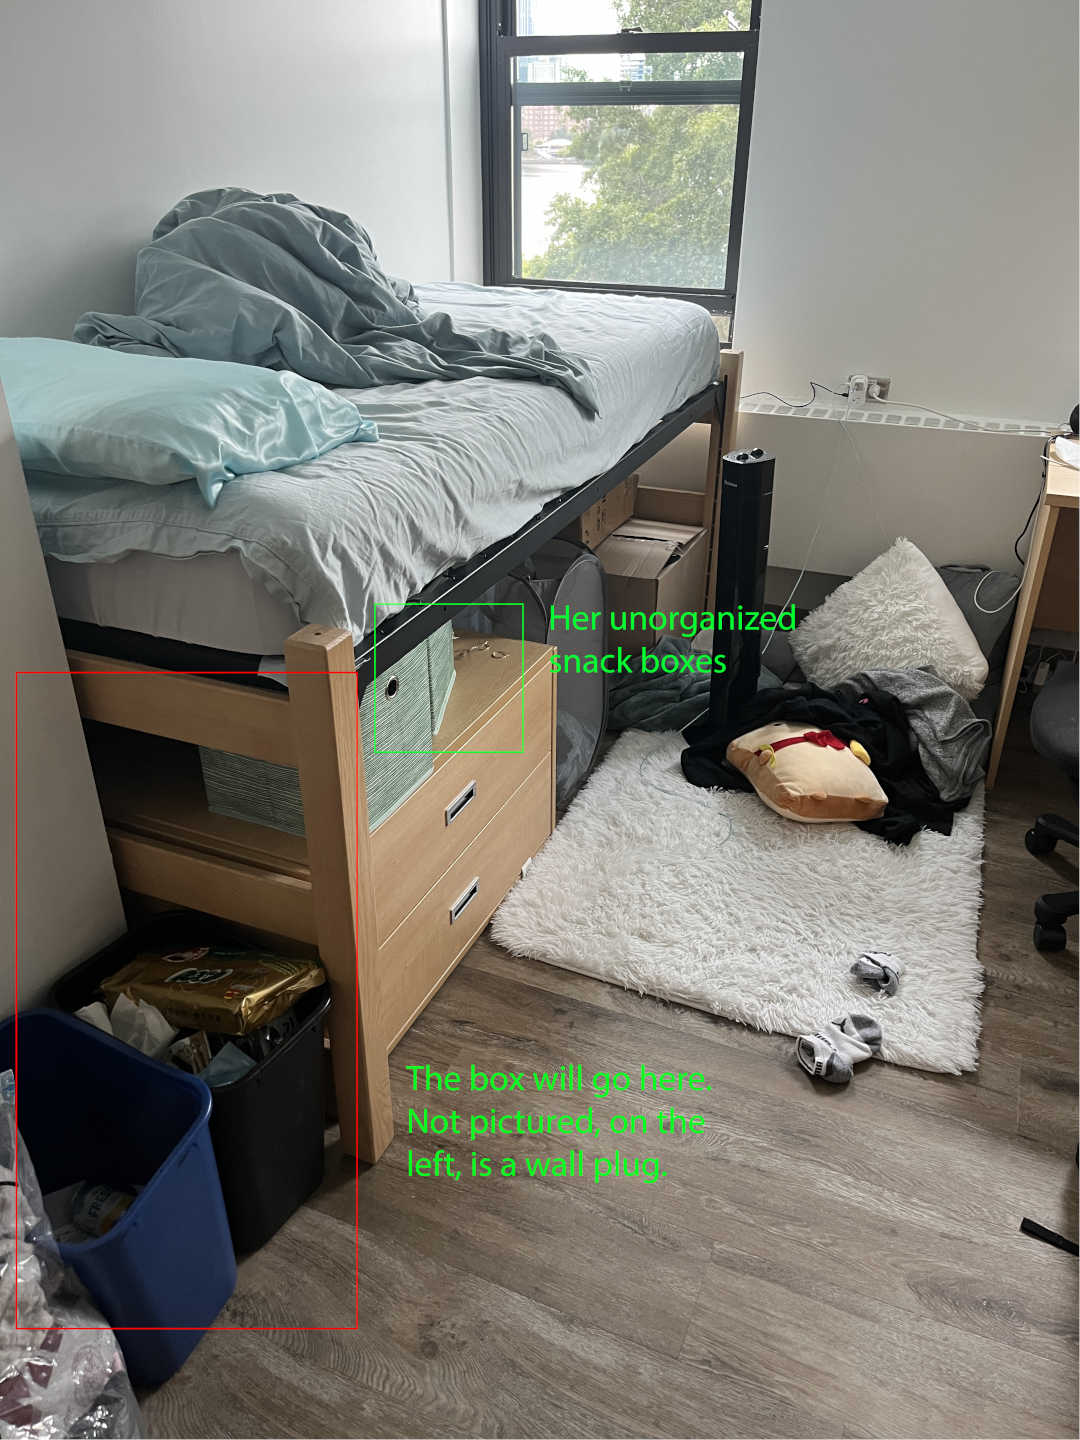
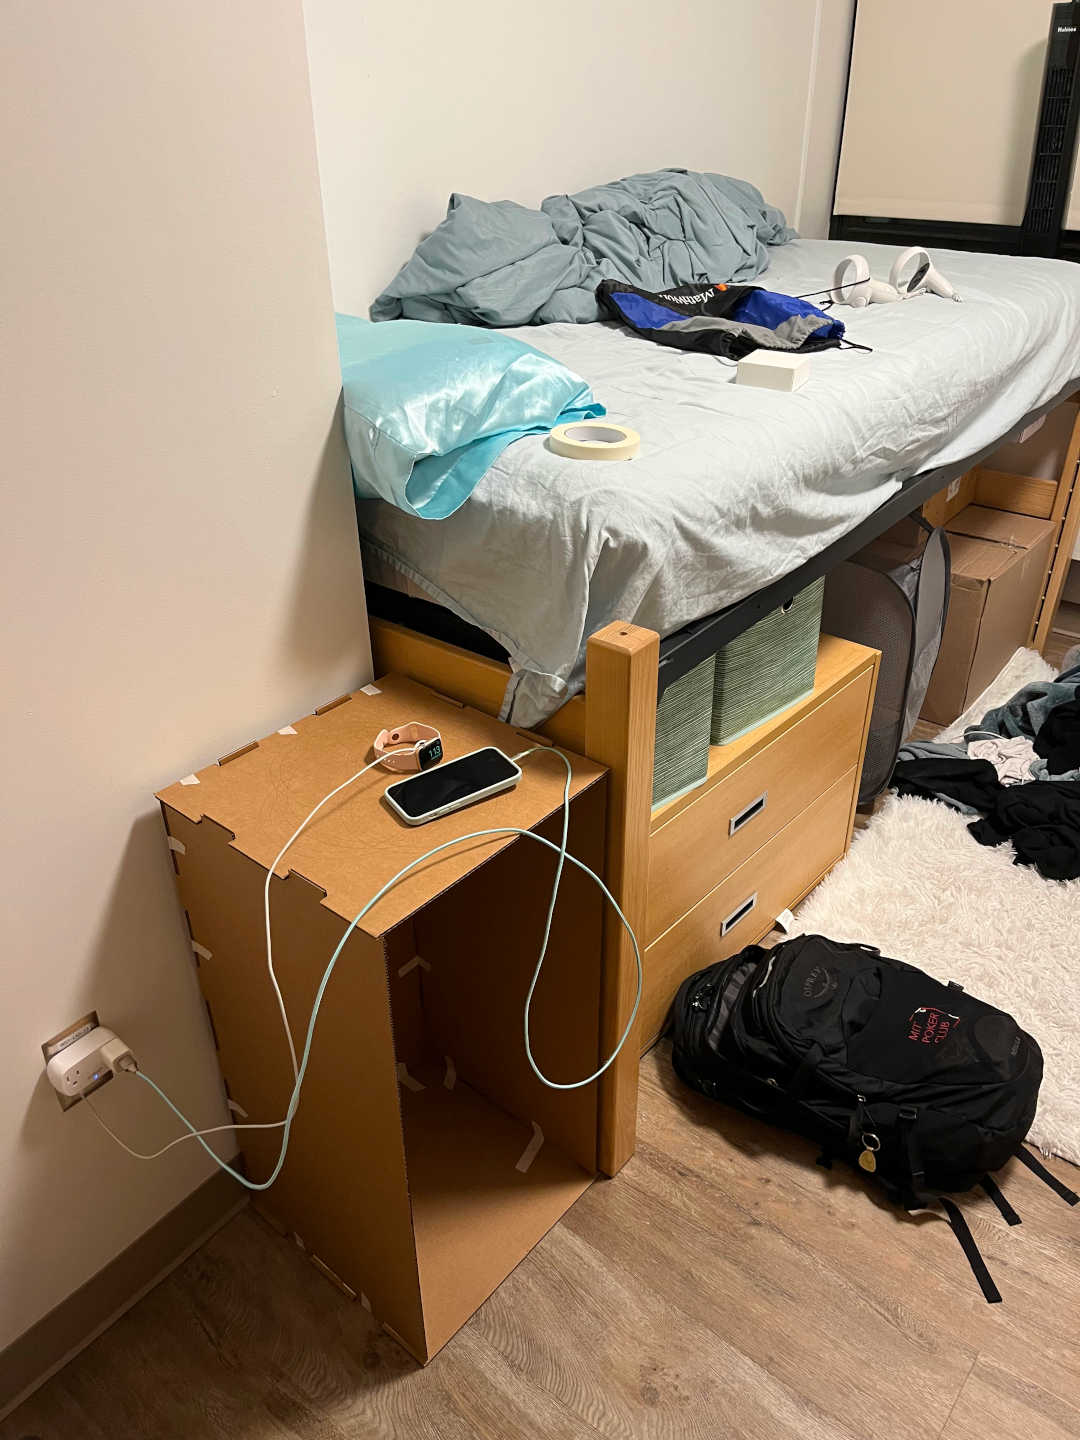
I asked my girlfriend what kinds of problems she's been having in her room architecture-wise. She named a couple problems...
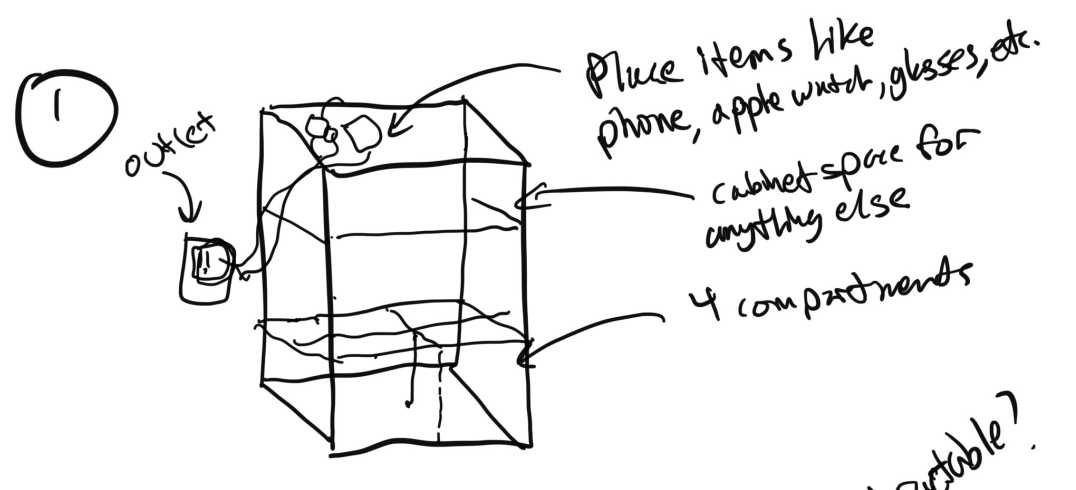
Not being able to place her phone/glasses/watch near the bed (have to get off of the bed and go to her desk to put things there
Wants to store her snacks in easy compartments instead of having the sift through a hodge-podge of snacks in her one big box
Slightly hard time getting onto the bed everytime (the frame is on the taller side)
I decided it would be cool to tackle the first two problems. The picture below should give a better sense of what her room looks like. I decided to
build an open box with some design patterns on it that would be right next to her bed and plugs (see the 2D sketch and red box in the picture).
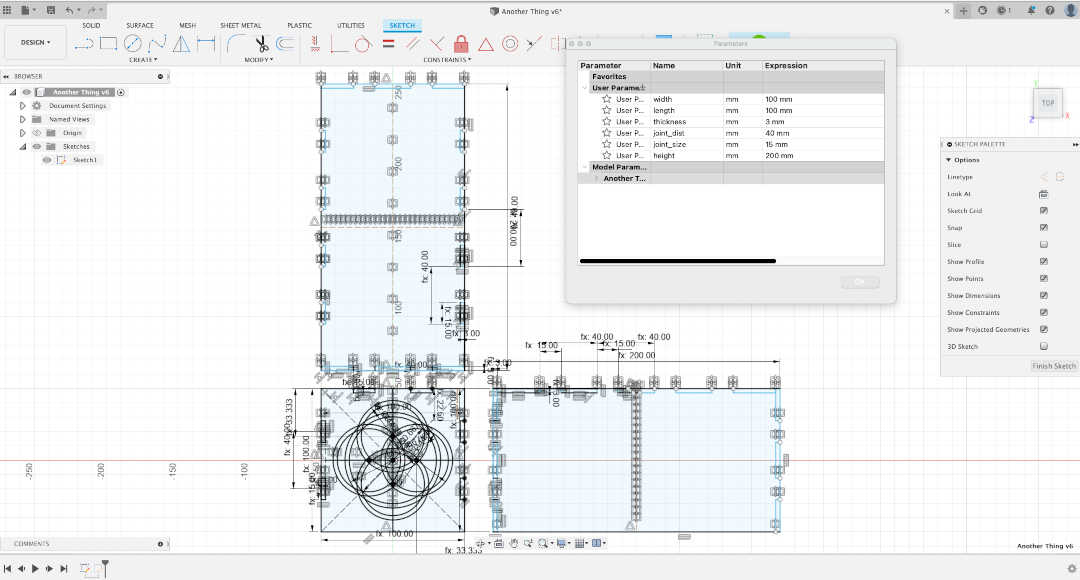
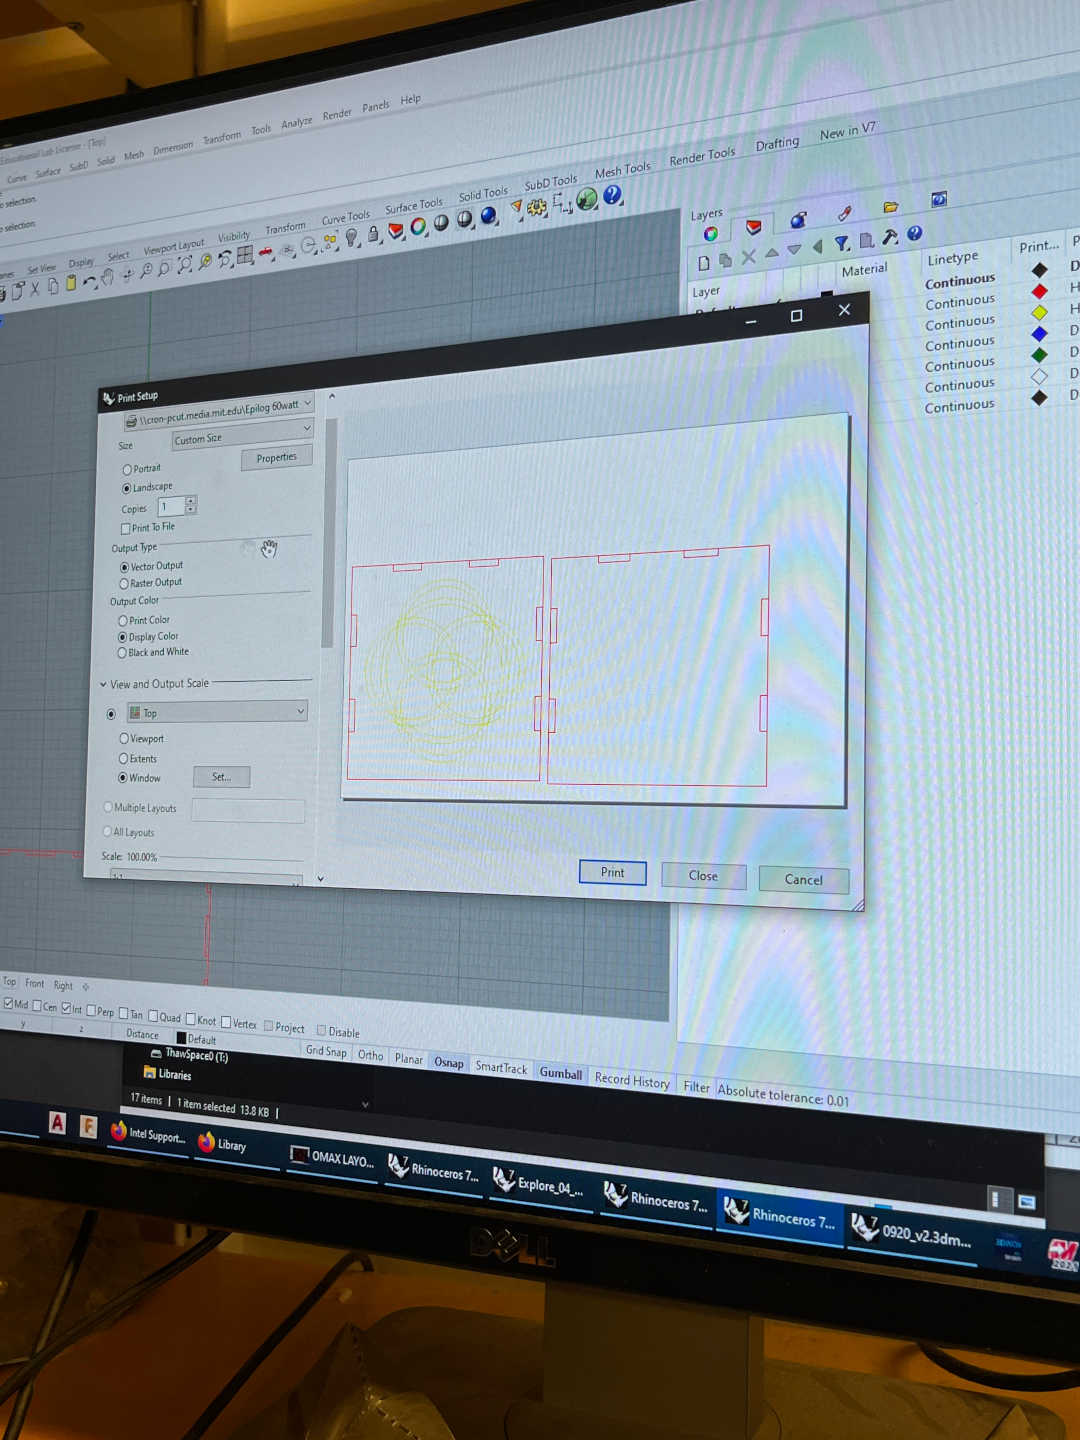
After a grueling number of hours of me trying to learn how to CAD, I got the following designs. What made it especially difficult was the type of joint
that I chose: the finger joint. Maybe I was just extremely inefficient as a beginner CAD user (perhaps I was over-parameterizing?), but something that
looked deceivingly simple took many hours of calculating parameters and setting constraints such that the joint size, distance between the joints,
box dimensions, and more were easily adjustable.
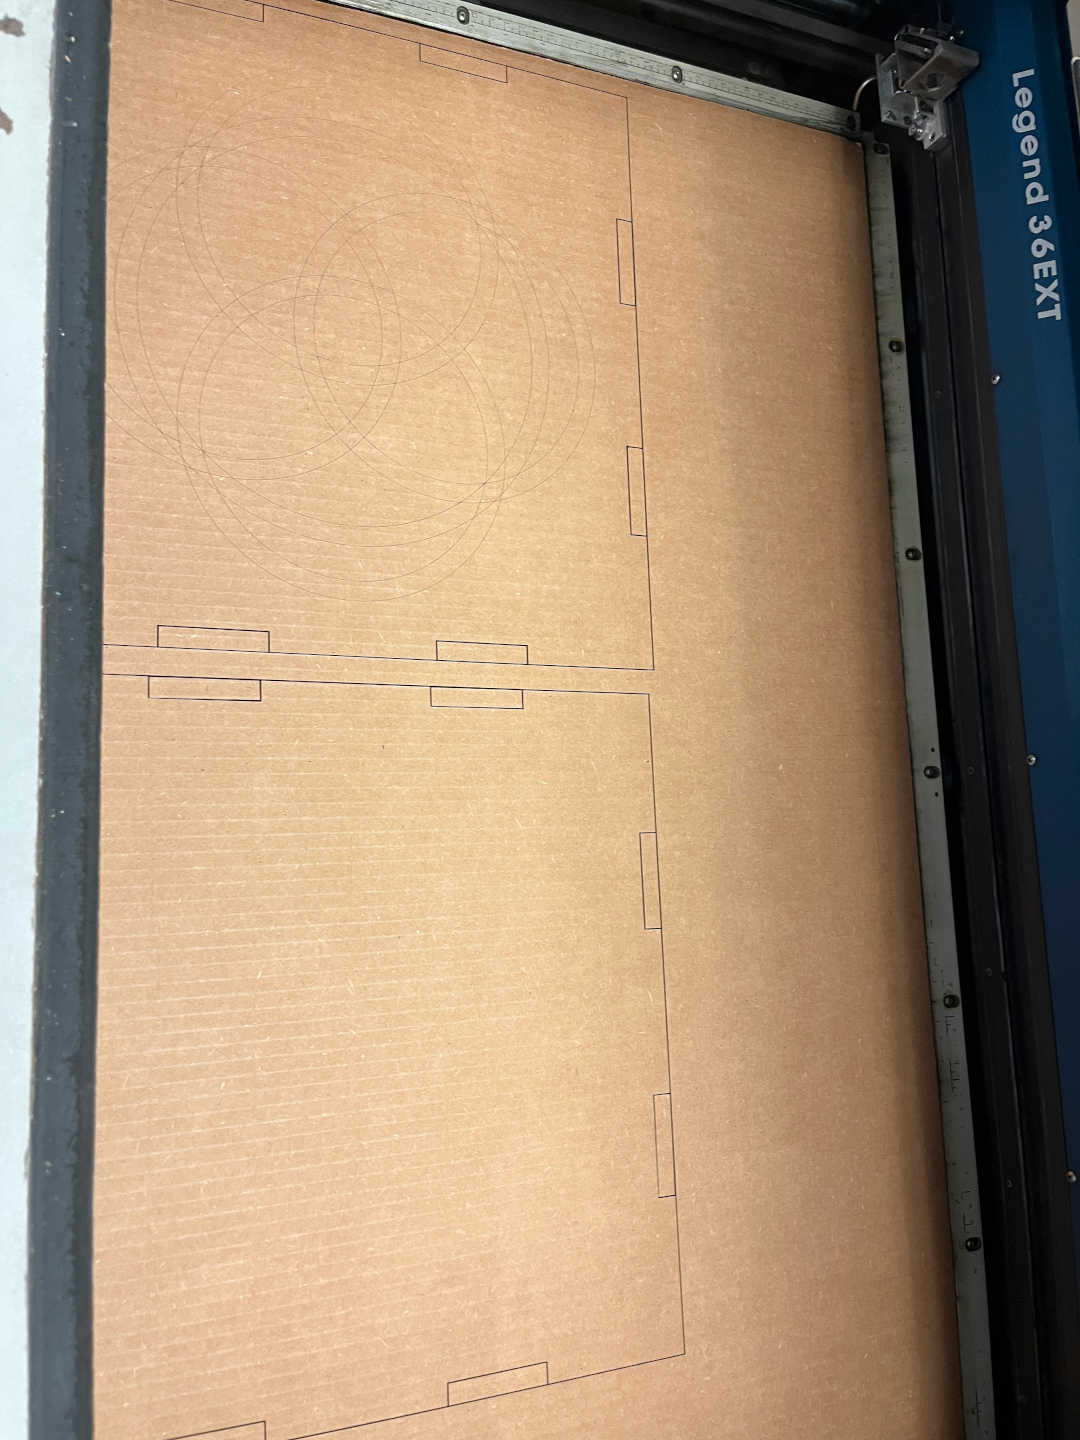
In the spirit of spiral learning, I decided to not do the compartments since it would be a bit too complicated for me for now. The following pictures
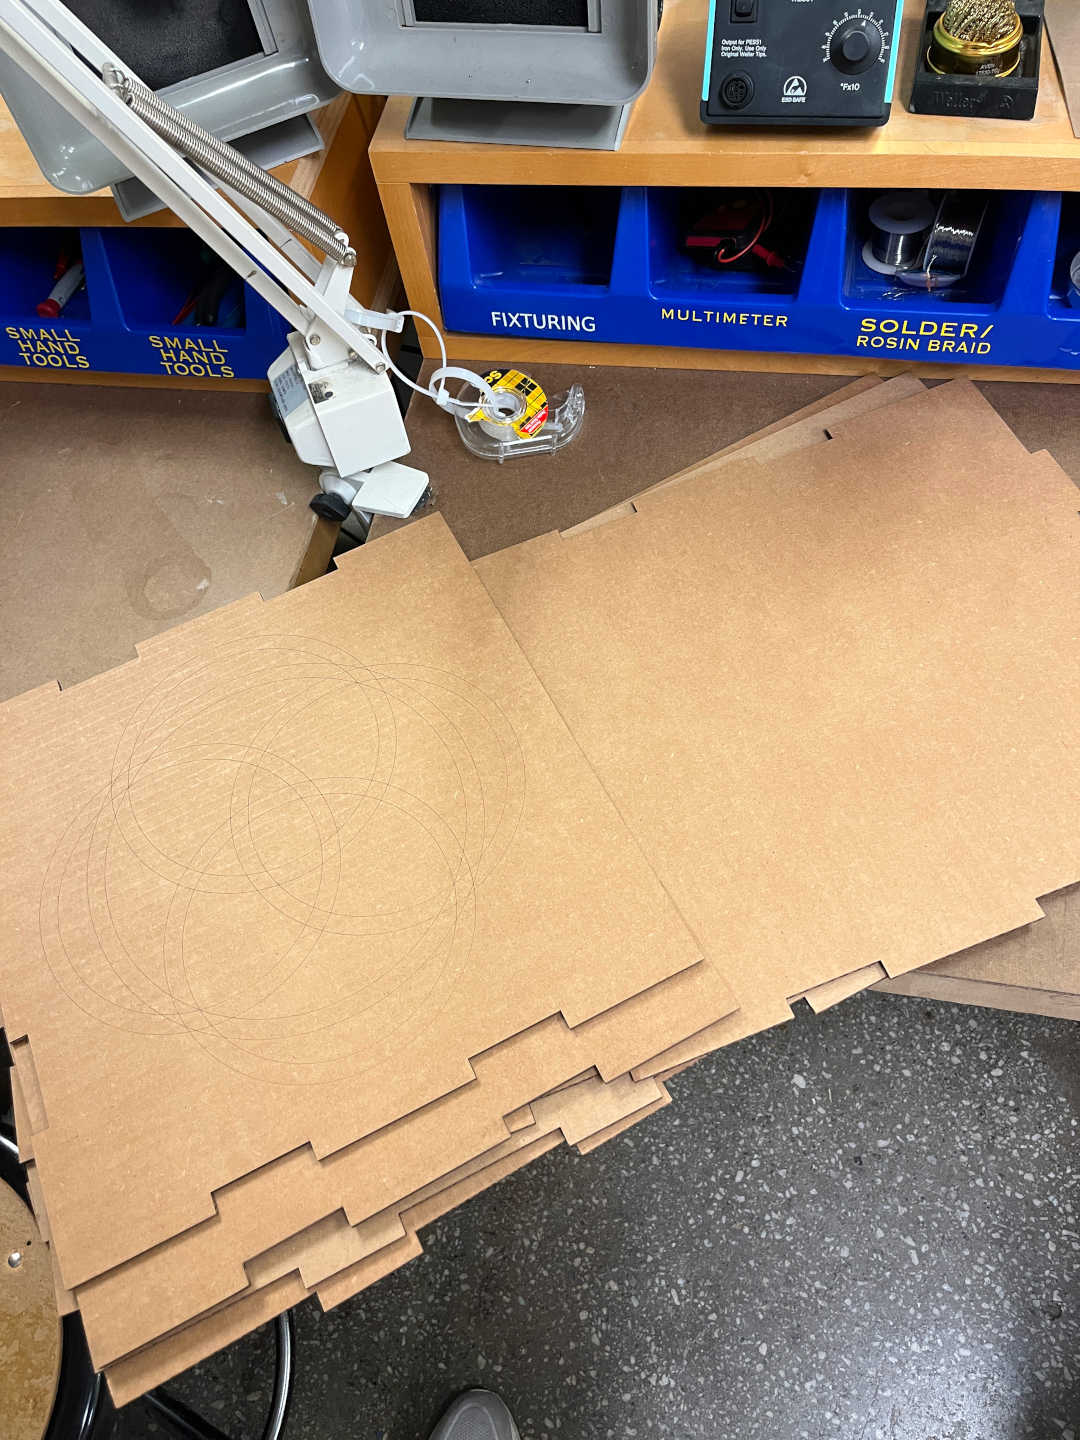
detail the laser cutting process until the final product! From left to right: importing into Rhino, executing the actual laser cut (using parameters
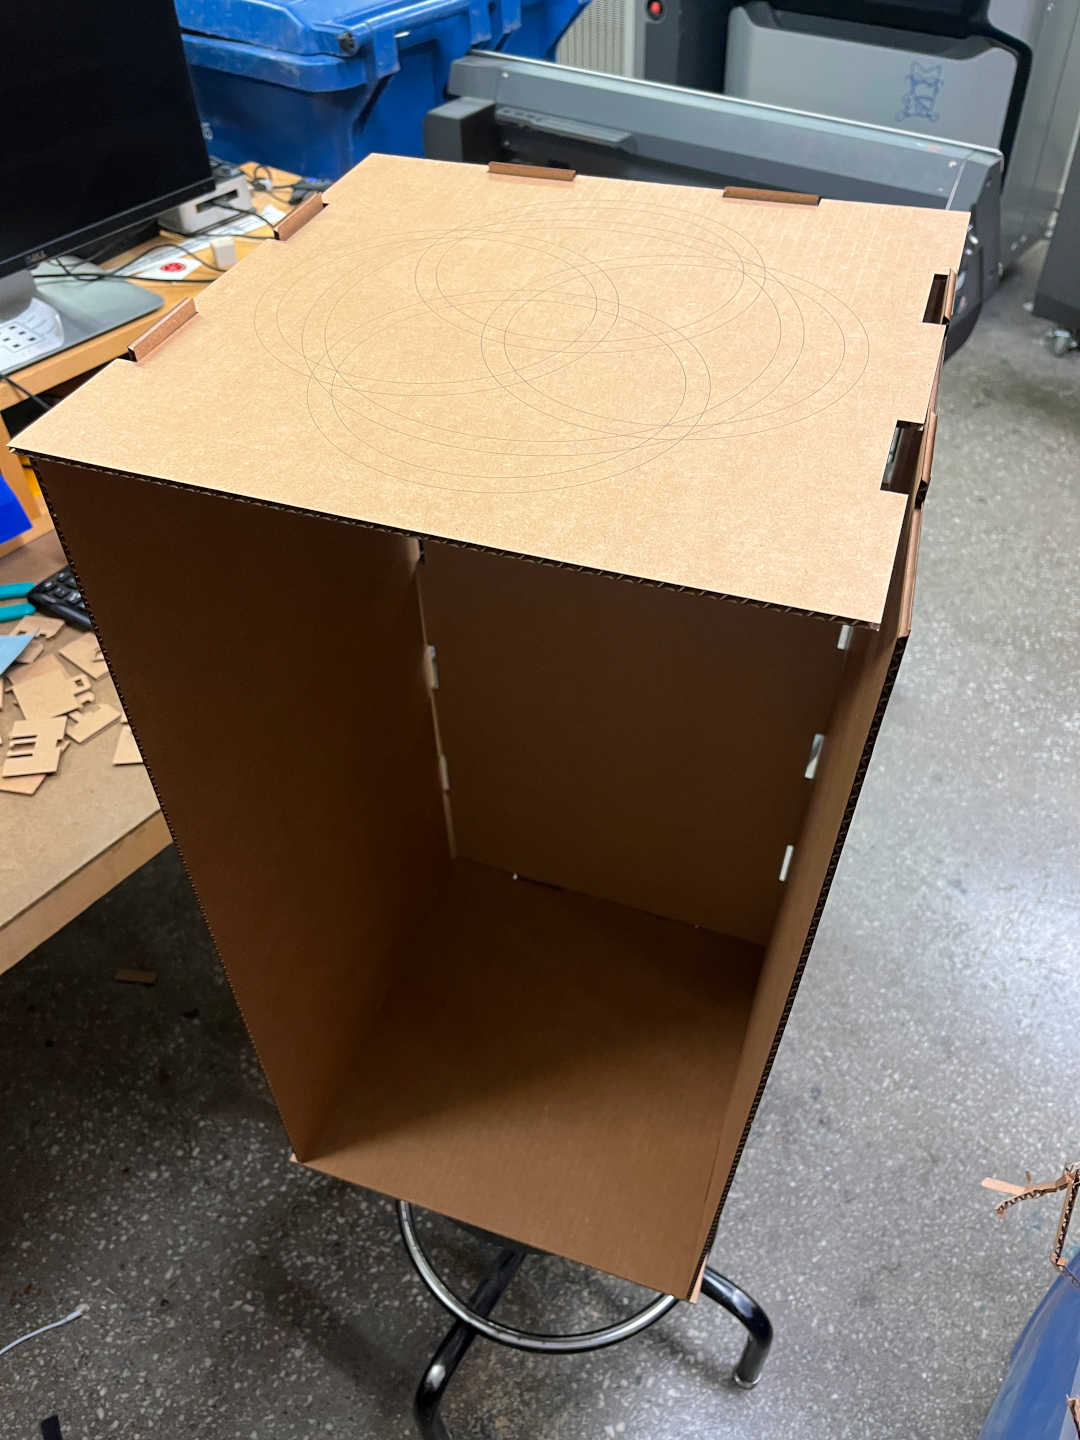
determined by the group project), lookign at finished cut for two sides, gathering all four sides, and assembling the final box.
Unfortunately, the measurement paramters I used were a tiny bit off so the finger joints protrude a bit. Nonetheless, it still stands as an open box
with a somewhat cool circle design on the top! I used some tape to strengthen the connections between the sides of the box. My girlfriend and I have
used the stand for several days now, and I'm happy to report that it works :)!