3D Printing
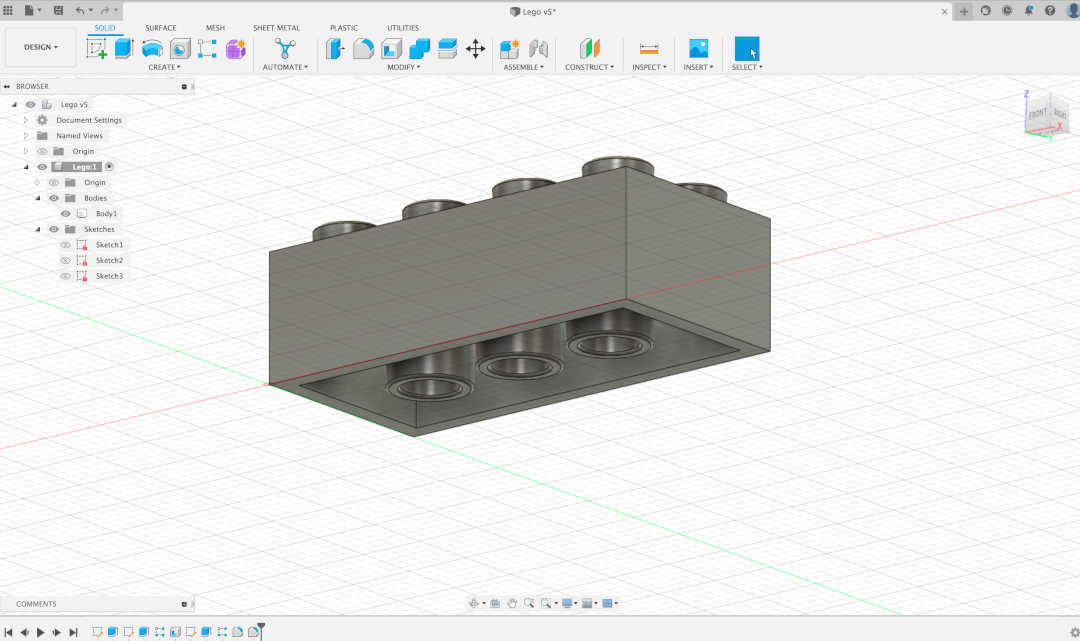
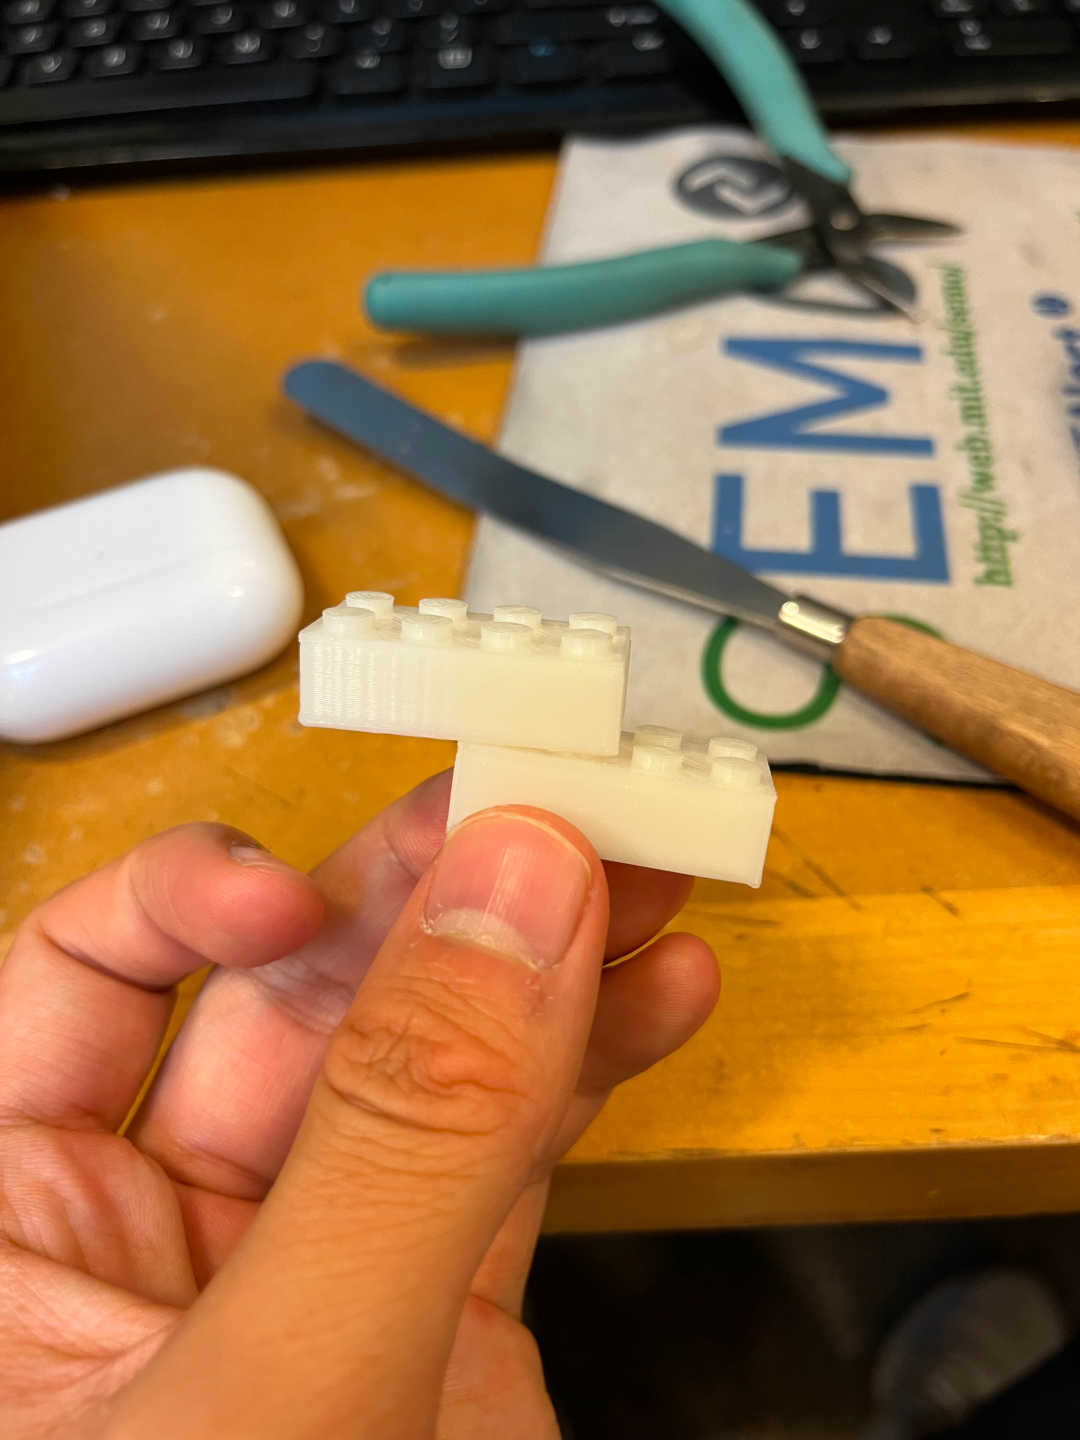
I designed and 3D printed 6 4x2 Lego pieces! When I was first learning CAD in Fusion360 during Week 1, I followed a tutorial to help me design a 4x2 lego piece. So why not try to print a couple modular blocks that I can mix and match together?
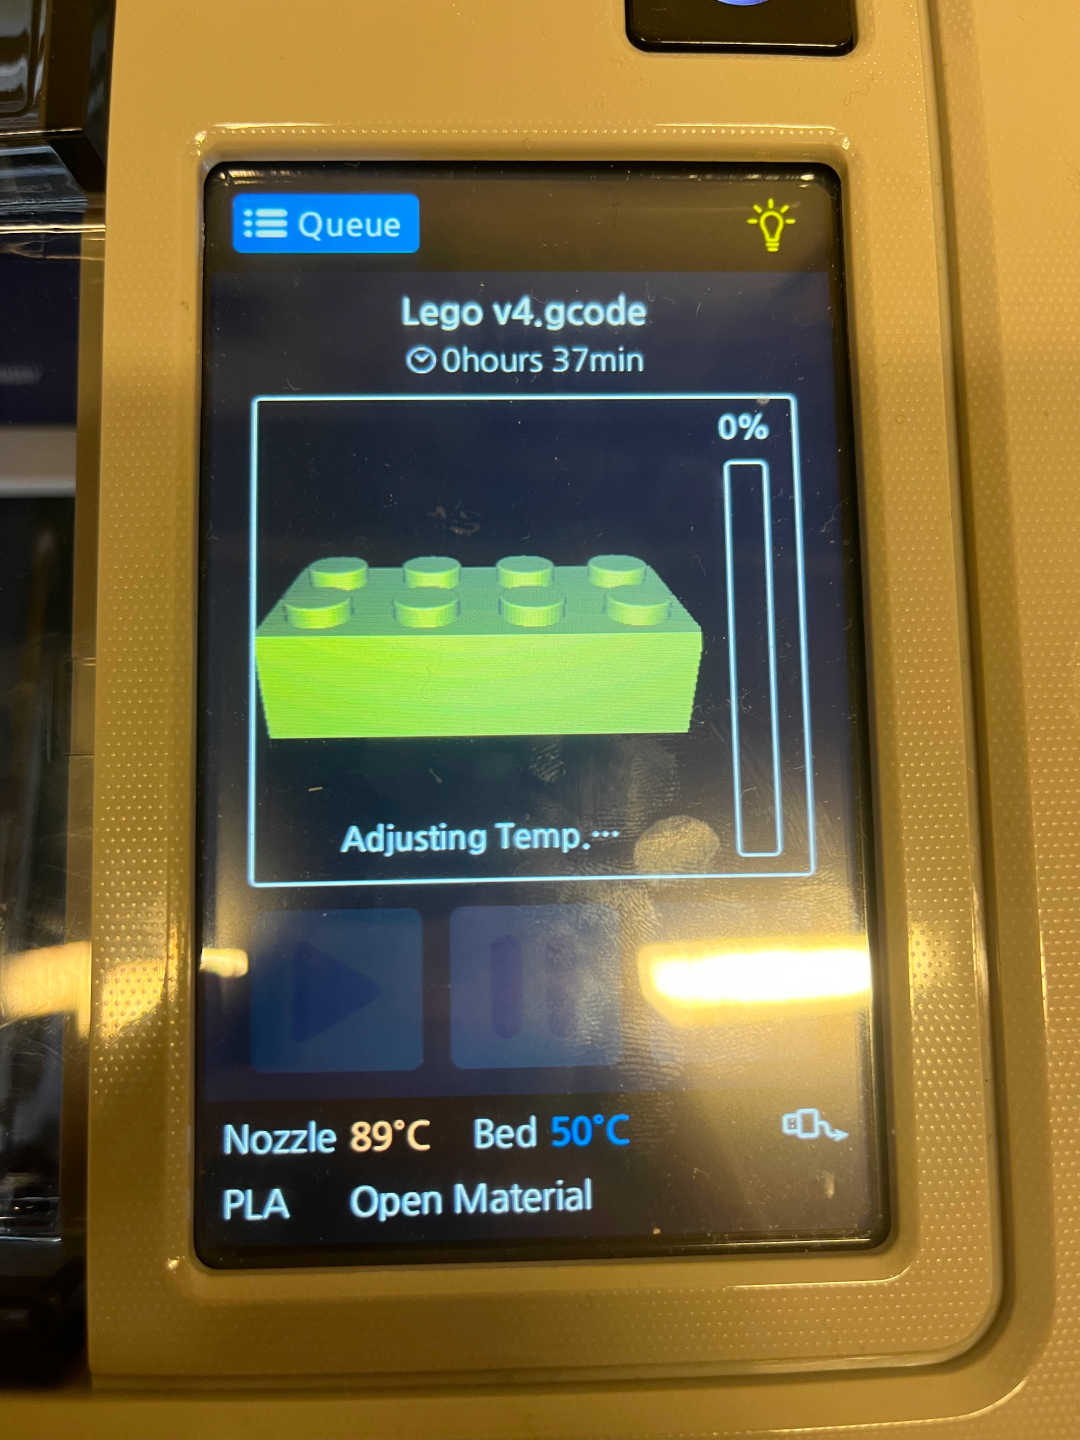
After exporting my Lego CAD model as an STL file, I used 3DWOX Desktop to generate the G-code with supports and a raft.
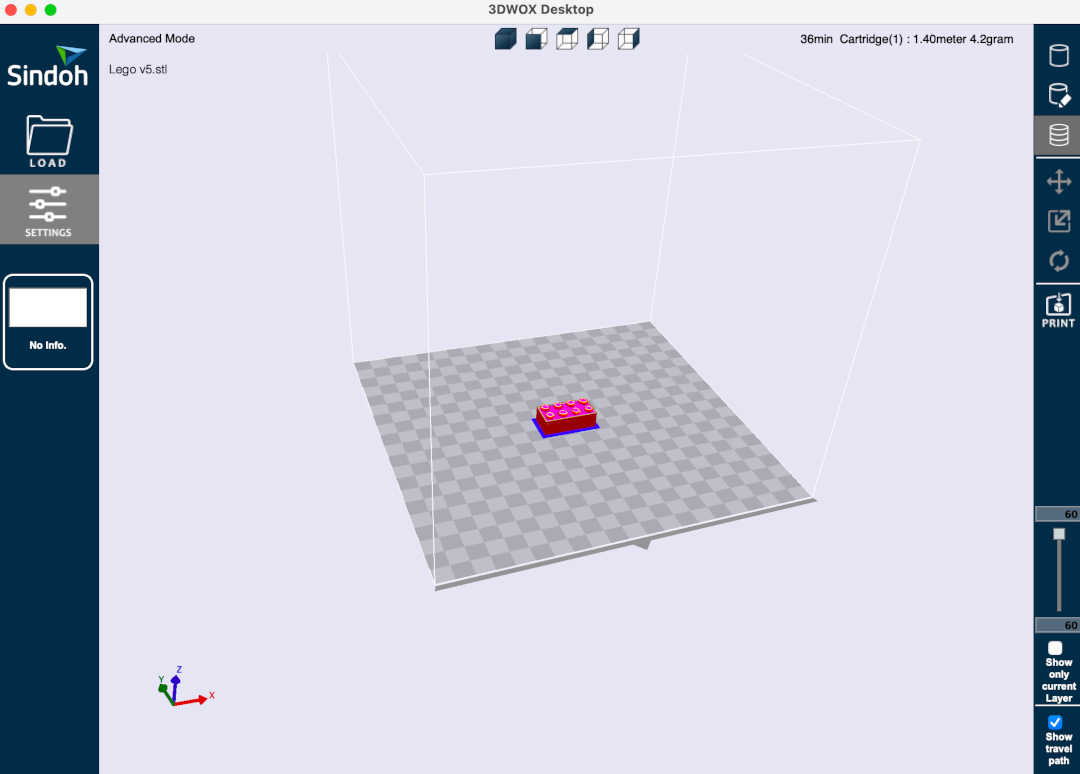
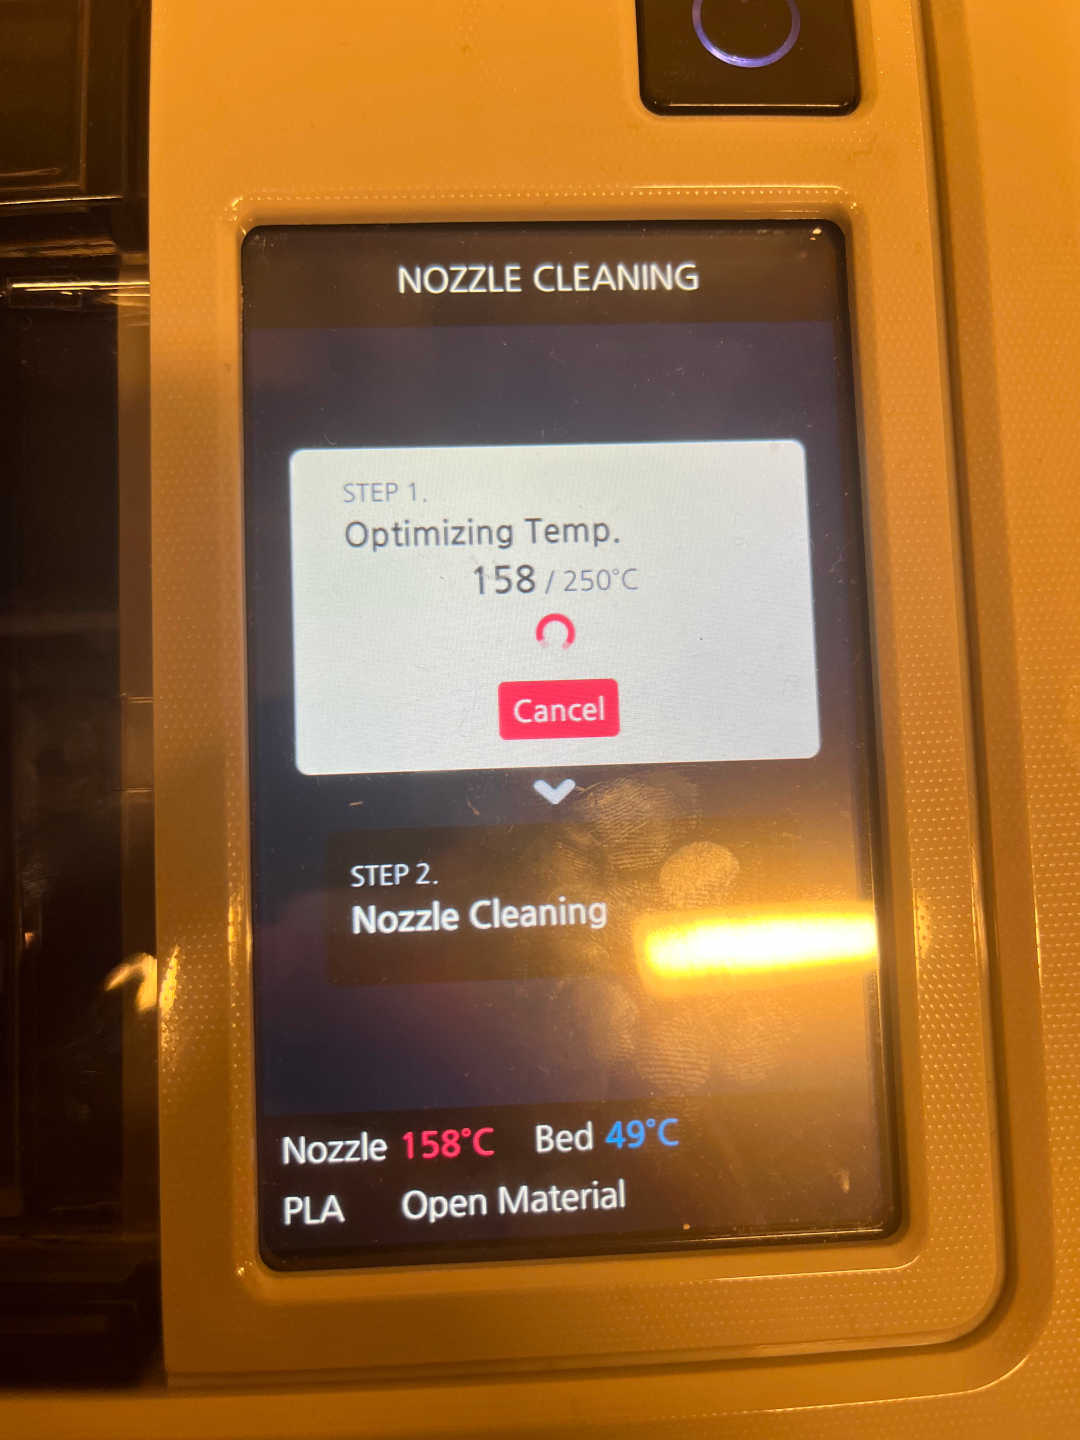
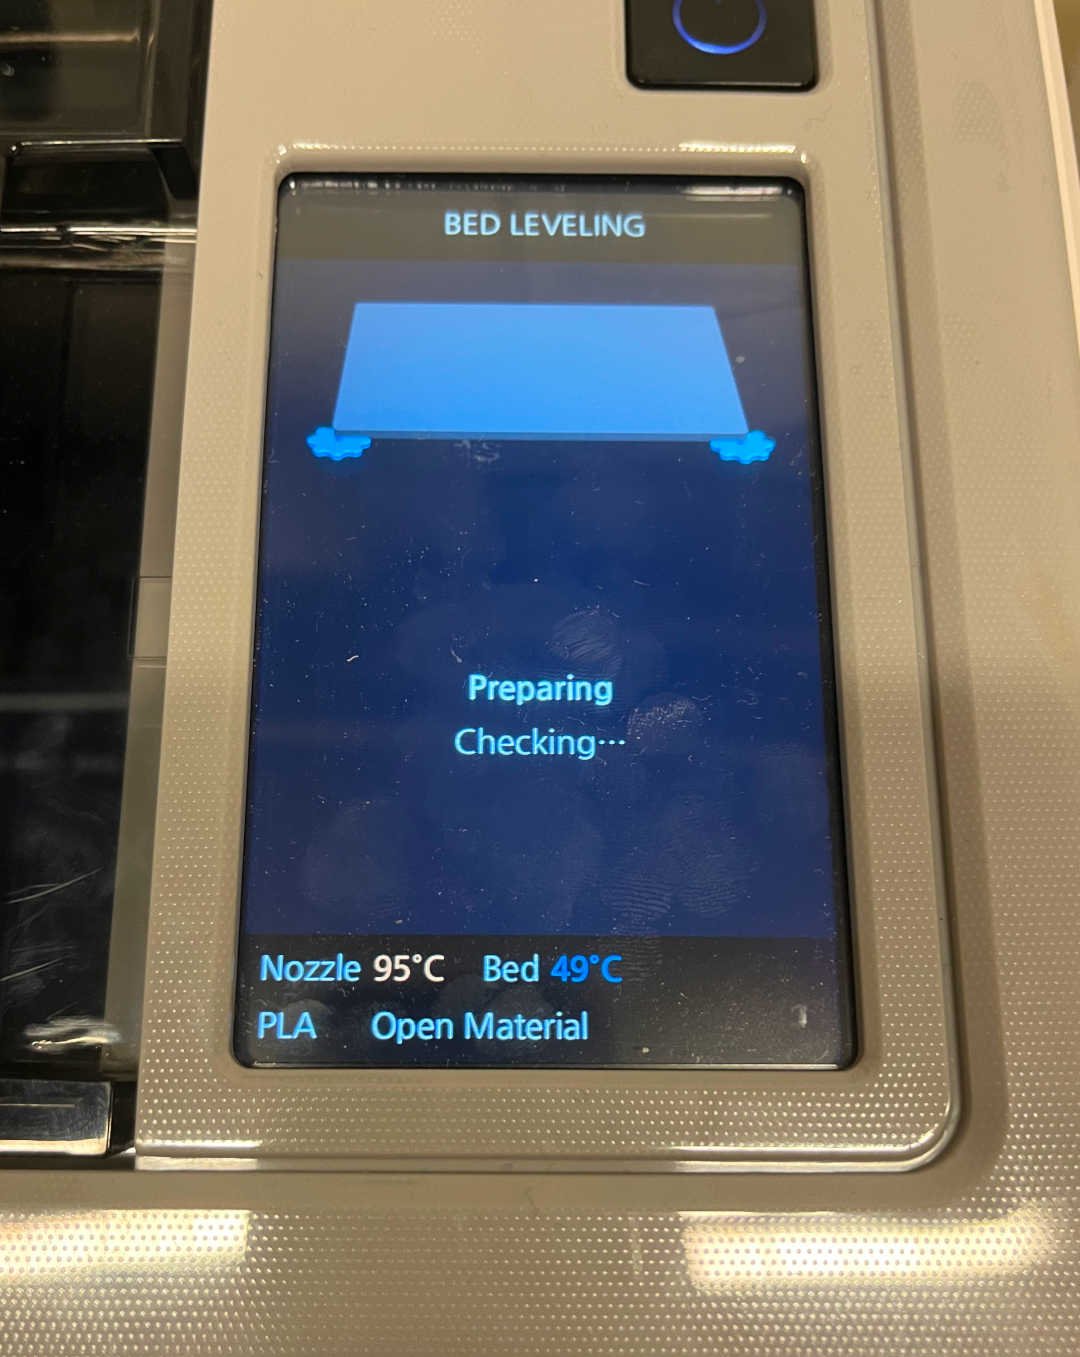
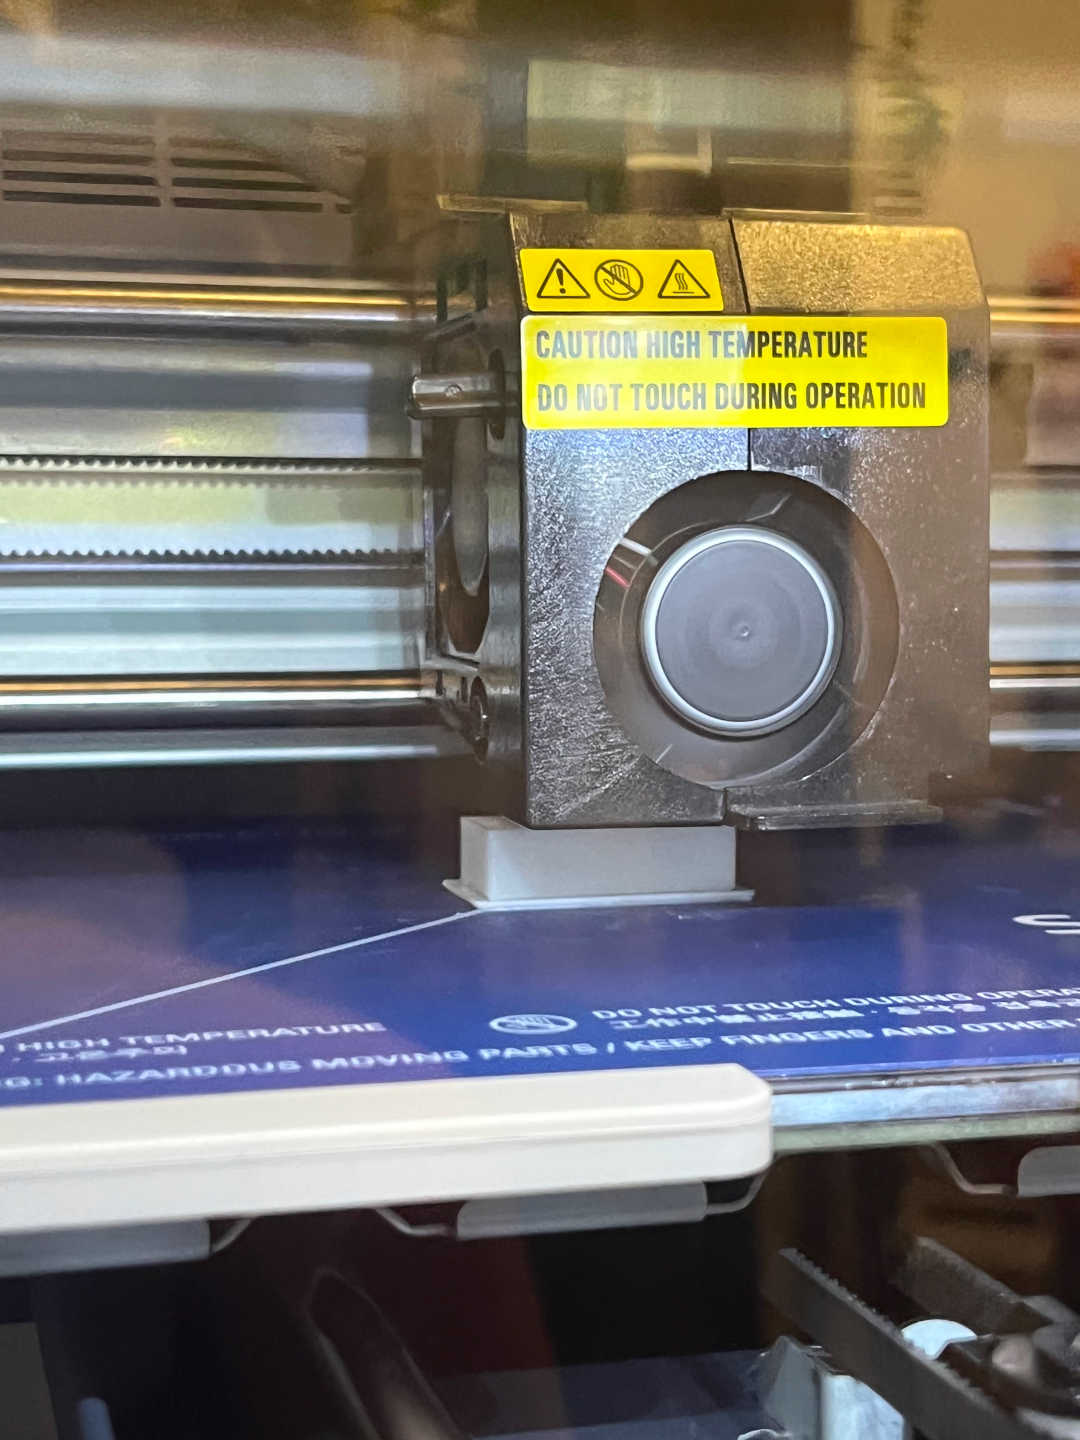
I then ran the nozzle cleaning function, leveled the bed, and loaded the file onto the 3D printer. I printed 2 Legos, each taking about 37 minutes to print. I had to manually remove all of the supports to get the final Lego.
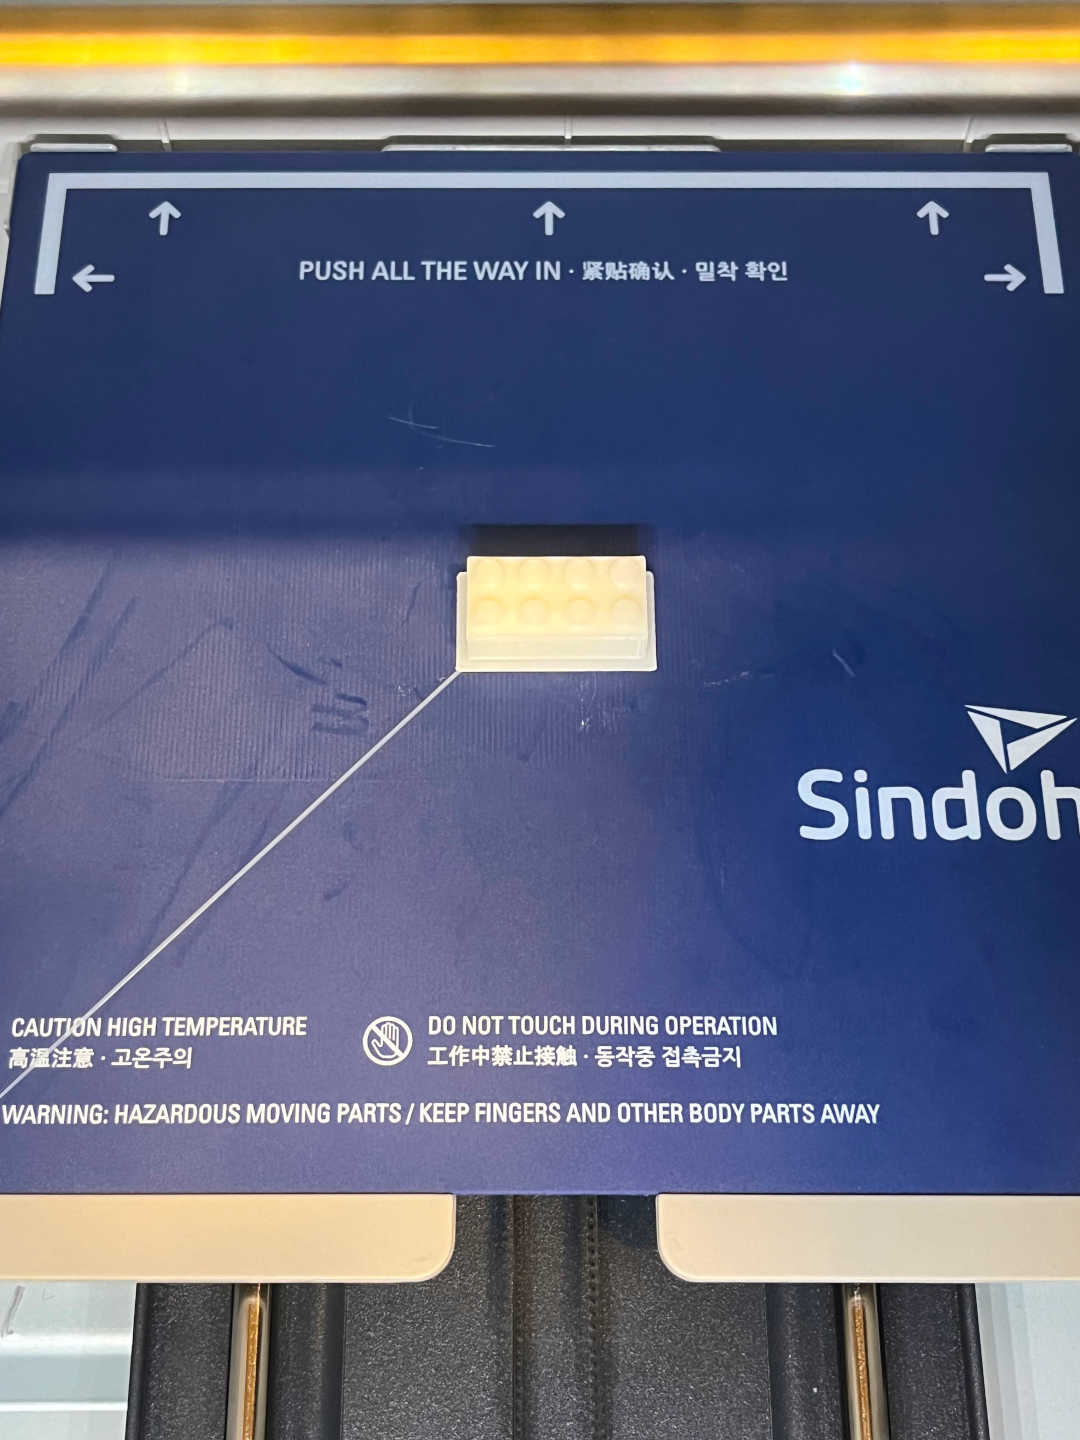
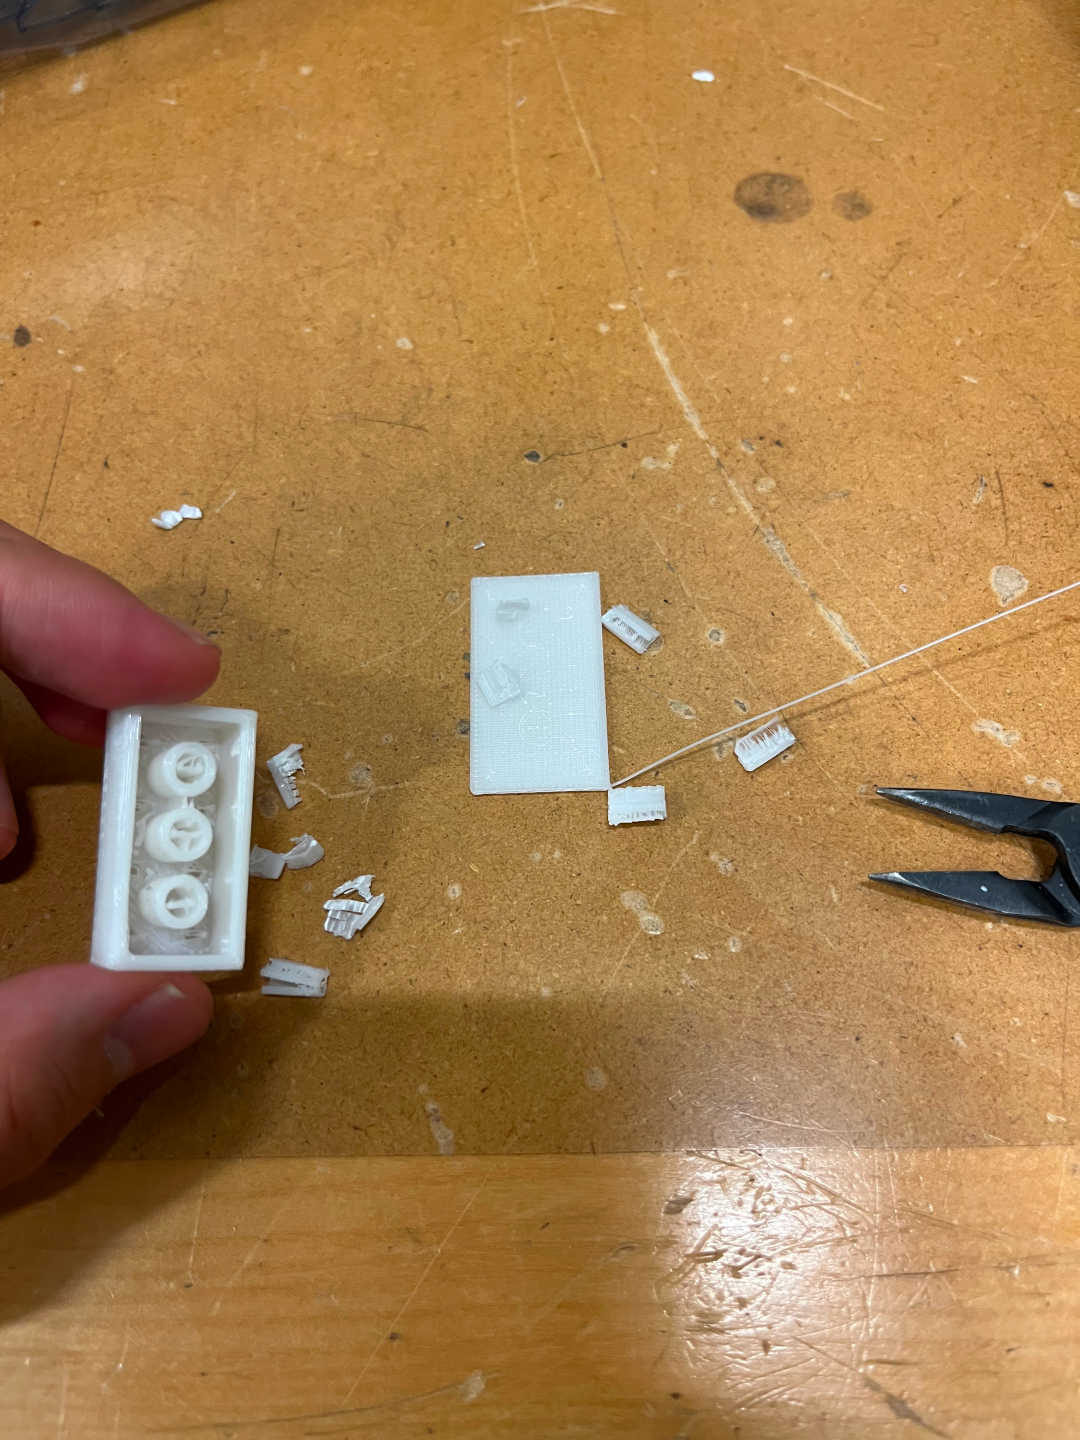
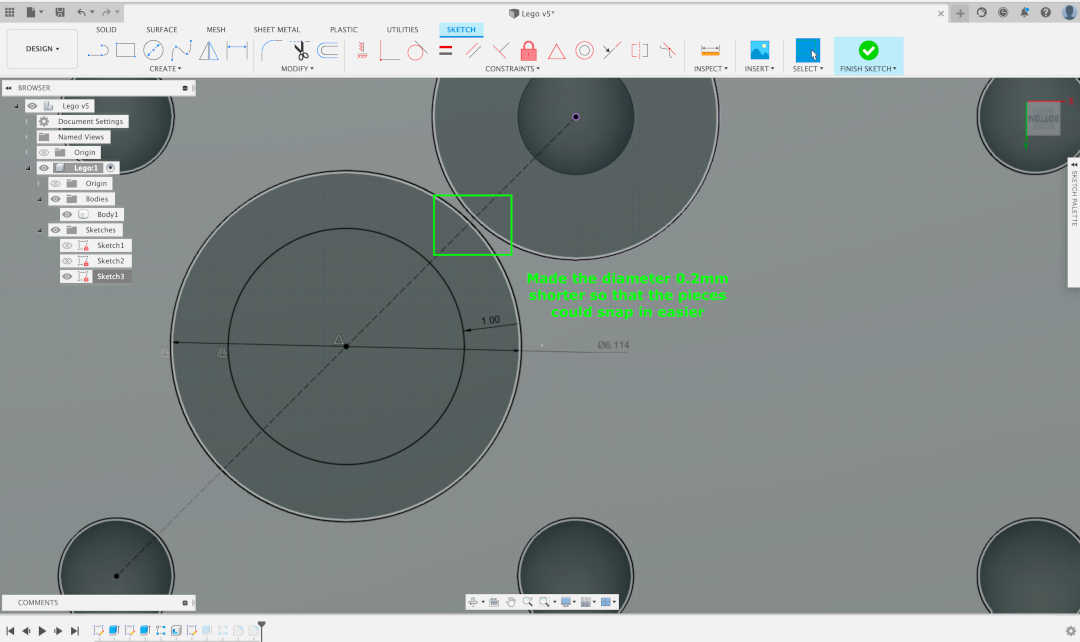
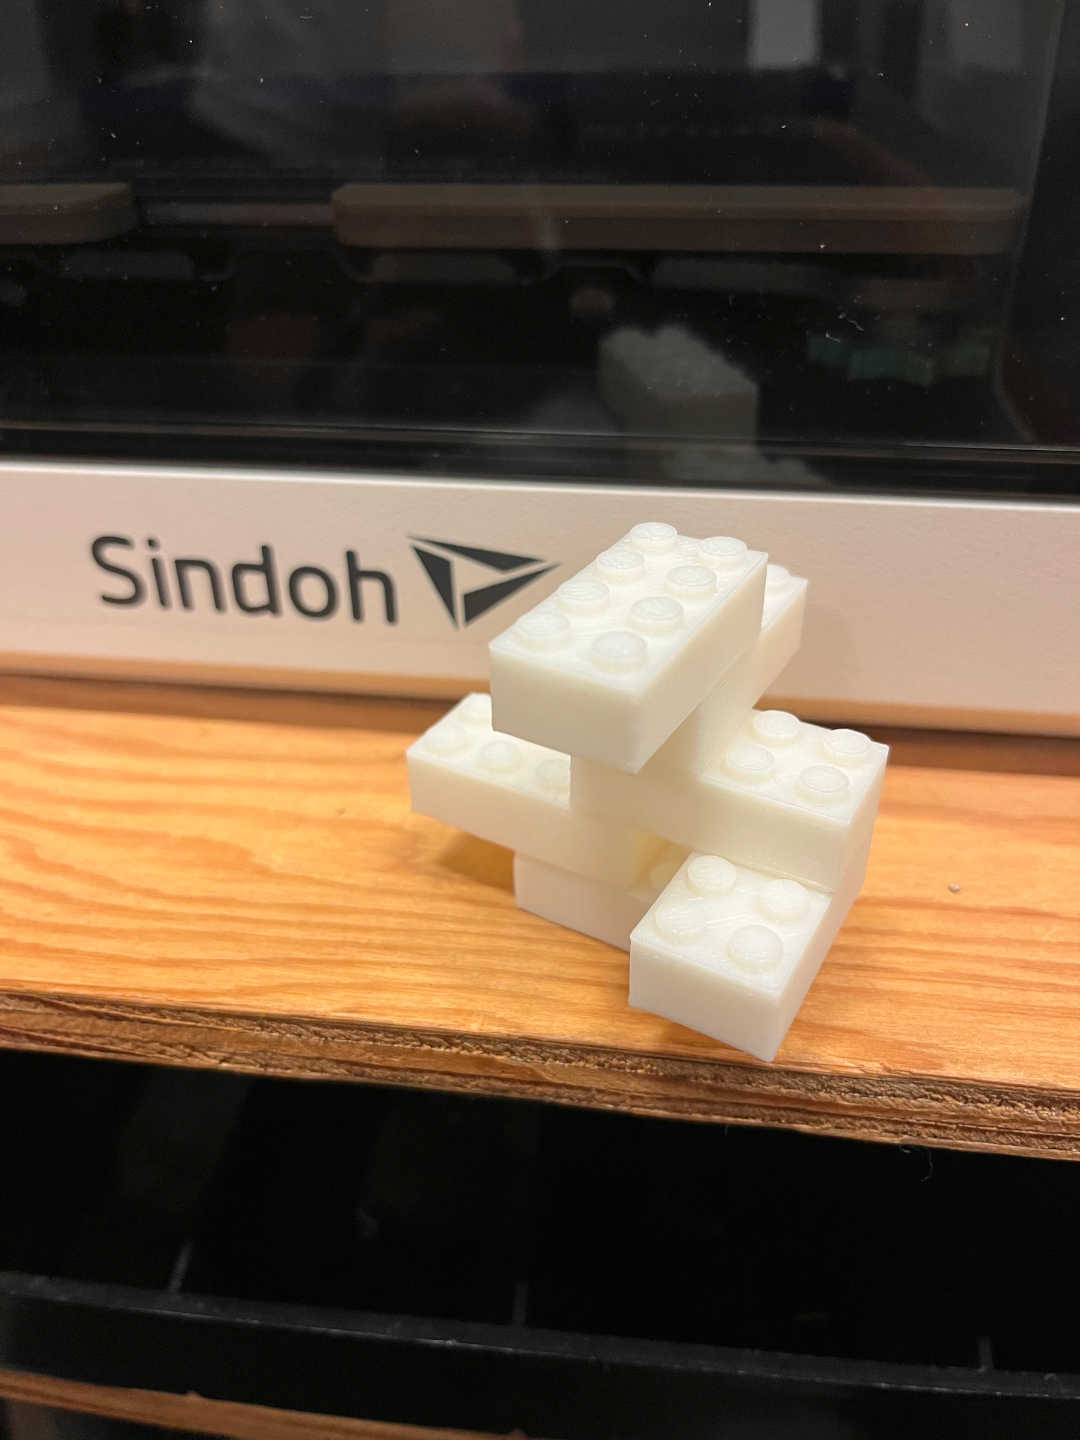
Because the CAD dimensions lined up perfectly, the 2 Legos snapped into place, but it took a lot of effort to do so. My Lego design was not parametric, unforunately, so I had to manually adjust the 3 holes on the bottom to be 0.2mm shorter in diameter. This way, the Legos would have a bit of an easier time snapping into place while still maintaining its structural identity. After the new Lego printed, I tested it out, and it worked! I printed a total of 4 new Legos and formed a few different structures with it :). I used three 3DWOX 1 machines (1 in 3-412 and 2 in Studio 5) to parallelize.
3D Scanning
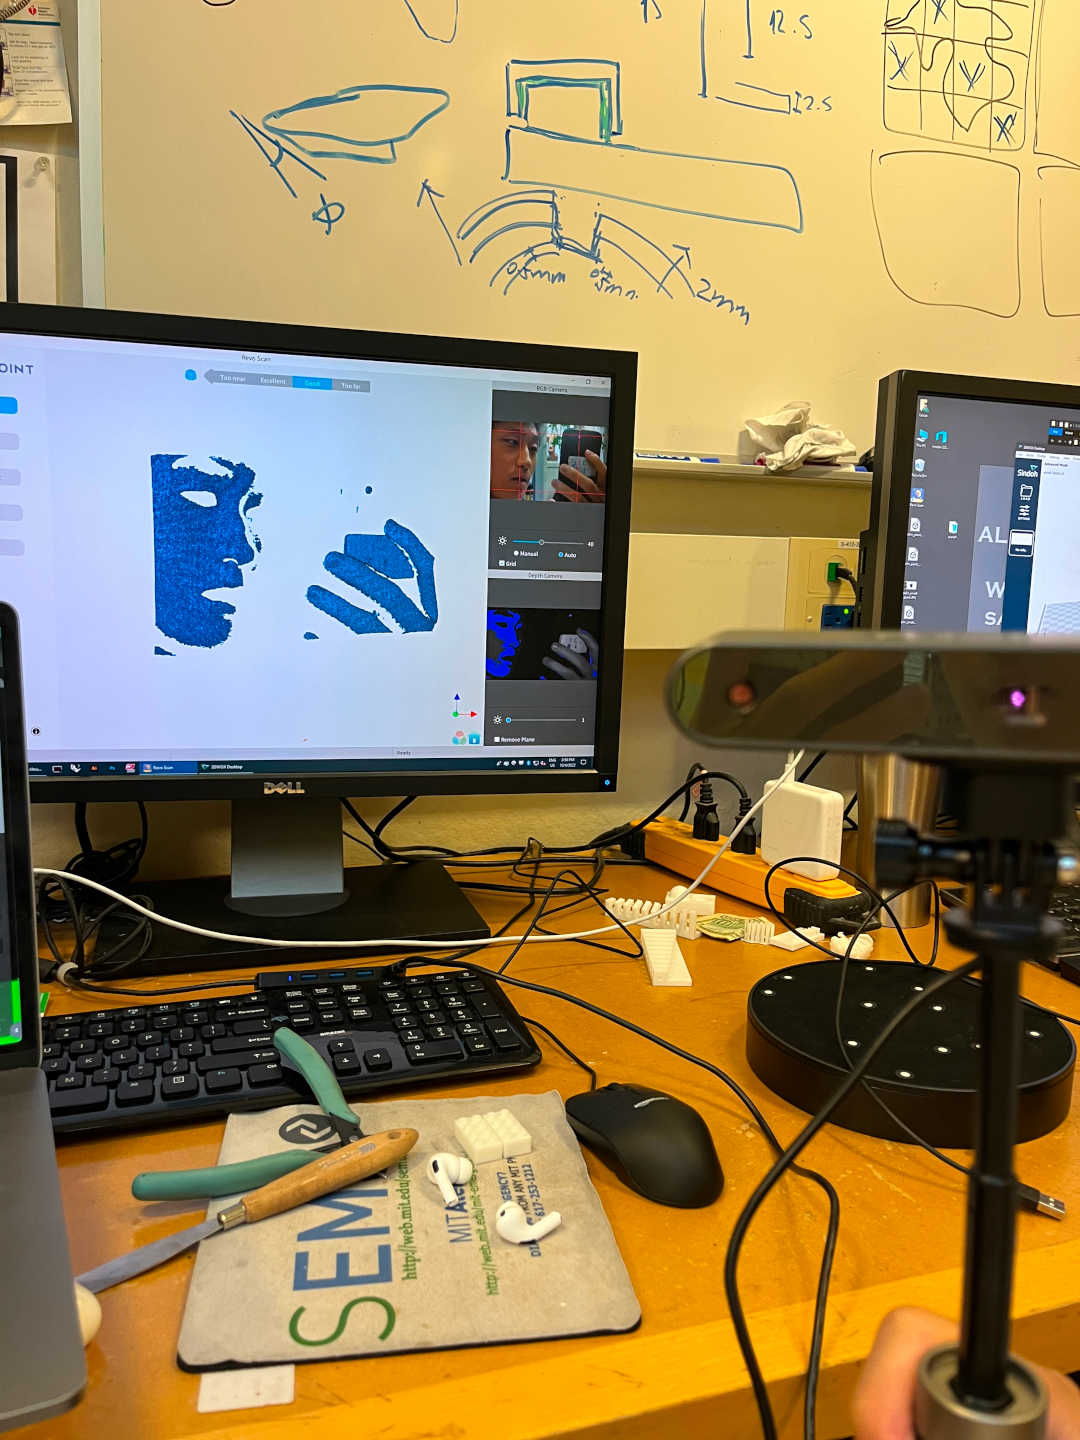
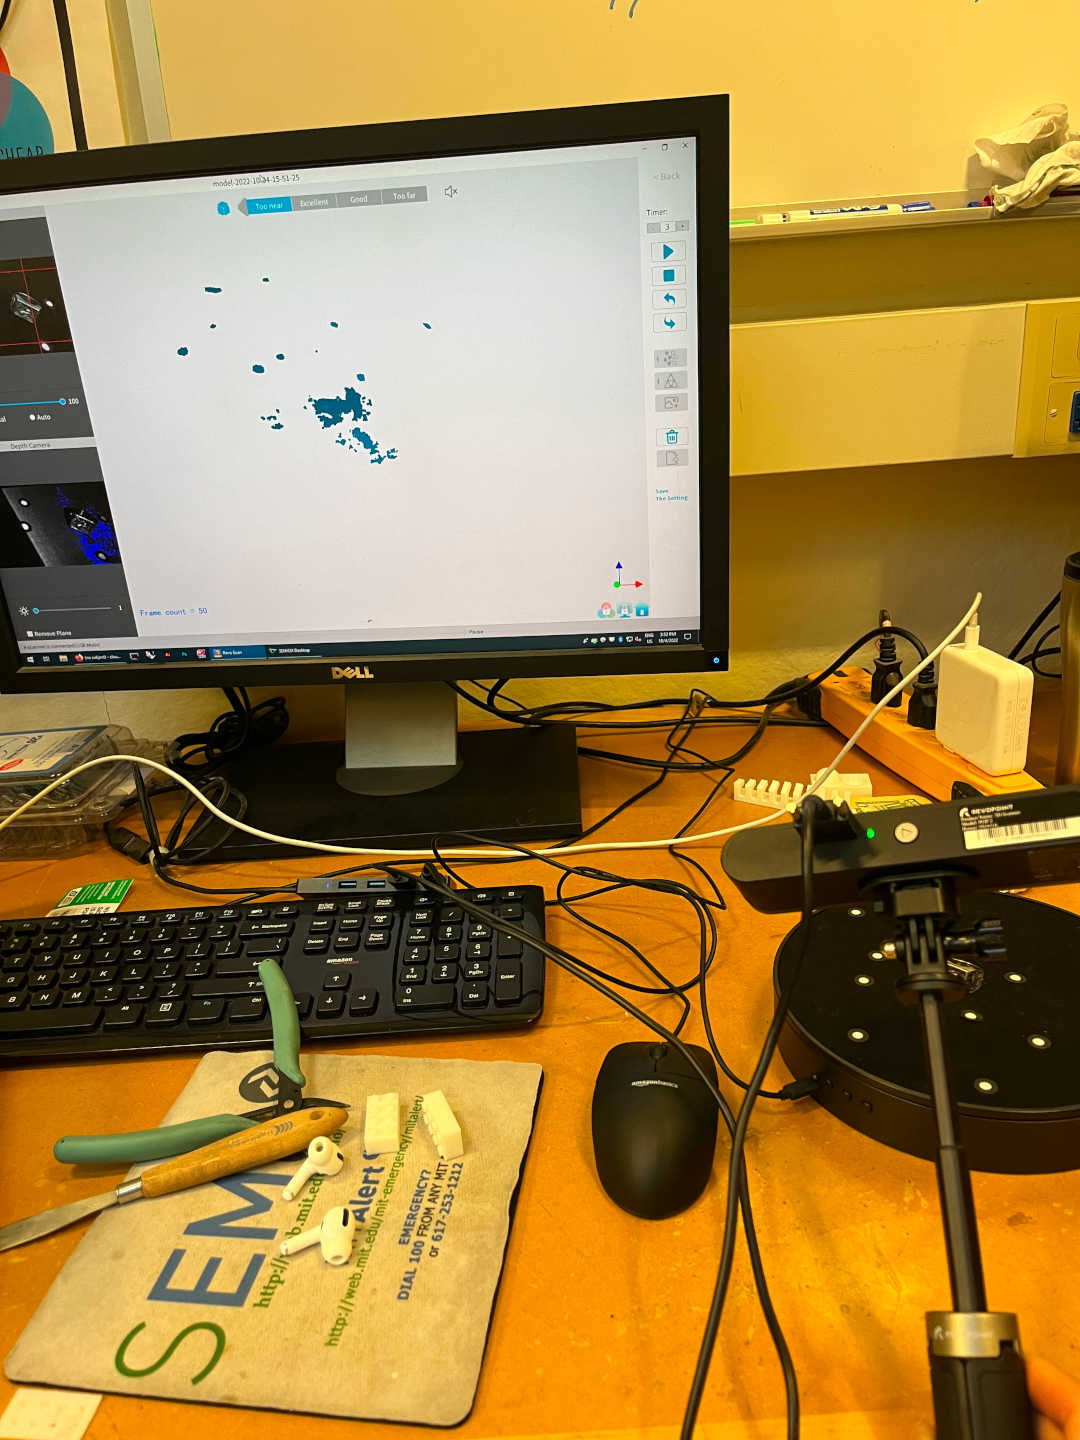
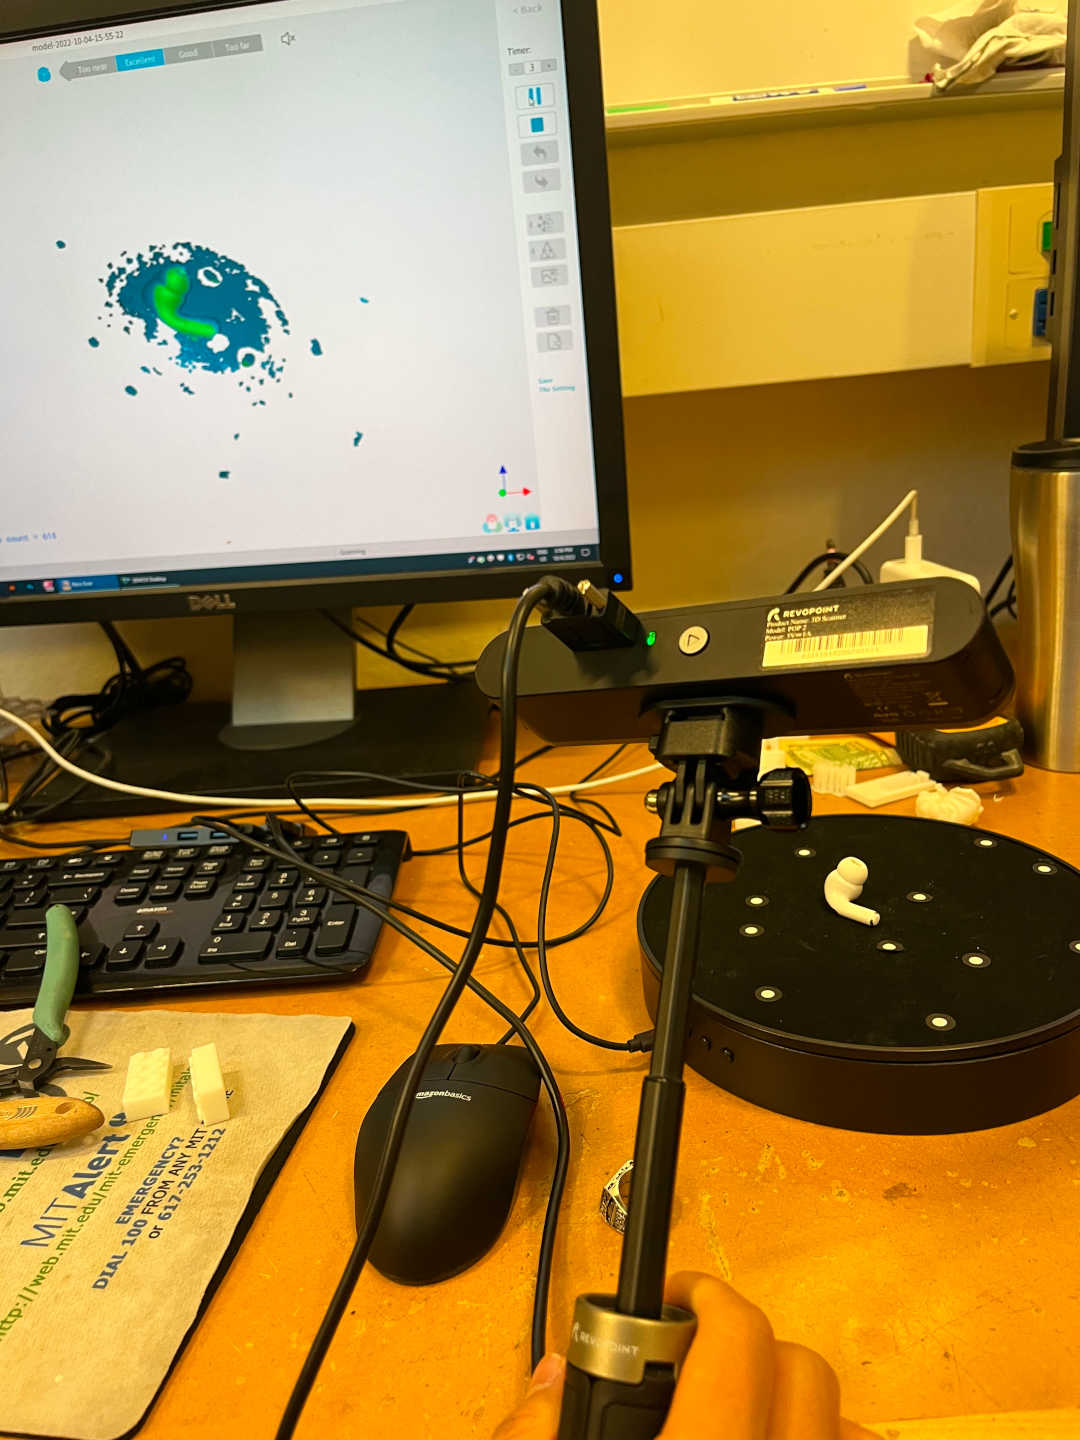
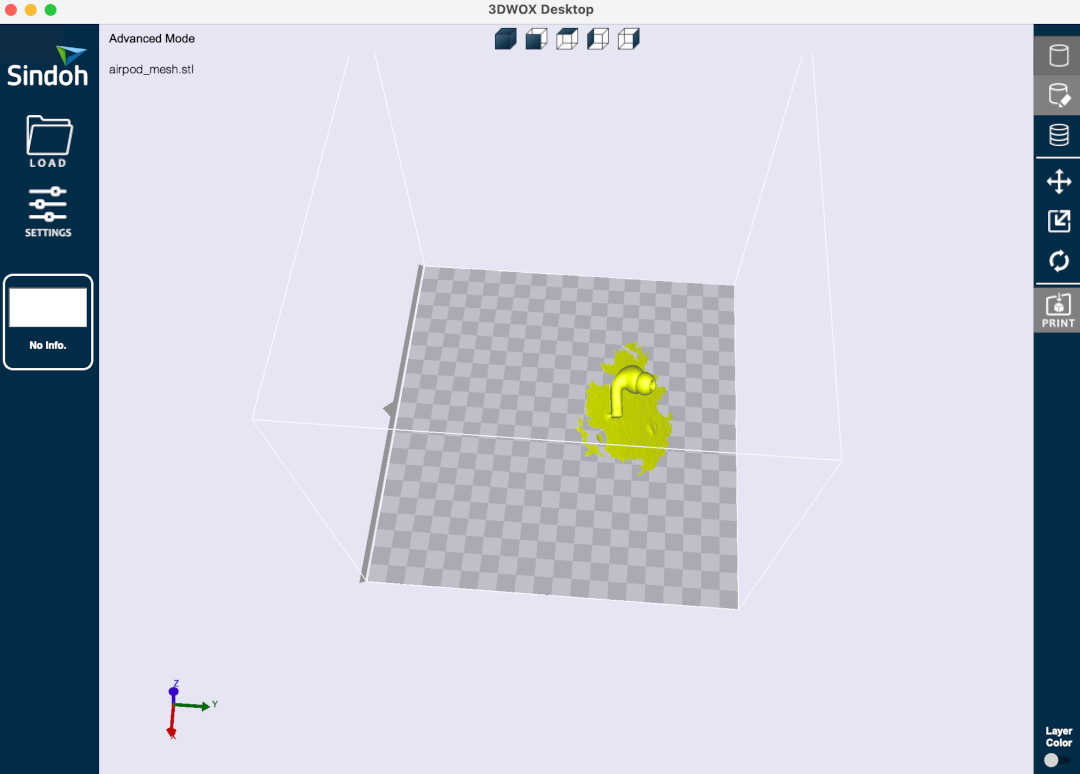
It was pretty fun to play around with the 3D scanning tool! I first tried to do a 3D scan of my brass rat, but it didn't work because there were too many dark spots, which made it extremely difficult for the camera to distinguish the rotating circle surface from the actual object. And so I decided to do a 3D scan of my right AirPod Pro! There were some holes in it, unfortunately, because I couldn't pick it up and flip it over mid-scan.