How To Make (Almost) Anything Neil Gershenfeld

MCKENZIE ROSS HUMANN

MIT Department of Urban Studies and Planning


ELECTRONICS PRODUCTION

09.28.22

group assignment:
characterize the design rules for your in-house PCB production process
extra credit: send a PCB out to a board house


individual assignment:
make an in-circuit programmer that includes a microcontroller
mill and stuff the board
test it to verify that it works
extra credit: try other PCB processes


Group Assignment

For the group assignment, Lakshmi and I milled the linetest board to determine how small of trace the 1/64in endmill bit could create. Lakshmi was also proud of how she was able to fit in the linetest board in leftover space on a copper board that had already been used. Based on the line-test results, it was able to etch traces as small as 0.003", but was not able to carve out paths thinner than 0.016".

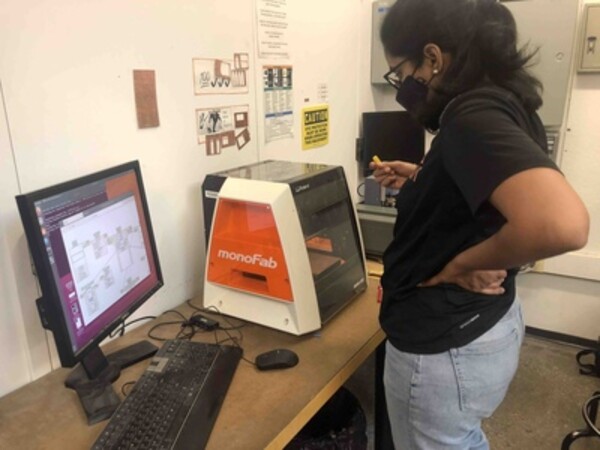
Lakshmi admiring her work.

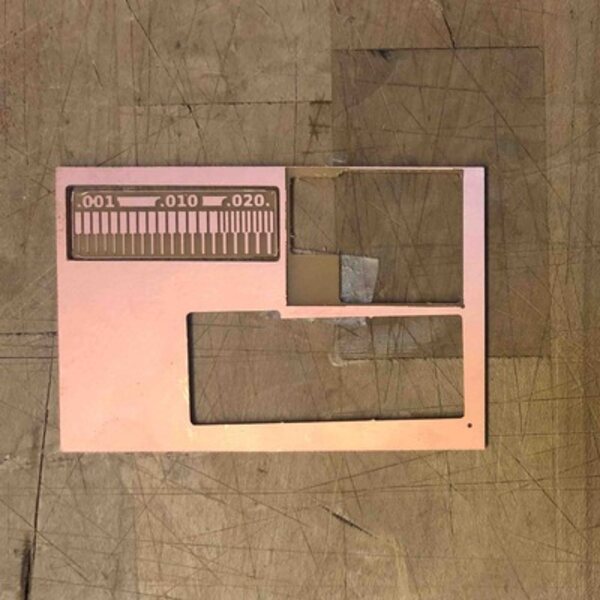
Completed line-test board.


Milling

For my individual assignment, I milled four different boards before making one that with clean, evenly cut traces. Even though this took time (and unfortunately extra materials) I feel much more comfortable using both Modela models in the ArchLab now. The first board I milled using the older Modela model. Even though the board looked flat, the board was not milled equally across all areas of the design. One corner was not cut deep enough and another corner was particularly rough with a lot of burrs. Before I could assess if there was any way to fix this first board, the Modela machine was throwing an odd error - the view button was blinking whenever I was not in view mode. Jen took on the task of investigating what was wrong with the machine, including taking off the side panels, until she realized the small slice of cardboard that was taped over the cover sensor had come loose. The machine thought the cover was off (which was true) but therefore wasn't going to mill anything until this cover (or rather sensor cover) was replaced. Between this time, I milled another board on the new machine. Again, even though the board appeared to be flat, the right side of the board was consistently not milled deep enough. Then after the older Modela was fixed, I returned and milled an additional board above my first attempt using my original tape job. After this I realized the endmill was bad, causing the cuts to be really rough. Finally, I returned to the newer Modela, using a different end mill, and, with all of my set-up practice, fairly quickly made a new board that was finally satisfactory. Since the default settings for offset distance are set at 4, I also had to use an x-acto knife to scrape off the extra copper around the USB port section.

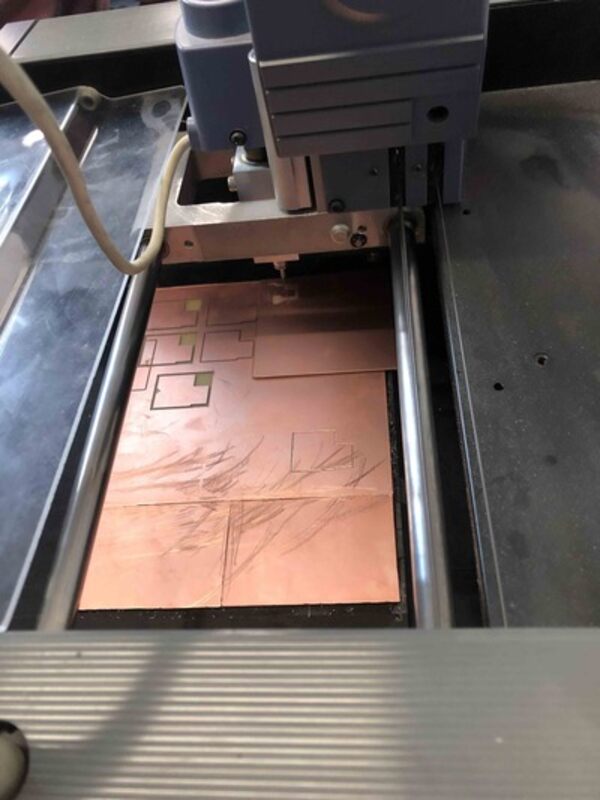
Attempt 1 in progress.

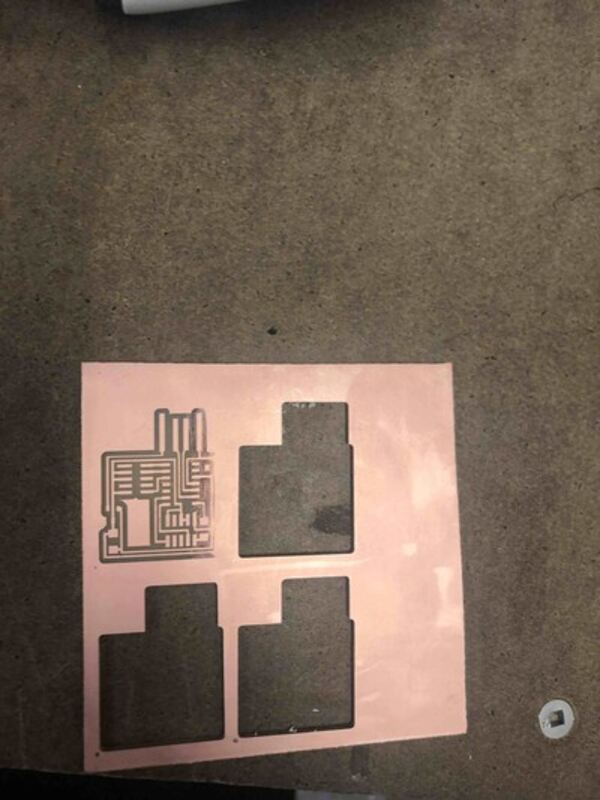
Attempt 2; cuts on the right side are not deep enough.
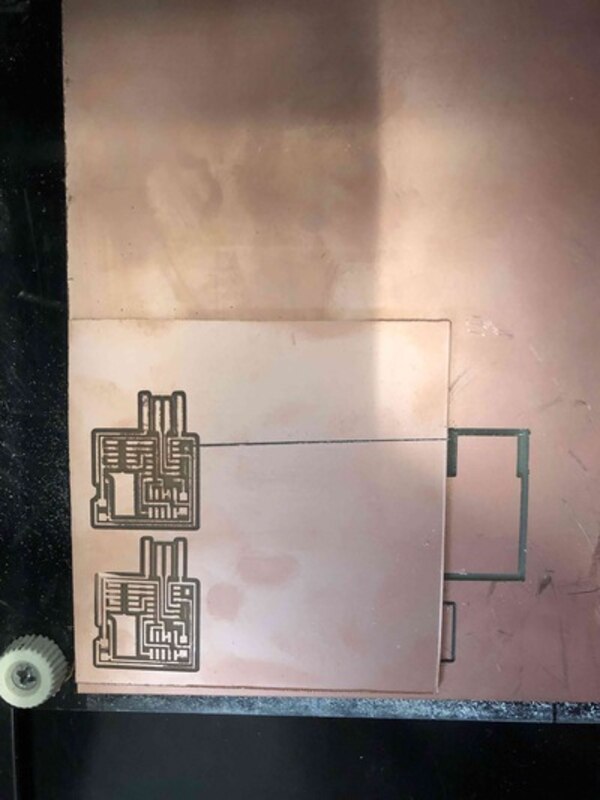
Attempts 1 + 3.

Finally, attempt 4 looked clean and consistent.


Soldering Surface-Mount Electrical Components

Soldering was a real physical challenge. After picking out the right parts, organizing and taping them to the cardboard, I set up my kit at the soldering station. I immediately struggled with using the magnifying light and using the tweezers to place the parts on the board to line up with the copper traces. I found the combination of the magnifier and the tweezers was really challenging, and ultimately had to do some under the magnifier and some with regular eyesite. The magnifier is really helpful for reading any text on the electrocal components, however I found it was a real barrier to placement. This task was difficult to take photos of since I had my hands full!

The next day when I went back to test if my board was in fact a PCB, I realized that I had unfortunately placed the microcontroller one row too far up, meaning the board was not functional. I confirmed this by testing the connections with the multimeter.

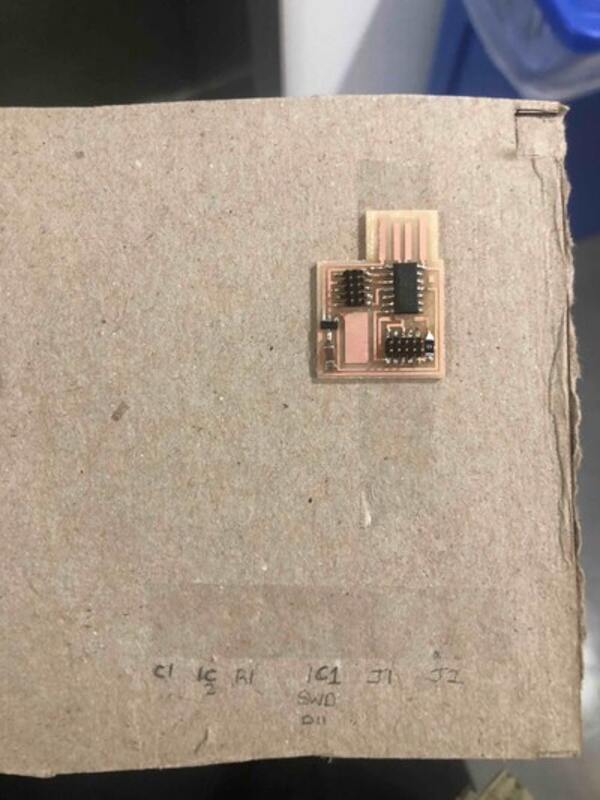
How I organized my board and parts on cardboard (unfortunately I forgot to take before soldering).

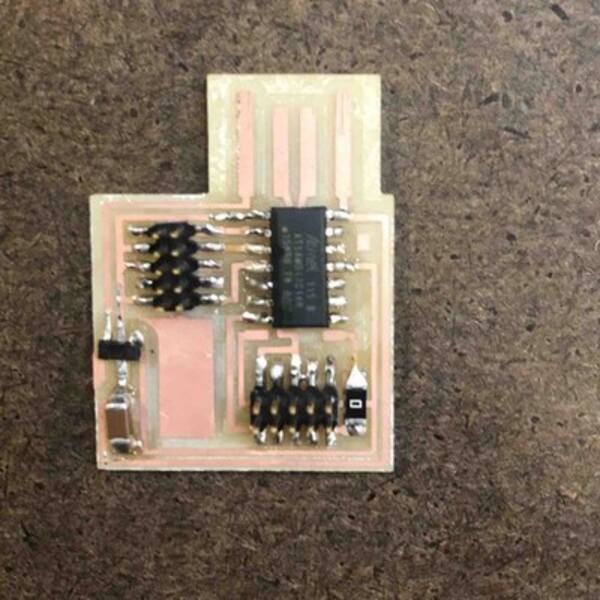
Photo after soldering, before realizing fatal error.

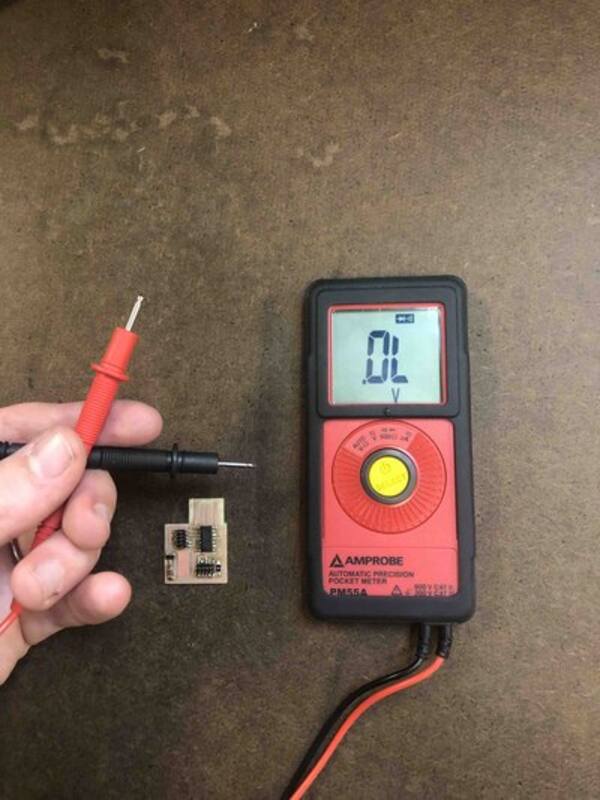
Trying to figure out why board doesn't power up...

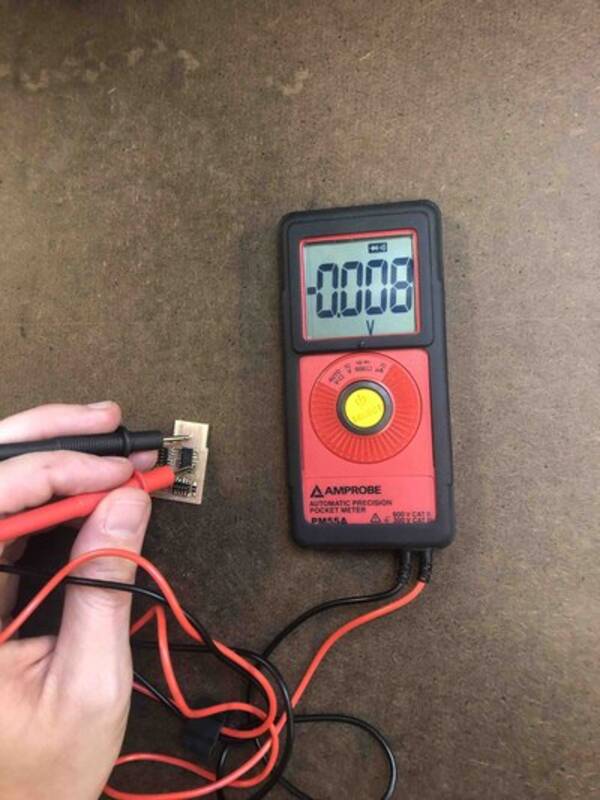
Finally realized these two points should not be connected... I had placed the microntroller one pad too far up.