How To Make (Almost) Anything Neil Gershenfeld

MCKENZIE ROSS HUMANN

MIT Department of Urban Studies and Planning


Computer Controlled Machining

10.12.22

group project:
do your lab's safety training
test runout, alignment, fixturing, speeds, feeds, materials, and toolpaths for your machine
individual assignment
make (design+mill+assemble) something big (~meter-scale)
extra credit: don't use fasteners or glue
extra credit: include curved surfaces


Group Assignment

A group of us did the safety training and test cut with Chris at N51. Chris showed us some of the settings in Mastercam and described how we need to set points at the inner corners in a separate layer to create multiple toolpaths - one for the corner holes, one for the outline cut, and one for the remachining cuts around the corners. Chris also adjusted the onion skin from 0.008 to 0.015 because he had cut into the spoil board earlier in the day. Then we cut the test cut which had slots at different widths so we could see which ones fit best. We started the job above the board to make sure the toolpath looked correct. Then we ran the job to actually cut the board. During the job, Chris adjusted the feed rate to show how it sped up / slowed down the cutting process. Finally, the pieces came out of the board pretty easily even though Chris made the onion skin thicker. We tested which slots worked best to create a snug fit. Curiously, but cut widths of 0.42 and 0.46 both worked well enough. This left some of us confused about what to use for our own projects...


Make Something Big

This week I decided to make a weight rack to store 6 sets of dumbbells (5lb - 30lb weights that go up in 5lb increments). This meant I needed to design a rack that could hold 210 lbs altogether. I used some design tutorials that I found online to guide my design, however I wanted to minimize the amount of space that the weight rack occupied. So I modified the design so that the weights were held across two columns facing the same direction rather than opposite directions. Hopefully, this will be sturdy enough leaning against a wall. I created my design in Fusion 360 (slowly). I measured the diameter, length, depth of the weights keeping in mind that the heaviest weights might be bigger than the lightest weights. My weights were 3cm in diameter, 12cm in the inner handle, and the largest weight was 32 cm long.

The main challenges I ran into were making my sketches fully defined and then turning my 3D assembled design into a 2D dxf template for cutting. Based on advice from other classmates, I exported each of my 2D pieces to individual dxf files and then pulled those into Adobe Illustrator to arrange for cutting. I tried to add points to the inside corners, to avoid doing this step in Mastercam, but Jen pointed out how some points did not snap to the corners. Thankfully, Jen removed the points and I was able to add them easily in Mastercam with Chris. Jen made the Mastercam file, though she was concerned about the limited space between the edges of the largest pieces and the edge of the board itself.

After setting up in Mastercam, I was able to cut my board at the woodshop with Chris using a downcut mill and 0.010 onion skin. Chris decided to make the onion skin smaller because in the cut before mine it was difficult to remove the parts. Chris mentioned that he had just replaced the bit earlier in the day because the end mill ran into a nail holding the board down to the bed. To make sure that the 0.010 onion skin would only cut through my board, the lab monitor paused the machine to check the boards after the first deep cut. About 1/3 of the way through my cut, the machine starting making a higher-pitched noise. The lab monitor and I stopped the machine to inspect, but we could not see that anything was wrong. After the machine finished with this toolpath, the machine jogged the bit up to switch out to the smaller bit used for remachining. As this bit moved up from the board, it fell off! I stopped the machine to show the lab monitor and we determined that the bit had cracked/broken when the noise had started. Luckily it continued cutting through the board just fine even though it was broken. I finished my cut because I no longer needed this bit for my job, but the lab monitor had to find a replacement. After my job finished and we removed my parts, we could see that on the right side of the bed we had cut into the spoil board.

I removed my pieces from the board using a box cutter where the onion skin was too firm to break. Some of my pieces had no onion skin at all from the problems described above. For the pieces that had a lot of remaining onion skin, I used a band saw to cut close to the edge. This was particularly helpful to clean up my slots. Then I used a rasp to further smooth the slots / teeth of my pieces. I realized that I had not consistently left cushion room in the board slots/teeth. For example, the board is intended to be 7/16 in wide = .4375in. In Fusion, I modeled the board to be .45 in deep to leave a little room for any board pieces to fit together. However, I did not leave extra room in the width of the teeth, only in the depth. So for each joint, I had to scrape off a little bit with a rasp. This was time-consuming, but ultimately my joints fit snuggly and securely. I did not use any glue or fasteners in my initial assembly, but I will add glue before I install permanently as a weight rack. I thought I might also need to reinforce with 2x4s in certain sections, but I think the rack turned out to be sturdier than I was expecting.

I only have 3 sets of dumbbells so far, but the weight rack works as expected with these! Now I have space to get the other 3 sets.

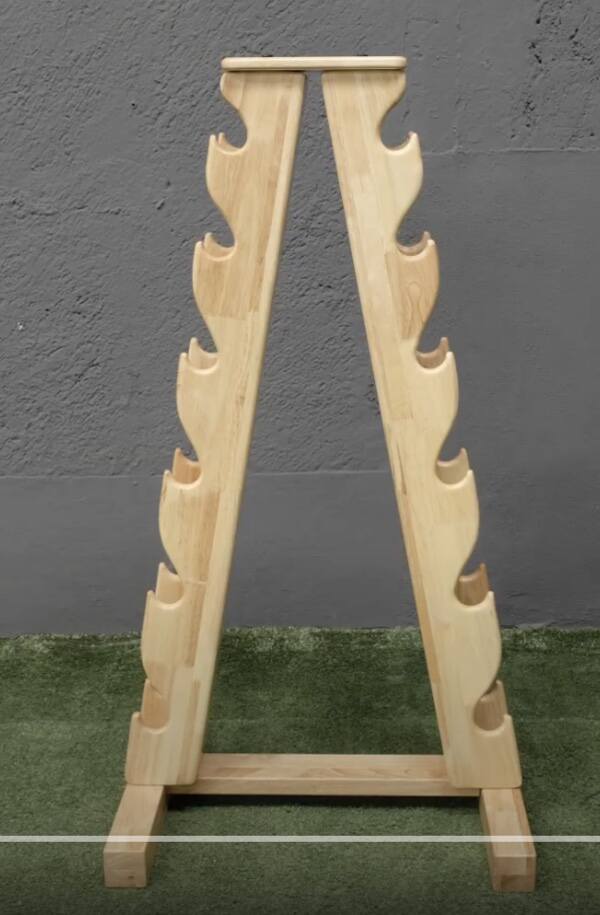
wooden weight rack inspiration.

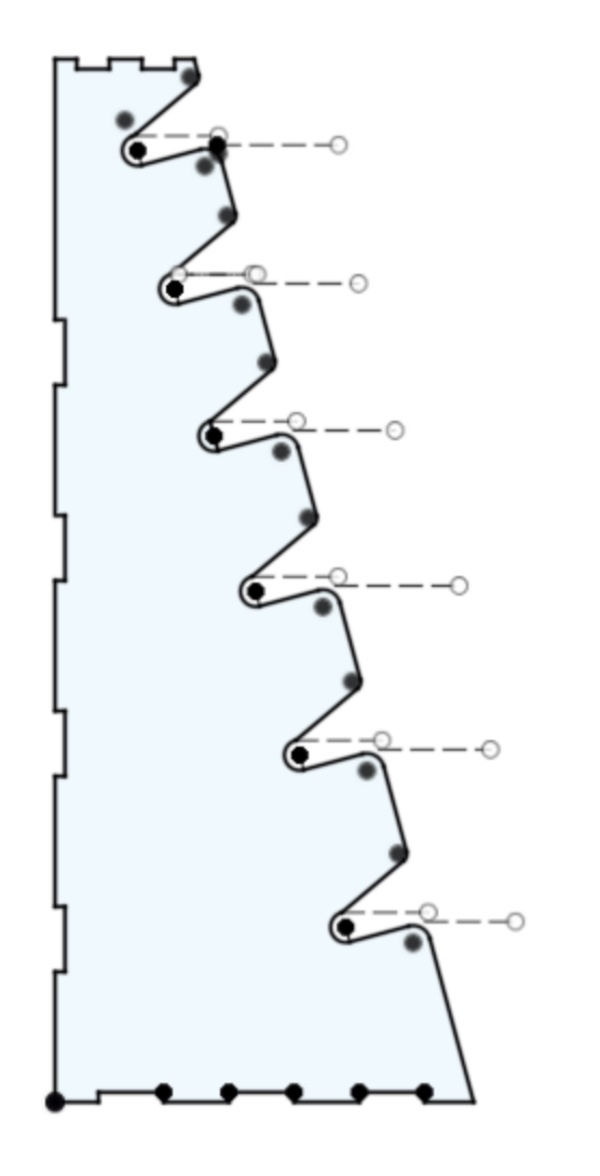
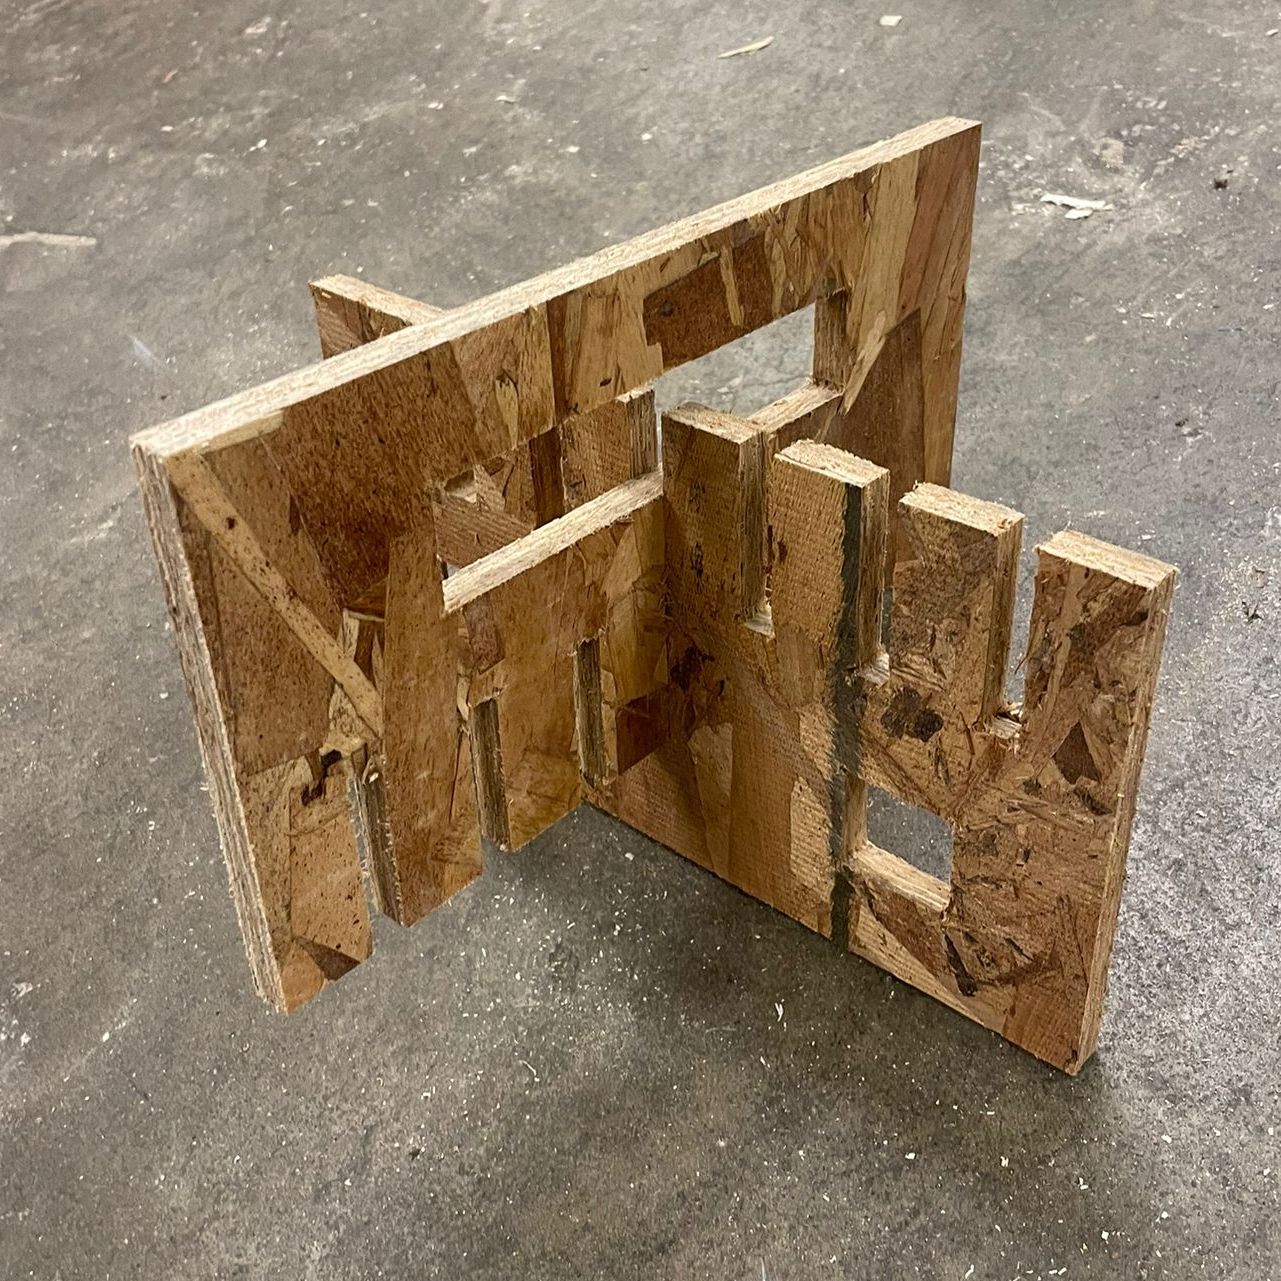
side view of piece that will support weights

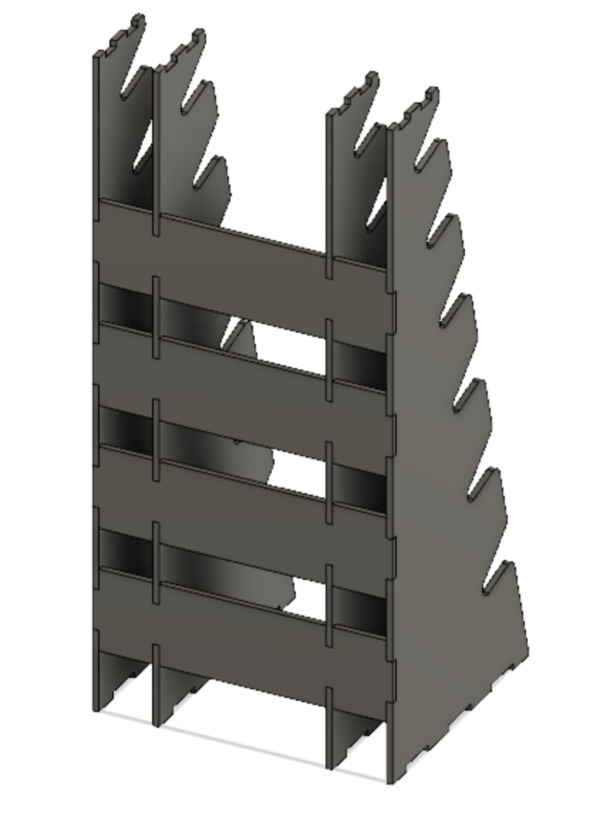
3D assembled render of side pieces and back supports
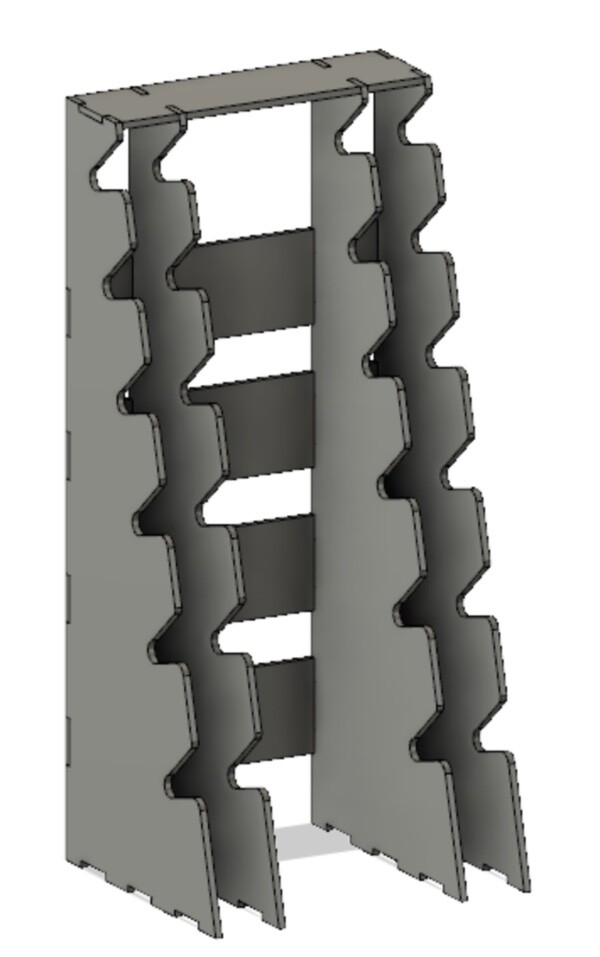
added a top shelf

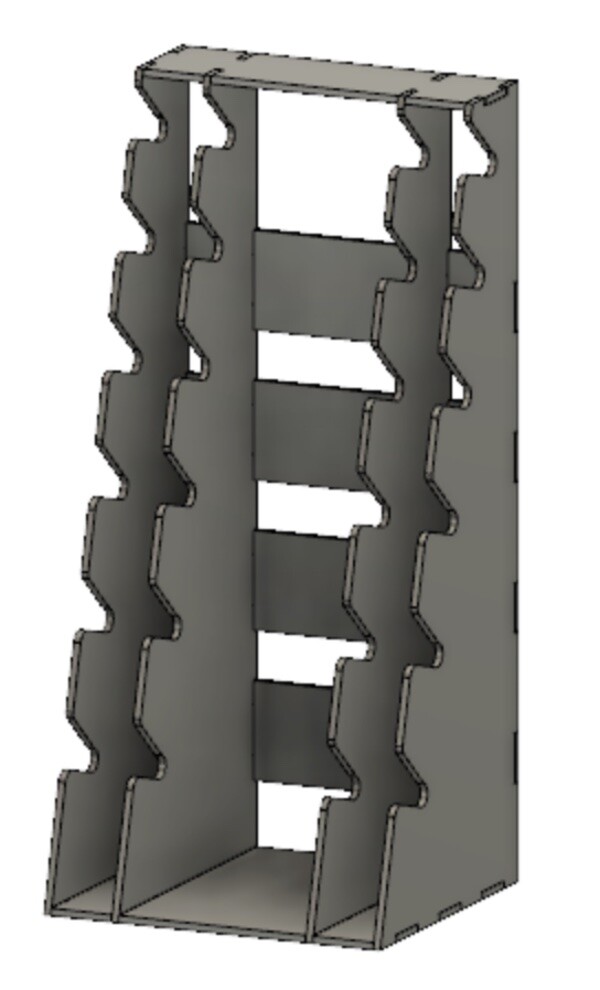
Final 3D assembly with bottom piece

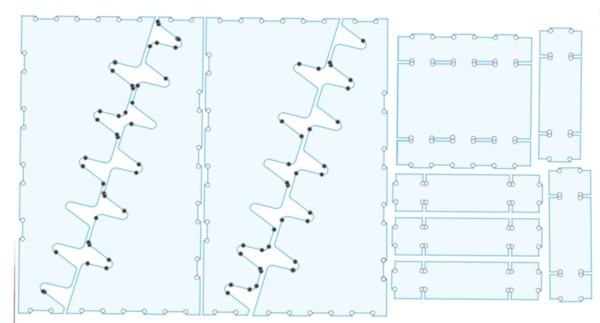
2D layout with inner corner points

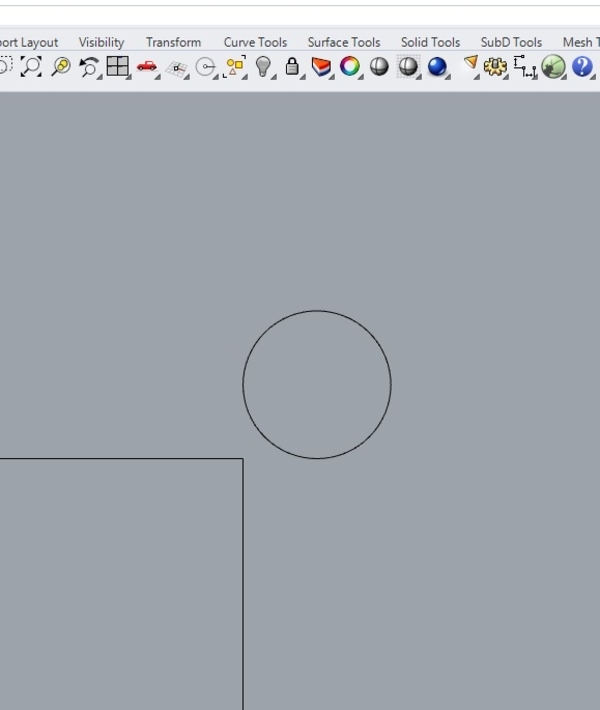
Inner corner point that is outside corner

Side pieces are laid out close to the edge. Jen was not sure if this would be ok, but Chris was not concerned.

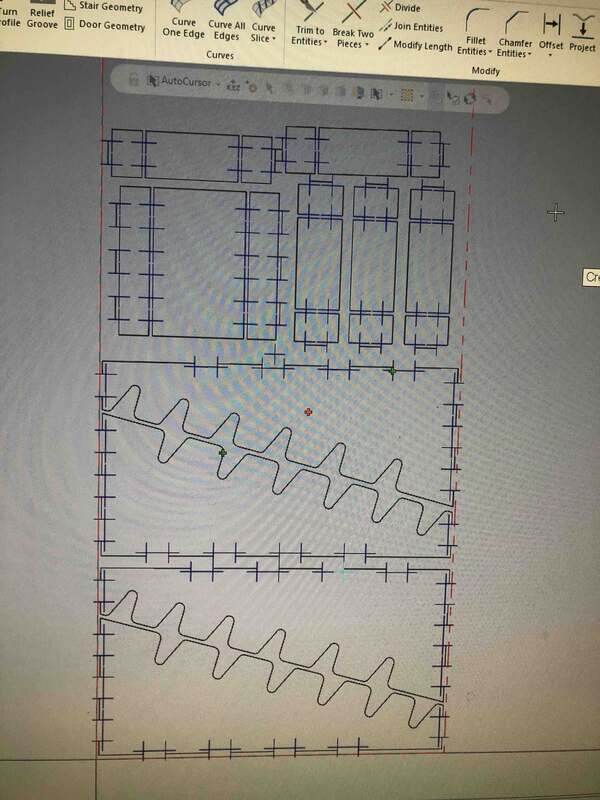
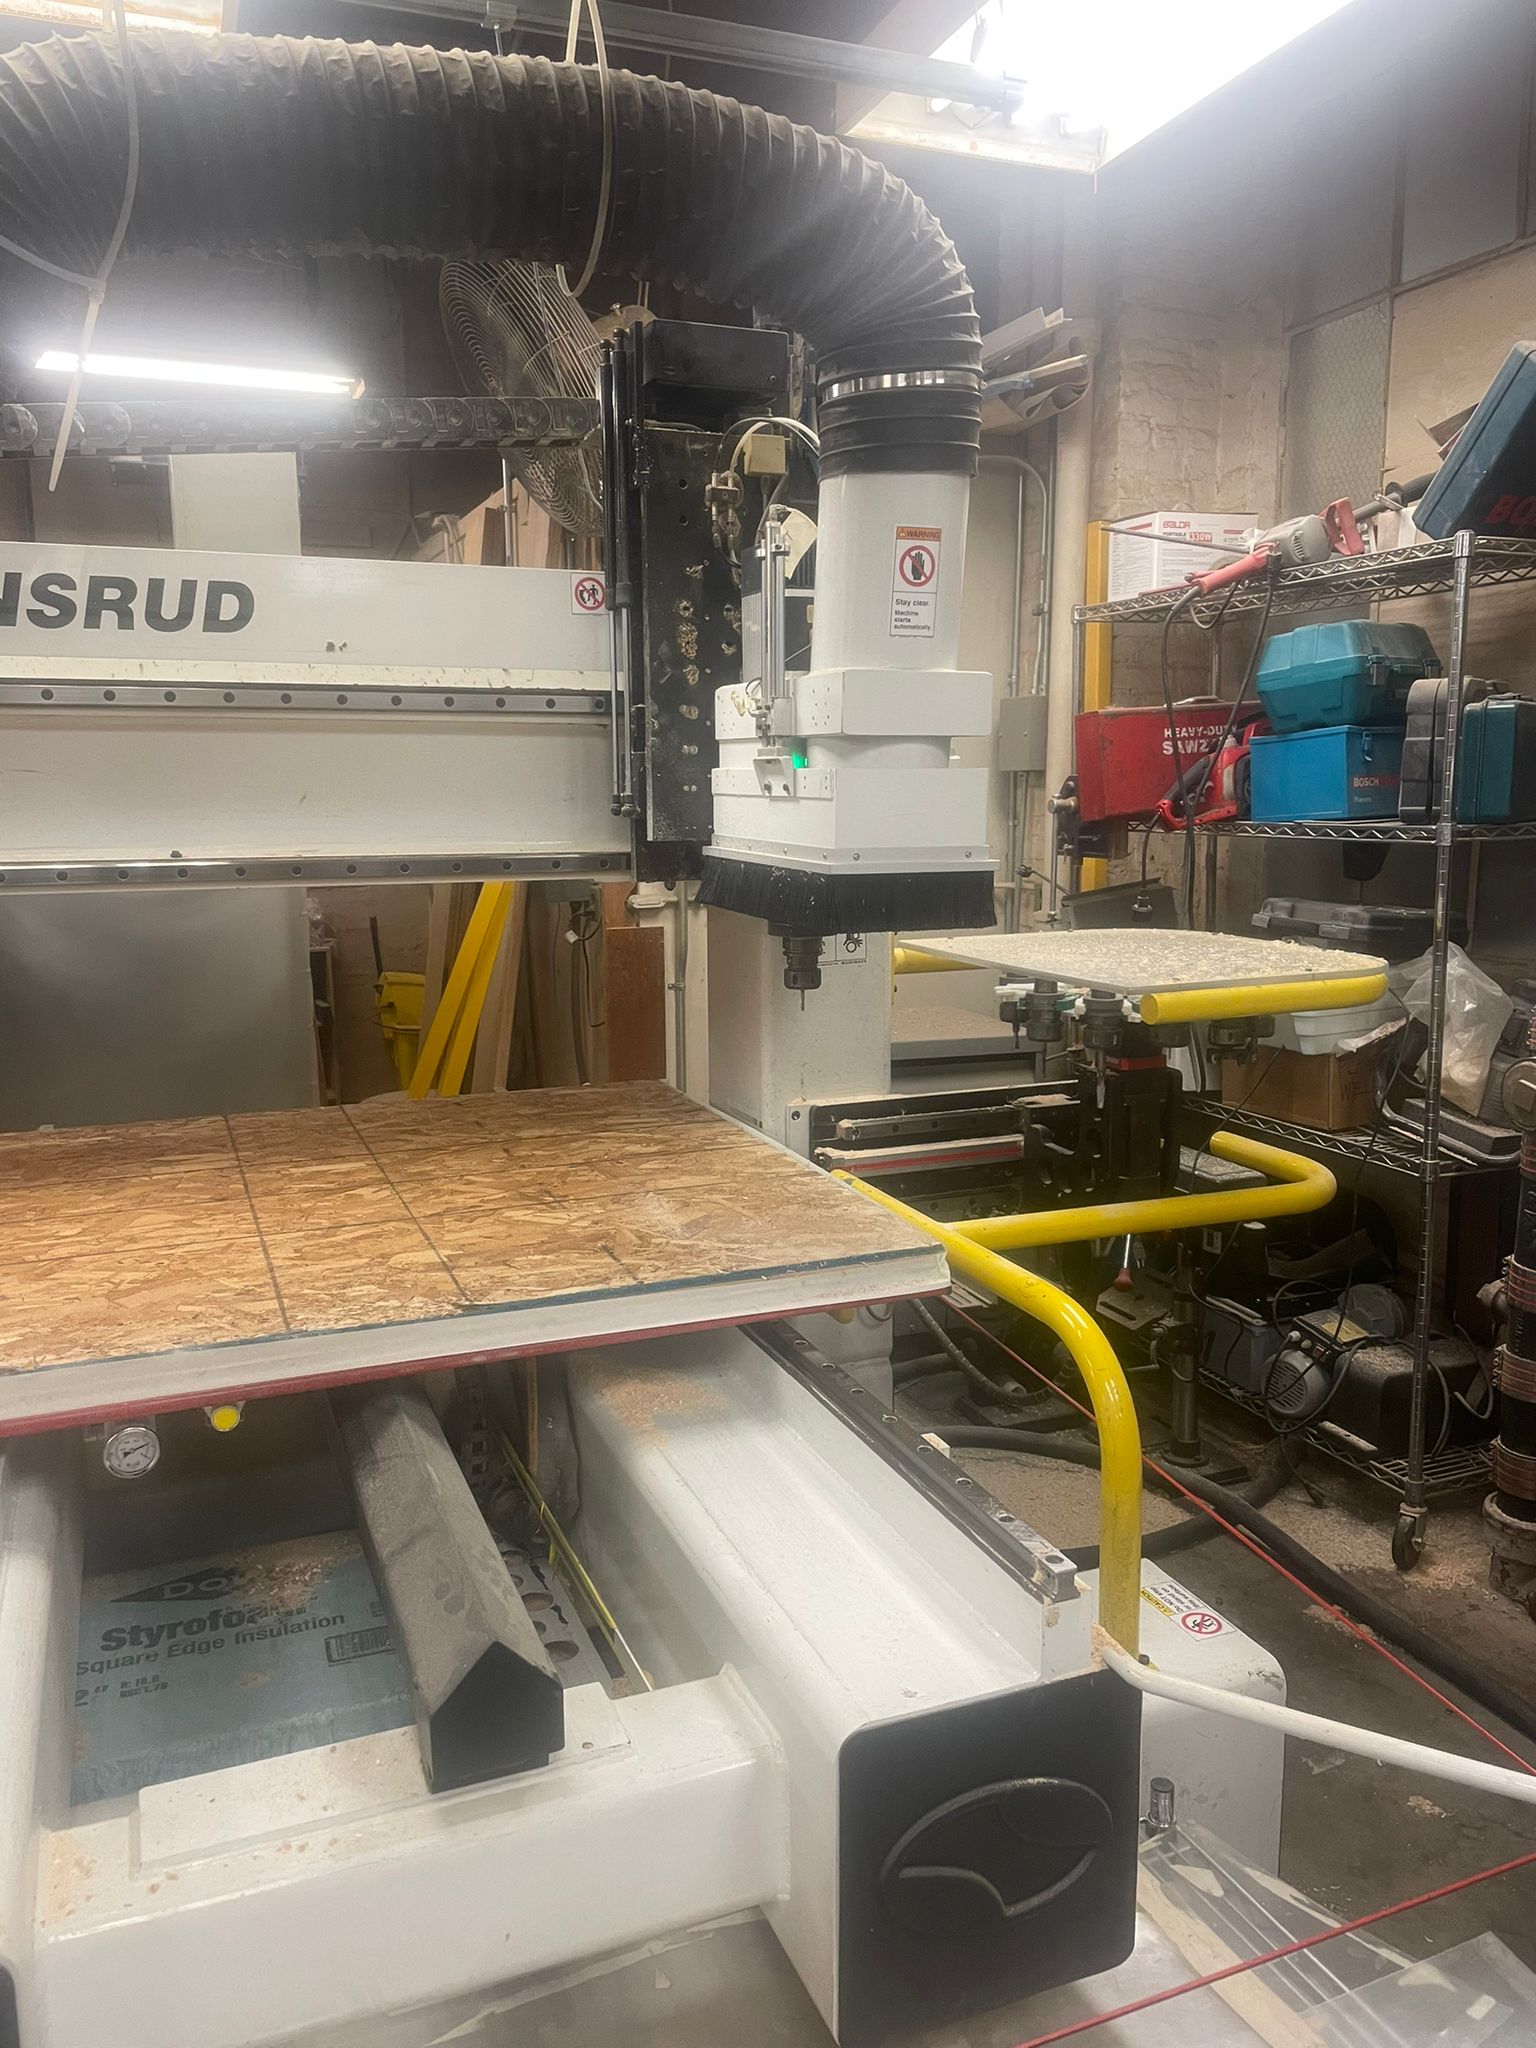
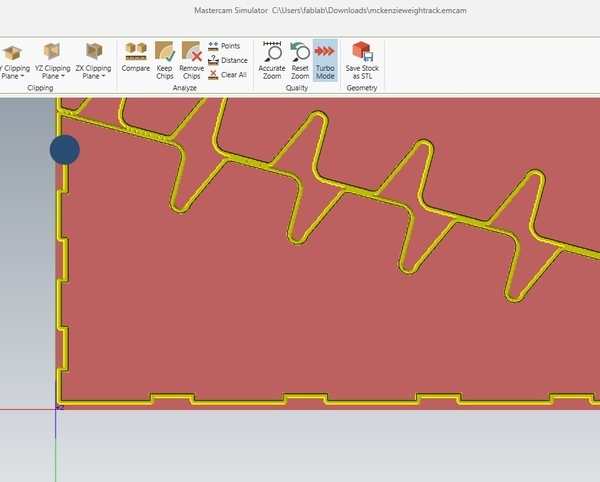
Photo of final Mastercam set-up. I had to re-do the inner corner points in Mastercam.

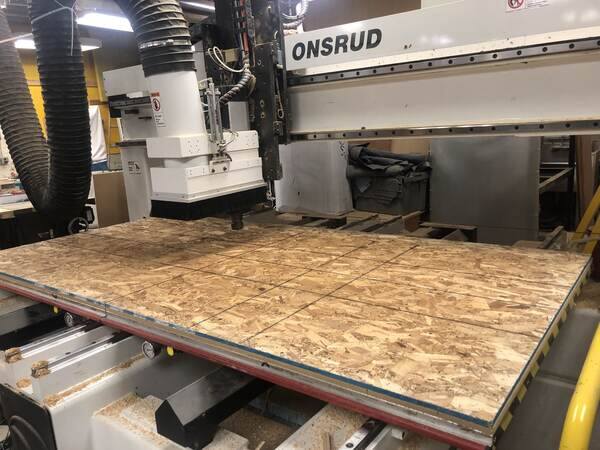
Onsrud making initial corner holes.

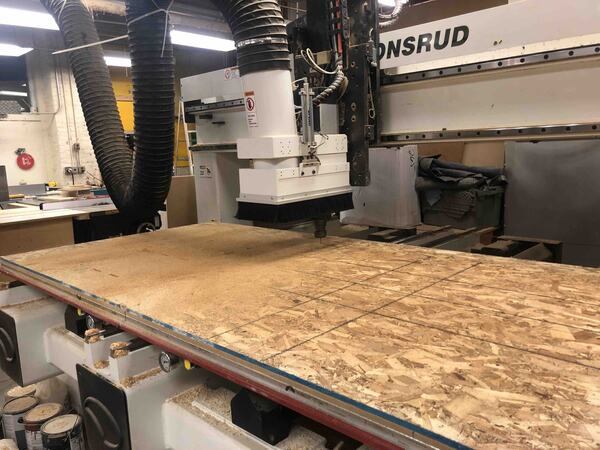
Onsrud making outline cuts, around when the noise started
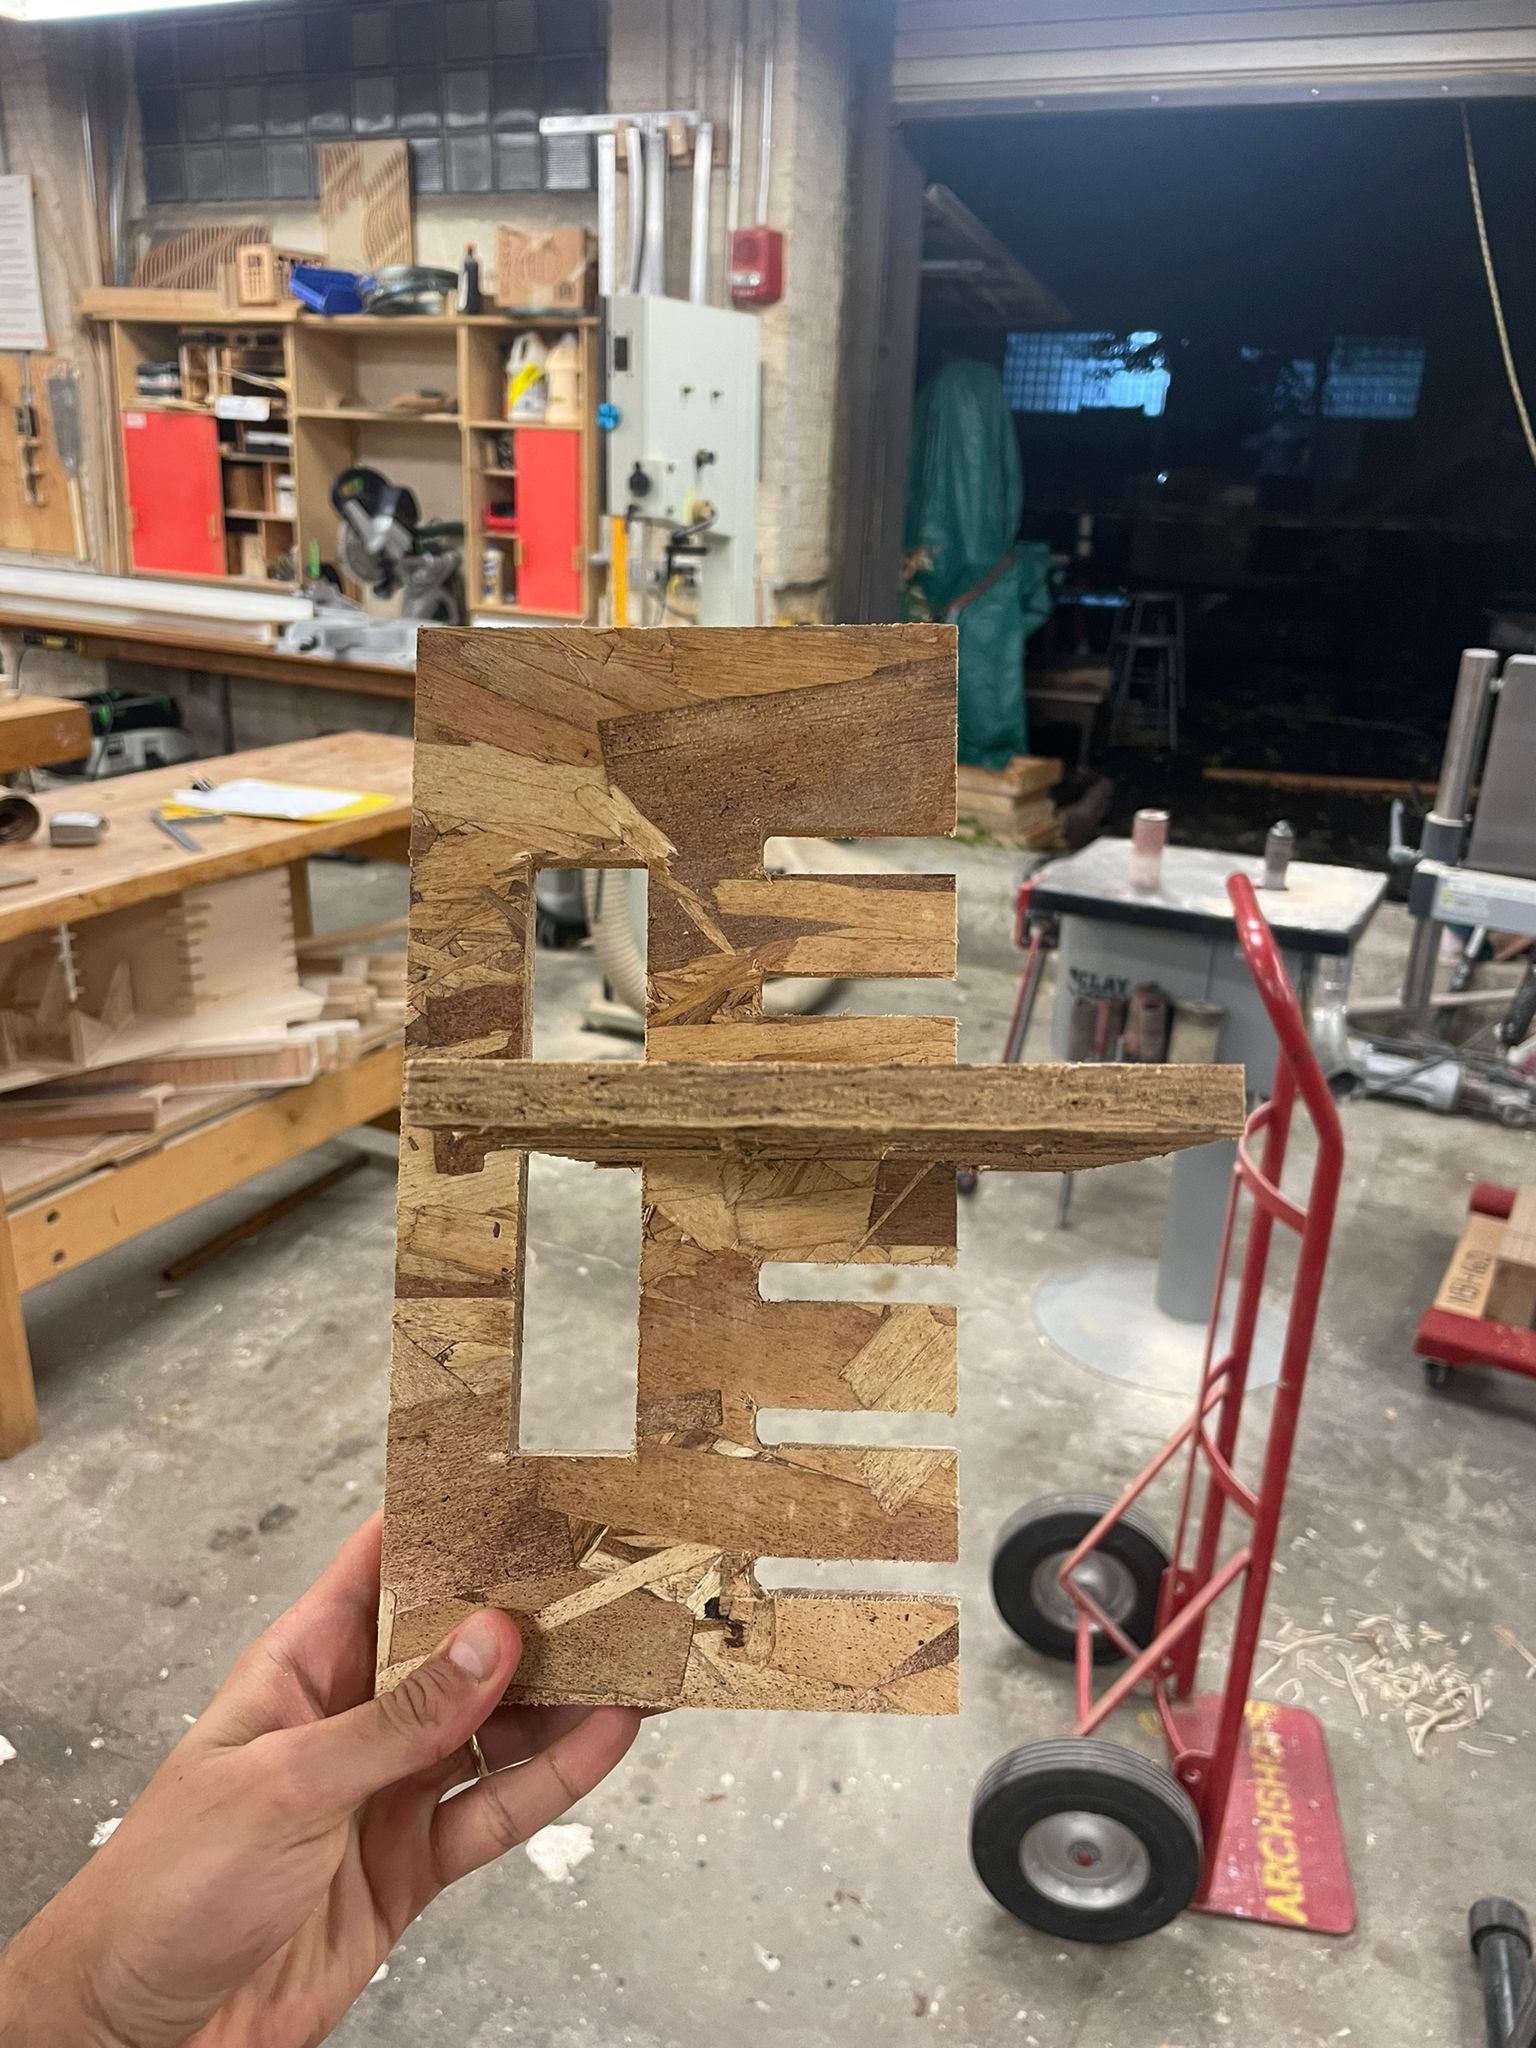
Broken bit

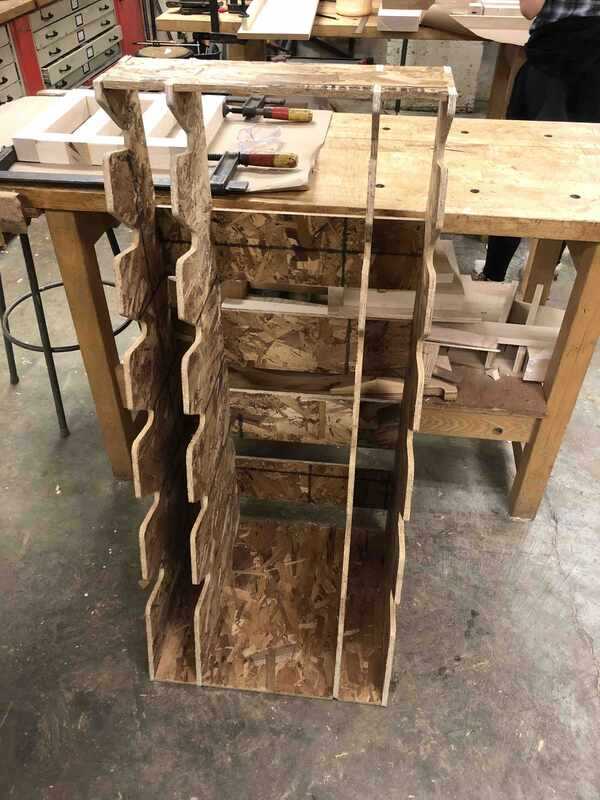
Assembled weight rack.

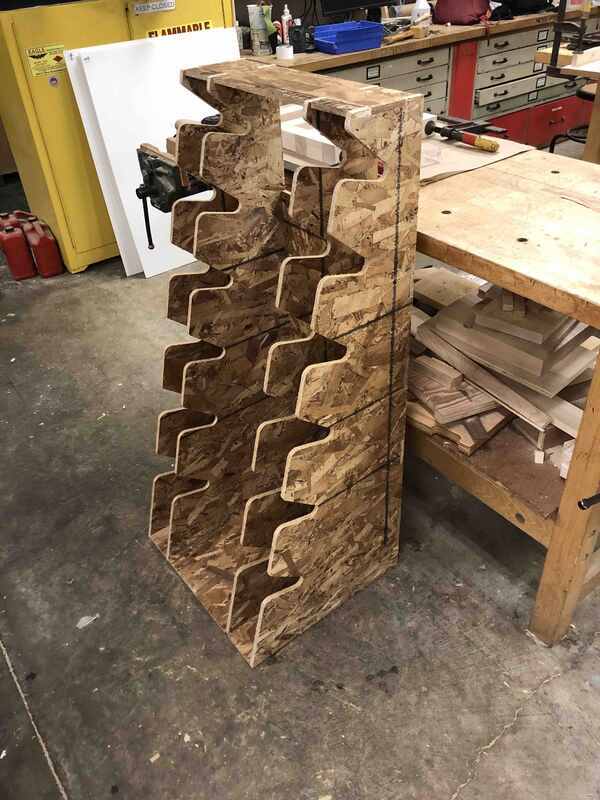
Another view of the assembled weight rack.
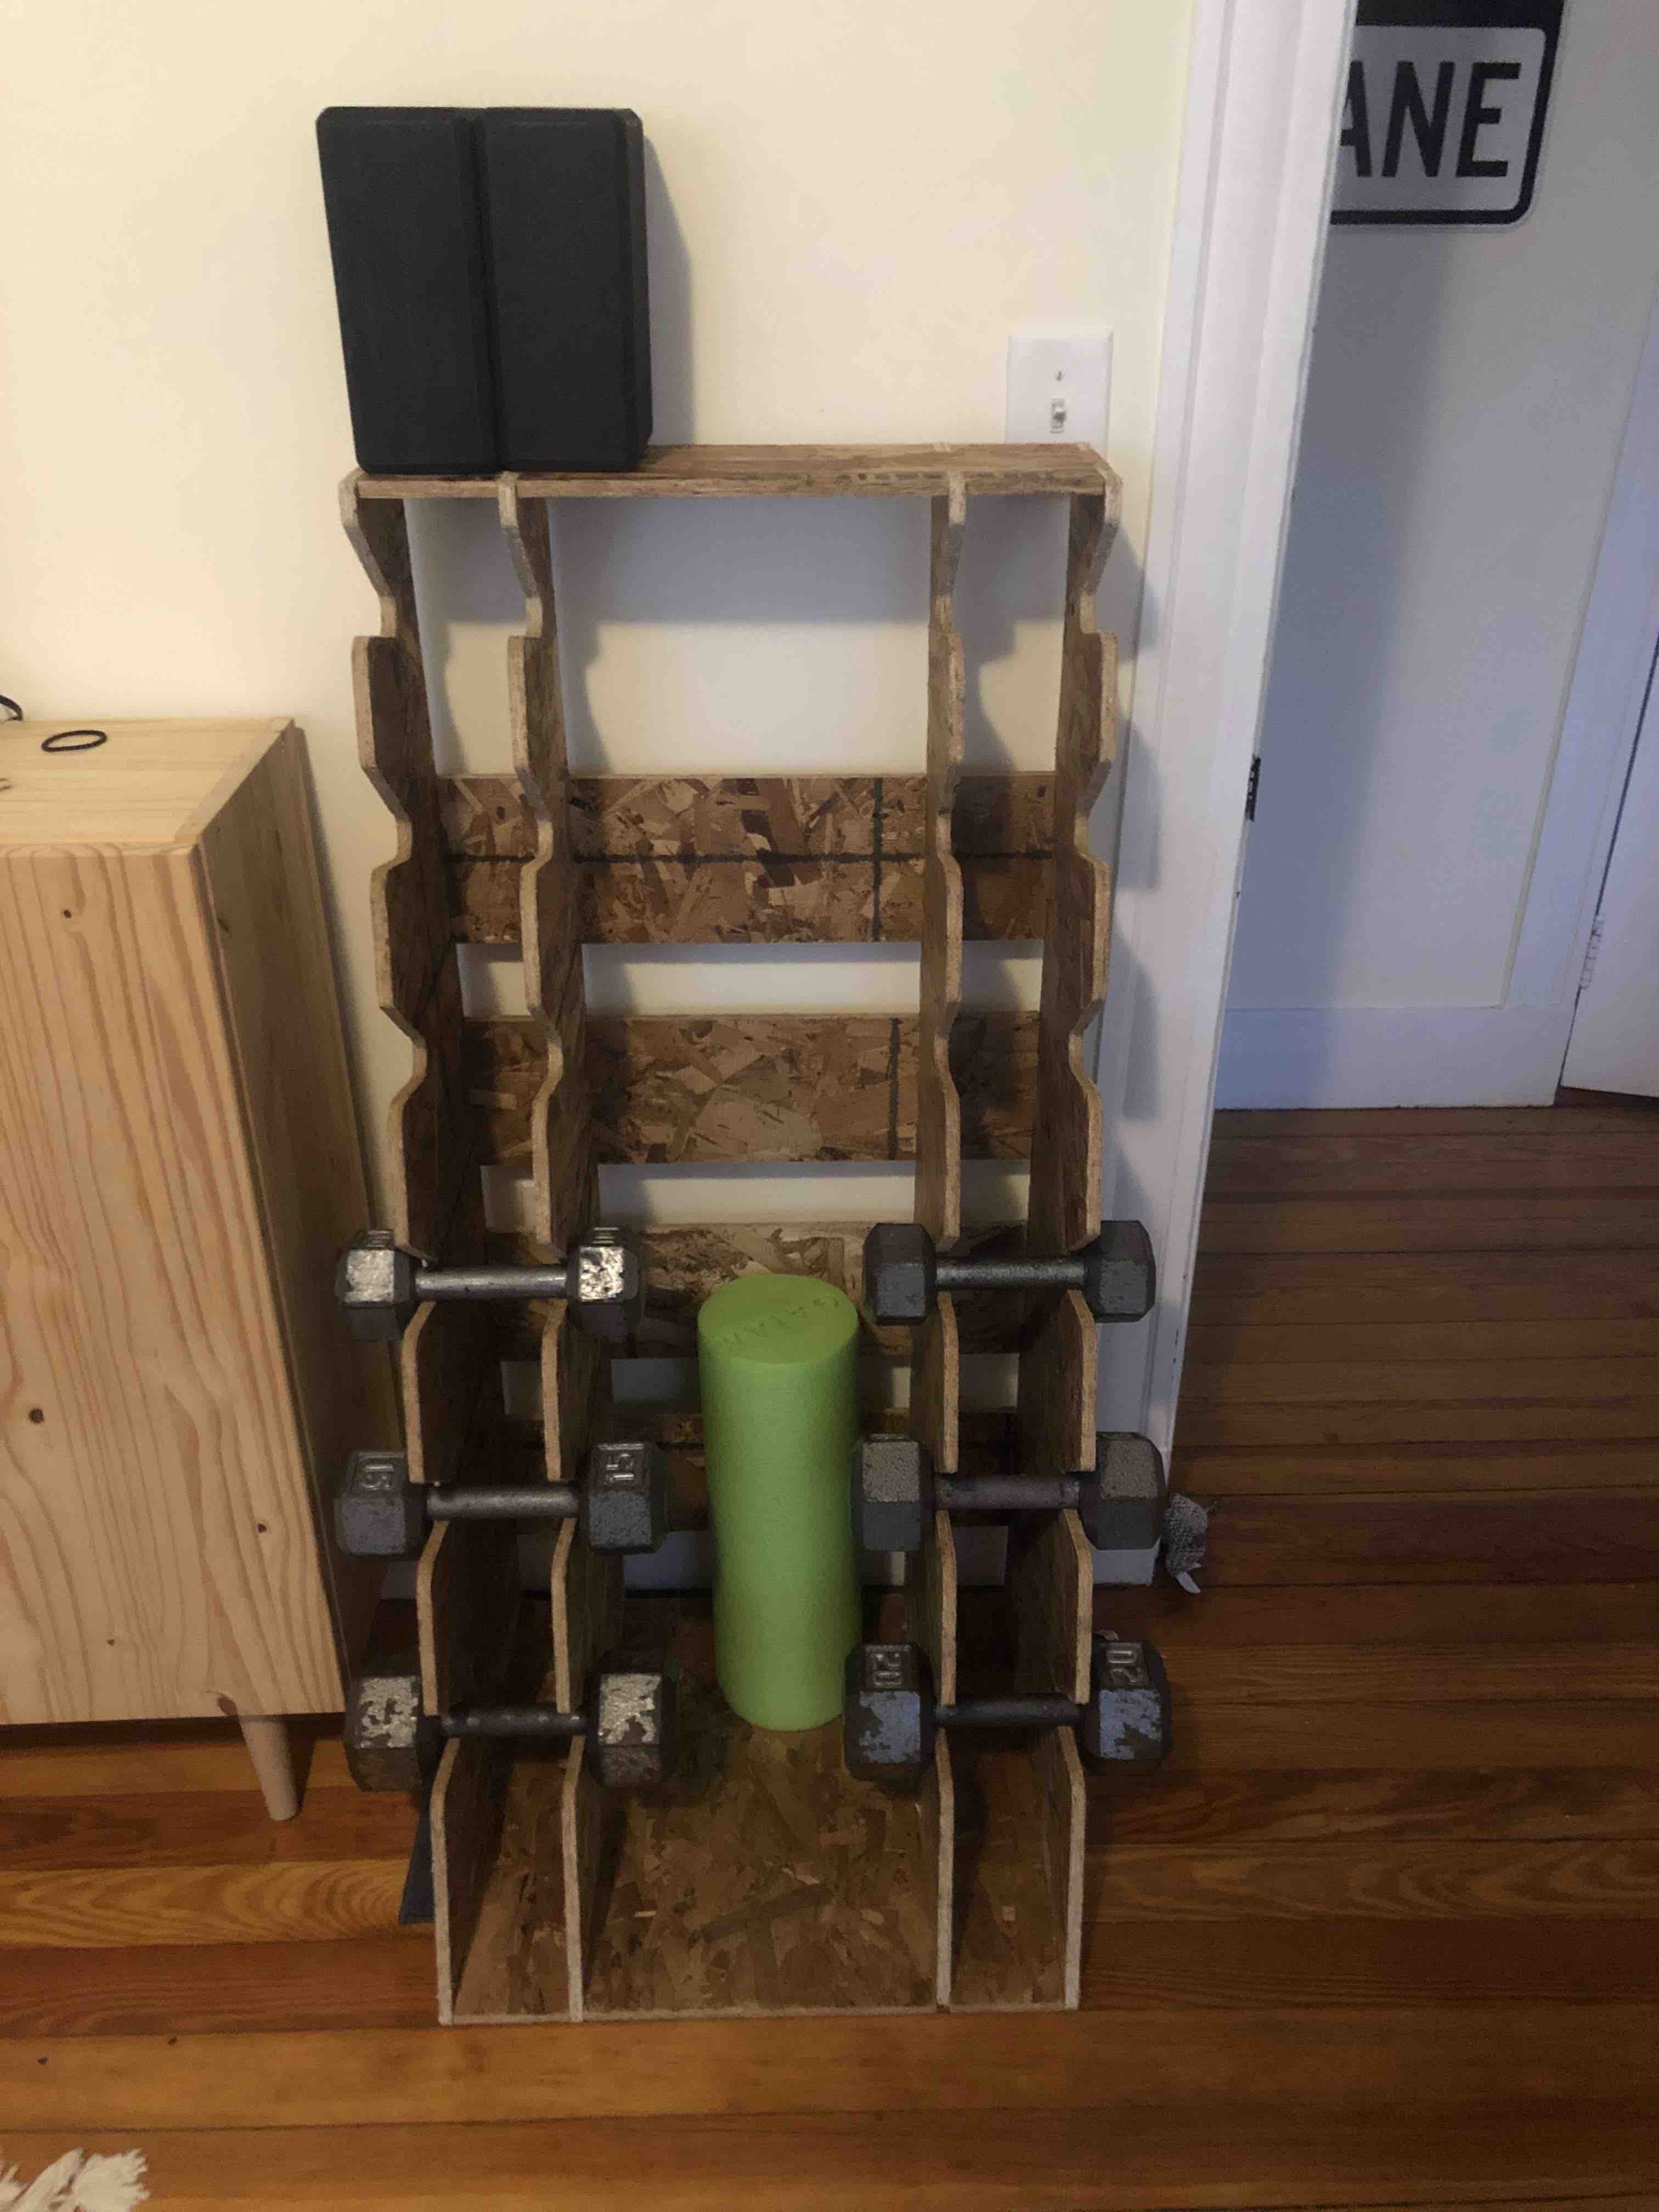
Final use!