How To Make (Almost) Anything Neil Gershenfeld
MCKENZIE ROSS HUMANN
MIT Department of Urban Studies and Planning
Embedded Programming
10.26.22
individual assignment:
browse through the data sheet for your microcontroller
use your programmer to program your board to do something
extra credit: try other programming languages and development environments
group assignment:
compare the performance and development workflows for other architectures


Program a board
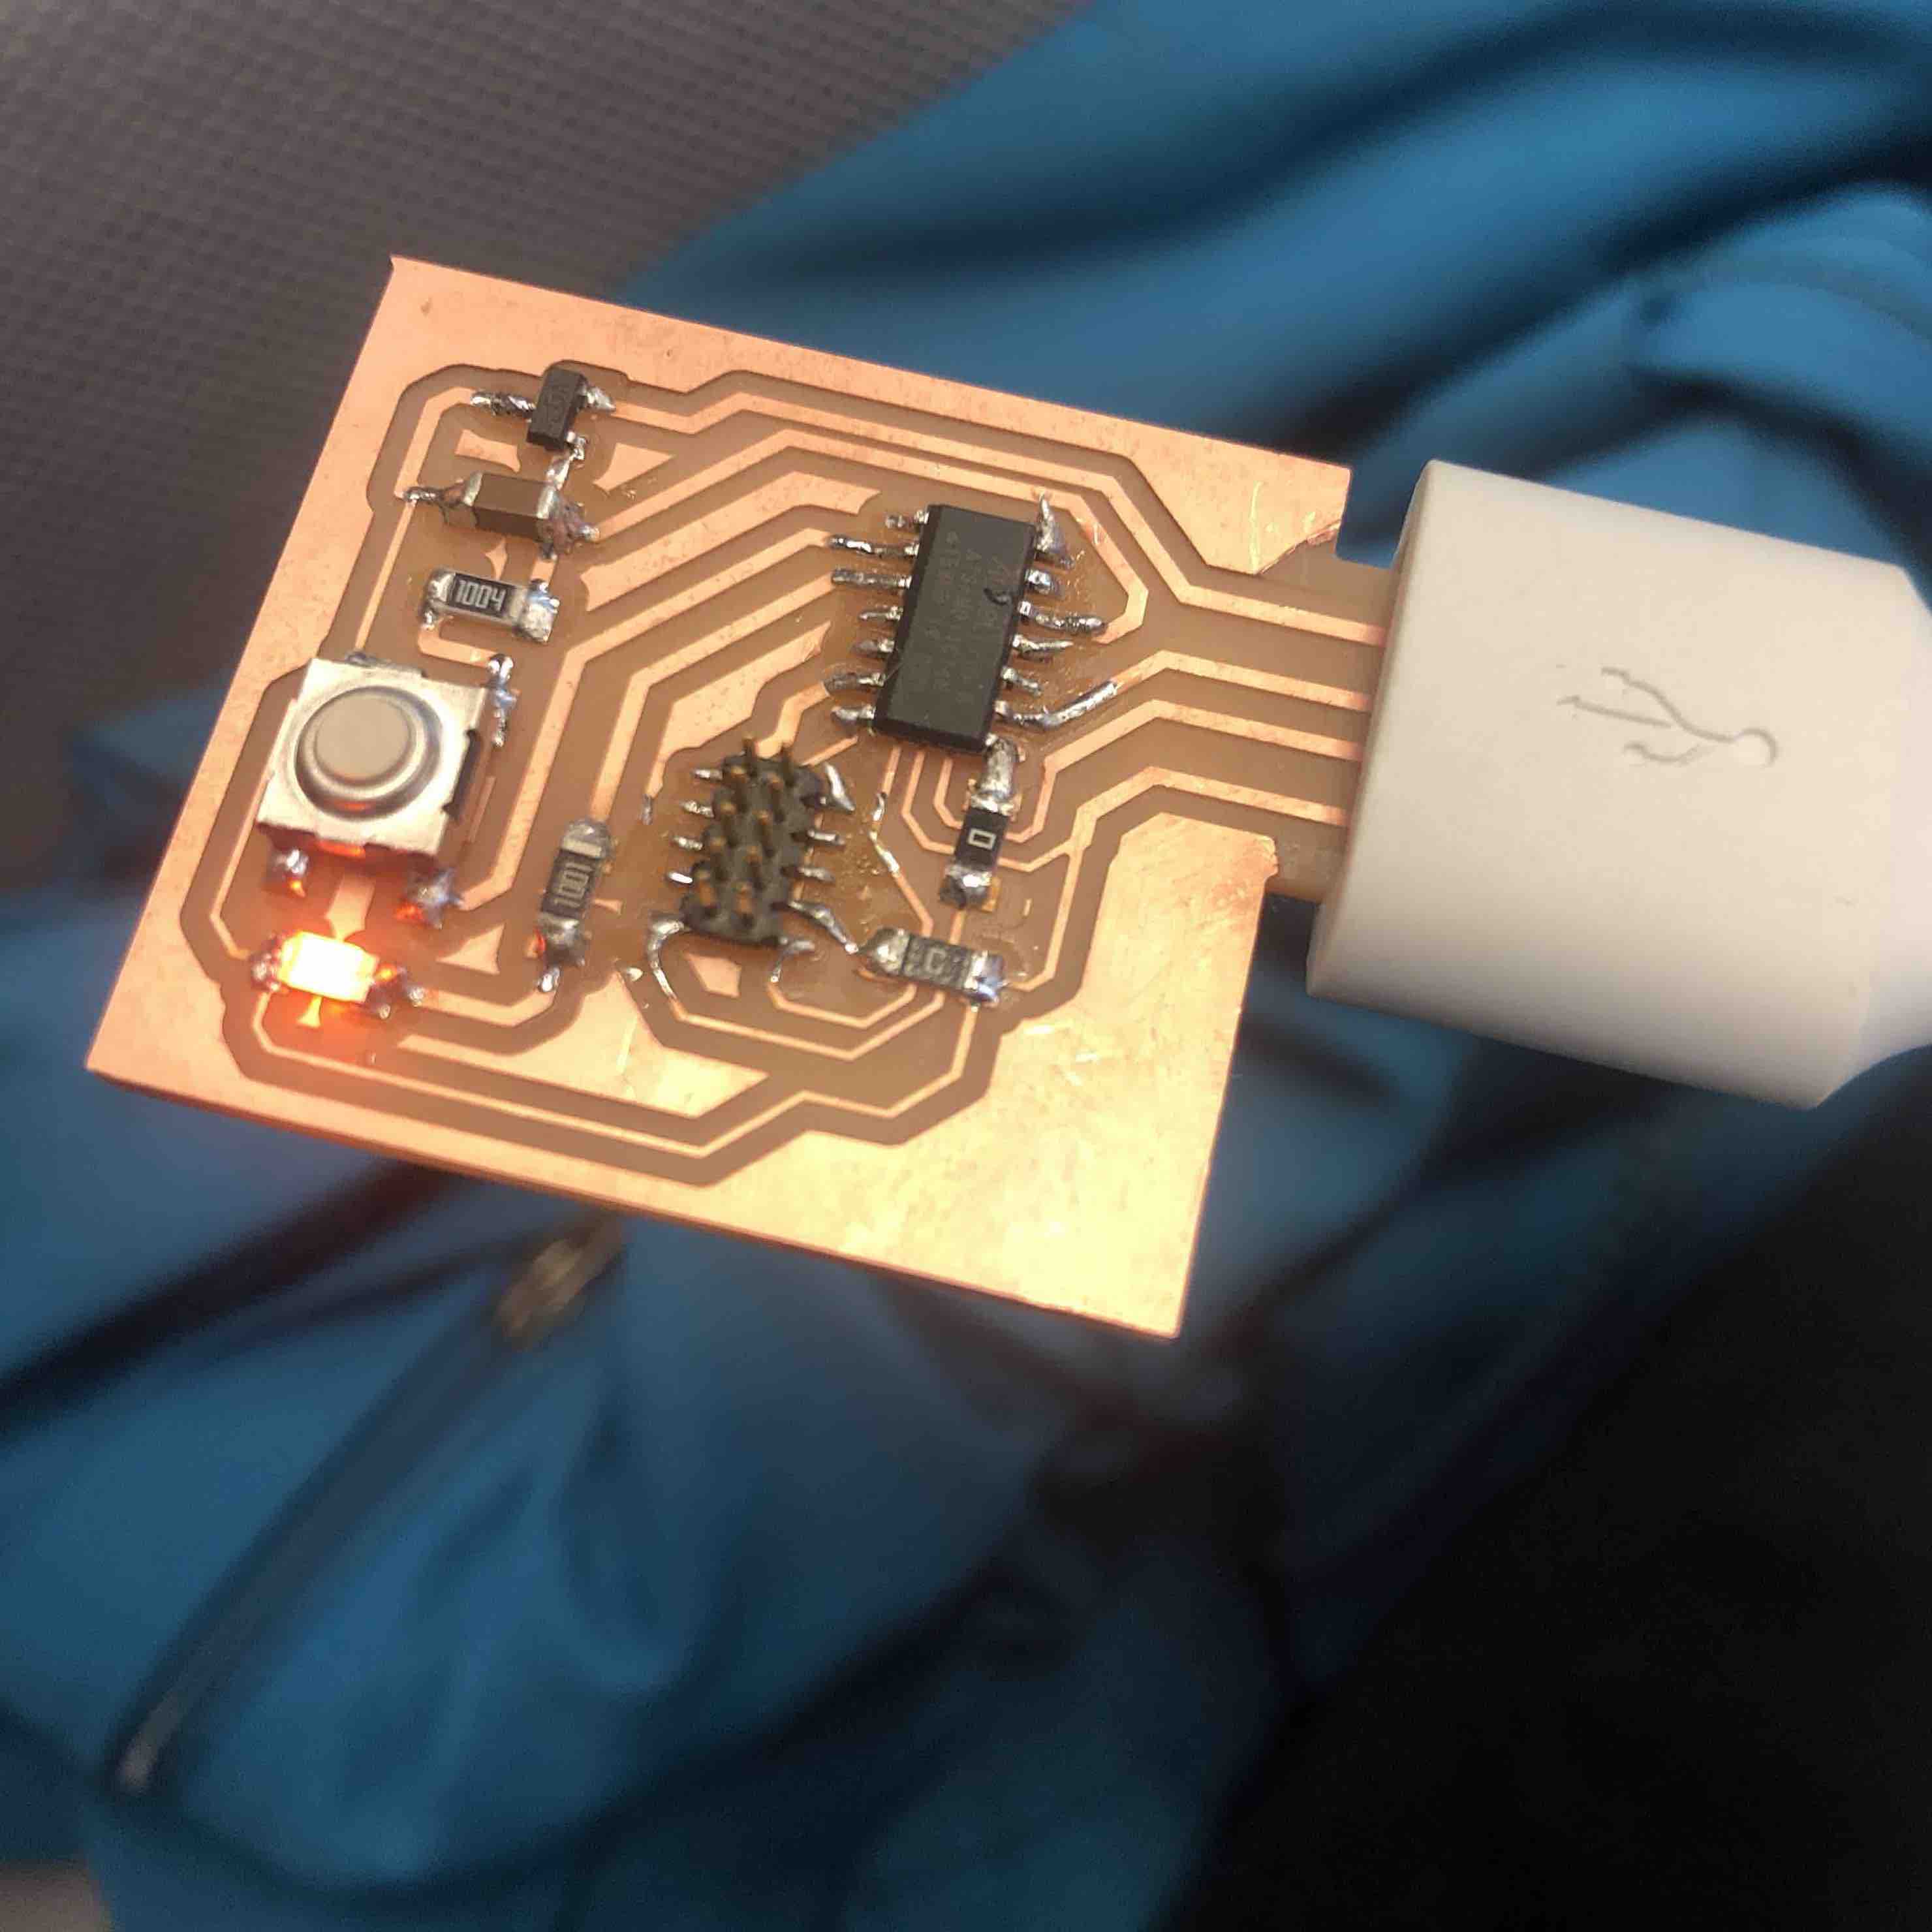
This week I needed to make a new board with an LED and Button, since in Week 5 I realized I had made a couple of design and stuffing mistakes.
First, I re-designed a board using the correct 5x2 connector SMD Arm Debug and reoriented the microntroller. After designing this board, I milled and stuffed it without any issues.
However, I could not bootload the board. Demircan helped me assess if my connections were solid and my design made sense, but we could not figure out why the board was not recognized by the bootloader.
Demircan also pointed out that the button was only receiving power through the microcontroller, which can be less reliable. So I made this small change to my board design and milled and stuffed the new board.
This time the EDBG bootloader recognized the new board and I was able to bootload the microcontroller.
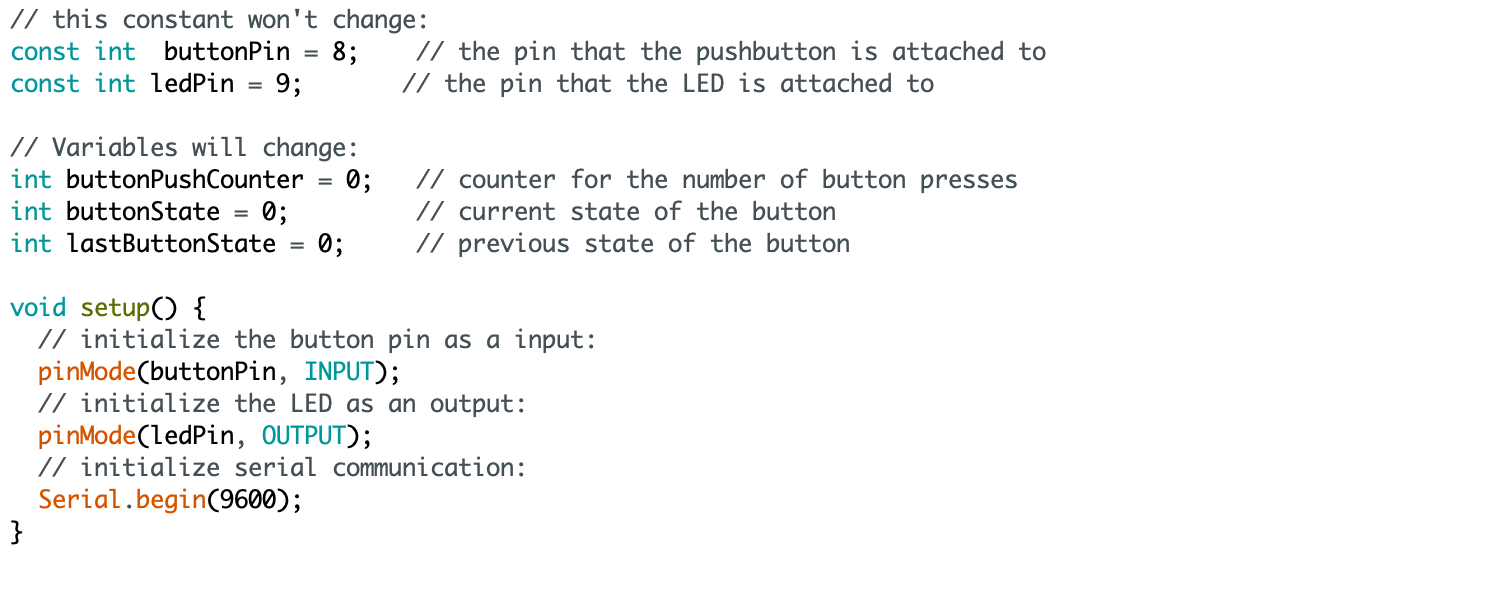
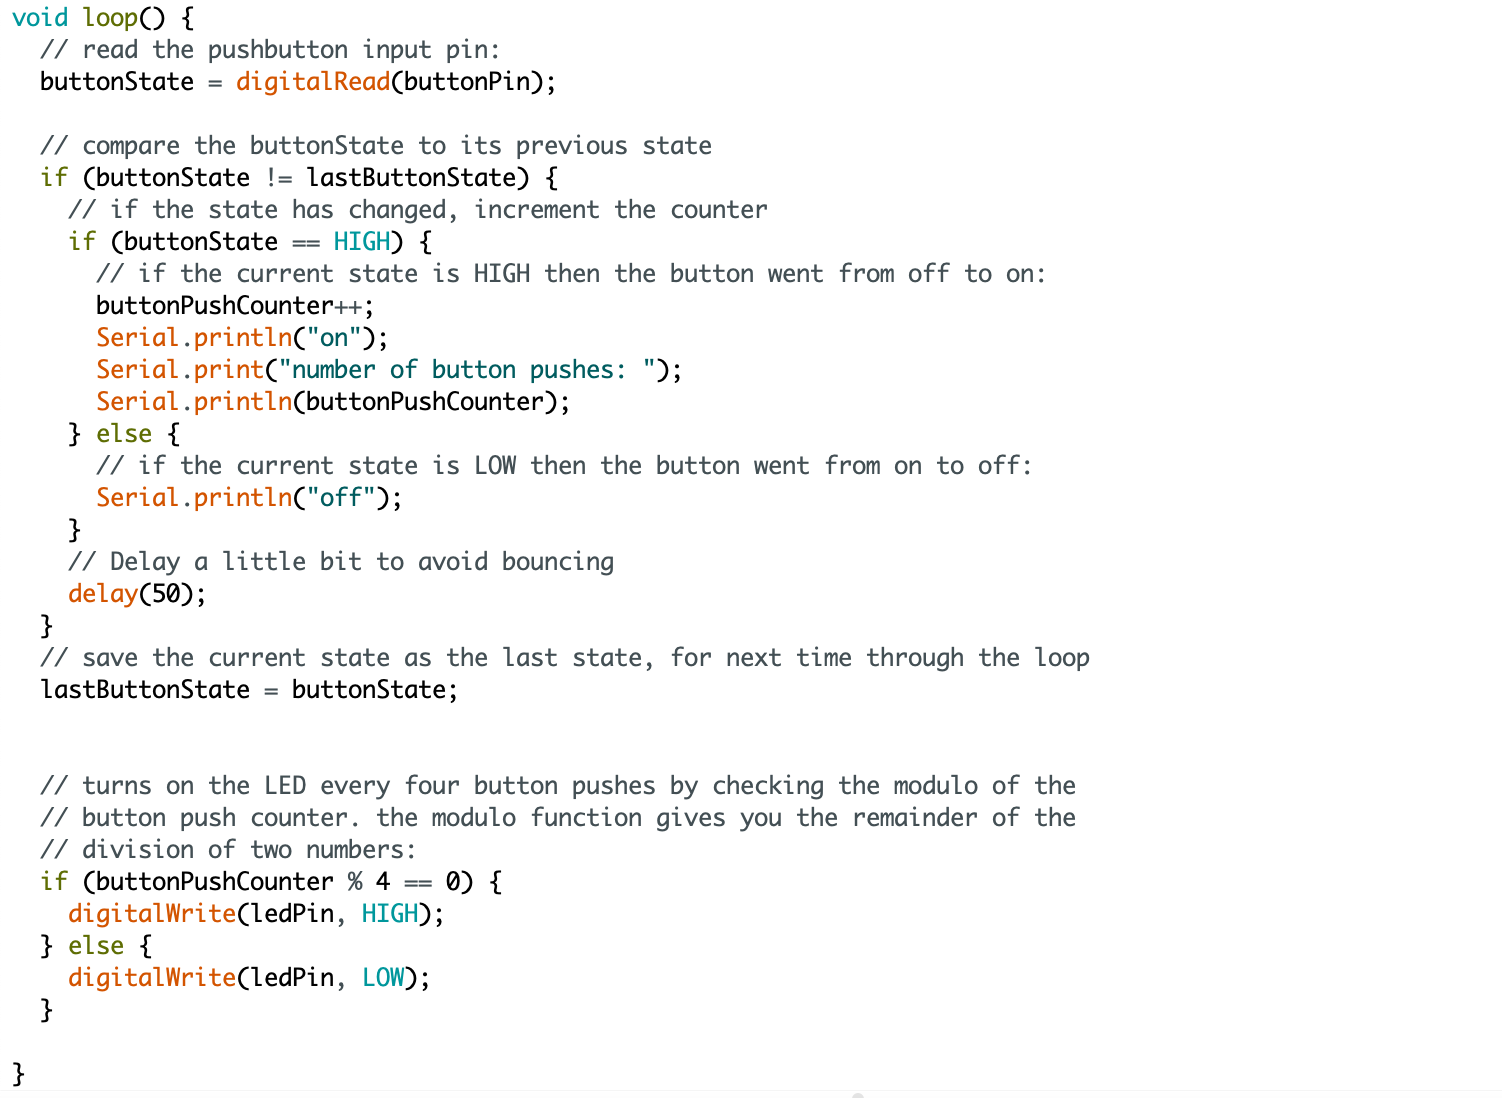
Using a code example from Arduino on identifying state-changes,
I altered the code to reflect the pins that I had used for the LED and button on my board.
I loaded this code onto the board, and the button worked exactly as expected.
The code programs the board so that every four button presses the LED would turn on, turning off in the following button press.
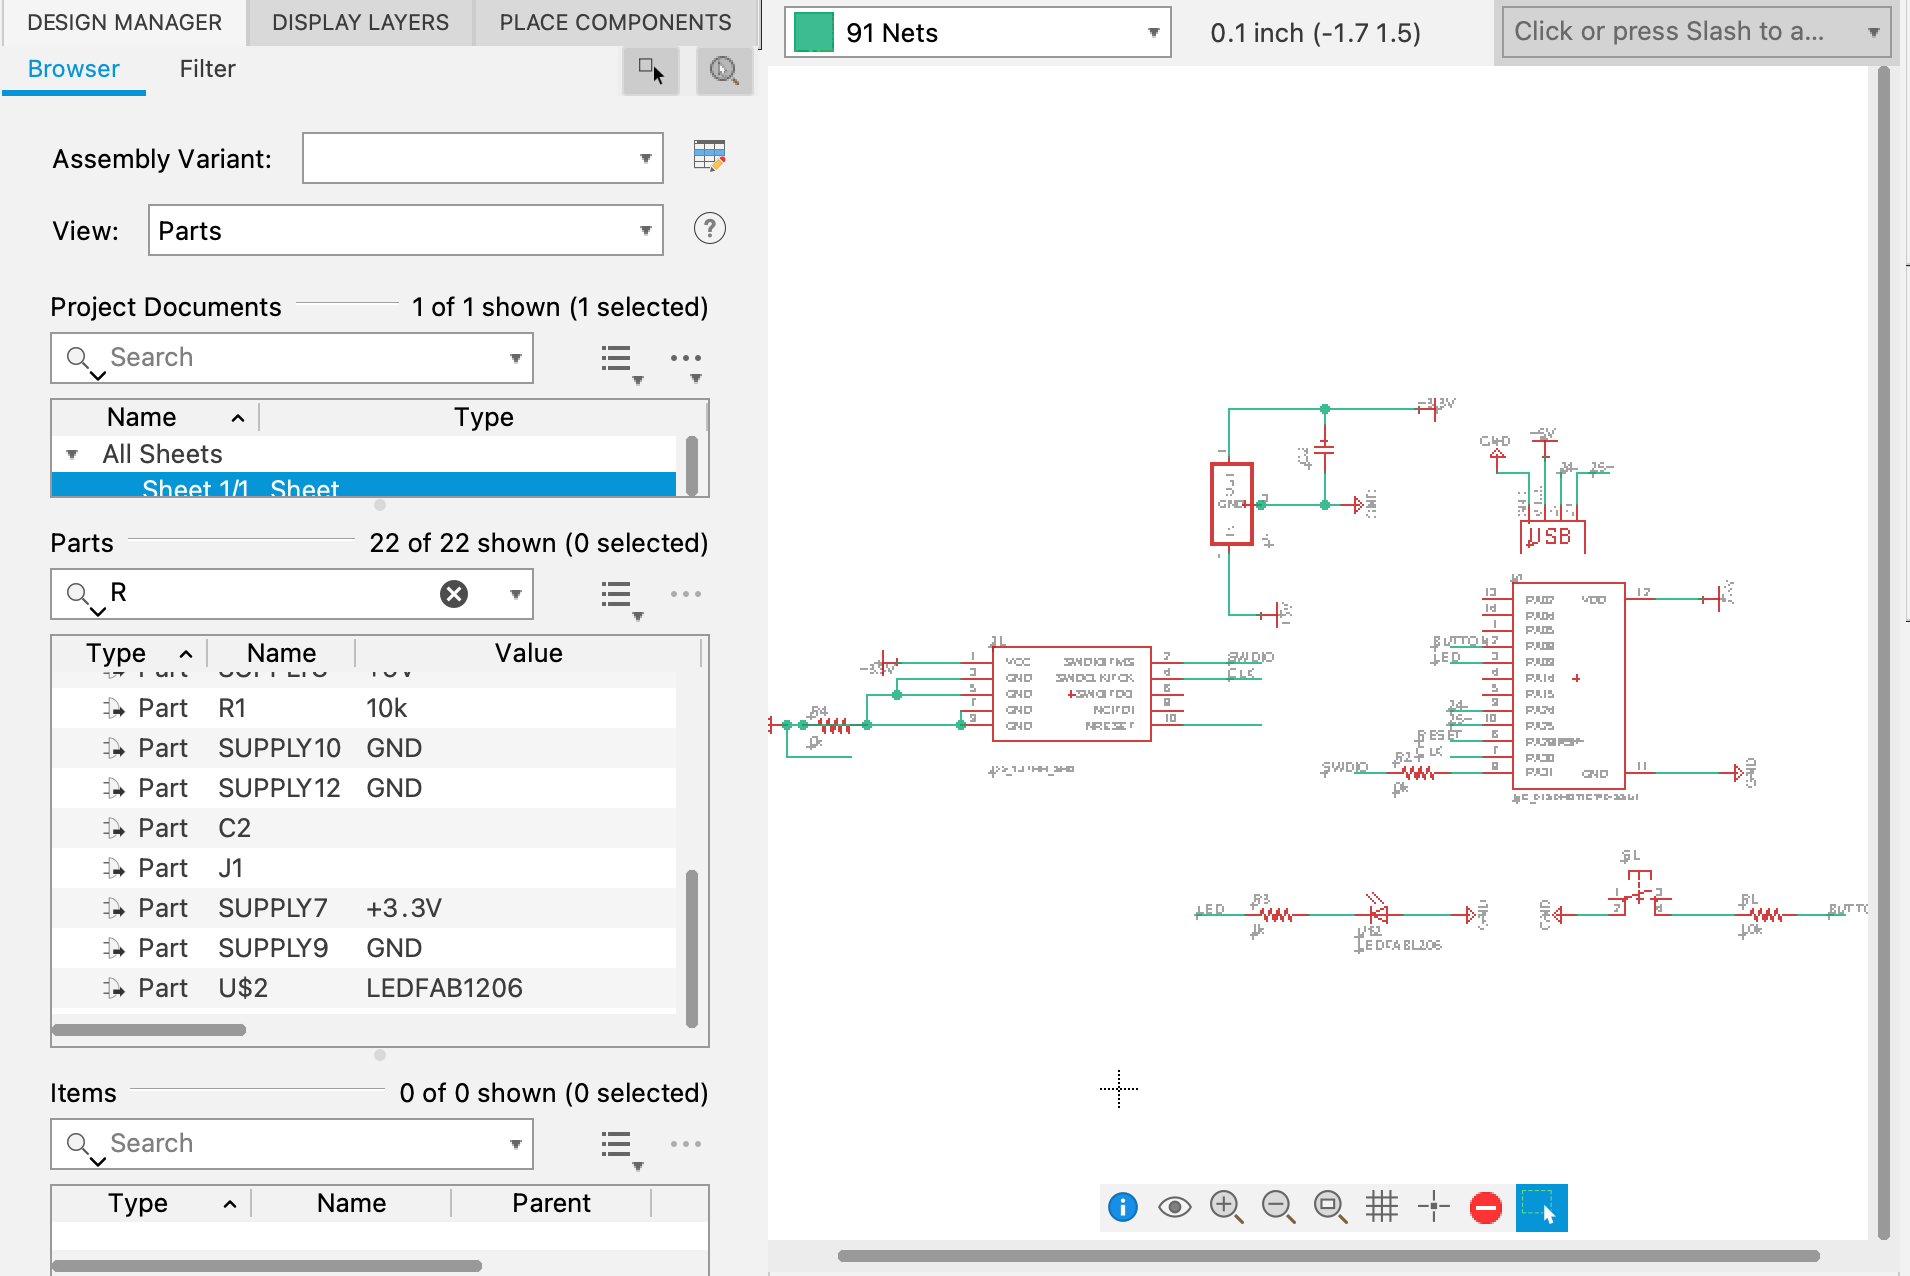
Schematic from Eagle
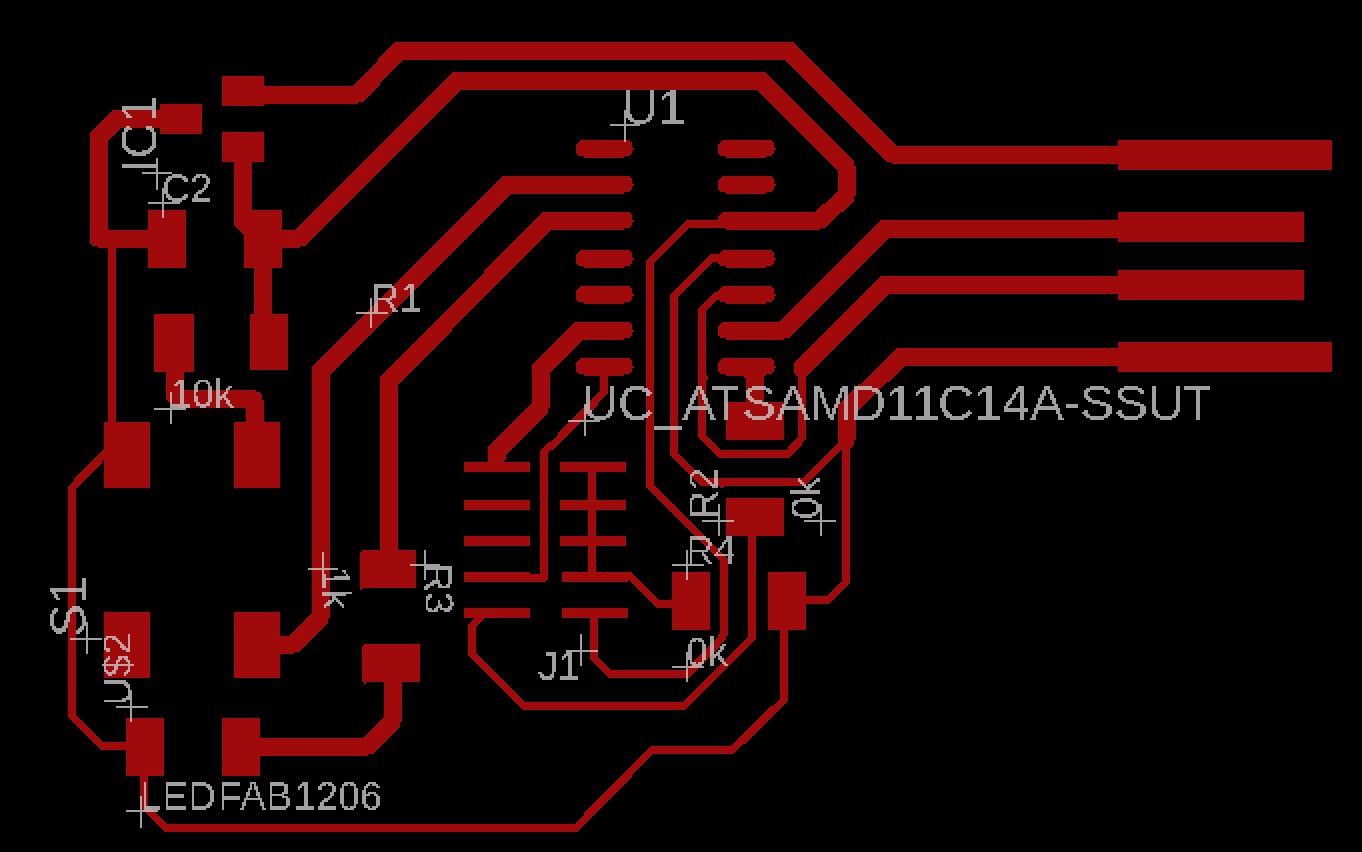
(most recent) Board design

outline image for mods
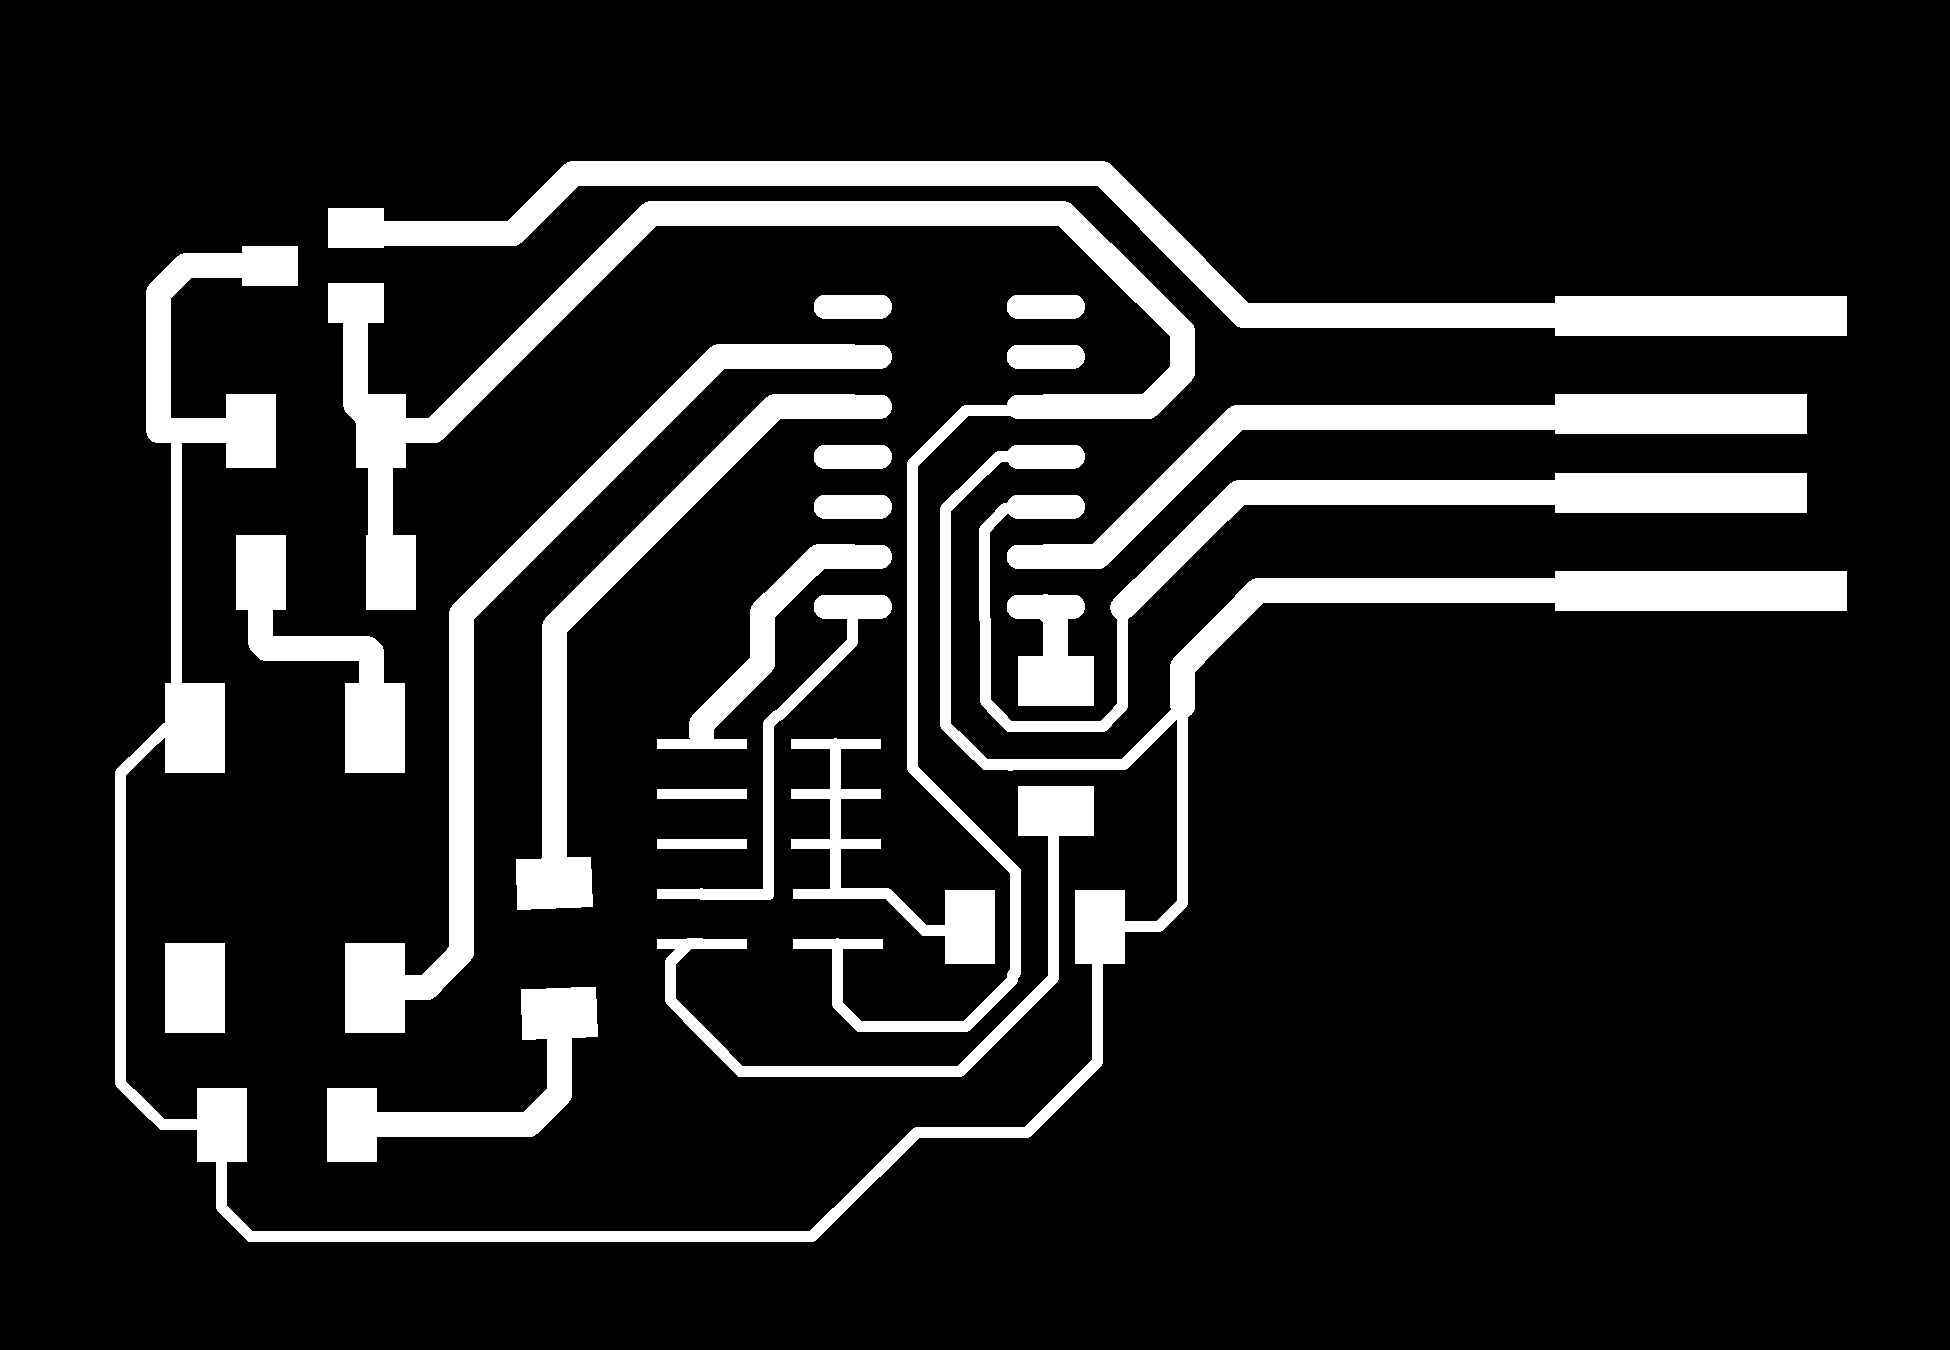
traces for mods
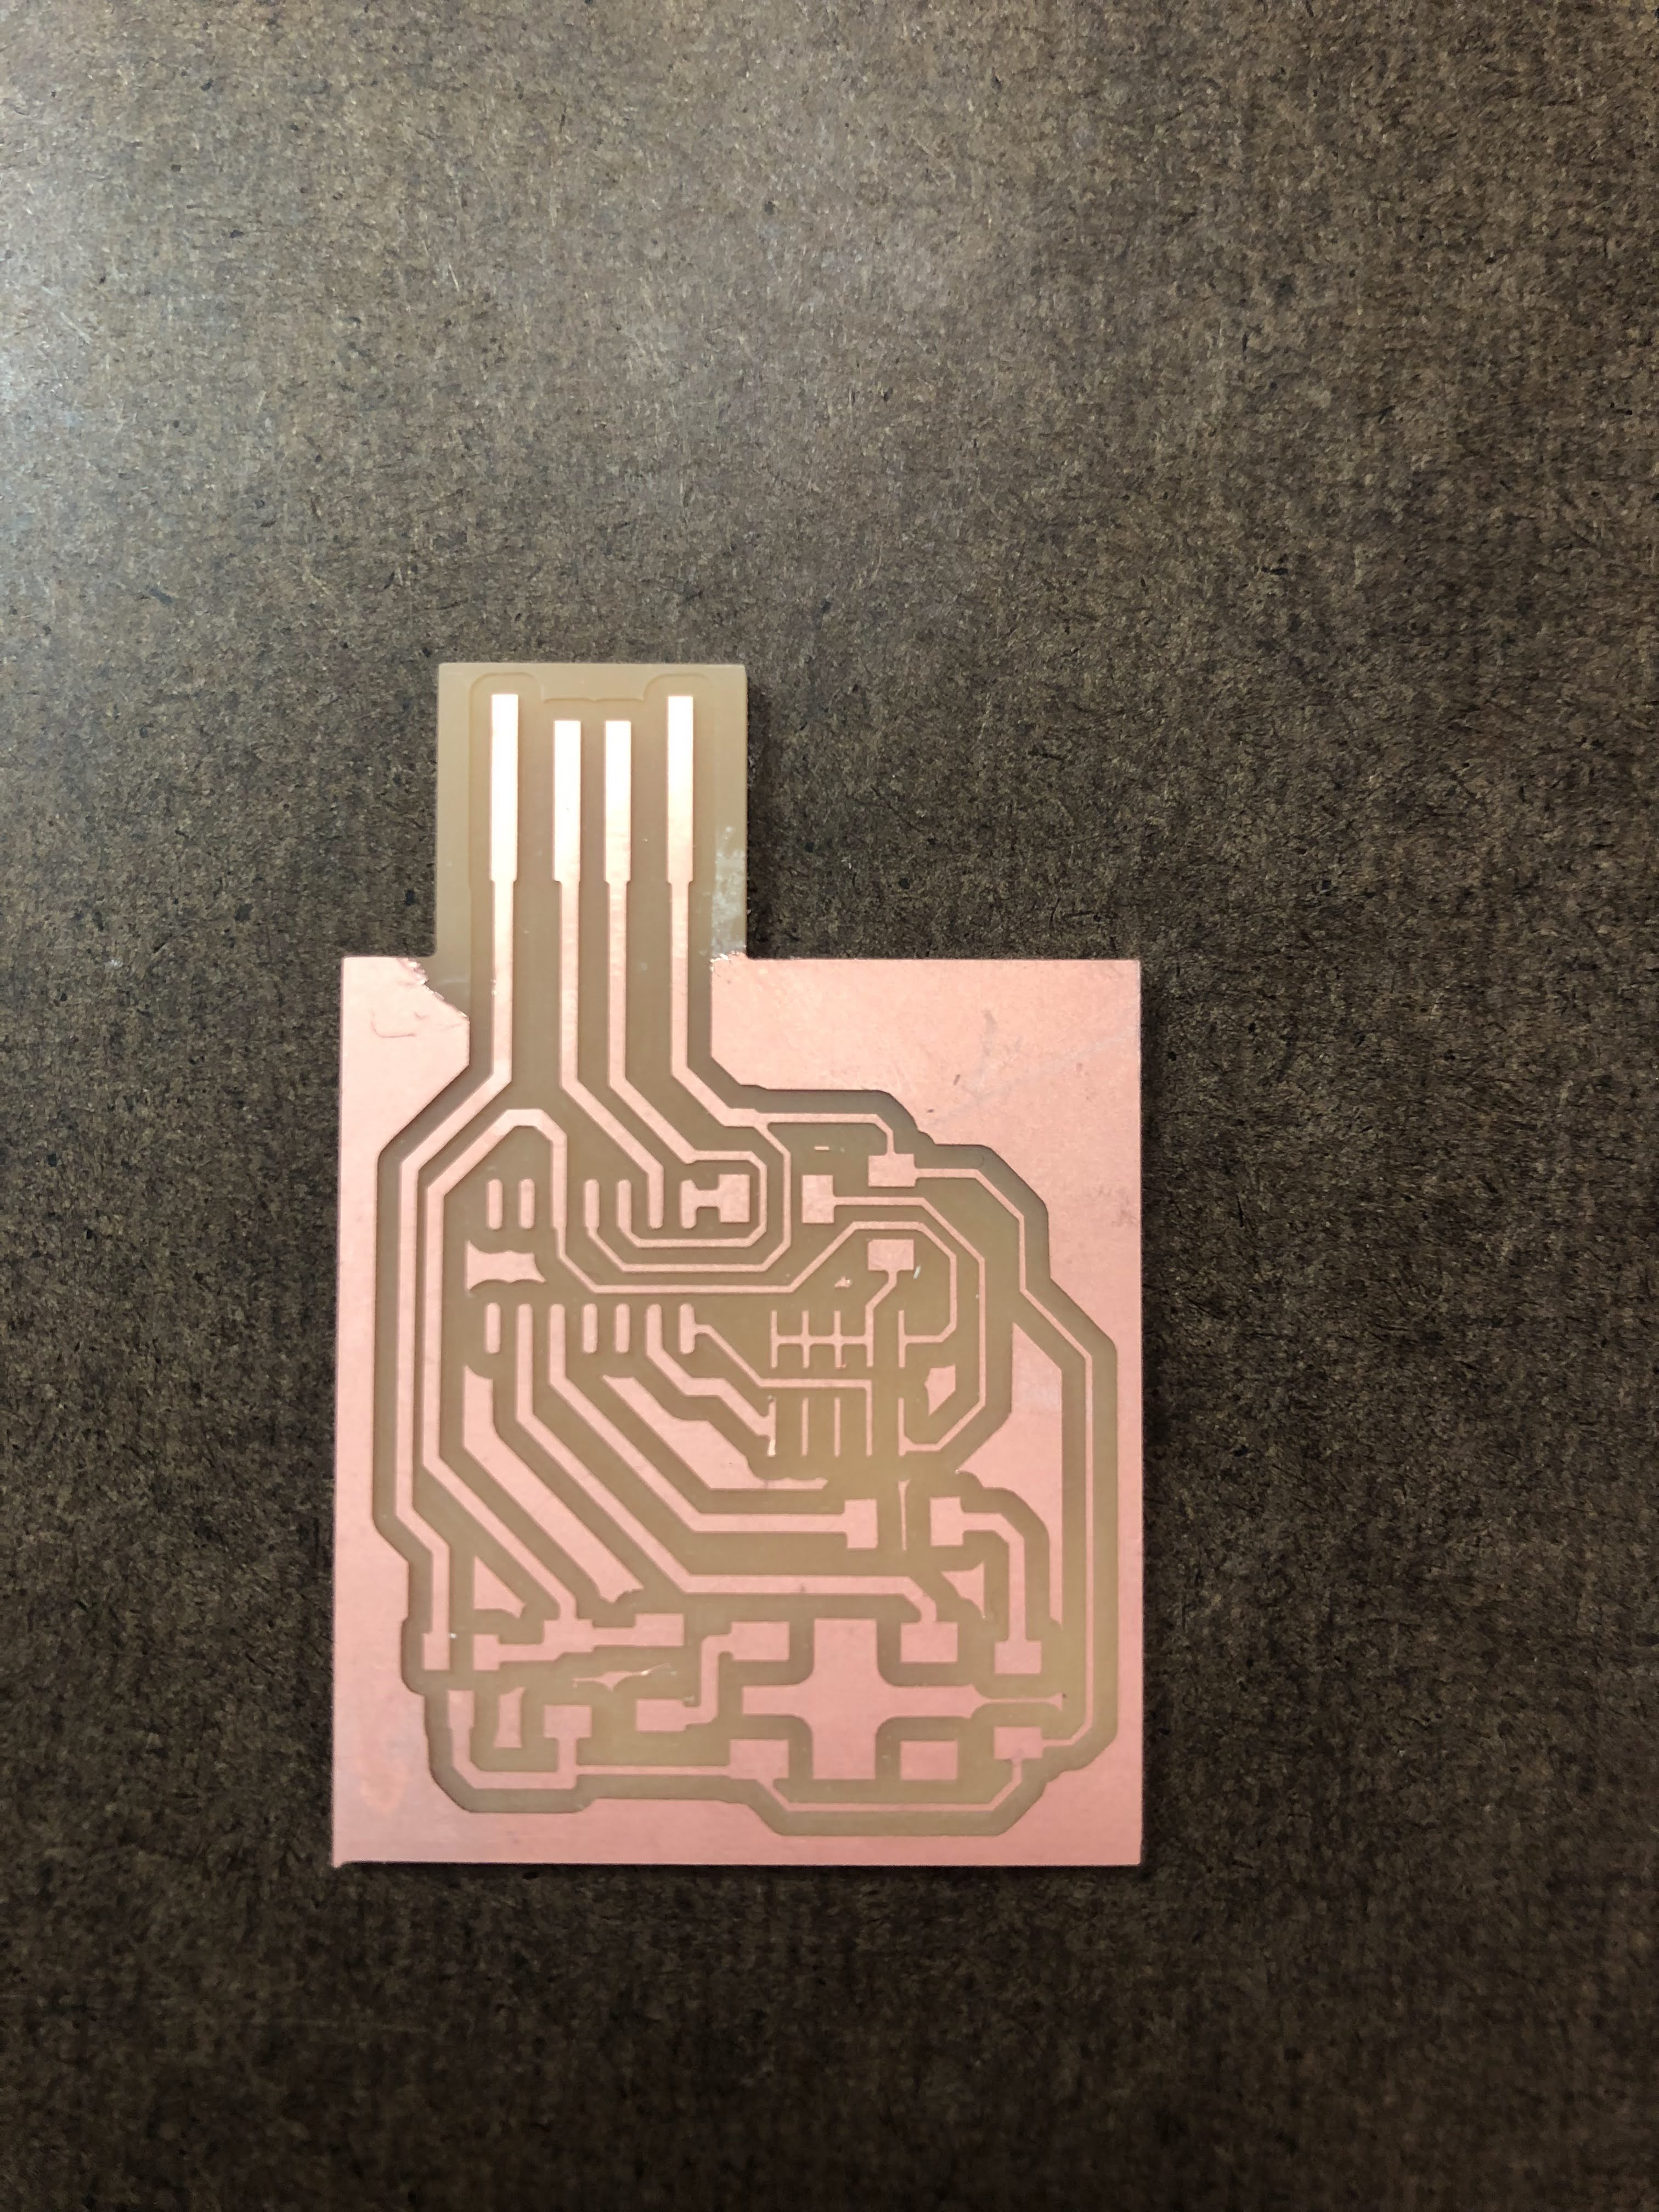
milled board
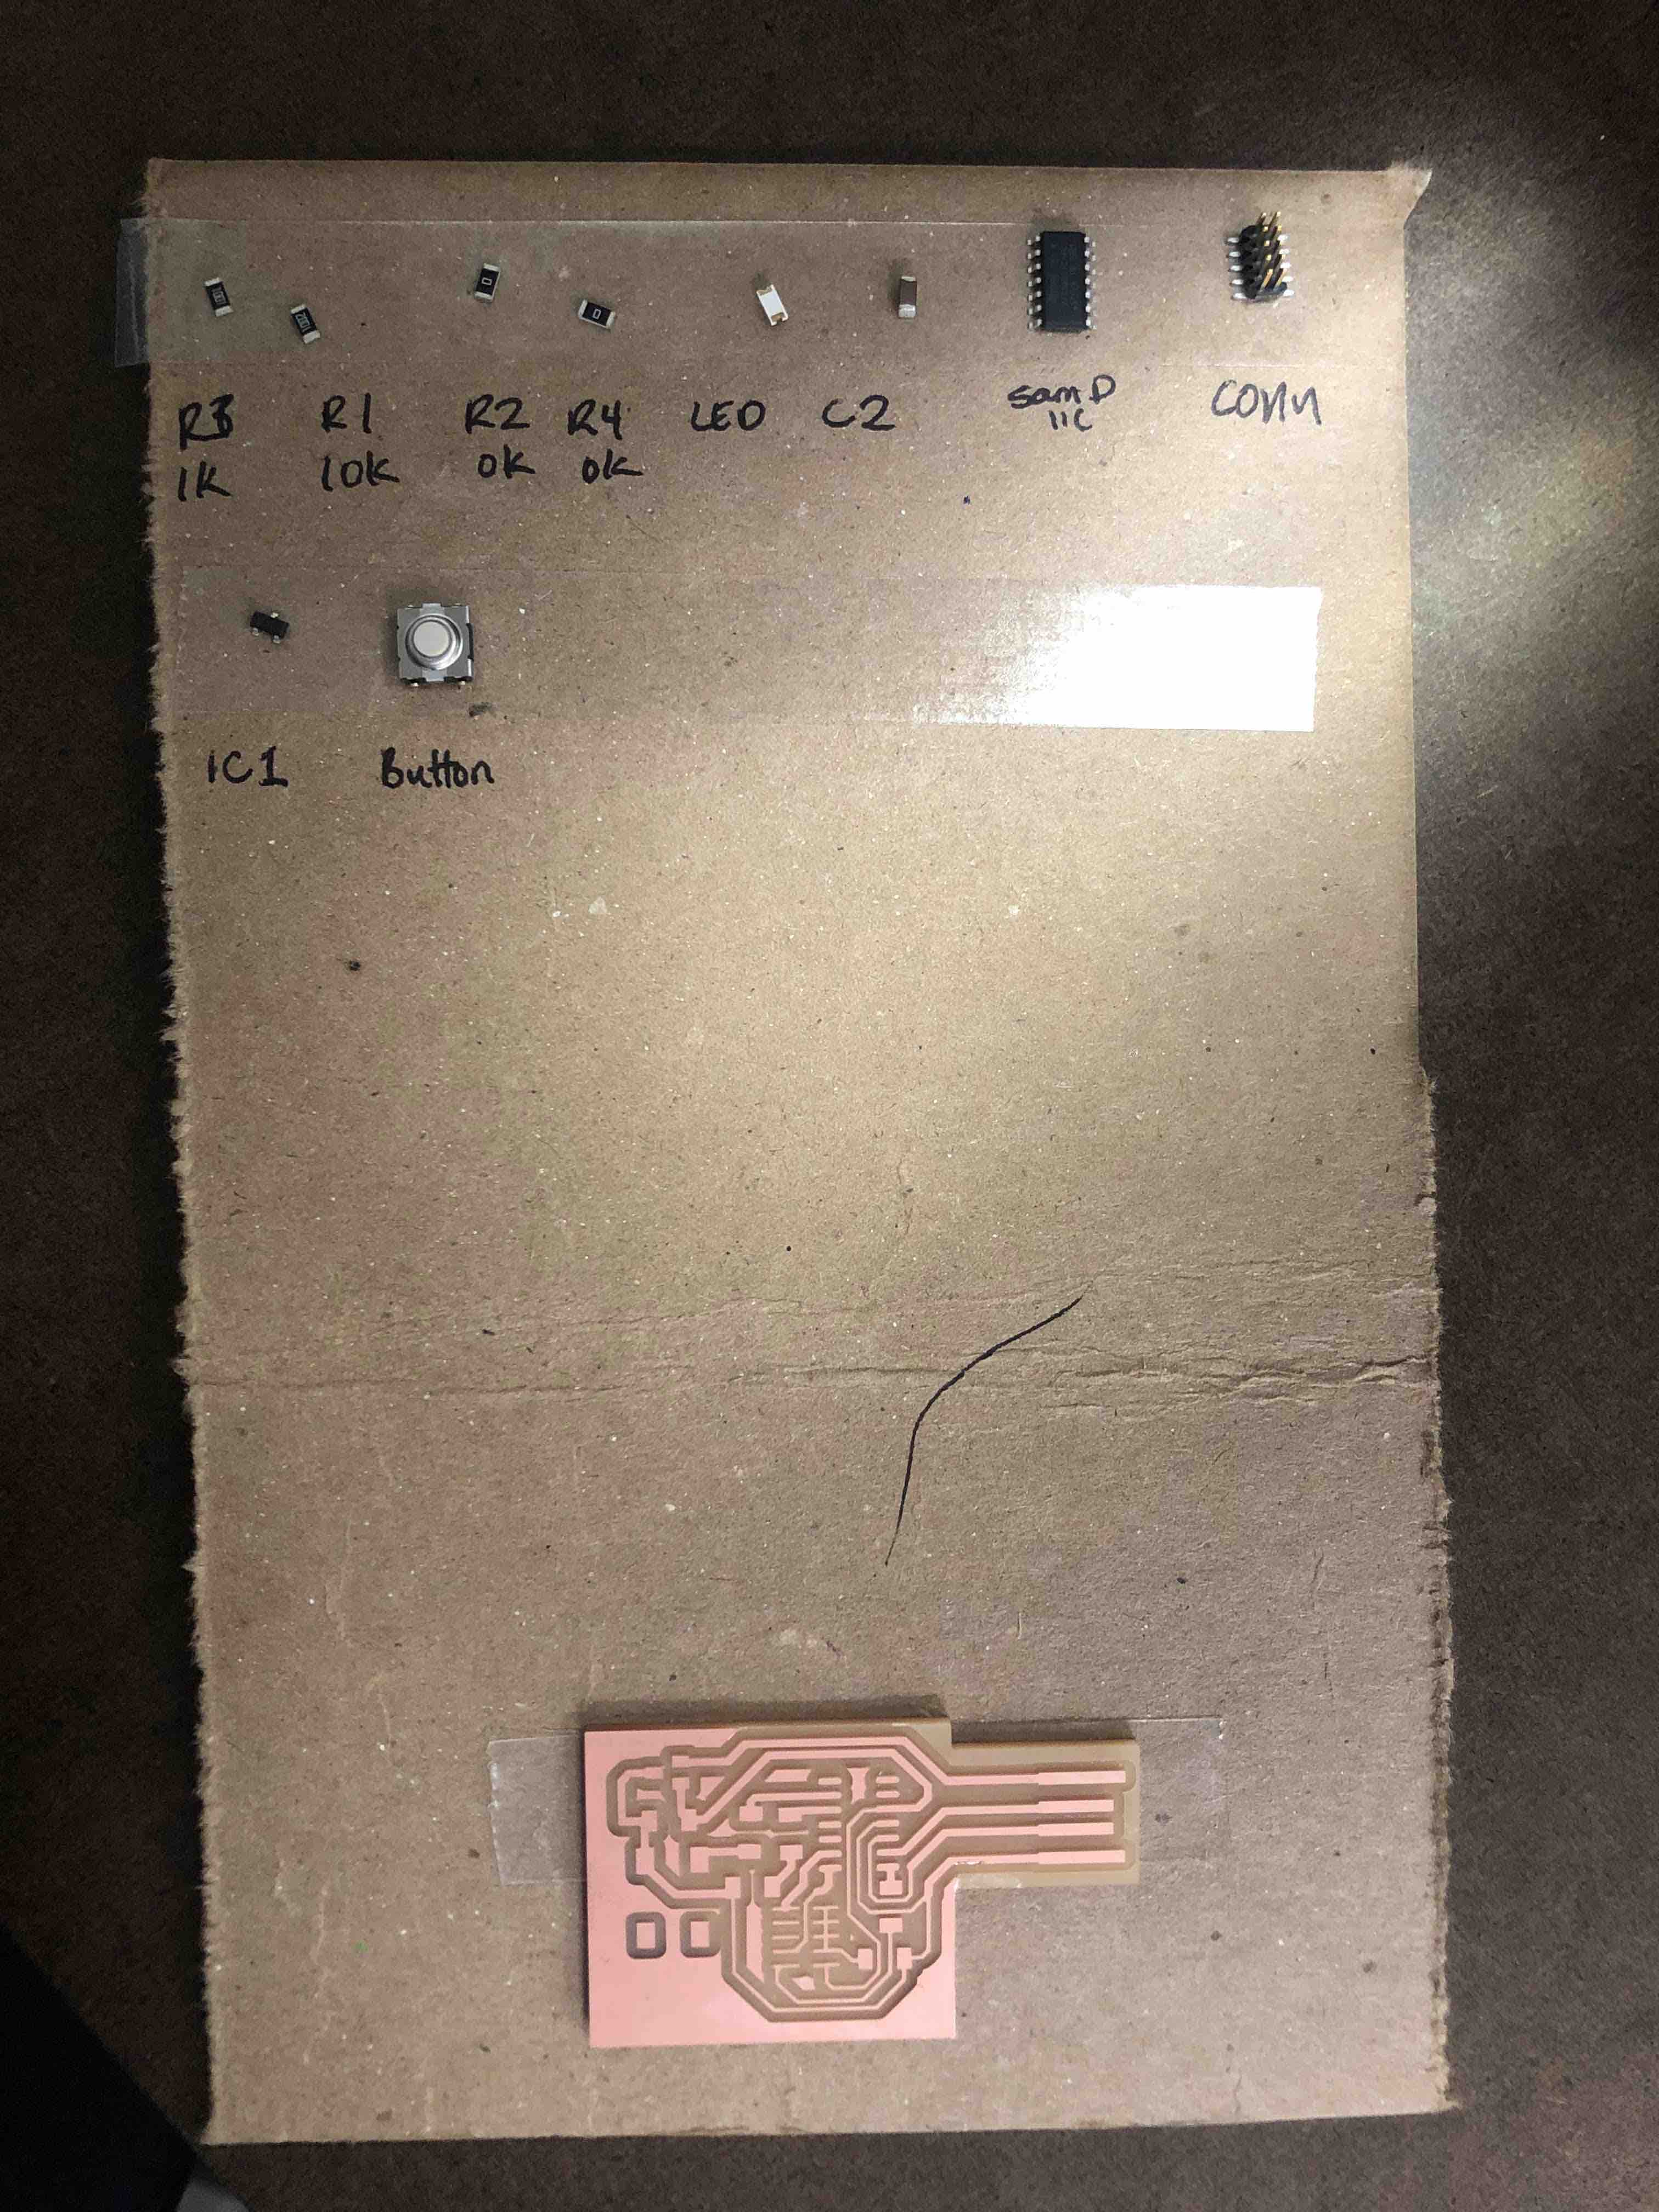
prep for stuffing board (picture of first board attempt)

Finished board
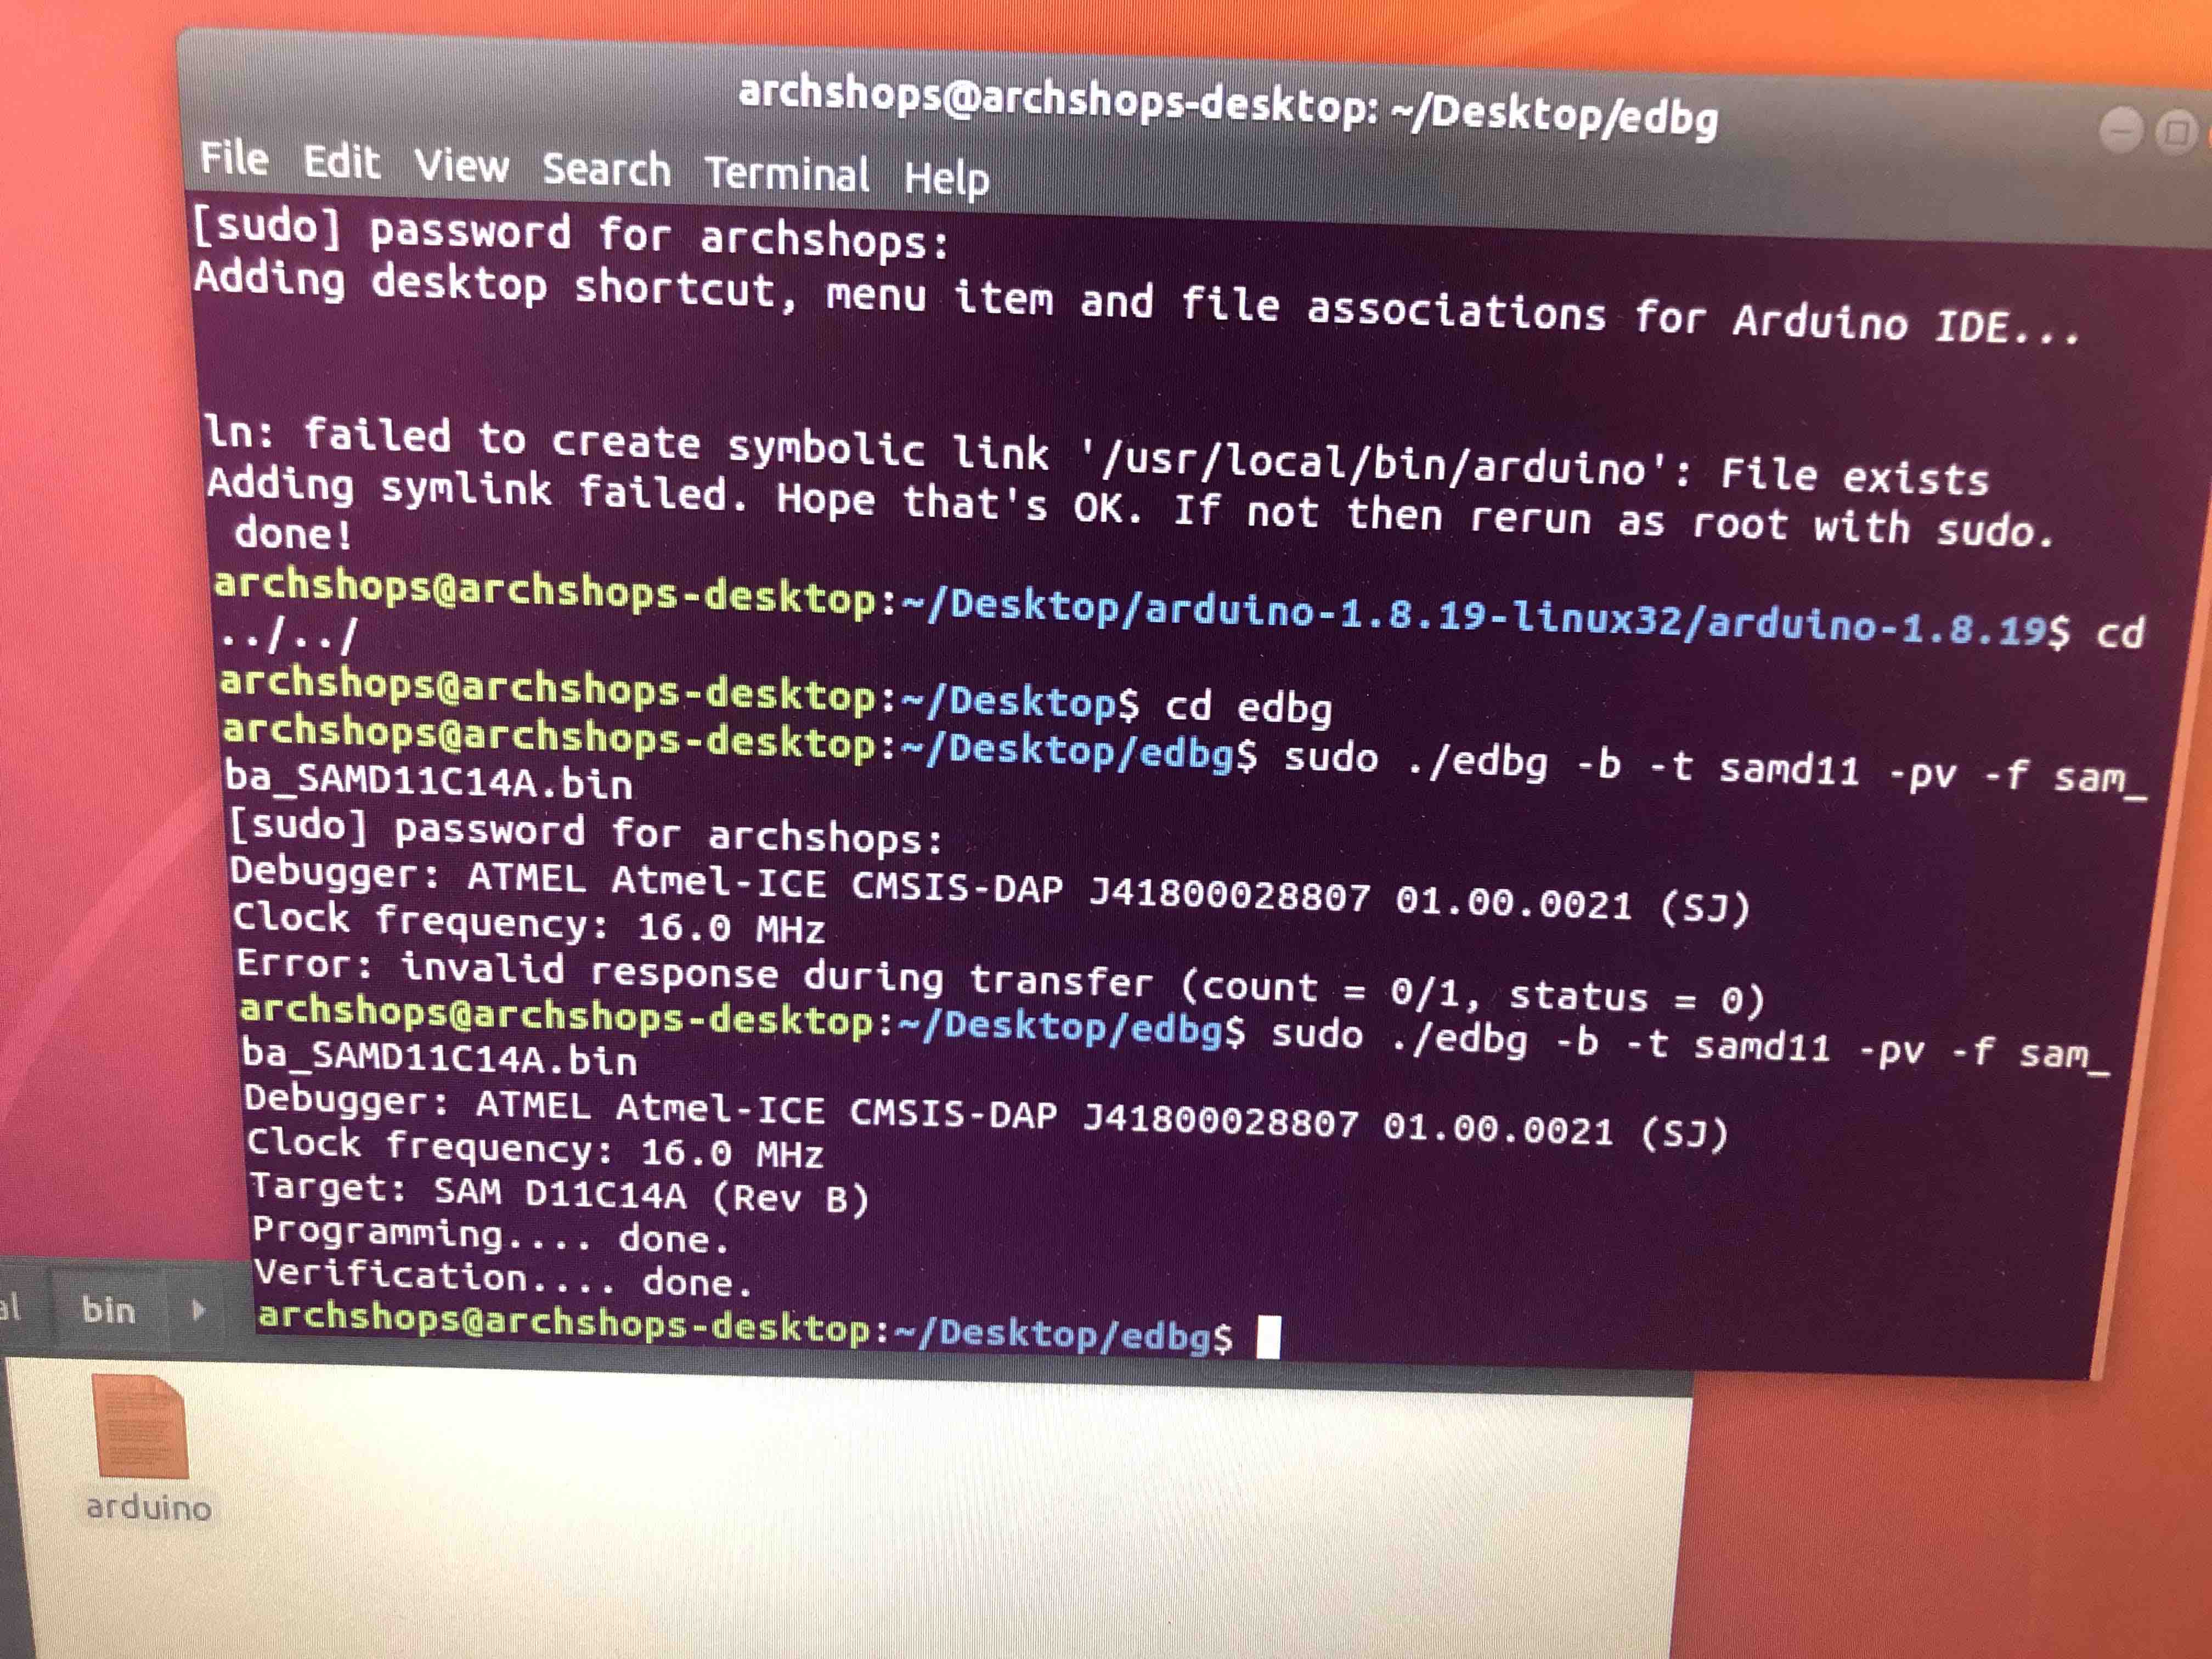
Successful bootloading
Successfully programmed button to turn on LED