Week 6: Computer-Controlled Machining
This week's task was to "make something big", i.e, designing, milling, and assembling something on the order of a meter.
For this project, I forwent the idea of making something practical; my dorm room is the size of a shoebox, and even placing the cut wood into my room took 5-10 minutes of reorienting things until it was out of the hallway and into my room. So I decided I would try to make a dome for my floor's lounge that could potentially serve some kind of purpose (or just sit around I guess)
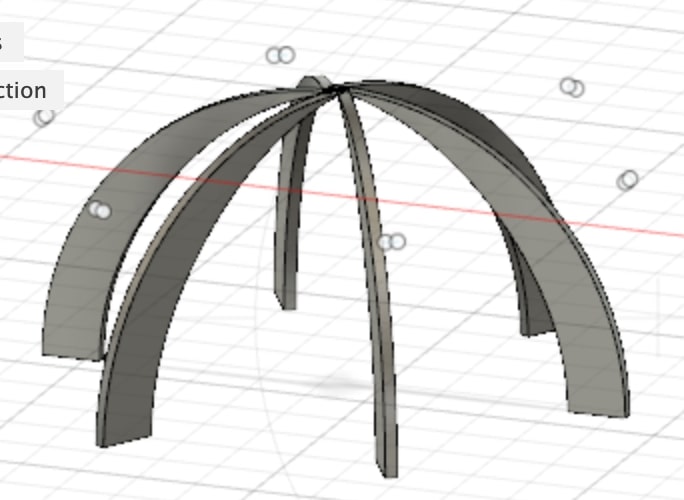
First, I used Fusion360 to plan out my design and create the vectors to import into VCarve (the program we were using to provide the necessary files for the ShopBot machine). I created a rough 3d model to sort of visualize what I wanted to build
and the shapes of all the pieces. We were given a 4ft by 8ft sheet of OSB to use for the project, so I also took that into account while planning out everything.
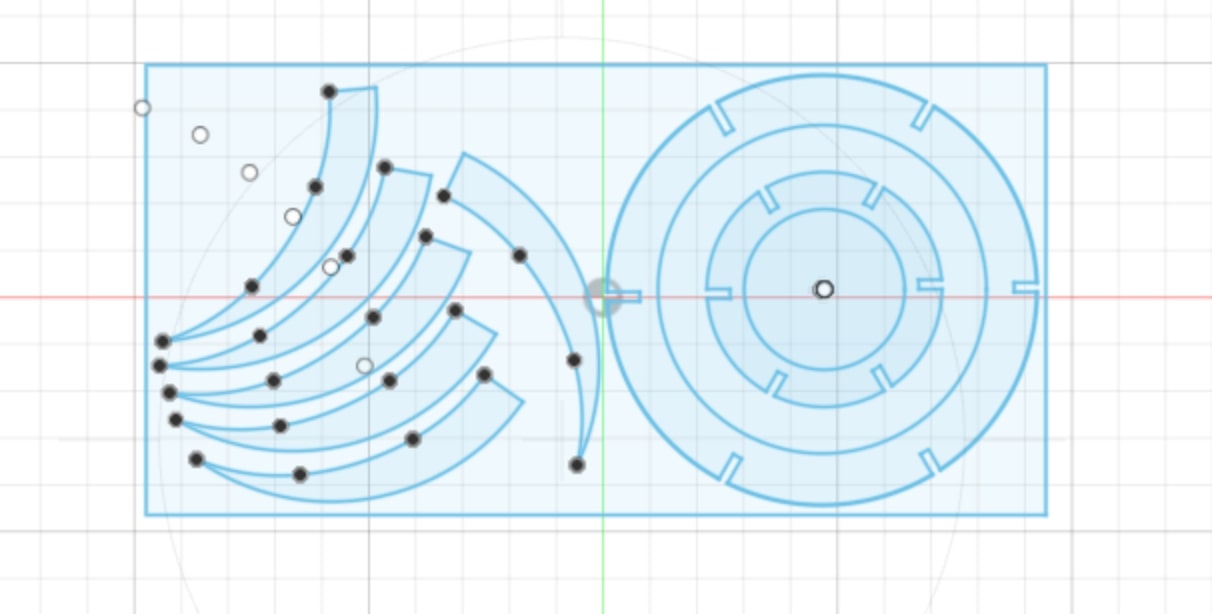
With the vectors created, now came the task of actually cutting out the design with the CNC machine. First we imported our vector files into VCarve and used that to create the toolpaths for the ShopBot. This involved scaling the vectors, joining any vectors that weren't registered as connected when importing the file, scaling the vectors to fit on the board accordingly, adding fillets to any press-fit joints, as well as tabs that would preventing the machine from cutting straight through the wood, which could result in it lifting or shifting around while the machine was moving--this could end up very badly. So with that set up, next was inputting the material characteristics and device settings that would determine the path the CNC machine would take while cutting.

Once this was finished, the file was sent to the CNC machine, which was then zeroed and prepared for cutting.
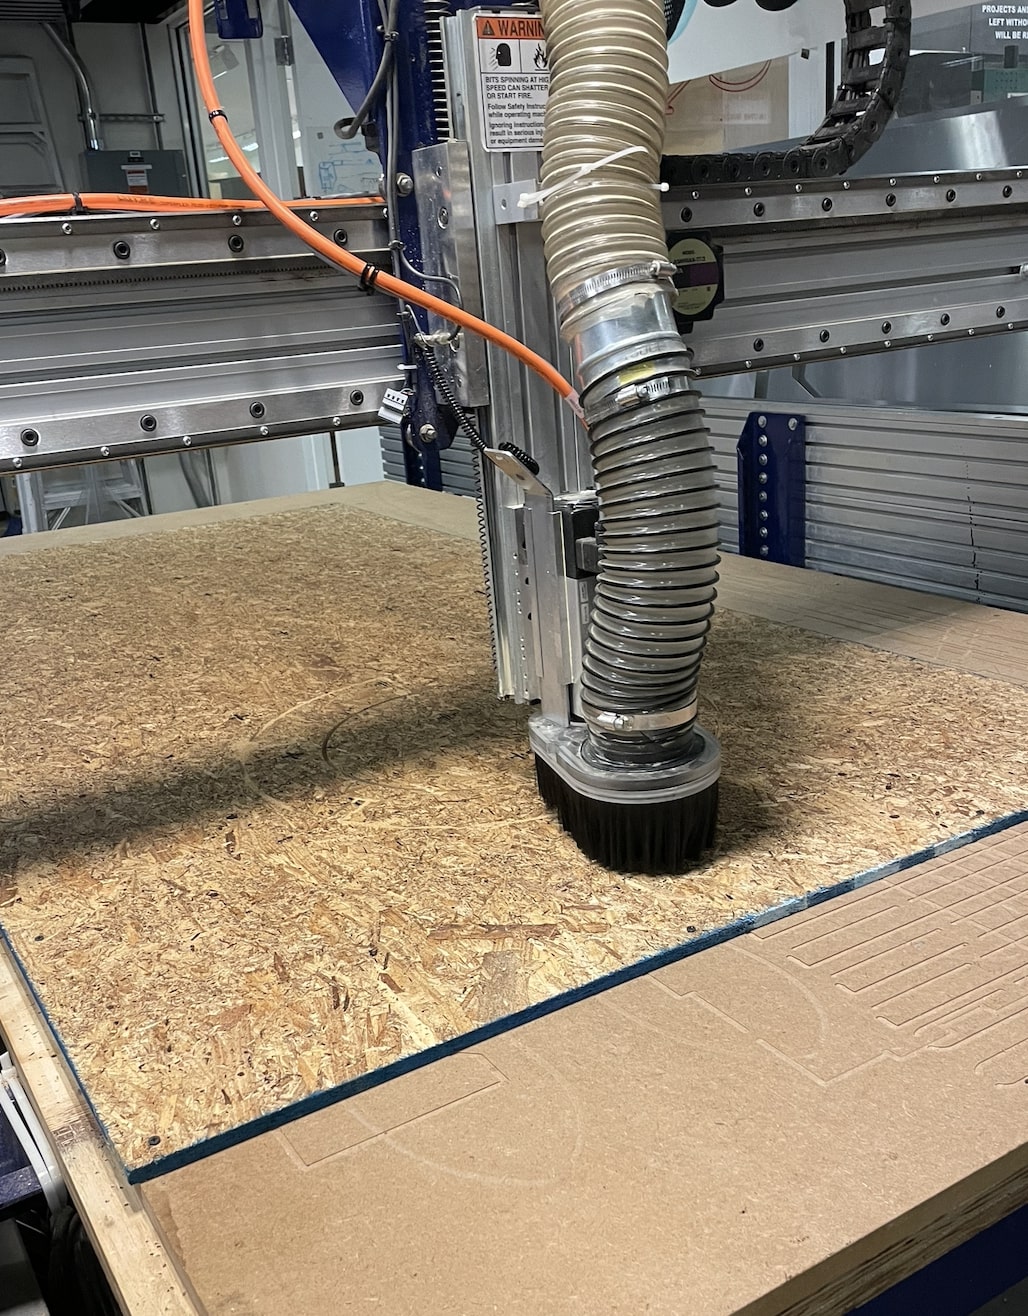
Image of the CNC cutting the board
Once it was cut, the next step (and the most physically taxing step) was getting the board off the machine and removing the parts where the tabs connected the pieces to the board. I spent at least 30 minutes physically removing the tab (even with the help of a tool that cut through the wood) because the places where there were divets were too small to fit any actual tools through--this was done with brute force and a set of small pliers. Even moving the wood at all was difficult because of how heavy (and splintery!!) it was.
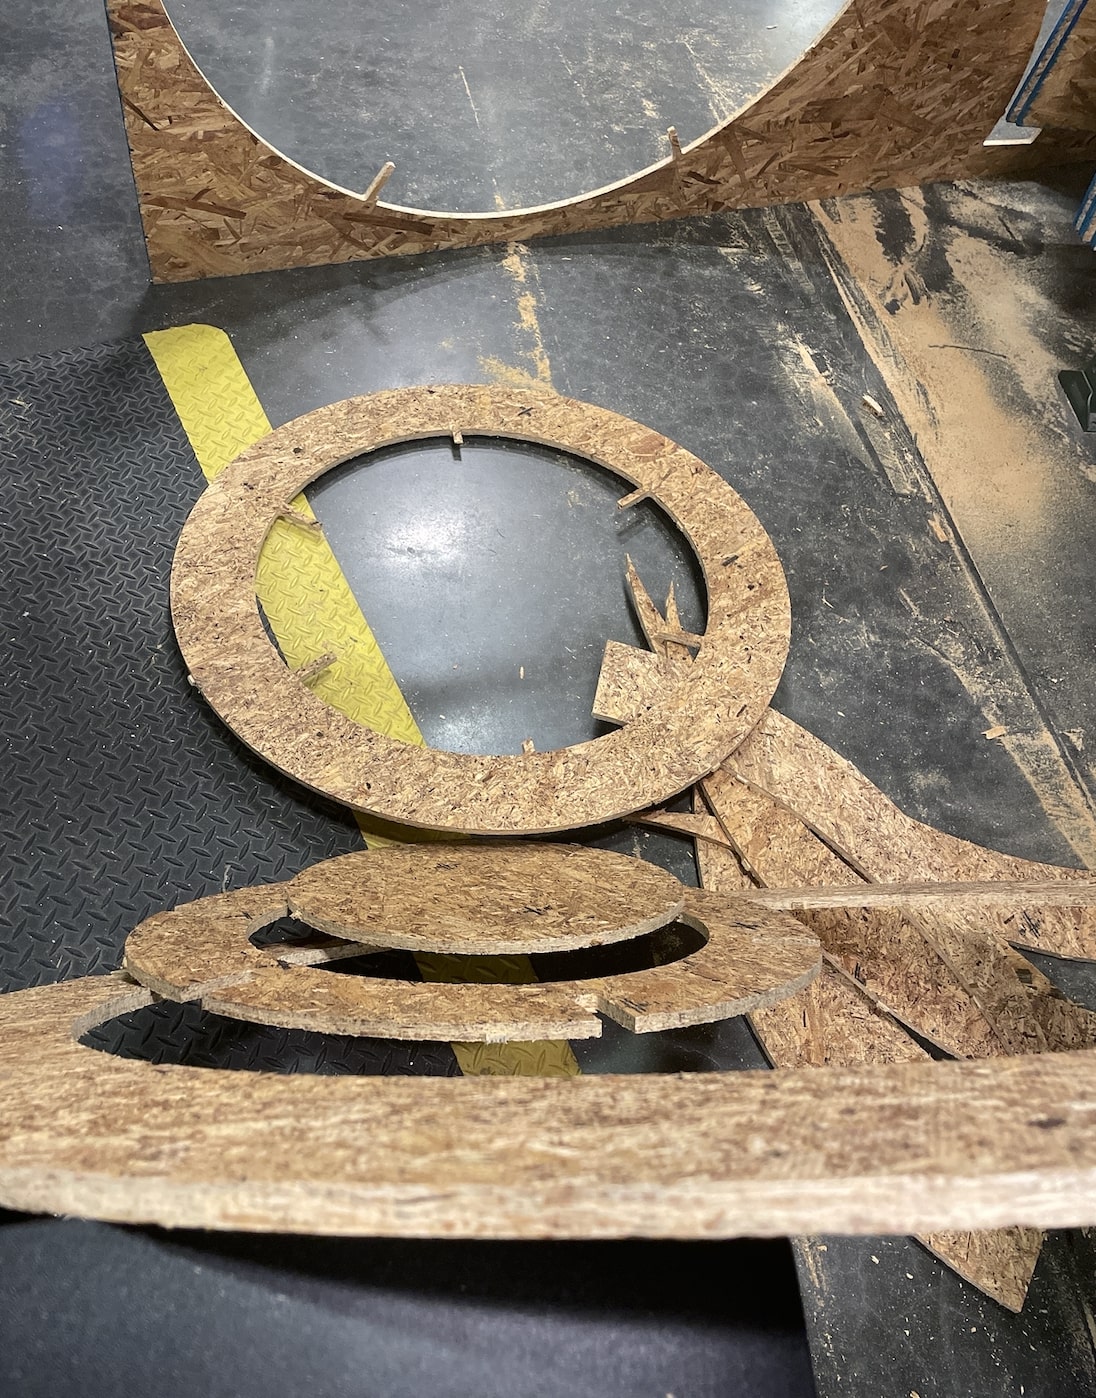
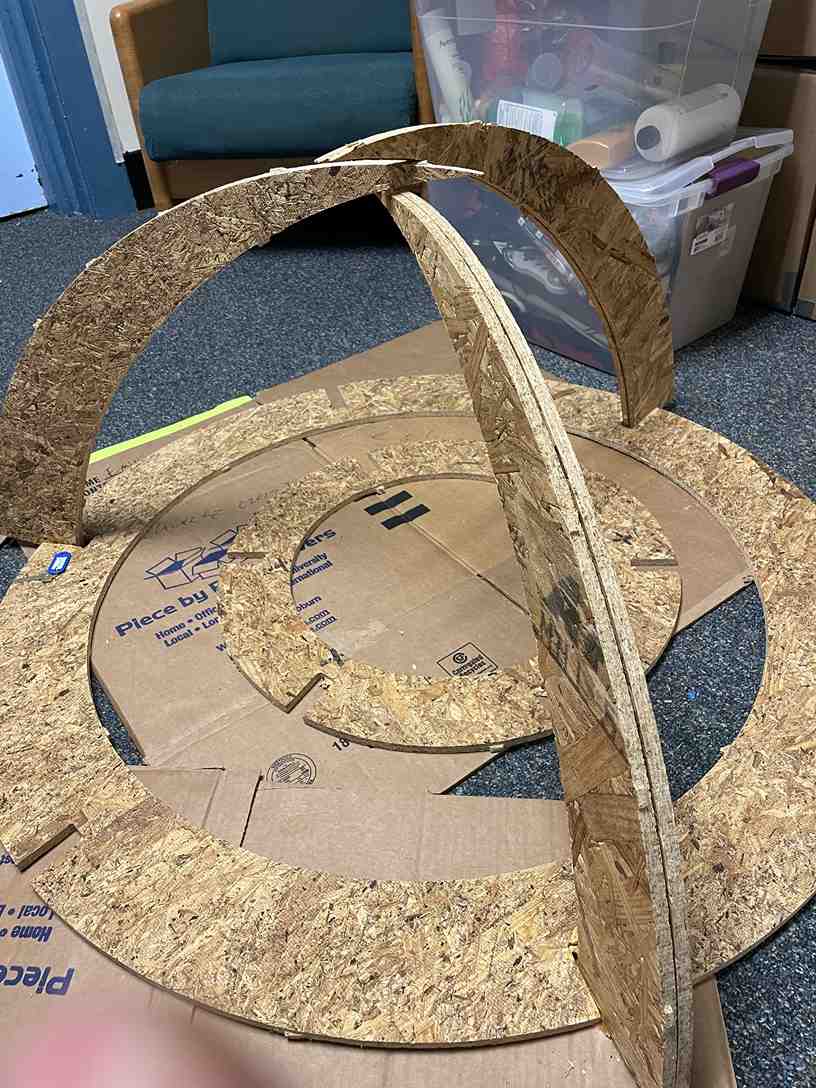
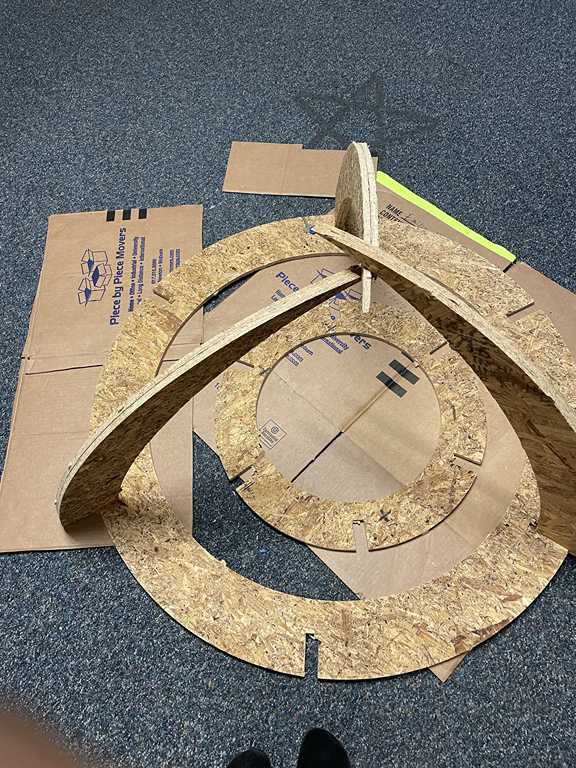
So then came the task of assembling everything. Things didn't go exactly as planned for me, as the divets for the curved pieces I had were too large for them, so I ended up doubling up on them, though this ended up giving them more structure. The smaller piece with divets that I had planned to use at the top was no longer necessary, so I left it in the middle of the larger piece, with the potential to serve as decoration elsewhere on the dome.
These are some images of the finished project!