Week 8: Molding and Casting
This week's project was to design a mold around the stock and tool we'd be using (for the CBA section, our stock was a 7x3x1.5 in block of wax, and we used the desktop ShopBot to cut into it), mill it with a rough cut and a finished cut, and then use it to cast parts.
For my project, I wanted to create a series of triangles that got progressively thinner. From the start, I knew my result would be very delicate, and acknowledged the challenge, but didn't anticipate how much patience would go into this process.

First, I wanted to plan out the sketch of what I was trying to do, and used Fusion360 to play around with the shapes and geometry of the triangles. I also had (pictured on the side in the image) a circle with the diameter of the tip we were using (1/8in in my case), in order to gauge how the features of the mold would be ideal with the tool we were using.
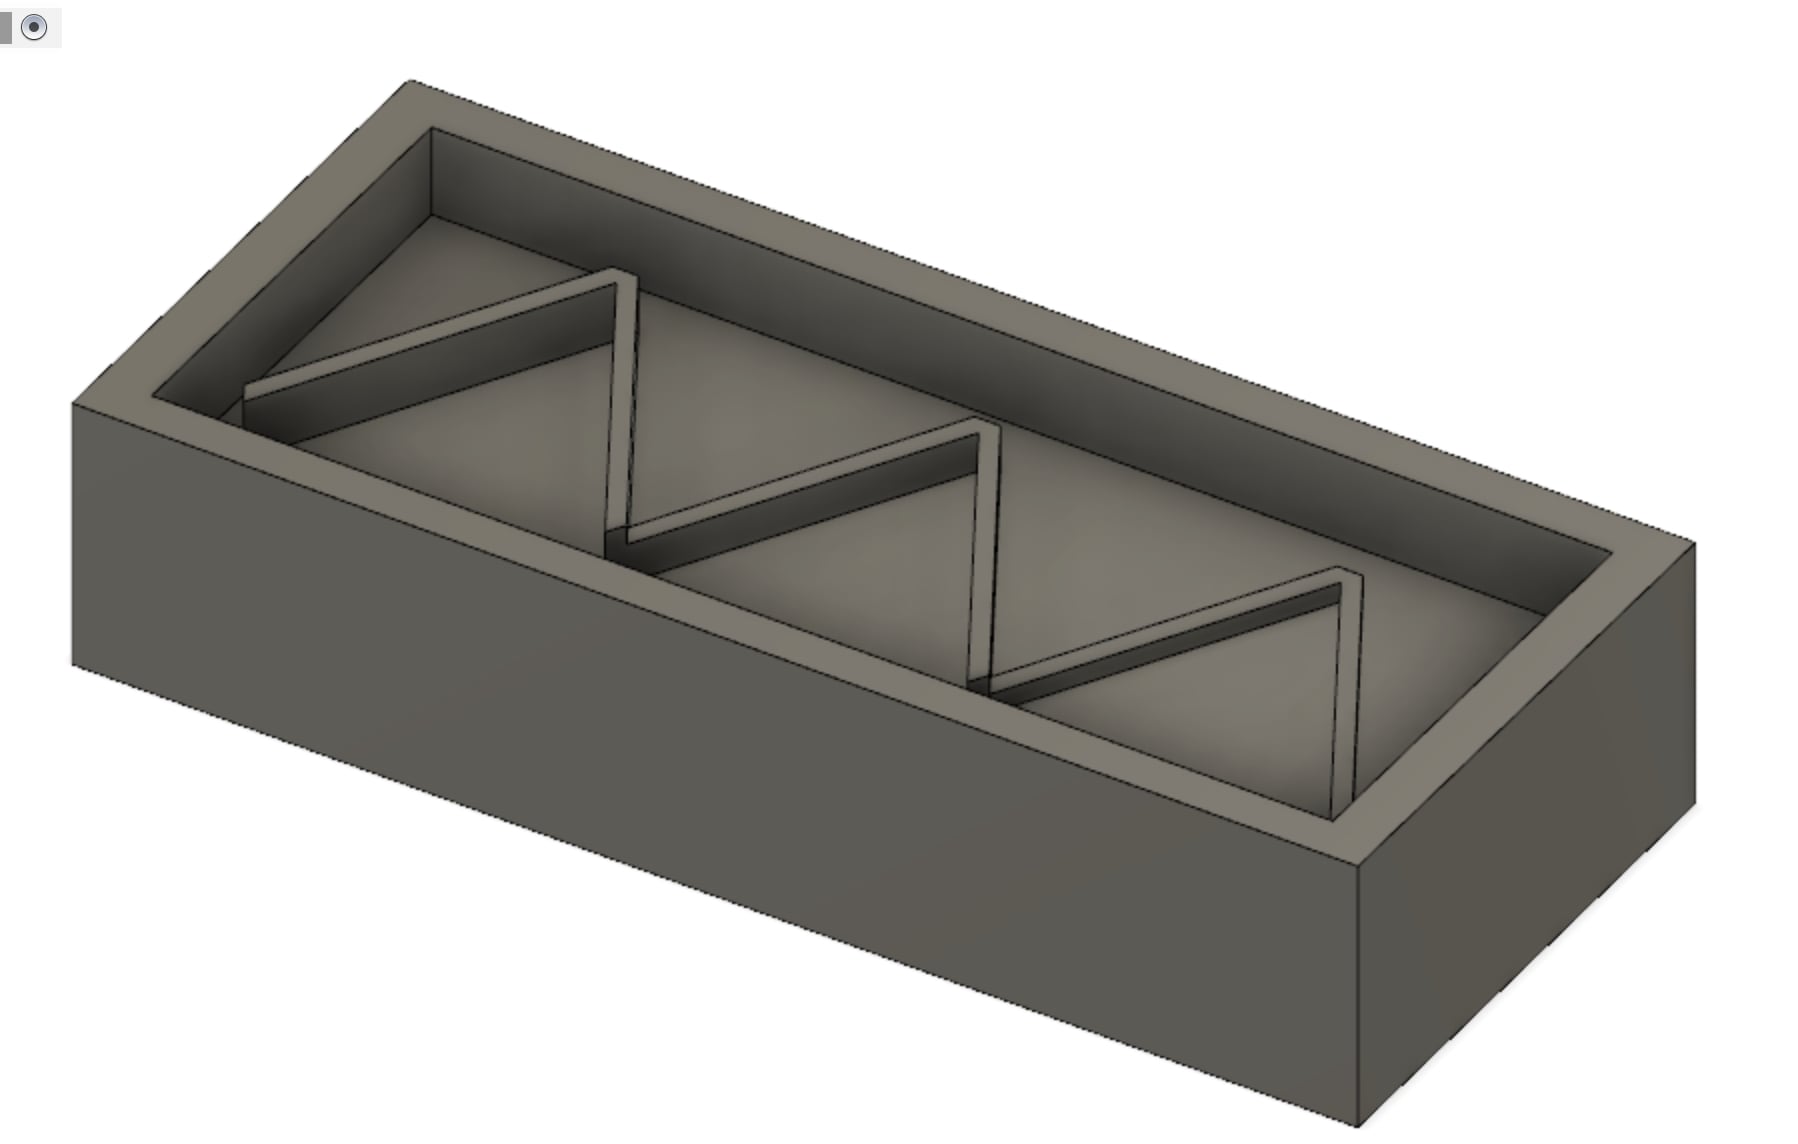
The model we want to export is to be cut into the wax should resemble the thing you are trying to cast, and then the Oomoo will be used to create the negative of that, in which you can put various materials in to cast it. The image above is the first iteration of what I was attempting to do, and isn't particularly thin. However, when taking into account the length of the tool, I wanted to make the model more shallow to ensure that it wasn't too deep for the tool to be able to go into it.

I then exported this model to Cut3d to develop the tool paths to send to the desktop ShopBot and carry out the milling process.
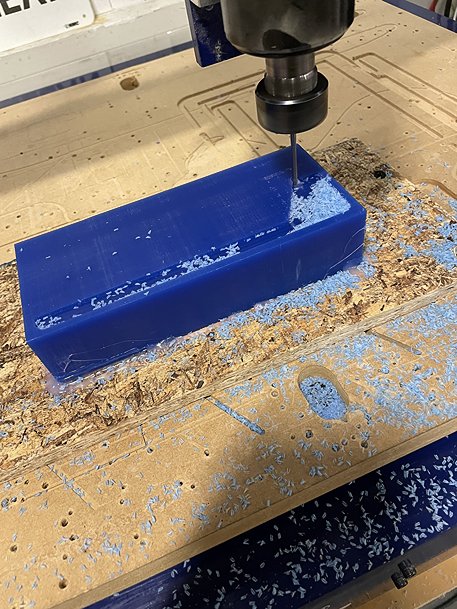
Given how thin my model was, the roughing toolpath of the machine didn't even register the second two triangles, and only milled them during the 3-axis finishing process. Due to the limitation on machine time, I might have tried again on the other side, given that my model on the first side was so thin.
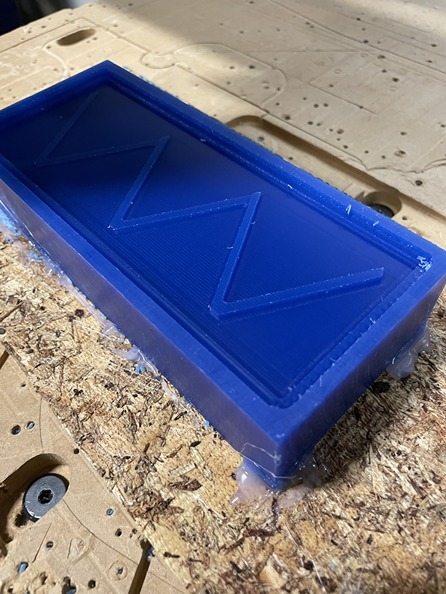
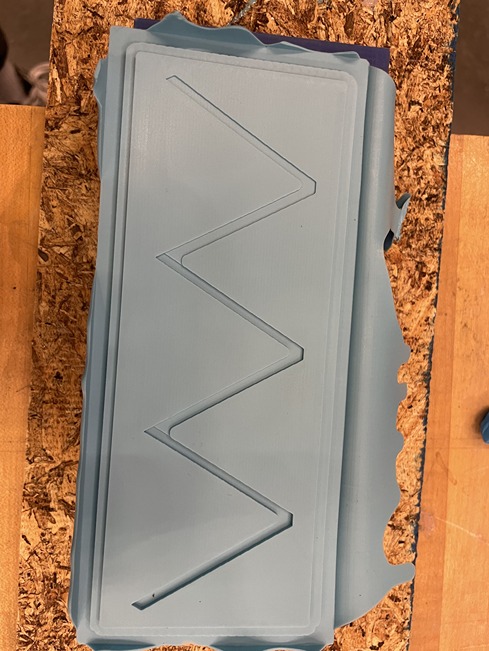
This was the finished result, which actually looked pretty nice, but would turn out to be entirely unfunctionable.
However, I continued on with the mold process, by mixing up the Oomoo to fill the milled wax block, and left it overnight to cure.
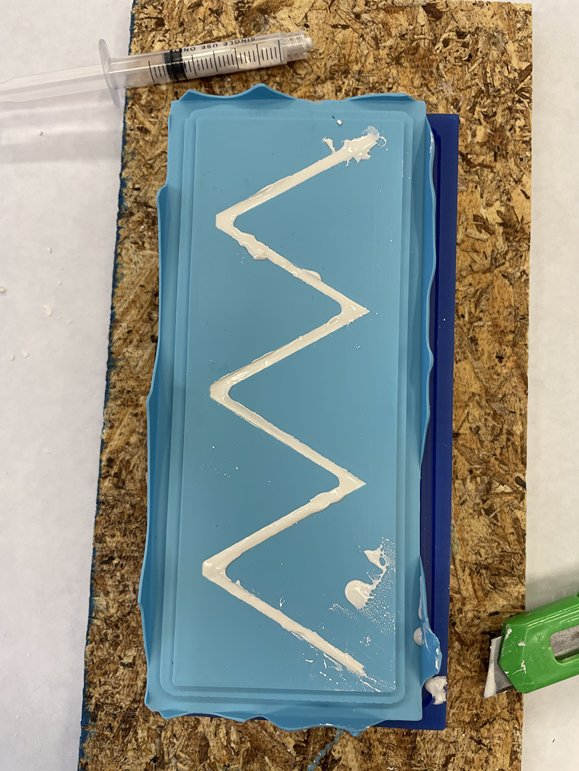
What I came back to was a mold, in one piece at least, but shallow to the extent that I ended up having to use a syringe to fill the mold with drystone.
 x<.br/>
Expectedly, the plaster method didn't work, and simply lifting up the mold resulted in it cracking and falling off into pieces. Instead I was recommended to use Oomoo to fill it, putting a resistnce spray overtop the current mold so that the new layer being cast wouldn't just stick to the mold. However, the time for the Oomoo to cure (and for me to be confident in lifting it out of the mold) exceeded the amount of time I would have; this was definitely a case of deglecting supply-side time versus demand-side time, and if I had maybe tried something less ambitious, like a simpler shape that could be easily cut out and molded, or even just made the current mold I had less shallow,
I learned a lot from this process and I think: 1). If I hadn't overcompensated for how deep I wanted to cut things, and had been more confident in the capabilities of the machine, the mold would have resulted in something that could at least be a structural object. 2). Material choices are so important, and choosing the right material, with the right structural properties ensures that you'll have a much better outcome. 3). Evaluating your model and toolpaths closely before actually milling the wax block, is extremely important, and again, being less abitious when you're limited on time can typically serve you, rather than hurt you.
x<.br/>
Expectedly, the plaster method didn't work, and simply lifting up the mold resulted in it cracking and falling off into pieces. Instead I was recommended to use Oomoo to fill it, putting a resistnce spray overtop the current mold so that the new layer being cast wouldn't just stick to the mold. However, the time for the Oomoo to cure (and for me to be confident in lifting it out of the mold) exceeded the amount of time I would have; this was definitely a case of deglecting supply-side time versus demand-side time, and if I had maybe tried something less ambitious, like a simpler shape that could be easily cut out and molded, or even just made the current mold I had less shallow,
I learned a lot from this process and I think: 1). If I hadn't overcompensated for how deep I wanted to cut things, and had been more confident in the capabilities of the machine, the mold would have resulted in something that could at least be a structural object. 2). Material choices are so important, and choosing the right material, with the right structural properties ensures that you'll have a much better outcome. 3). Evaluating your model and toolpaths closely before actually milling the wax block, is extremely important, and again, being less abitious when you're limited on time can typically serve you, rather than hurt you.
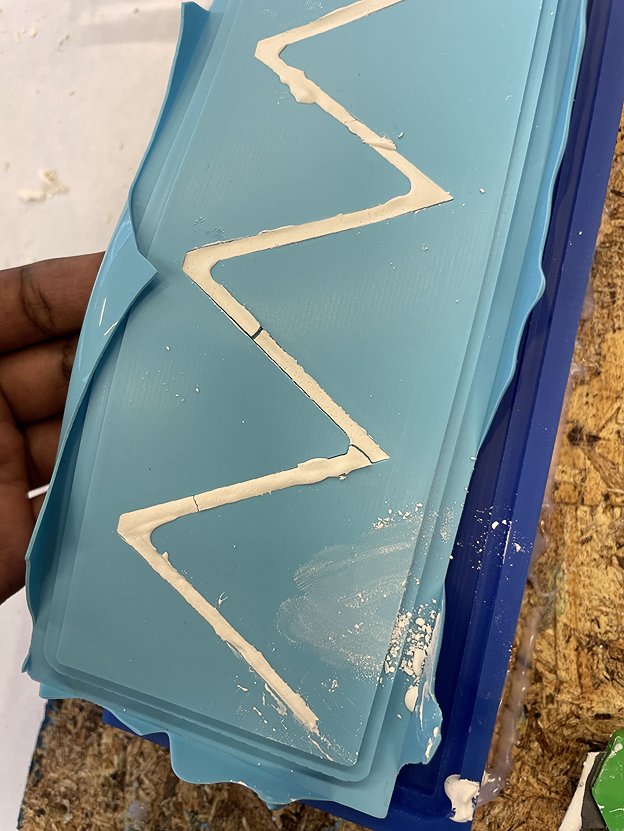

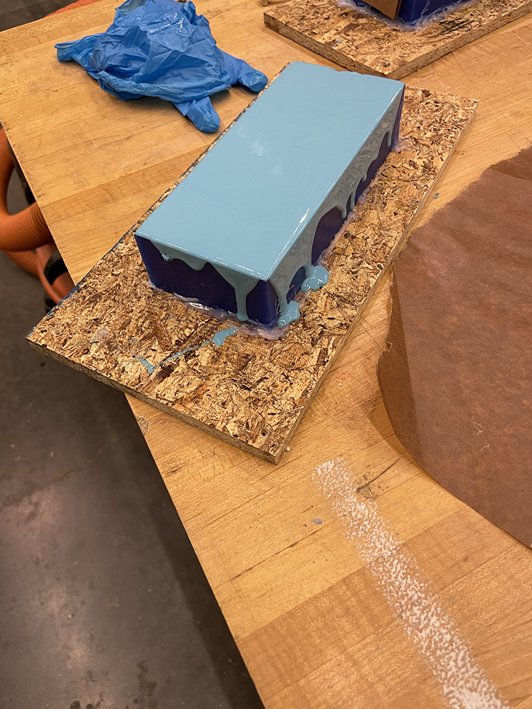
This as my Oomoo attempt at casting mmy mold -- given the use of the resistance spray, it'll be able to peel off nicely (similar to taking it off of the wax block), so when it cures fully, there should be a more flexible, and hopefully more functional outcome of the mold.