23. September 2022
Electronics Production
The week’s assignment was to design a printed circuit board (PCB) using in-house tools.
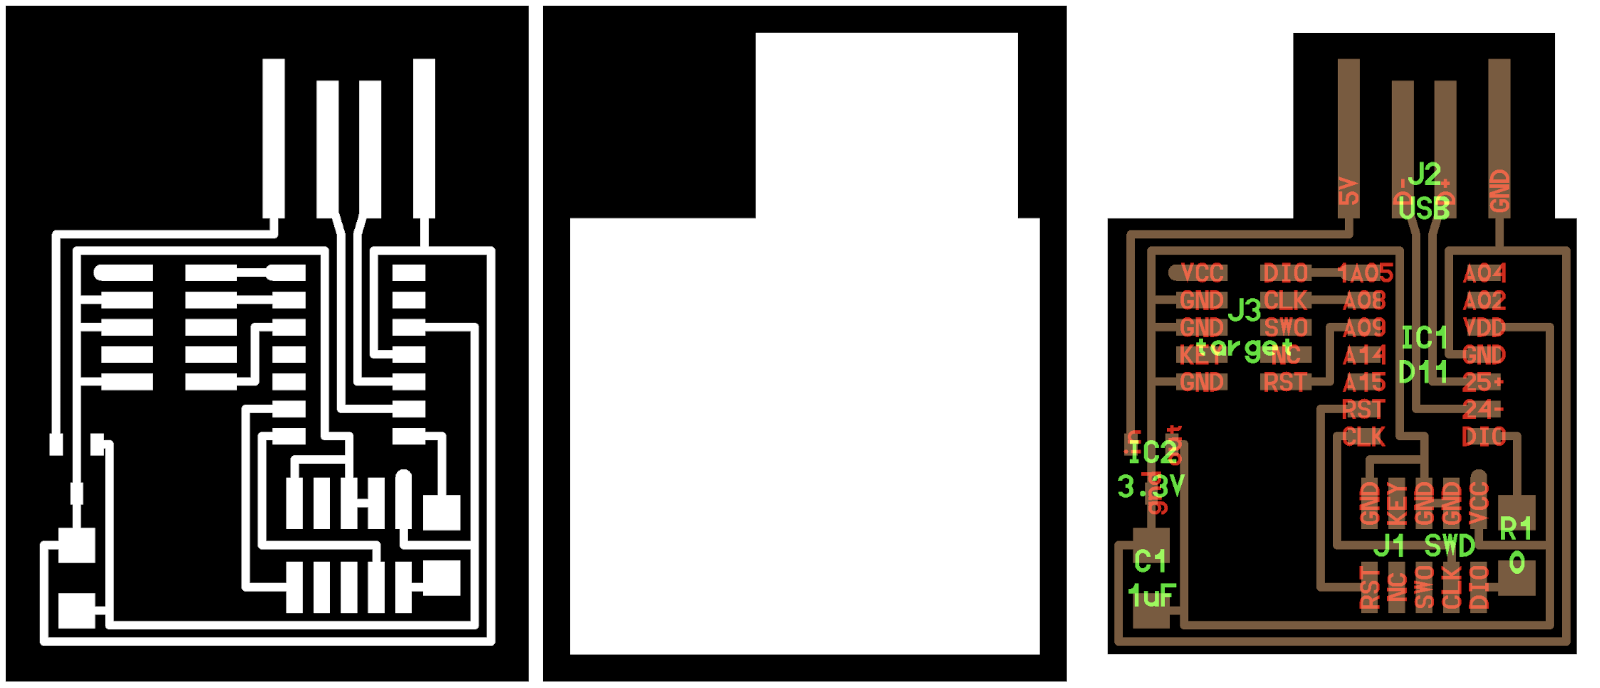
Design
The circuit design files were already provided to us, as the goal of this week was to learn the process for electronic production.
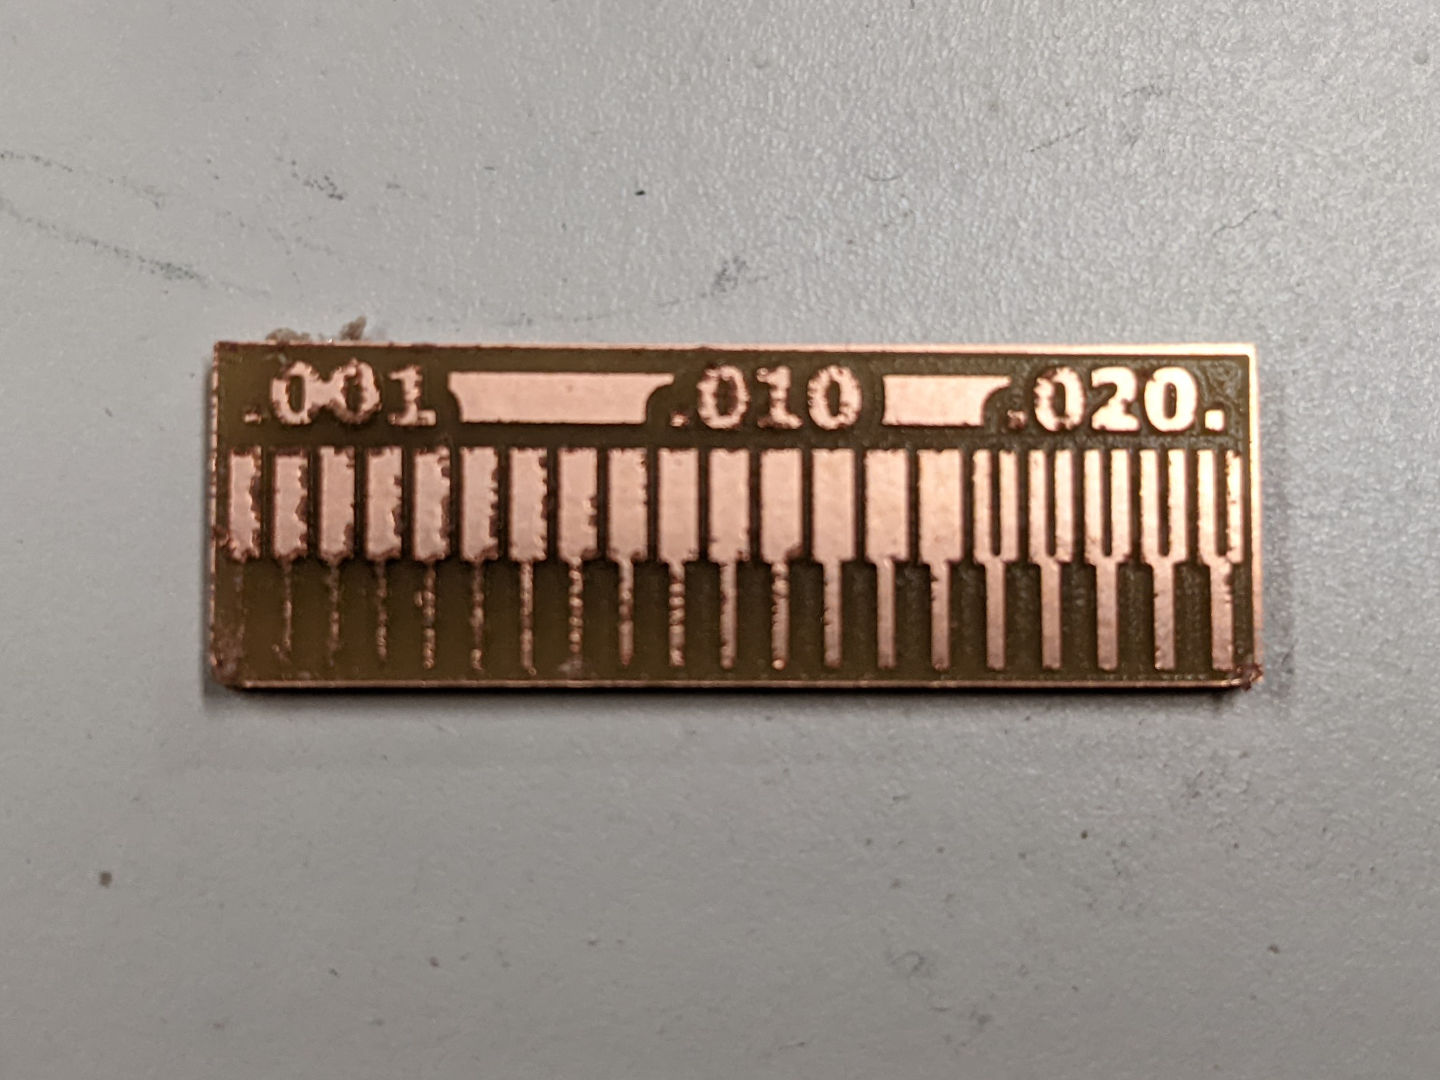
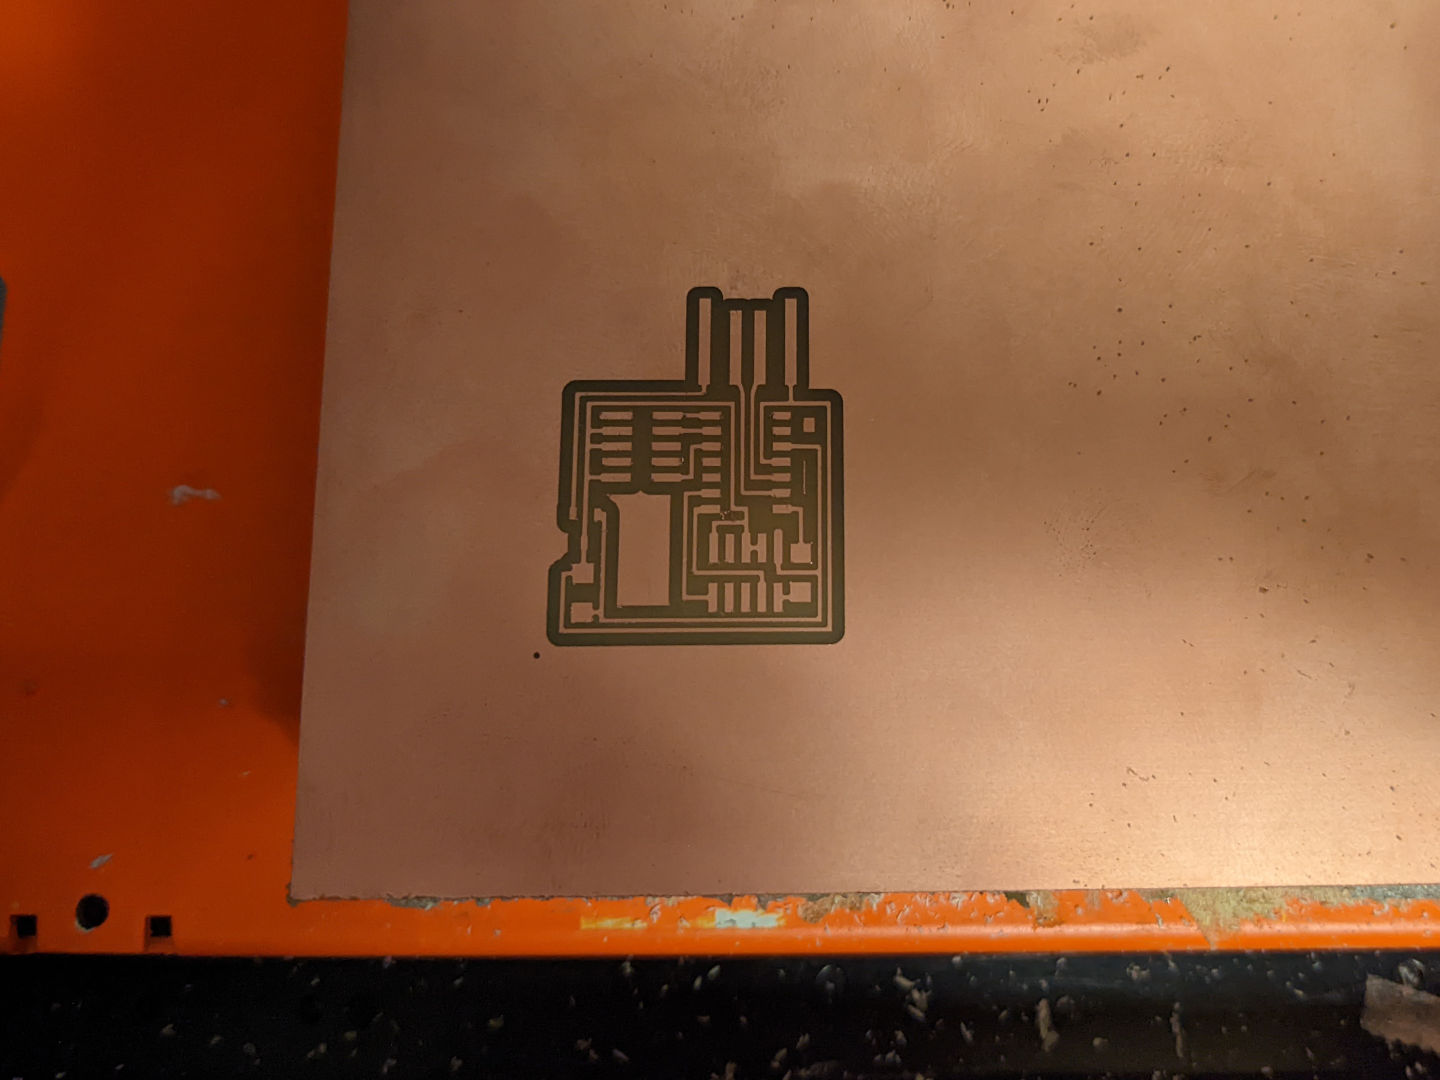
Milling
Prior to milling my board, we first characterized the capabilities of the machine as a group. From this trial, we observed that we are unable to mill paths that are less than 16 mm apart.
The following production process was pretty straightforward. I had a few failed attempts because the copper board was not taped down properly or the drill bit broke while drilling. Nevertheless, I was able to succesfully mill a PCB!
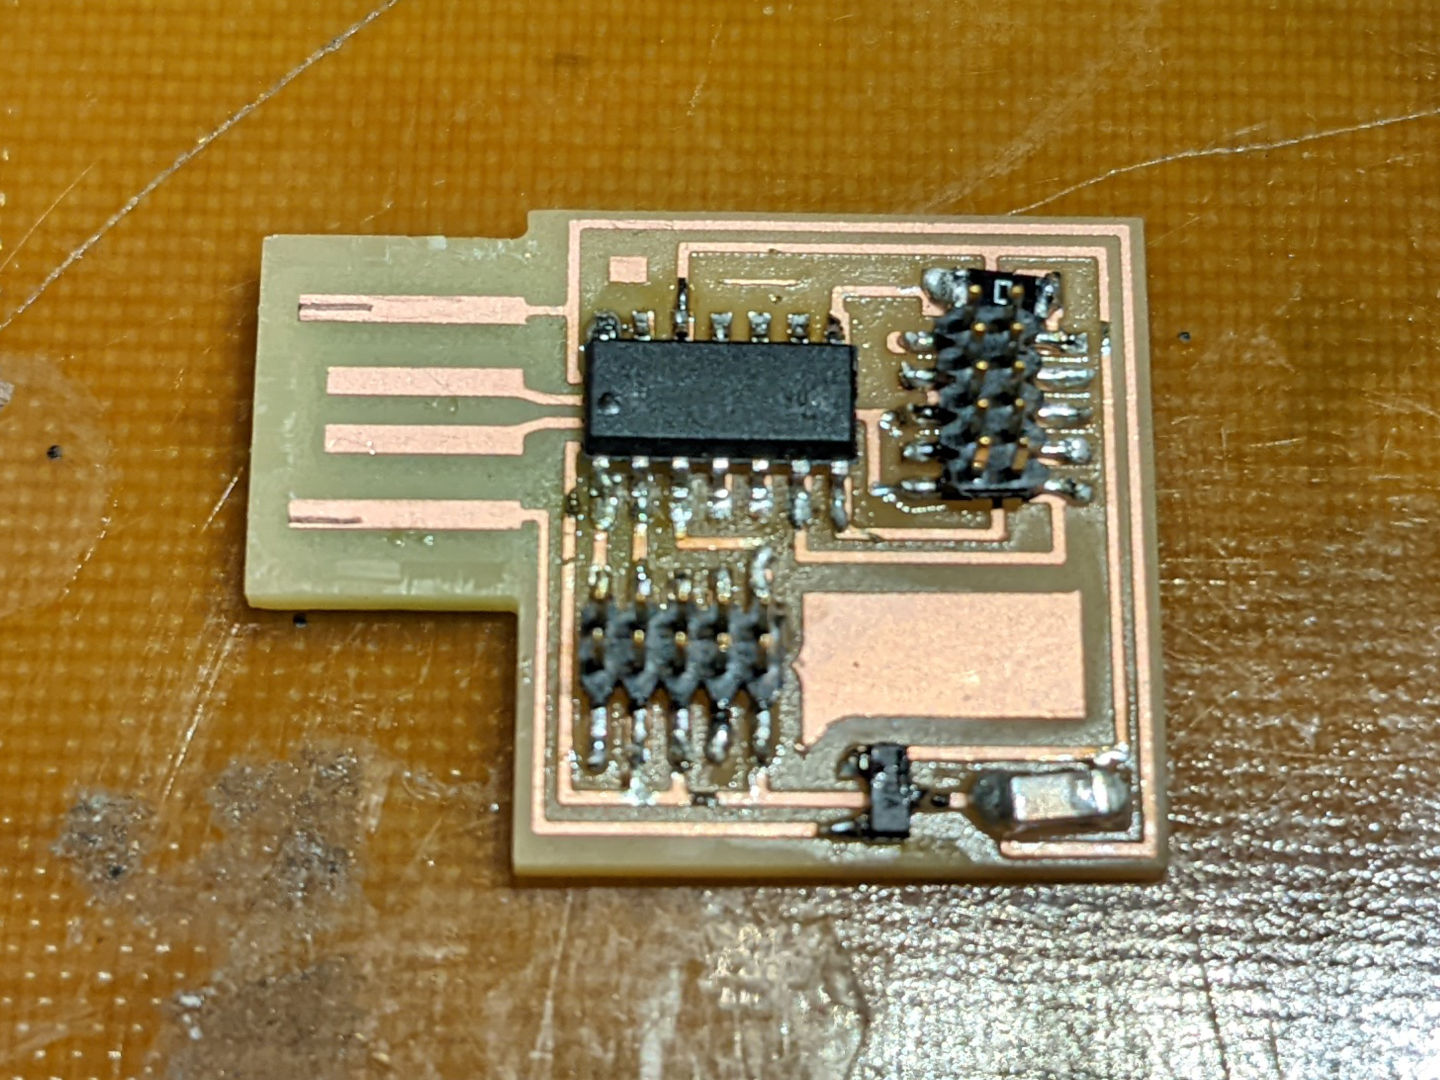
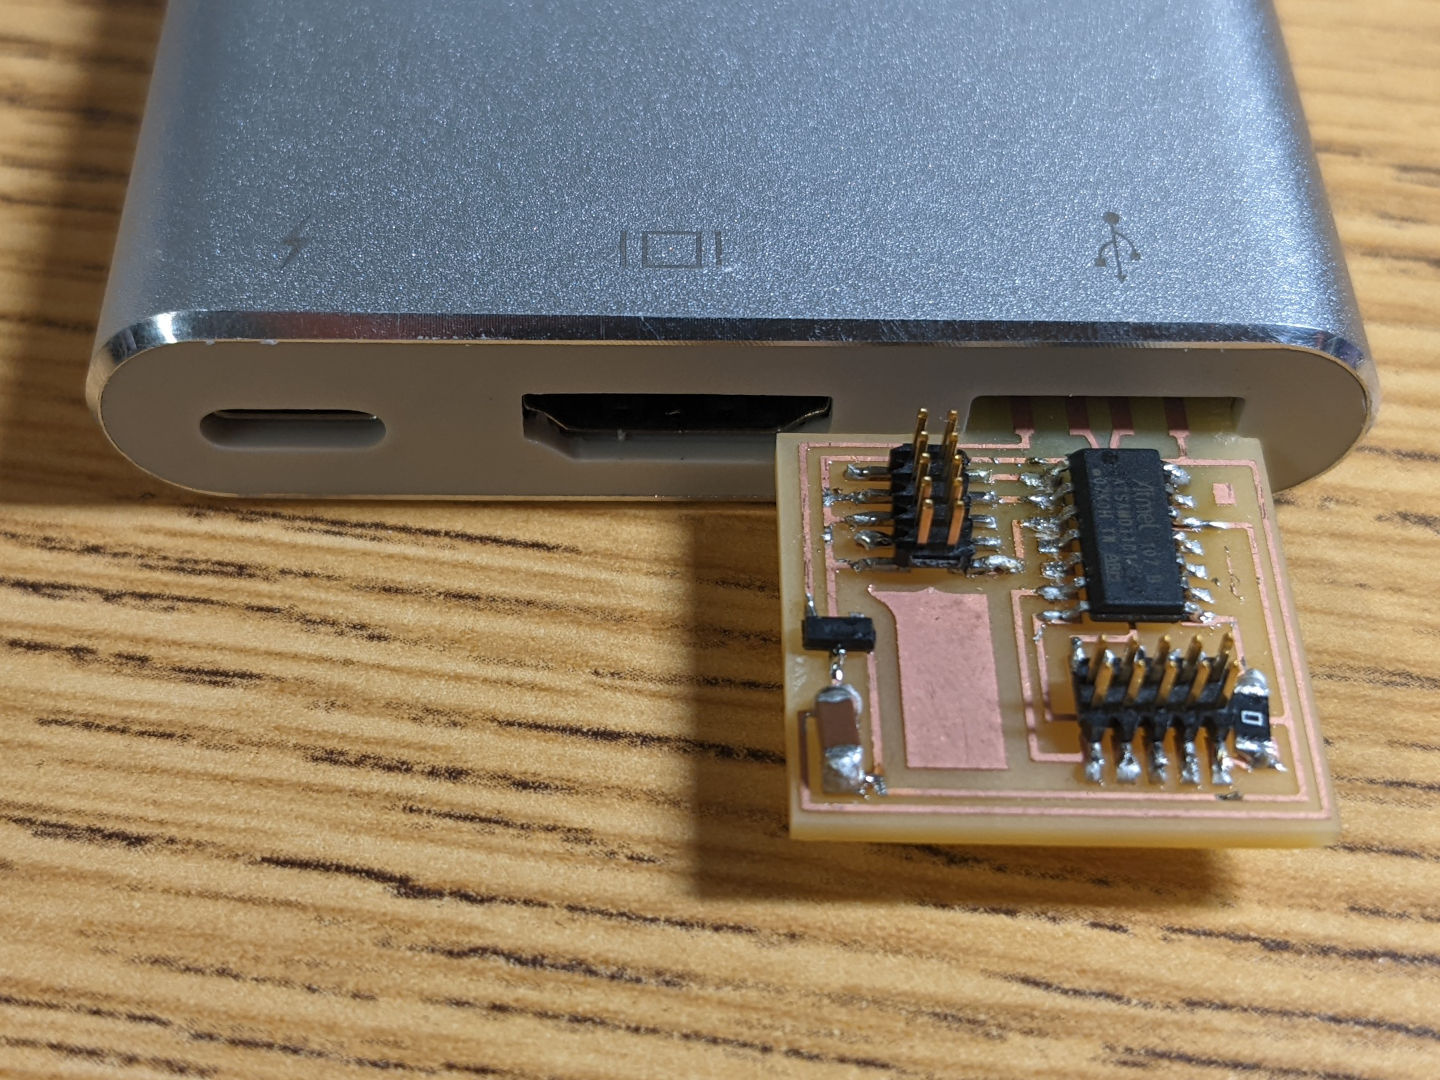
Soldering
After milling the circuit, I soldered the components onto the board. Because I had some prior experience in soldering, the entire process took under an hour. The final result fits nicely in the USB port.
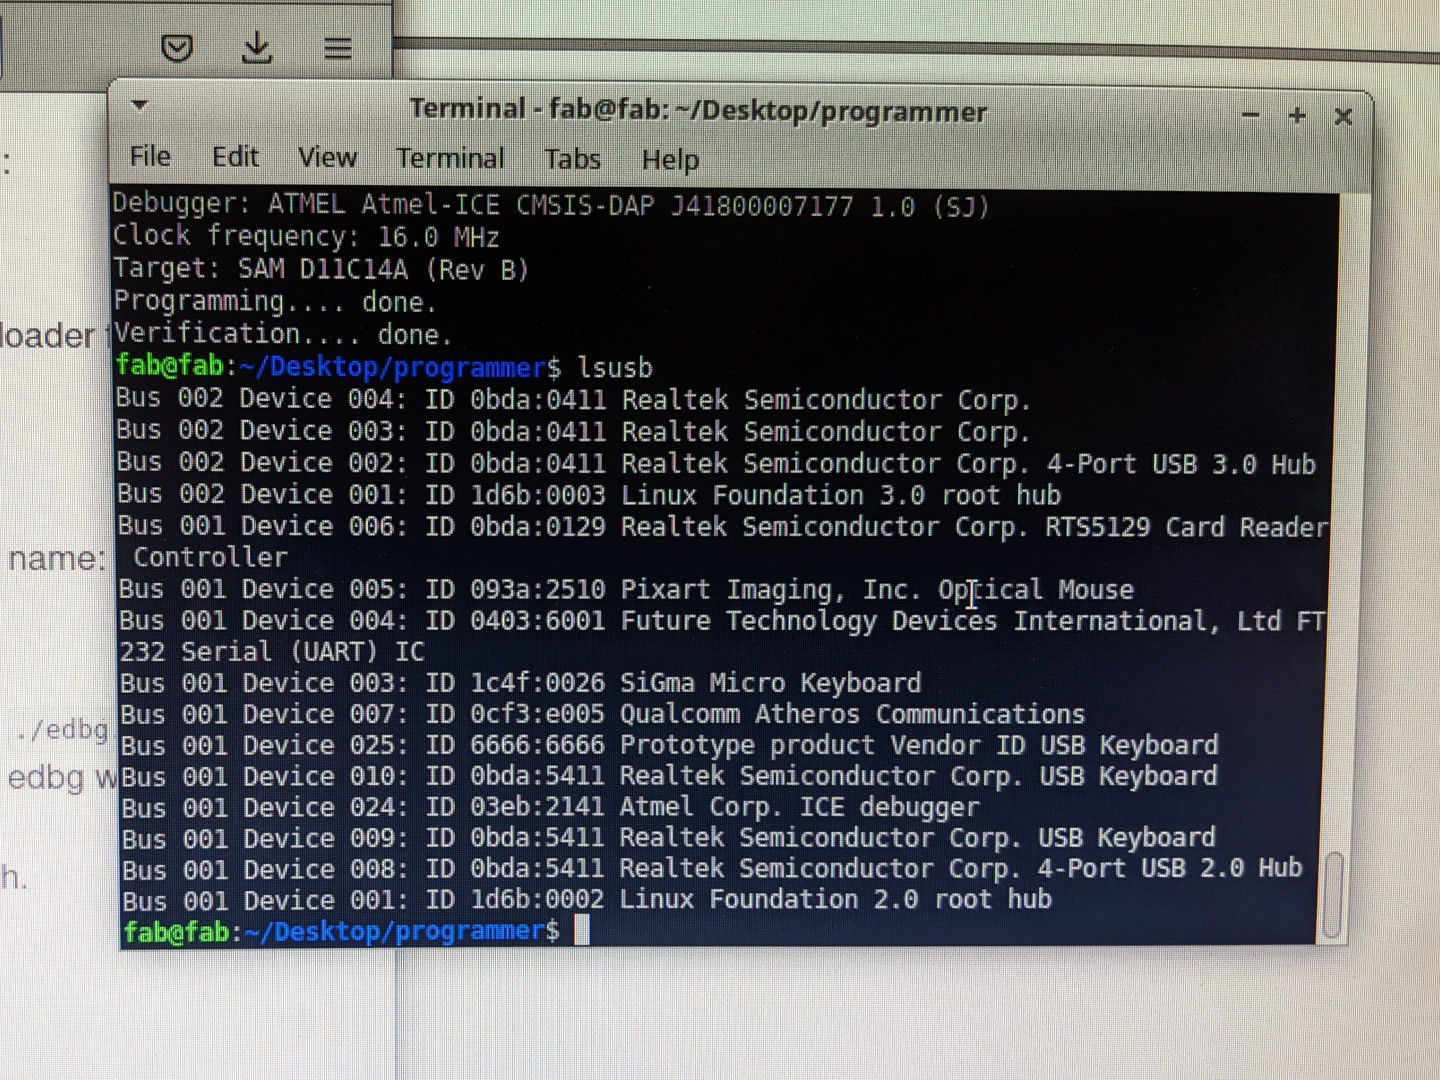
Programming
Finally, I programmed the microcrontroller using the given program and verified that the circuit works!