03. October 2022
3D Printing and Scanning
The week’s assignment was to design and print an object that cannot be made subtractively.
Design
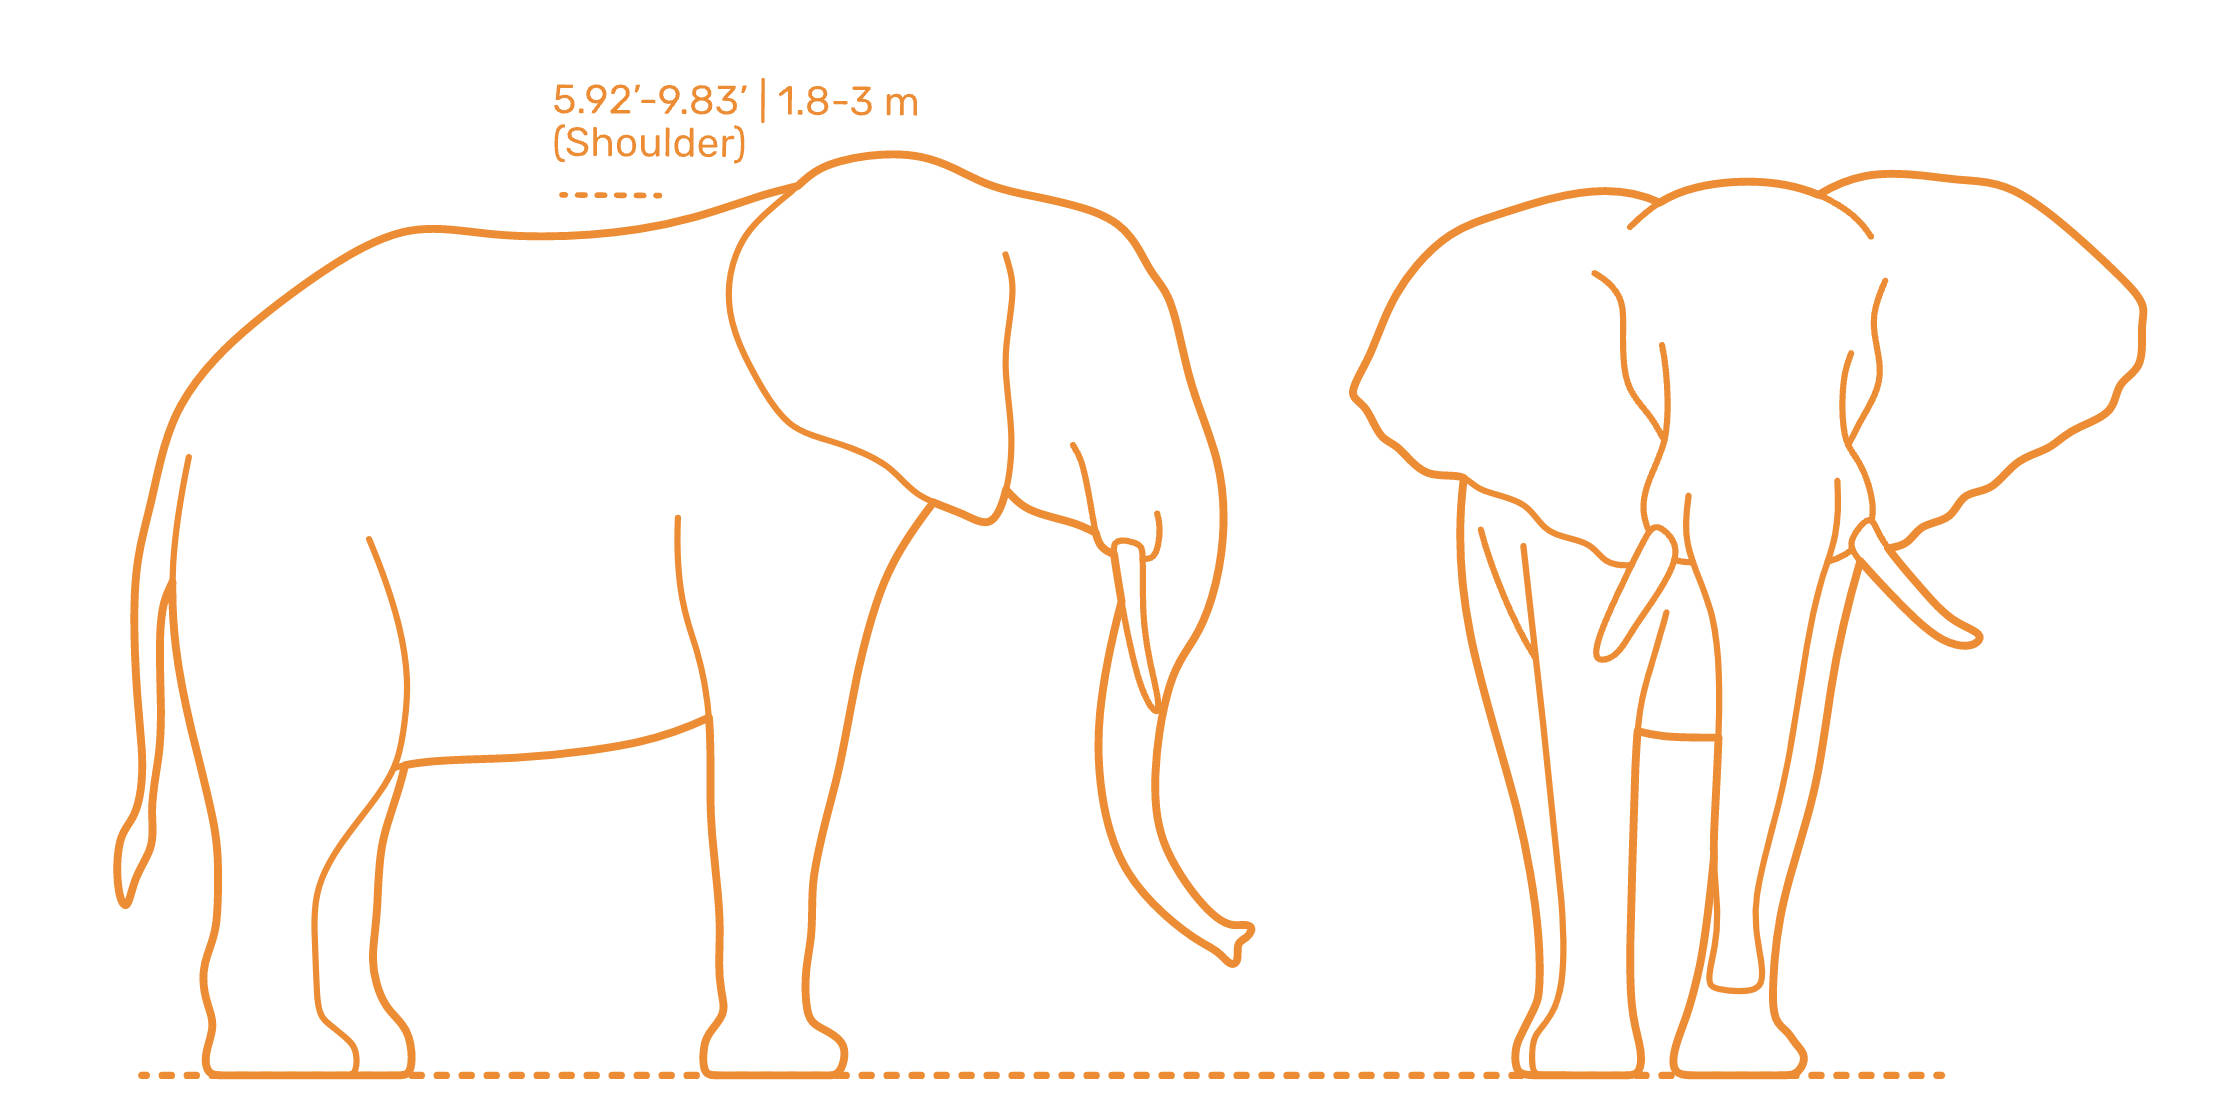
I decided to design an elephant; to start, I found an outline of an elephant that I liked online.
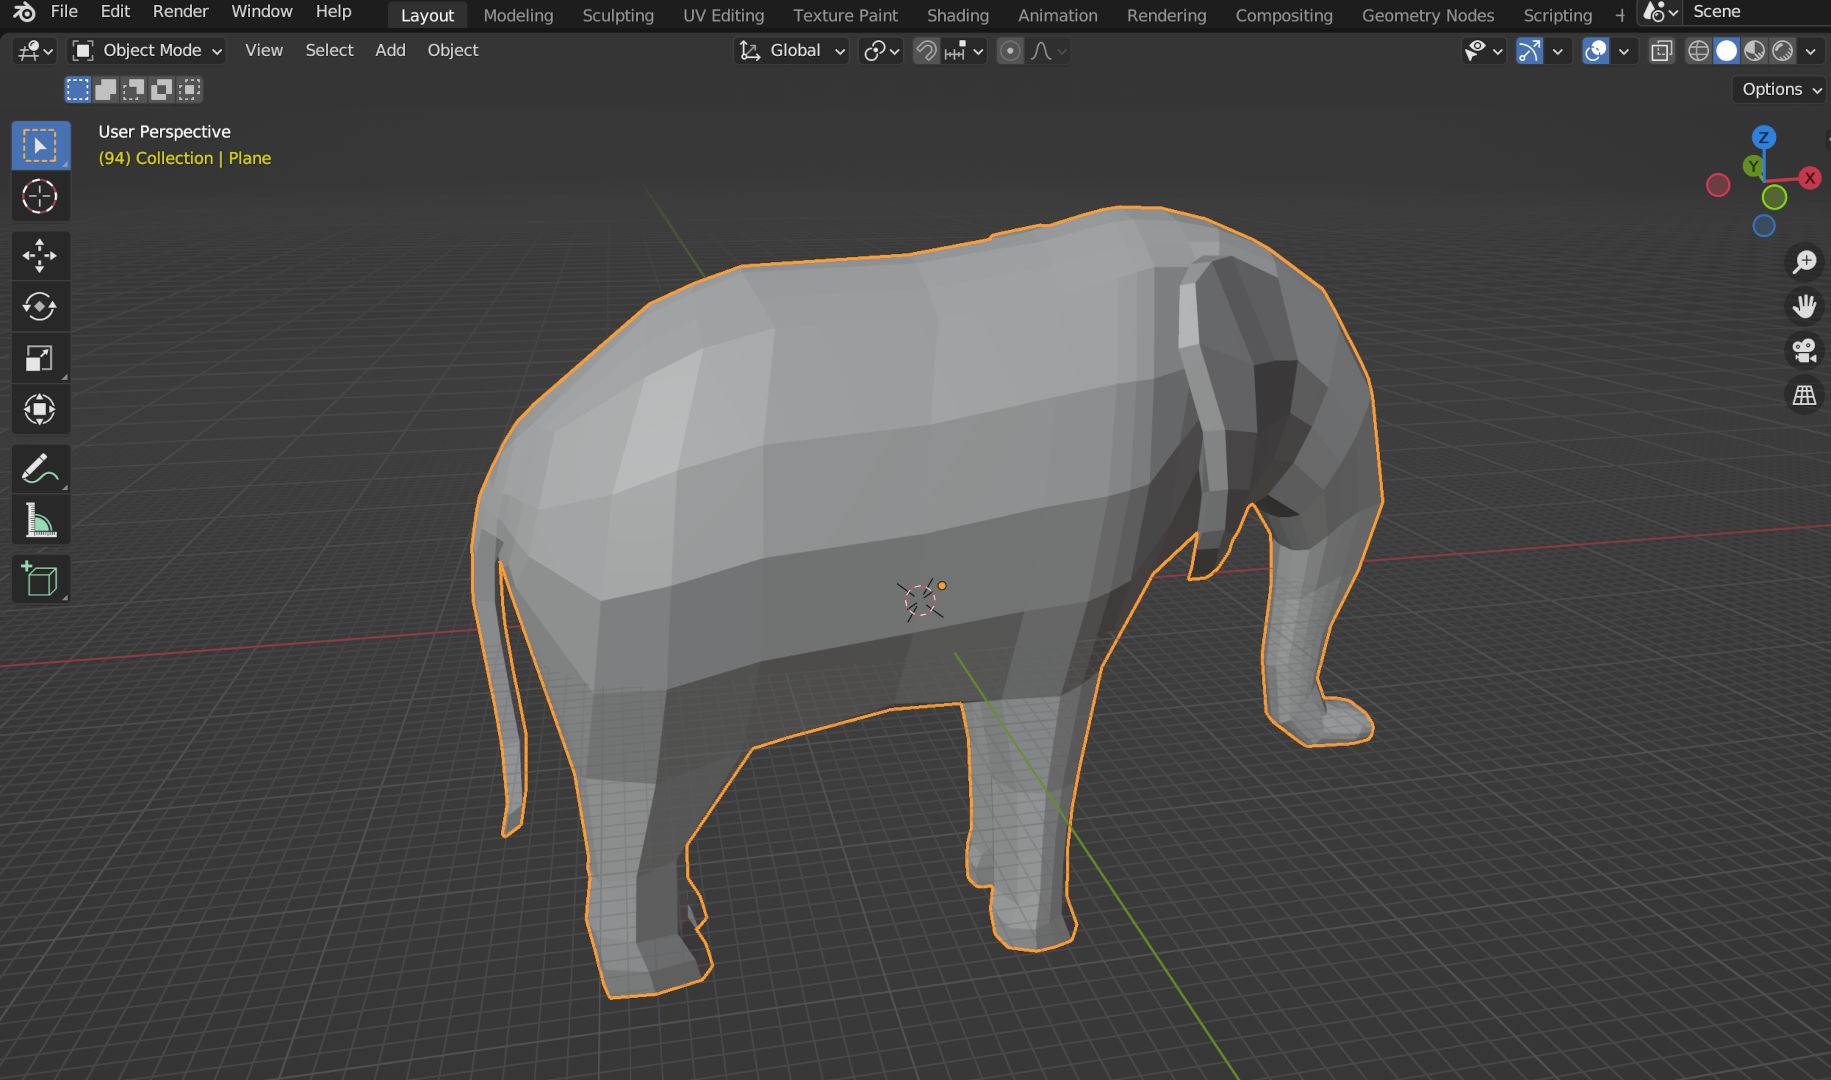
Building off that, I designed a low poly elephant in Blender. This was my first time using Blender, so the process took a long time (roughly four hours?)–in particular, getting the proportions of the elephant to look correct look lots of massaging the design.
3D Printing
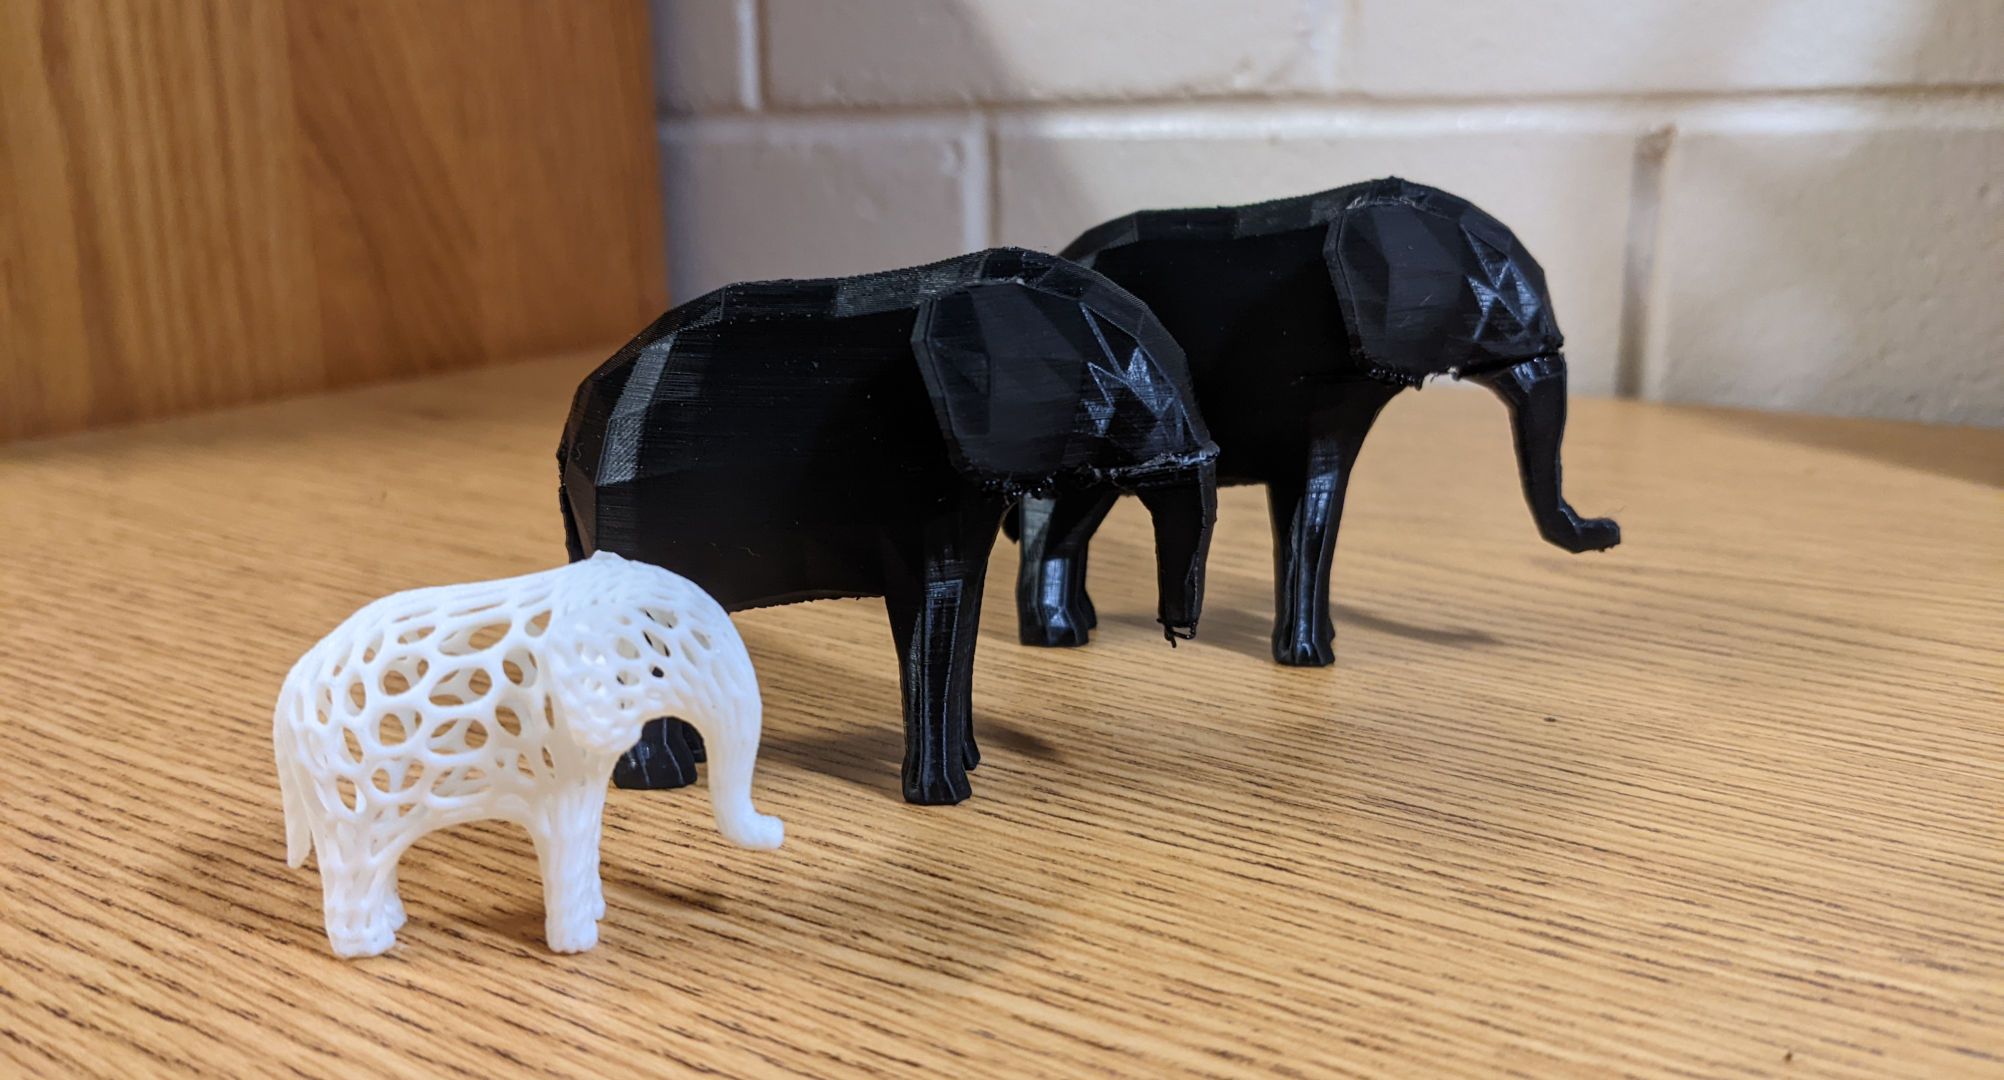
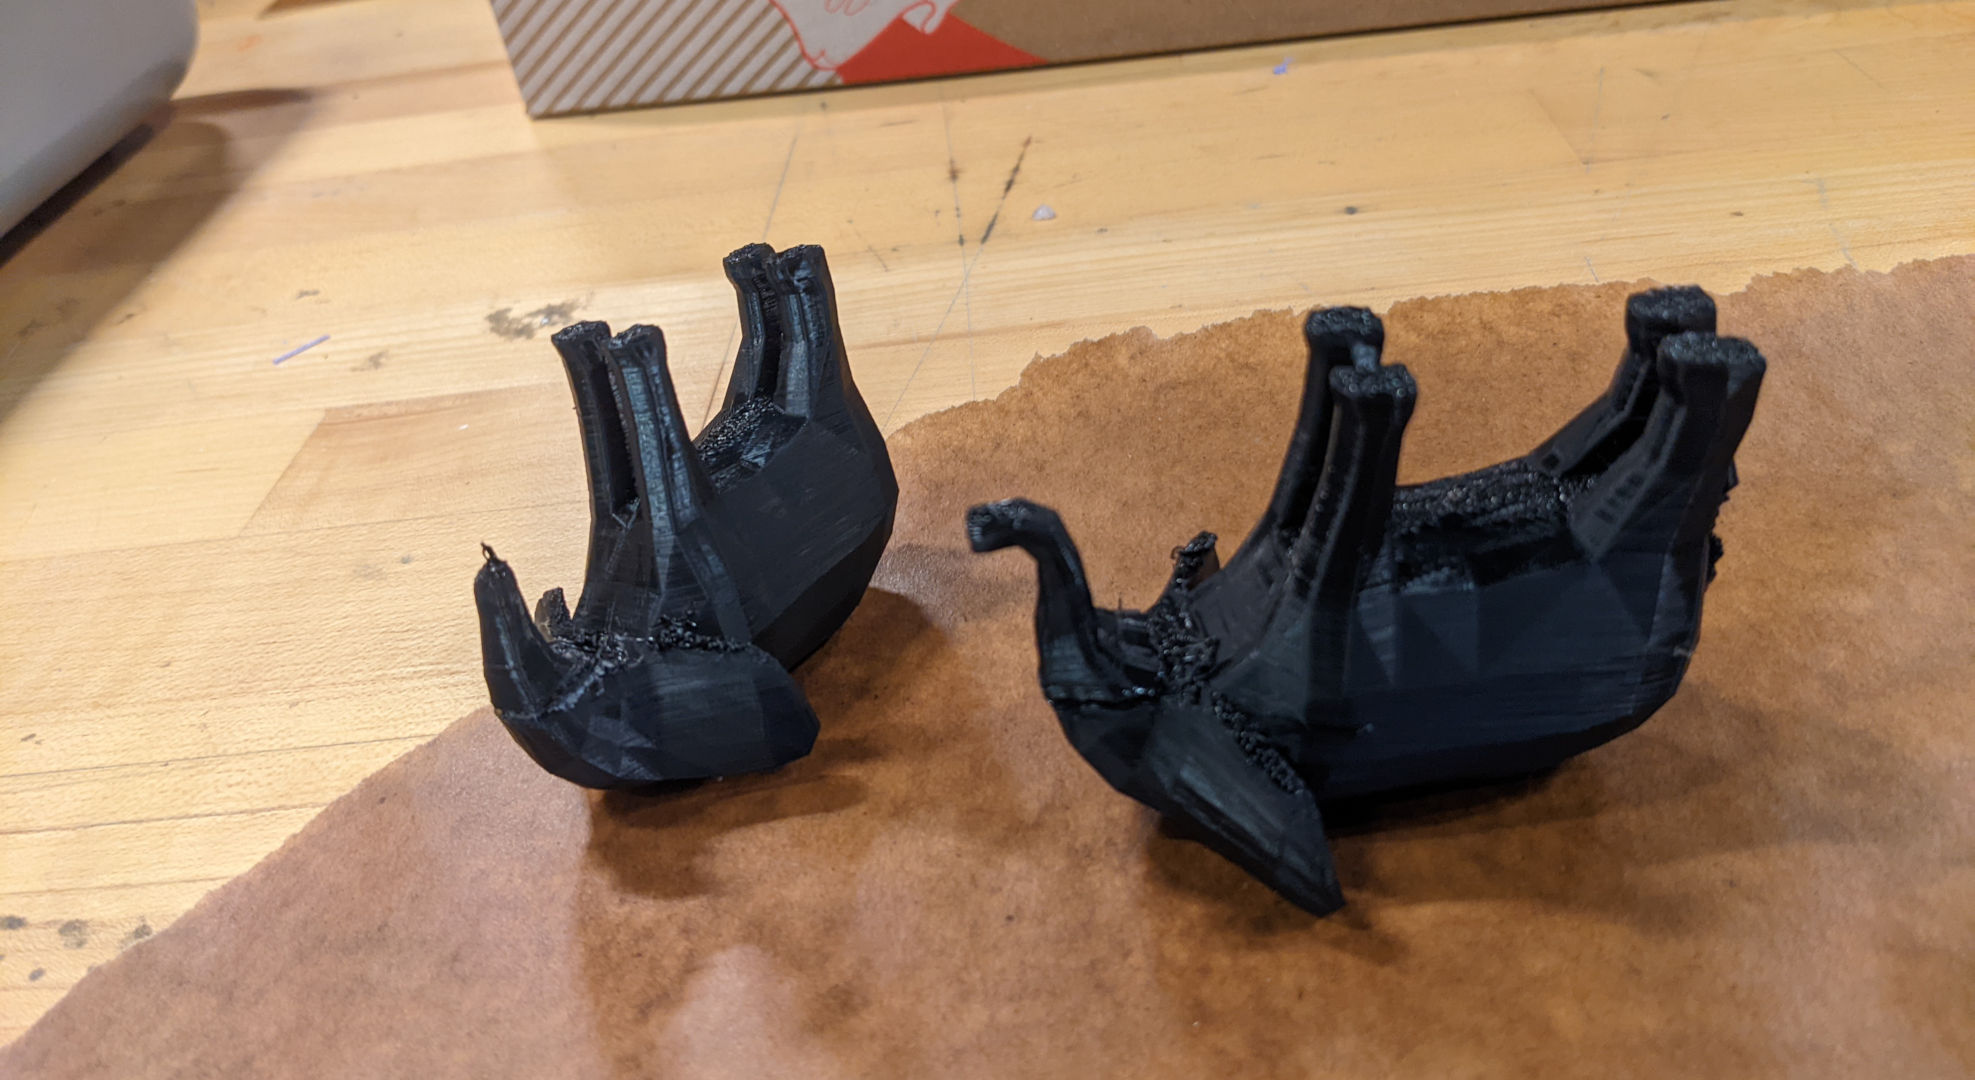
After my design was completed, I went to print it on the Ender 3D Printer. However, the result was not good. I made several attempts, using many supports, but the trunk and the tail would not print properly. I tested adding different amounts of support in different places and even adjusted the shape of the trunk to make it more flat at the end. Despite these efforts, the printing was unreliable (sometimes it worked, sometimes it did not).
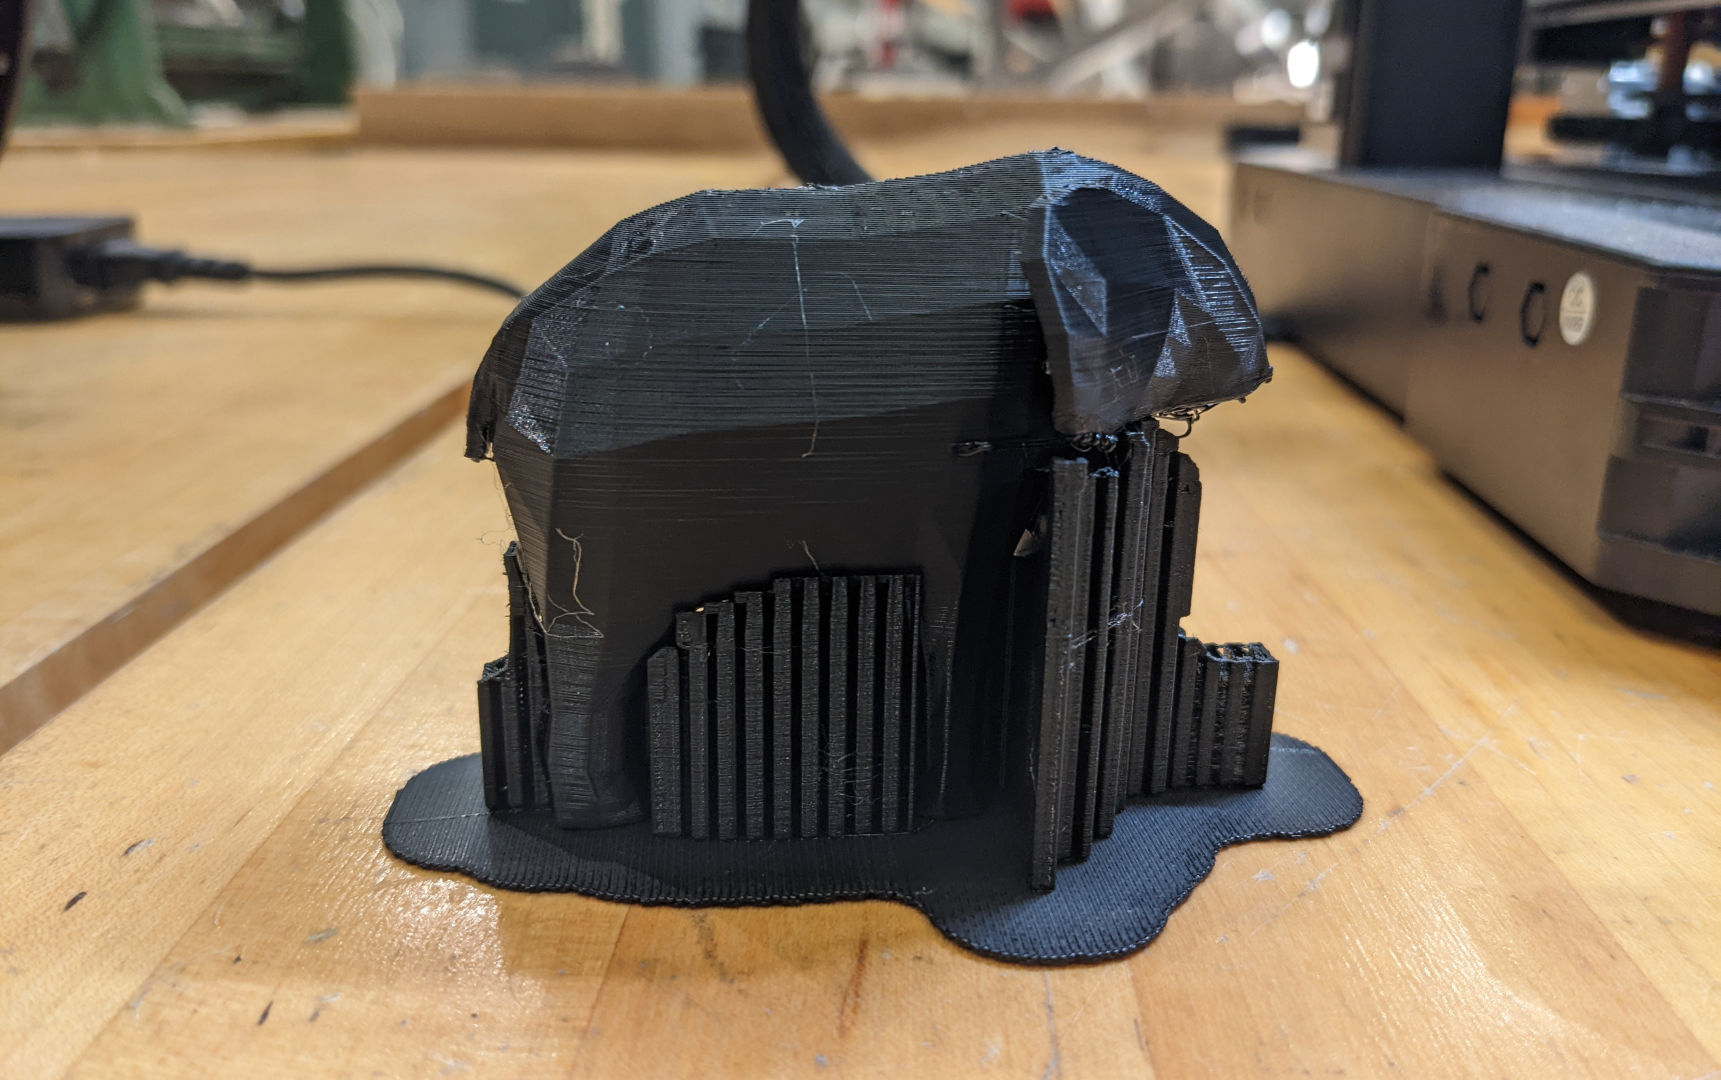
Hence, I decided I would just glue the trunk and tail on the design afterwards. For that, I used epoxy, which was thick enough to hold the pieces together.
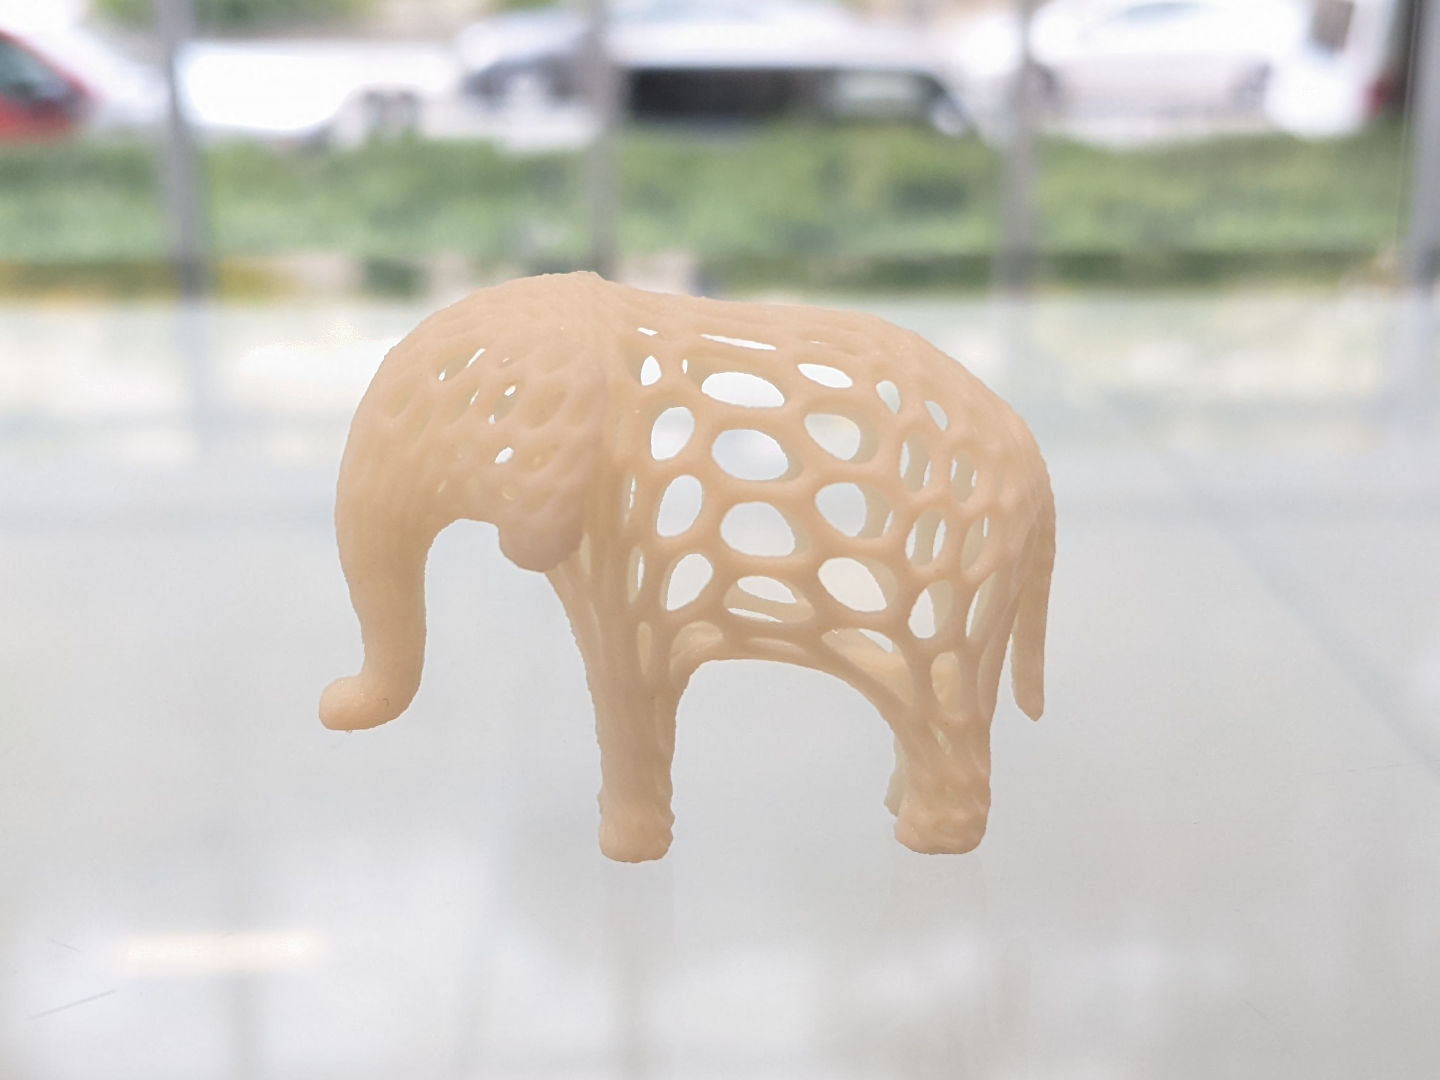
I then decided to add some holes into my elephant mesh and print it on the J55 Printer–a much higher quality printer. That result turned out well!
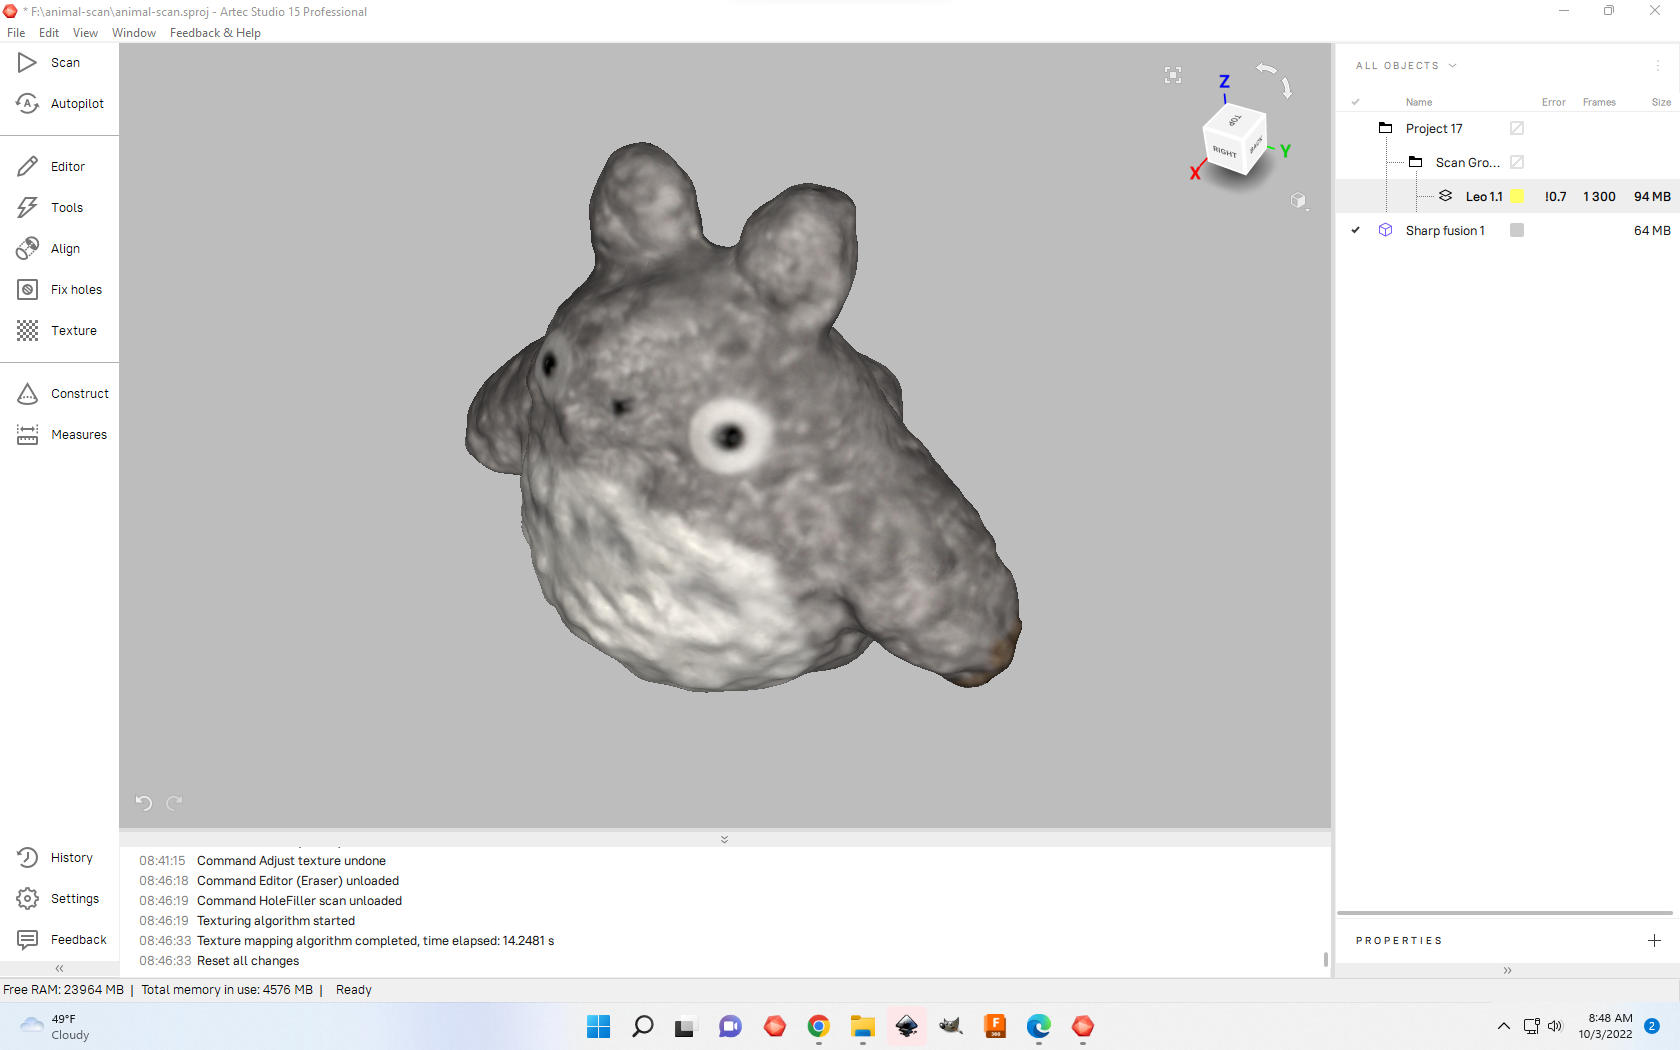
3D Scanning
For the scanning part of the assignment, I decided to scan my stuffed-animal Totoro. For this, I used the Artec Leo scanner.
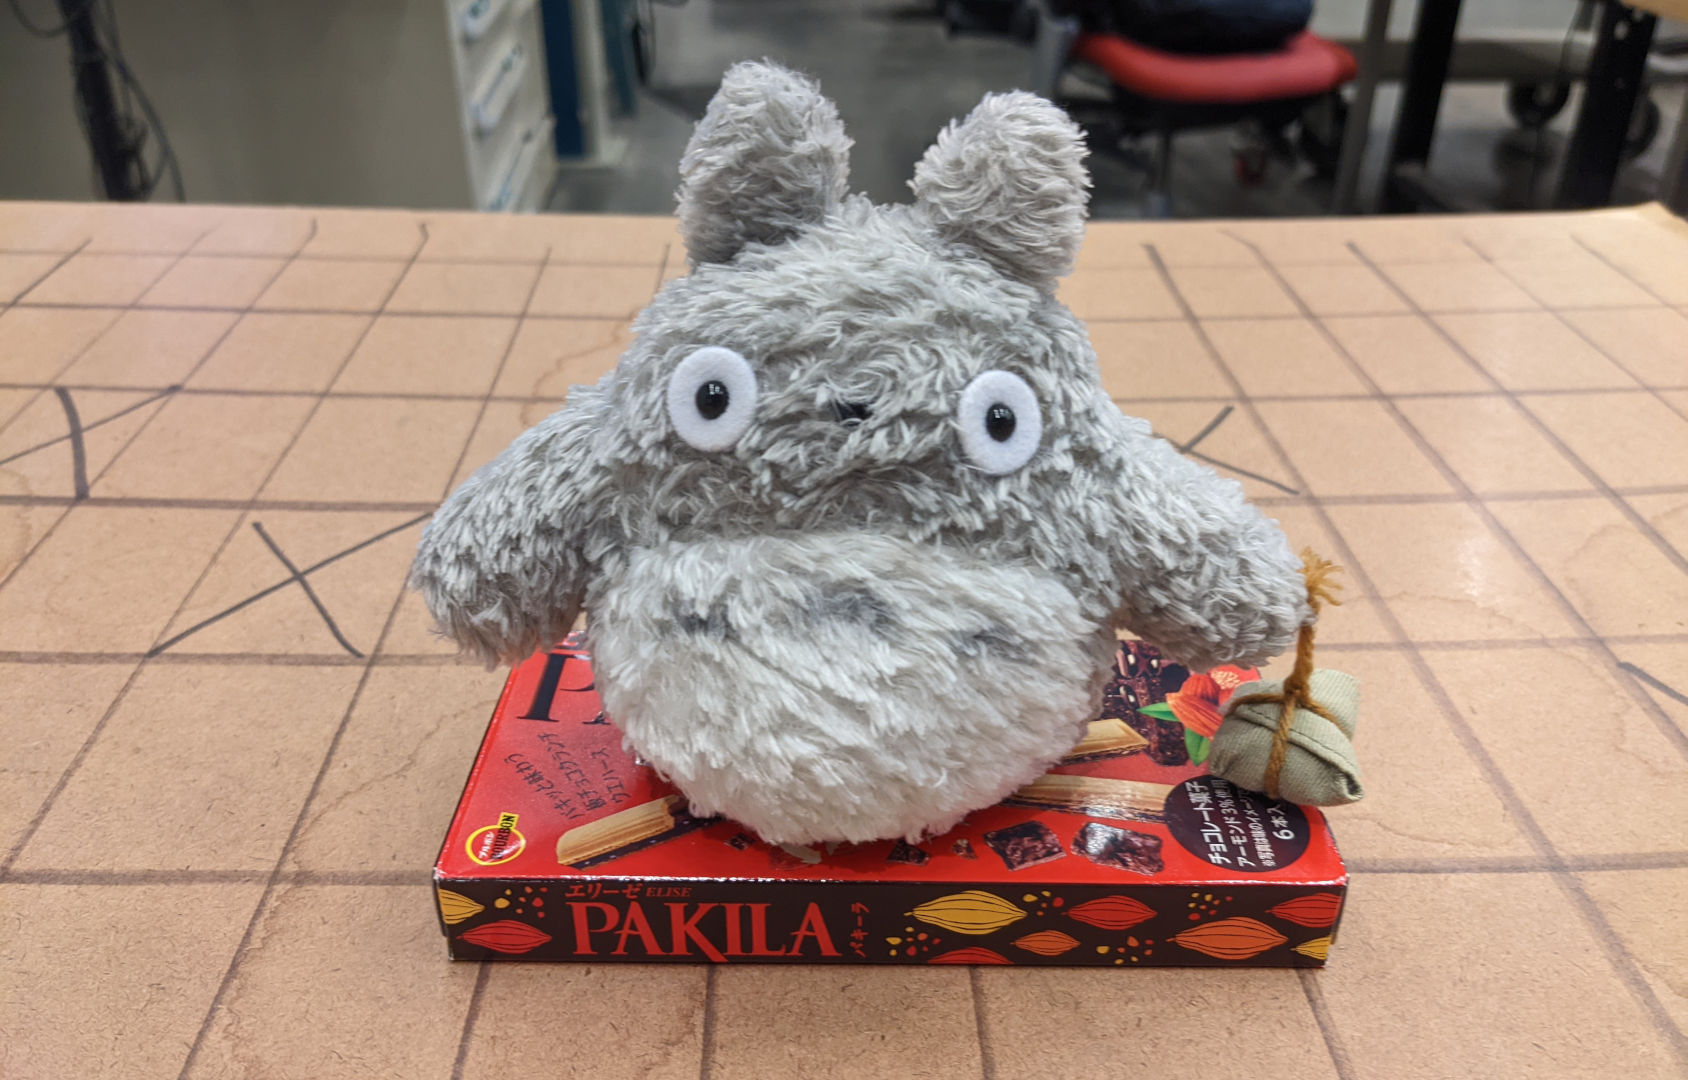
Despite the uneven surface due to the fur, I was able to edit the frames to make the scan look realistic!