Week 3: 3d printing
Project 1: Modeling Corgis

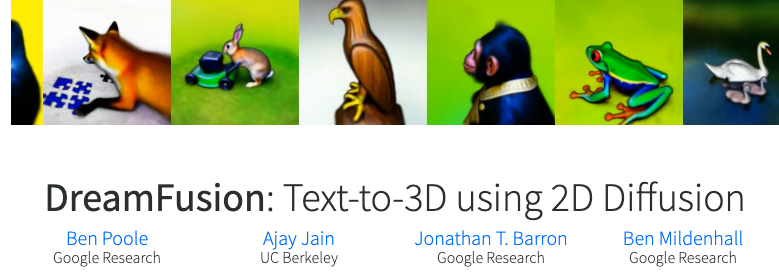
This one is kind of a journey across many tools and file types. It started when I stumbled across a paper released last week called DreamFusion. Dreamfusion, developed by Google Research, turns images into 3-D models. Specifically, Dreamfusion unlocks text-to-3d models. It's absolutely incredible.
I started with a model generated by Dream Diffusion from the prompt "a plush toy of a corgi nurse".
This downloaded as a .gltf file, not a file type I had ever seen or used before. The color on the file wouldn't load in Blender, despite converting it into .glb and .obj files (the .obj files turned red).
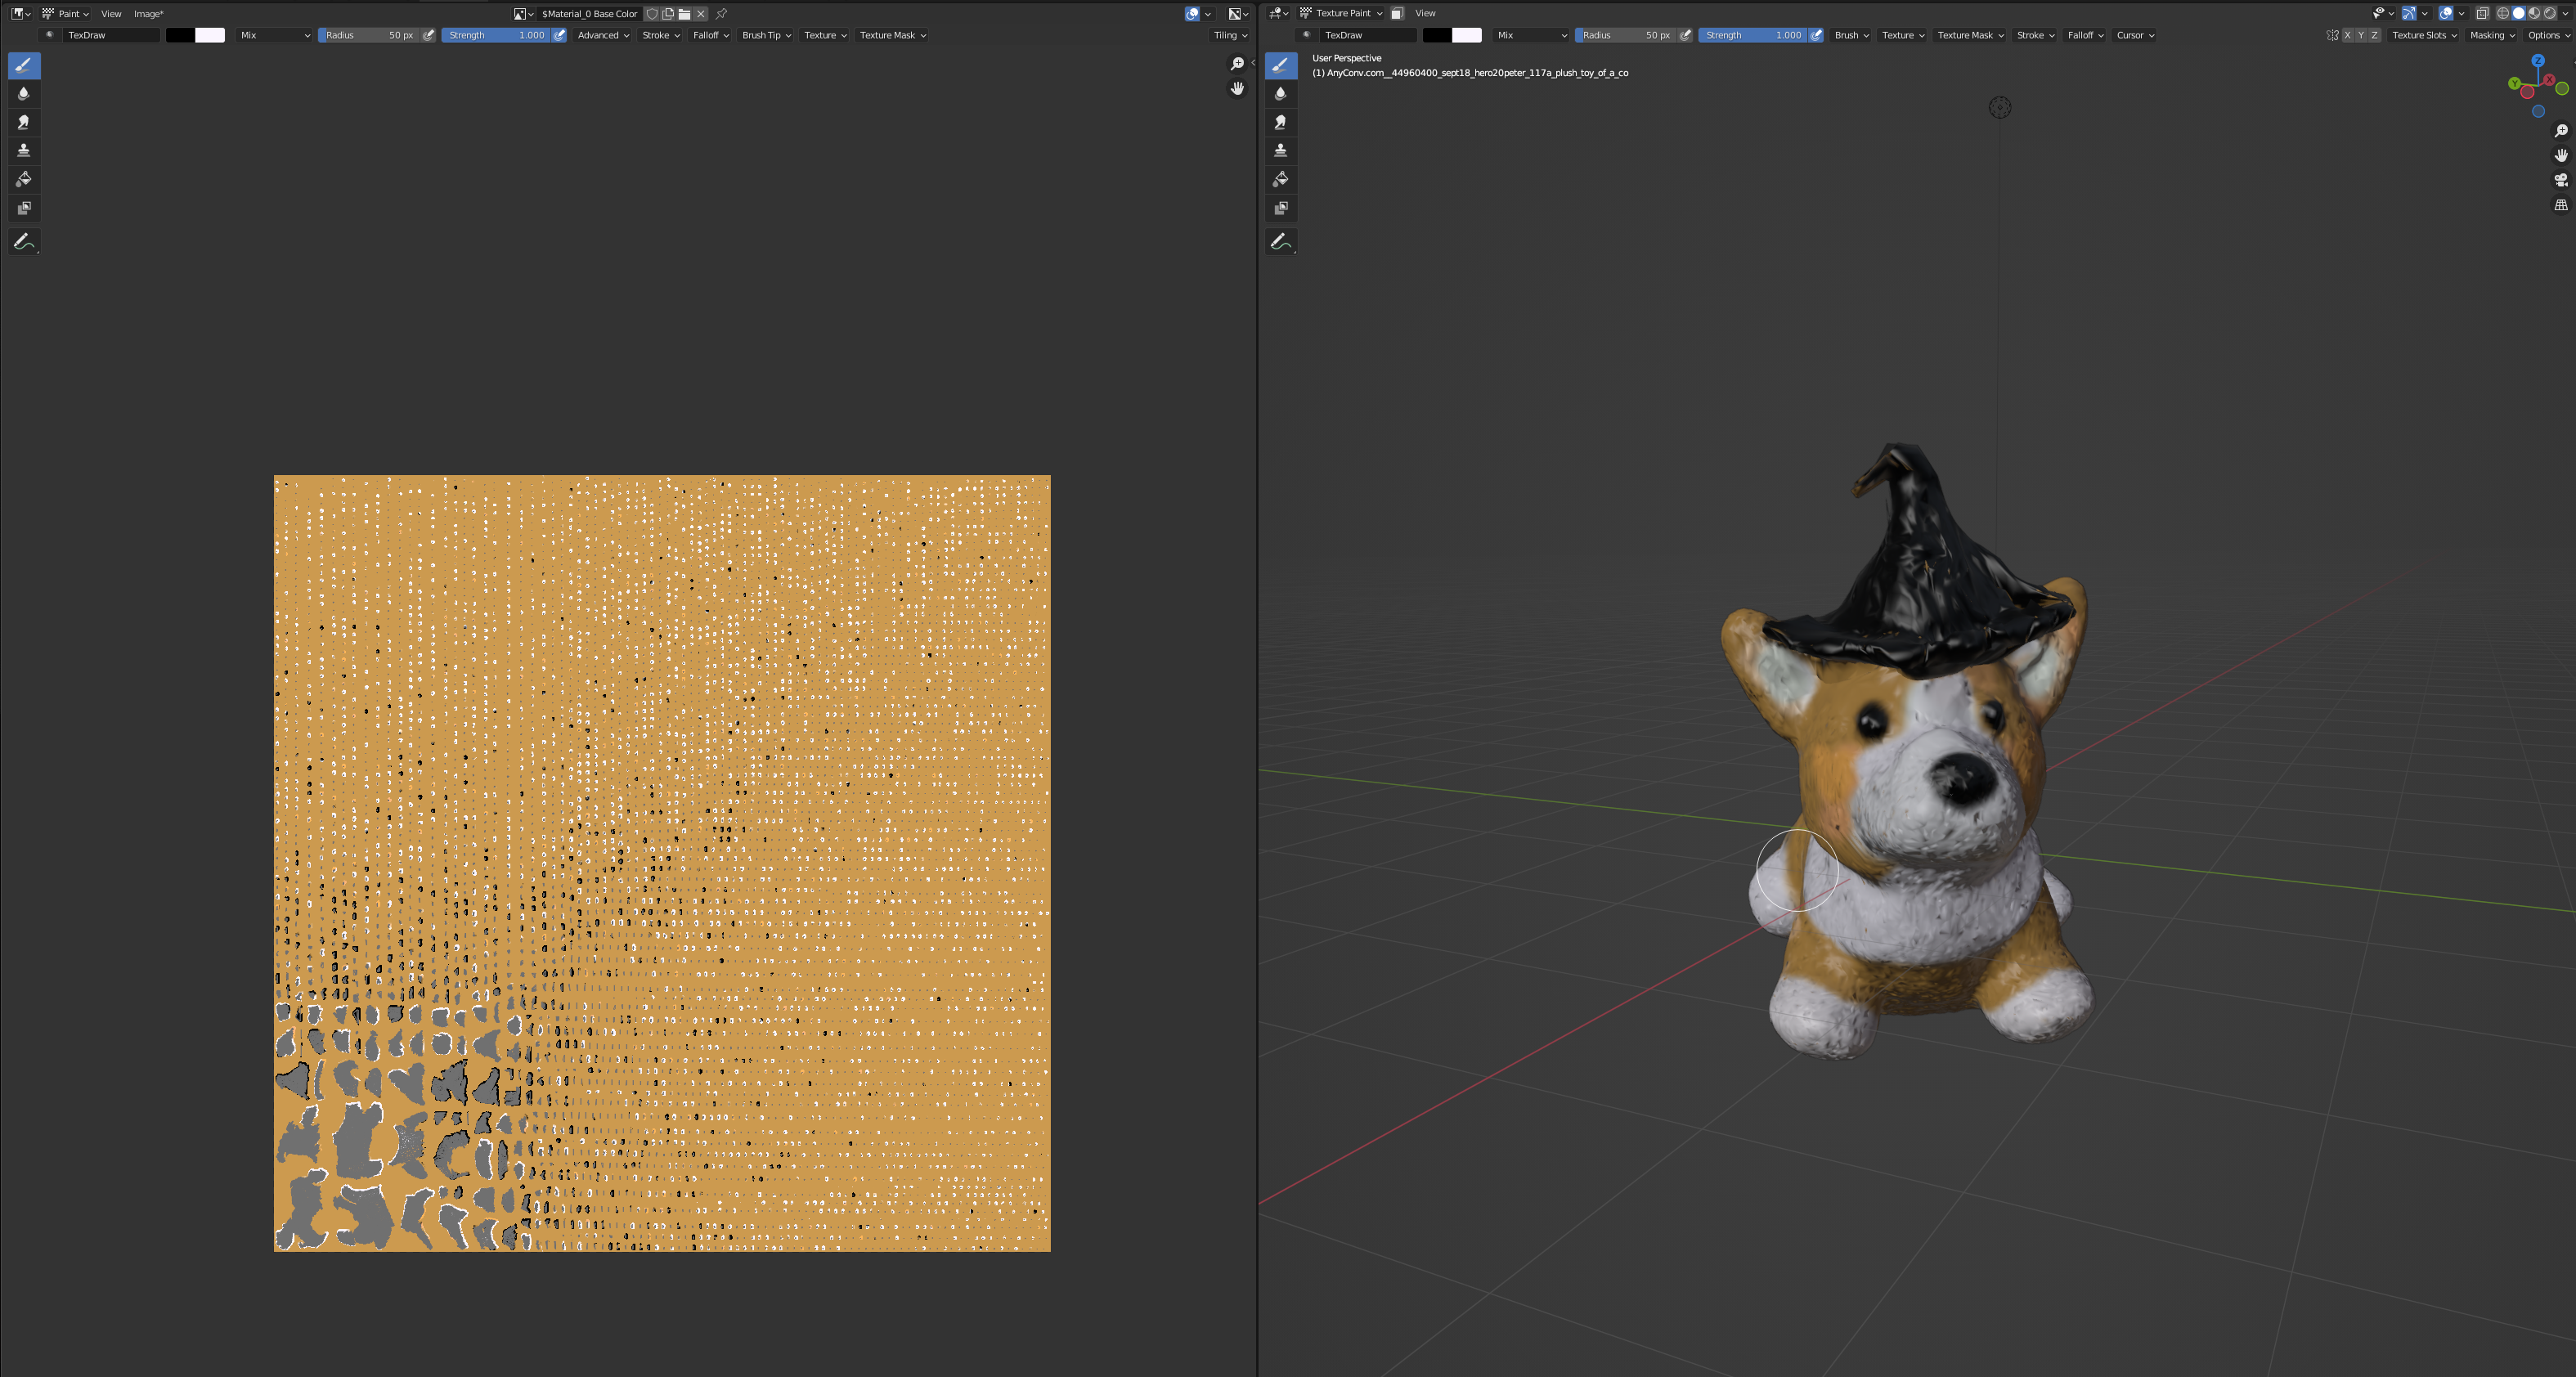
After struggling, I decided to paint my own textures on. I also decided to create two corgi models, one with a witch hat and one without a hat (this was also hard).
I used the "Sculpt" tool in Blender to turn the nurse hat into a witch's hat. This tool lets you use different methods to warp and edit the model, just like you would real clay.

The first failure - more of a mushroom than a witch's hat
After a little while, I got the hang of it, and sculpted a reasonable hat.

Okay! Time to paint the corgi. Unsurprisingly, I ran into problems here as well. Before you can use the "Texture Painting" feature in Blender, you have to unwrap a model. But unwrapping my model kept crashing Blender. I eventually figured out that I could use the "Decimate" tool to decrease the quality of the model. At about 30% of the original number of vertices, I was able to unwrap it without any issues.
From there, I painted the corgi directly.
My next step was to remove the hat for the next corgi. This was also difficult. I deleted the hat, but that left a hole in the corgi's head. I used a few different iterations of "fill hole" tools, but ended up filling most of it in manually by dragging points.
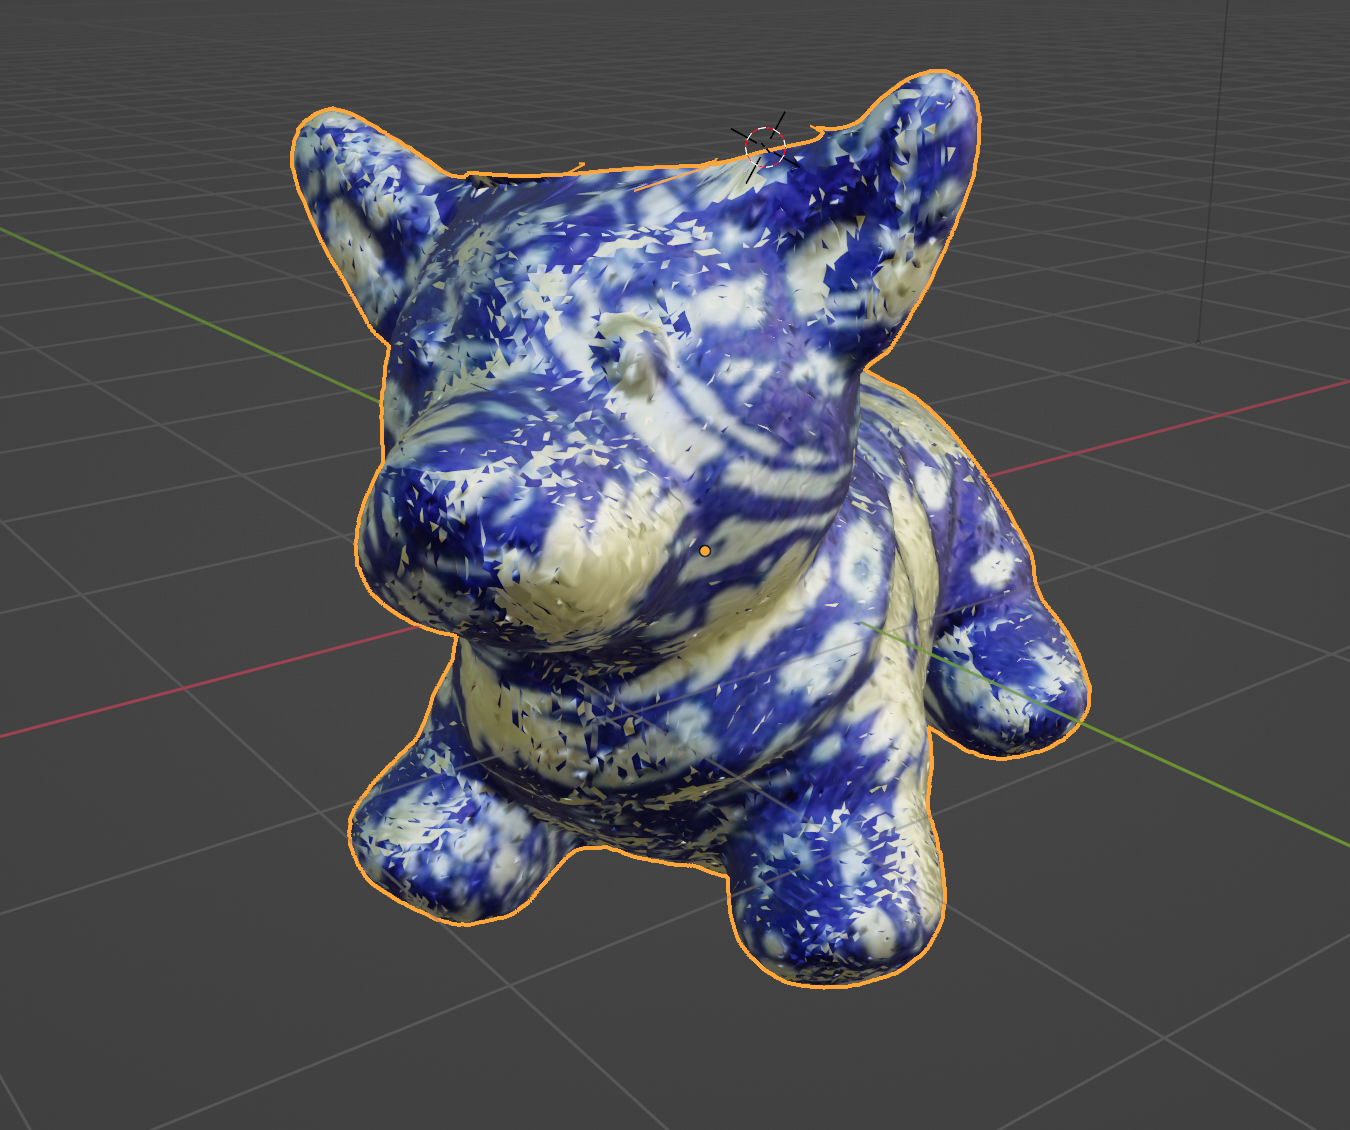
I generated a ceramic pattern with Midjourney, and applied it to the Corgi as a material.
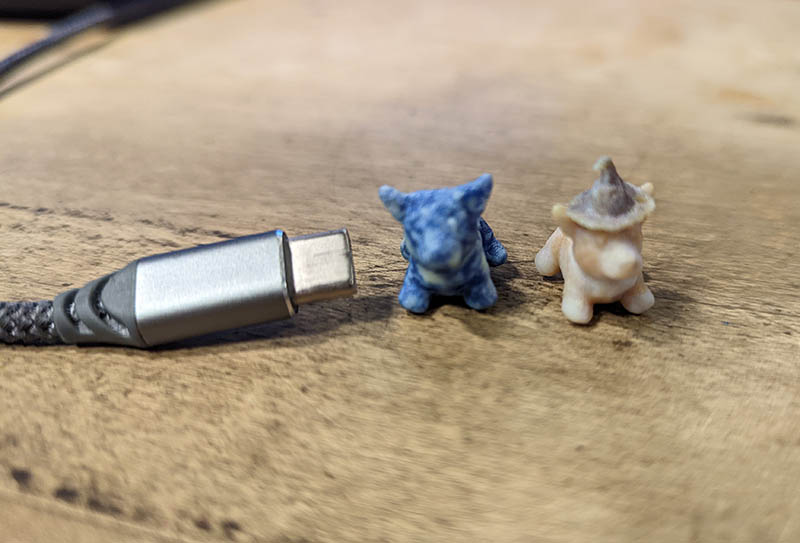
After that, I just had to print them. Harder than it sounds. I planned to use the J55 color printer, and I struggled to find a workflow from Blender to GrabCAD (the software that would ultimately connect to the 3-D printer.) Most file types in Blender would export the model without the materials applied. I eventually figured out how to export to .obj with textures applied, the load into a friend's Keyshot software, then export as an .mlt.
Project 2: Creating with code
After a bit of Googling I discovered Structure Synth, a program that creates 3-D shapes with a language called EisenScript.
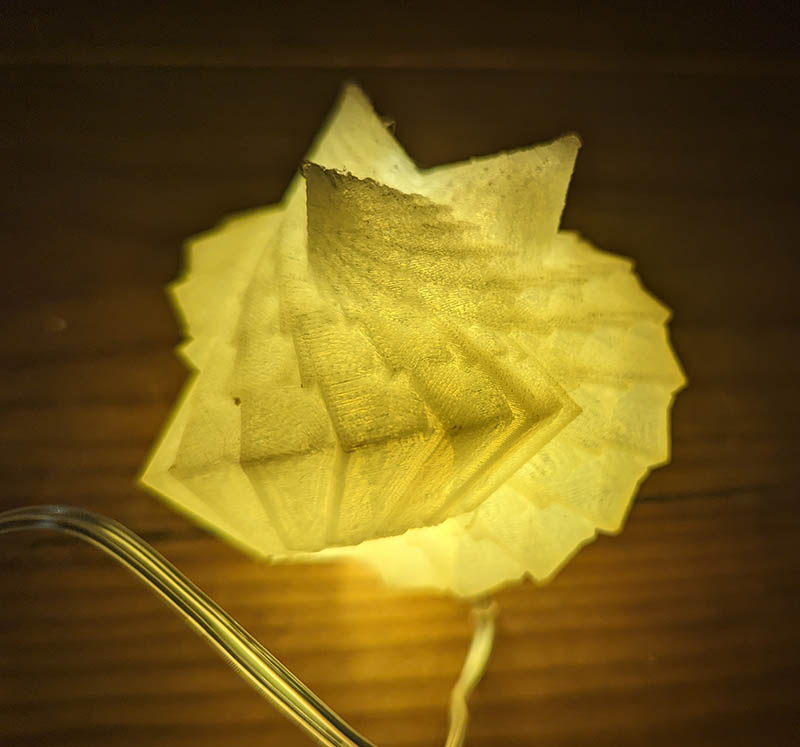
I did a couple of experiments with this. First, after some playing around, I made a shape I liked, printed it, and turned it into a lamp.
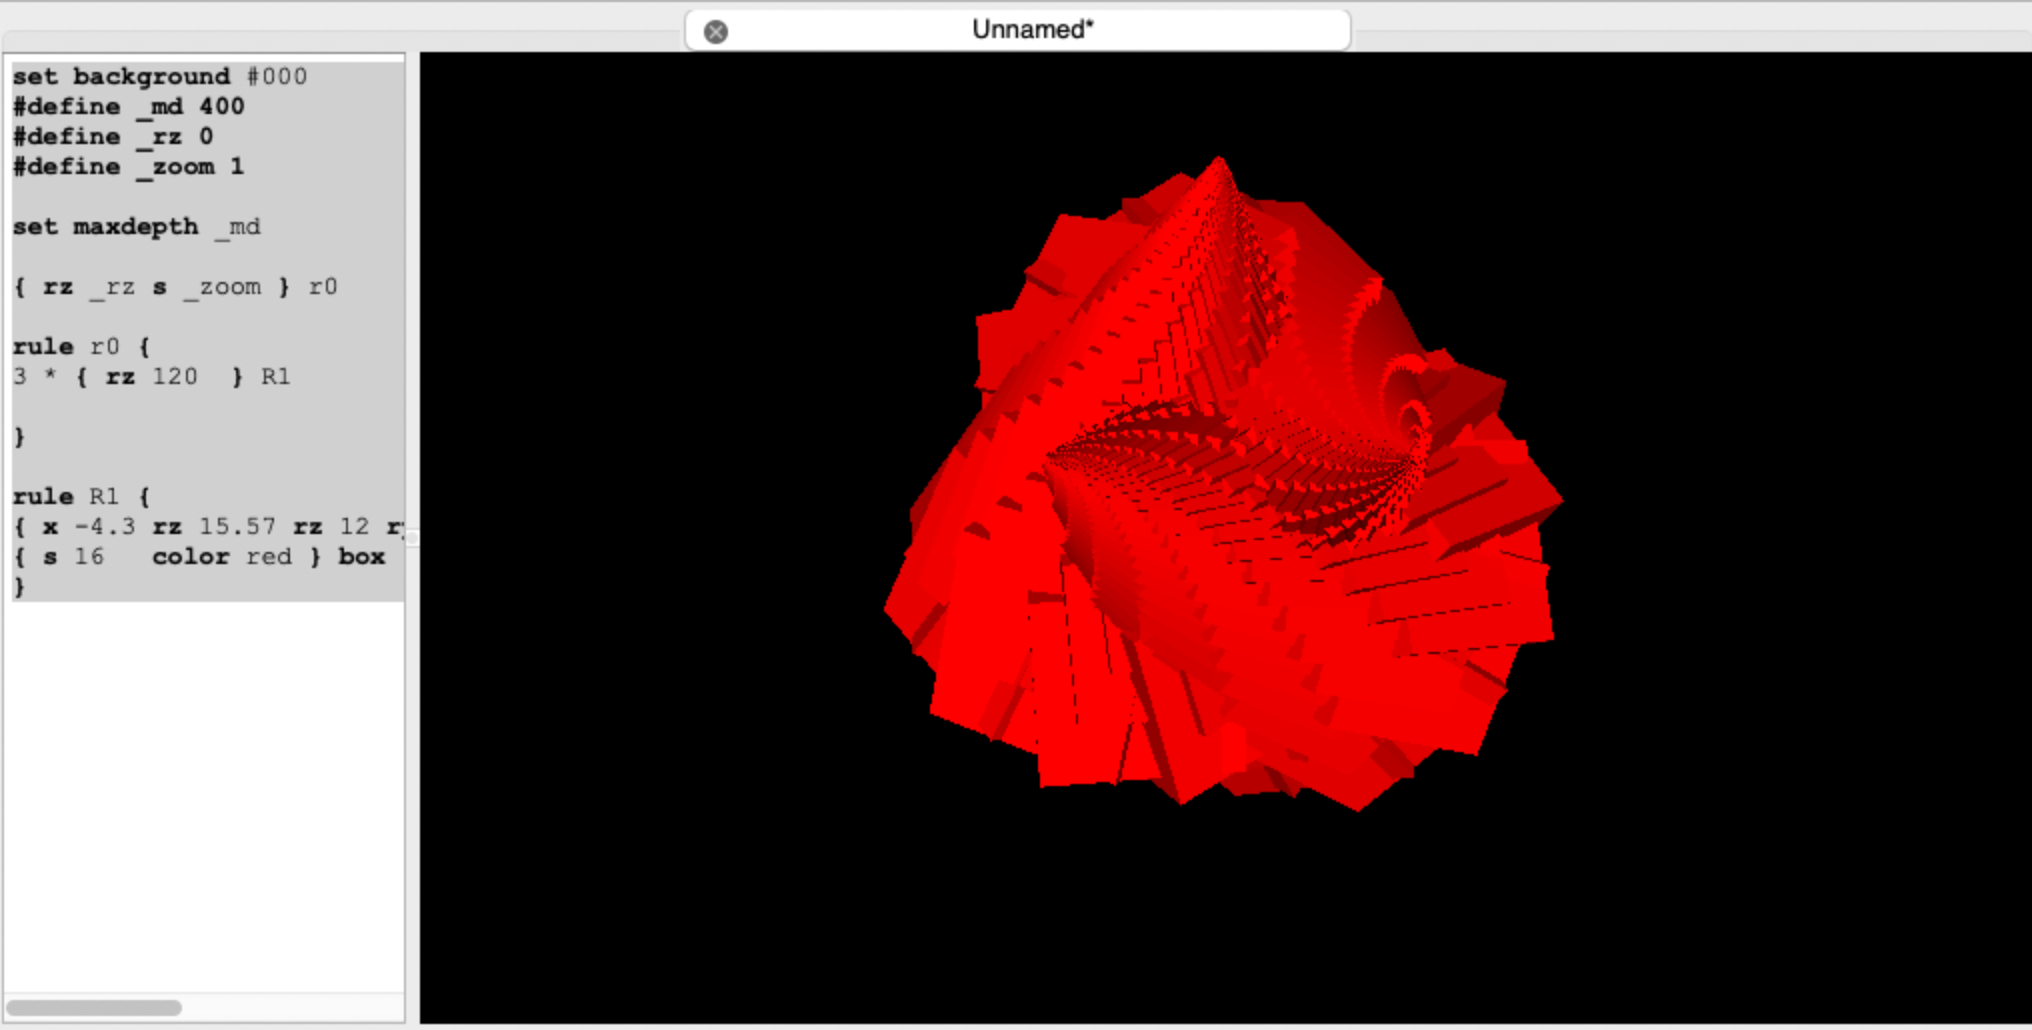
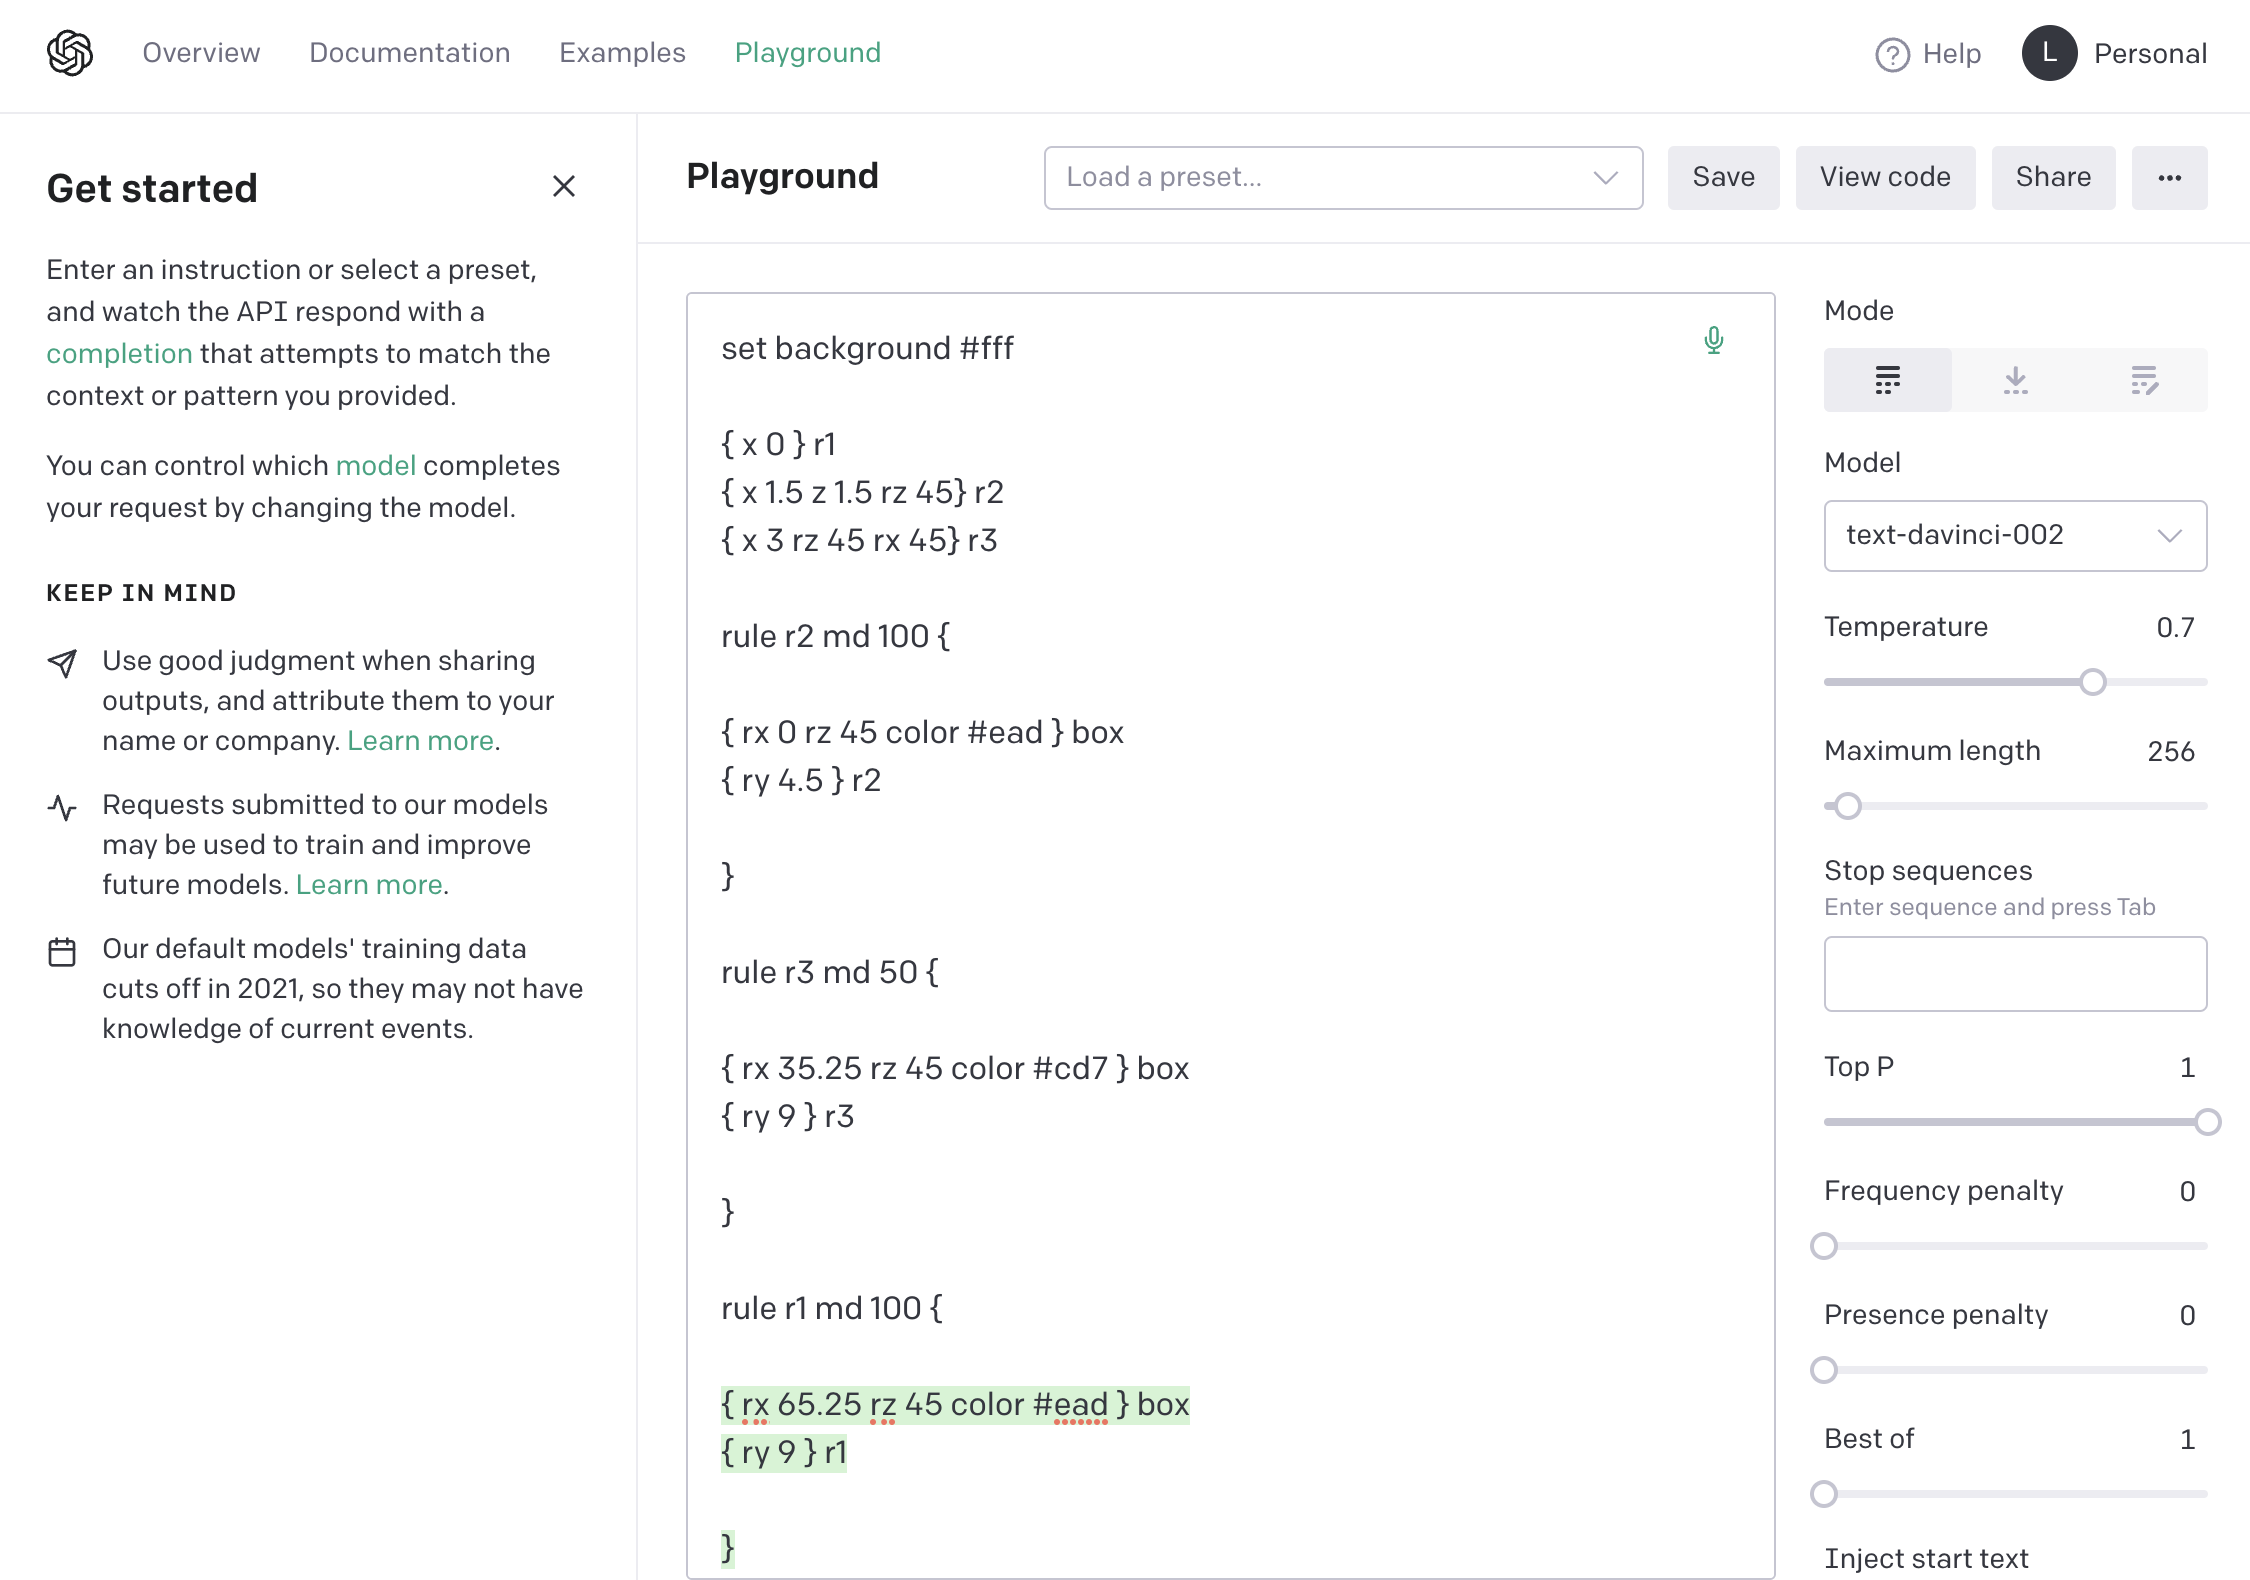
I also wondered if I could generate new model code by feeding GPT-3 examples. It only went okay.
Original output example
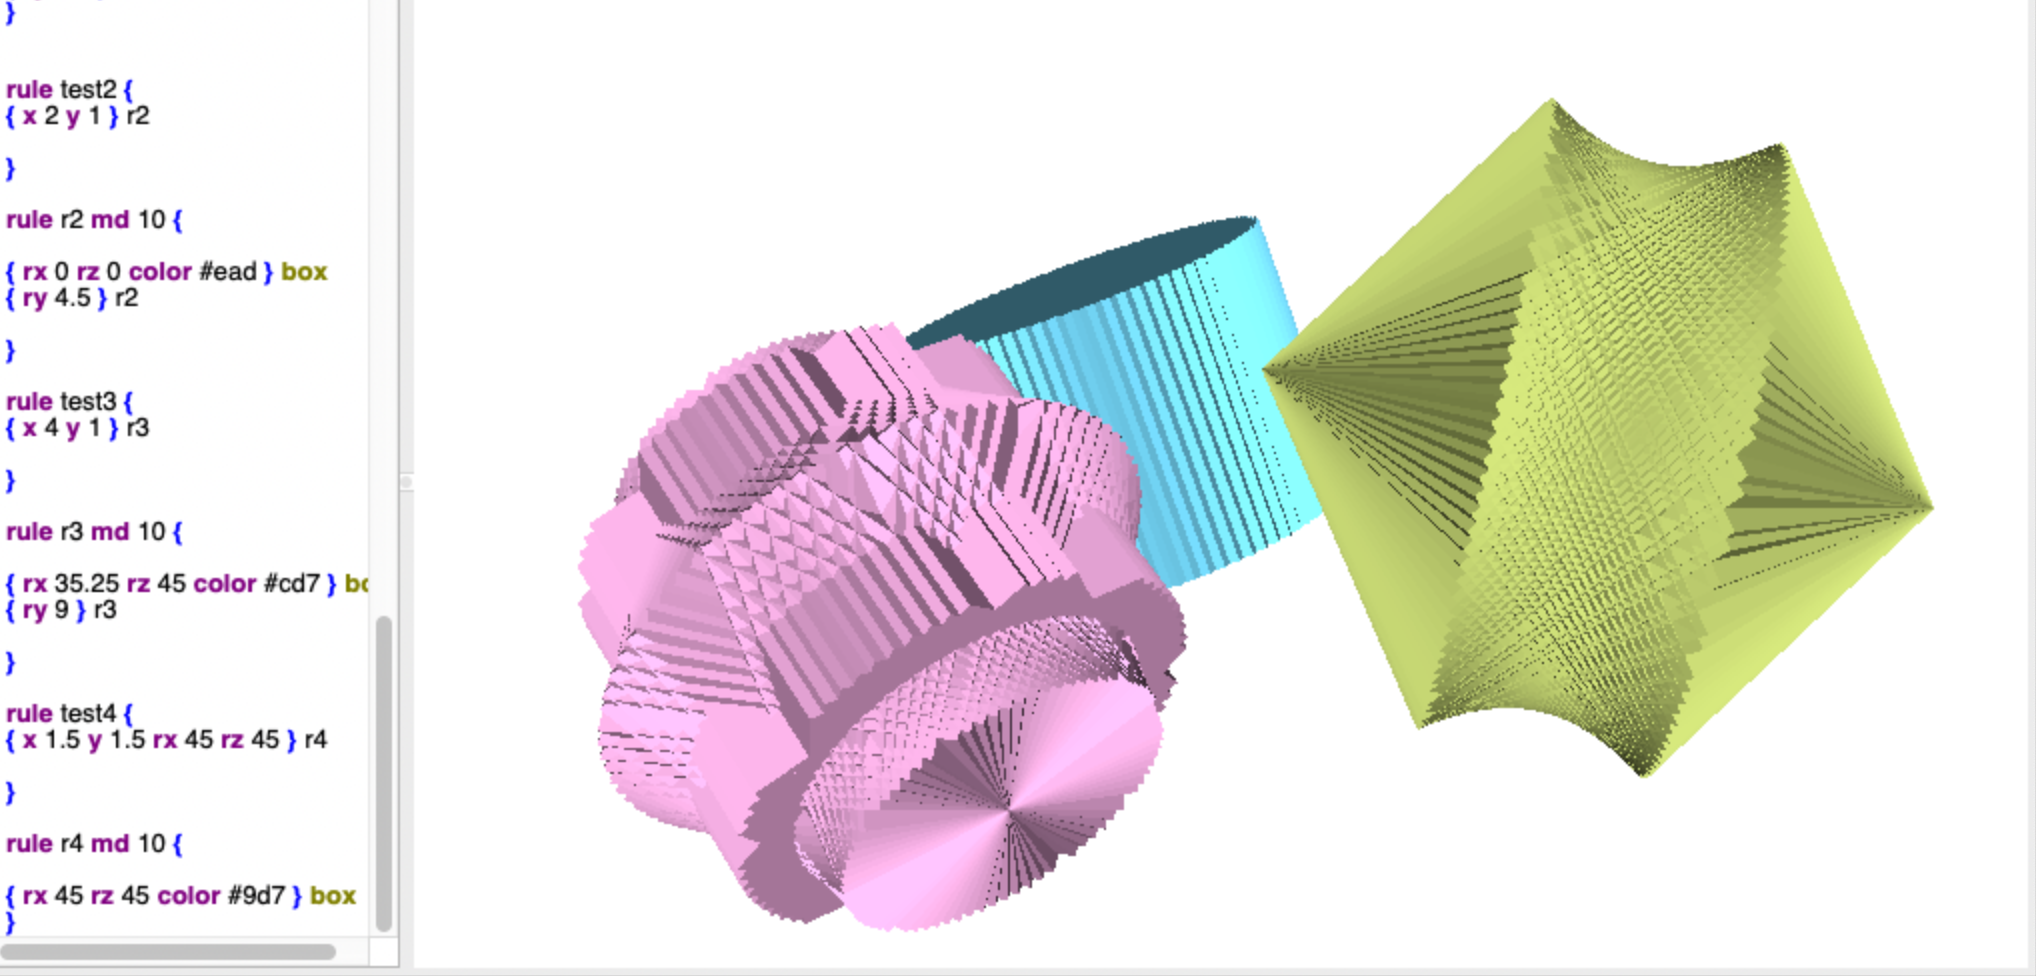
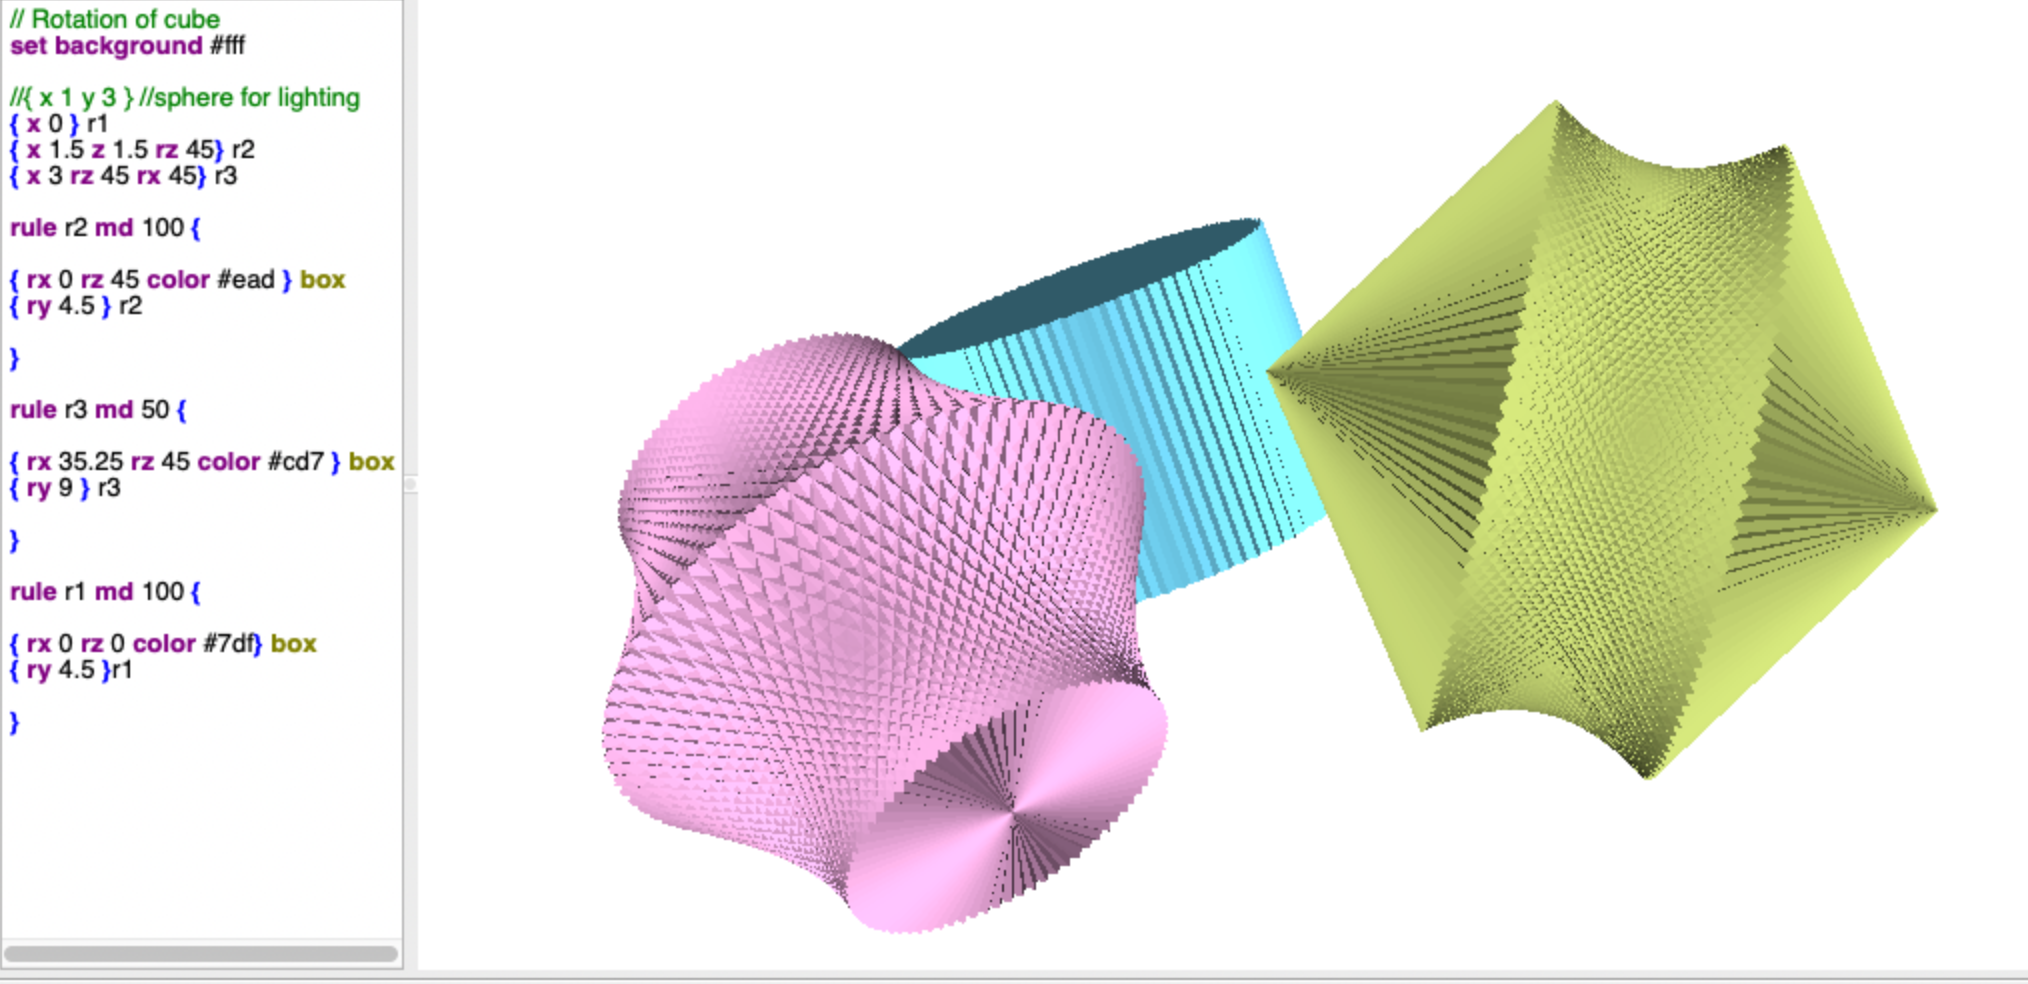
GPT-3 Modified output example
Scanning Explorations
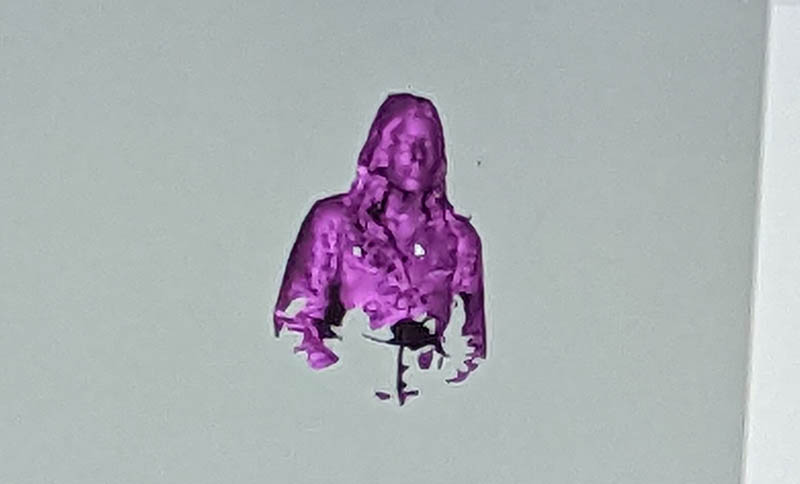
This week, I was scanned!
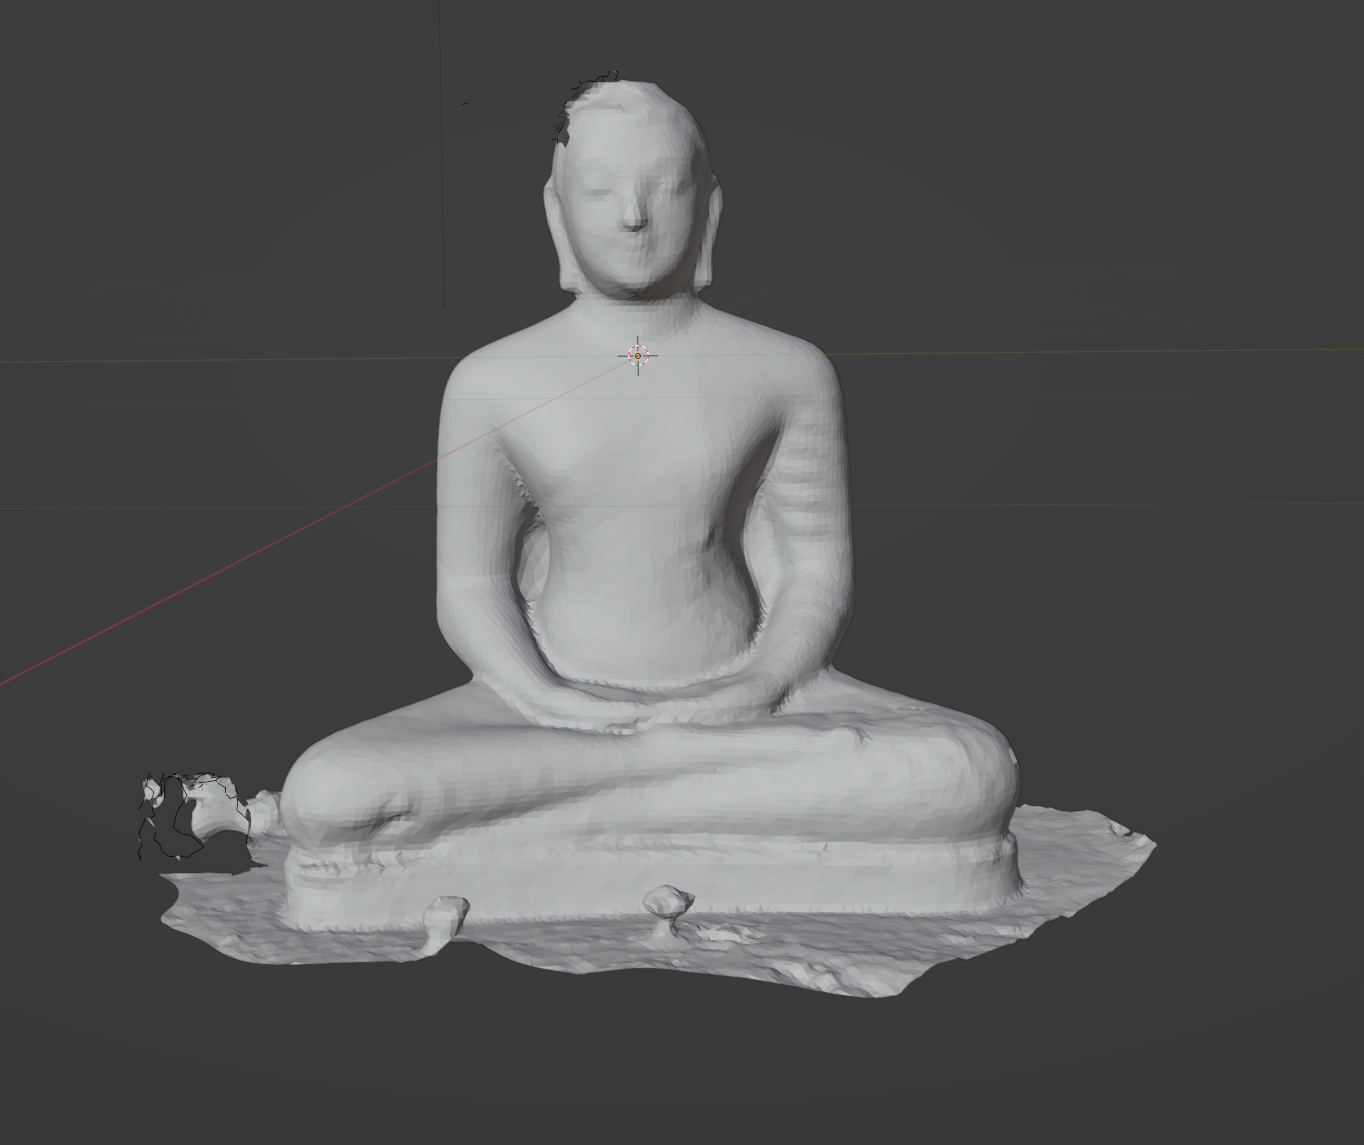
I also used Polycam to scan a Buddha statue. I planned to add a texture to this as well, but the holes from Polycam were too difficult to fill. Maybe next time!

The missing back
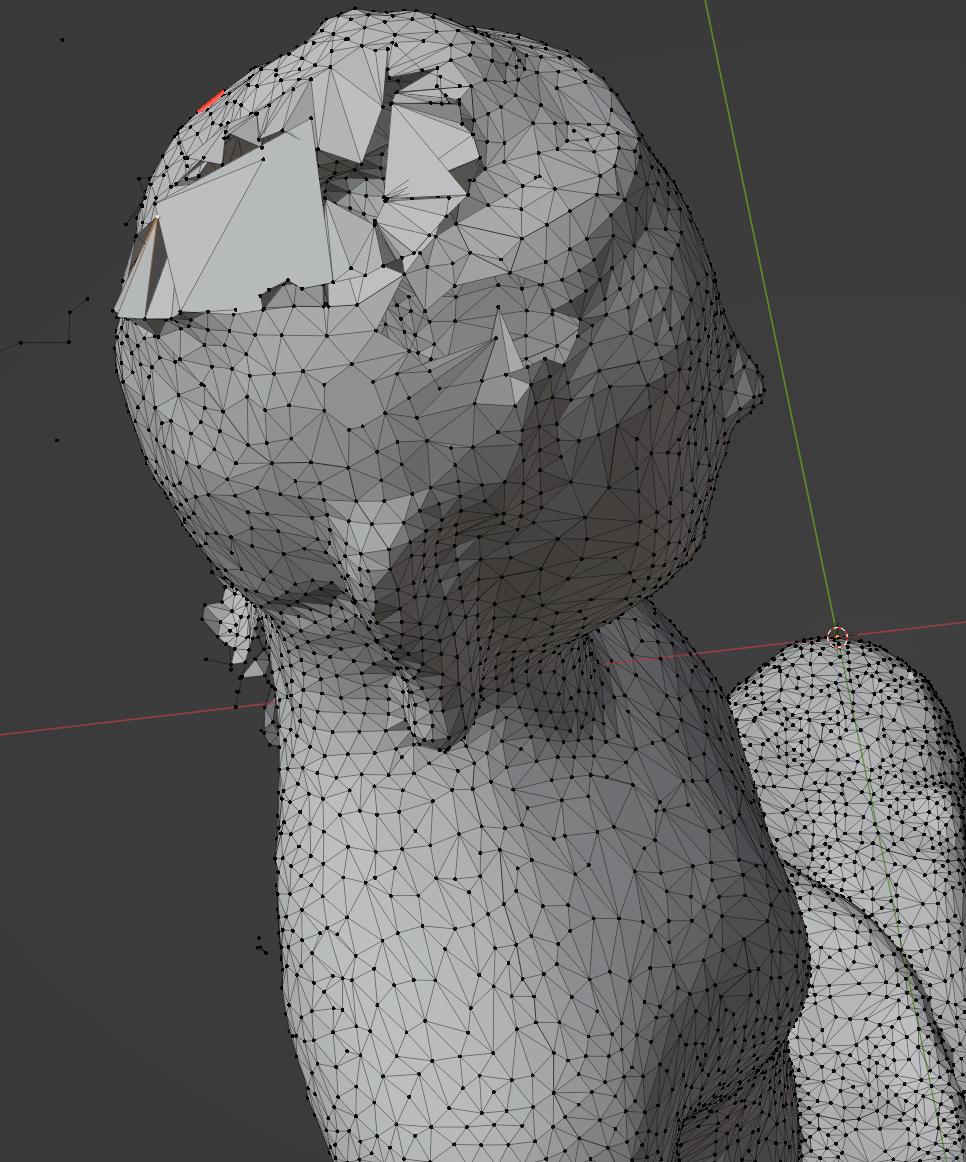
Trying to fill a hole in Buddha's head