Week 5: make something big
Sketching & Fusion 360: The journey begins
I have never in my life successfully used Fusion 360 before. Whenever I needed to build something with a laser cutter I'd open Illustrator. I knew how to use Illustrator for prototyping and was very against changing something that worked.
This week, however, I knew that I'd only have one shot to mill something on the CNC. My usual Illustrator hacks weren't going to cut it.
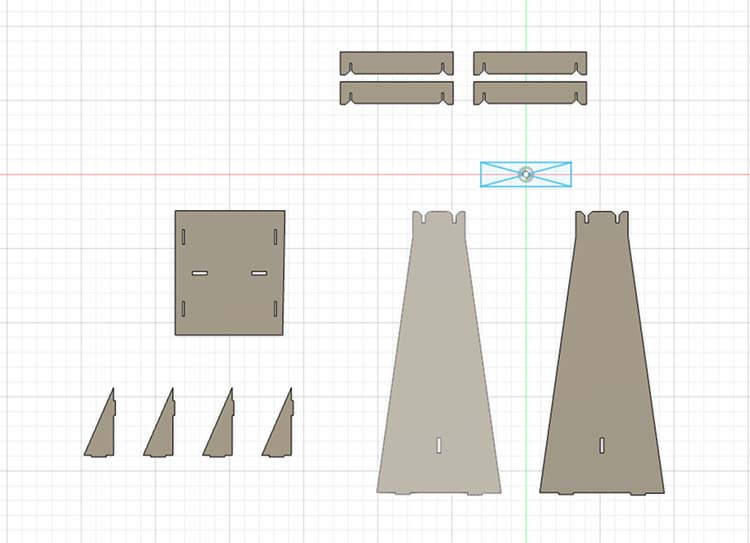
I convinced an industrial designer friend to sit with me and teach me Fusion. Together, we sketched out the dimensions for the swingset I wanted to make and put the pieces together in Fusion, primarily using dimensions and constraints to place the shapes.
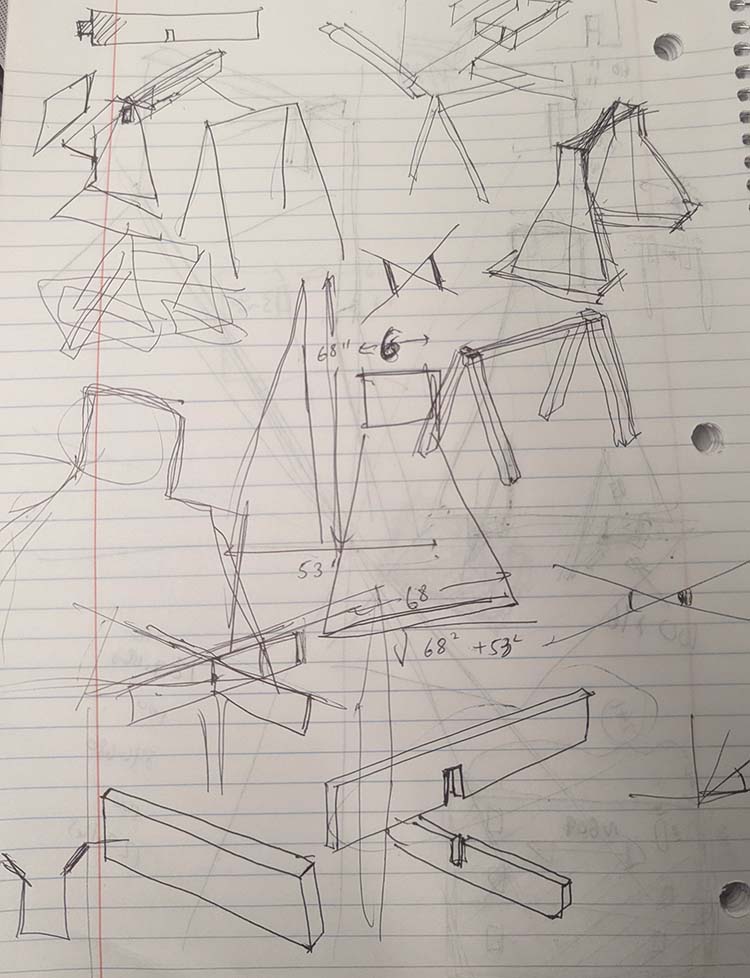
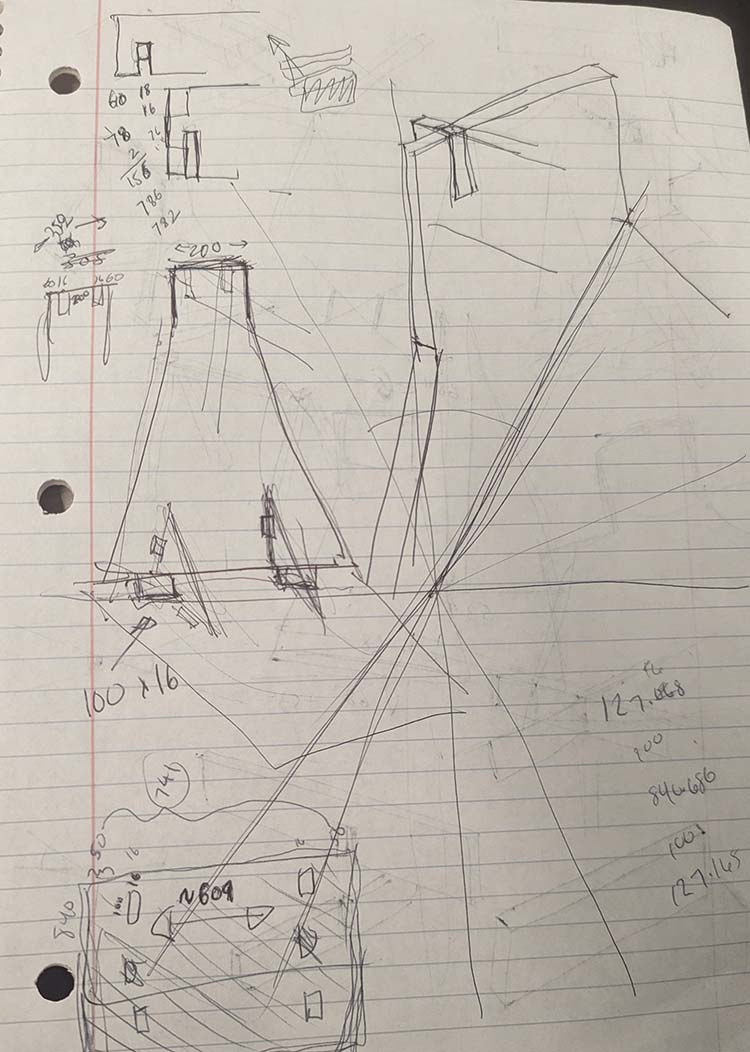
For anyone opening Fusion for the first time, my biggest takeaway is that it doesn't work like other 3-D software (I've used Cinema 4D and Blender in the past). It worked much better for me when I sketched out all my dimensions beforehand with a measuring tape and piece of paper. Then I drew those shapes as sketches, selected the sides I wanted, press "D", then set the dimension constraint from my initial drawing.
The tool I used most often was the "Mirror" tool, where I could select a shape and mirror it across the center of its parent shape. This had the extra benefit of keeping these pieces mirrored around the center if I needed to change the size of the parent shape later.
Laser cutting
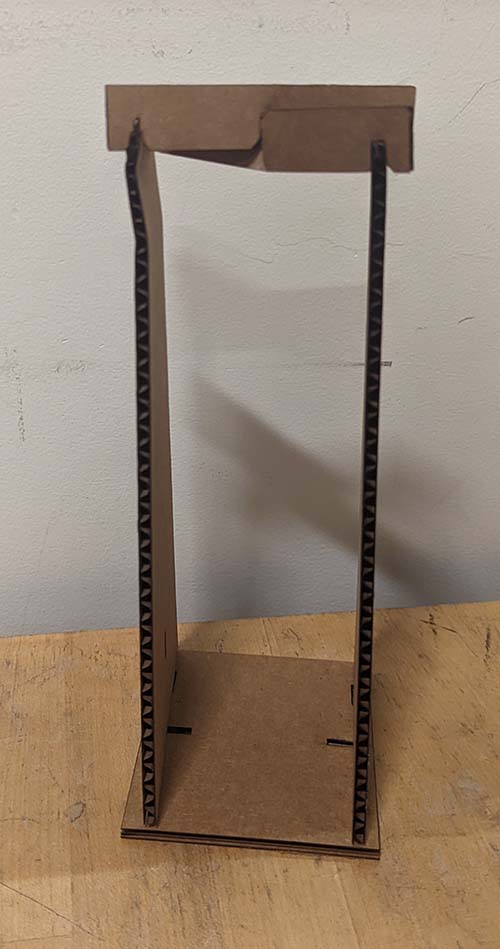
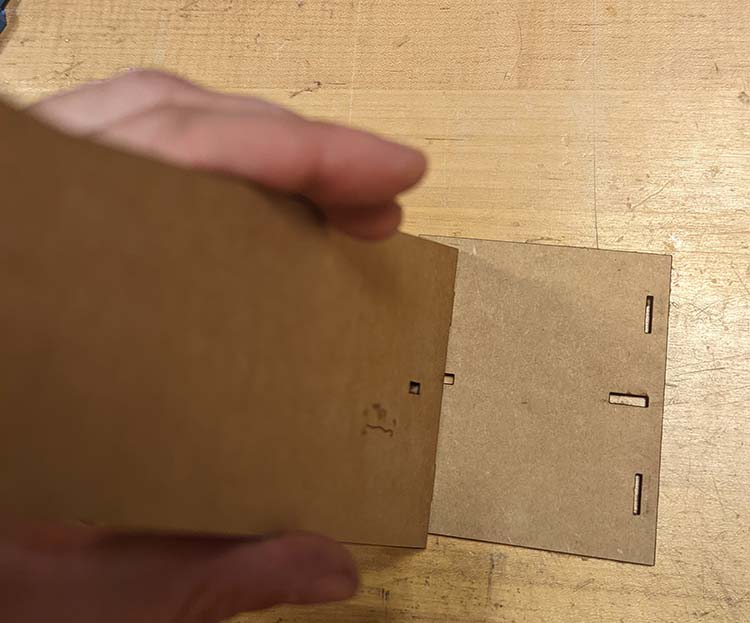
I laser cut a version of the swing for a sanity check. I didn't change the width of where the pieces click together, which led to a less-than-perfect assembly situation, but it still helped change the design and find a bug I had missed.
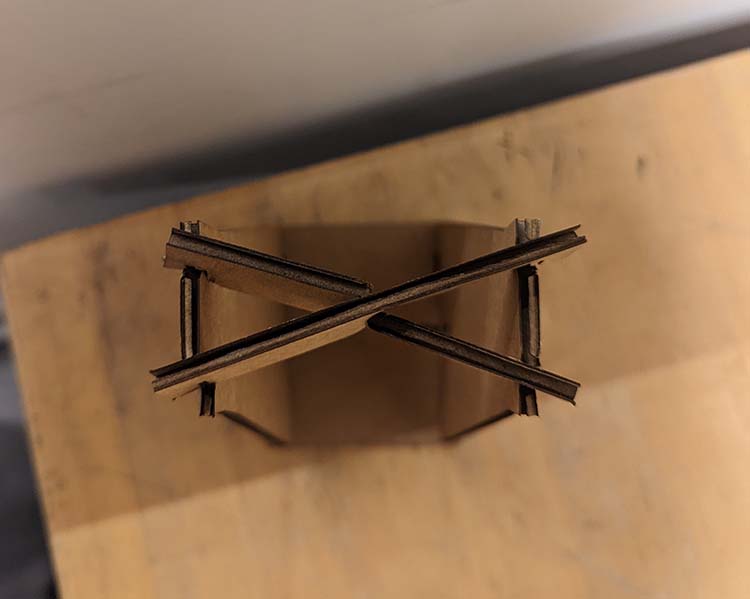
The first concern was the the "X" shape I had designed for extra support was a bit difficult to get assembled. I had created a model in Fusion to make sure my math was right, but it relied on cutting the wood at a certain angle afterwards (and that math I had previously done being perfect). I was concerned - if the "X" shape wasn't measured properly then the sides of the swingset couldn't move to account for them since they were a specific distance apart in the base. I made the decision to get rid of the "X" and instead rely on doubling up the wood only.
The other "bug" I found was that the triangles I had designed for extra structural support were too close to the edges. I had placed them a distance I had measured from the edge when I should have started measuring from the wall of the swingset.
CNC: The part where things go wrong because I didn't have all the information upfront...
With all that updated, I modified my design and saved it as a .DXF file to turn into a toolpath for the CNC. However, when I went to go cut it, I was informed that I had more pieces than I had wood I was allotted. I scaled down my design, which was painful.

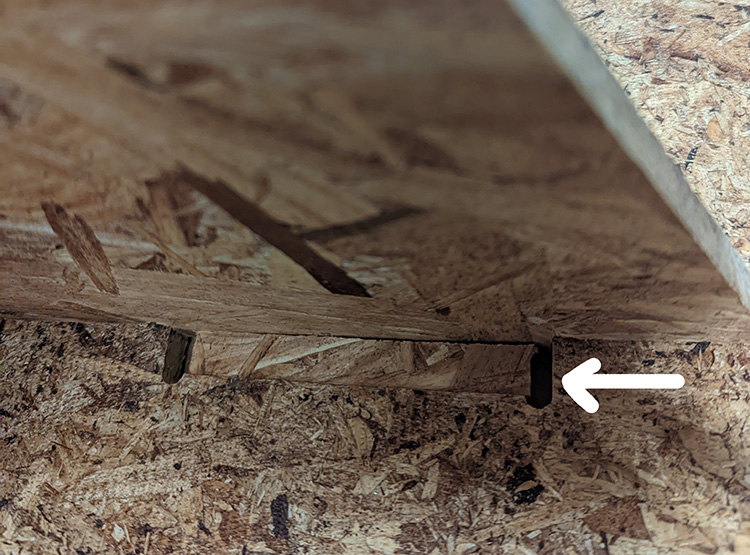
In my limited time to get my new design ready, I did forget one thing. Originally, I was going to have two triangles on each side of the swingset for extra support. I scaled that down to one on each side. That meant the slot for them should be 12mm instead of 24mm, based on the width of the wood. I updated the walls, but forgot to update the slots in the base. I used scrap wood to fill in the difference.
THEN, I went back the morning before class, and was able to get one more sheet of unused wood.
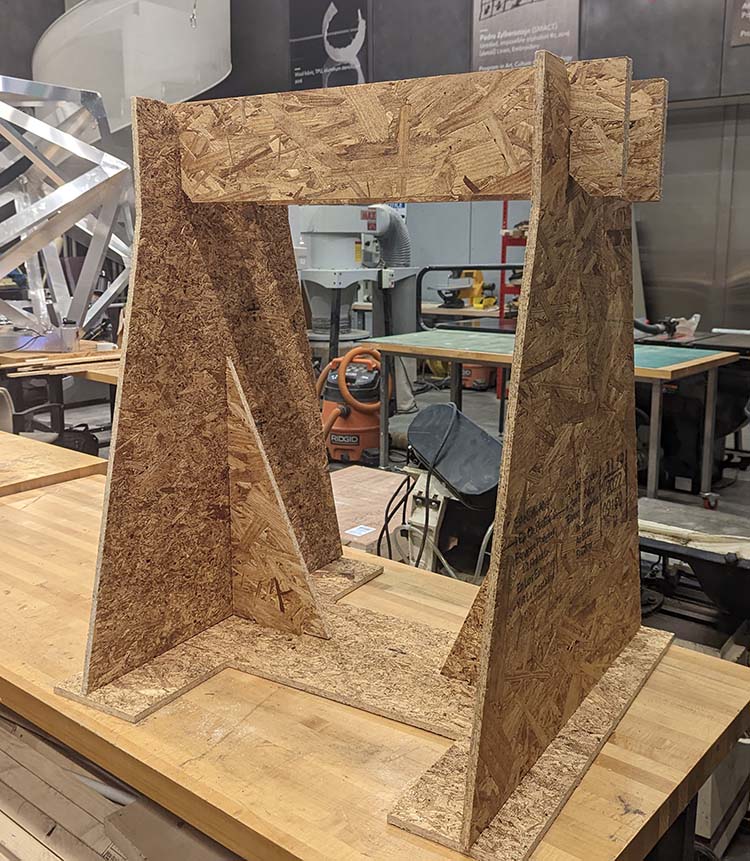
Neil didn't try it, but it seems to hold my weight :P
What I would do differently next time
If I were to do this again, I would:
- Make sure that I used the units that the rest of the shop was using. I used mm, when all the setup files when I went to make the CAM file in VCarvePro were in inches. It led to some stressful conversions.
- Know all the constraints upfront. I didn't know that we only had access to one board, so I was designing for a much larger project and had to make final cuts to my design at the end. This was stressful, and led to mistakes.
- Set certain dimensions, such as those dependent on board width, to the Fusion equivalent of variables. I lost time (and ended up with mistakes) changing these dimensions one by one instead of designing parametrically.