Week 7: molding and casting
Concept
I'm currently working on two similar projects in parallel, building wearables that incorporate IR light in different ways. First, I'm building glasses that use IR light to hide your biometric data from bad actors using hidden IR cameras. At the same time, I'm creating a wearable that will unlock areas of an escape room or immersive theater set based on tasks you've completed or places you've found (also incorporating IR light into a mask).
I thought the mask was too large to be a reasonable product for this week, so I focused on a prototype of the glasses.
Design
I started by measuring my own glasses. At 5 inches across and 1 1/2 inches tall, they were just the right size to fit in the 3x7x1.5 inch mold for this week.
Then I went online and found a pair of sunglasses to reference for my design on. I took a screenshot of that image, and one of a glasses arm (which I learned are called temples).
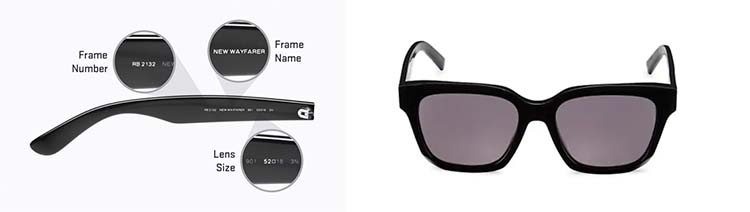
Credit: Givenchy GV Day 56MM Square Sunglasses
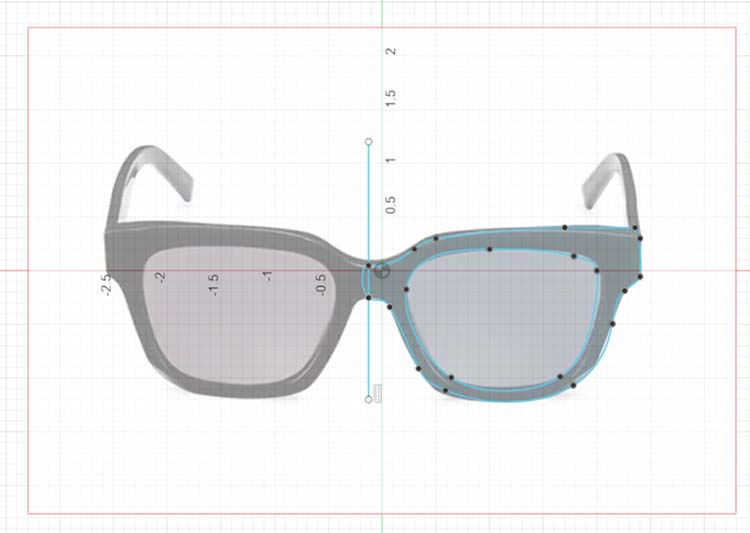
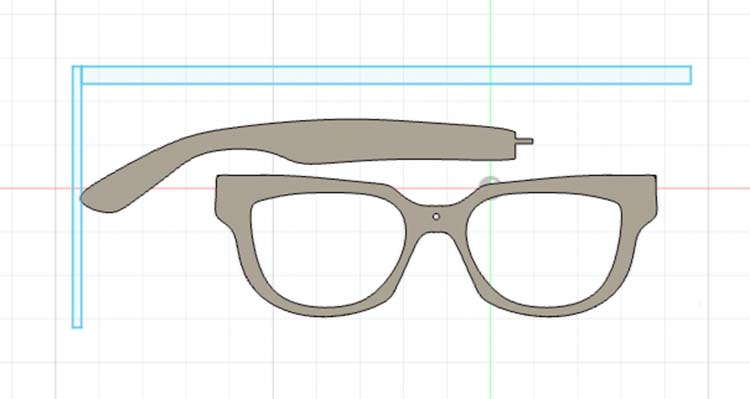
Using Fusion 360, I imported the image of the frames using Insert, Canvas. I used the Calibrate tool (get here by right clicking the recently uploaded canvas on the left-hand screen) to set two points on either side of the glasses frame, and set the distance to 5 inches. Then I created a sketch and traced the image of the frames using the Fit-point Spline tool. Then I mirrored my traced shape.
I added a hole in the center for my IR light sensor to sit behind. This didn't end up in the final product, because it was smaller than the bit in the CNC, a consideration I missed during my design phase.
I extruded the shape and designed additional nubs to connect the temples. These also ended up being too small and weren't cut out in the final part :(
I repeated the process for the temples, and then set everything to fit on a 3x7 plane.
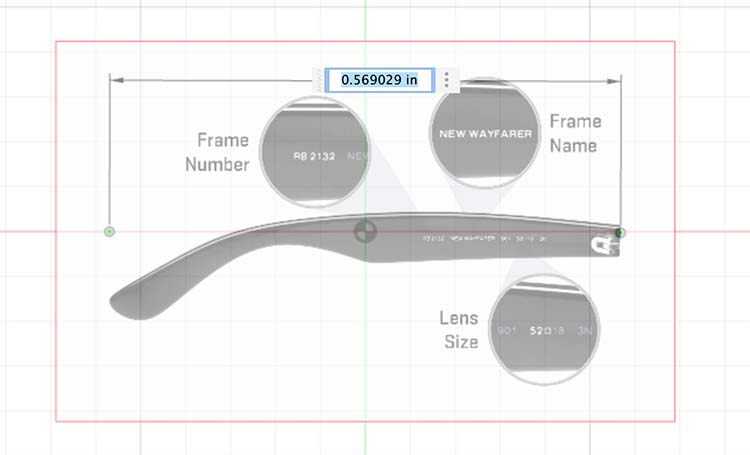
Calibrating the size of the temple (will end up being 5 inches)
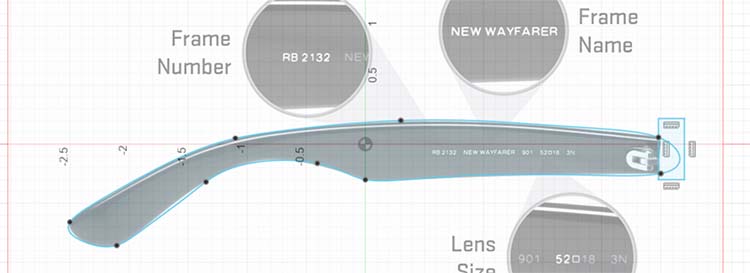
Designing a sketch with the image as a reference. I used the Trim tool to remove the curved edge on the right.
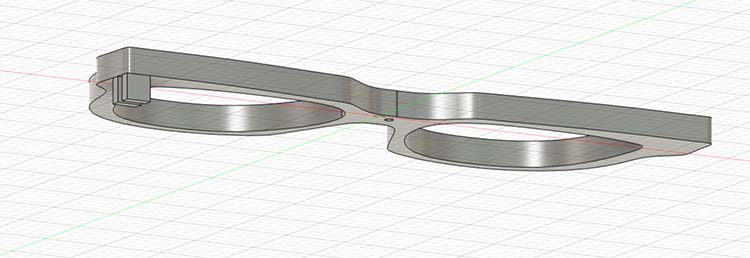
Final pieces extruded
Pieces fit onto a 3x7 plane
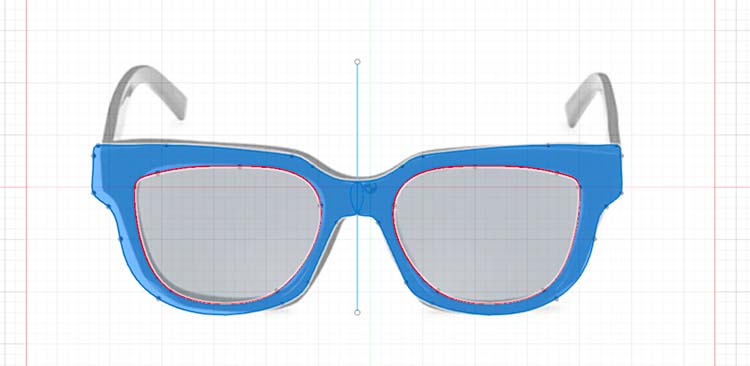
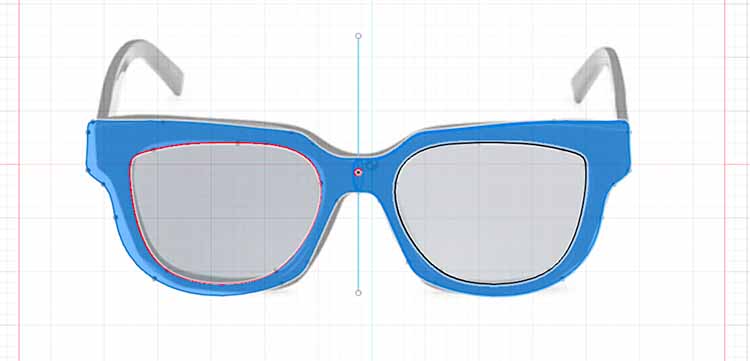
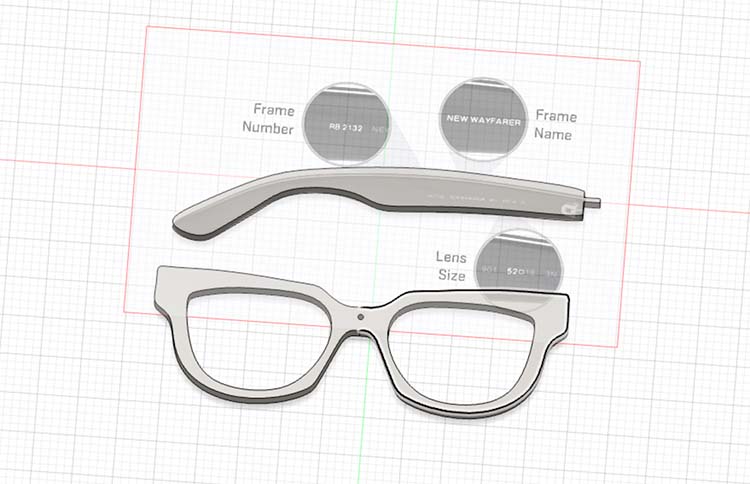
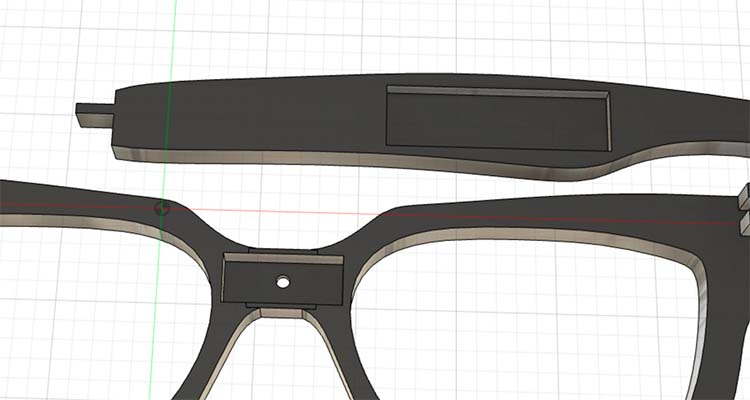
I then went back in and added space to fit electronics into the design. This was done by creating a sketch and extruding the shape as usual. The software automatically removed material with the extrusion instead of adding it.
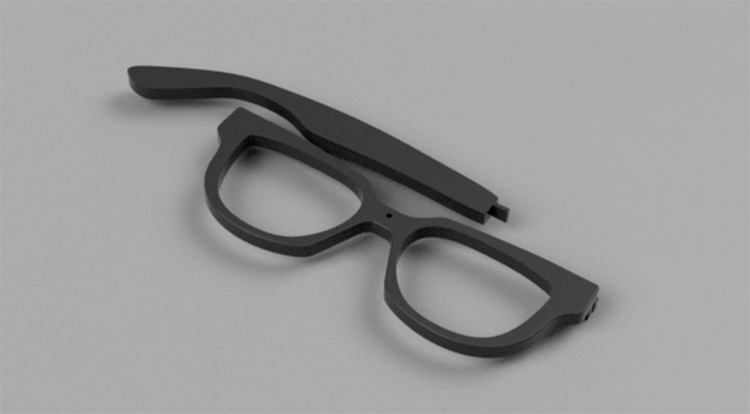
Final render
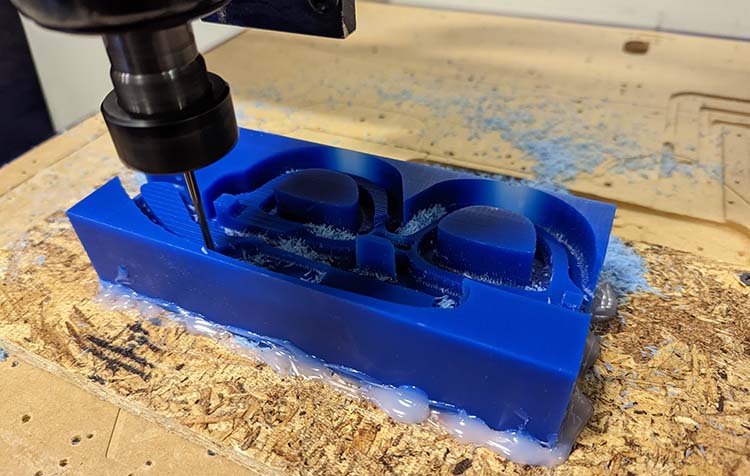
CNC
The steps here were to:
- Hot glue a block of wax to a piece of wood
- Connect to the CNC base with screws
- Prepare the file on CAM and send to CNC
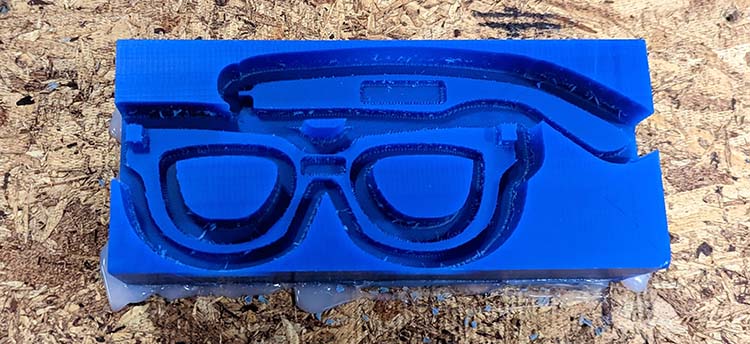
Mold-making
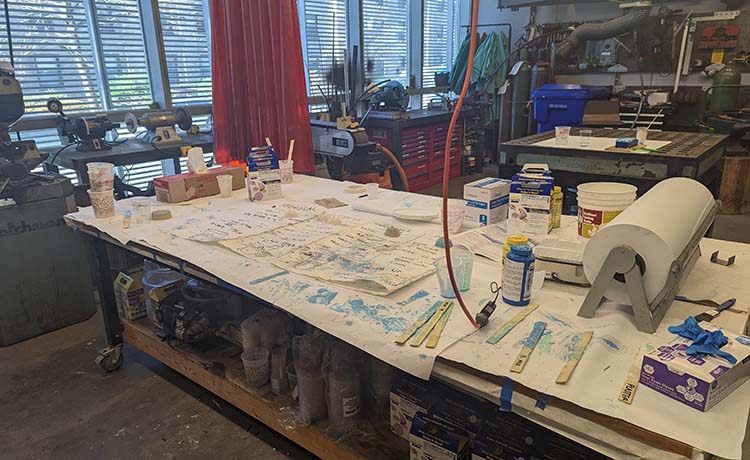
molding & casting table!
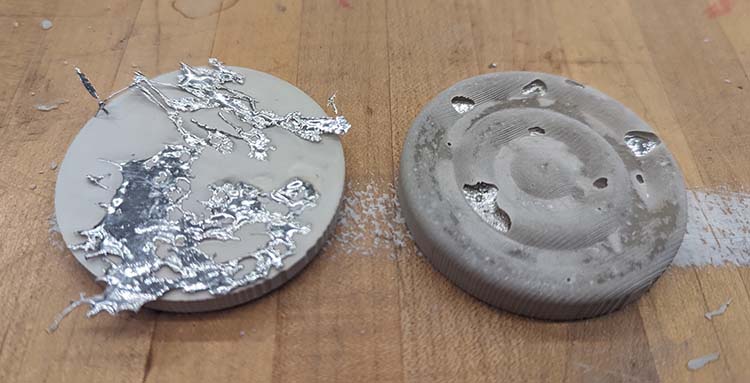
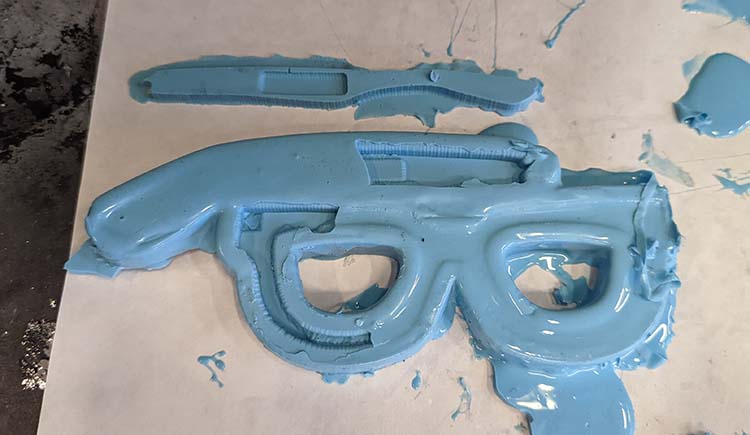
I made my mold with Oomoo, following the steps provided: mixing A and B for 3 minutes then pouring into the mold. My first wasn't great and had a lot of bubbles showing. I poured a second one later in the day that came out a lot better.
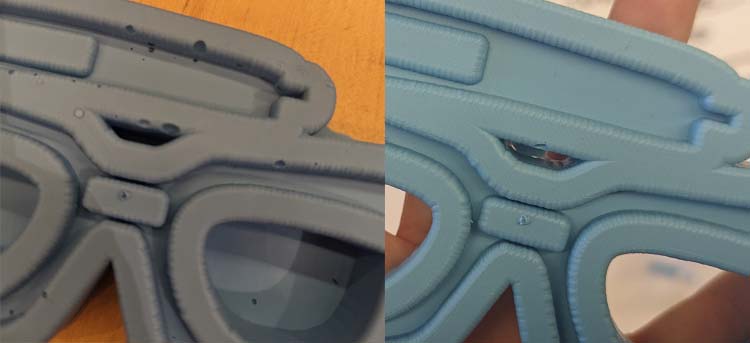
Comparing mold attempt 1 (left) and 2 (right)
Material Experiments
My first attempt to use the mold was to use metal as a material. The metal gets melted at 350 degrees in a little oven and then poured into the material. I wasn't able to get a super smooth surface with this. I attempted to file it down, and the glasses broke in the middle (what will become an ongoing problem).
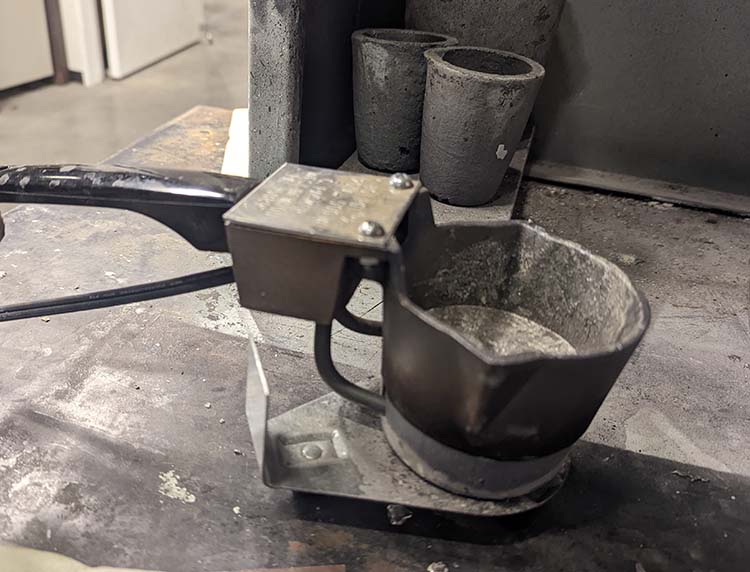
Melting the metal
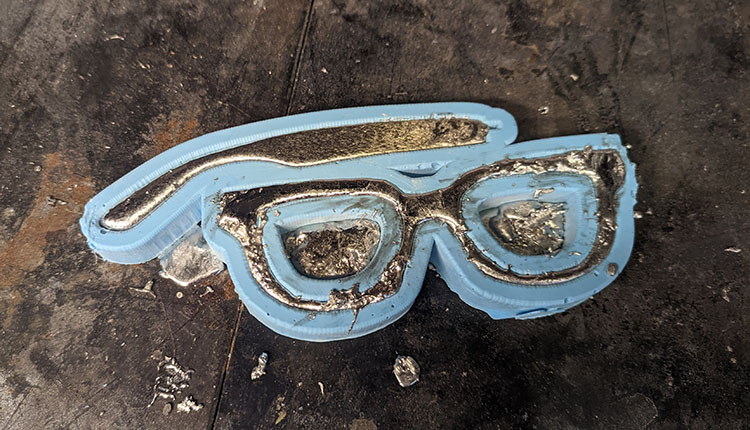
In the mold
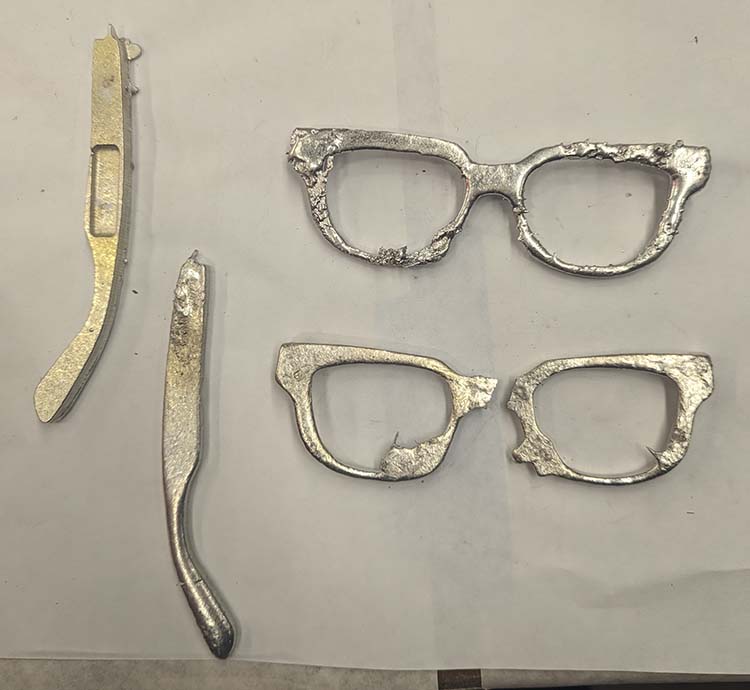
Mixed outcomes
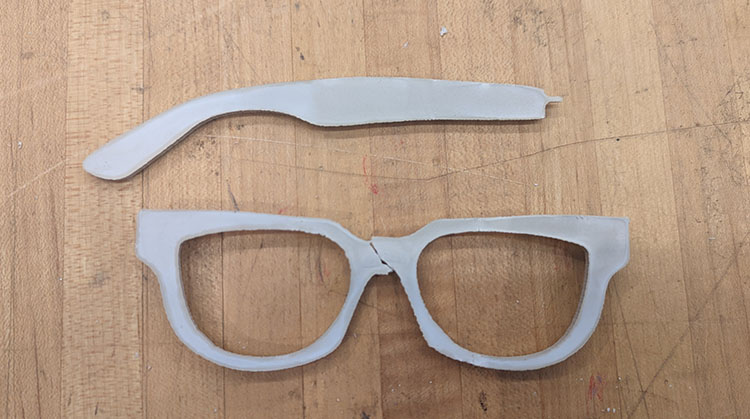
Moving on from metal, Hydrostone is apparently the hardest plaster. Knowing that my design could be fragile, I went that route, mixing using the island method.
It looked great in the mold, the top smoothed out really nicely in a way the metal didn't. However, the frame cracked as I took it out of the mold.
I also did some tests mixing the Hydrostone with leftover metal shards. I like the effect of leaving them on the bottom, but I'd want to find ways to make the effect more uniform.

I knew from other students yesterday and an oomoo-in-oomoo cast was an option. The oomoo seemed much less fragile, so I sprayed and brushed my mold with an anti-stick material and tried to create an oomoo version of the glasses themselves.
This was an absolute failure. One mold was fine, but the other had merged and totally ruined the mold. The part that worked was way too floppy to be reasonable glasses.
Learnings / What I'd do Differently Next Time
- I didn't design for the bit size of the CNC at all. That meant that certain important elements were just left out of my design.
- On that point, the edges around the insets I designed for PCBs were too thin and made my design fragile. Next time, I'd design with the durability of the materials available in mind.
- Do not try and edit the wax once it's been CNCed. I only had one of these, but I thought I could just carve out the missing parts with an x-acto knife. The wax was way more fragile than I expected and just broke off.
- I'd design wider parts with the oomoo in mind as a material as well. The oomoo is created so that bubbles can rise to the top, but my design had such narrow parts that they didn't have anywhere to go.