(Group) test the design rules for your 3D printer(s)
(Individual) Design and 3D print an object that could not be made subtractively.
3D scan an object (and optionally print it).
For my assignment this week, I was intrigued by bananas (since I eat them all the time in between classes thanks to the Banana Lounge). Specifically, I liked the physics of the peeling action of a banana and how the wrapper of the fruit folds into itself.
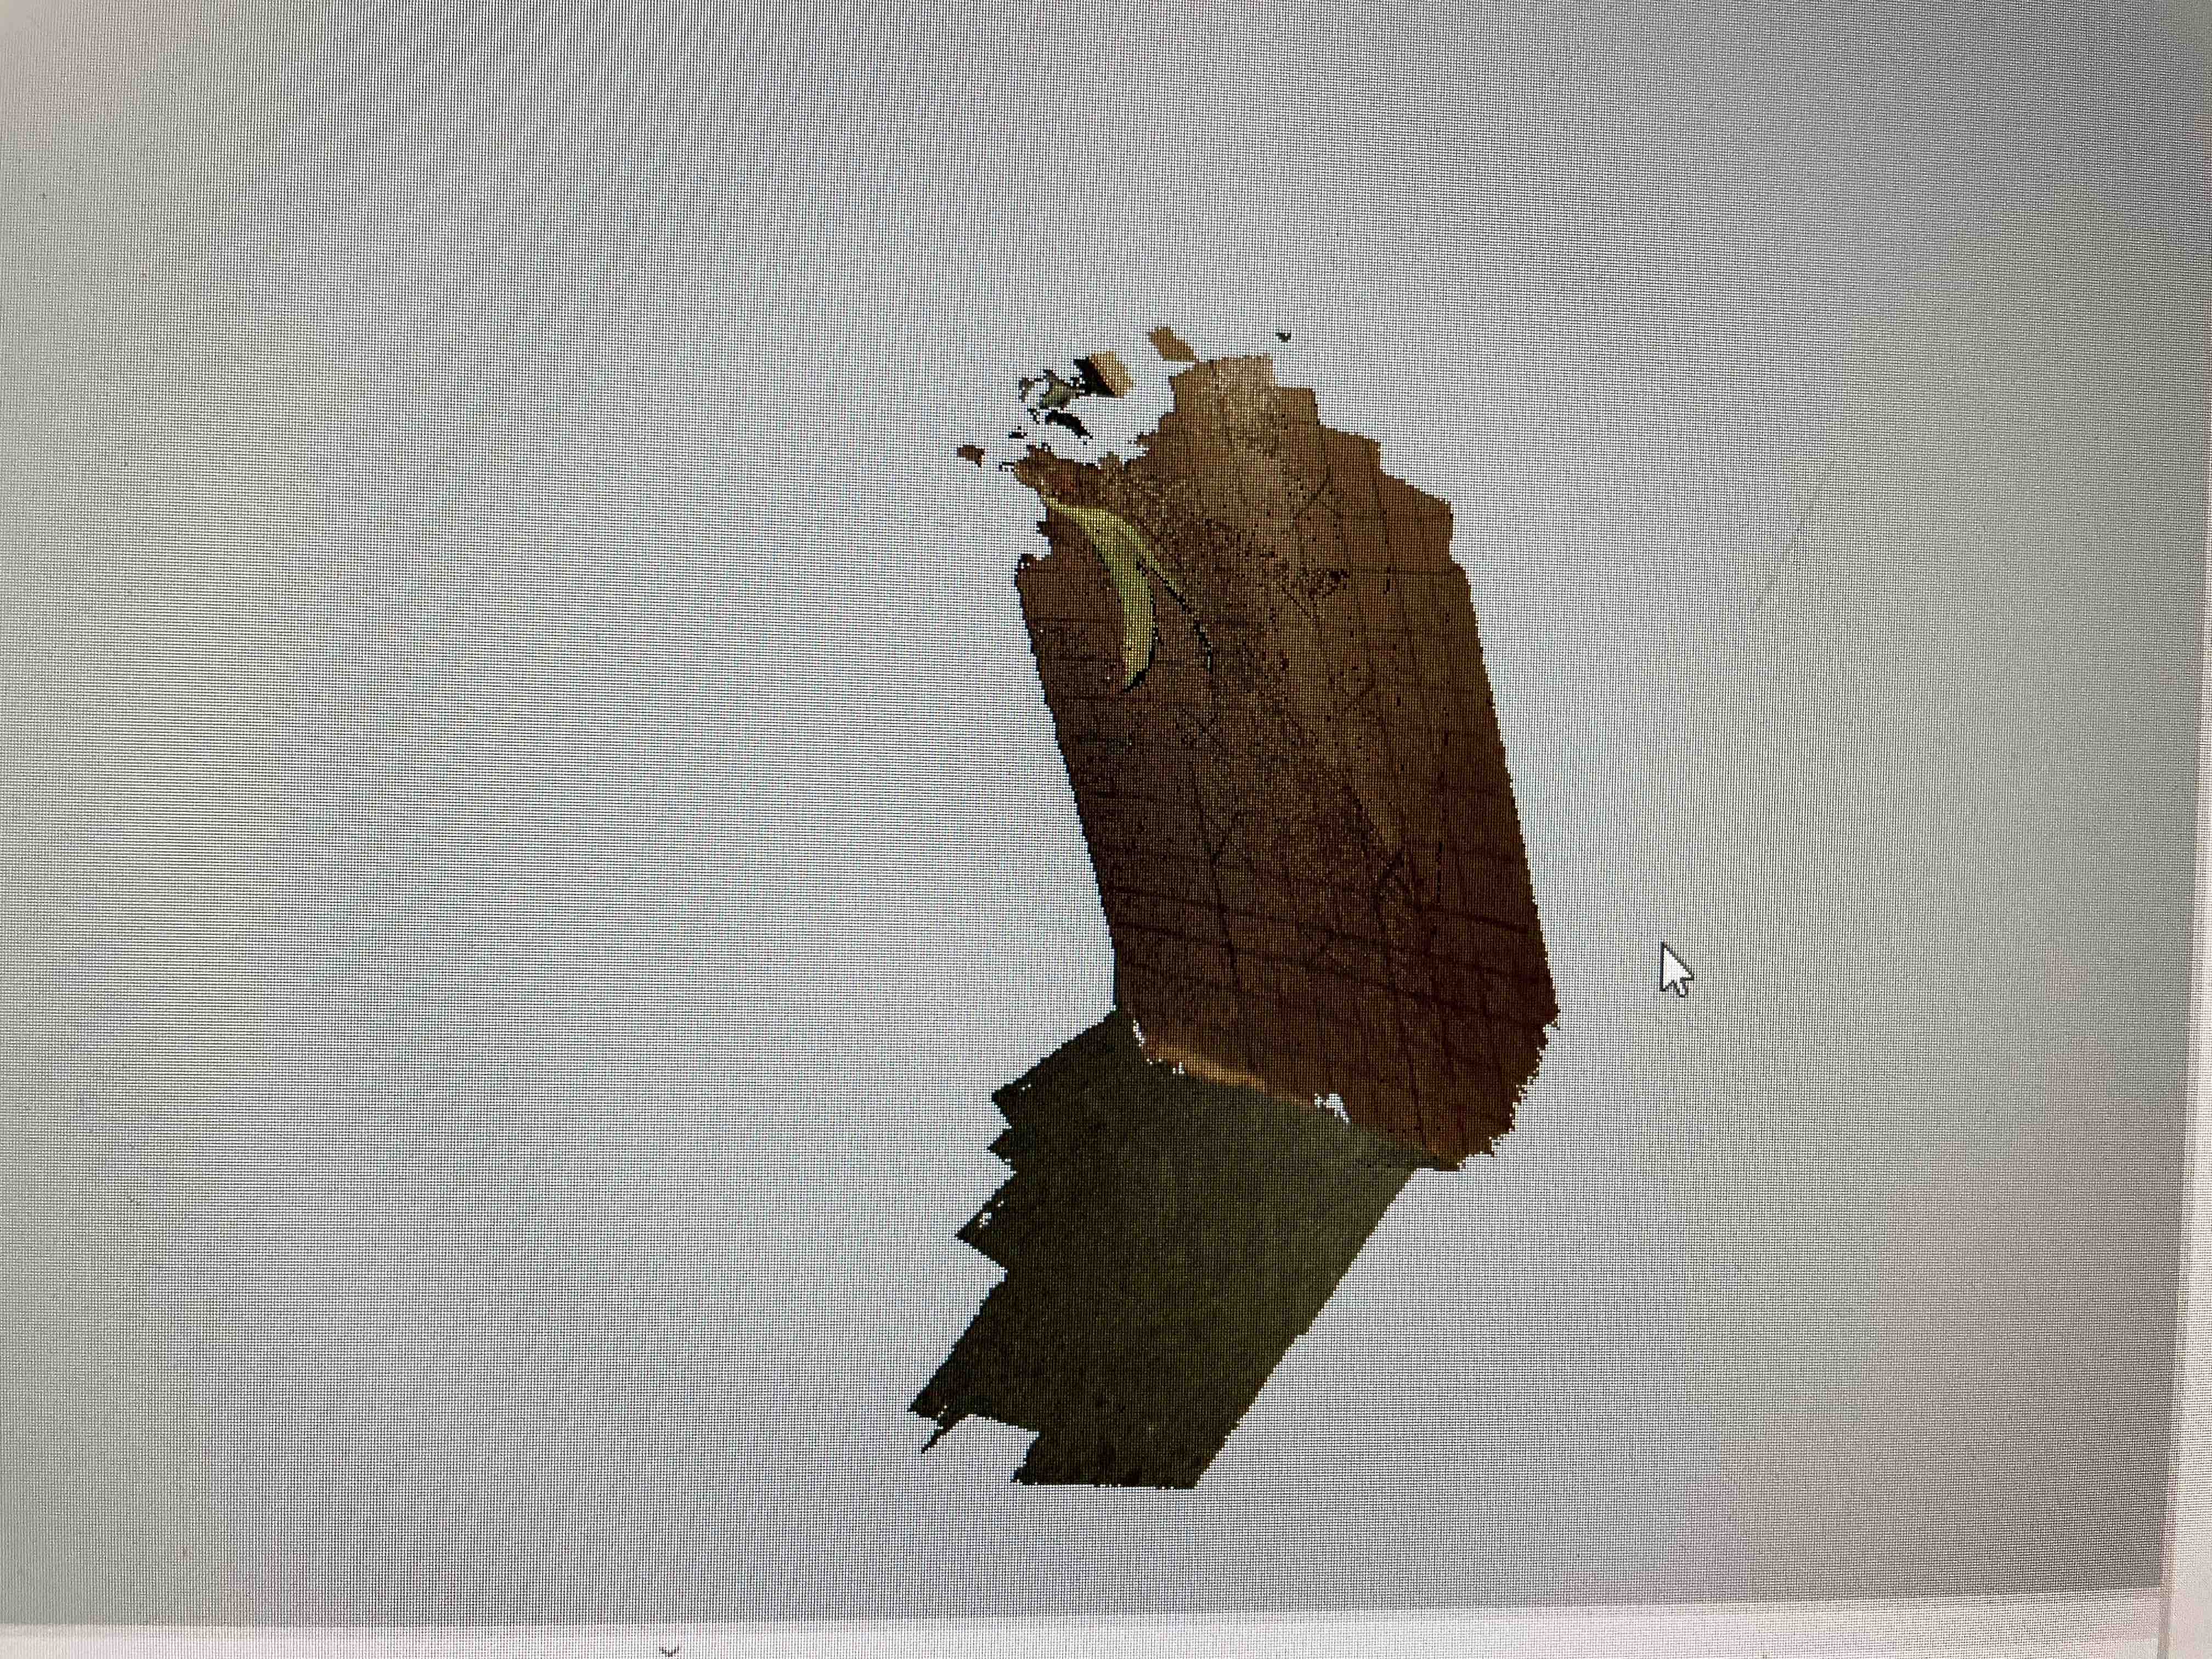
So, I began by scanning using the Arctic LEO instrument to scan the banana against the background of a cardboard with x-s.
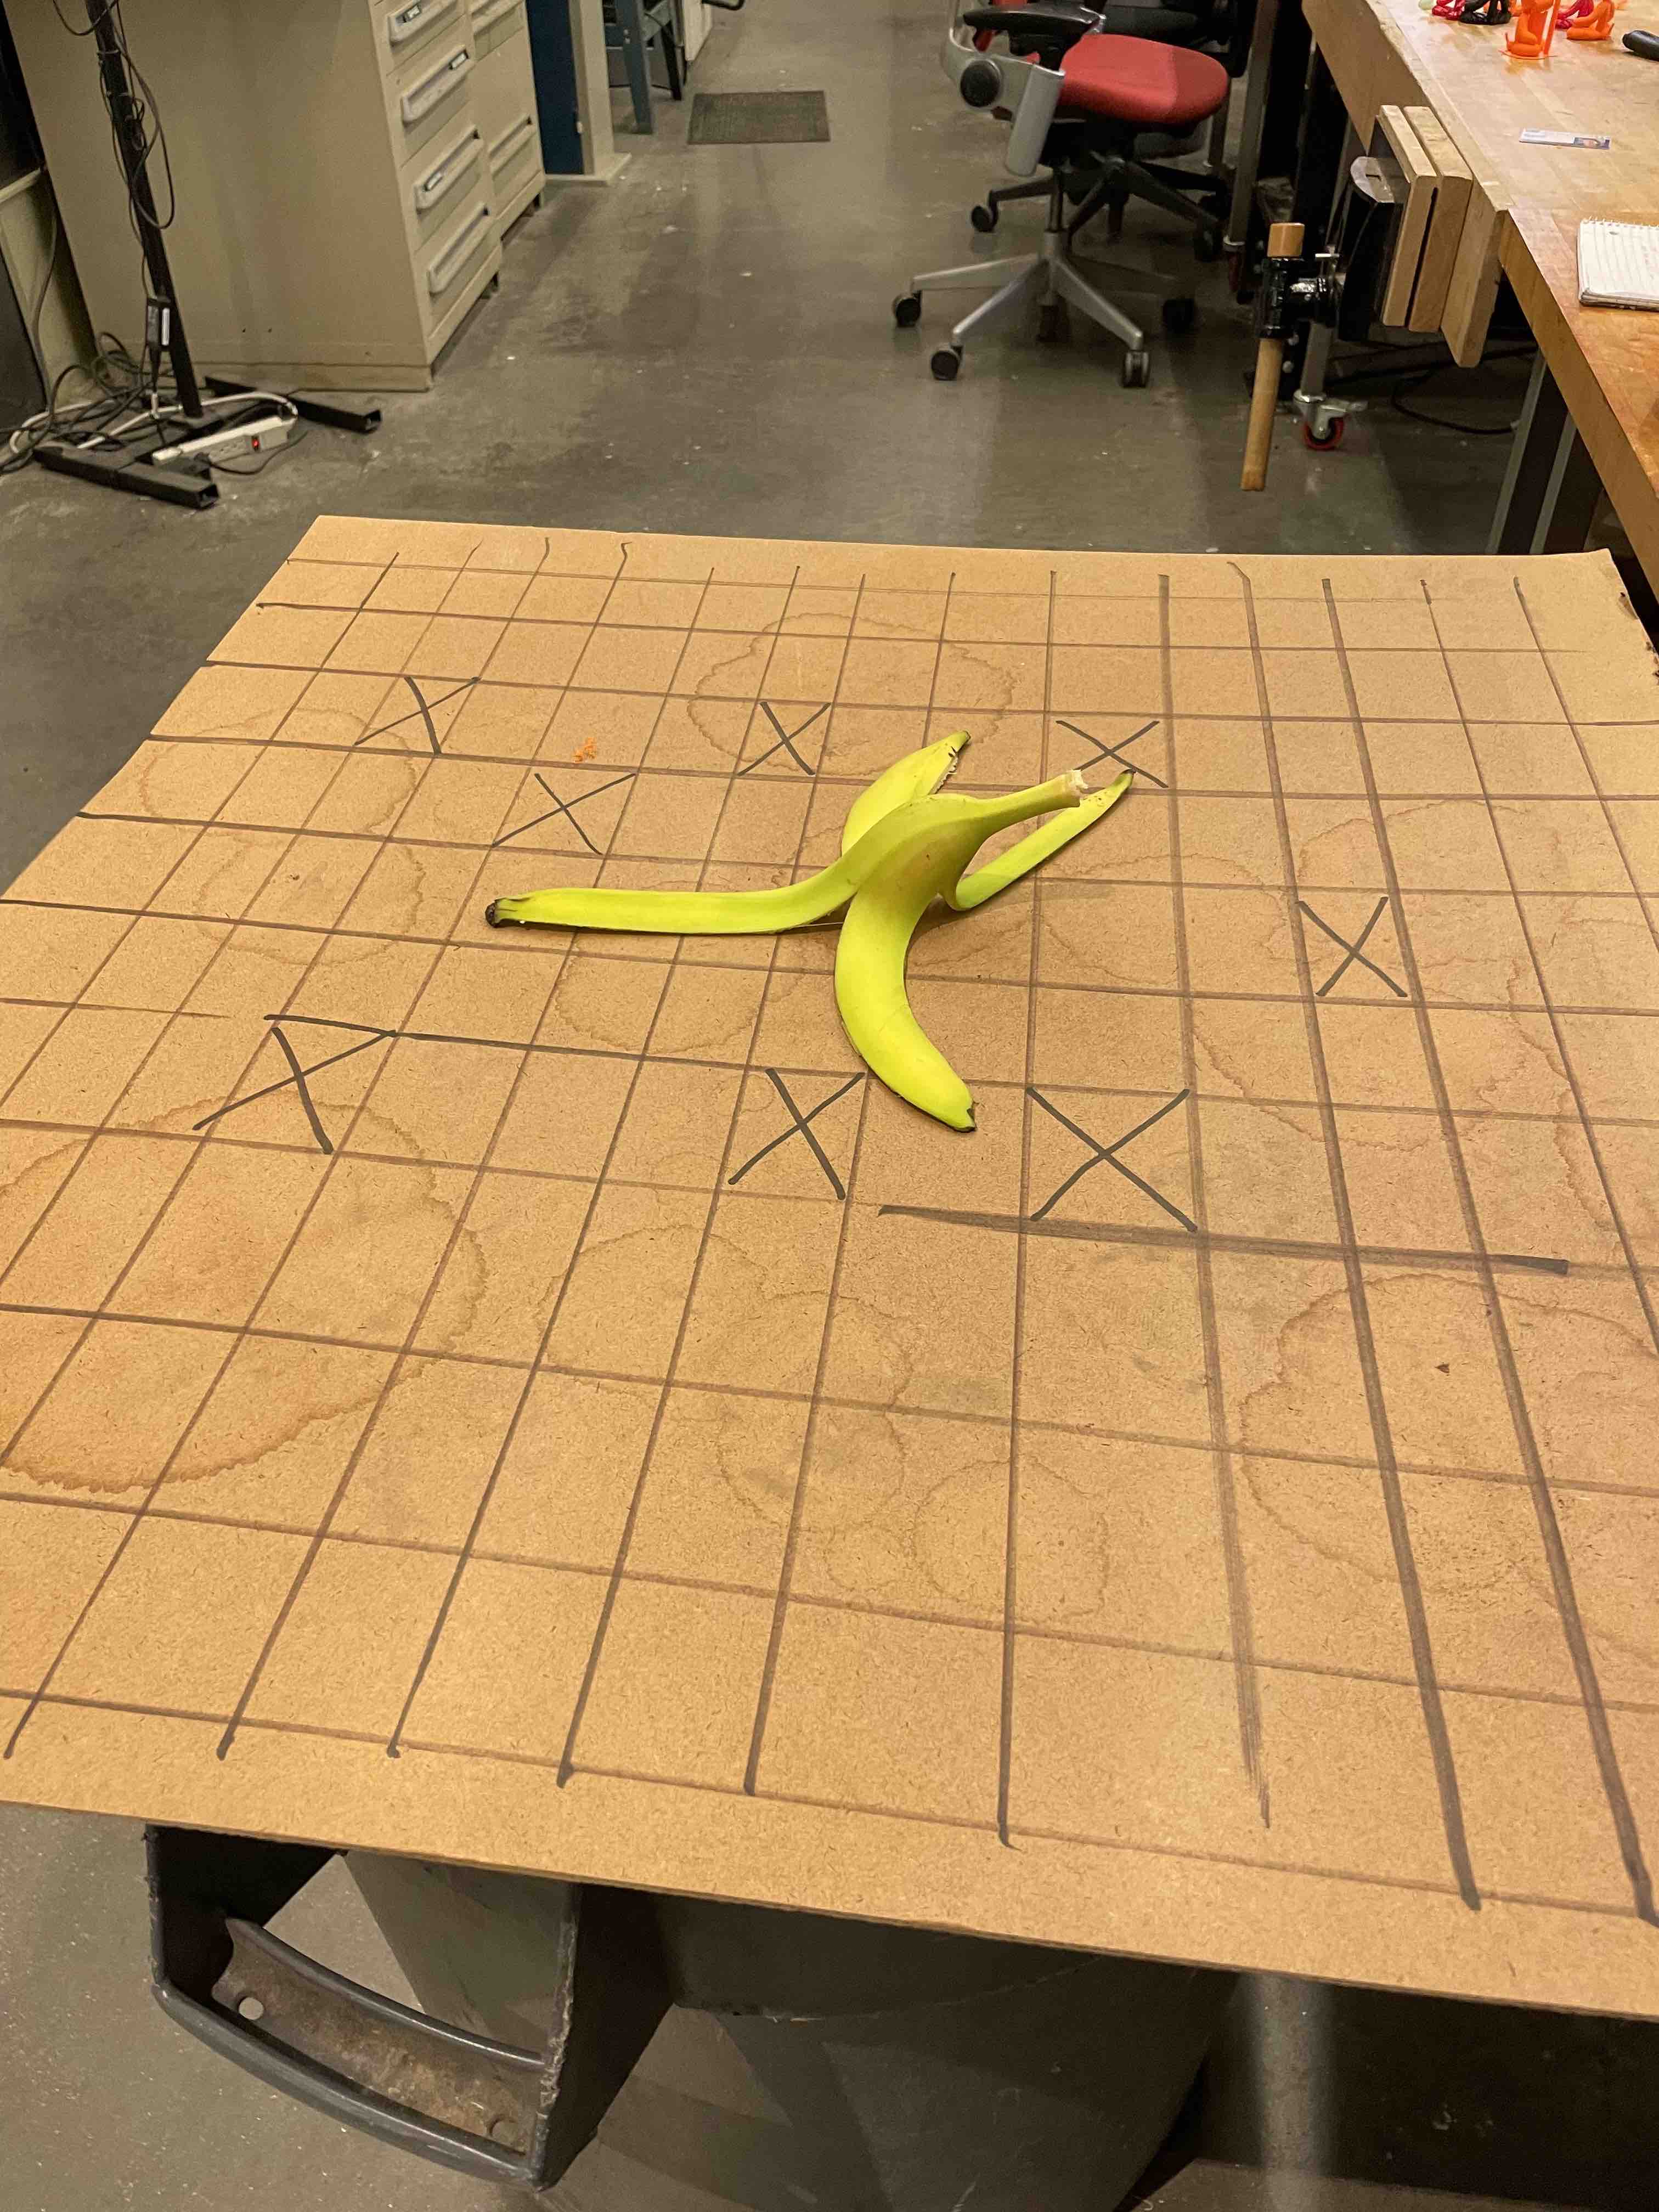
However, during the processing of the scan, despite a thorough job with cutting out fragmants of the cardboard, there was still a large contour of the "ground" captured that could not be removed without compromising some of the banana geometry. Thus, I started thinkng about how to reposition the banana when scanning.
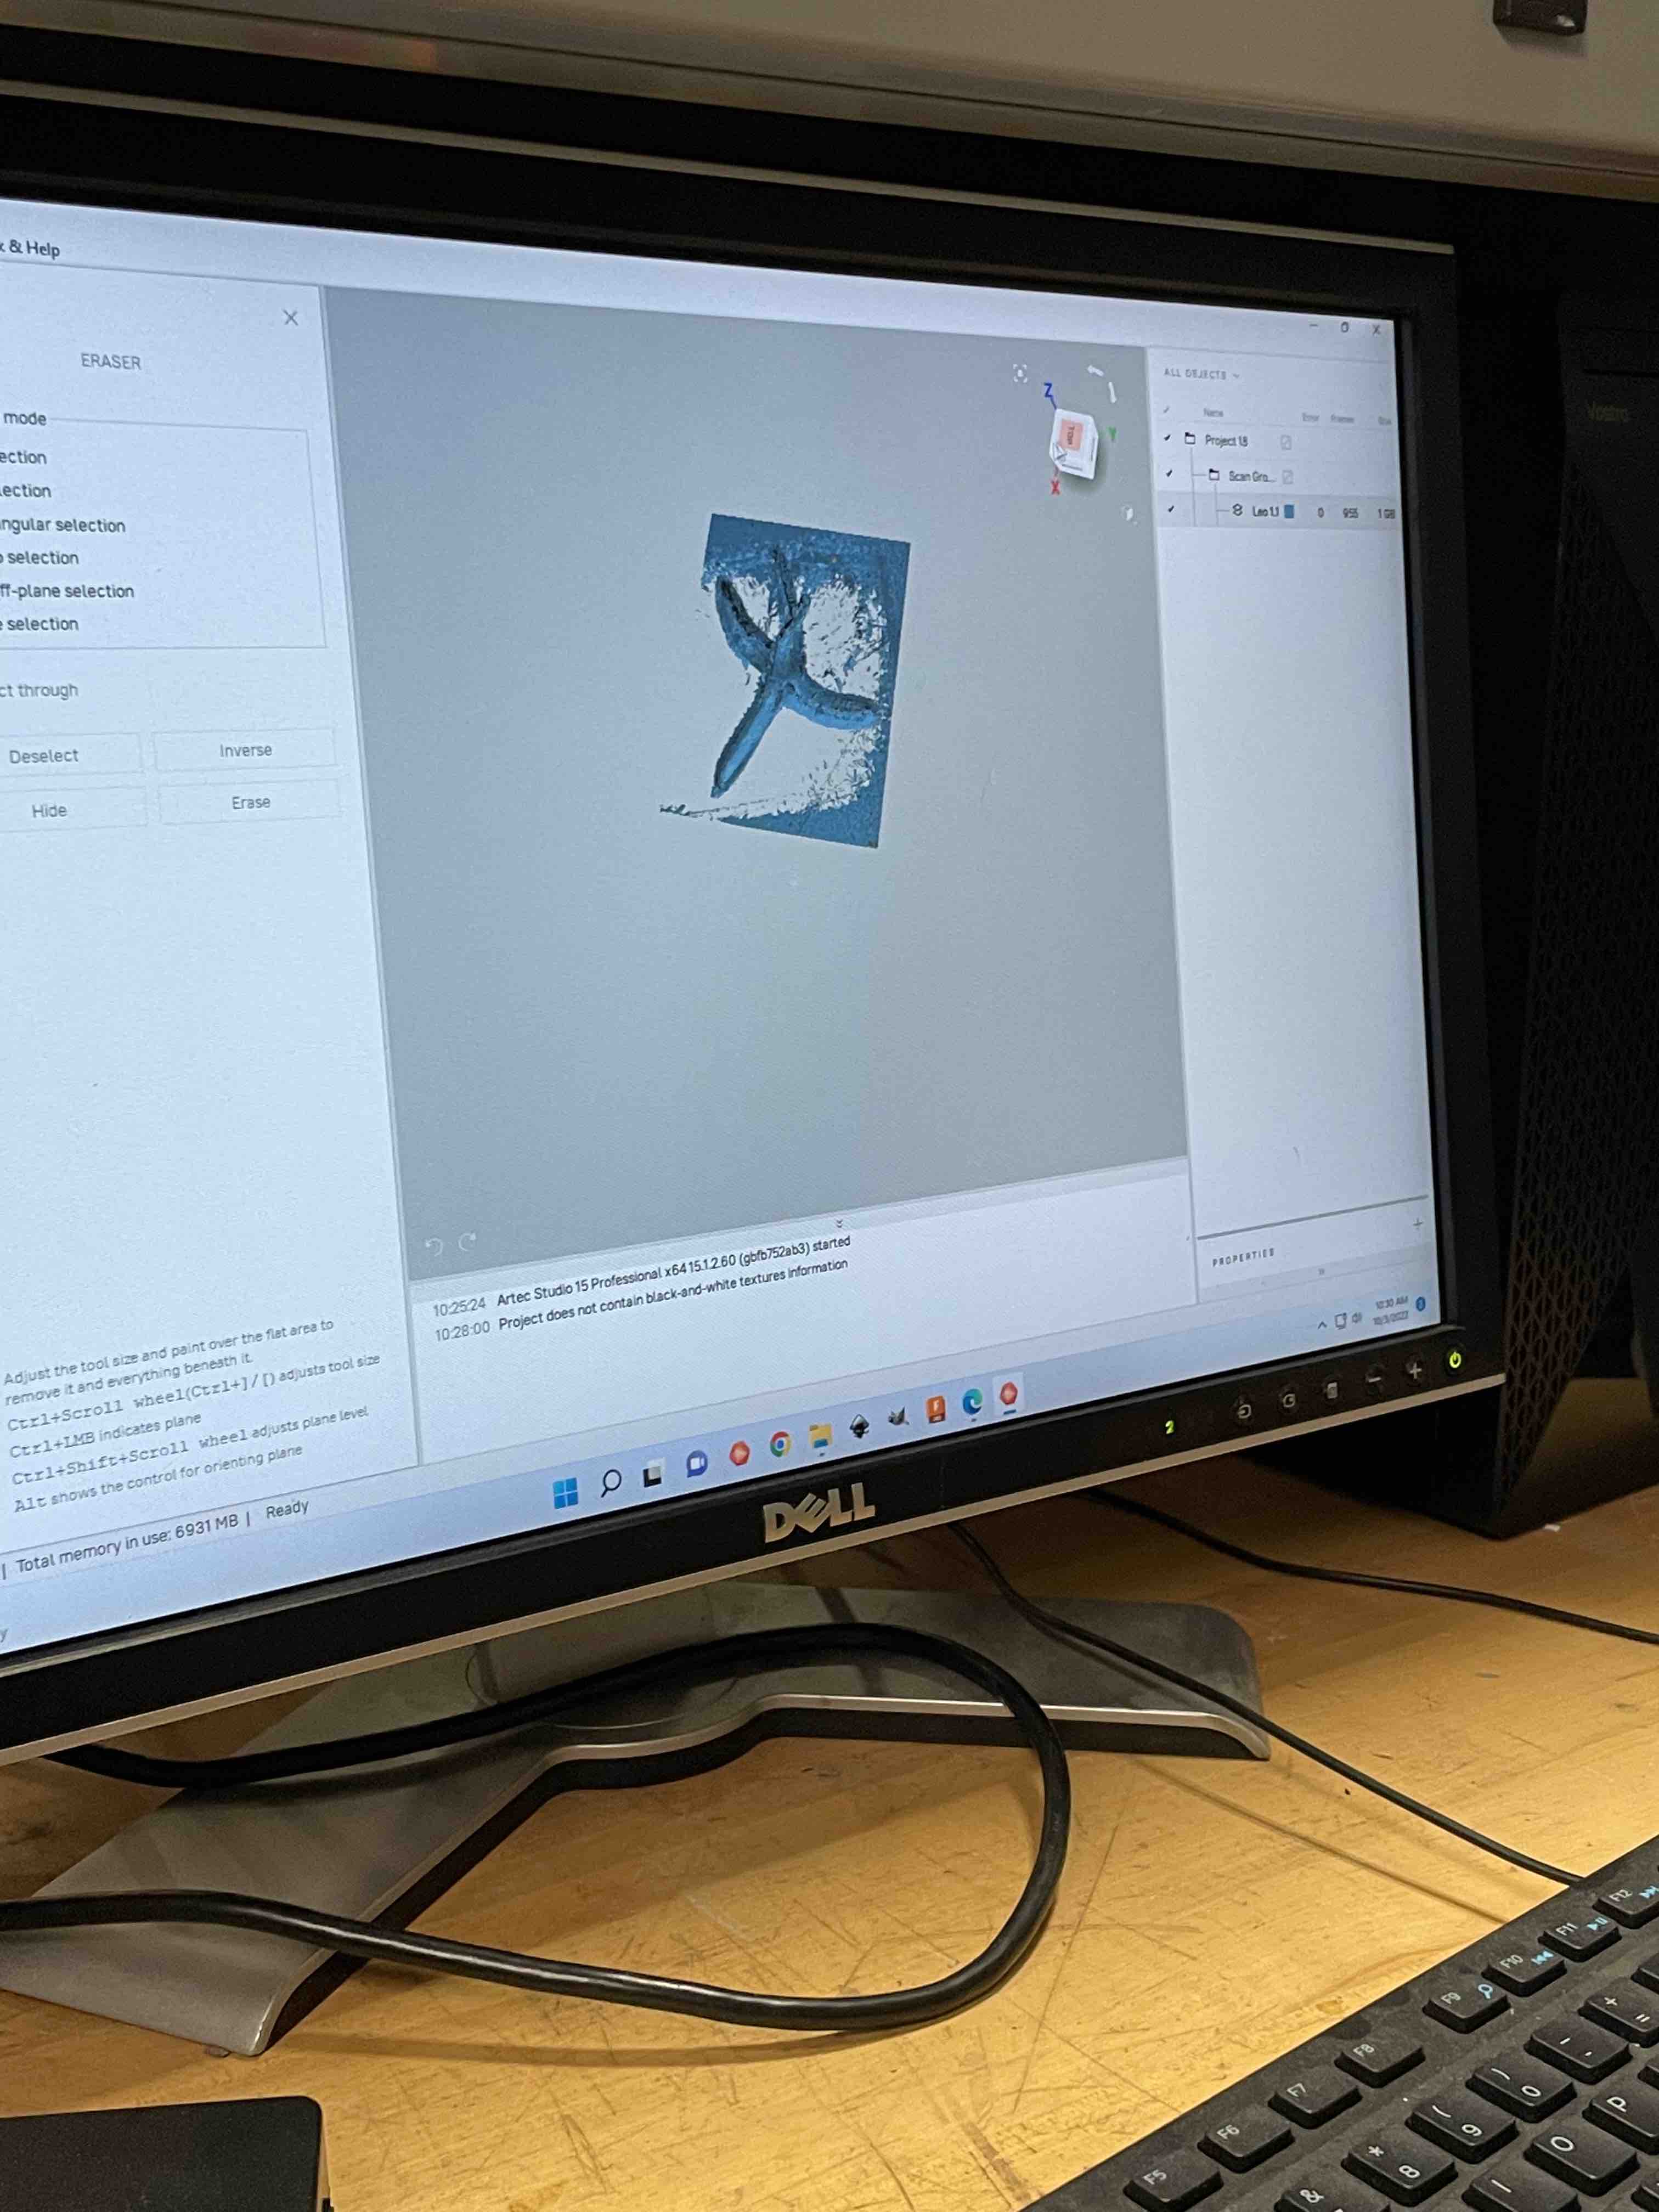
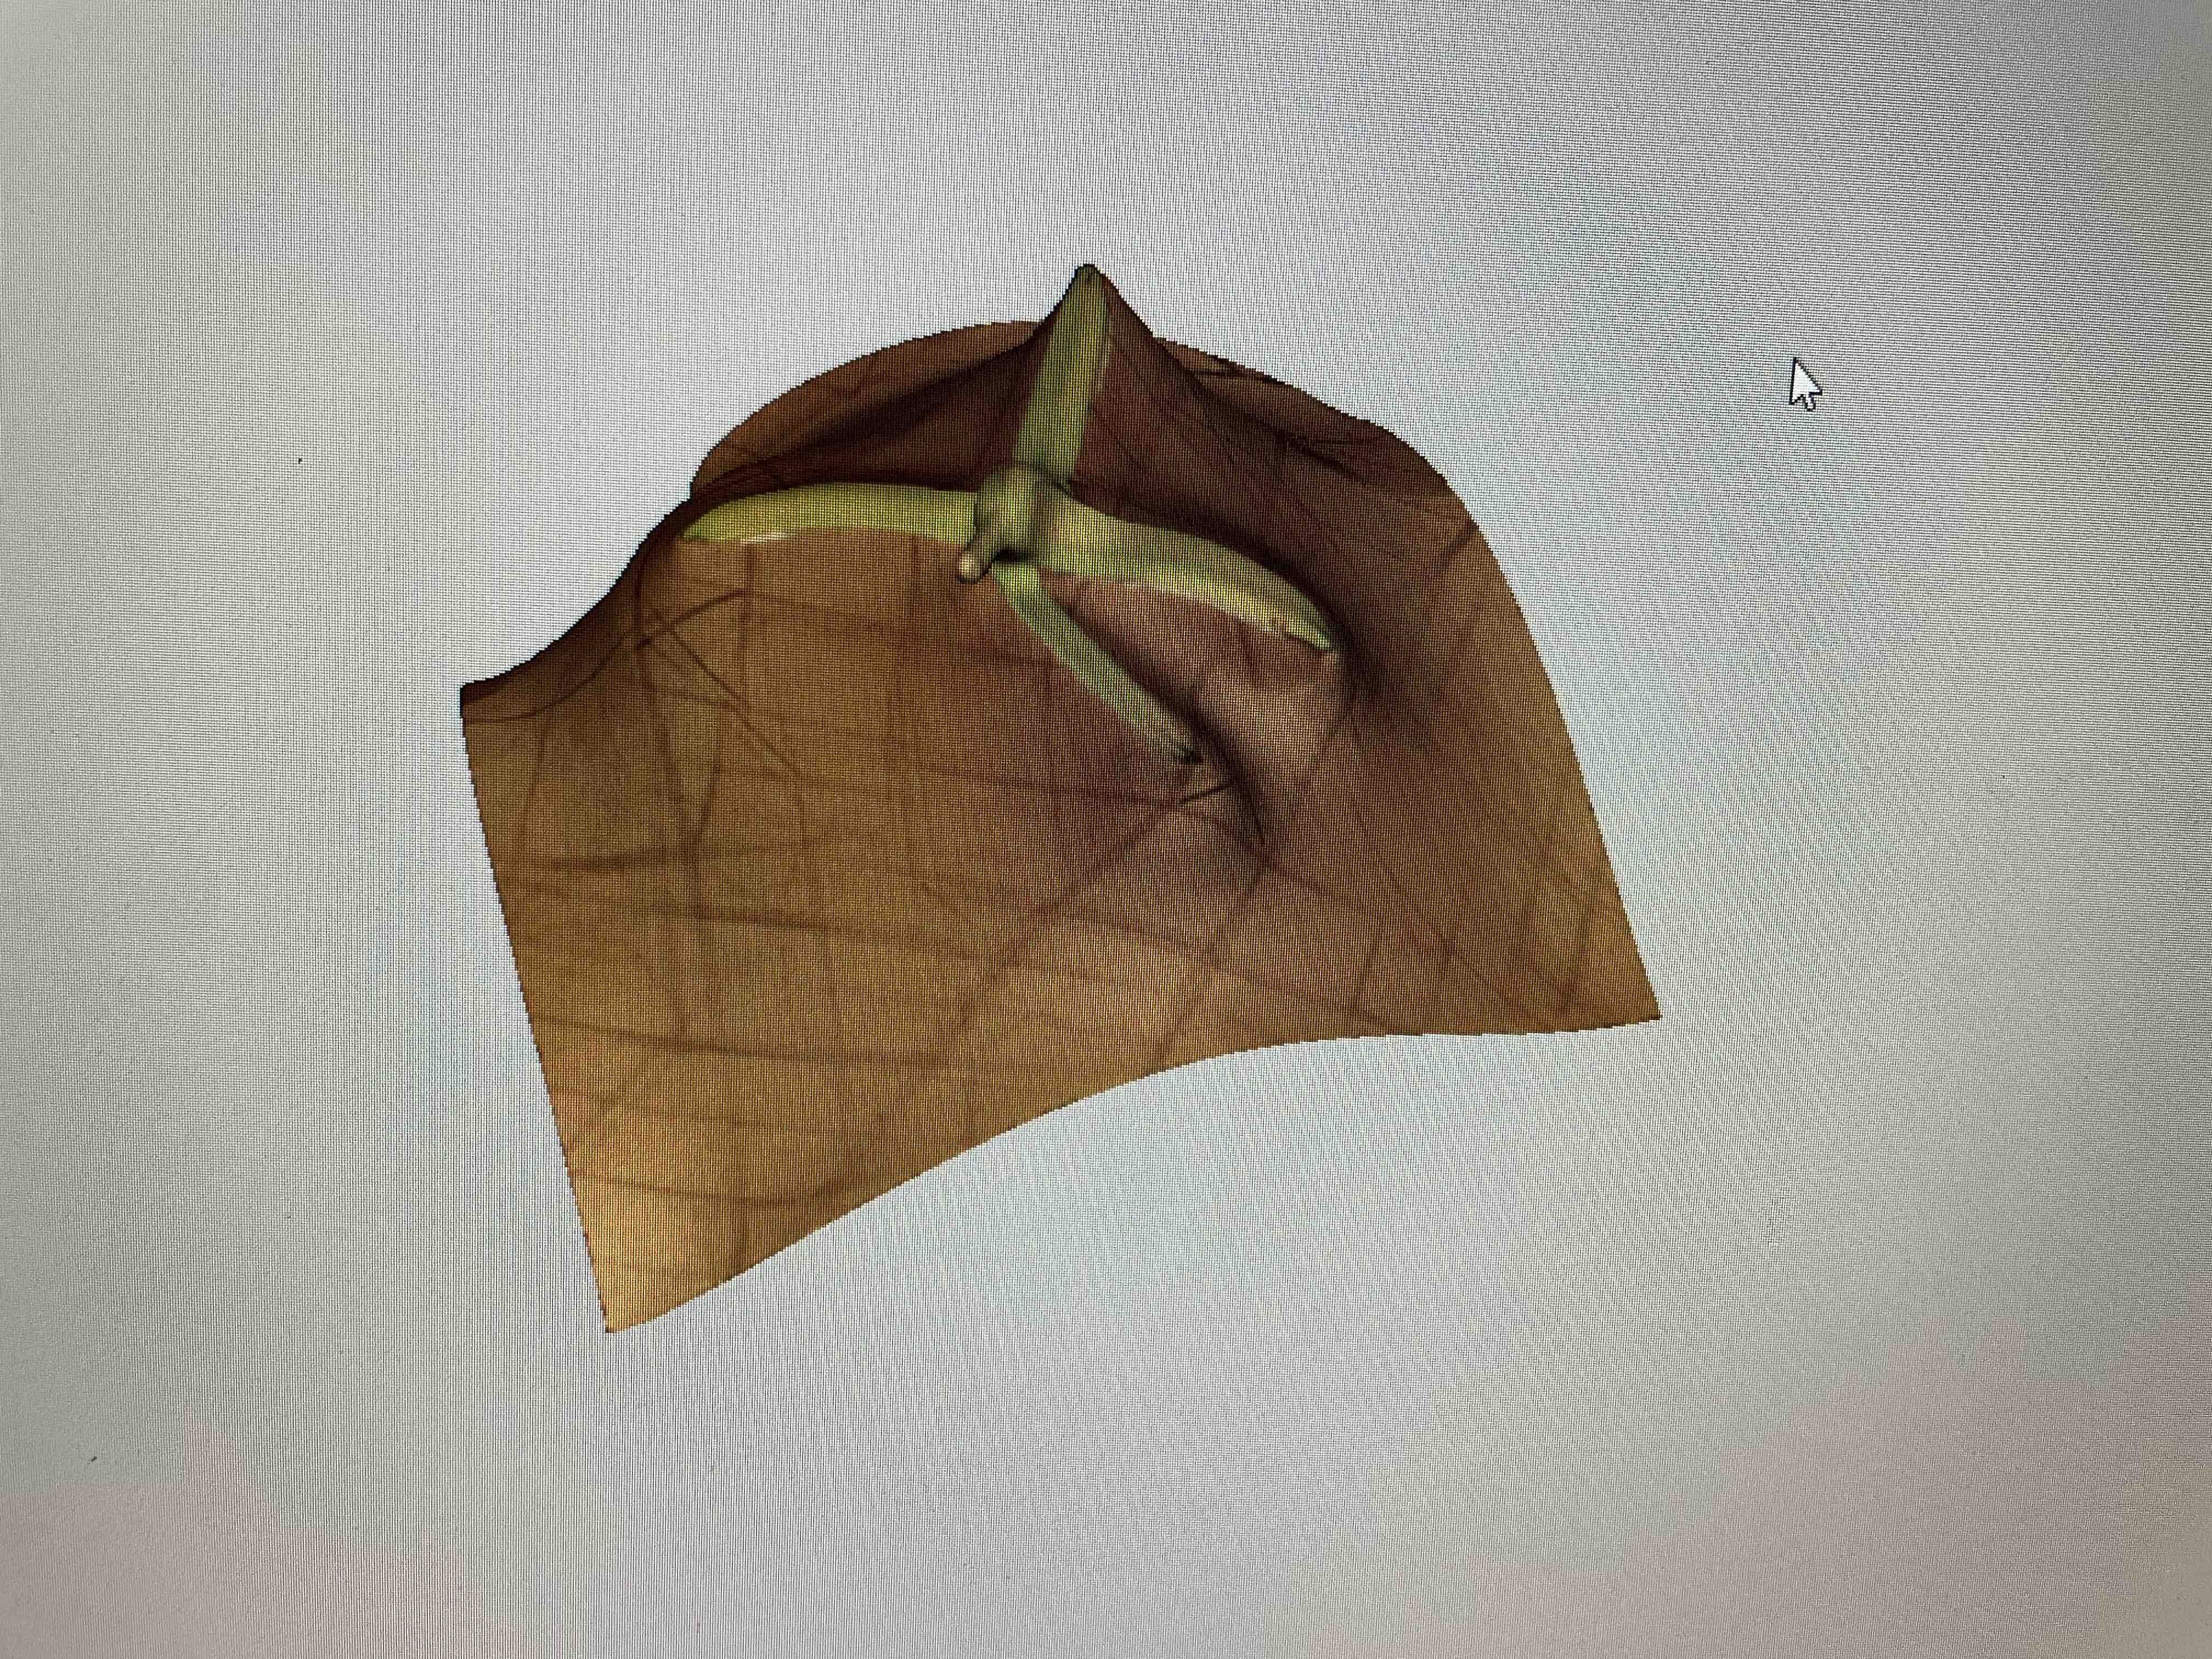
For the next scanning attempt, I hung the banana so that the empty space between the peels could be captured more effectively (this "empty space" is the part that can't be manufactured subtractively, which is what makes 3D printing a banana peel desirable).
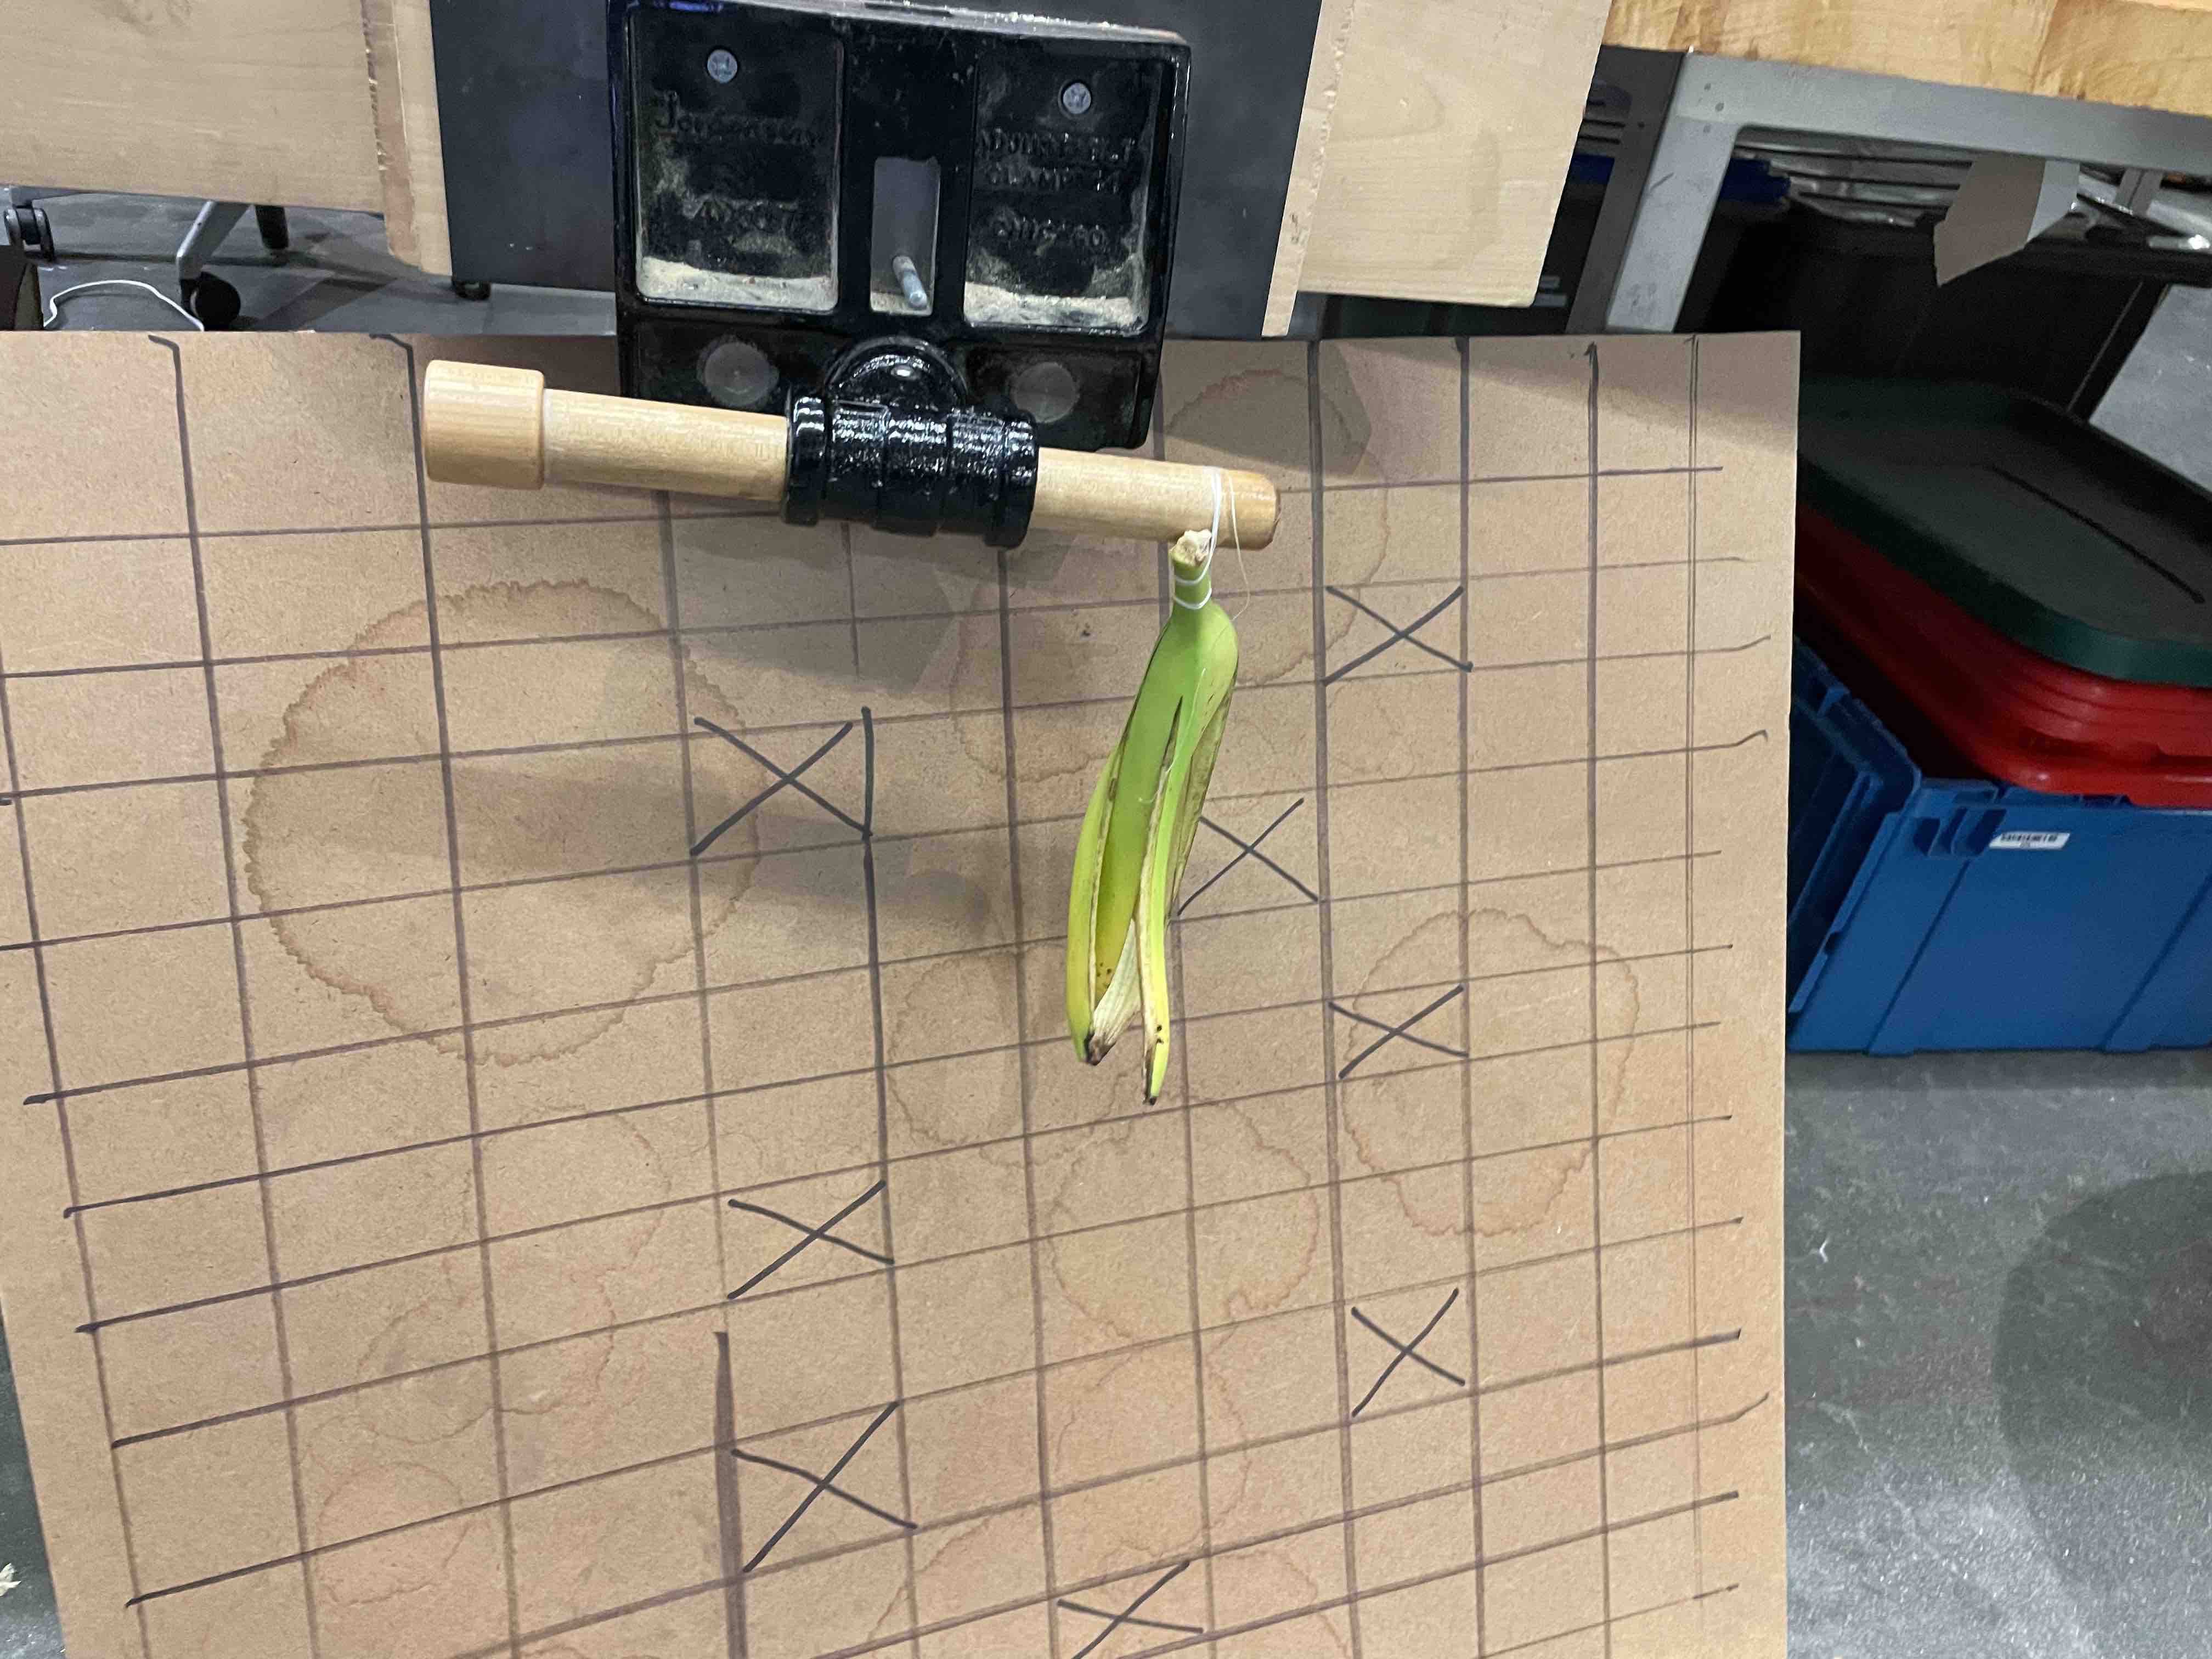
However, the cardboard backdrop proved an issue again (and I learned my lesson), making the back of the banana scan too undetailed to create a mesh when processing in Arctec Studio.
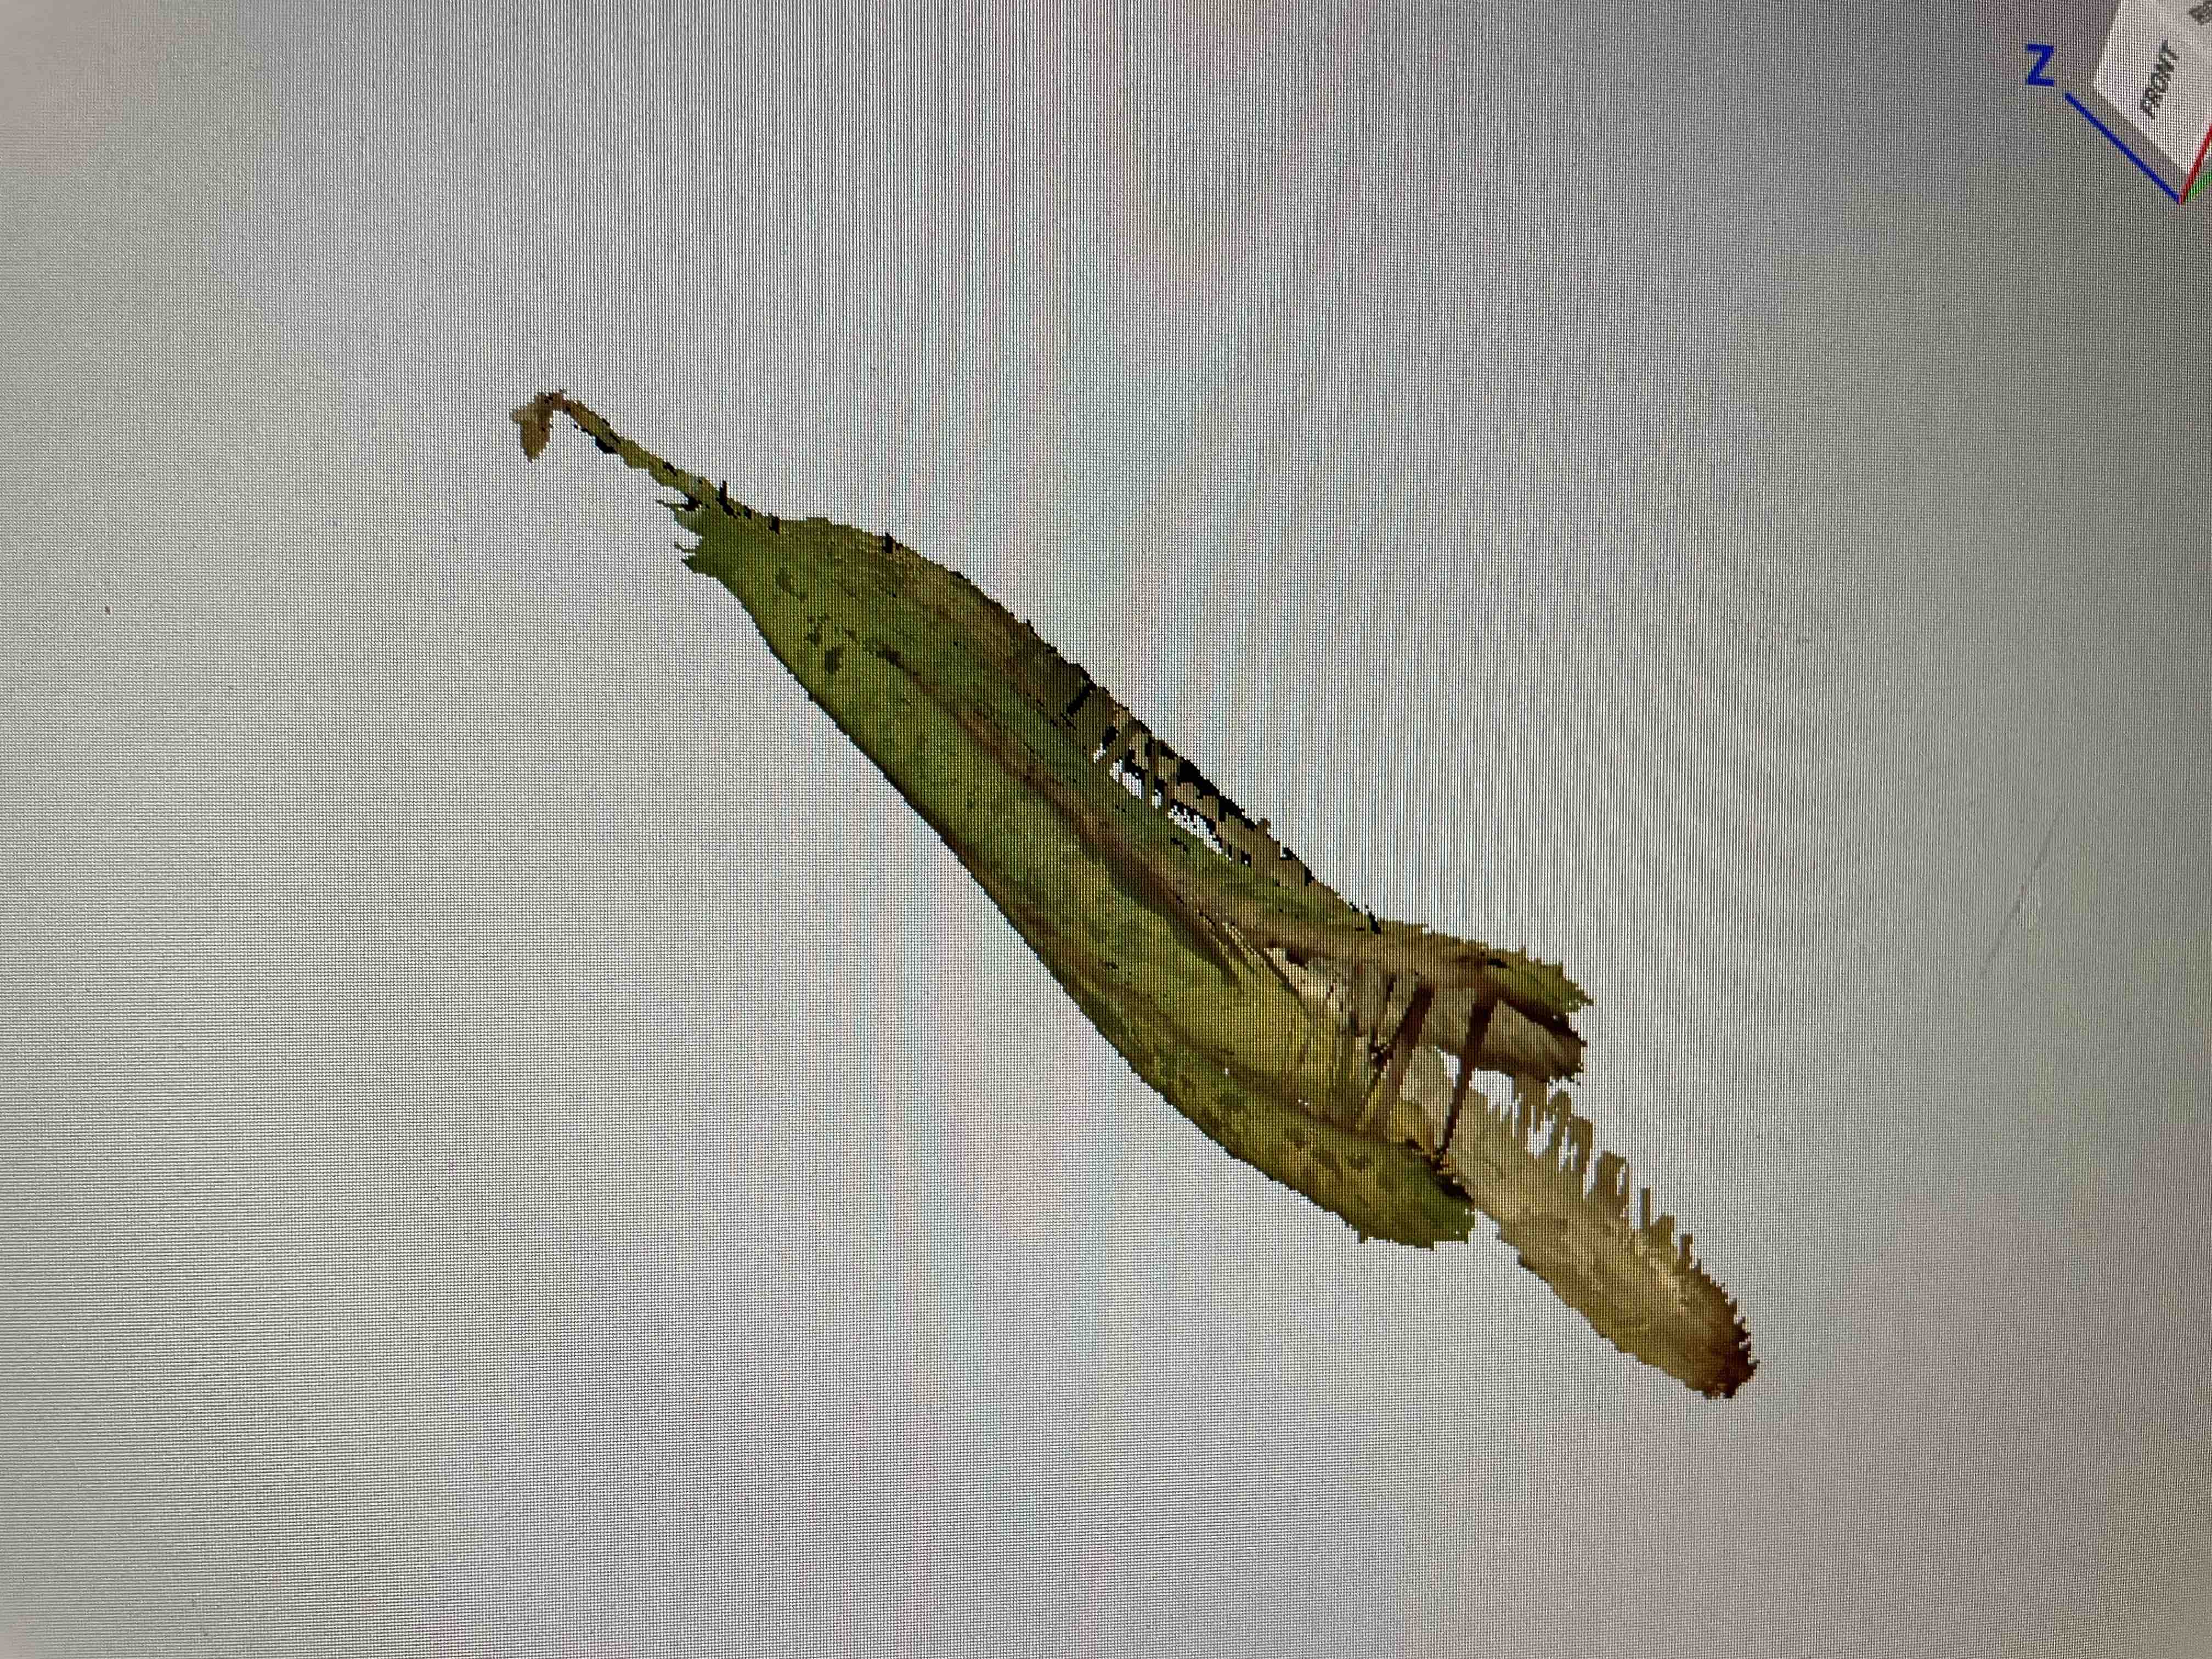
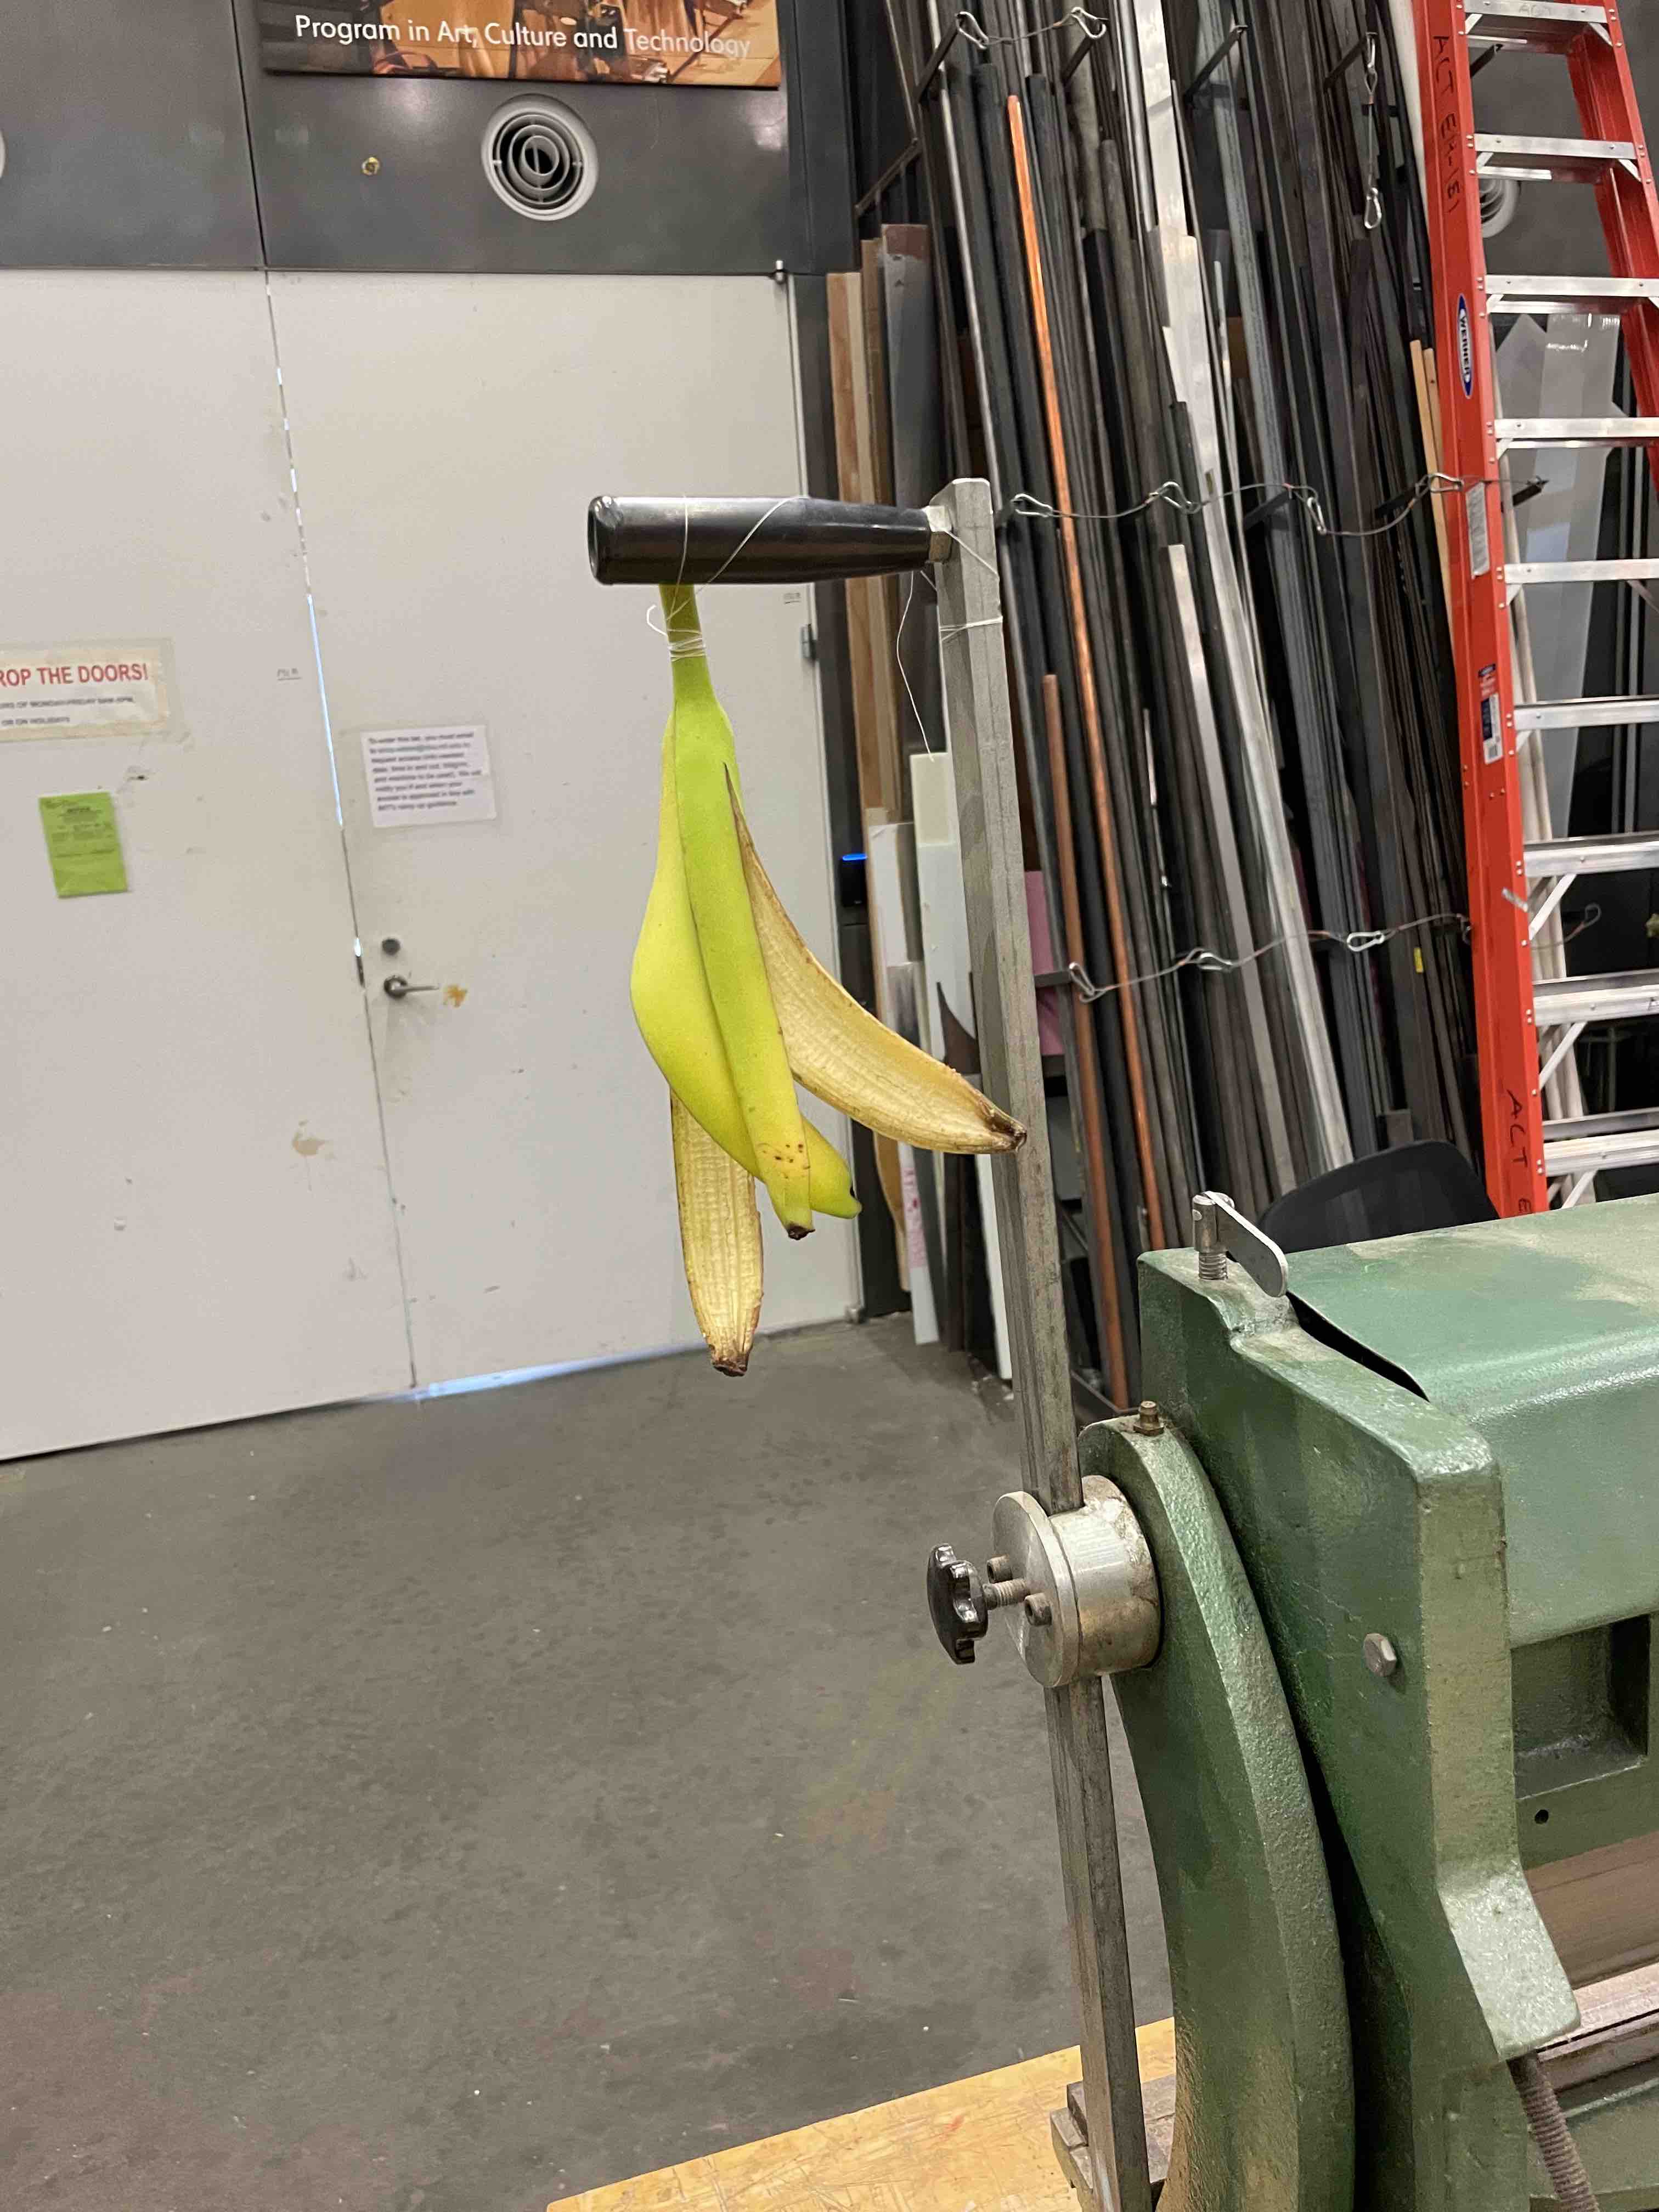
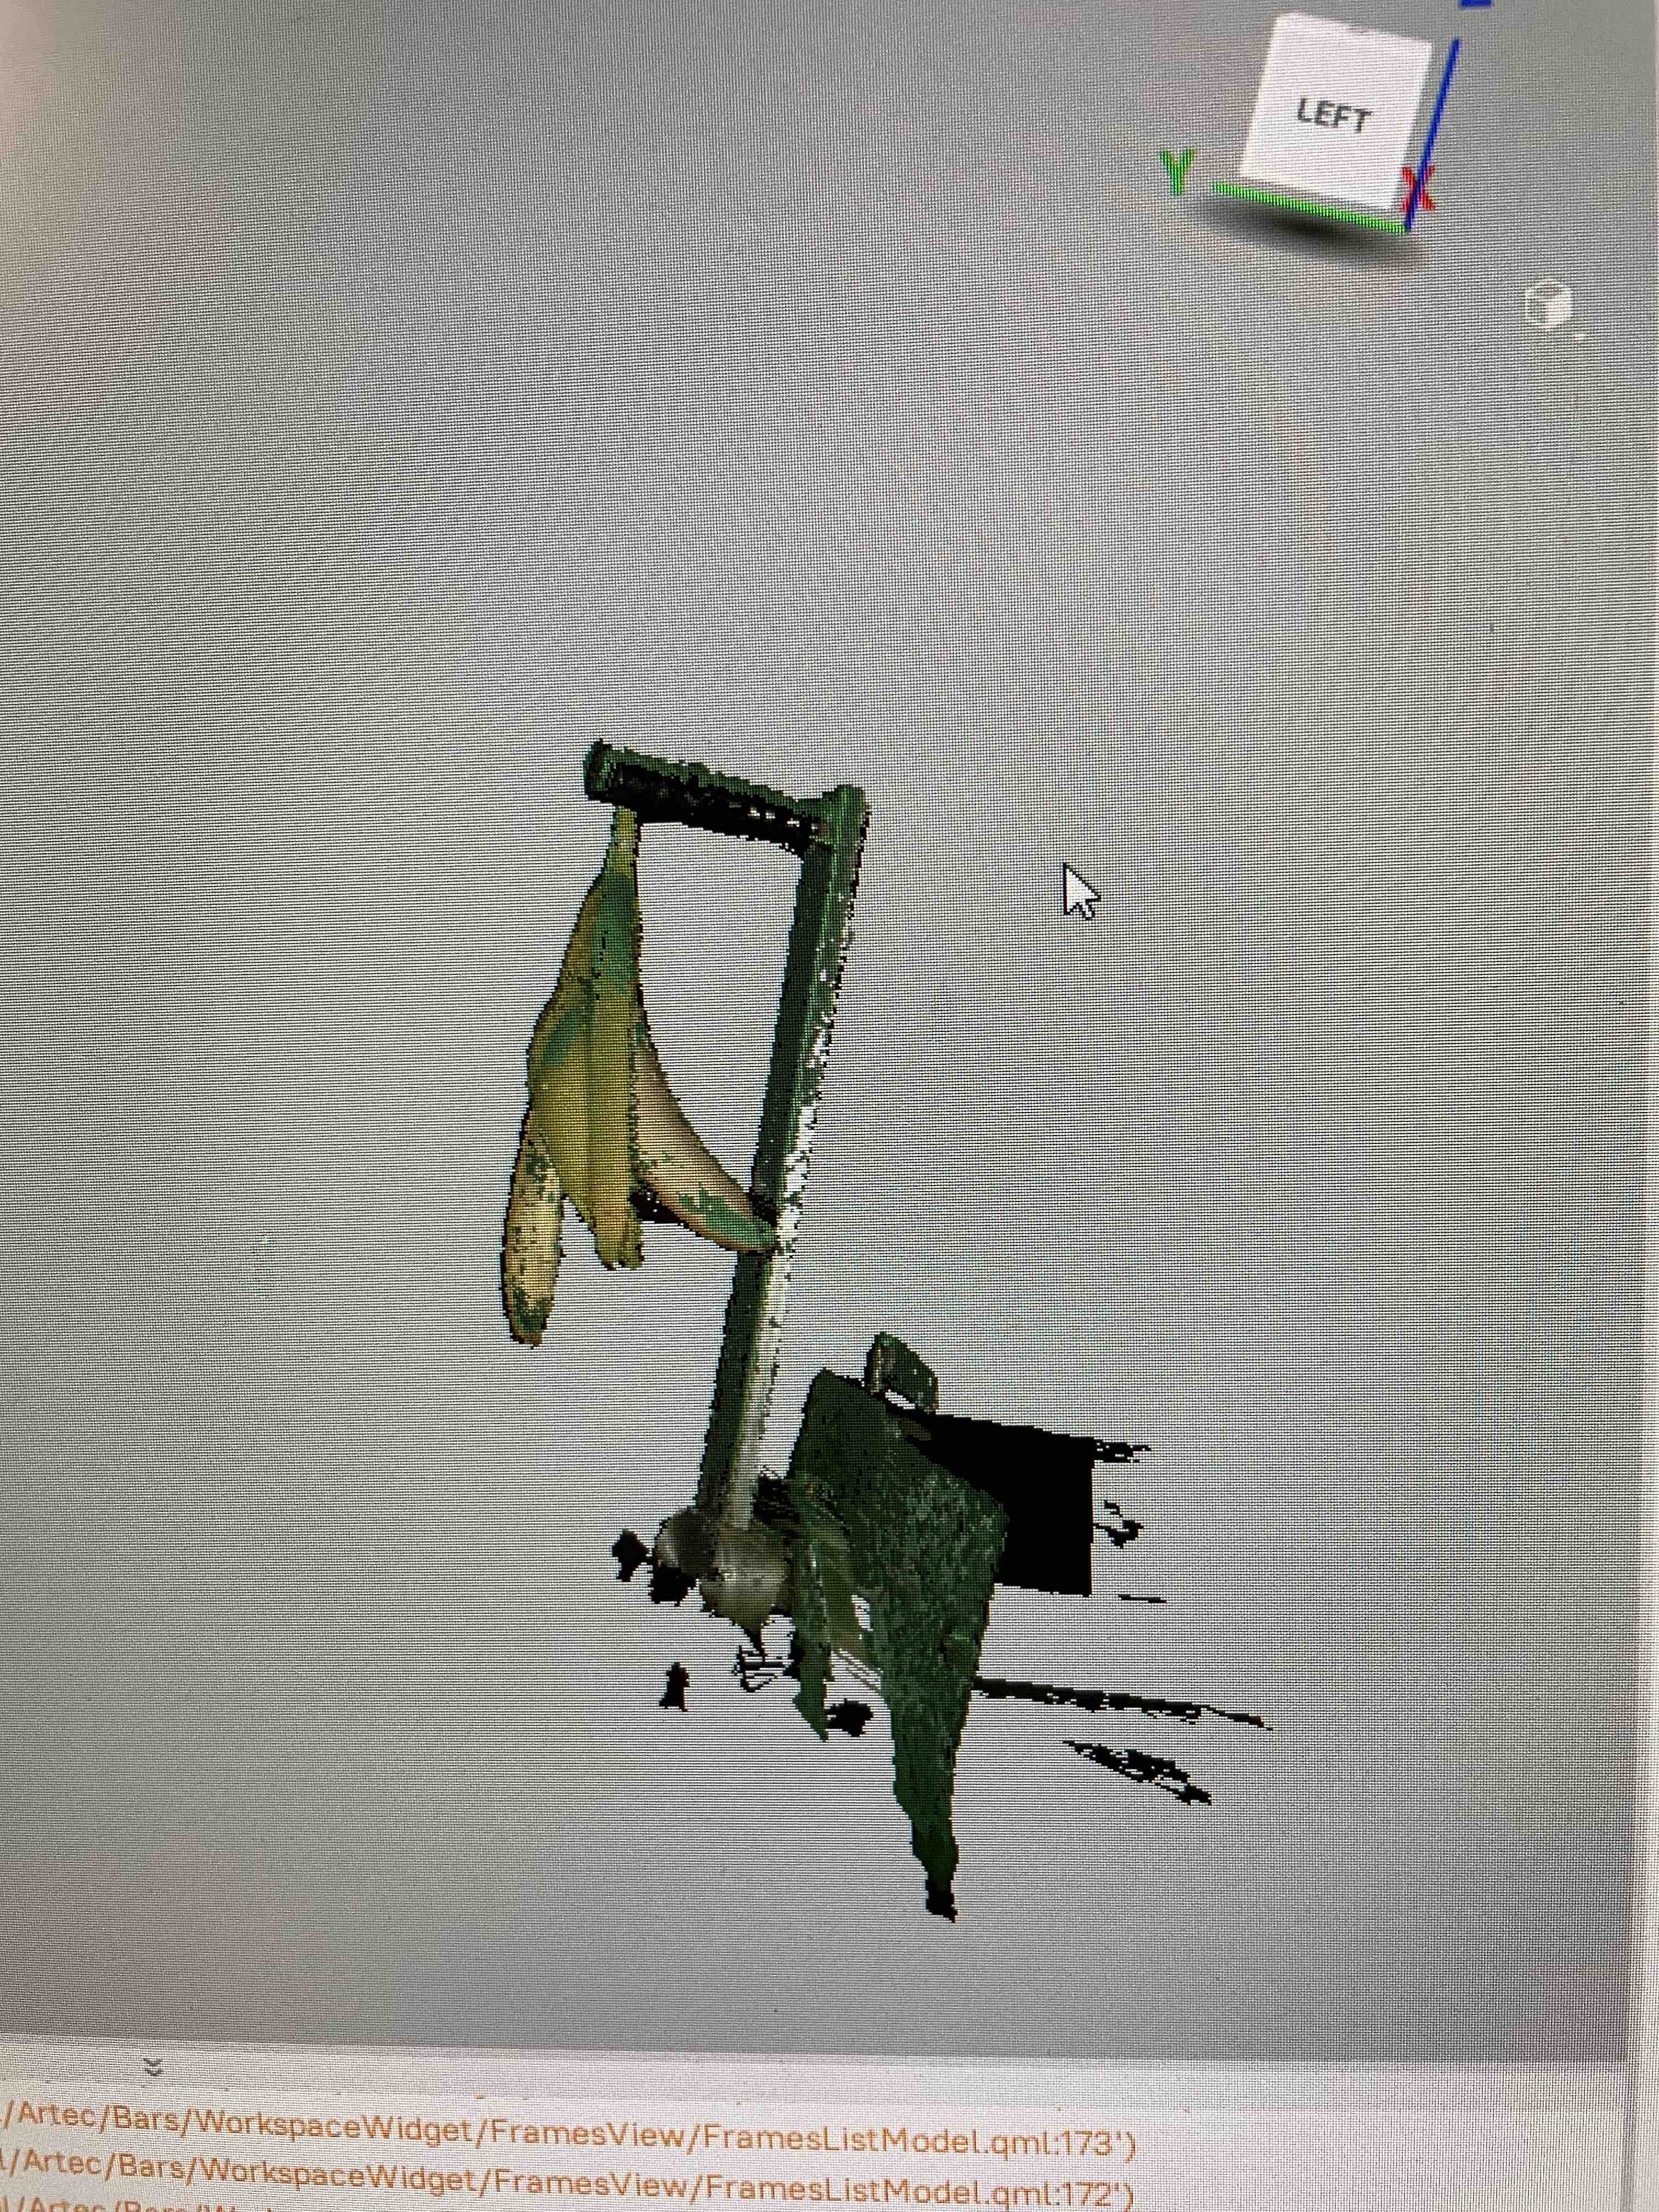
My next (and final attempt) at scanning was done without the cardboard backdrop in a set up that allowed me to do a proper 360 around the banana. I simply used string to wrap around the stem of the banana, then hung it offer a tall overhang in the CBA lab (which happened to be off of a machine in the shop).
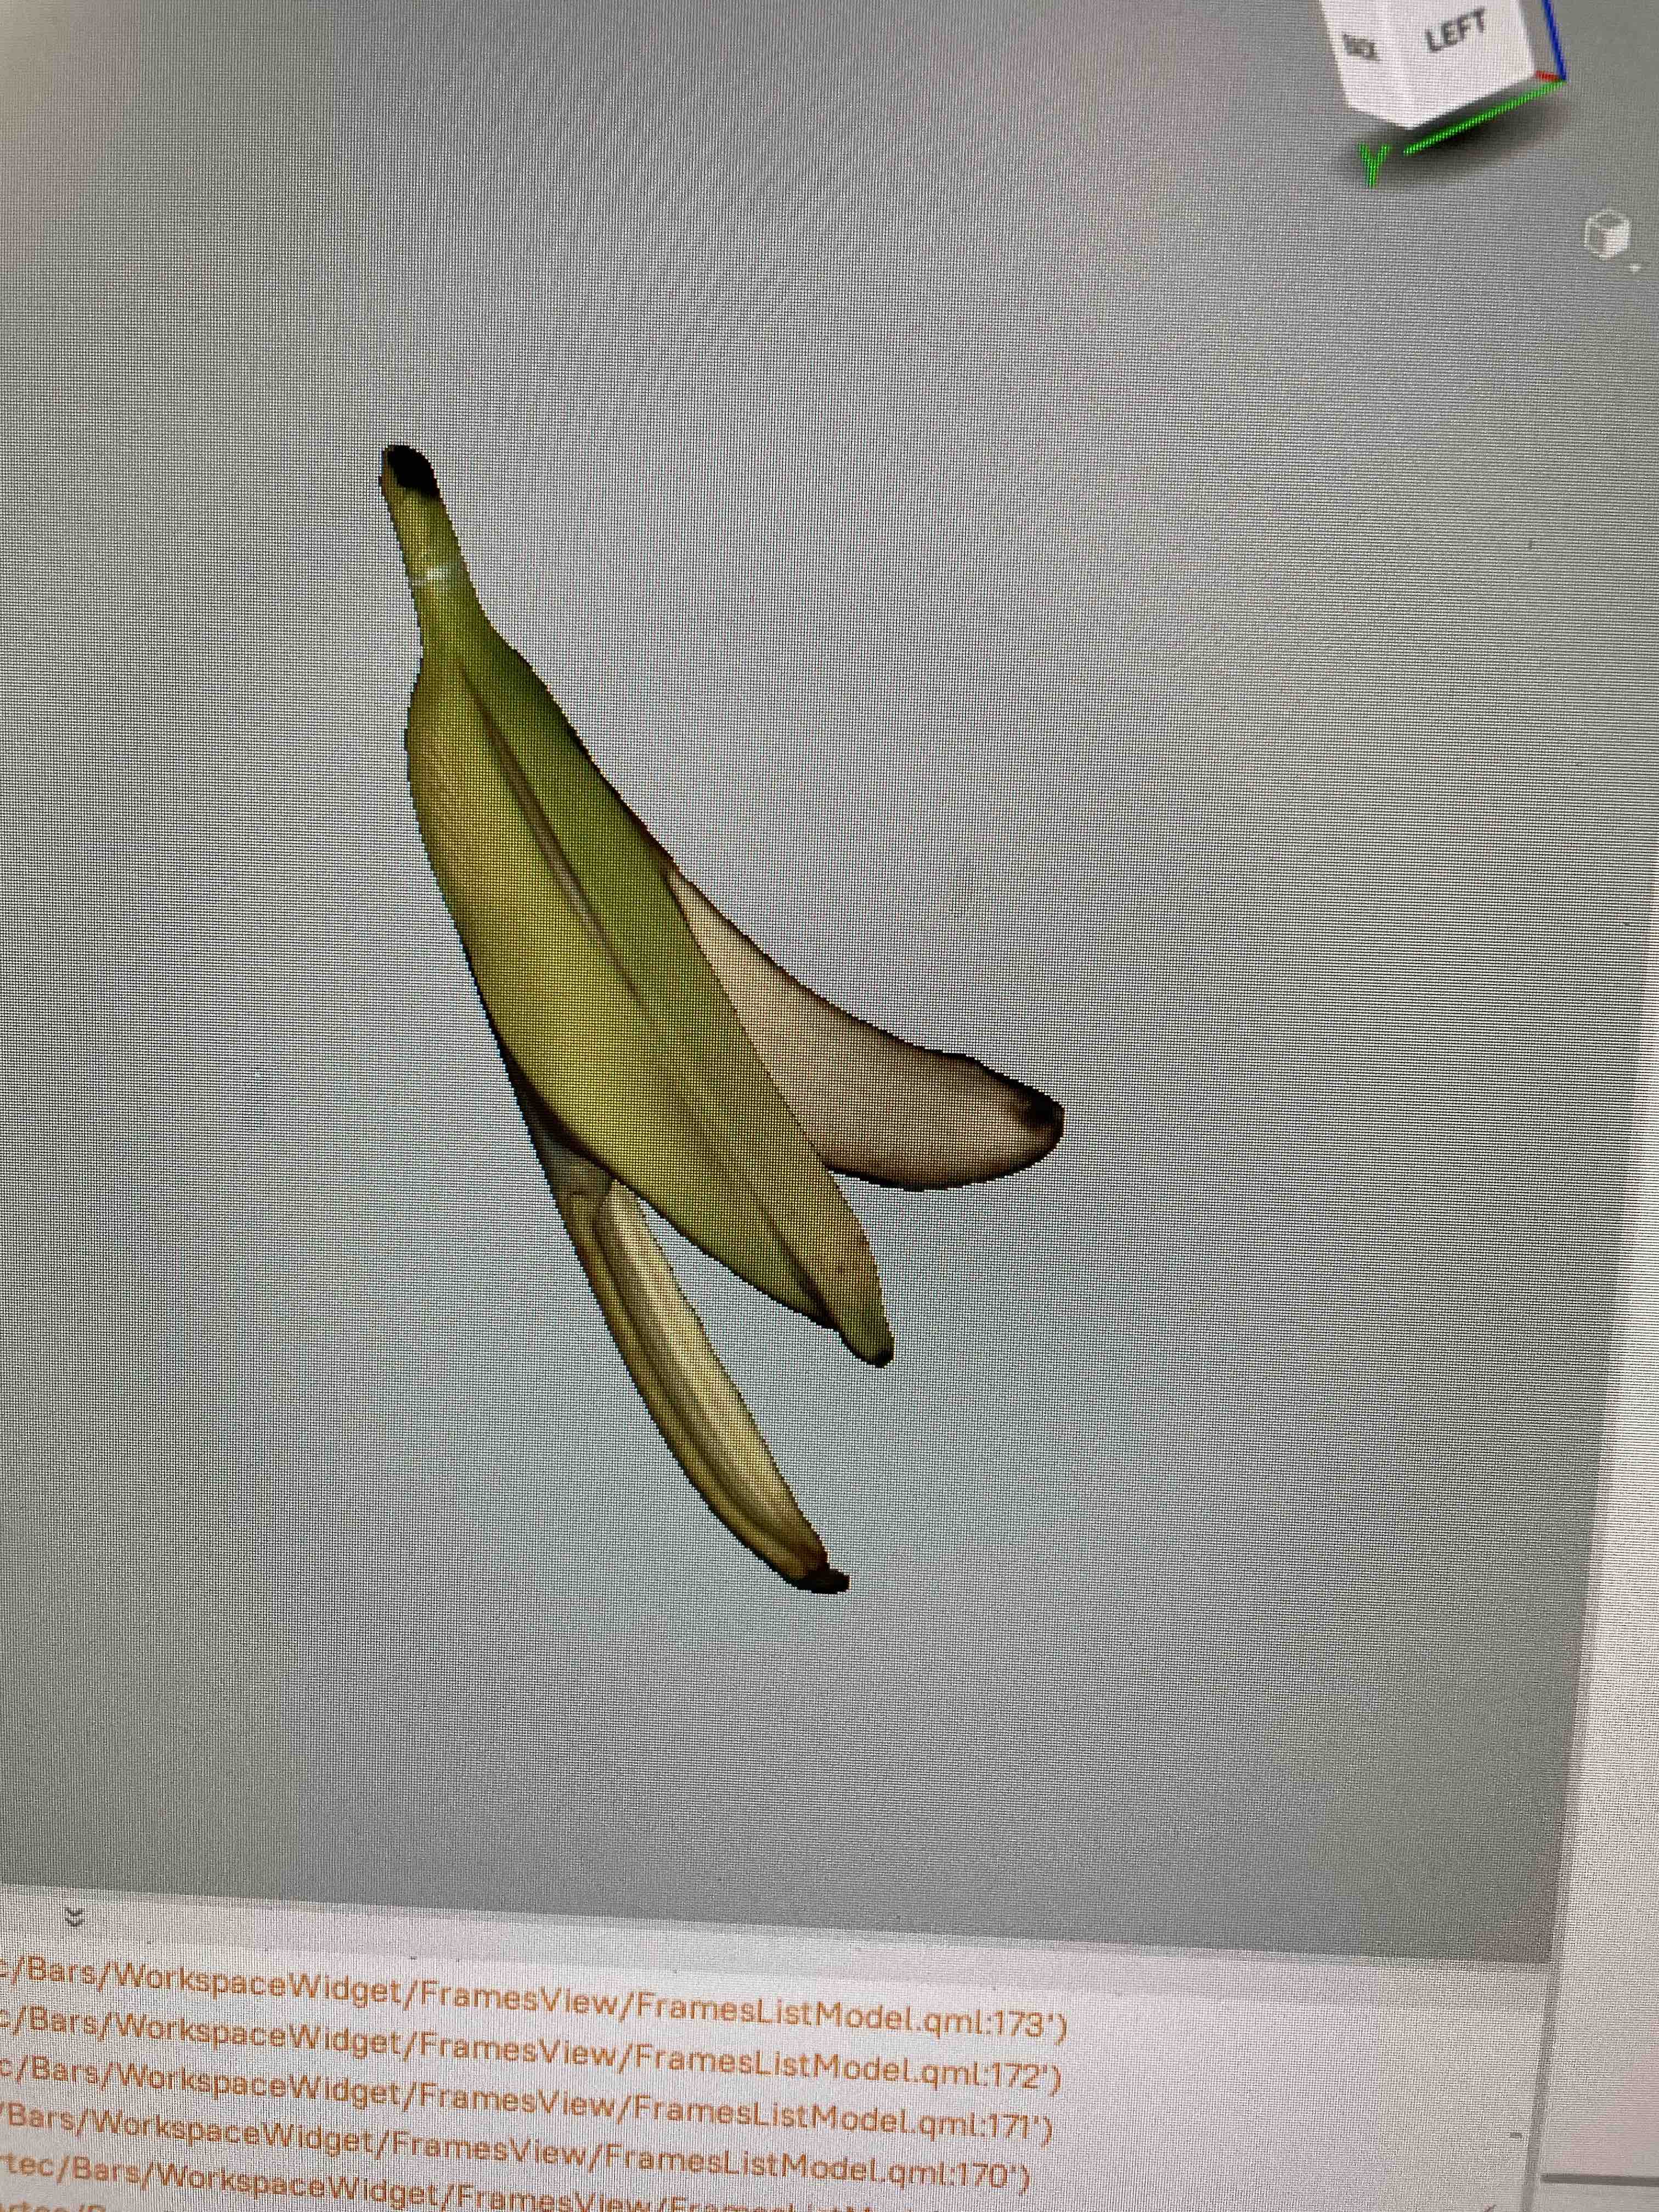
After processing, I was able to get a cleaner mesh representation of the isolated banana peel.
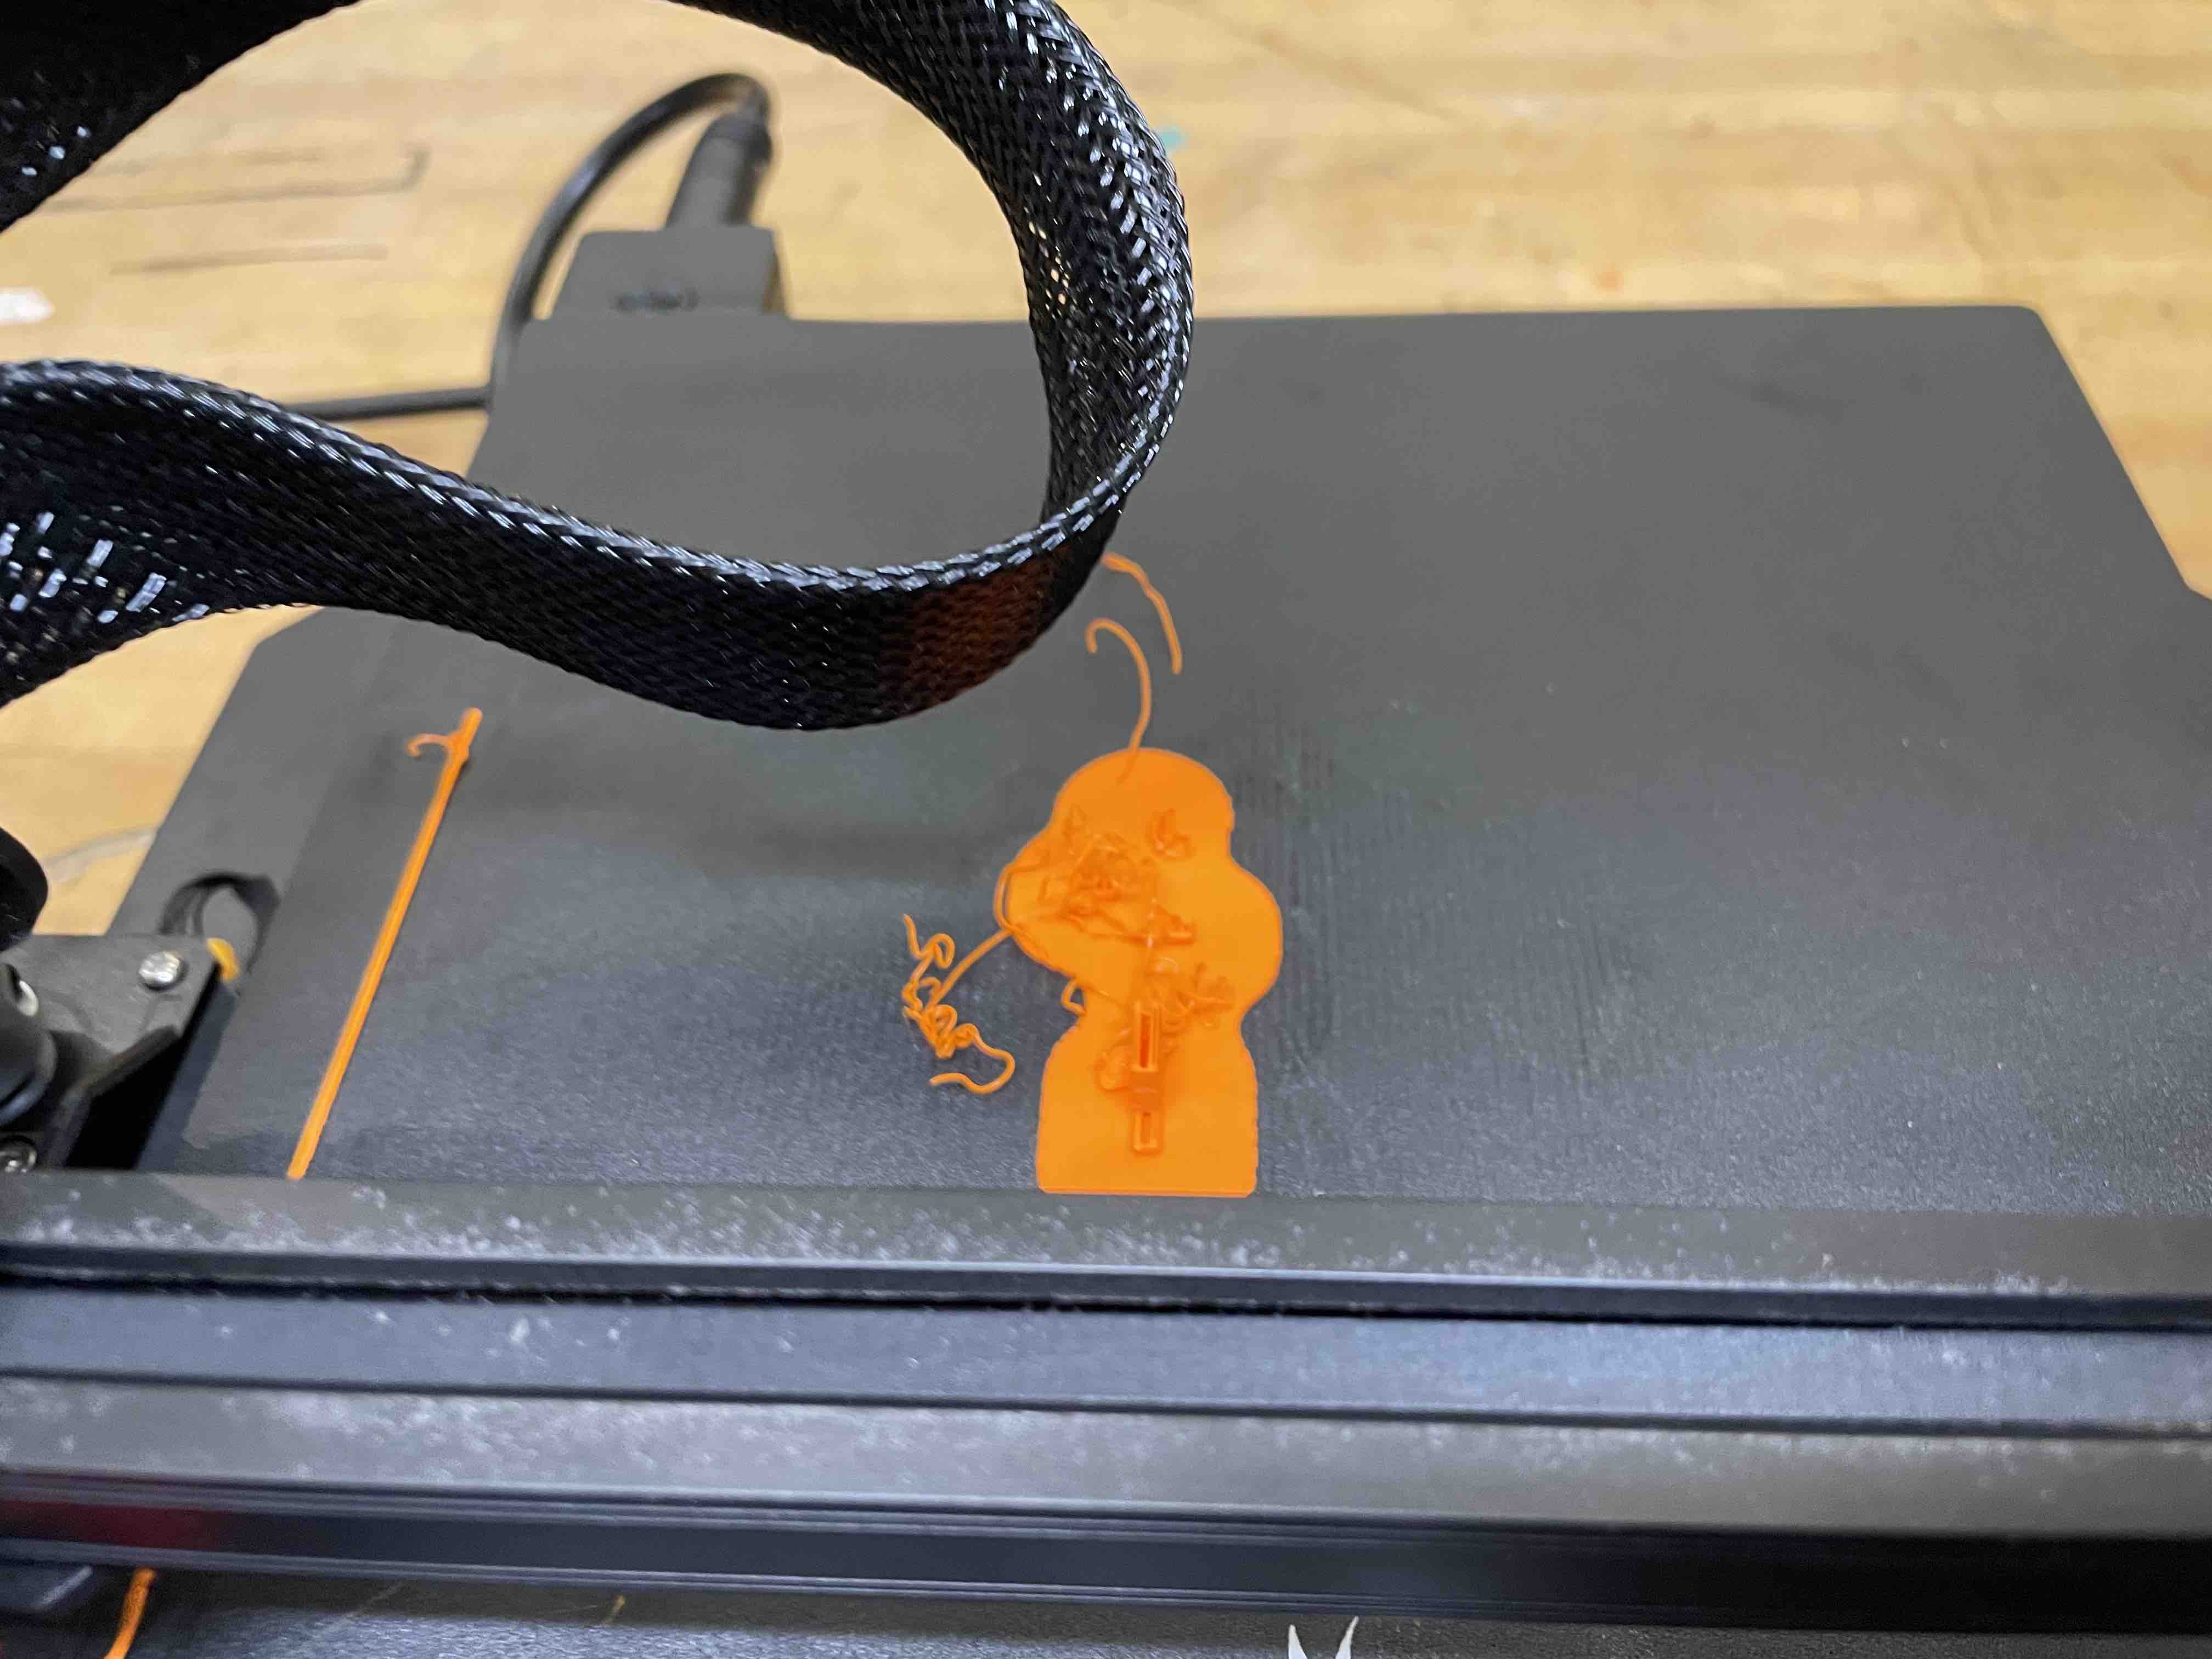
My first attempt at printing using the Ender failed because a lot of the features were too fine (I scaled the mesh down by 30% in each dimension) so the printer was extruding filament where there was no material underneath.
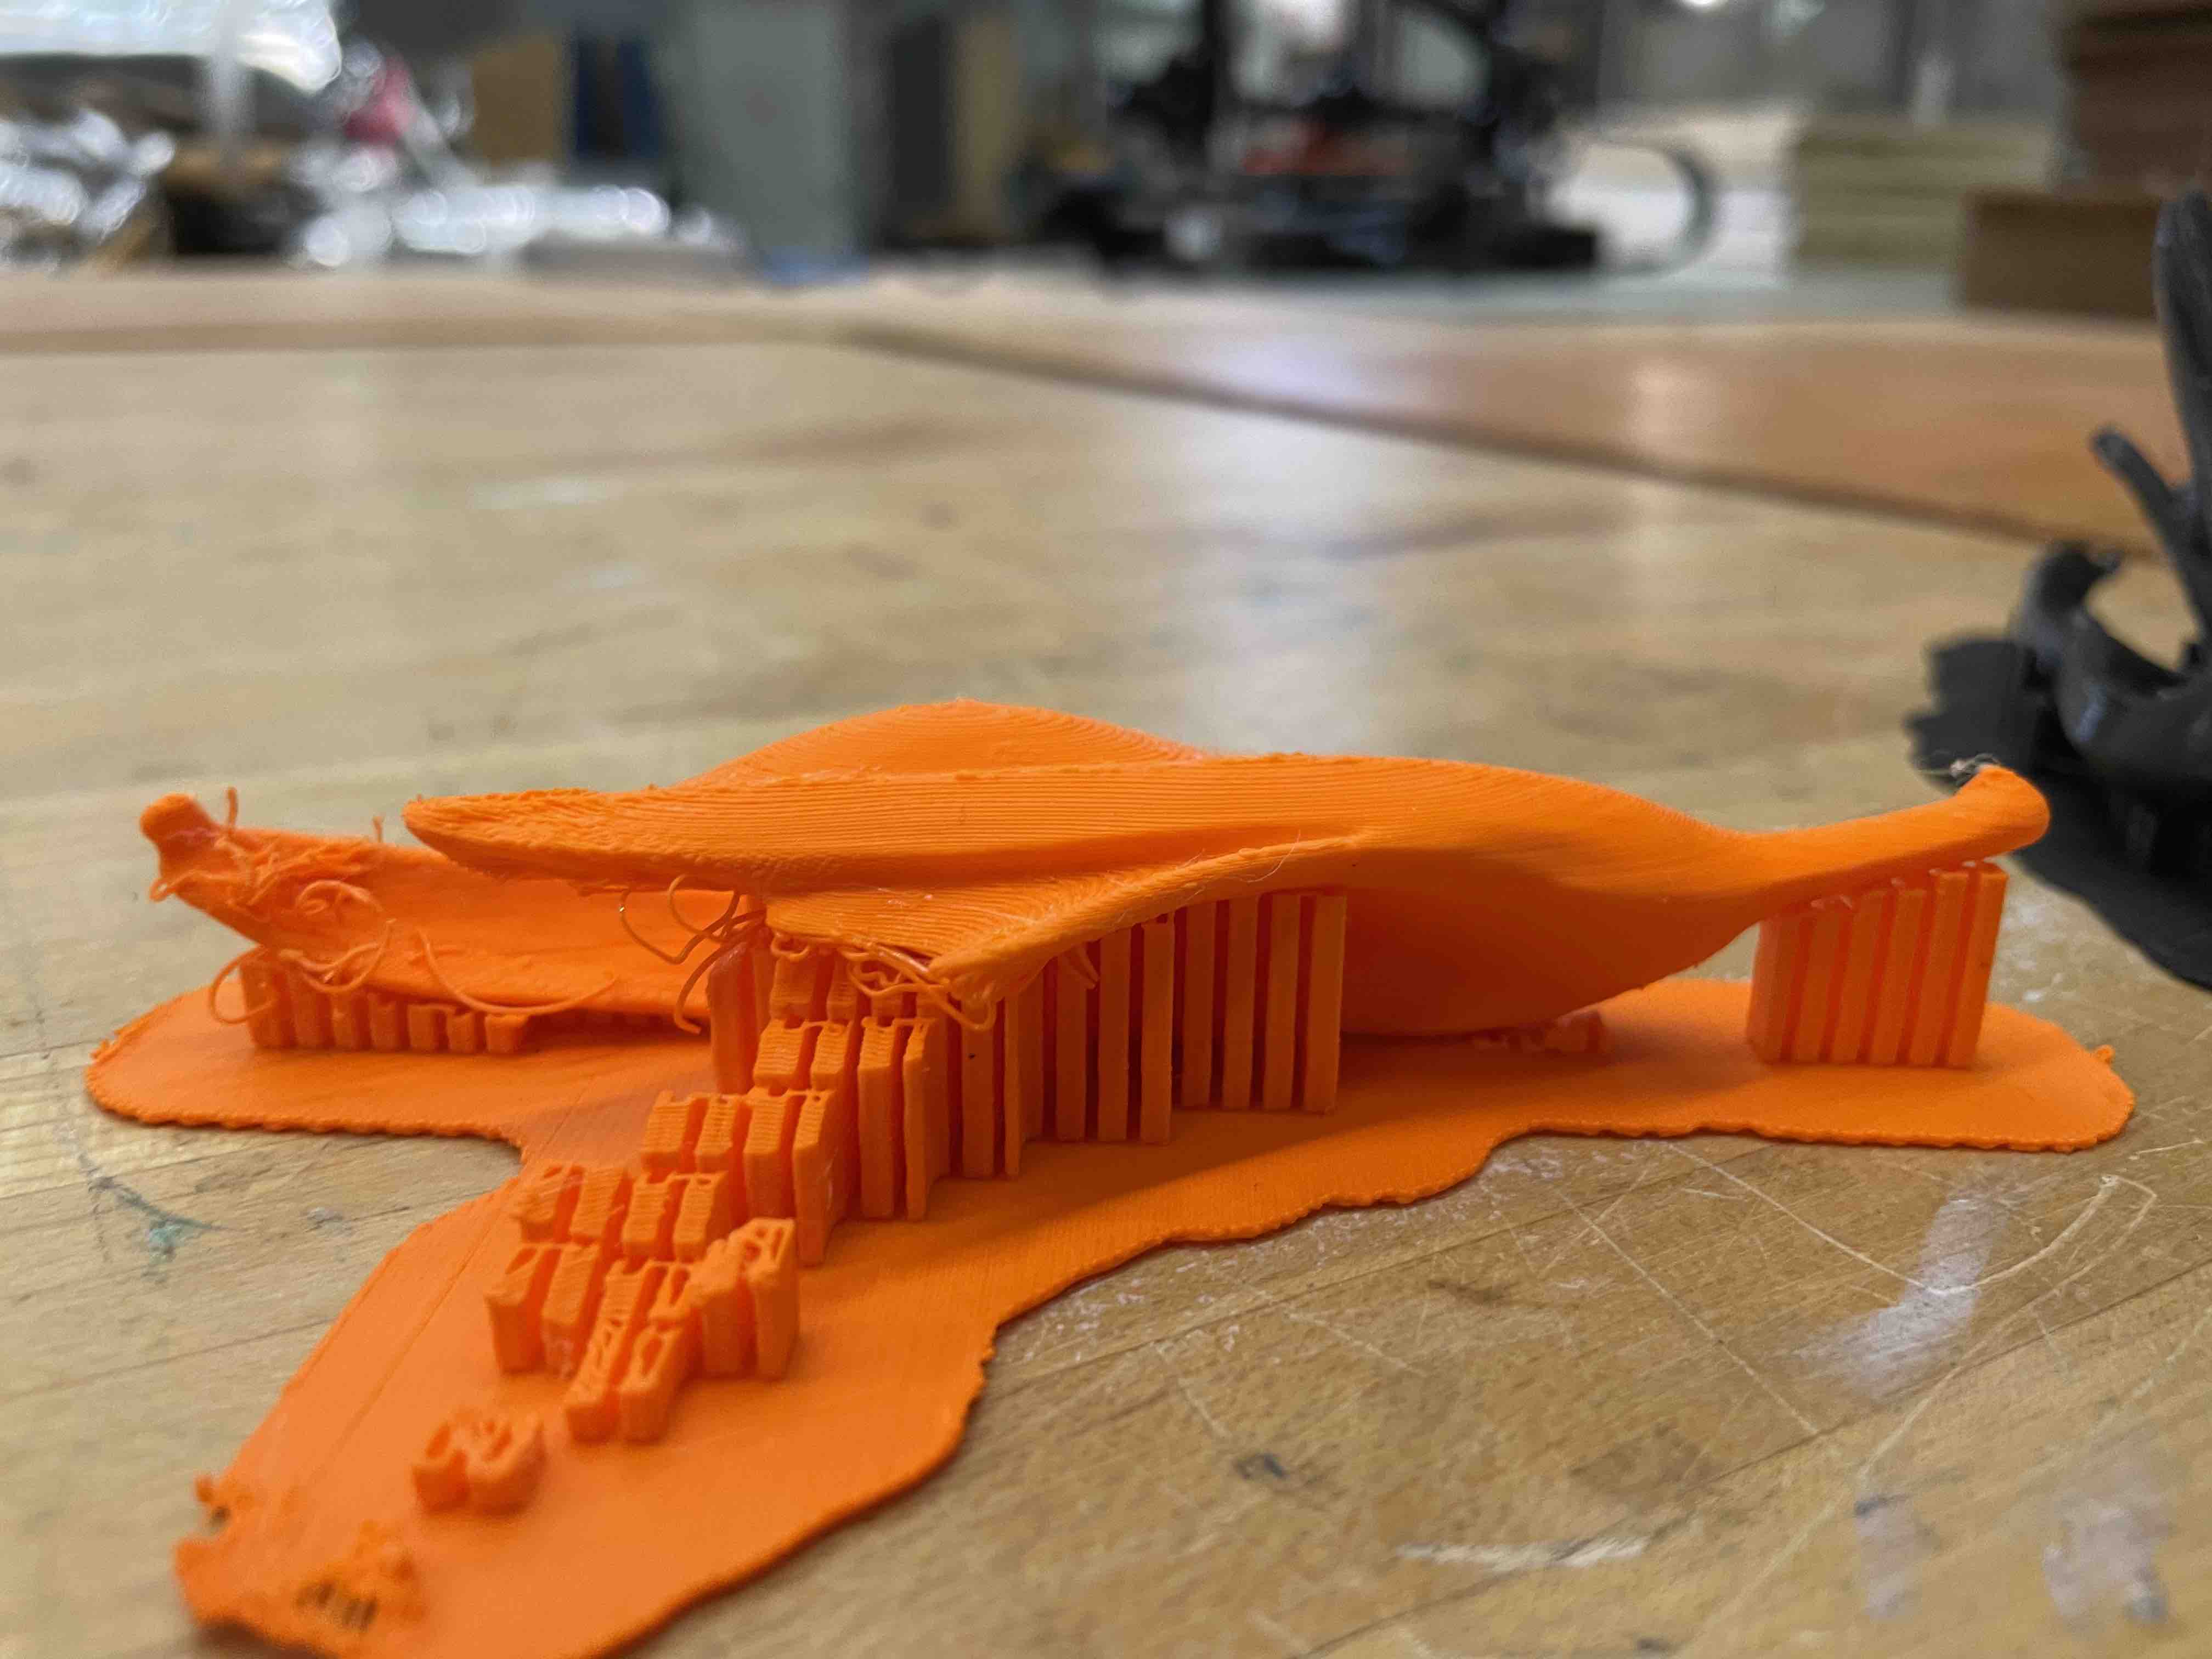
Tom suggested that I not only lie the banana down, but also scale up. I did so, and halfway through my next printing attempt, Tom wasn't feeling too optimistic about the print so he stopped it (picture shown below of the failed print).
Tom then started the print on another Ender (one that extruded black filament) and also used the expensive J55 to print a copy.
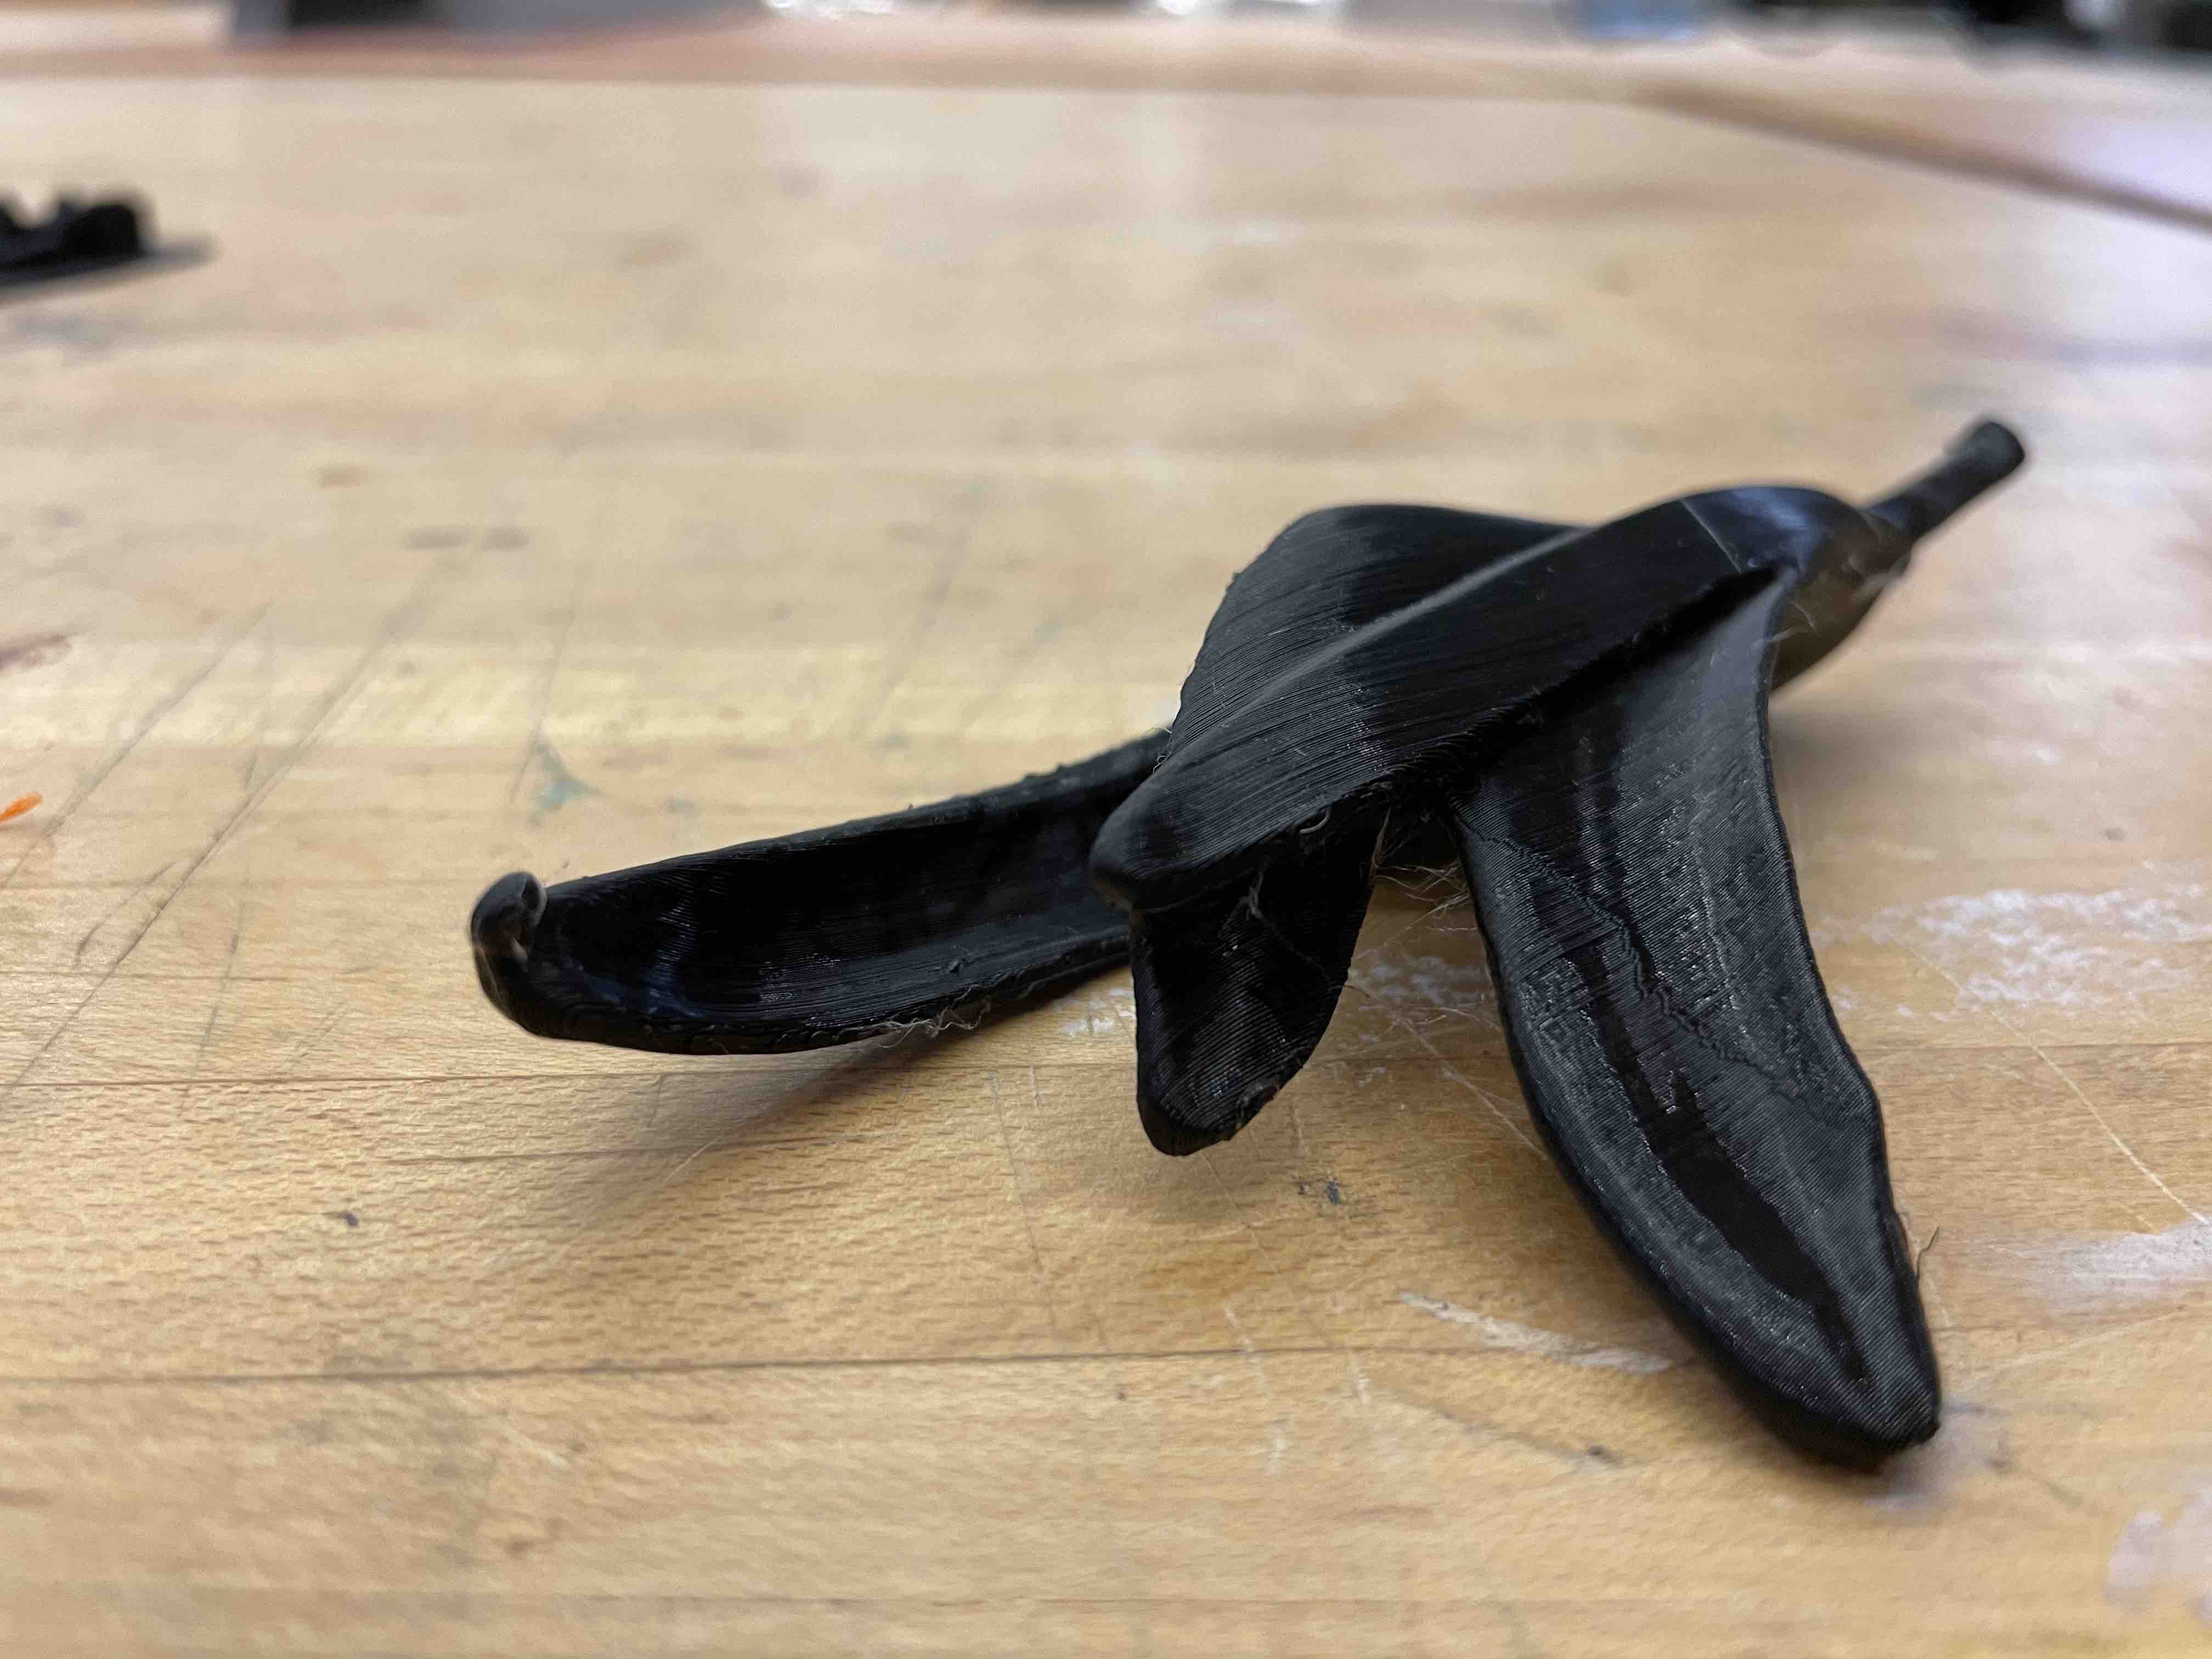
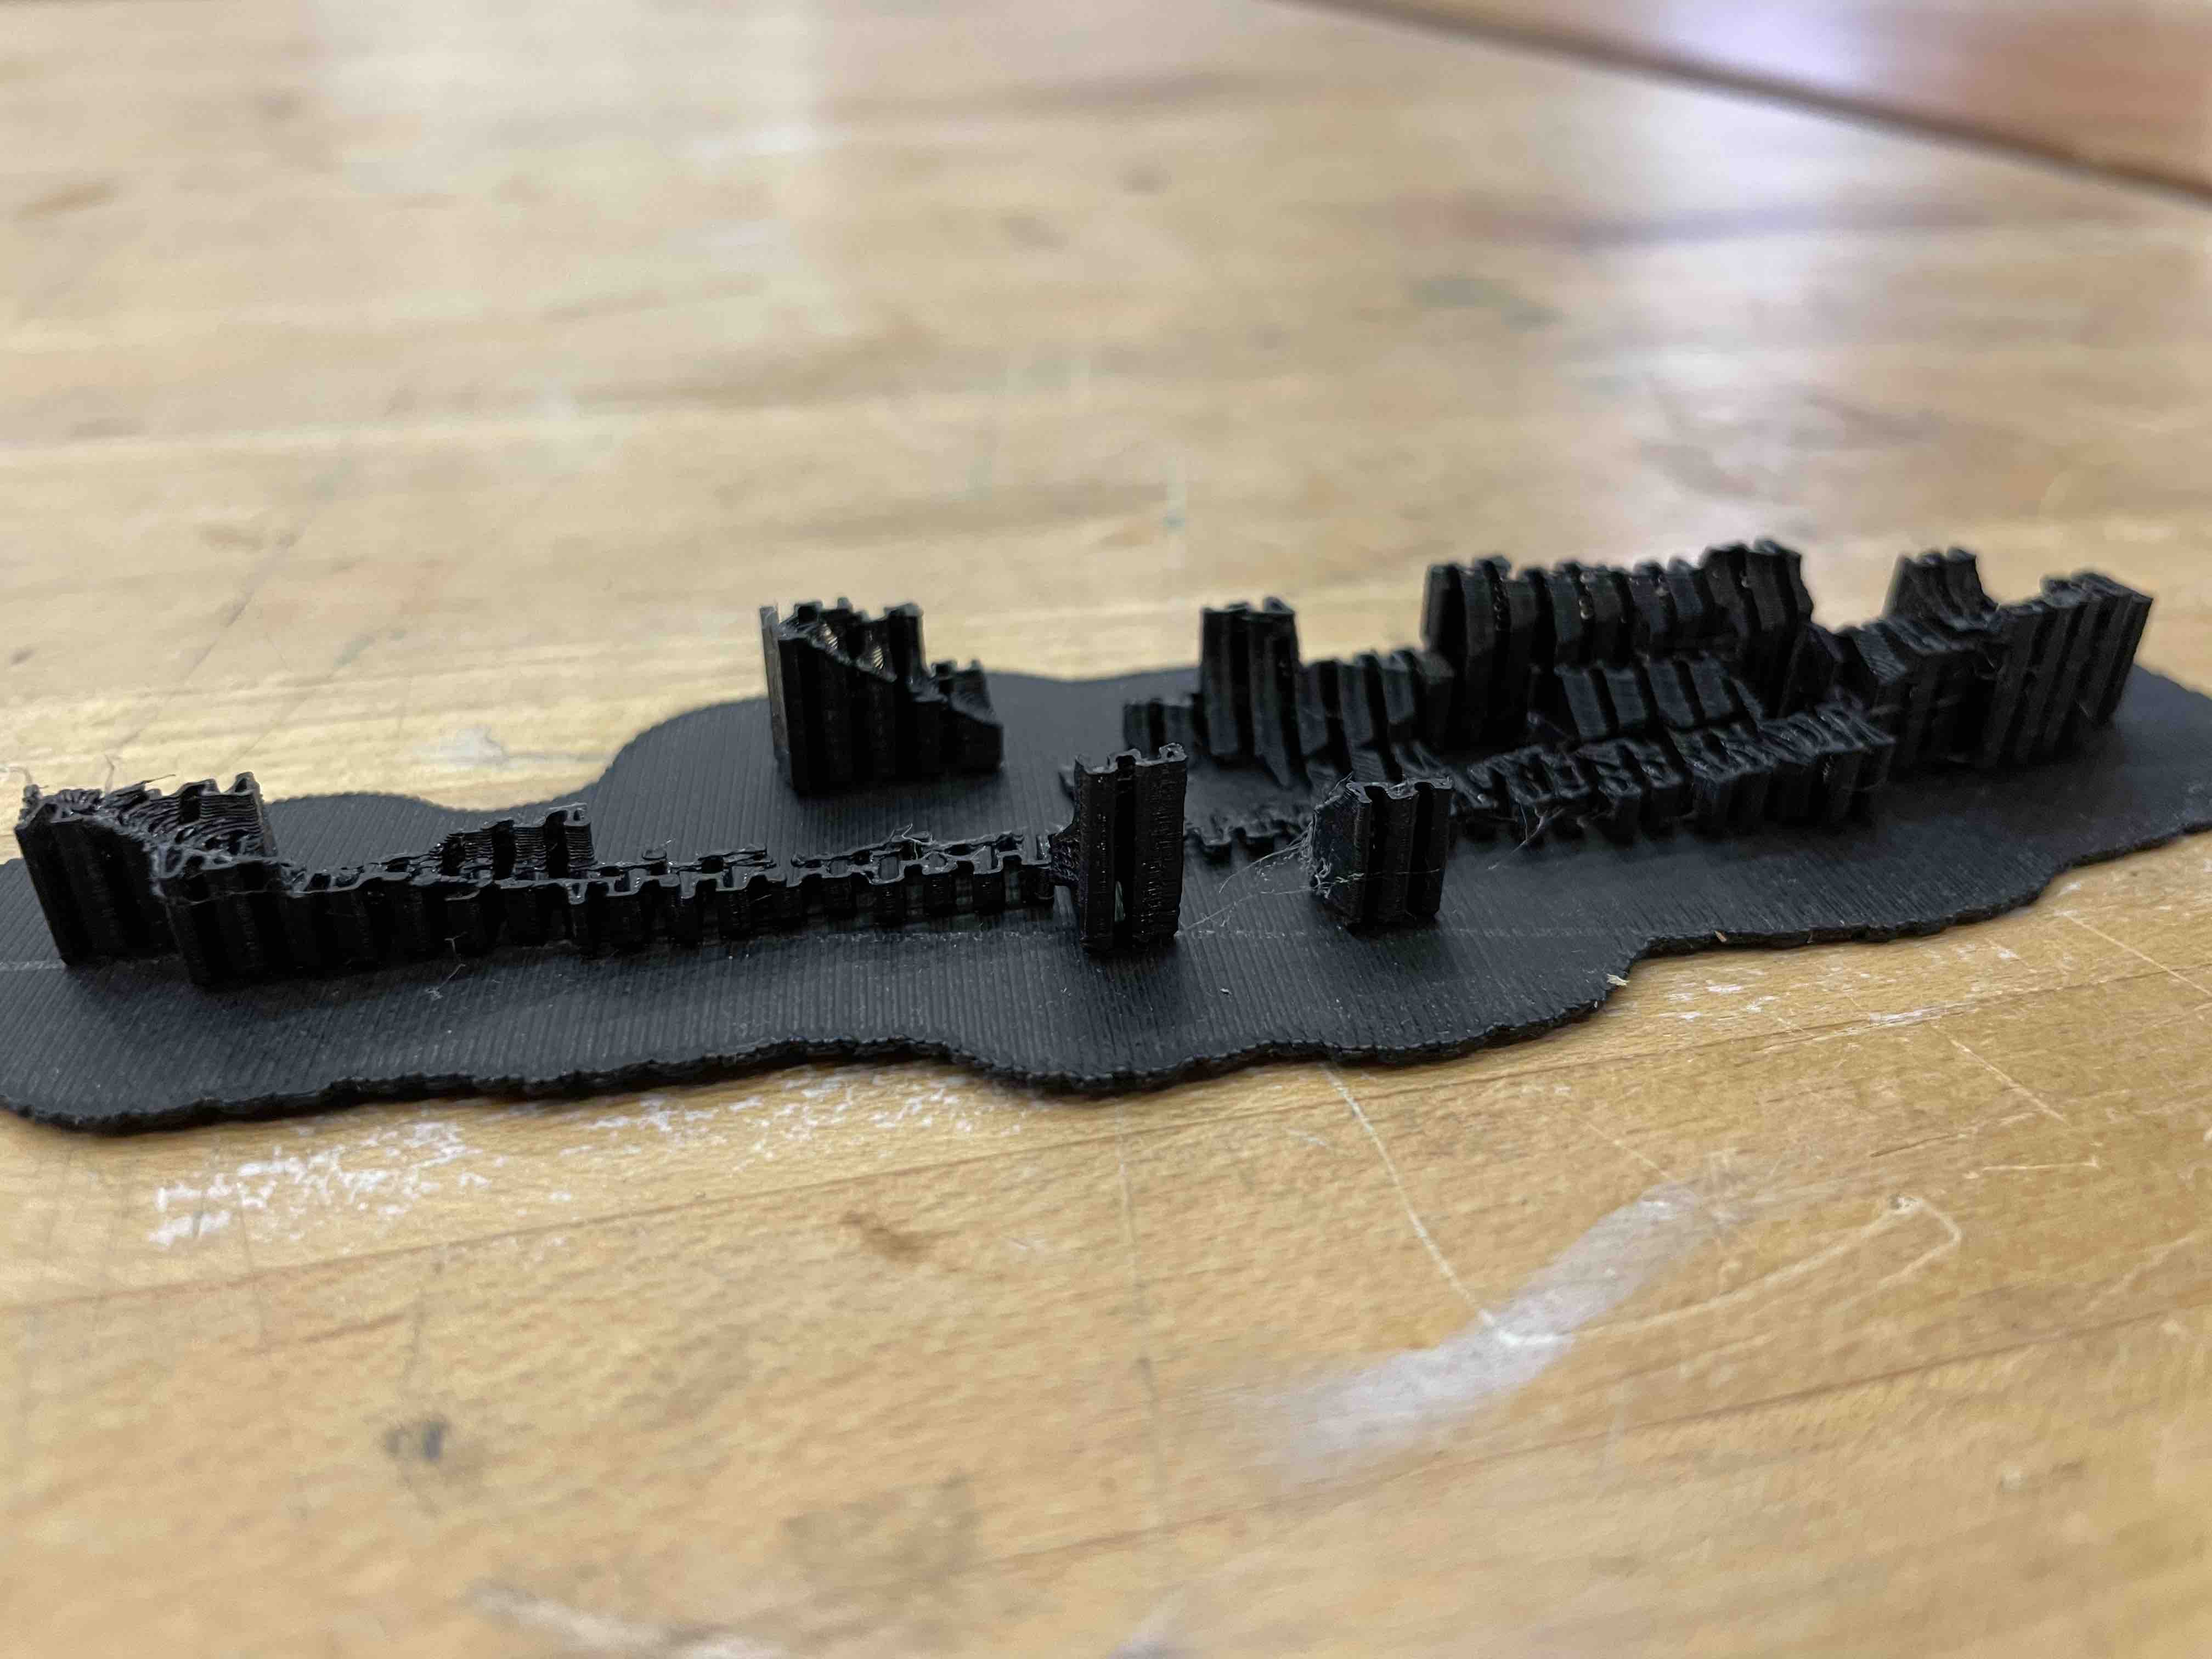
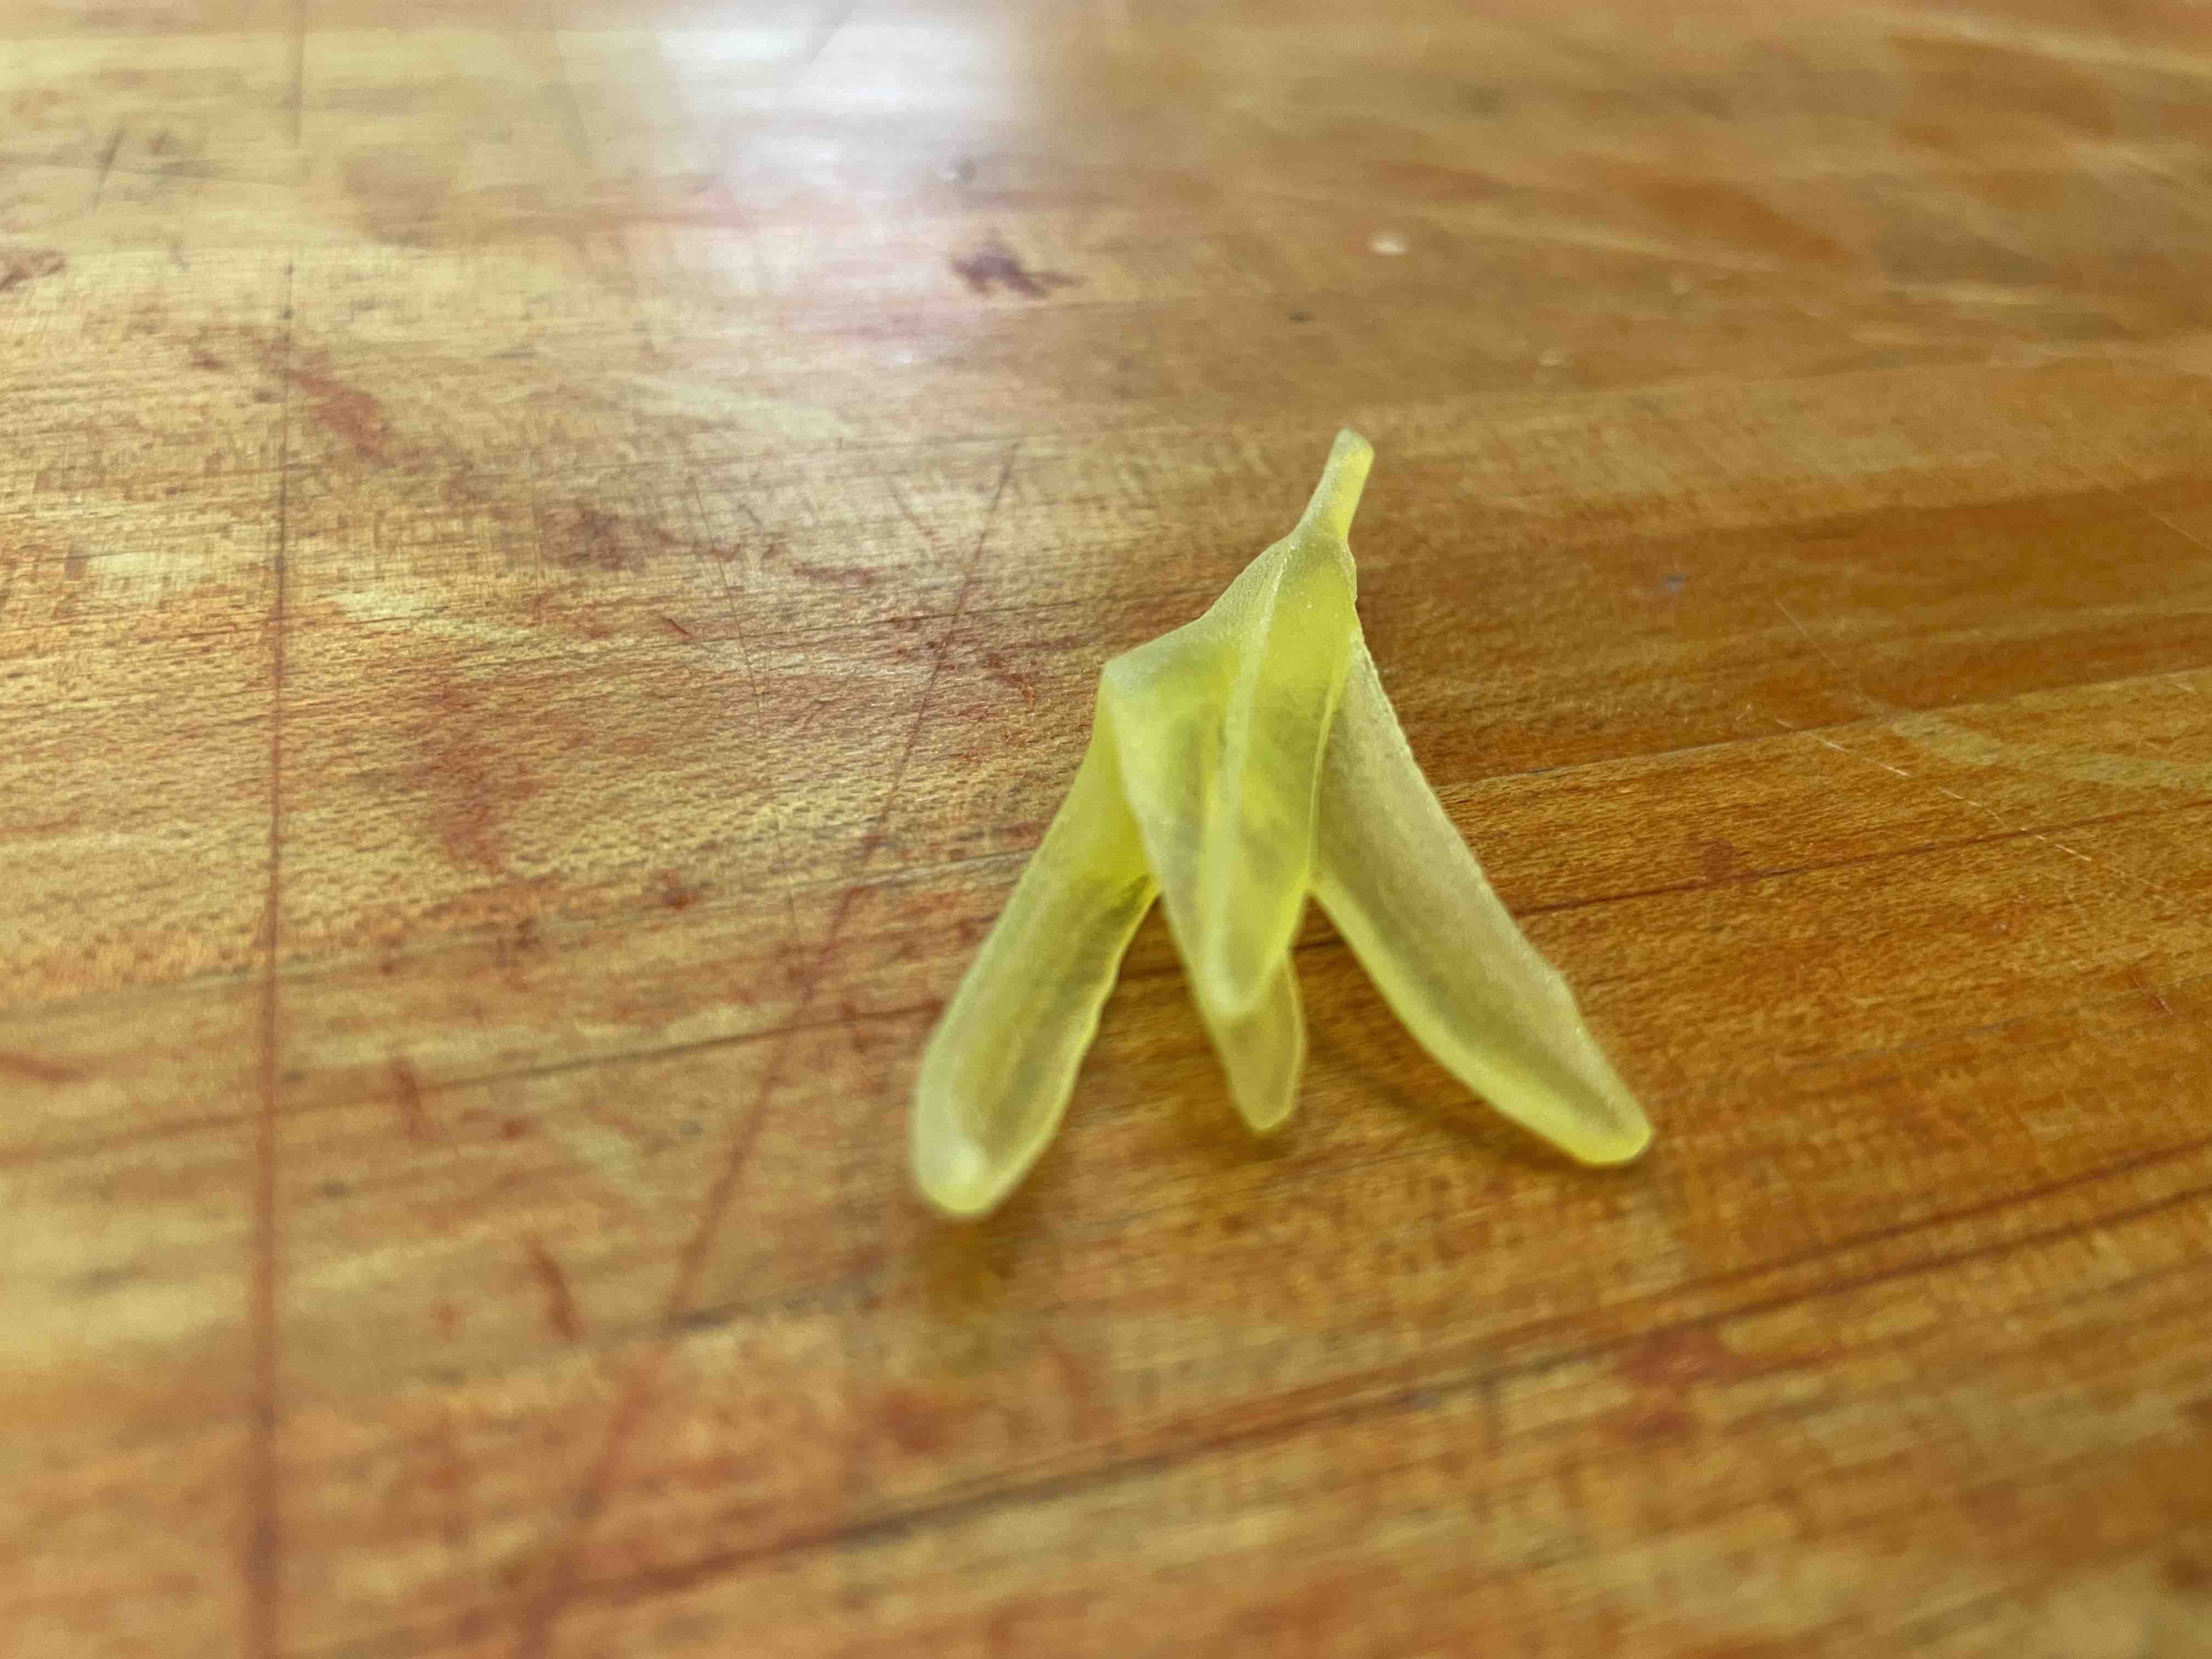
Both of these prints were successful! I think the Ender black print turned out great. Although I love the look of the yellow banana from the J55, I realized it was both quite expensive and quite small, so whatever work I could do with both the Ender and J55, I should choose the Ender.