(Group) Do Lab's safety training and test properties of the machine
(Individual) Make (design+mill+assemble)
something big (~meter-scale).
(Group) Do Lab's safety training and test properties of the machine
(Individual) Make (design+mill+assemble)
something big (~meter-scale).
My idea for this week's assignment was to create a chair because (a) I've never made furniture before and (b) I wanted to make something for day-to-day use. My mom works from home often nowadays. At home, we have a beautiful cat named Stormy (who's also quite clingy). Whenever my mom works, he likes to jump behind her and sit with her on the chair, which, although very cute, makes it so that she can't lean back. I imagine this can be uncomfortable after long stretches in front of a monitor. So, I decided that I wanted to make a double backed chair (one for my mom), and another for a seating area for Stormy.
Above is a rough sketch of my idea. Initially, I was going to do a rocking chair based on a previous student's assignment submission, however, I realized that this probably had minimal utility for a chair in the workplace.
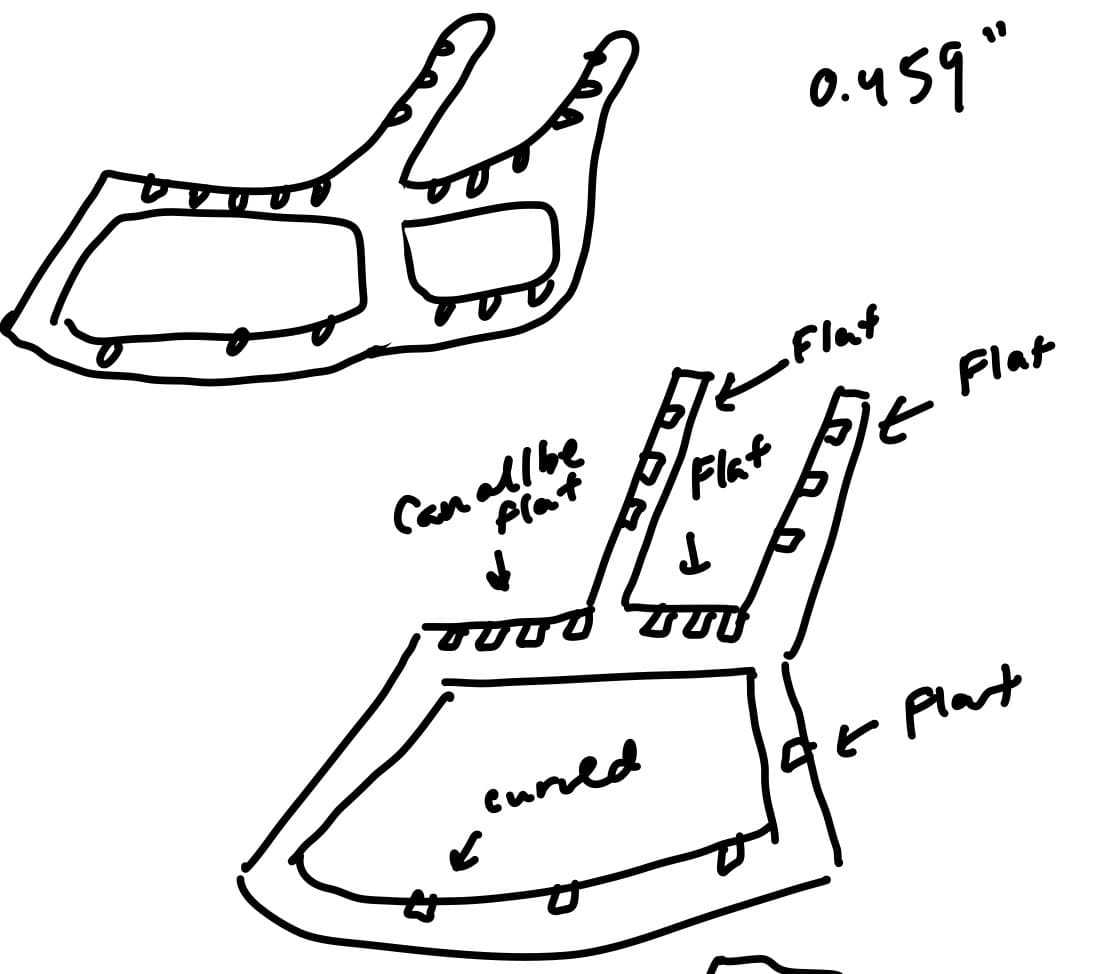
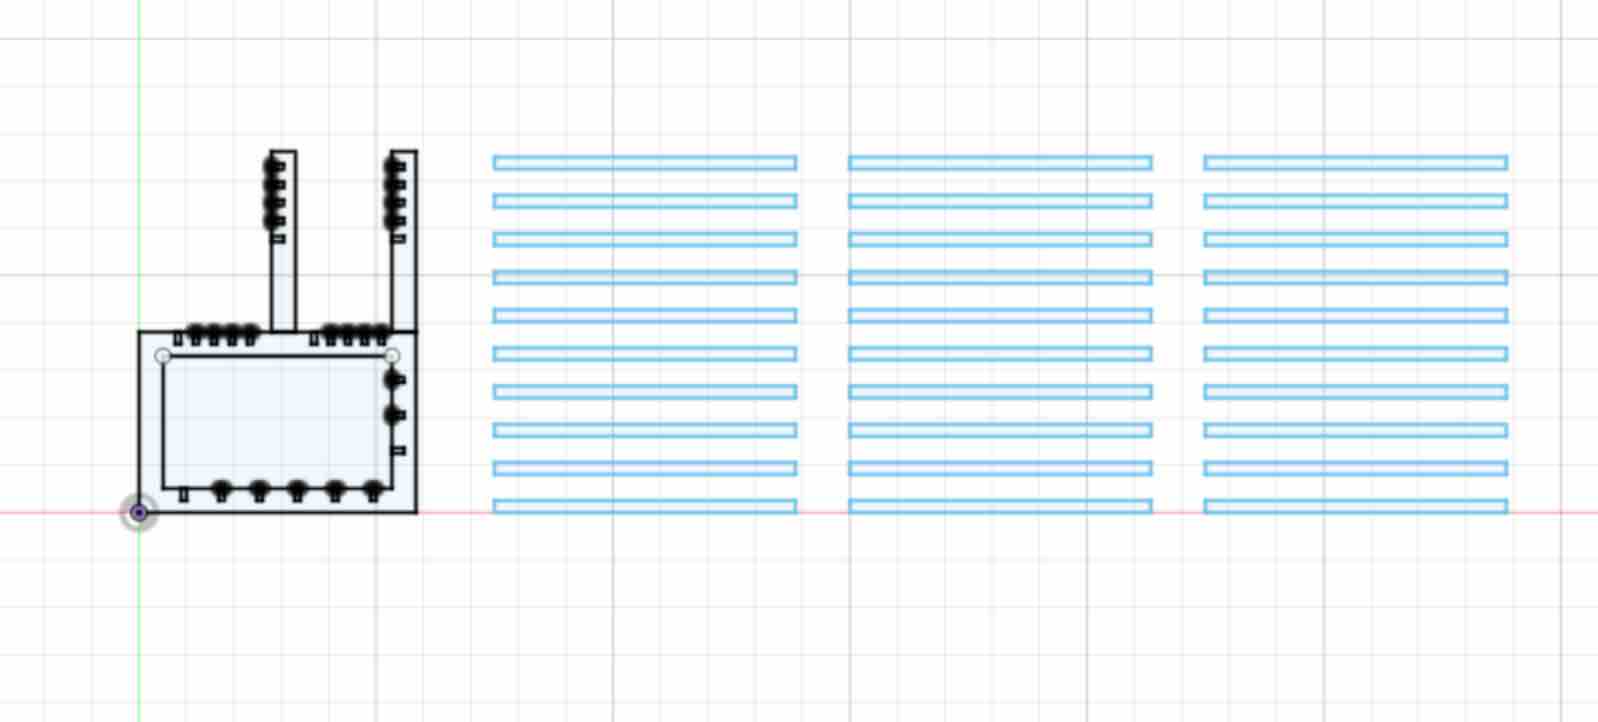
The pictures below show the CAD design I drew up. I measured the thickness of the OSB to be around 0.459" so I gave each of my divots that approximate width. I wanted to keep the design simple so that the assembly would be relatively straightforward -- just throwing together the spanning wood blocks between the frames of the chair.
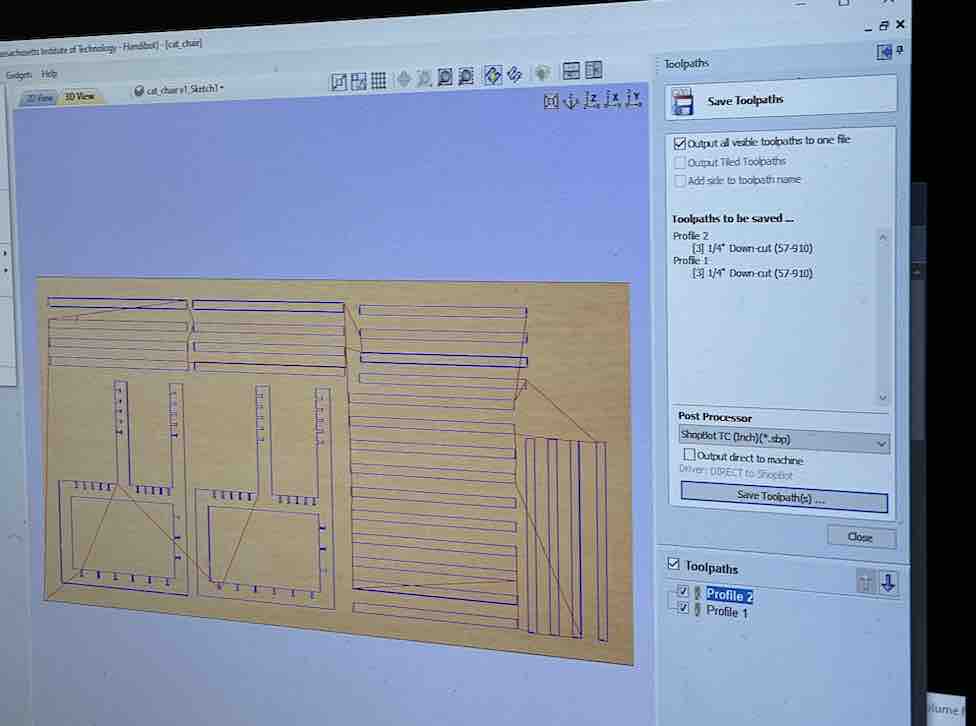
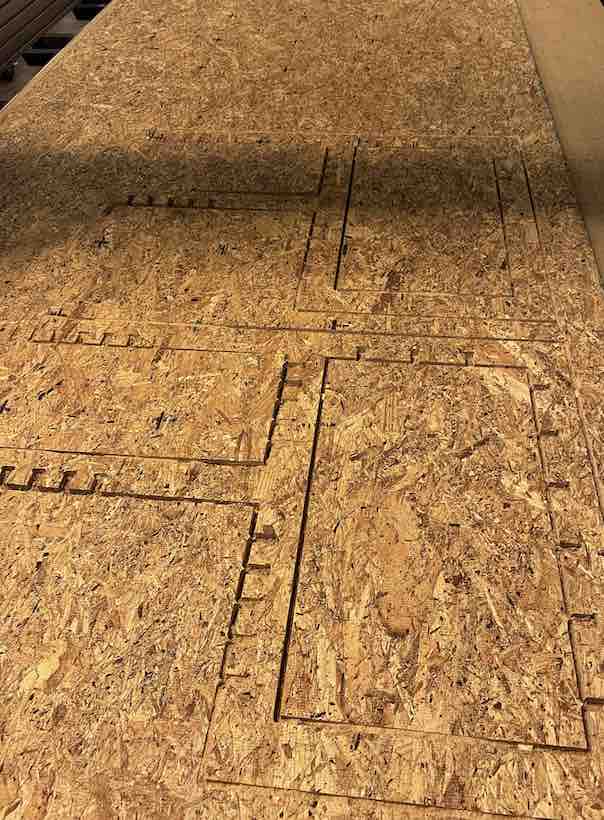
Tom then helped me do the toolpath using the CRV software. Part of the frustration was that I needed 30 wooden connectors, however, because of shortsightedness on my part, I was only able to fit a total of 26 on the sheet of OSB. Furthermore, I needed to add two automatic tabs to every wooden connector, as well as manually add seven to eight tabs to each of the two chair frames.
The photo below is a picture of the cutting process, which took around 30 minutes. There was quite a bit of dust remaining, even with the dust collector on, so I spent some time afterwards vacuuming the machine and the floor around it.
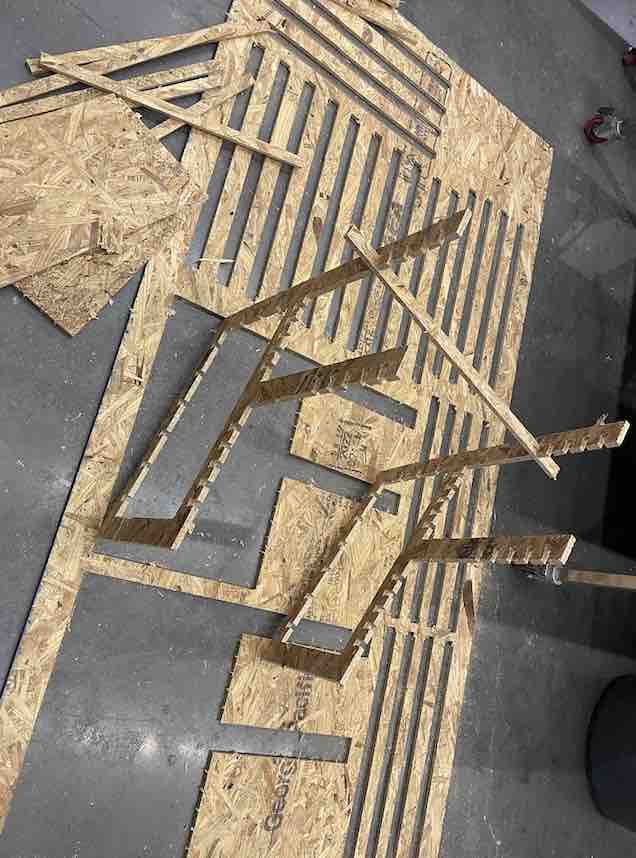
Afterwards, we moved the sheet to the Mars Lab area where I was able to use a screwdriver-like tool to begin removing all of the tabs. OSB is a very fragile material. While I was removing a few tabs from the chair frames, I found that some surface wooden chips began to peel.

Next, I began assembly, which again took a lot of vacuuming. I was happy that all of the divots fit snugly with the wooden beams/connectors.
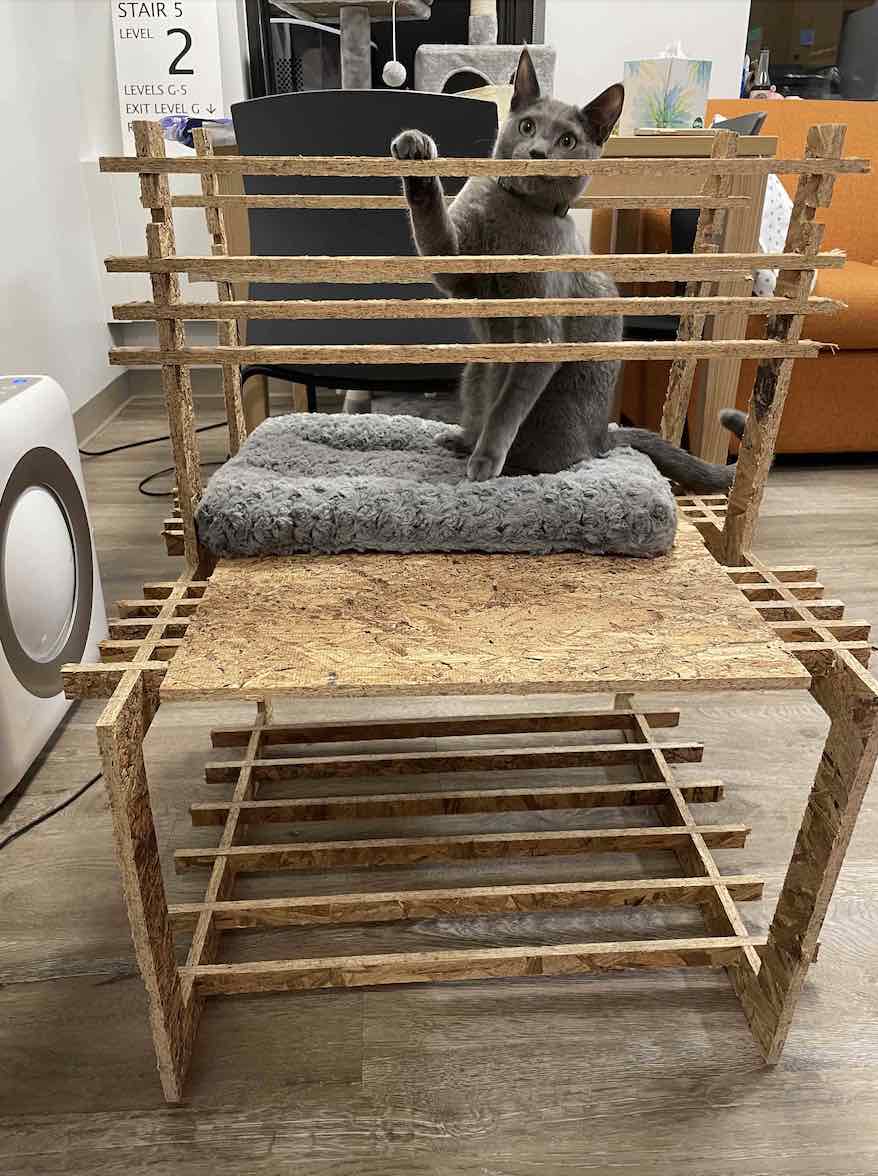
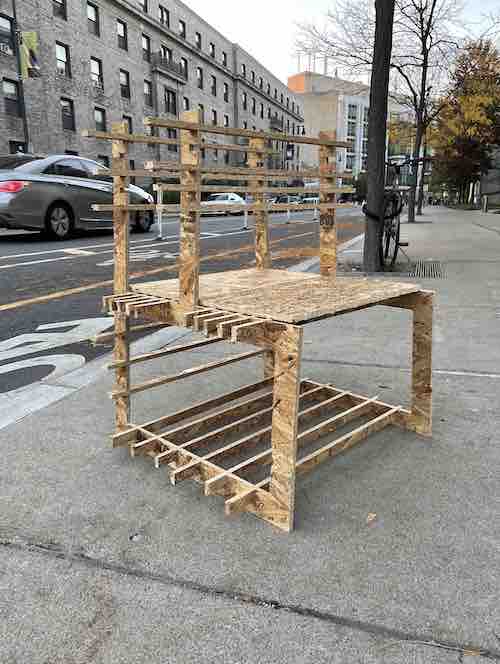
Here is a photo of the assembled chair! I was happy with the sizing of the cat's side (behind the first back), however, I would adjust my design in the future to account for more room for the human-side seat.
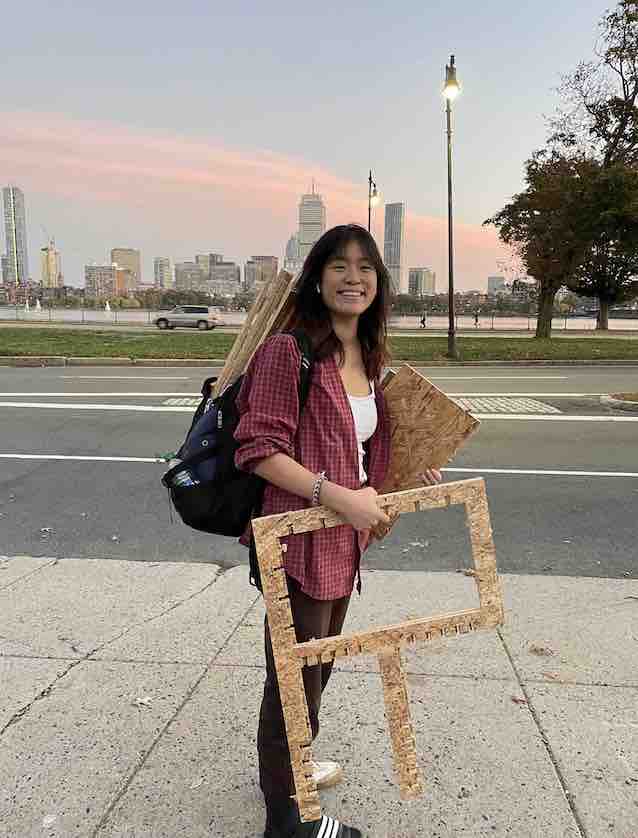
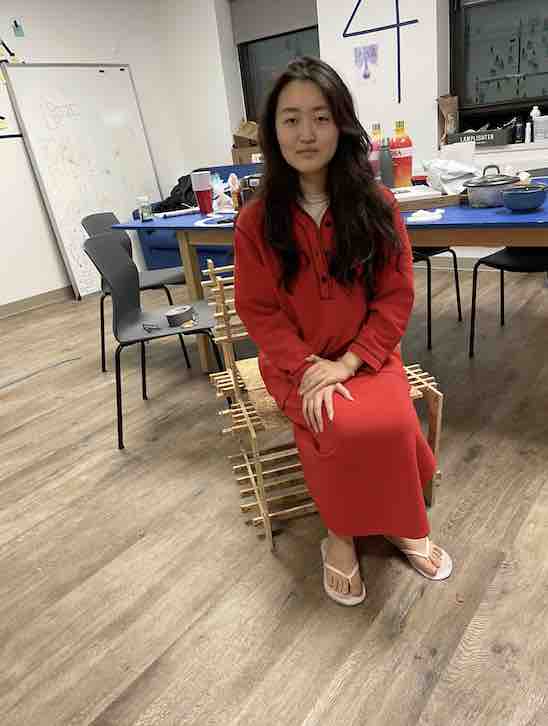
Something funny that happened was: when I was walking my chair back from the CBA lab to my dorm on the other side of campus, part of the OSB broke off, which was very sad :( I realized very quickly that I needed to disassemble the entire chair (which tanks to the design was easy) and carry it back in pieces. Here is a photo of me looking very hunter-gatherer core"
Back at my dorm, I had my roommate, Selena, sit on the chair. She said it was quite wobbly. So true.
The most exciting part was being able to put a cat in my chair. I emailed out into an email list called im-having-a-personal-problem@mit.edu (an 800 person mailing list), and soon, a very lovely person named Esme responded saying that they had a cat named Percy who would love to participate. Percy is a Russian Blue, and he's frankly very pretty. I felt bad making him sit on OSB, but he was very nice about it.
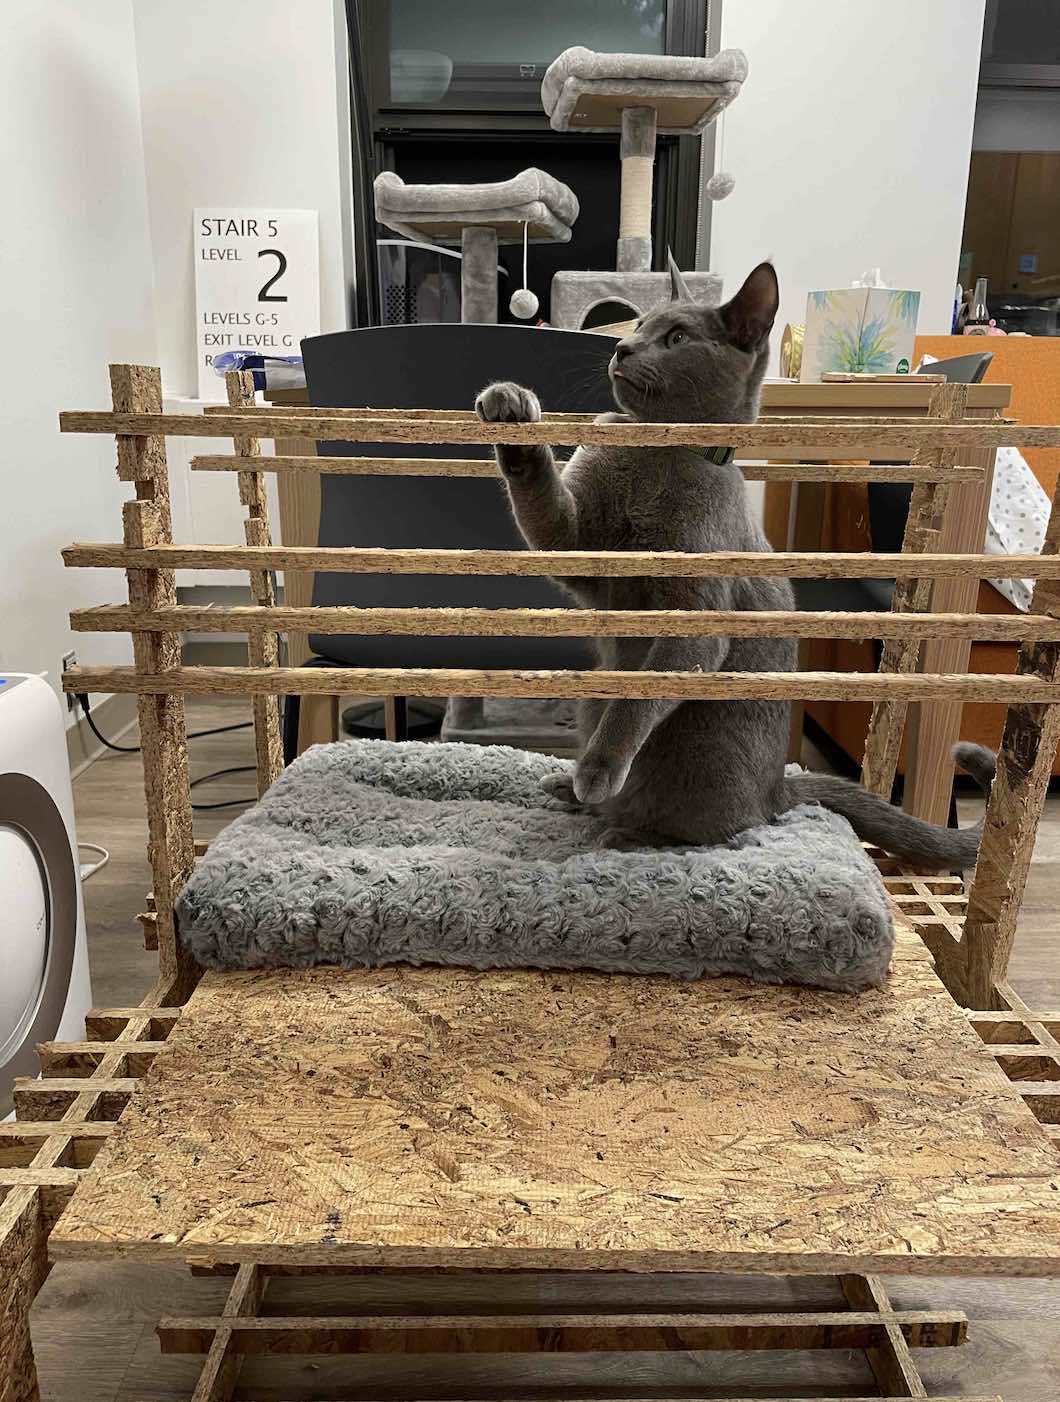
Even he was a little unhappy with sitting on wobbly OSB. After five minutes, he jumped off.