

This week's challenge was the use of 3D software to imagine a final project. Ironically, this is week one and I have no idea what a final project could be. So I used this assignment as an opportunity to learn Fusion 360, until final project inspiration would magically hit. My goal was to make a rotor and constrain it on a pipe in Autodesk Fusion 360.
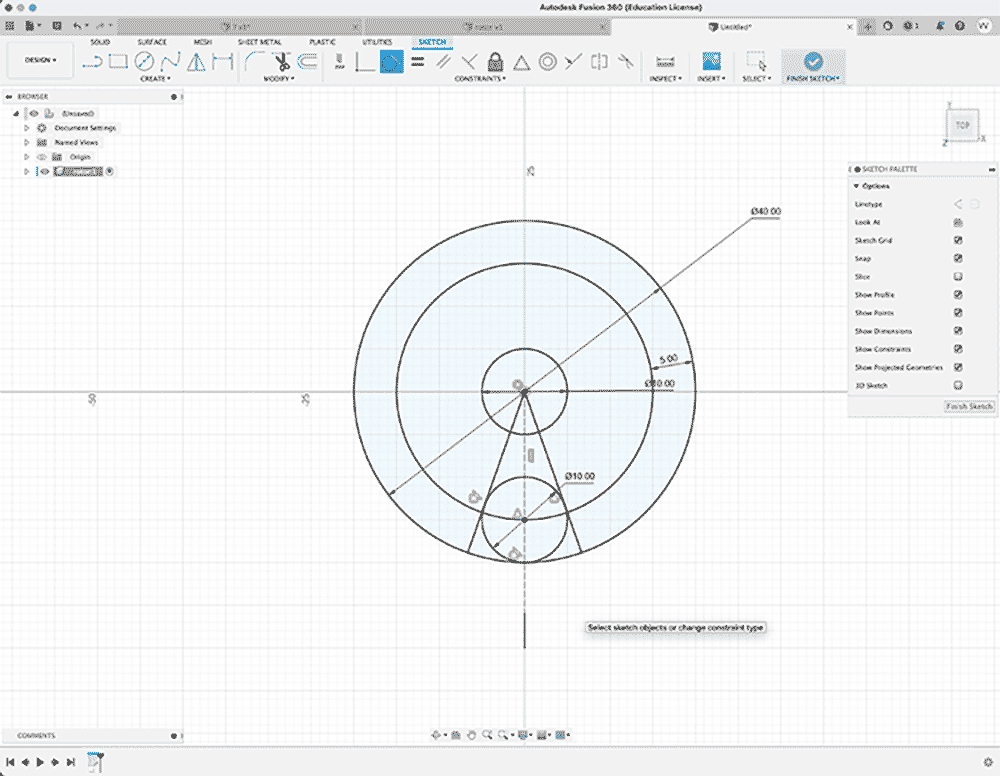 Starting off with a sketch in Fusion 360.
The most difficult part is the beginning: getting familiar with Fusion 360's interface. You have to double-click to measure stuff or make things work. To add lengths, double-click and then fill in the number or variable you want to use for the length. The shapes you make function as a sort of blueprint: they will later become a 3d part of your model. When done, press "Finish Sketch".
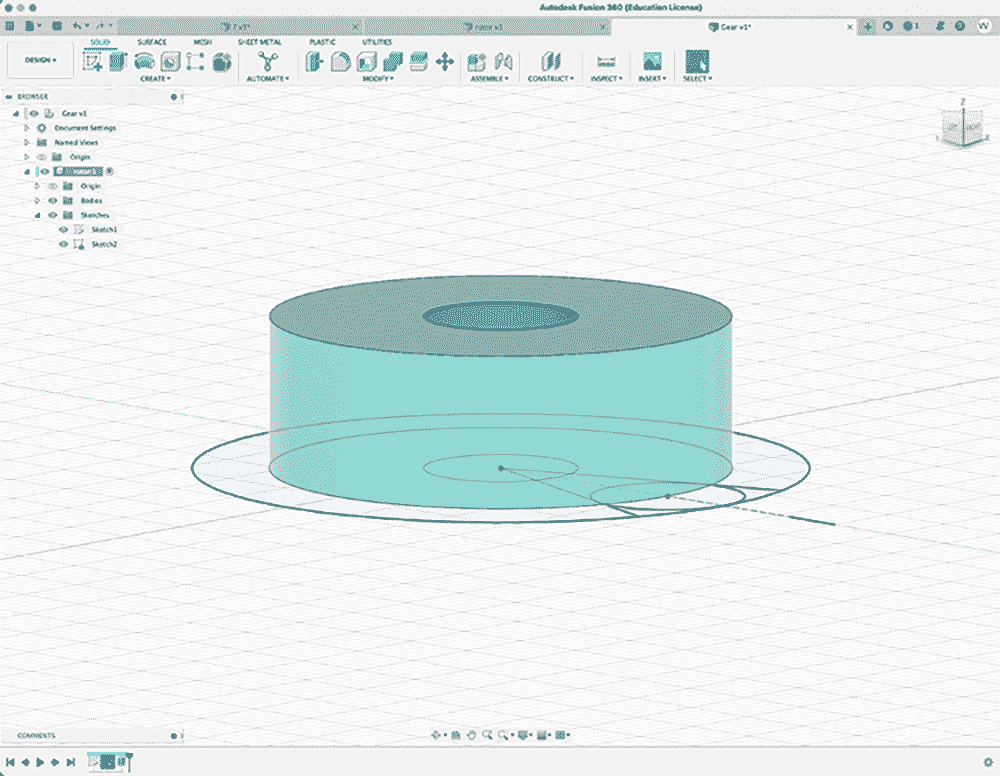 Extrusion
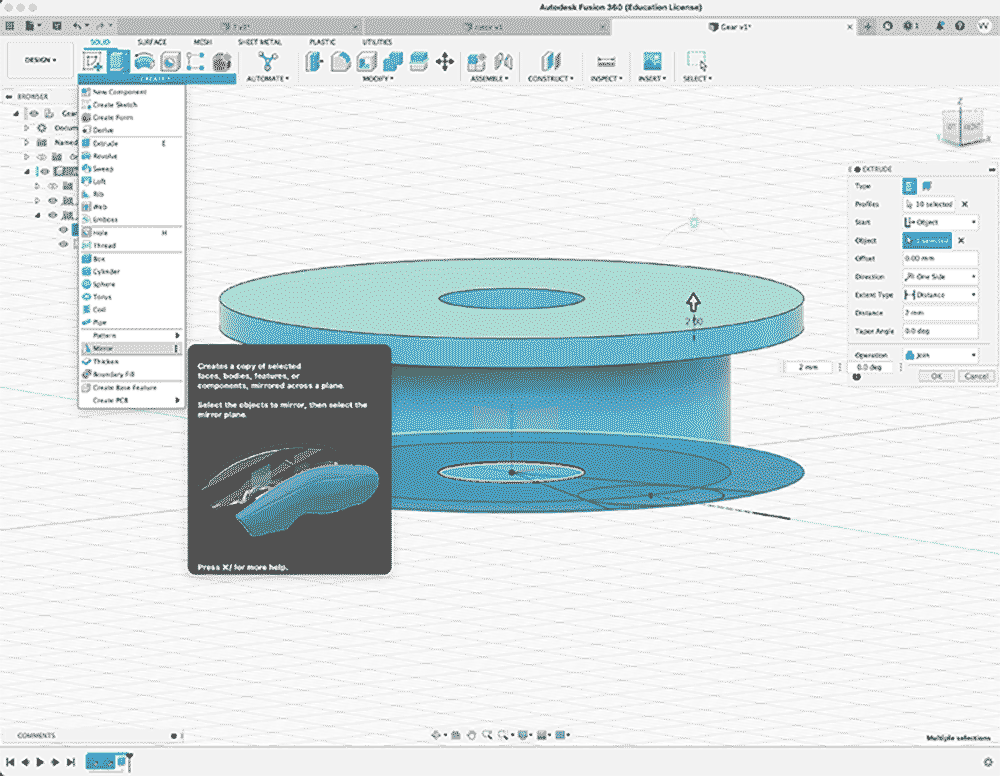
Once you have the sketch, you can start forming 3D parts. I selected the inner circle and used the Extrude tool to make it longer (well, extrude it!).
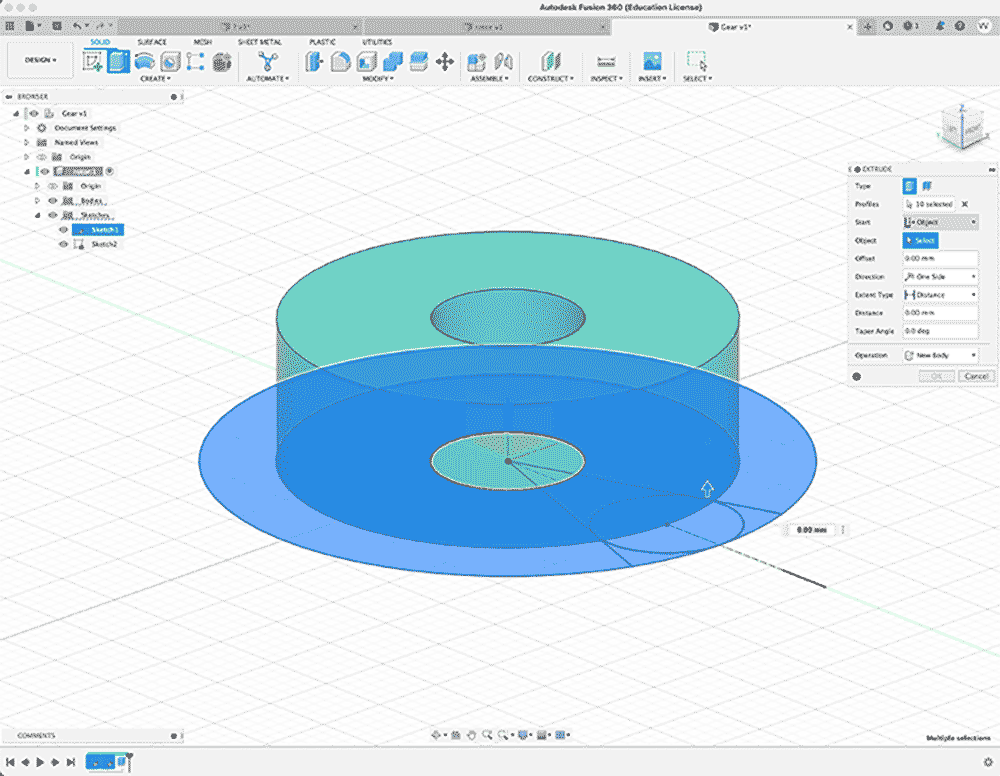
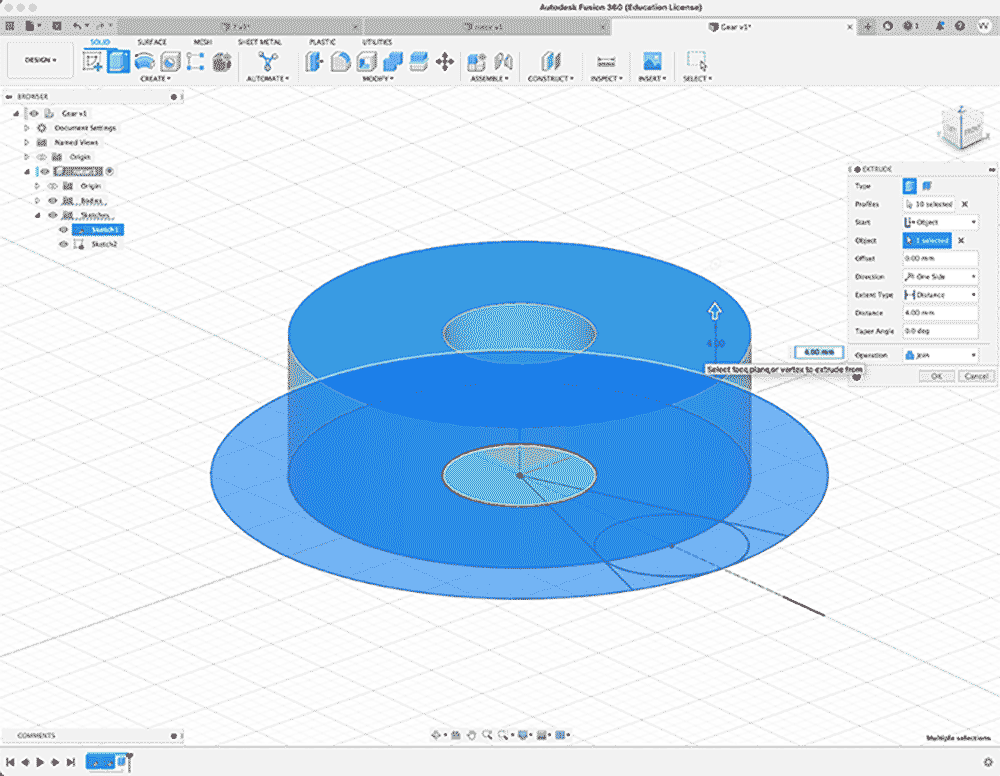 Extrusion: Create > Extrude
Then, I selected the outer ellipse to make a side of the rotor. I selected the plane of the top of my previous shape as a starting point in the panel.
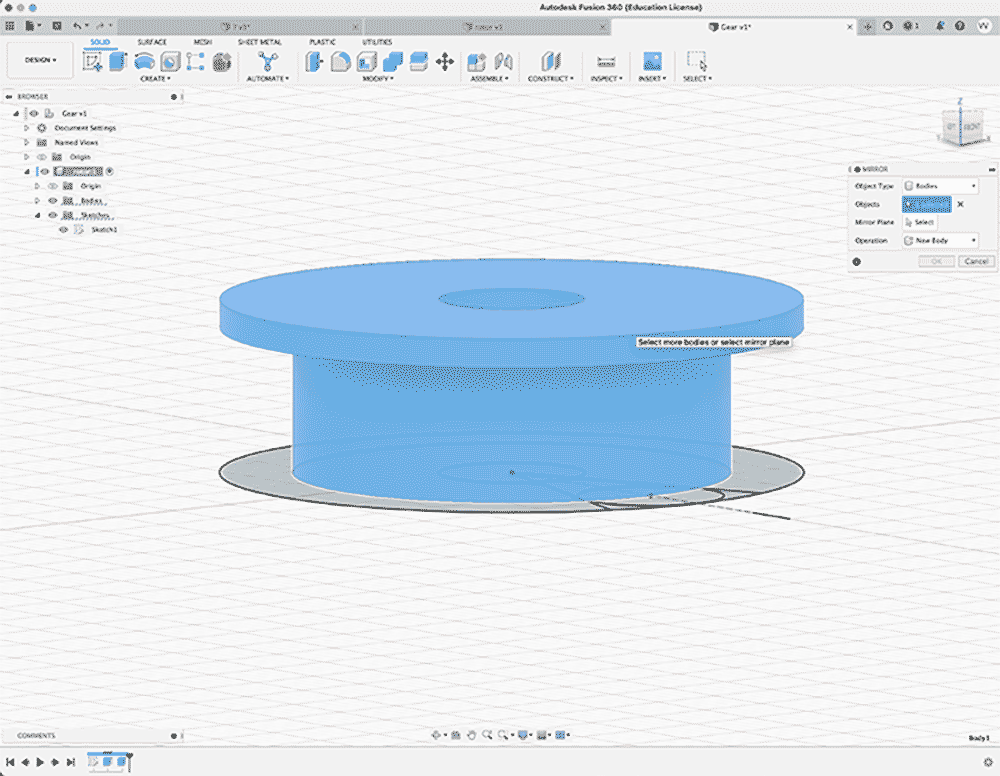
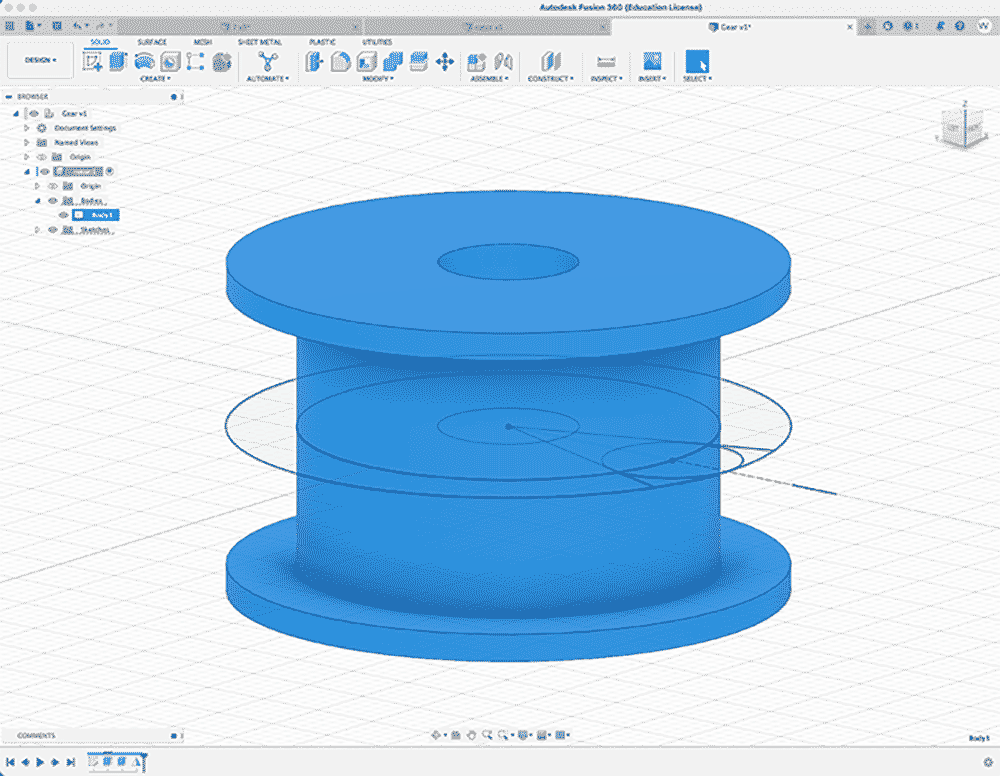 Mirroring
Why do something twice if you have computers? I used the Mirror tool to mirror the half of the rotor shape to its other axis. This resulted in a little basic rotor.
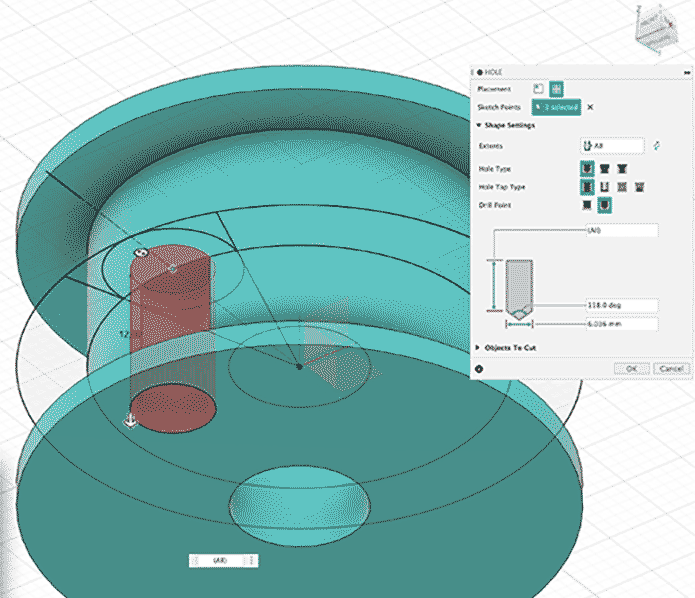
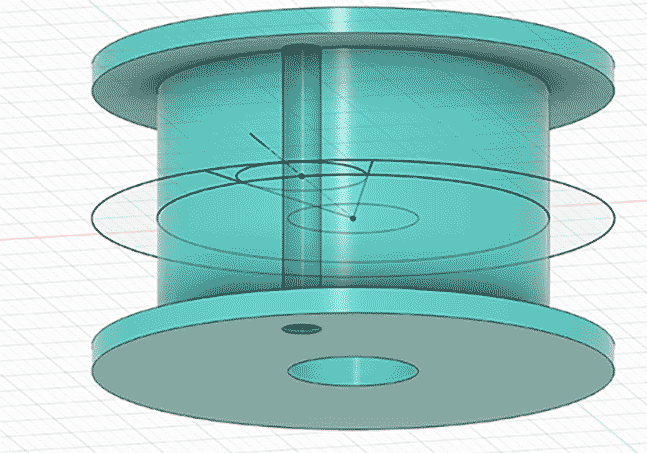 Making a little hole
I needed to make a little drill hole for the rotor to actually attach something to it. I need four, but I am making one to start.
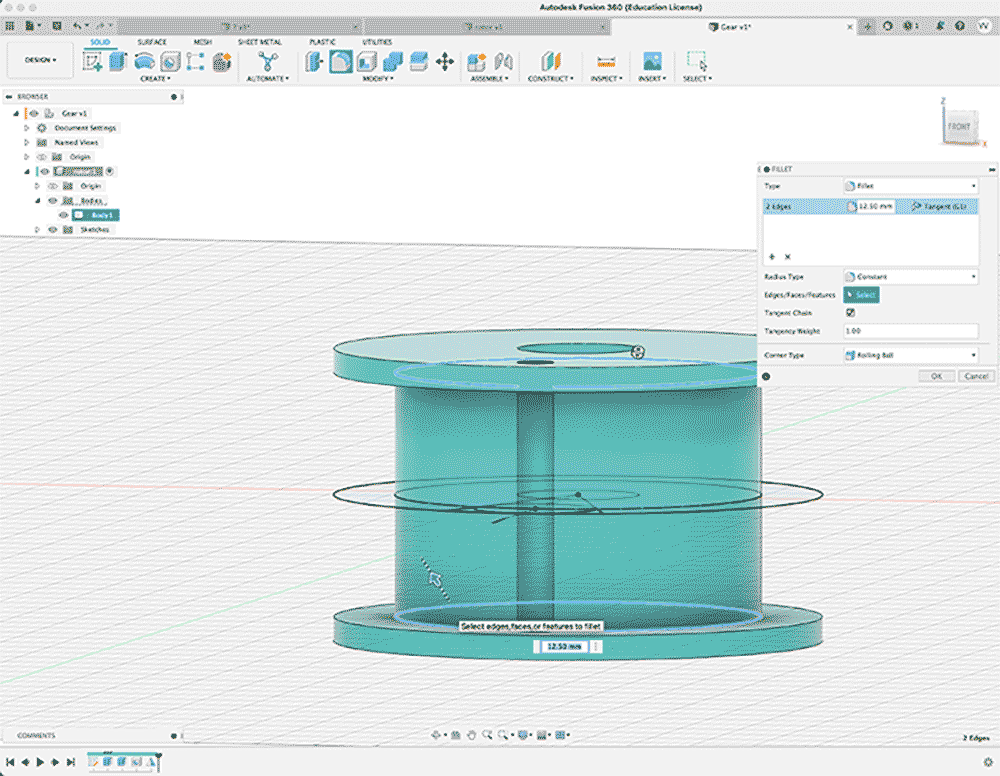
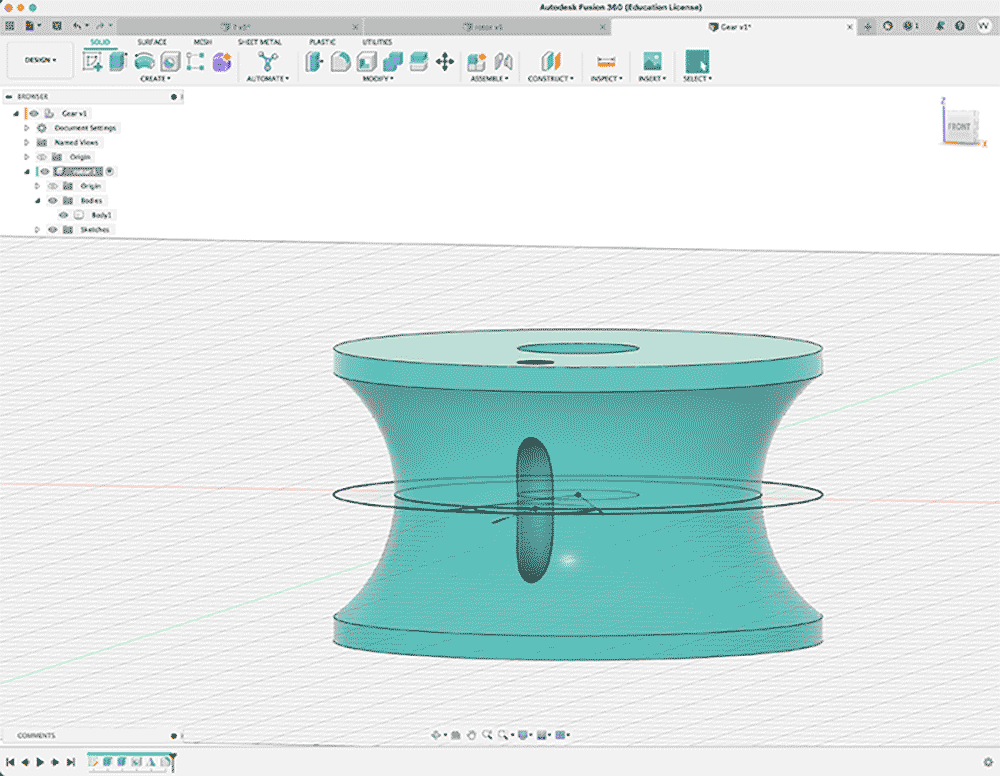 Filleting
Filleting is a fancy word for bevel. It's not always necessary but makes the object look proper and ensures there are no sharp edges. For now, I am just filleting the concave part of the rotor, not the outer edges.
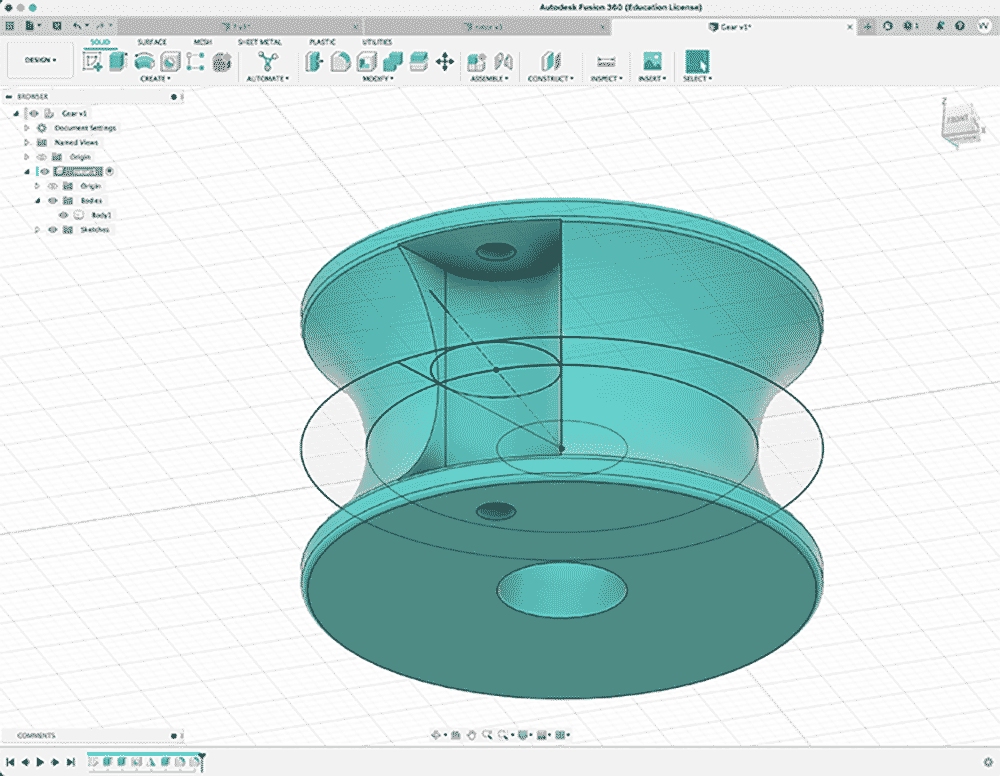
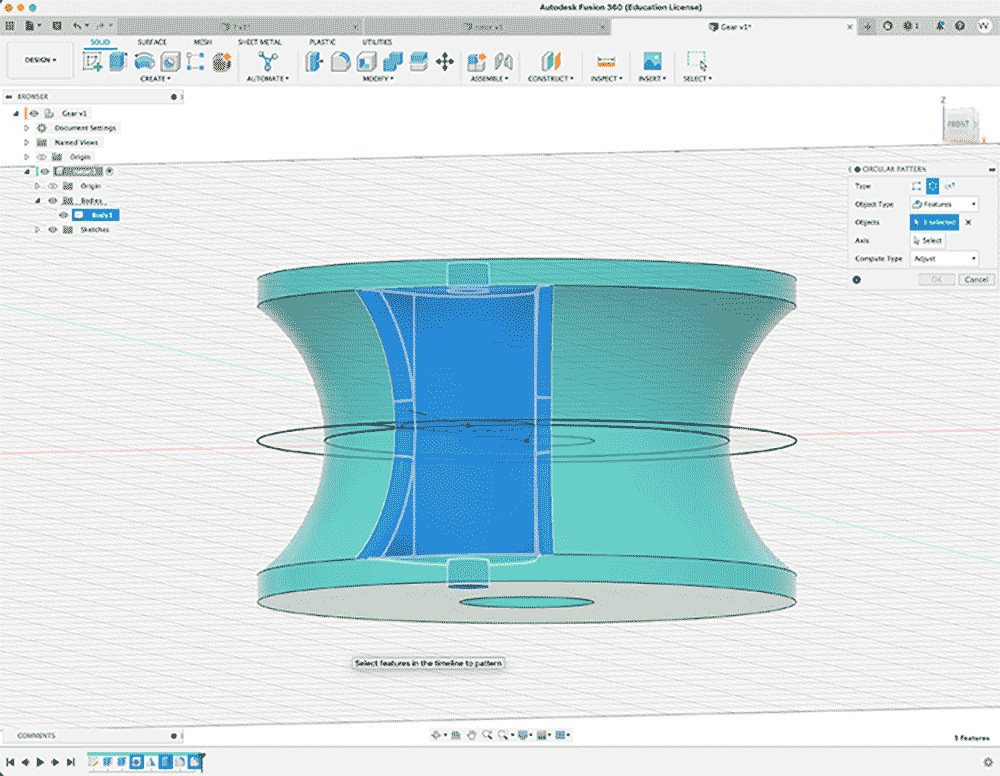
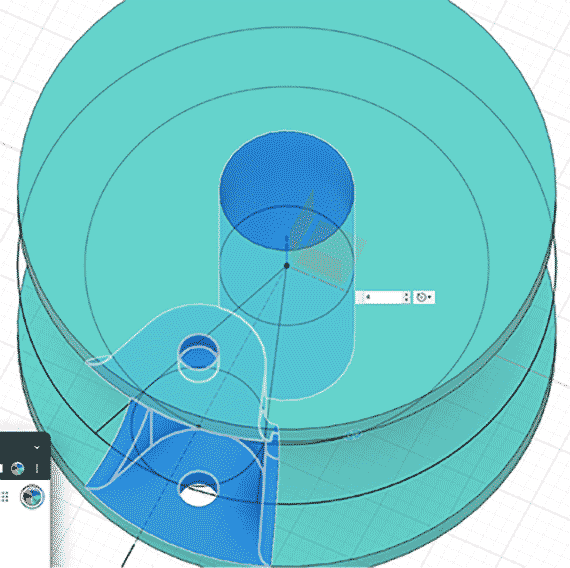 Select the hole, the plane and then the amount of holes you want in the control panel.
Now the edge is round, the hole is showing a bit. I am first carving out the hole on the concave part of the rotor, then selecting it and copying it with the Circular Pattern tool. Select the plane you want to rotate around and the number of times you want to repeat it. After applying this circular pattern, add the bevel to the outside borders.
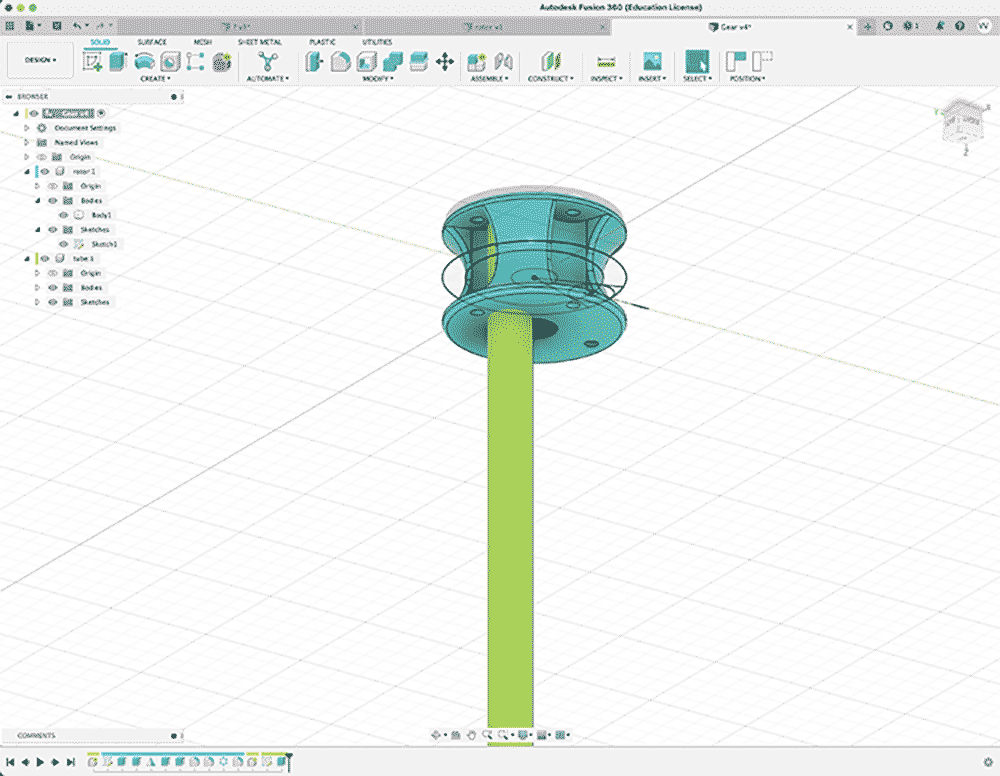
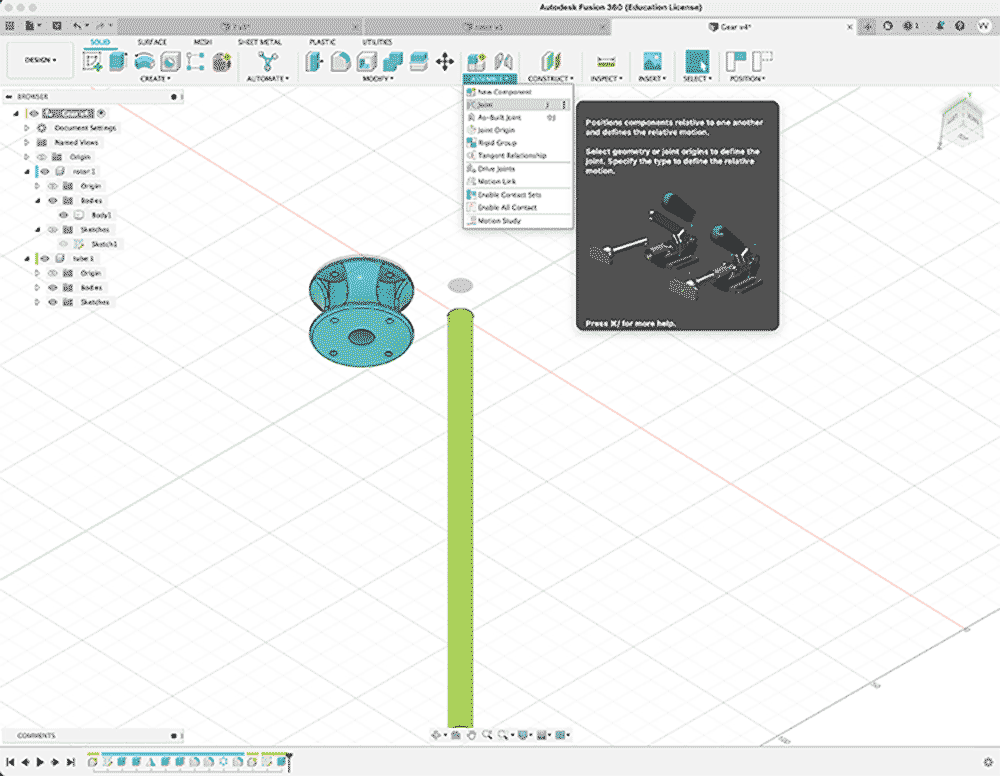
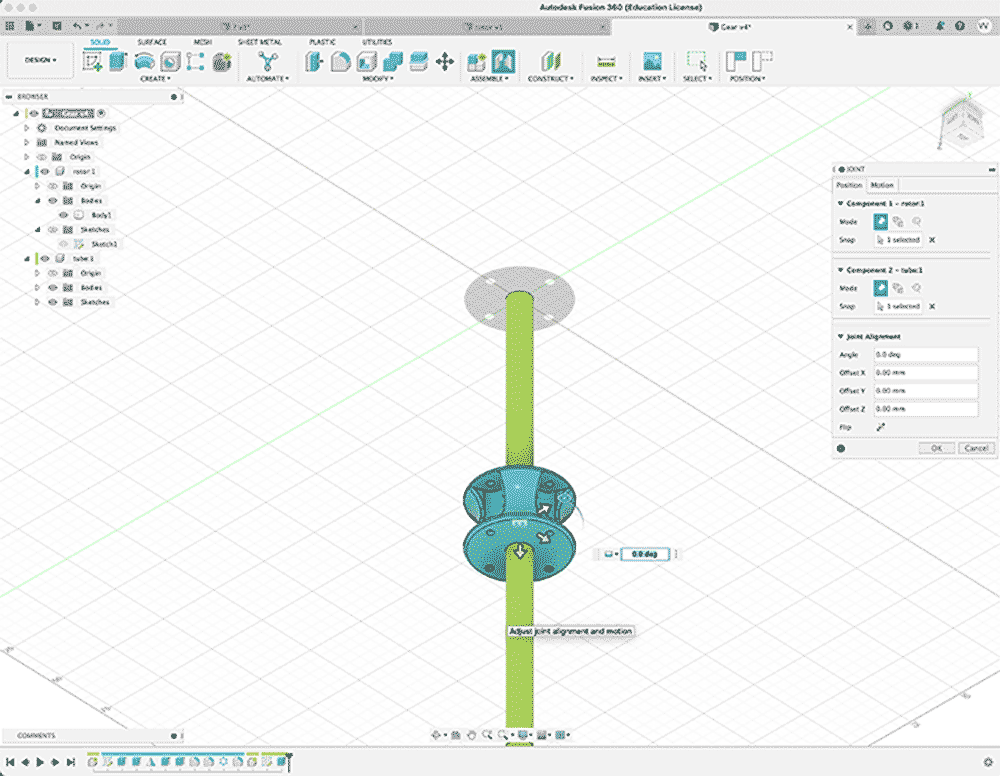 Select the hole, the plane and then the amount of holes you want in the control panel.
Next, I am making a little tube. I make sure it has another color. In Assemble > Joint, I am selecting the two objects in relation to each other.
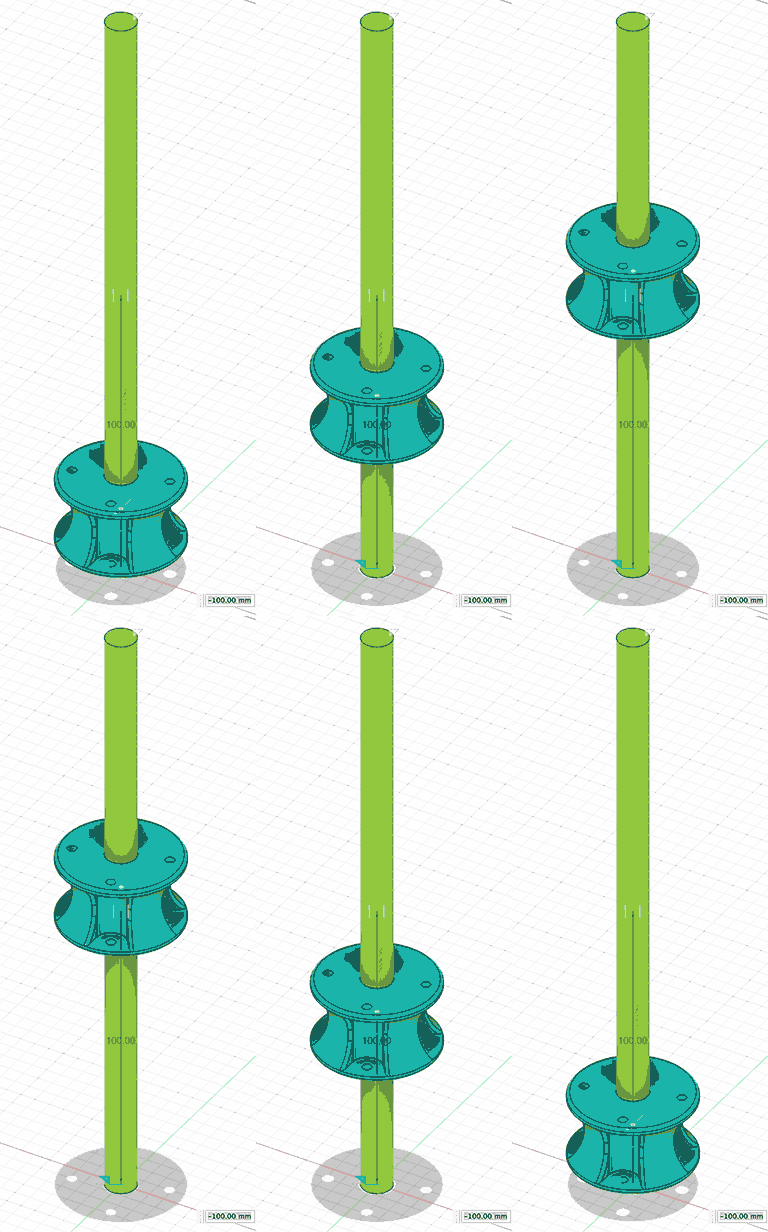 Constraints!
I had to redo a few things, but this was a great way to get into Fusion 360. I love the automation and constraints, and it makes me look very differently at the 3d software I have been using until now (such as Blender). I think for manufacturing I would use Fusion 360 now, whereas for a nice render, my favorite will always remain Blender.
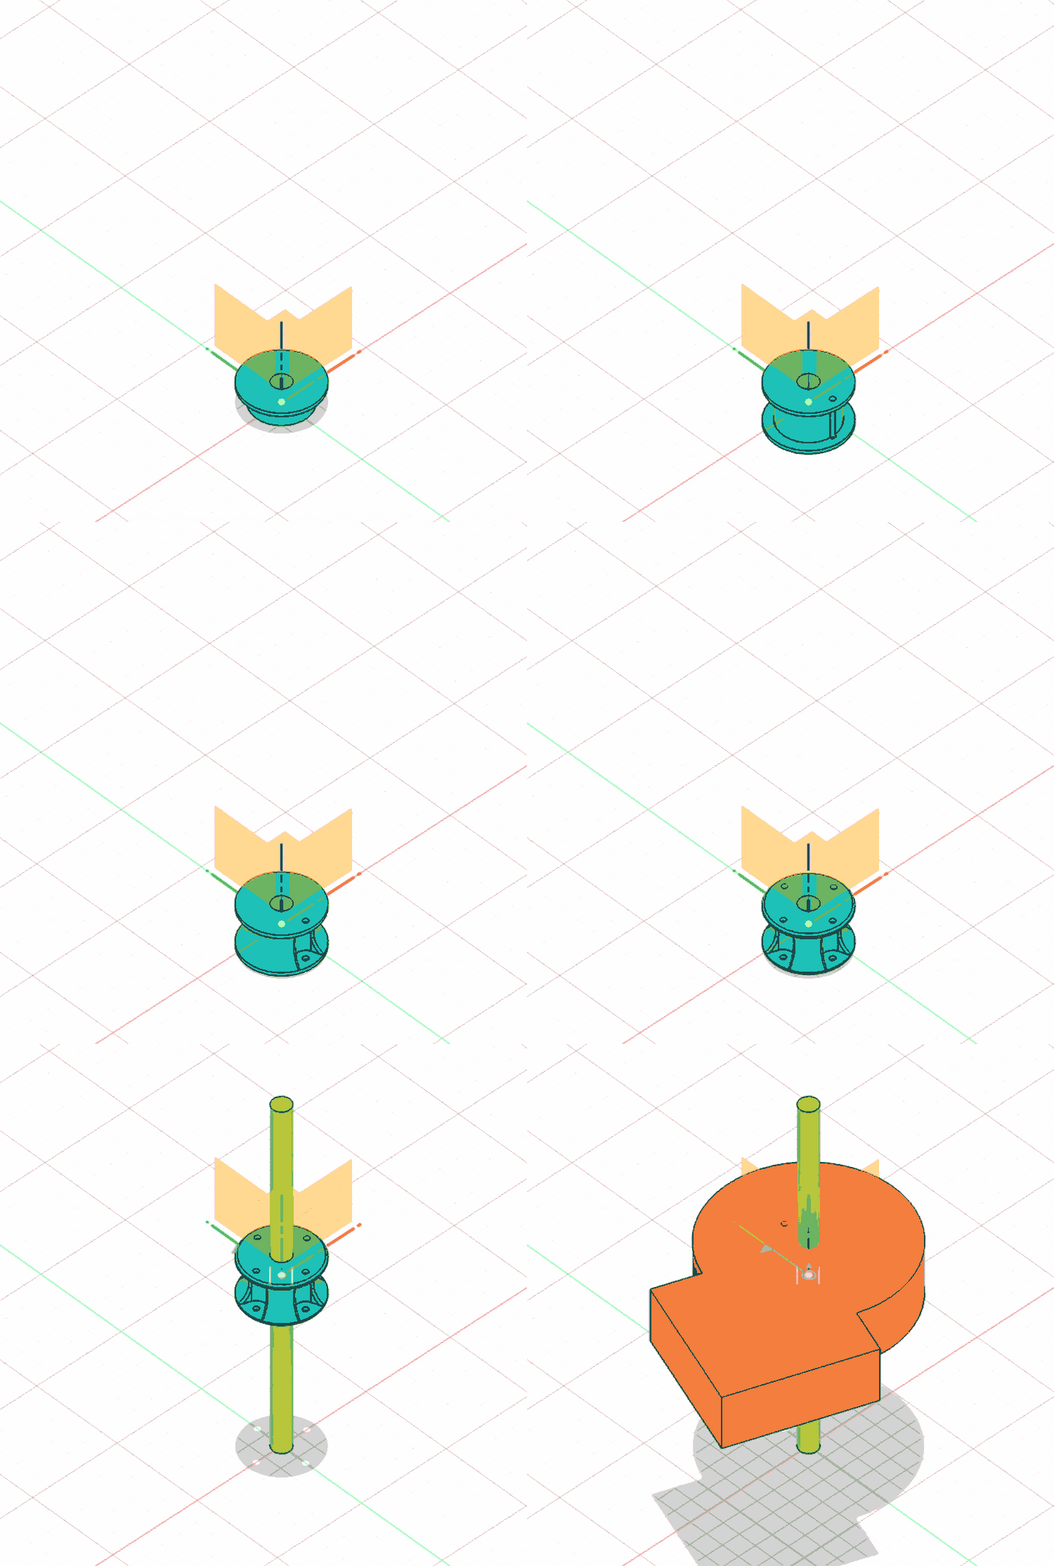 Complete process