Week 13,
Ideation Phase: This week, I was in crunch mode for the final project. Because of this, I wanted to make sure my wildcard week pertained to my project while also being a skill I wanted to learn. Ultimately, I chose cutting metal with EDM (Electrical Discharge Machining). I decided that I would be making a metal plate for my final project which is going to be a temperature controlled coaster. Since I was using a Peltier plate (a small flat device that generates heat on one side and gets cold on the other), the metal plate would conduct that temperature and result in a larger surface area to interact with the user's mug or cup. After doing some measuring and modeling my proposed project in Fusion 360, I came up with this coaster that fit my specifications:
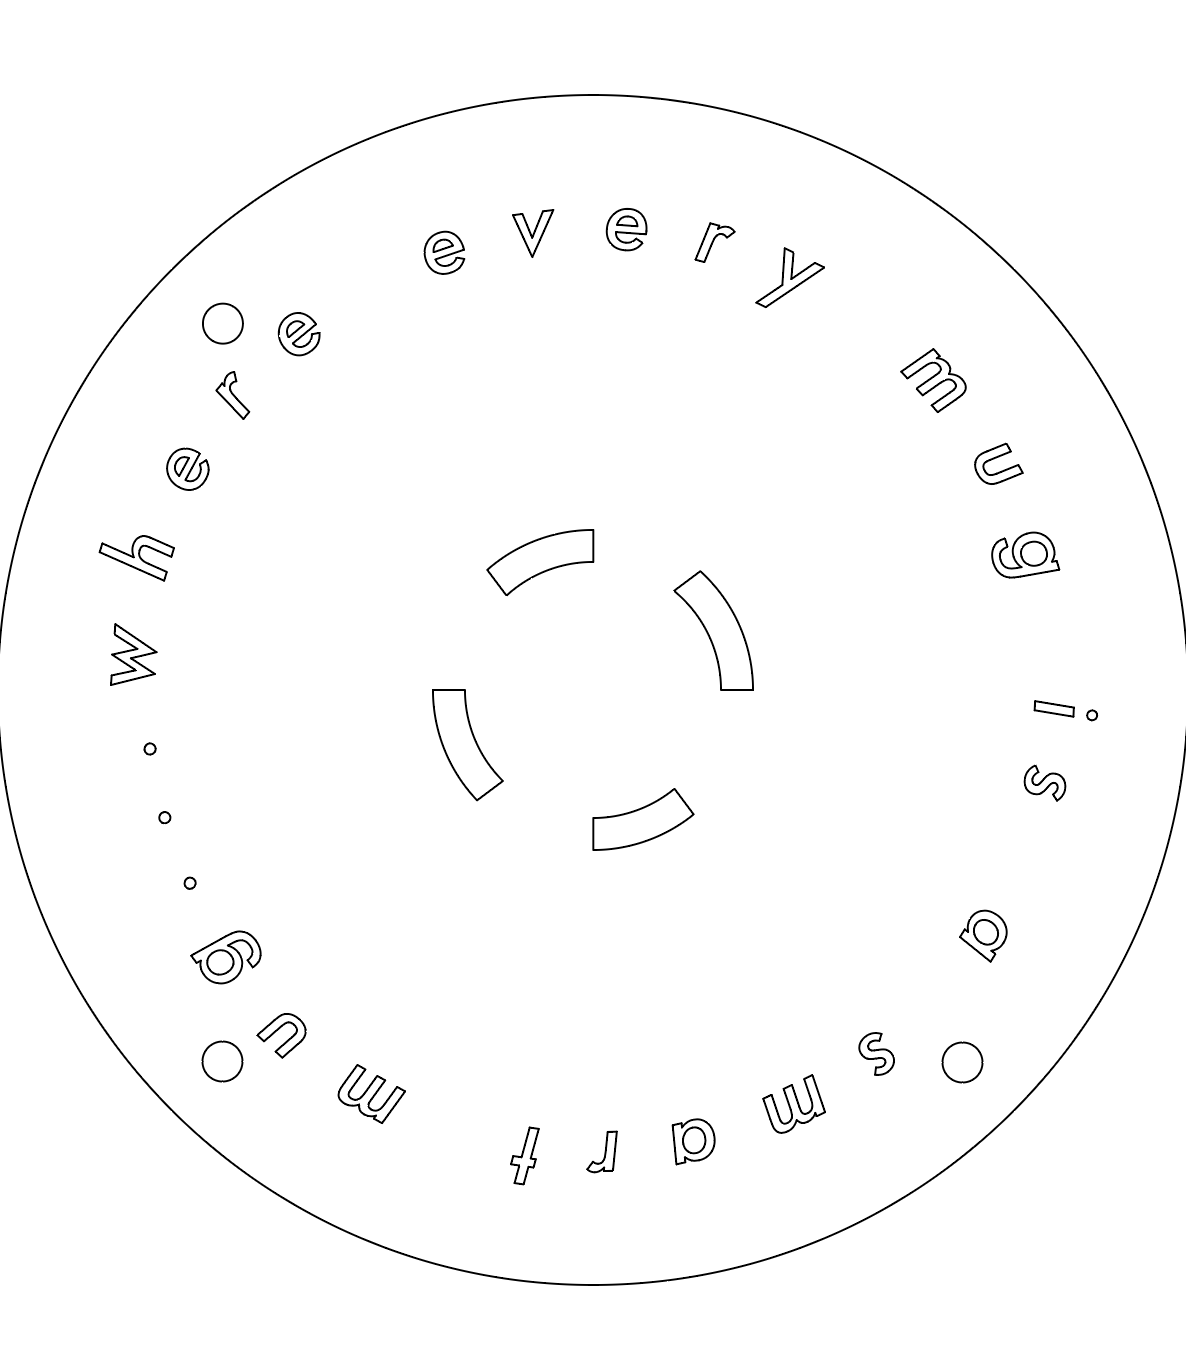
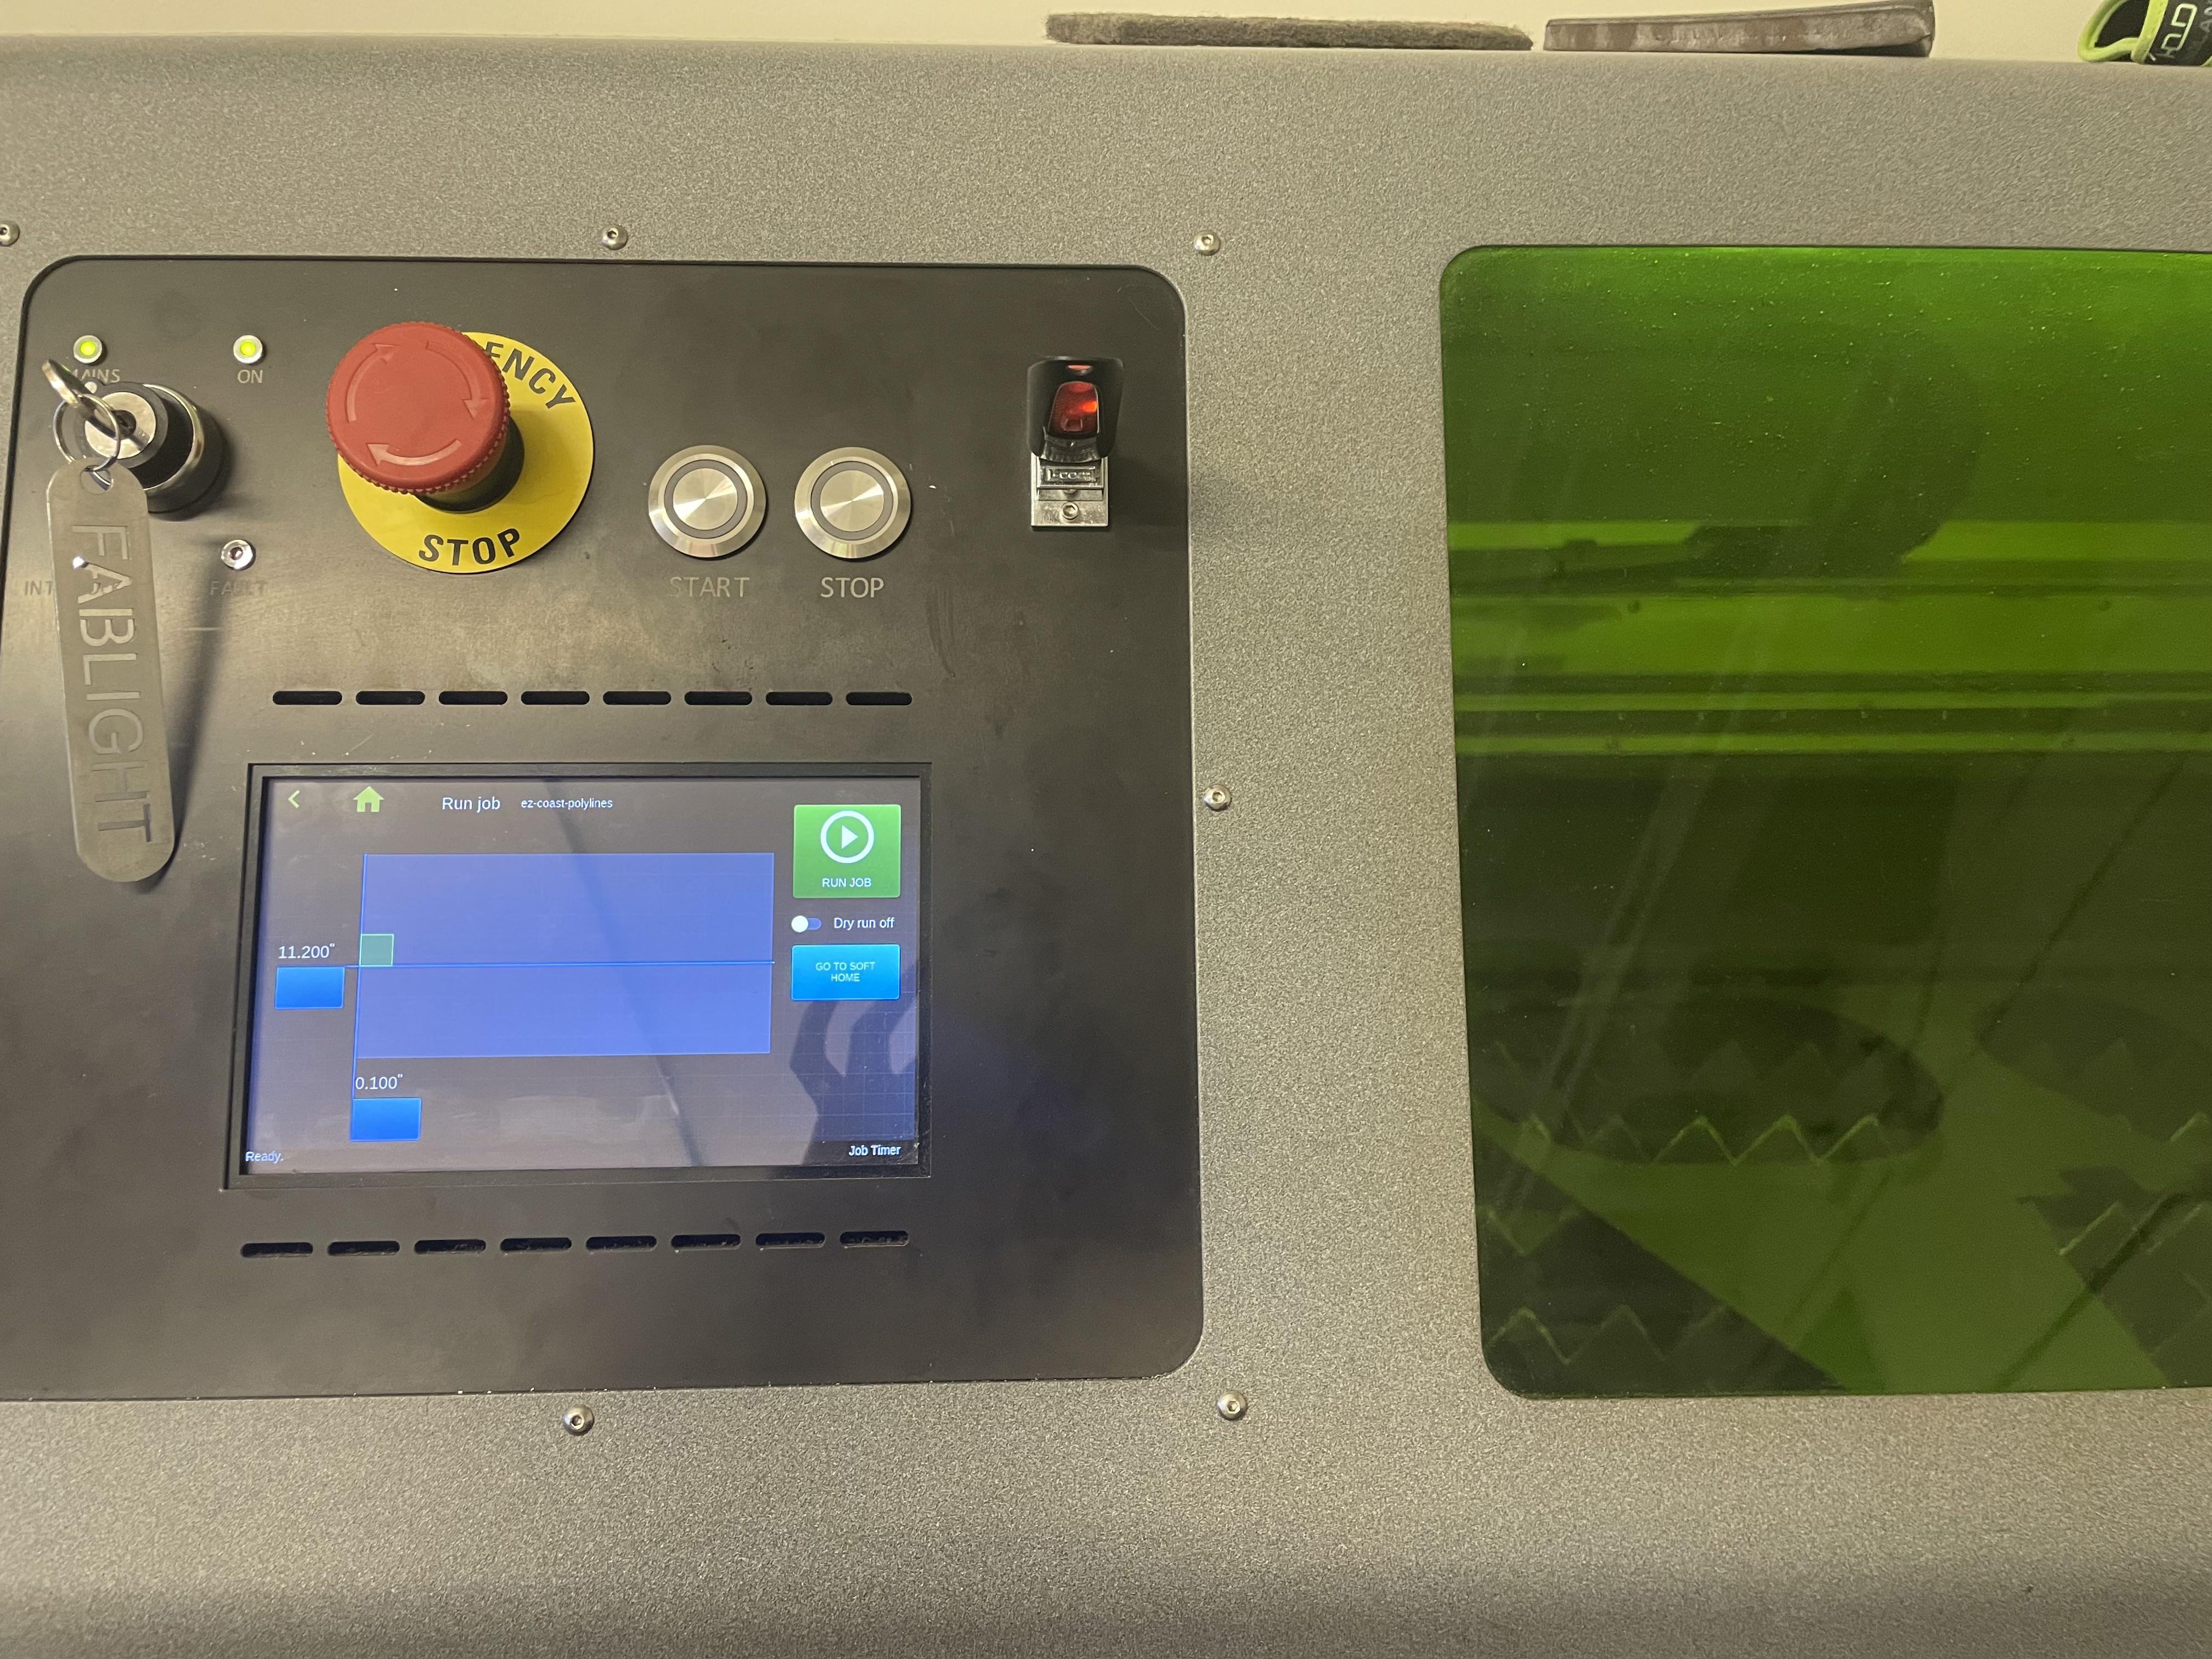
Execution Phase : The machine that cuts metal is called a FabLight. I ended up using the FabLight in N52, rather than the one in Mars Lab so some of the setup may be different. There's a specific FabLight software that takes in DXFs and converts them to a machine readable format. In this program, you input the thickness and type of your metal, whether or not you want kerf compensation (kerf compensation allows your pieces to be the size you CAD'd them as rather than losing some dimension due to size of the laser. Since the metal plate had to fit into a 3D printed enclosure, I turned this off because having a slightly smaller piece would ensure a good fit), and finally, how many tabs you want on your piece (tabs are little points in your piece that stay connected to the larger sheet of metal. this makes sure your cut piece won't fall down to the bottom of the FabLight). Another thing the software allows you to do is to separate lines into CUT or ENGRAVE sections. This was super helpful for me as I wanted to engrave words on my coaster.

Final Product: Using the FabLight was super easy. After I uploaded the .fab file I'd created in the software, I previewed the file to make sure it uploaded correctly and then used the machine controls to place my cut on a sheet of metal.
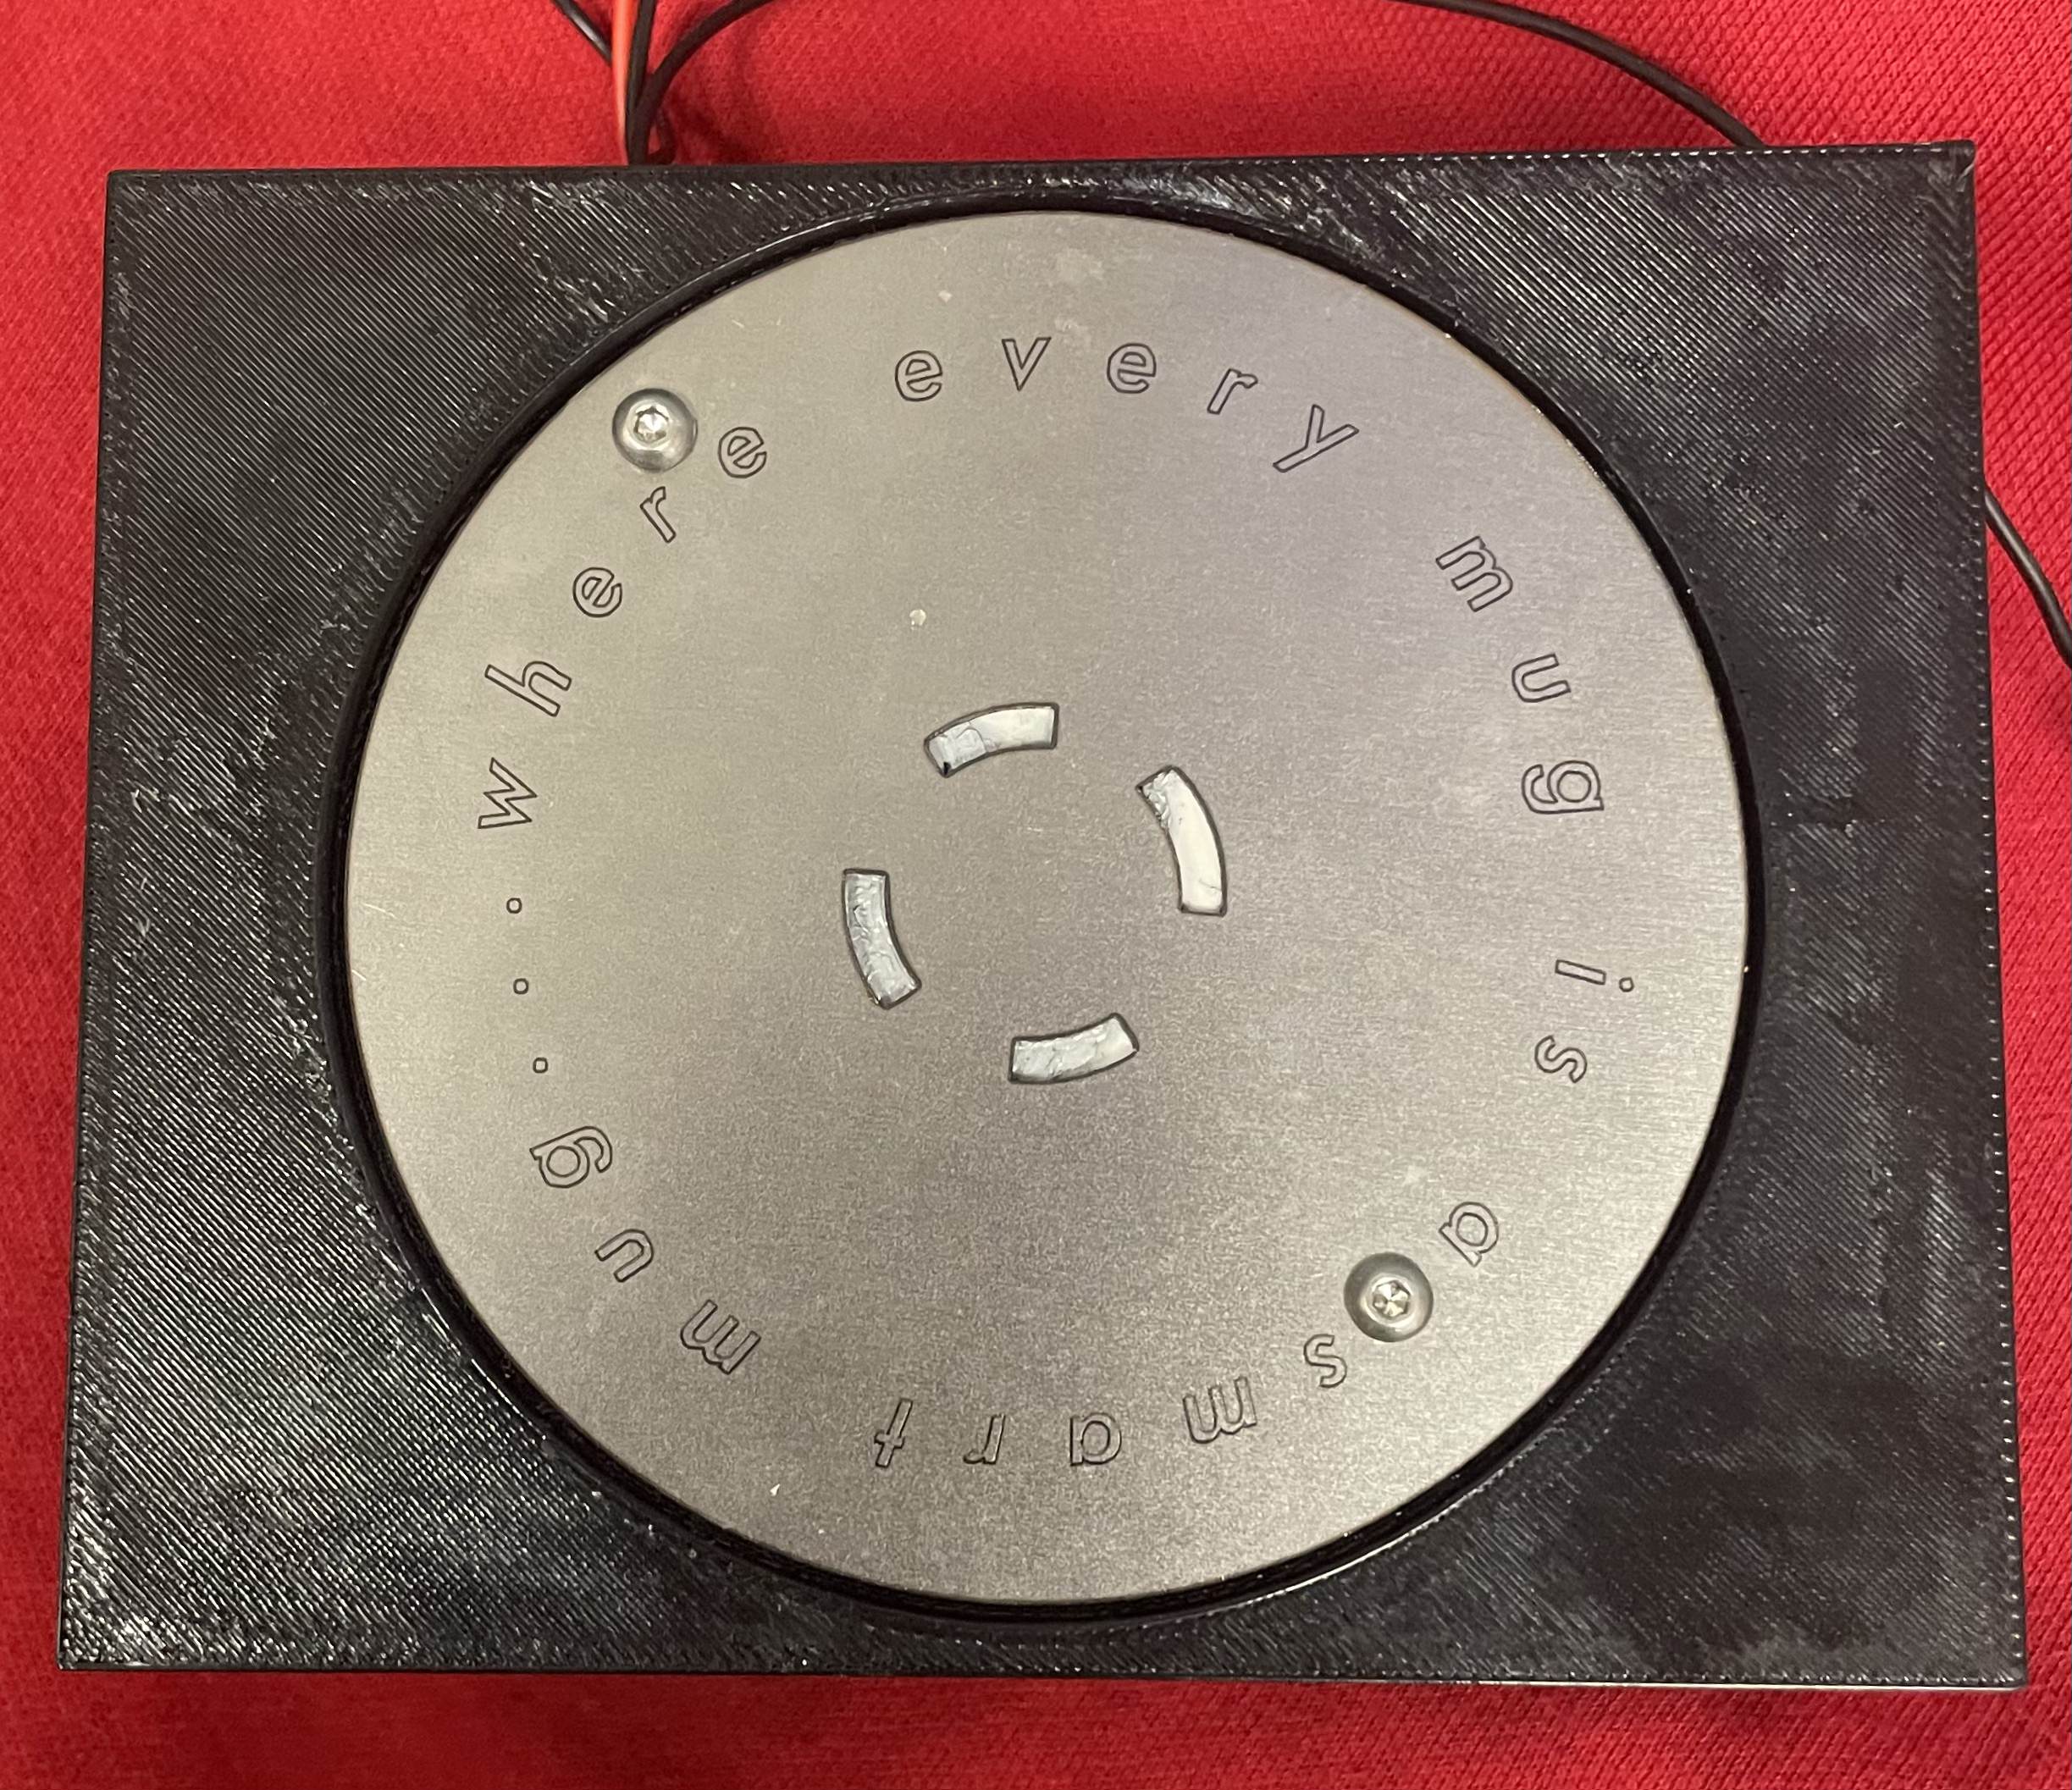
All this paid off and resulted in a lovely plate that fit perfectly into my 3D printed enclosure:
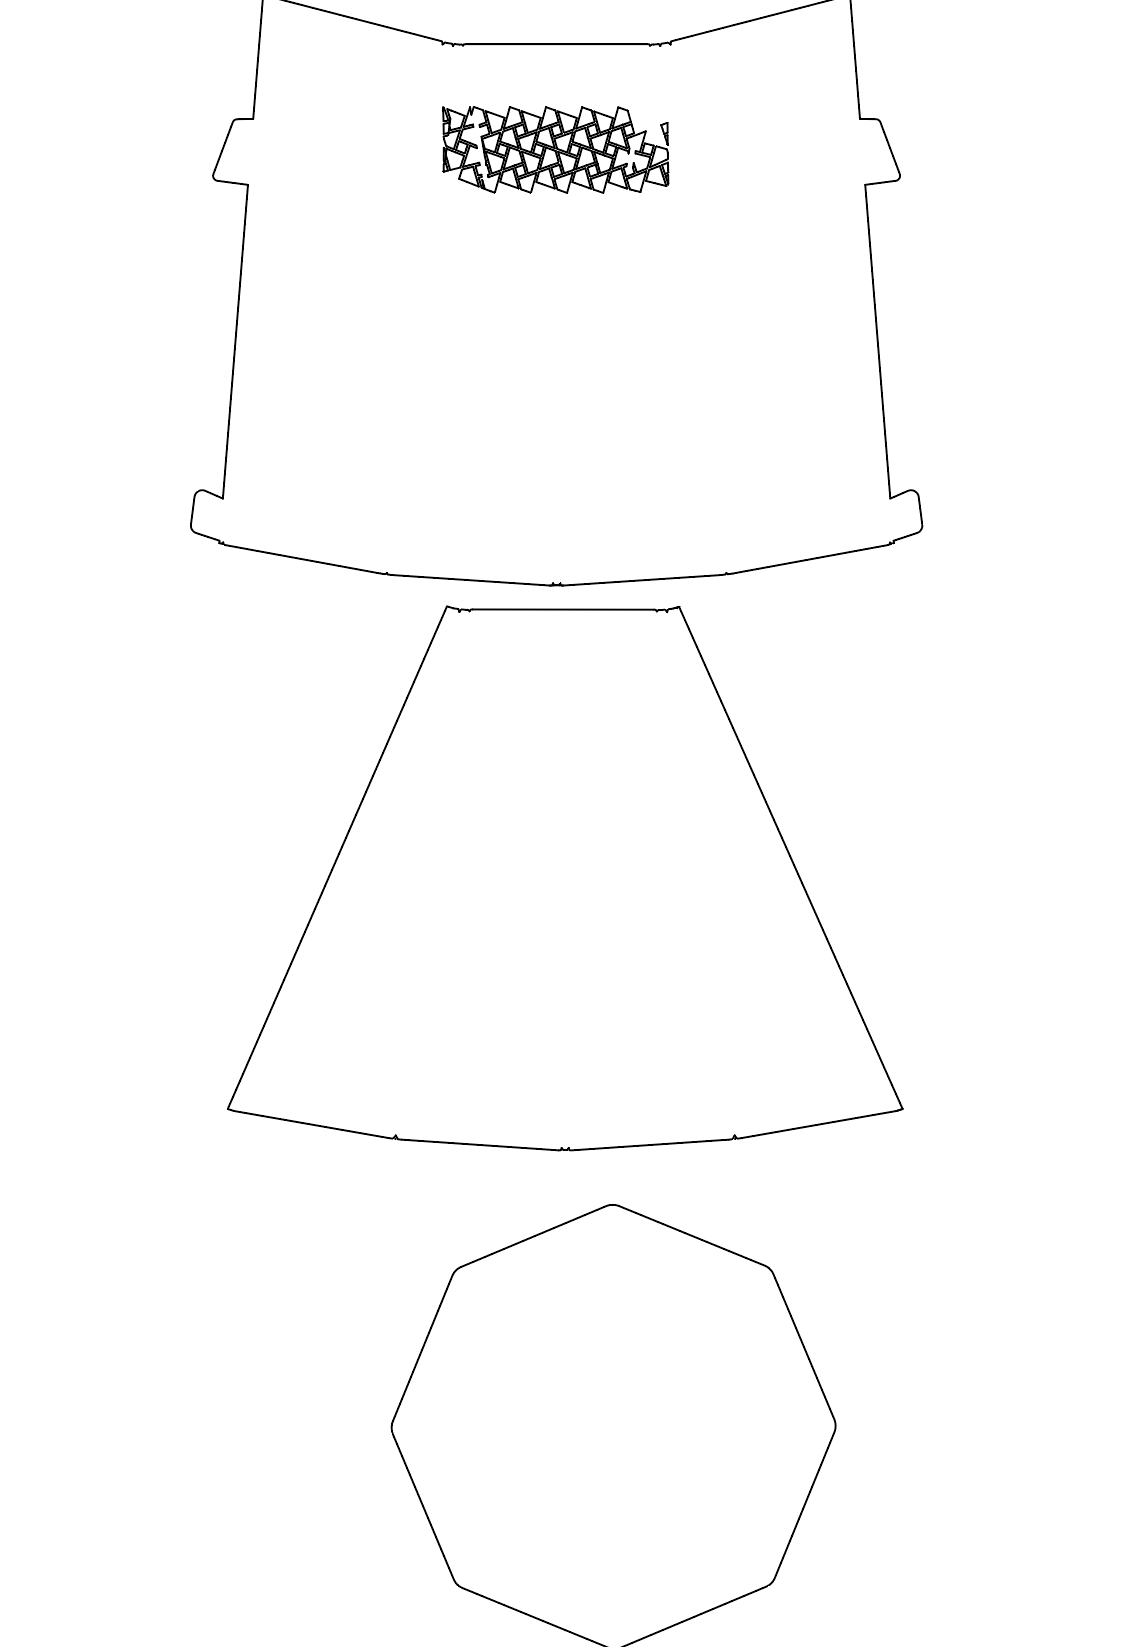
P.S. At some point, I really want to do the spot welding and folding tutorials that were also offered for wildcard week. I designed a vase supposed to be made out of sheet metal and Alfonso (big shoutout to him!) helped me unfold the vase to make for a good DXF for cutting. Both the CAD and DXF are shown below:
- Alex