week 7: mold and cast
the design.
a birthday present?
This week fell around my sister's birthday. Usually, I buy and make something for my family's birthdays so I decided to use this week's assignment to make the latter half of her gift.
My sister works at a desk a lot and also enjoys little trinkets from her favorite shows and animes. I decided to combine these ideas and make her a coaster with a picture of Killua-- her favorite character from the anime Hunter x Hunter. The coaster could sit on her desk and hold her various cups and saucers that she usually has next to her.
I found one of her favorite images of killua online:
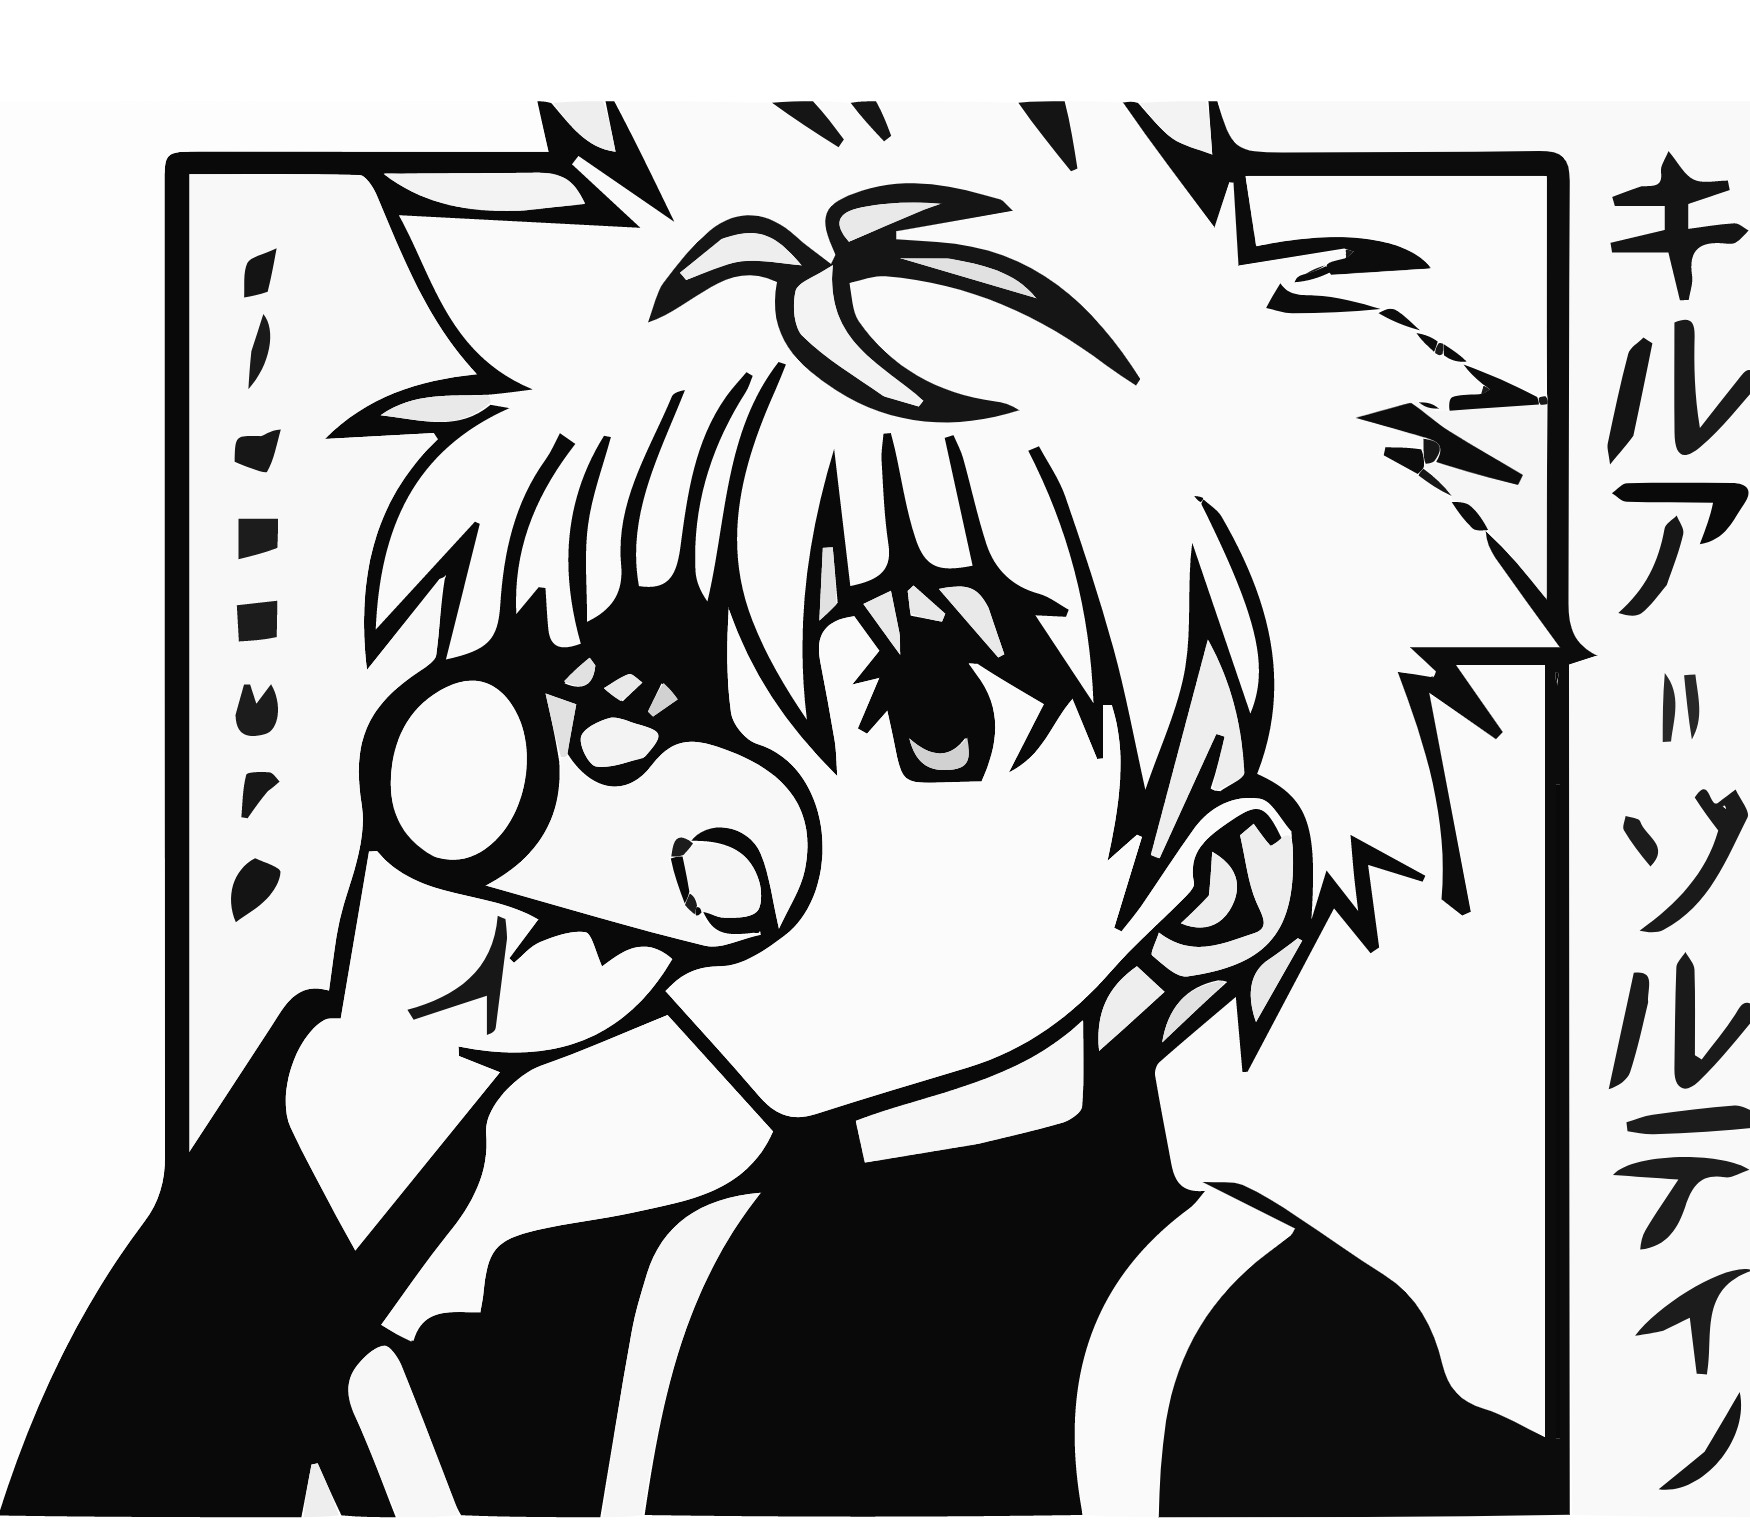
 I needed to convert this image to an svg in order to convert it into a surface I could easily just import and extrude in fusion360. I was going to trace in in inkscape, but found a solution offered by Adobe, their free online png to svg conversion tool . Running the image through this service produced an svg that looked like this:
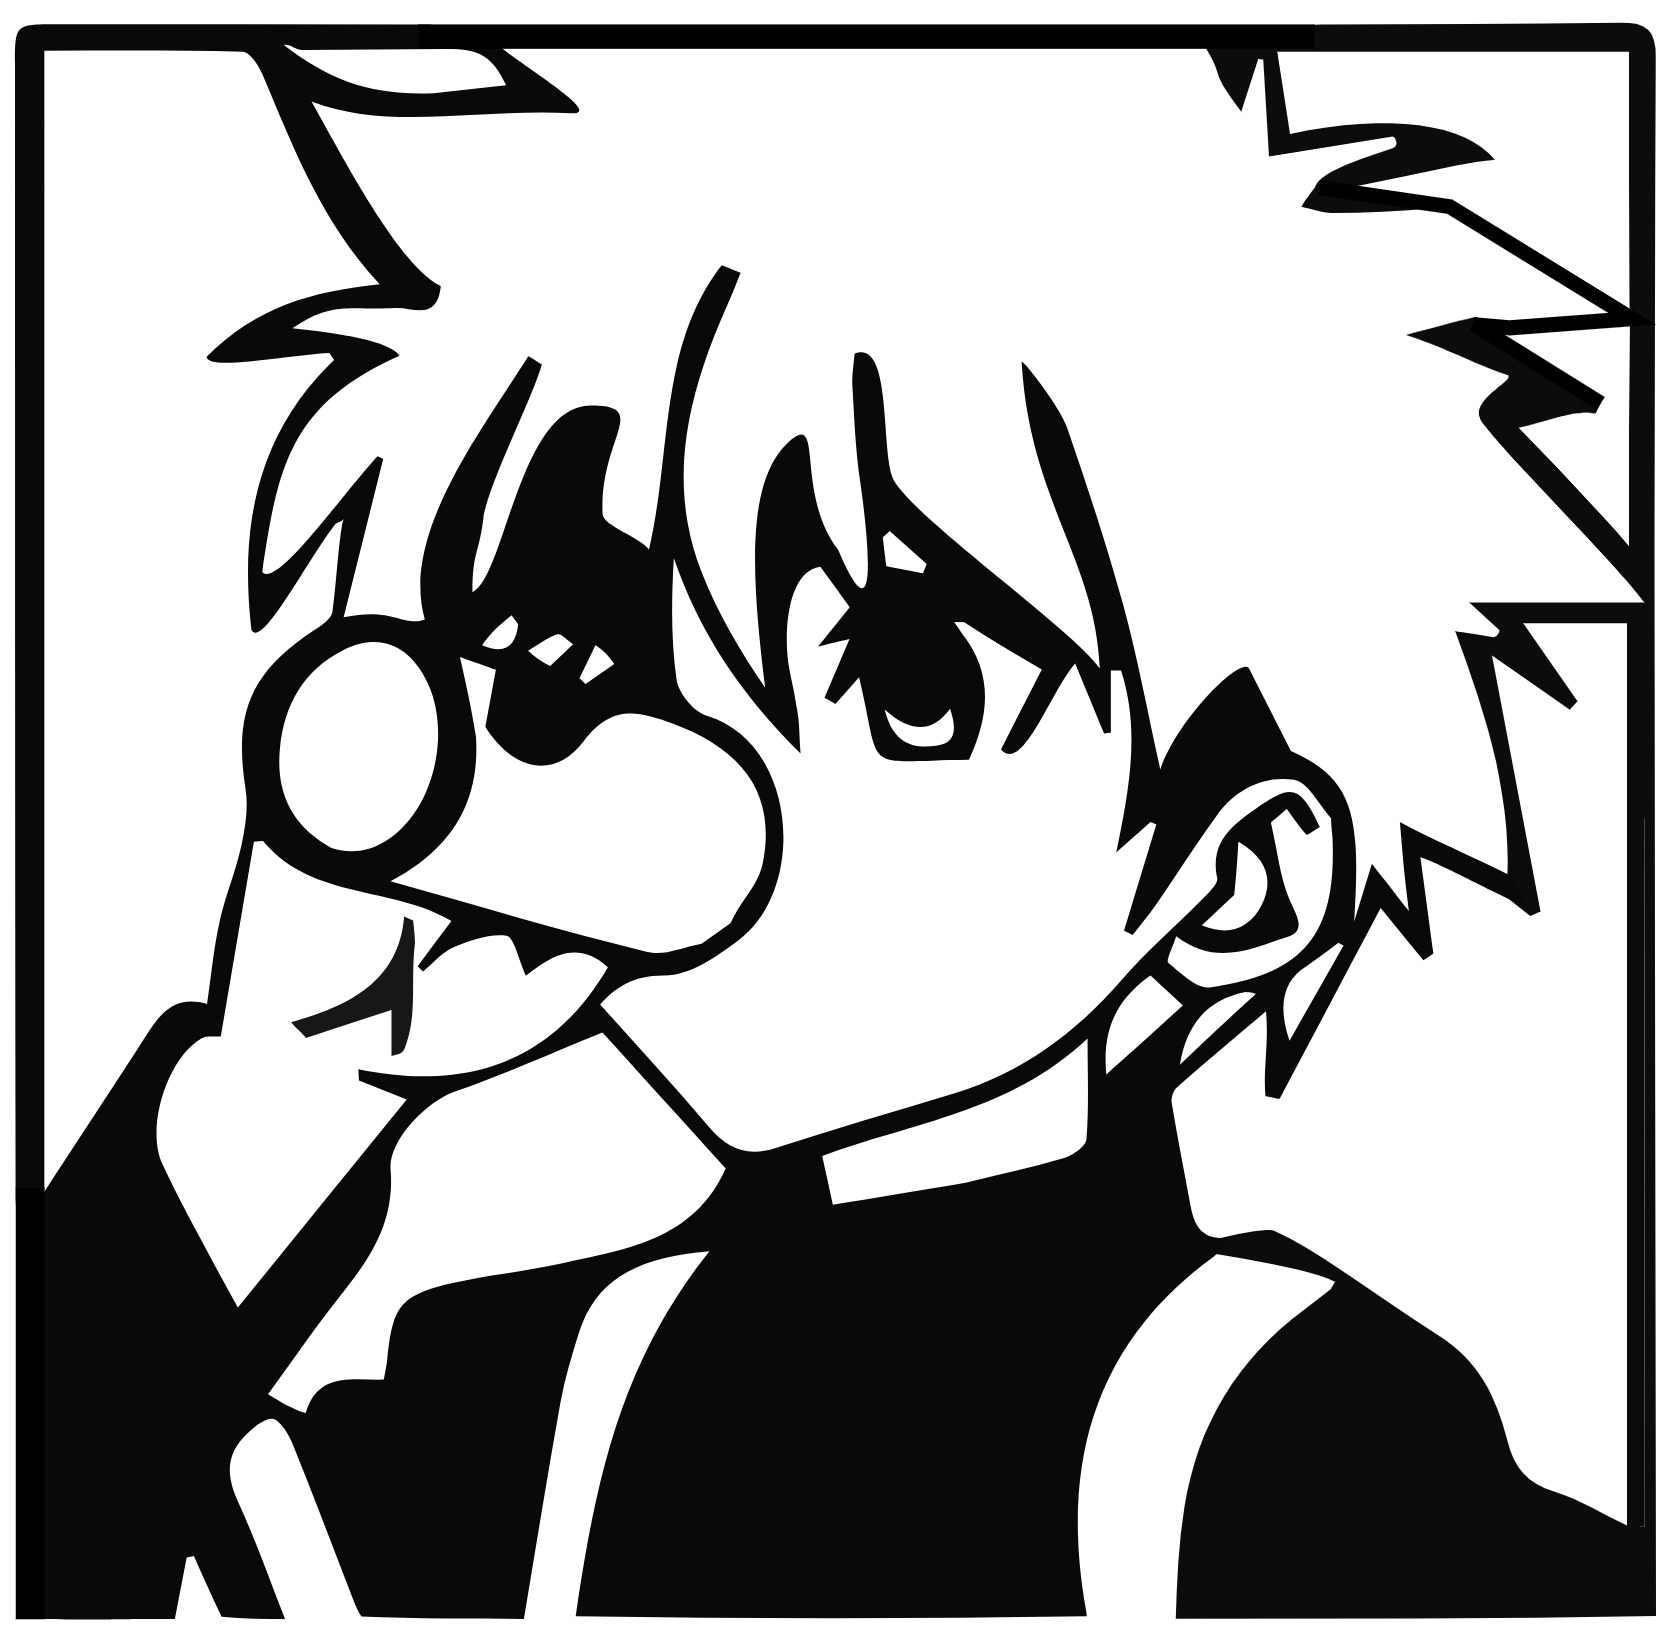
 There are some clear discontinuities in some of the lines that needed to be fixed. Unfortunately, the Adobe service did not come with an editor. I moved to another online service: Boxy SVG.
I got rid of writing and simplified some of the small details in Boxy and ended up with this before and after:
There are some clear discontinuities in some of the lines that needed to be fixed. Unfortunately, the Adobe service did not come with an editor. I moved to another online service: Boxy SVG.
I got rid of writing and simplified some of the small details in Boxy and ended up with this before and after:
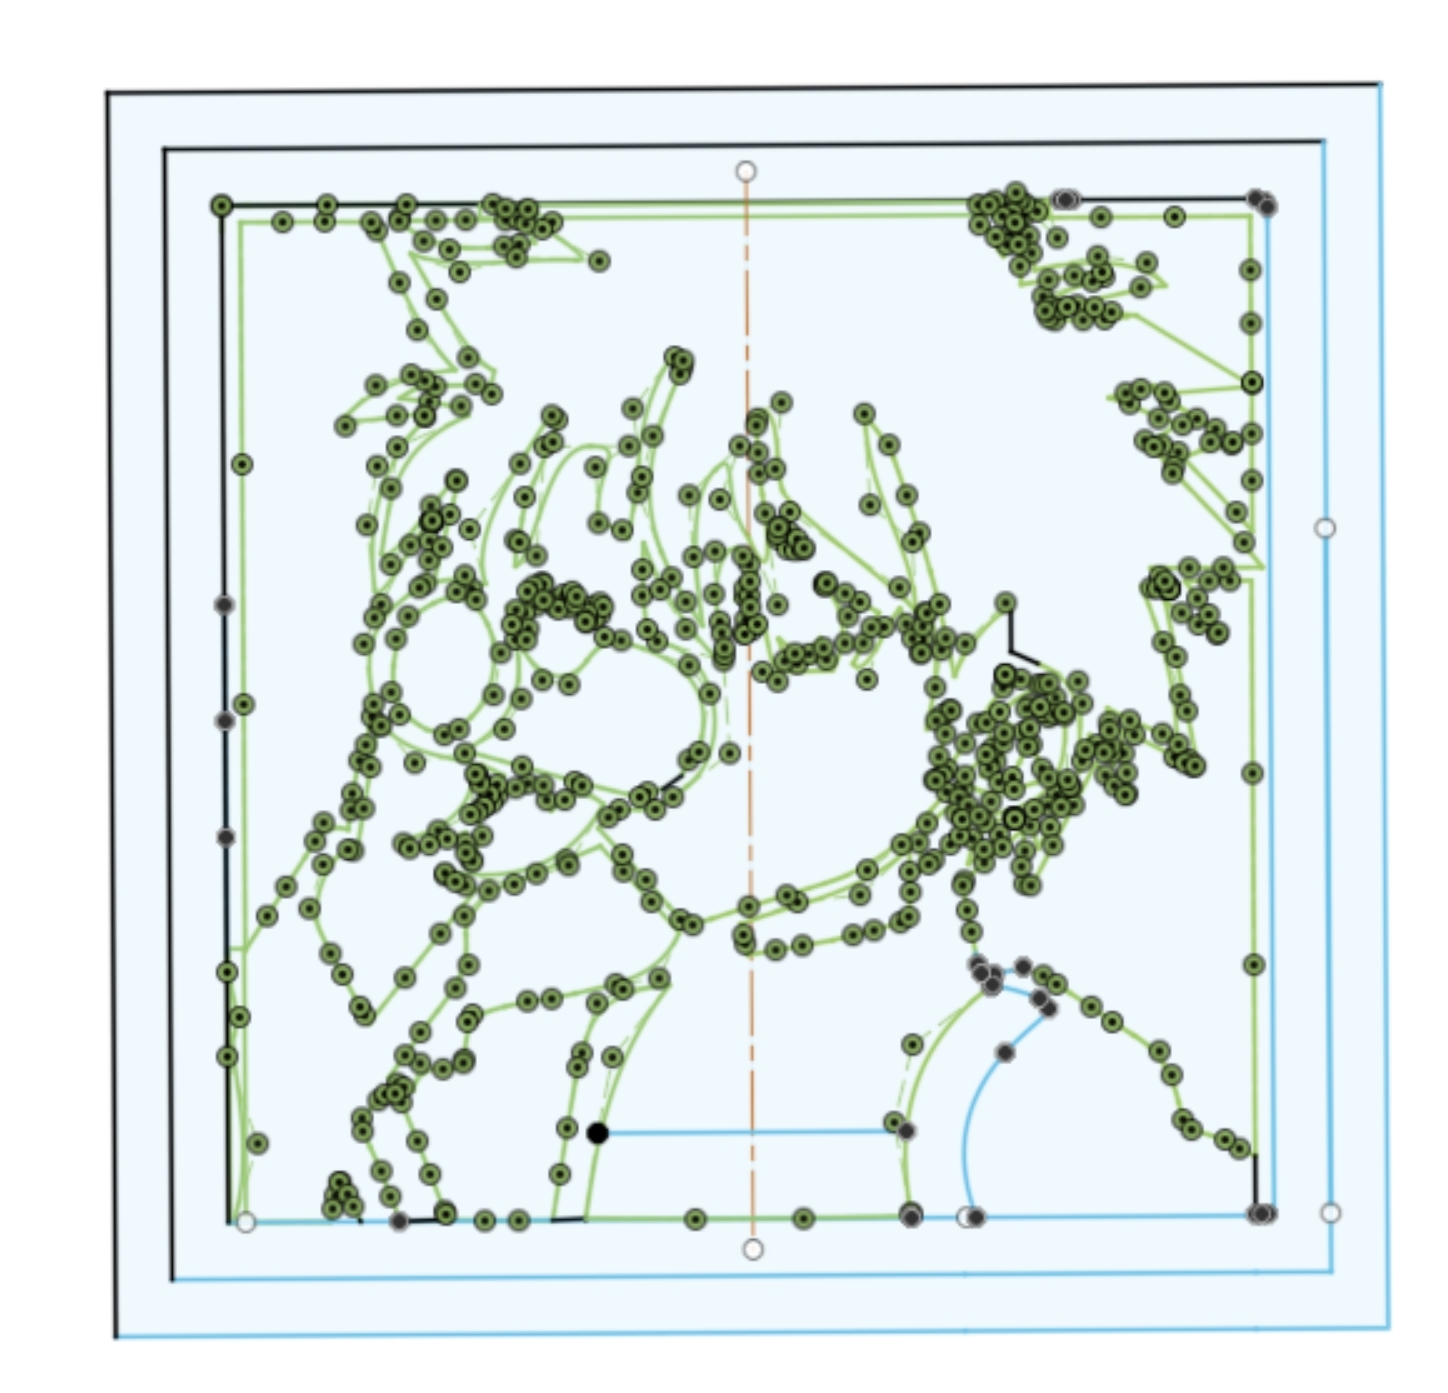
I was wrong.
While it doesn't show, the svg vectors, having been computationally generated from a png, were not consistent, clean, or straight where they appear straight. I had to go and redraw portions of the images within fusion and zoom in 200-300% to catch small non-linearities and broken shapes. Fixing these artifacts were essential because the svg vectors would not always respond to selection, making extruding large continuous sections very difficult. Either I had to click and drag to fix the svg, or delete large portions and redraw them by hand. It was a lot, but I got it eventually:
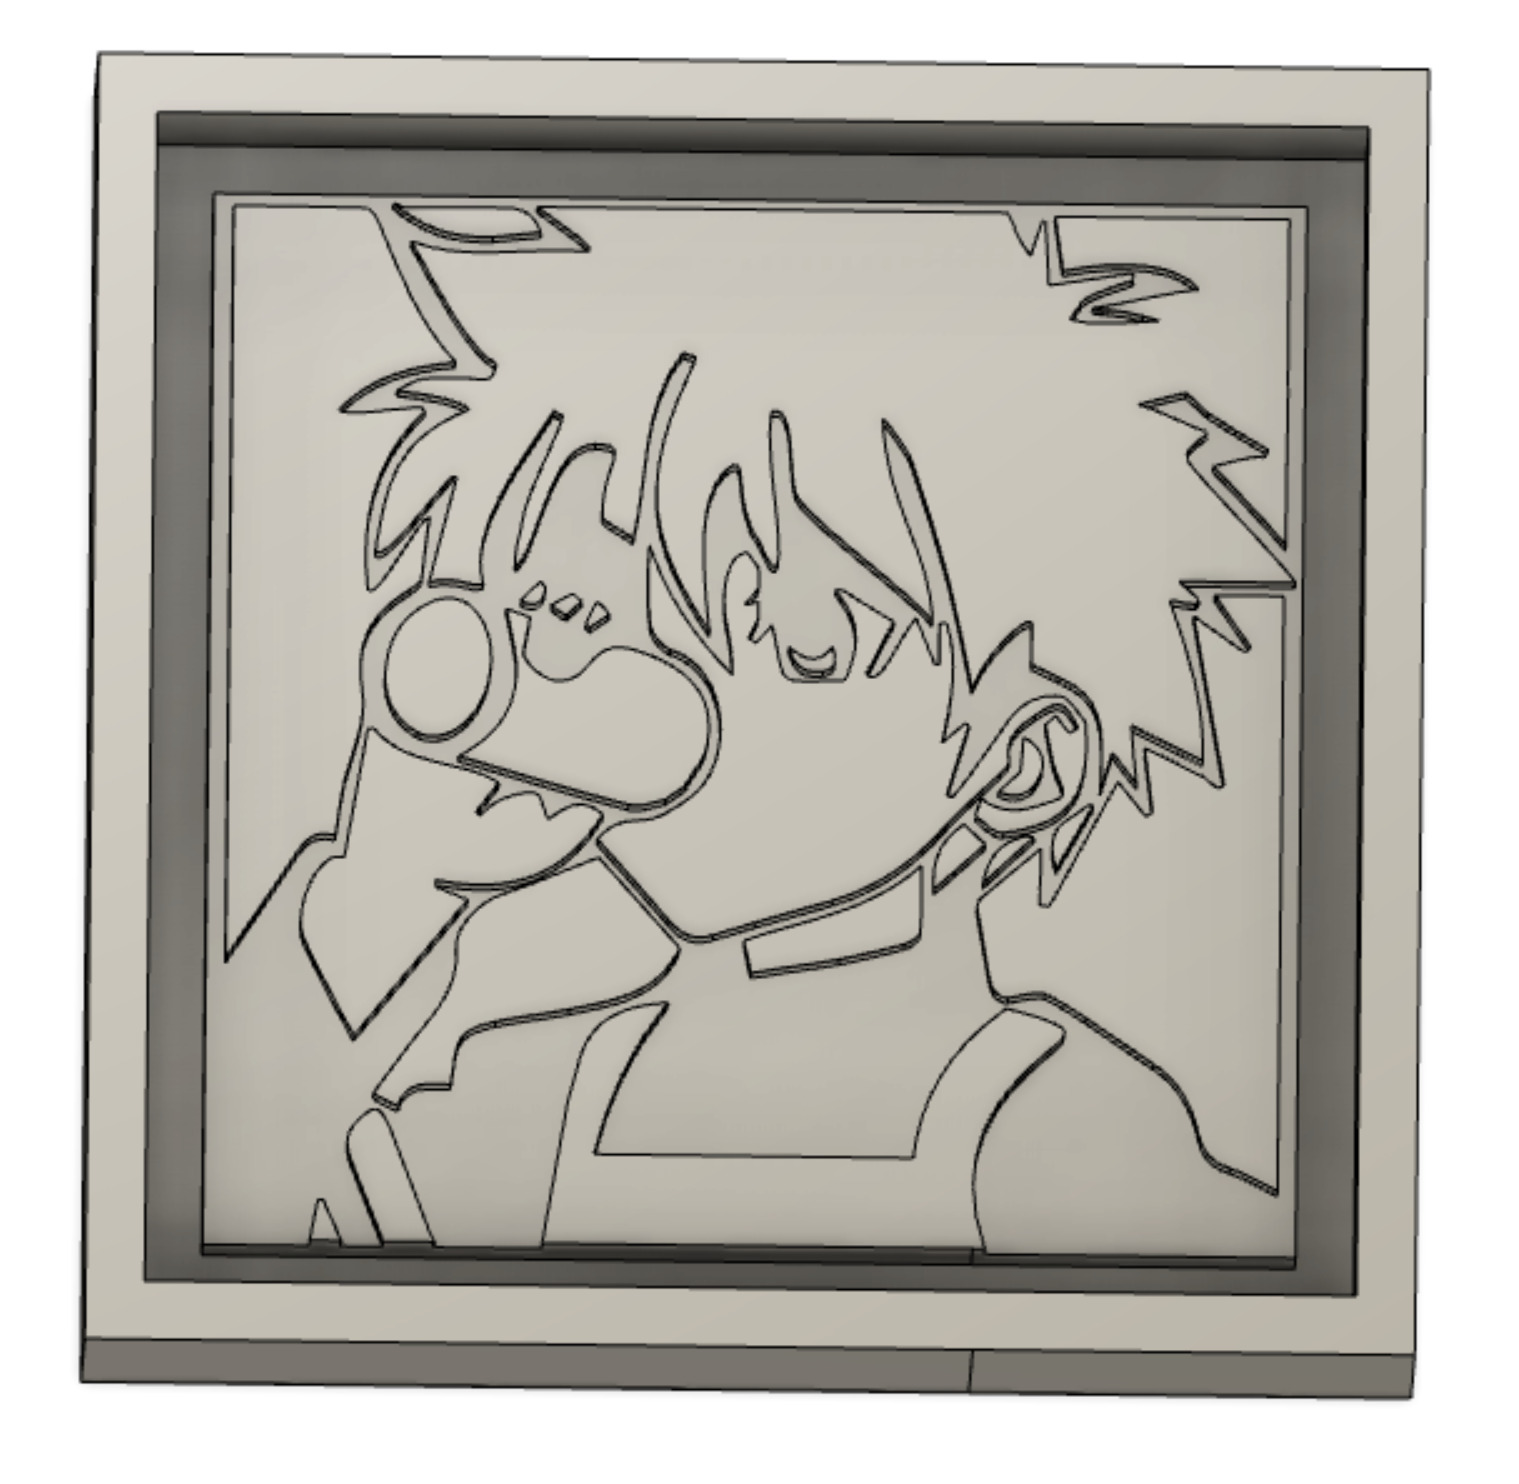
I decided to give him overalls, since his shirt would not be elevated. I needed to make sure enough of the coaster was elevated that a cup would not tilt when placed on it.
molding & casting
cutting the wax design
The plan for creating the coaster is a 3-part process: mill the design out of wax, use Oomoo to create a plastic mold from the wax design, use Oomoo again to create a flexible coaster with the intended design.
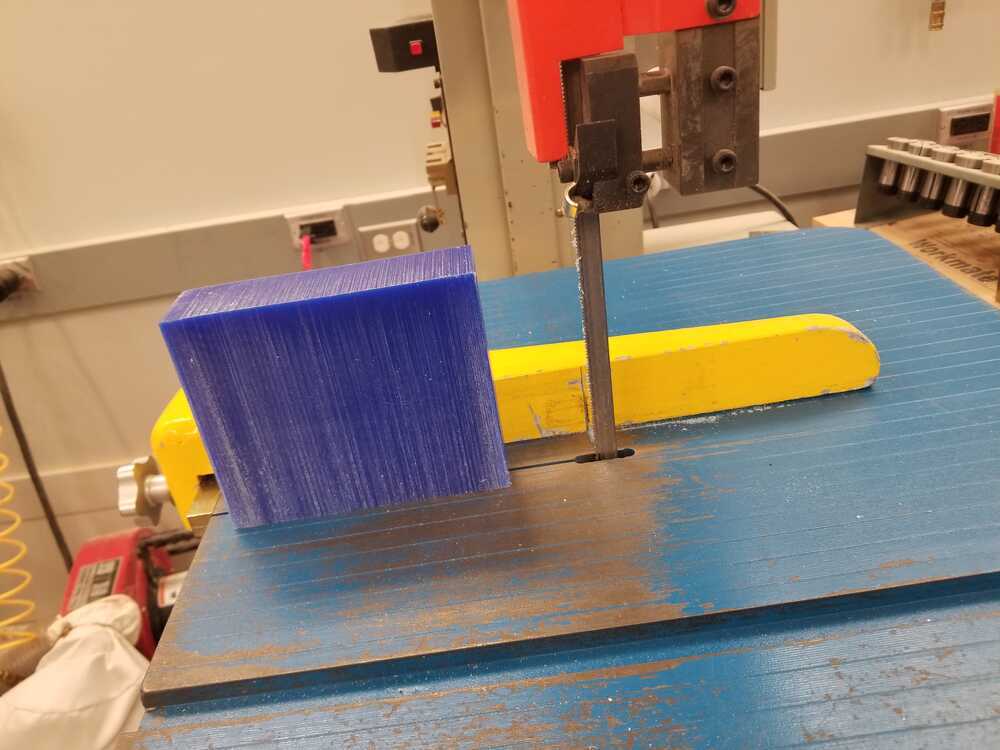
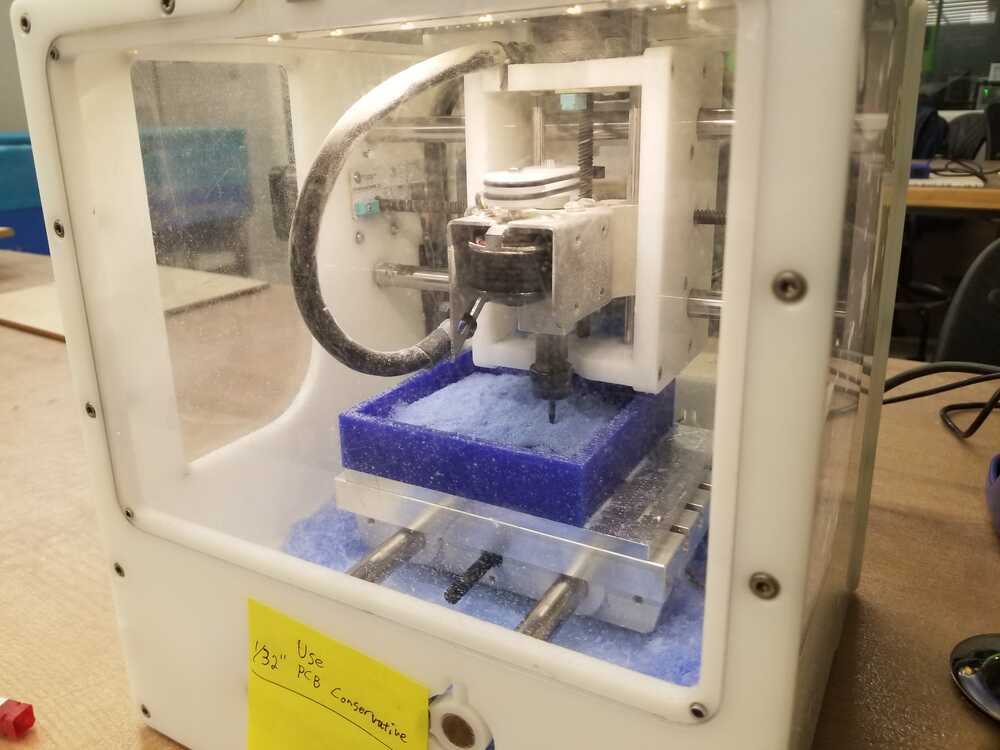
First, we had to cut the wax from a larger slab to the dimensions defined in the CAD file. We used the bandsaw to do this. It was my first time using a bandsaw :D
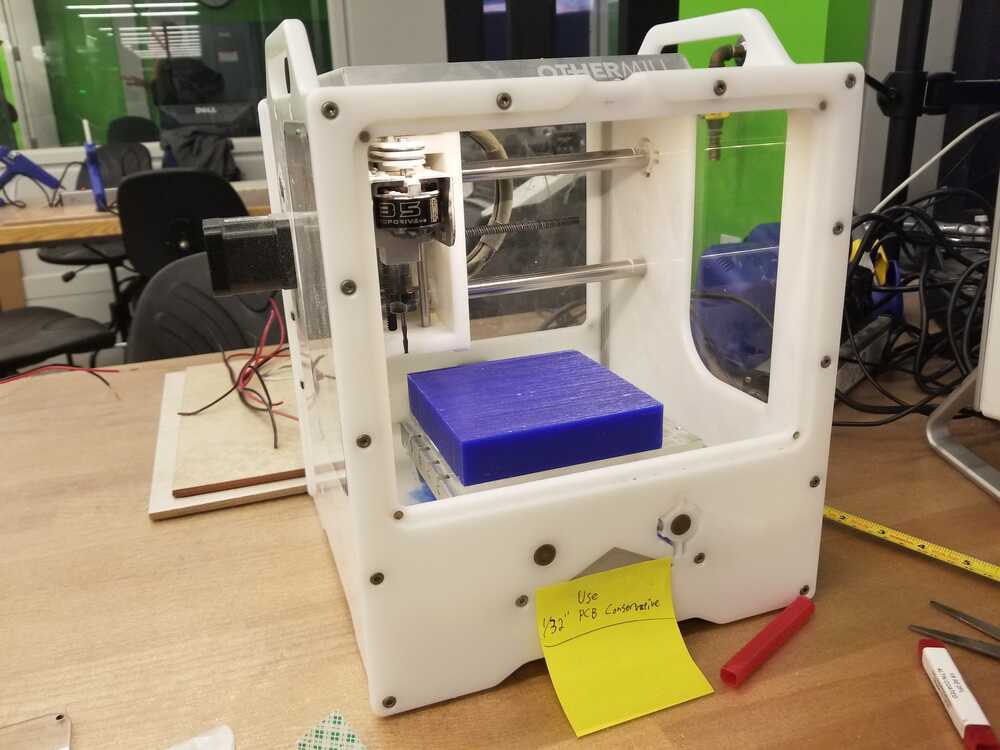
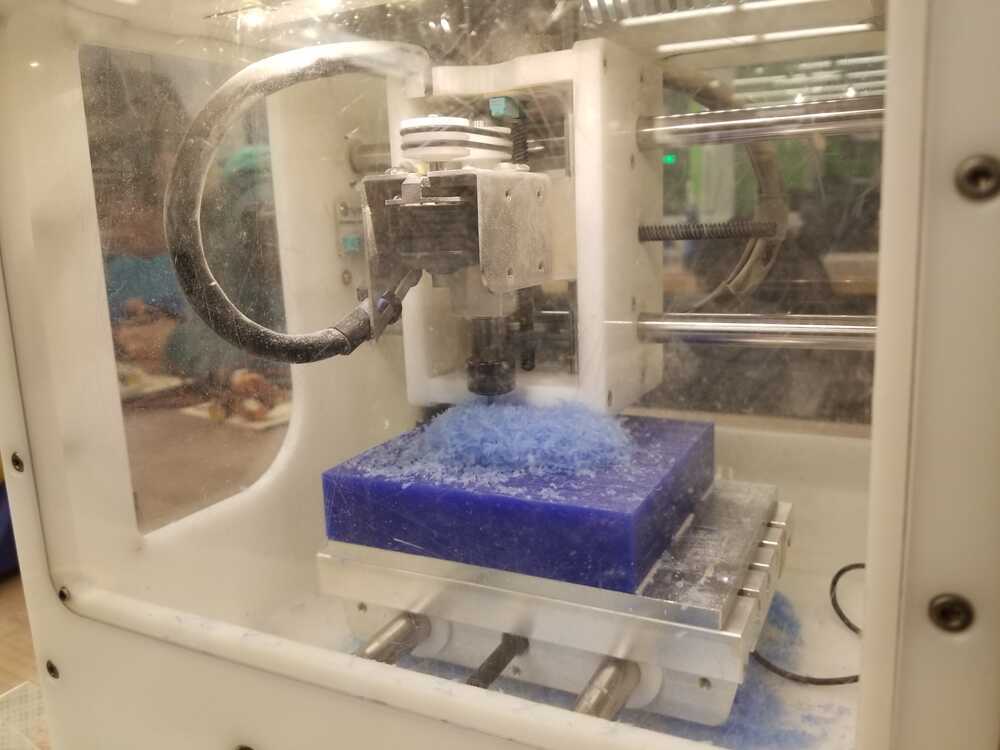
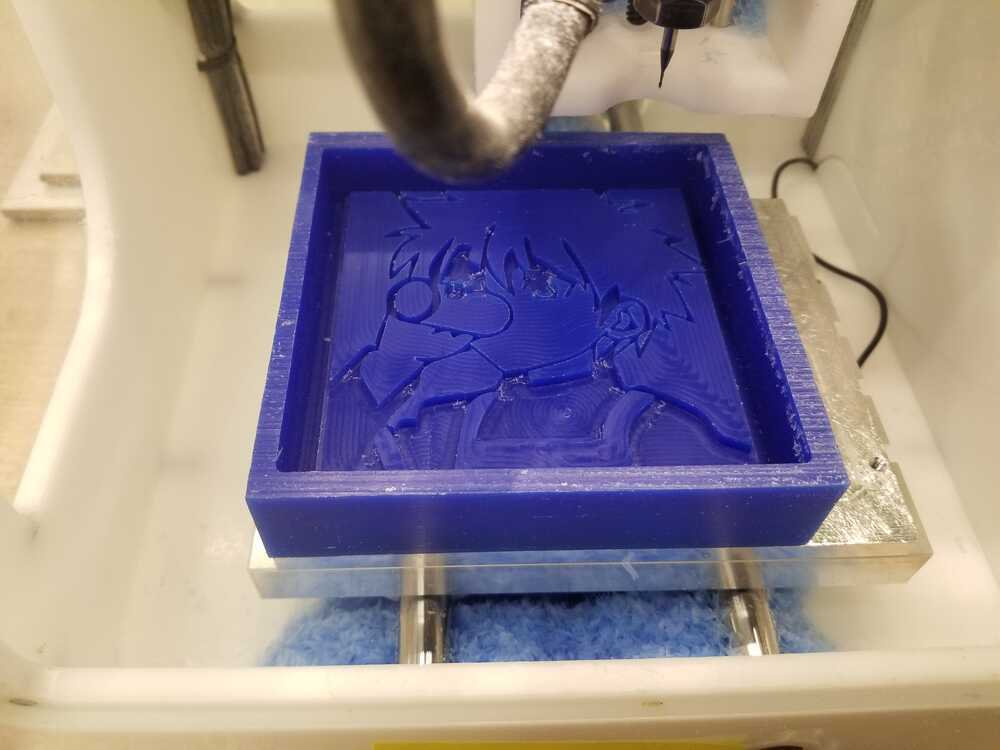
As shown in the image above, I ended up using the Othermill since my design was fairly detailed. Like a circuit board, I my milling job required a 1/64th and 1/32th drill bit to complete. The milling job kicked up an almost comical amount of wax. I literally could not resume jobs until it got cleaned out.
pouring the Oomoo mold
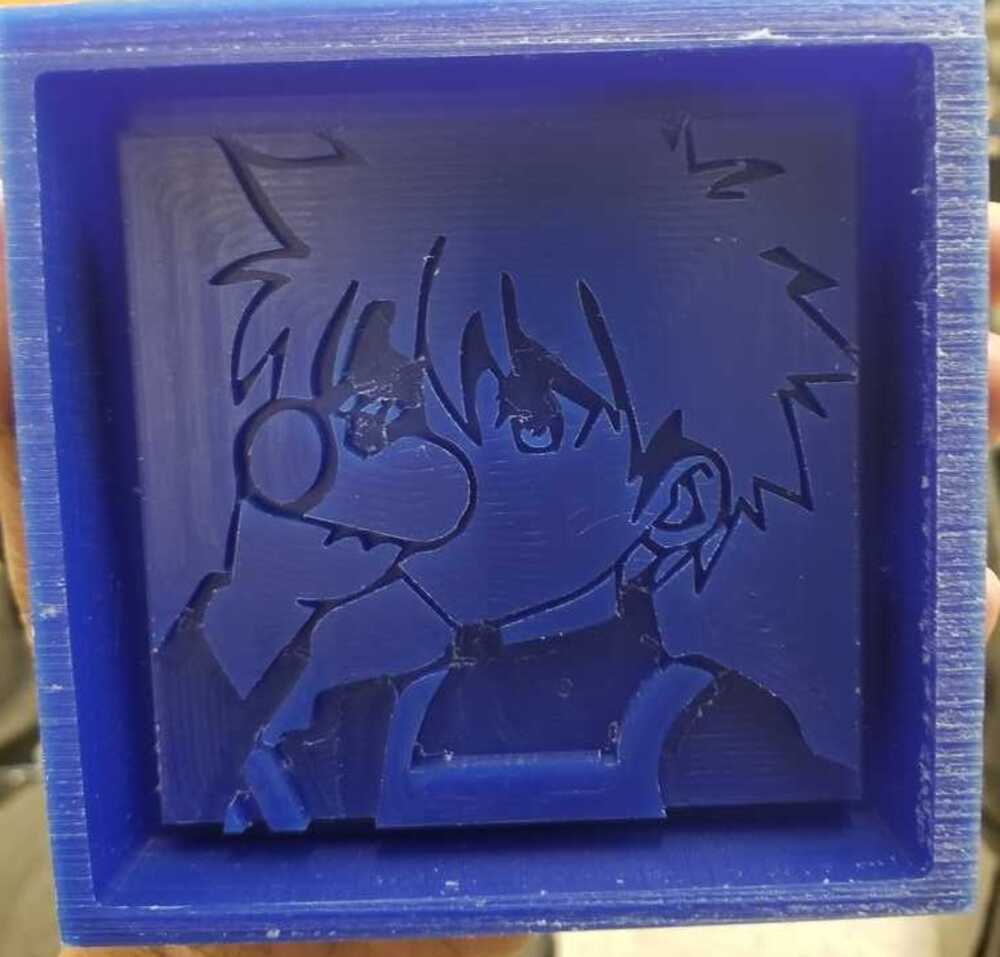
The next step was to pour the Oomoo into the wax design to create a mold. Oomoo can permanently stick to clothing so we were provided an apron which was nice. Oomoo is stored in 2 bottles. This is because mixing the 2 chemicals that create Oomoo starts the curing process. To keep Oomoo liquid, it needs to be stored in parts. I mixed the parts together, and poured the Oomoo into my wax design. I poured into the corner of the design since pouring directly onto the details of the design could form air bubbles which would just cure into the mold. After pouring, I used a brush to push into the Oomoo, hoping to crush any airbubbles + push Oomoo into places that were missed. Additionally, I shook the Oomoo in the wax for about 4 minutes in order to bring more air bubbles to the back of the mold. Curing took about 2 hours.
Some air bubbles got in around the hair, but overall it turned out pretty well.
casting with Oomoo
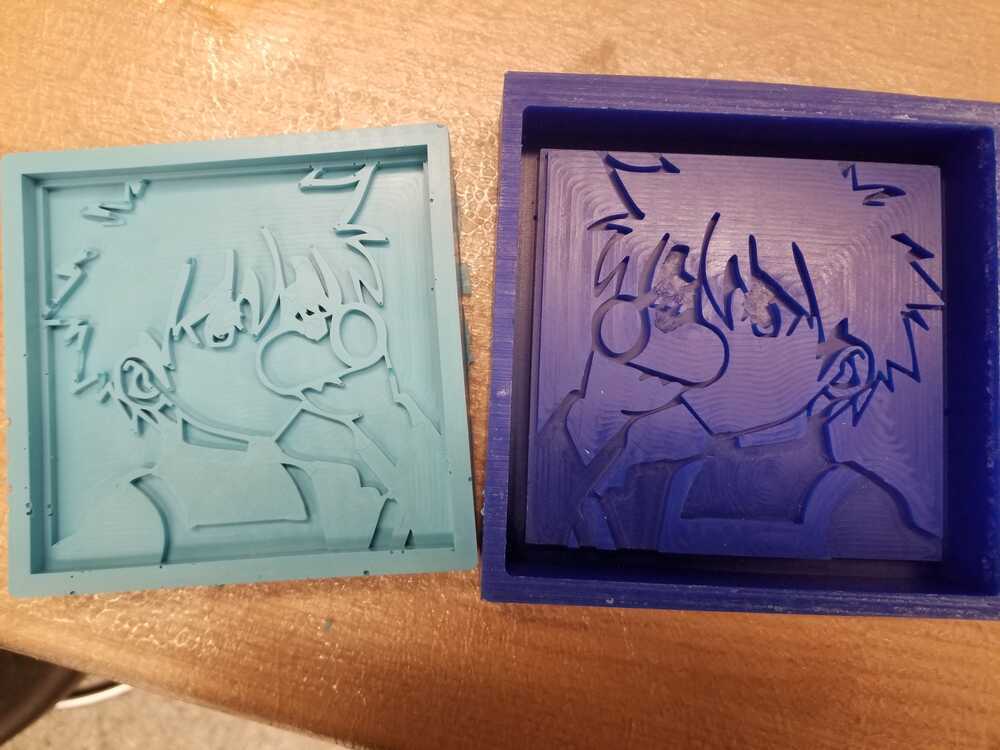
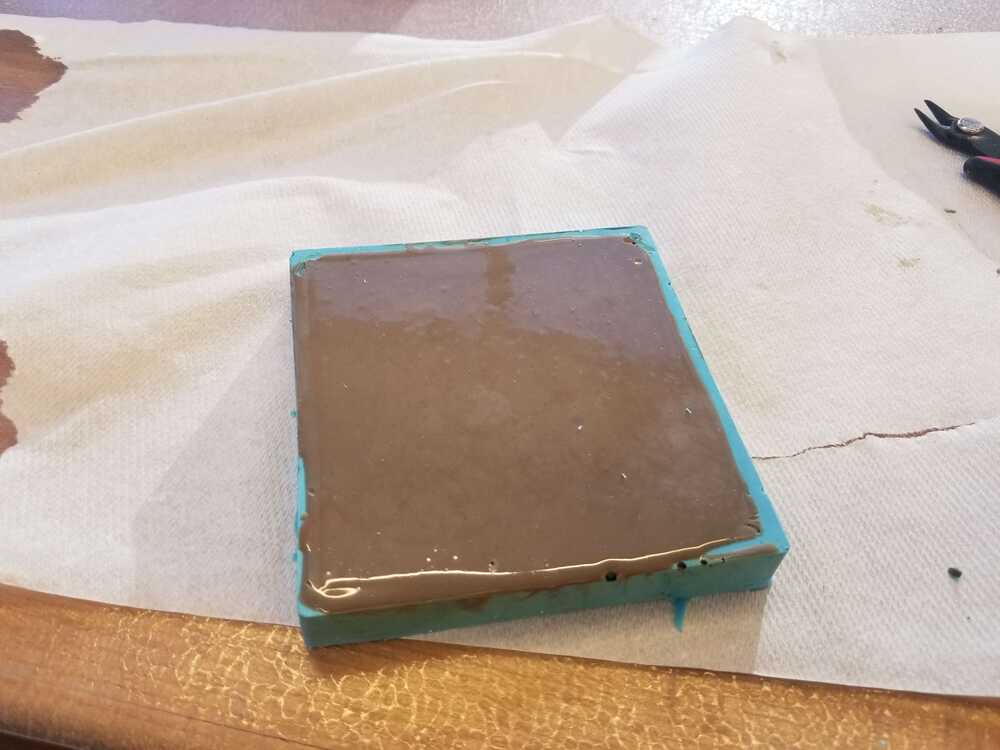
I was warned about casting with Oomoo. If you cure Oomoo in cured Oomoo, they will just fuse together. I was given a plastic sealing spray to spray on my mold to prevent this. I also wanted to get away from the light blue Oomoo color. There were dyes available that I mixed in with the first part of the Oomoo mix. I didn't put in the dye after I mixed the 2 parts of the Oomoo together since I didn't want the curing process to start while I was still choosing the color. I got a dark green by mixing the dye with the first part of the Oomoo, hoping that pouring in the second part of the Oomoo mix would just lighten the green to the desired color. It worked initially, but after some mixing, it kind of just came out brown. Whoops.
I let it cure for 2 hours and went back to peel my completed coaster out of my Oomoo mold. Unfortunately for me, the spray I used ended up being ineffective :((
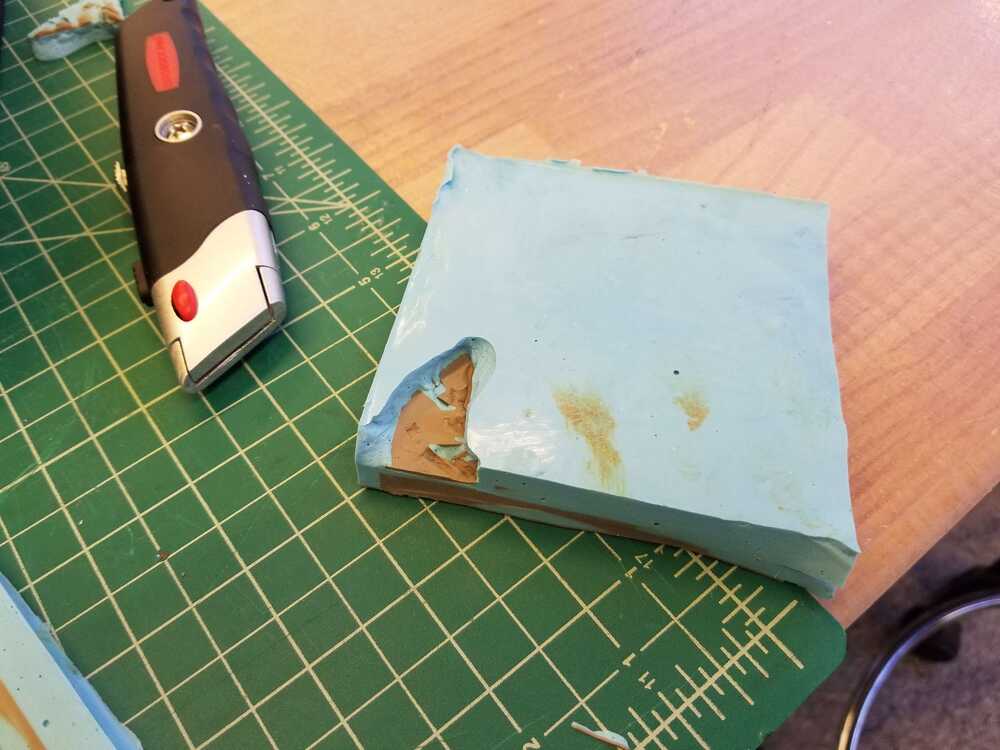
I tried to separate the two parts, and even tried to cut away the mold from the coaster, but it was thoroughly stuck. I needed this gift completed sooner rather than later so I decided to change materials. Coasters are not always flexible!
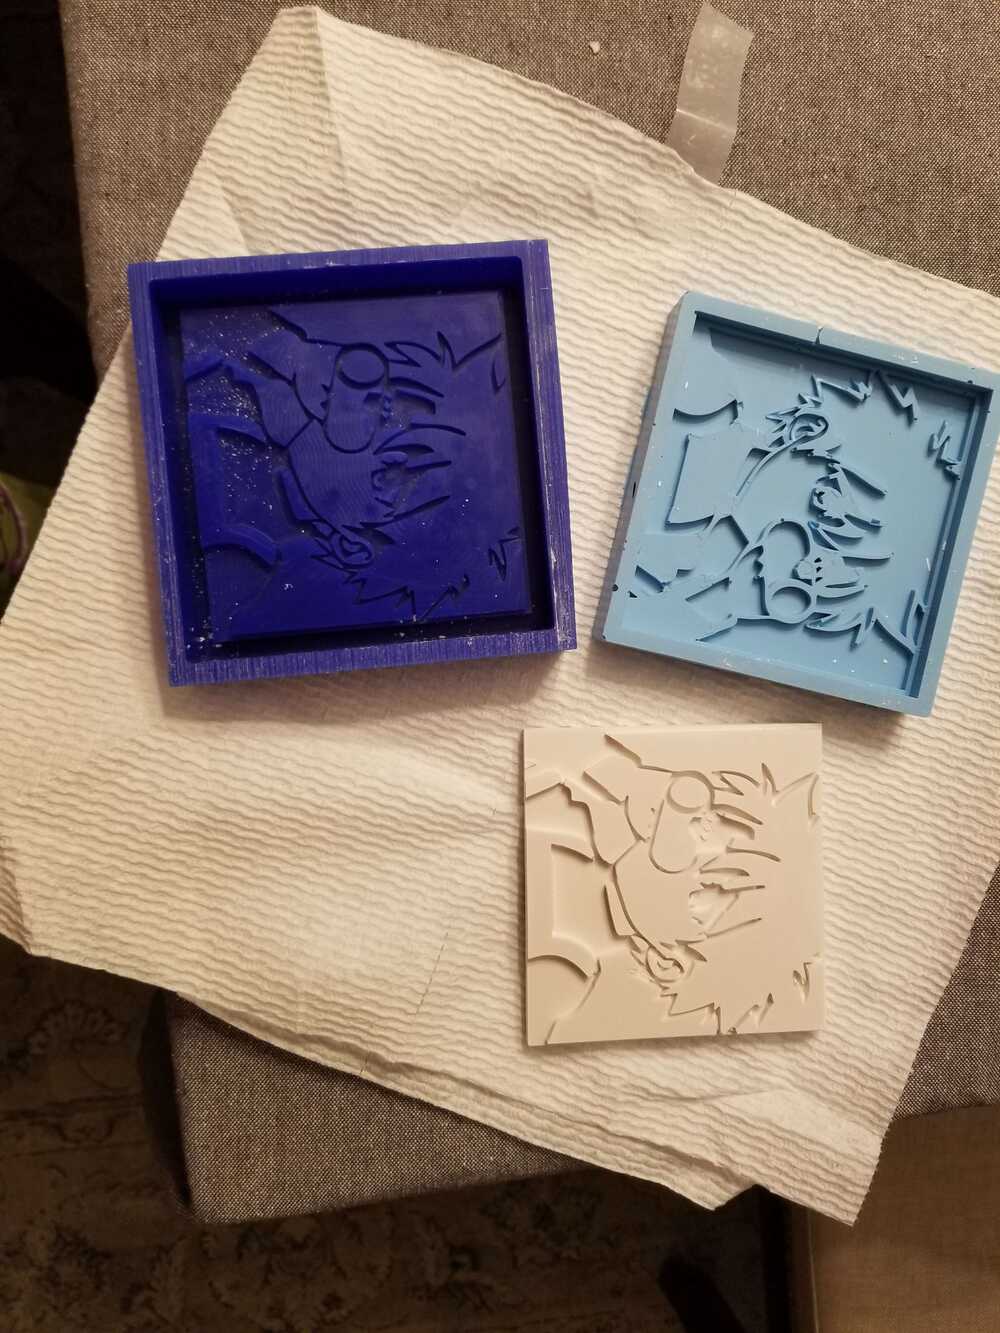
I repeated the process above, creating a new Oomoo mold. Another material that was available was drystone. It was a powder that we mixed with water to create a yogurt-like material that we poured into our molds. I used the same pouring technique as before-- pouring into the side of the mold and letting the semi-liquid drystone creep its way into all the spots in the mold on its own. I also used a brush to press the drystone into the mold and shook the material to bring air bubbles to the top. After another 2 hour wait period, I got the coaster!
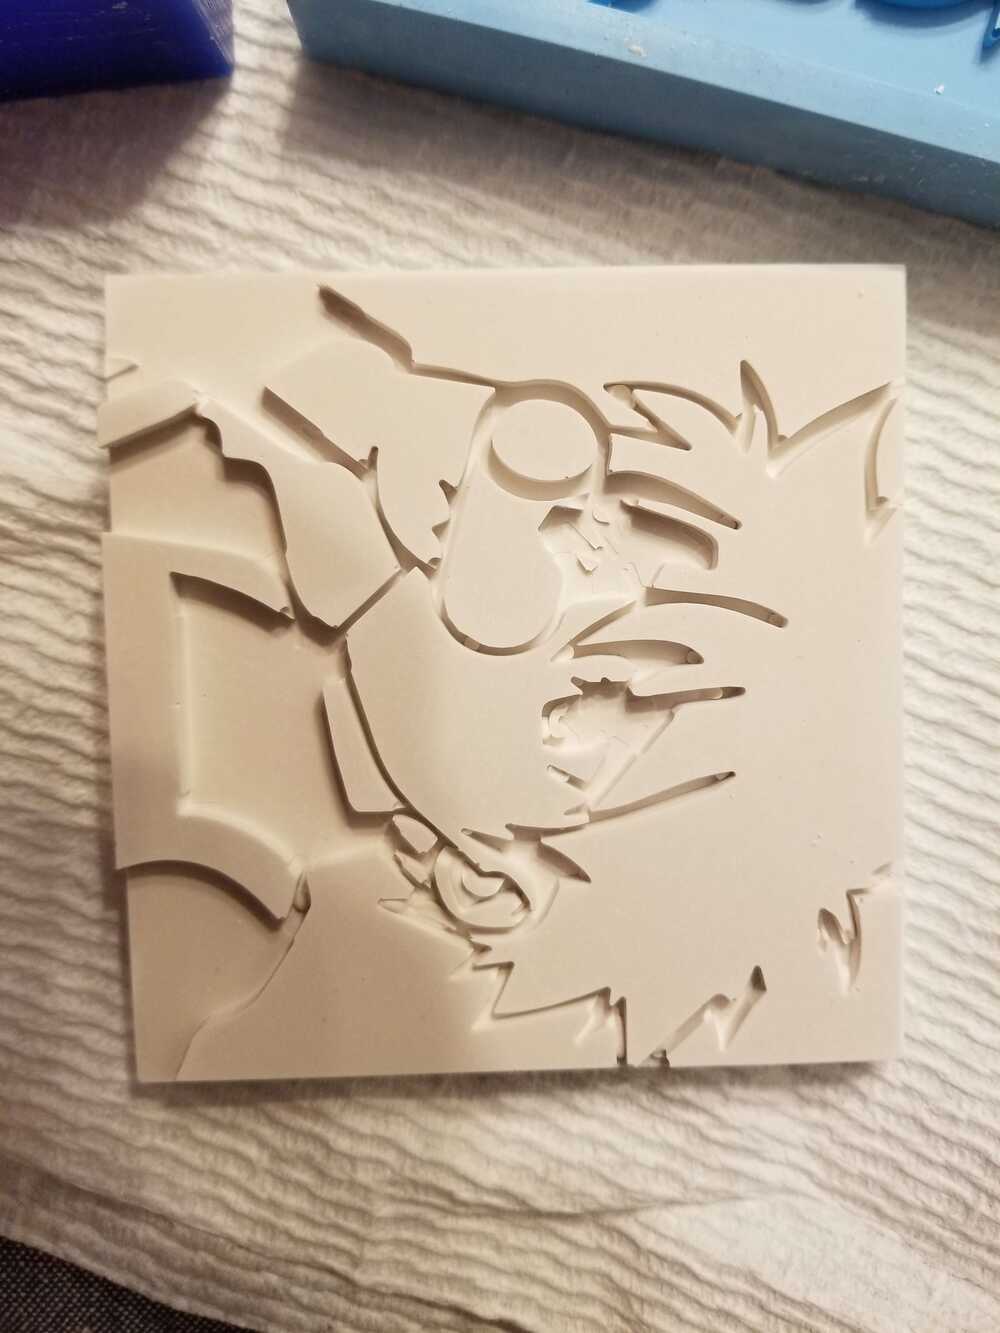
I think she ended up liking the original wax cut out the most. I may go back and use the bandsaw to cut off the edges of the wax cut and give that to her as well ;)