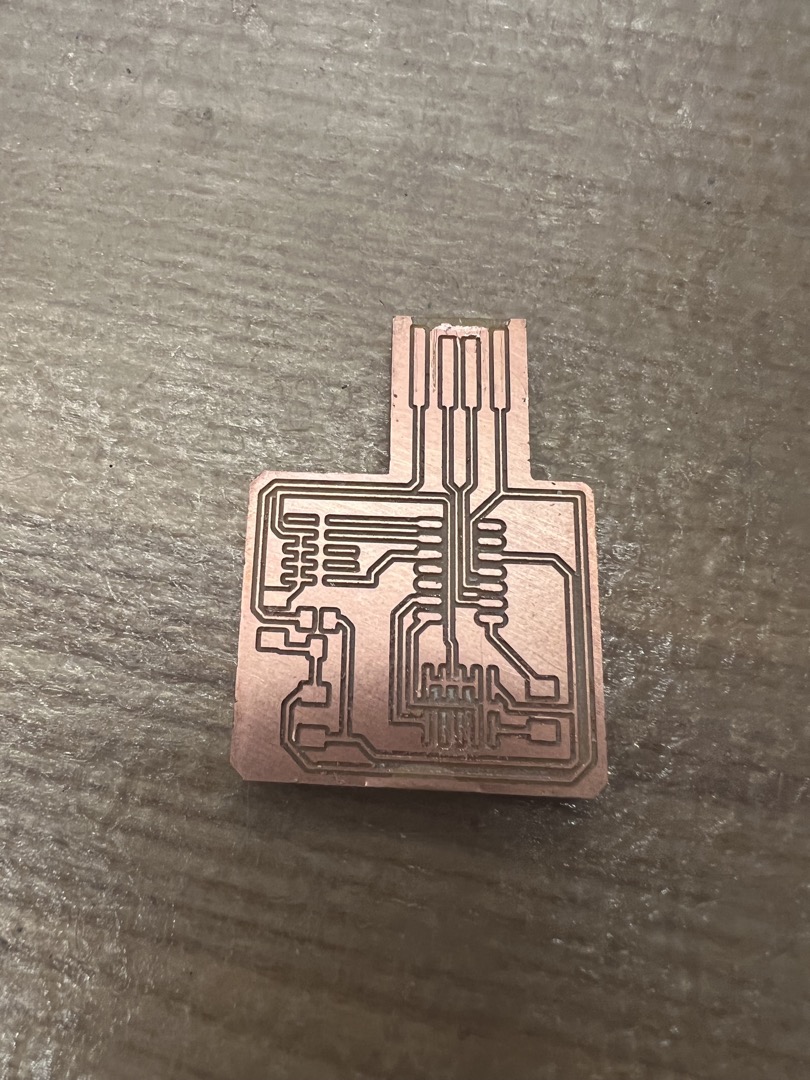
This week we learnt how to mill and sauter a PCB. I used the othermill in EDS to cut out and etch the board
on a copper plate. I first used a 1/64th size bit to etch the details of the board. Then I used a 1/32nd size
bit to cut out the board. After the board was cut out, I slightly sanded it down to get rid of all the particles.
Then I checked for continuity with the multimeter to make sure the board was milled correctly. After that, I
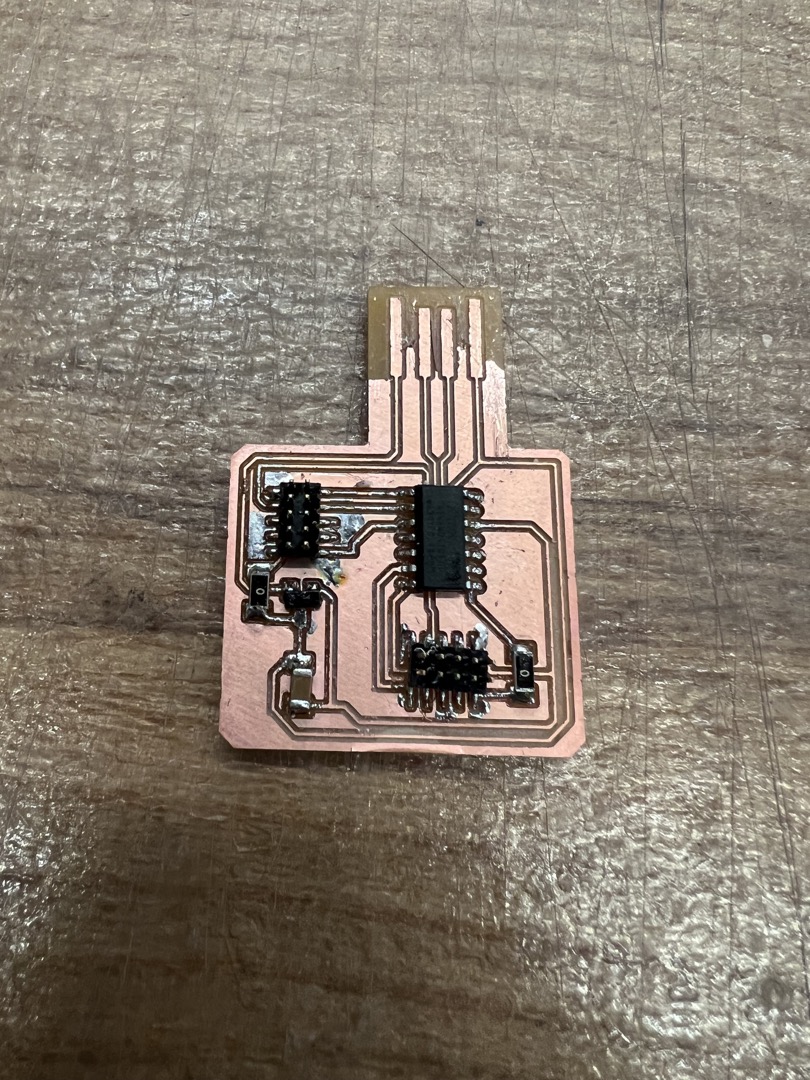
started soldering the electronics onto the board. This took a very long time and was very difficult because I
didn't have any experience sautering on such small parts.
I learned to use a solder wick, soldering iron, and a microscope to solder. I soldered on two headers, the
microcontroller, 2 0 ohm resistors, and a voltage regulator. Then I checked for continuity again to make sure
I didn't short the board.
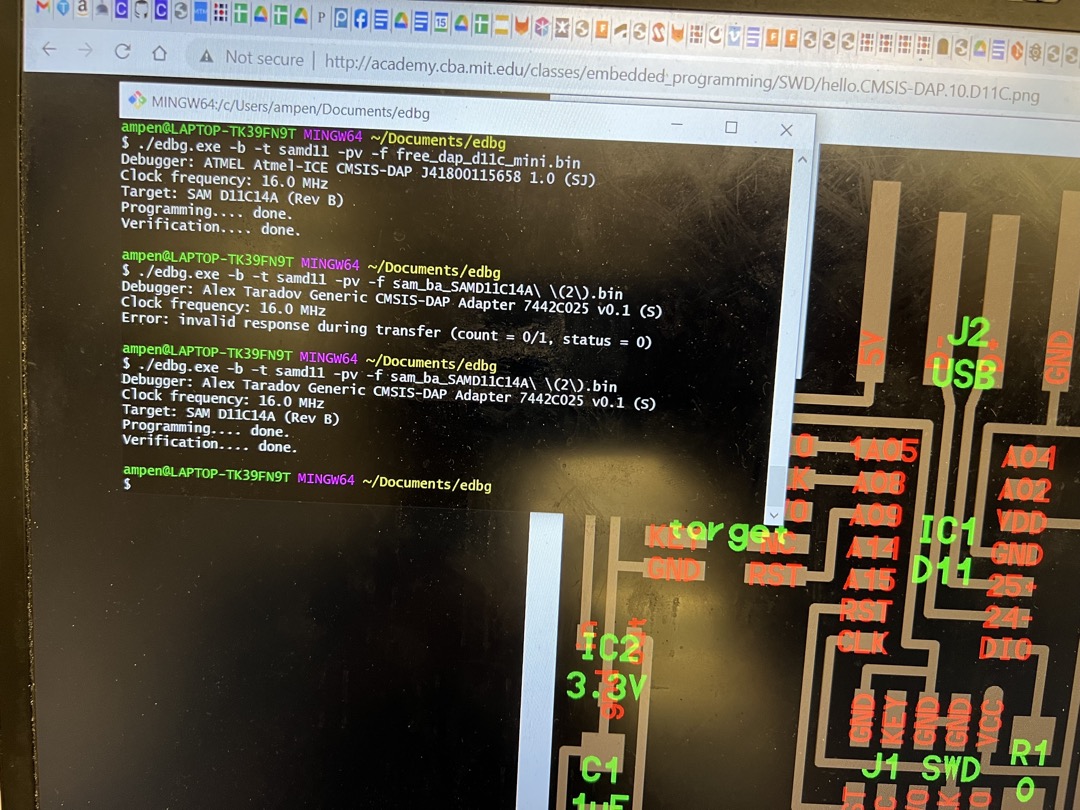
Then I attempted to download the programmer for the board. Me and a TA tried for around an hour and could not
make it work. It seemed to be an issue with Mac M1 Max chips and homebrew. Then I decided to start checking for
shorts instead. A TA helped me find one and fix it using a wick.
Since it wasn't working on my laptop, I asked Anthony to flash my programmer chip with the program. However, my
chip was shorted in two spots so I wasn't able to properly upload the program. I also applied the wrong linear
regulator. I soldered on a 5V regulator instead of a 3.3V regulator. It was a miracle that I didn't fry my
microcontroller.
So I spent some time fixing the...