Molding and Casting
This week was a pretty fun week for me. I enjoyed being able to CAD, cast, and mold whatever I wanted. Since I like to make things
difficult for myself, I decided to make an R2D2 for this week's assignment. This of course meant I couldn't create a simple one or
two part mold this week.
CAD
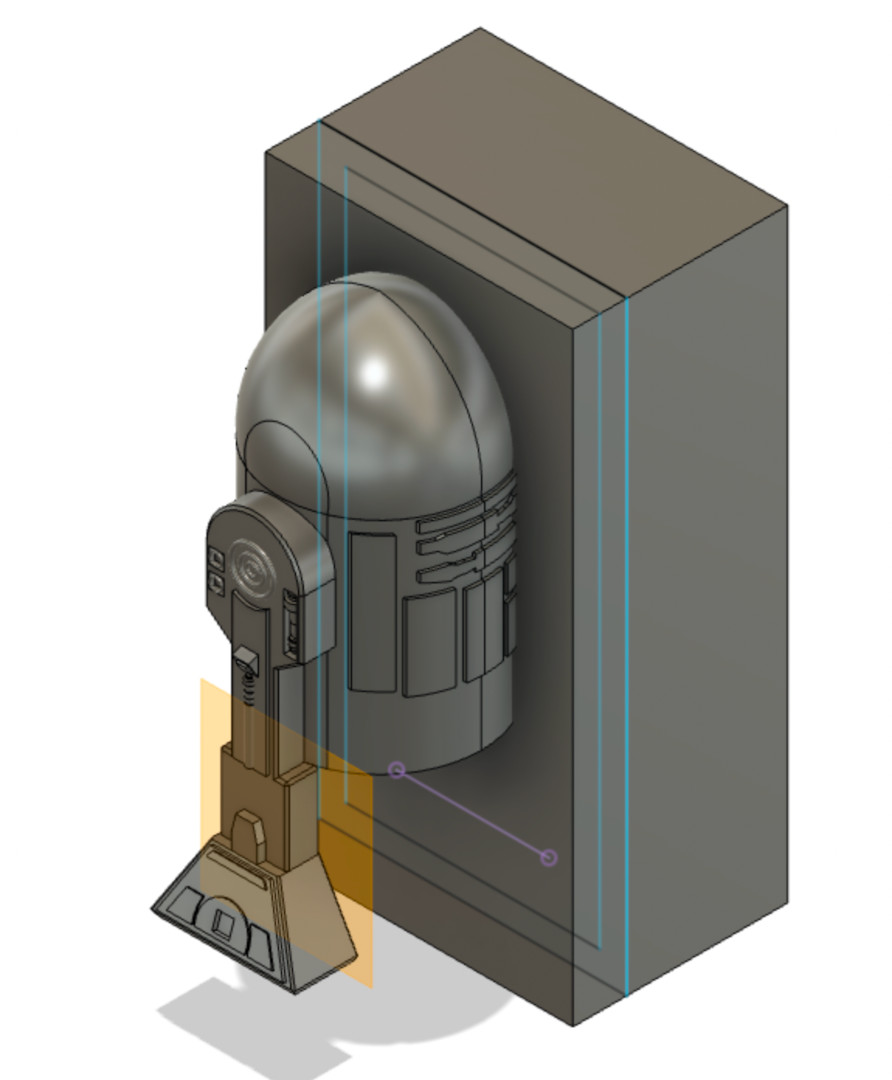
I started the CAD by making the body of R2D2. I first got images of the side and back view of R2D2 from the internet. Then I imported
them as canvases onto the respective planes. This gave me a great reference to work off of. I used lines, rectangles, and arcs to draw
a 2D version of R2D2's semi-pill shaped body. Then I revolved the pill shape. After, I moved onto the legs. This was where the bulk of the work happened.
I used the side view canvas to create all the details of the legs. I first drew the outline of the leg by following the canvas.
Then I extruded it into the body and out to make the leg connect properly. Then I created planes on the surface of the leg body and
drew on the extra Then I mirrored it to create the other leg.
Manufacturing
Since my model was really detailed and had overhang, there was no good way to preserve detail and make a good mold. To circumvent this, Anthony suggested a
3 part mold and to create it on the othermill. One mold would be for the leg. I could use the same mold to cast both legs. Then I would make a 2-part mold
that fits together for the body.
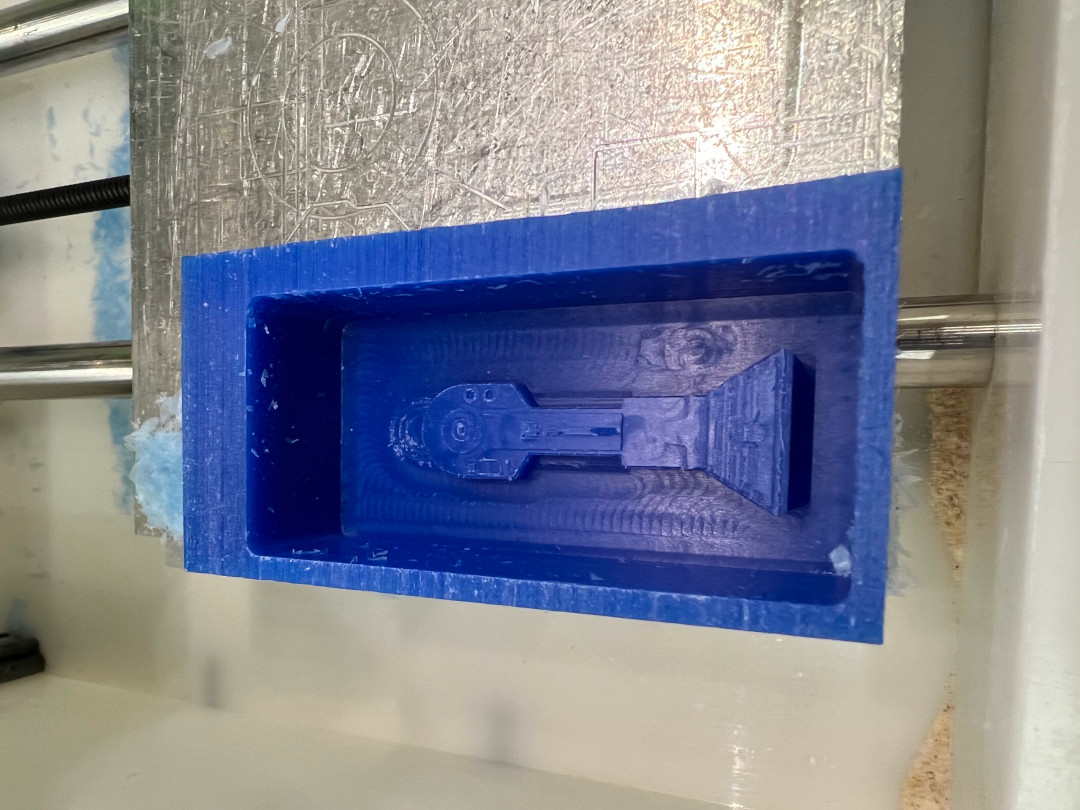
Before Wednesday, I was only able to work on the mold for the legs of R2D2. Anthony helped me a lot with deciding how to manufacture it on the othermill. I first
cut off the leg from the body of R2D2 and then built a box around the leg. Then Anthony went through and helped me figure out how to manufacture it on the othermill.
We used one Adaptive pass and then made a Pocket, Parallel, and Pencil pass for the very small details with the 1/32nd endmill. This couldn't protect all the details
in my CAD but it was pretty good.
Creating Mold
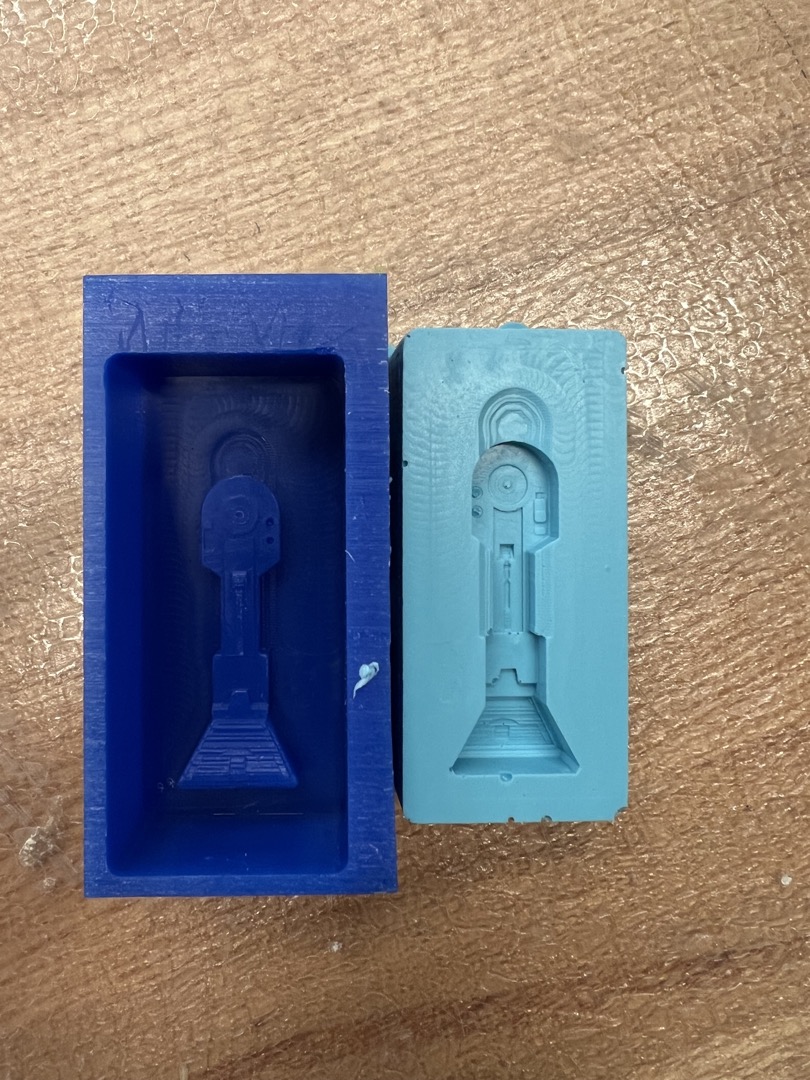
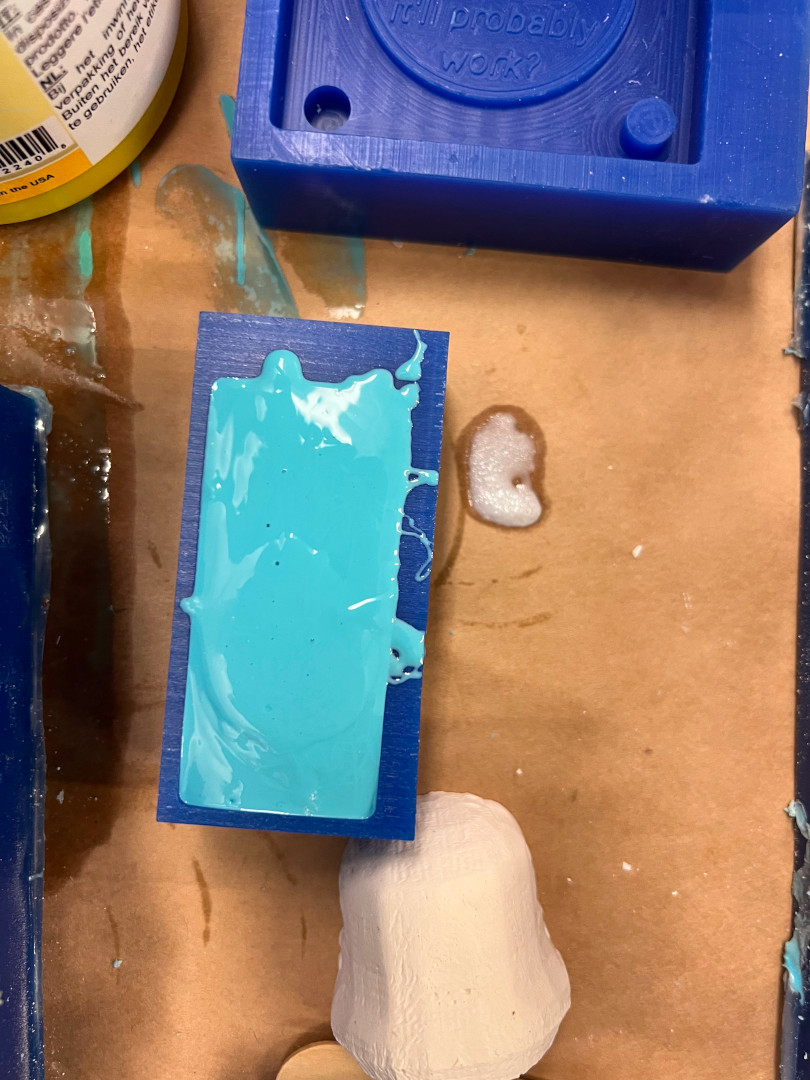
I mixed and poured the Uomoo (this may be spelled wrong) into the wax cut out and let it set over night.
Casting
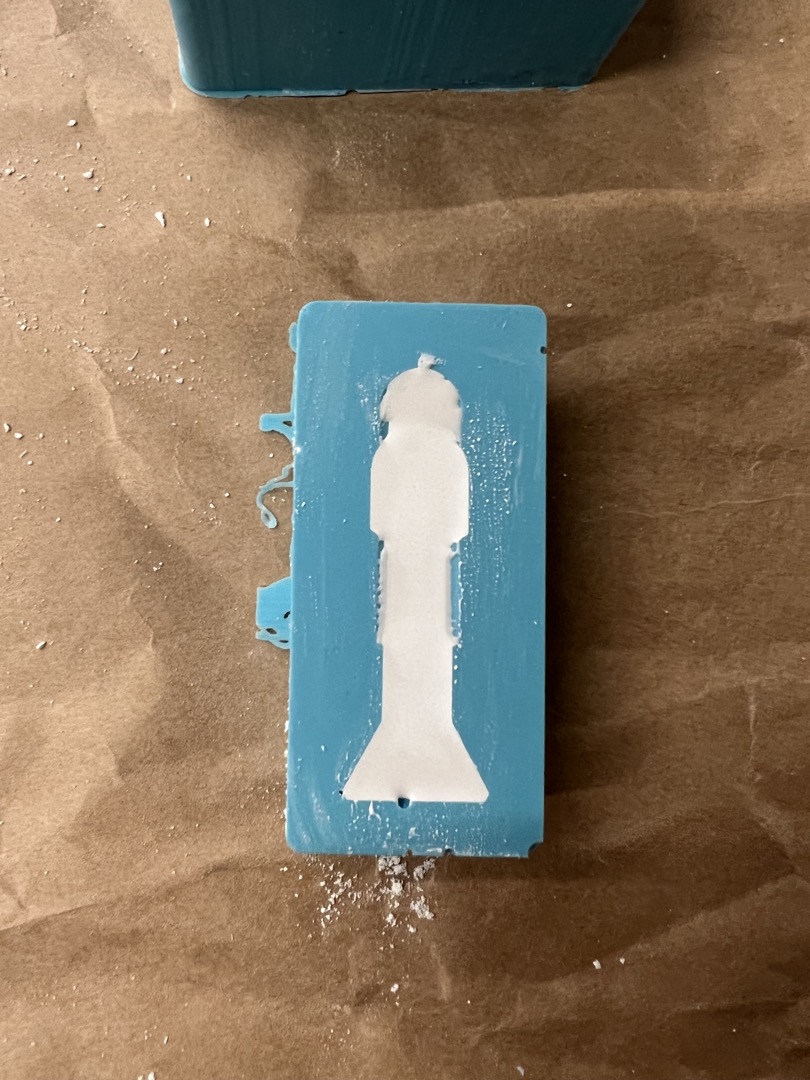
Once the mold was dried, I was able to peel it off the wax pretty easily. Then I made the drystone mixture and poured it into the
mold and let it set over night.
