Making Something BIG! With Routing
This week, I designed and fabricated a stepstool that should be able to hold my weight! We used a router (the one that cuts wood) to make a large-scale object out of oriented-strand board (OSB)! The router is a computer-controlled tool that moves an endmill to remove material from a sheet, cutting out 2D pieces that can be assembled into a 3D object.
Designing a Stool
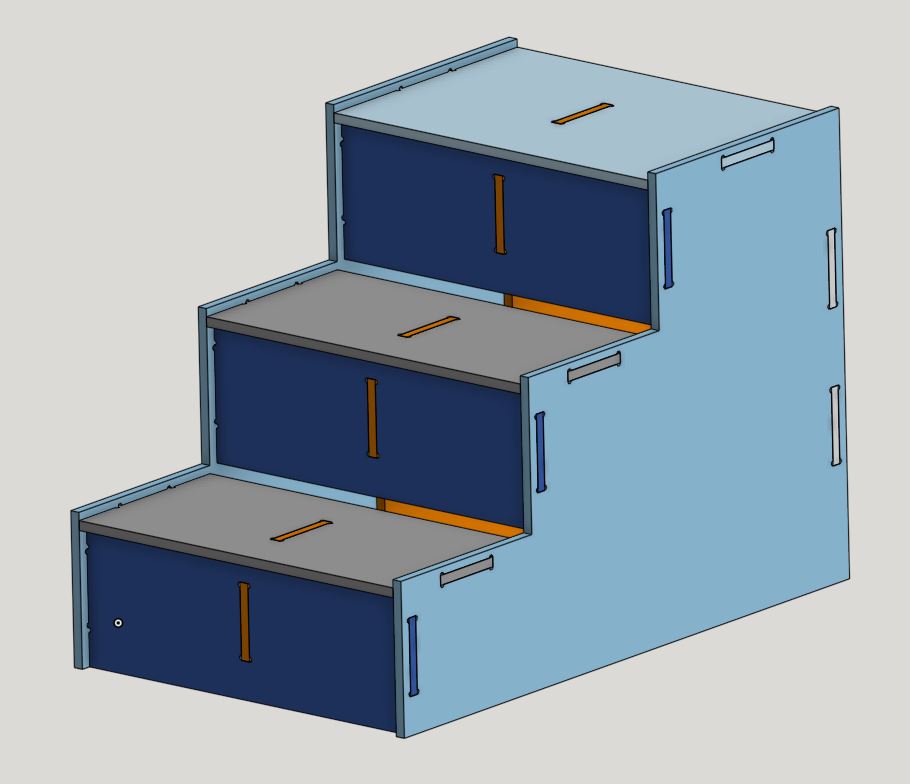
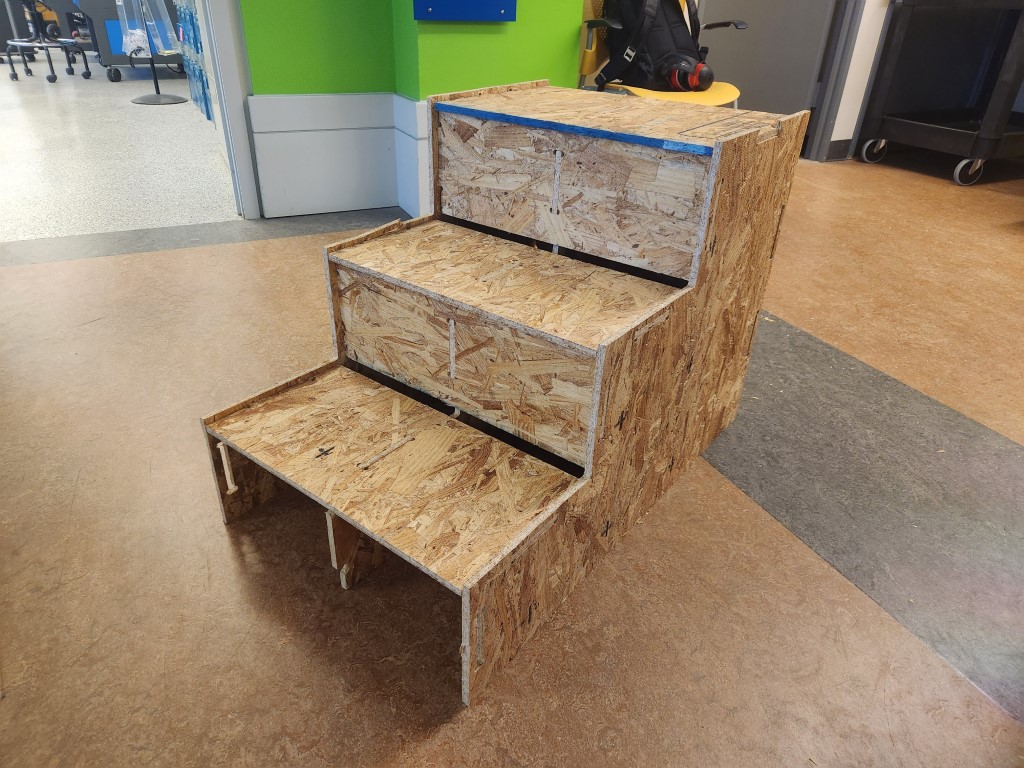
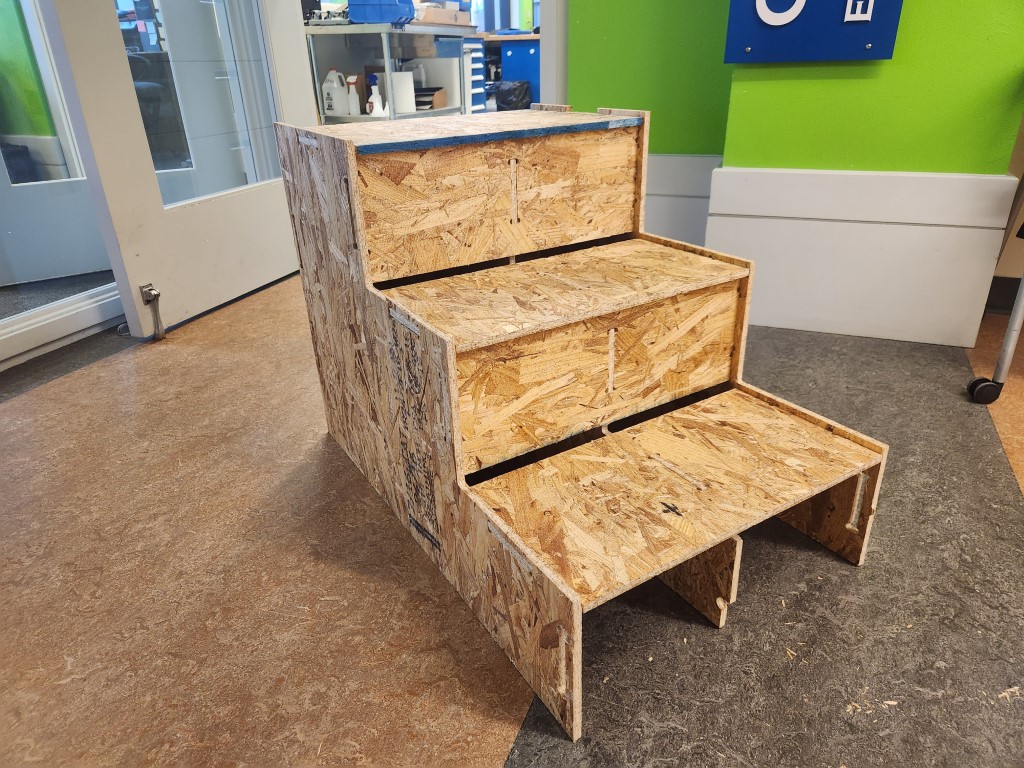
The stepstool consists of cut pieces of OSB that slot into each other to assemble into a 3D object. My design features two “side-sheets” that hold the whole enchilada together, a center support sheet, and not to mention, the horizontal steps and vertical step supports.
I sketched out the pieces in OnShape in 2D, designing everything parametrically such that I can adjust parameters on the fly with one click, instead of having to update every single feature on the part. In one go, I can change the step length, height, or a bunch of other parameters.
One key consideration when designing parts for routing is the size of the endmill itself. For example, it’s impossible to cut perfect right angles on an endmill because of the radius of the tool itself. Instead, one must design in “dogbones” into right-angle joints, where the mill “overshoots” a little bit intentionally allowing for the right angle to still exist. This can be used when designing slots or pins to make a part manufacturable.
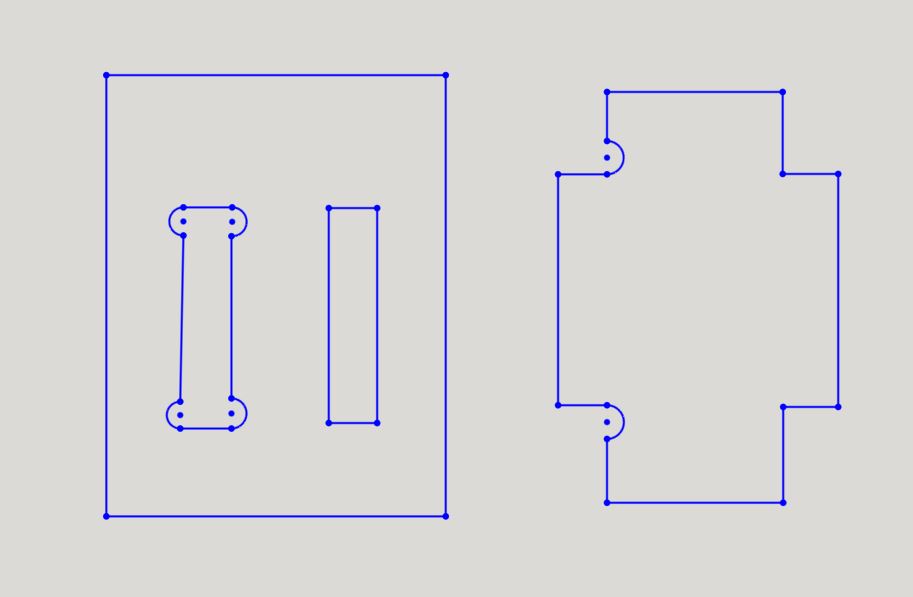
The left shape has a slot; the right one has a pin. Within each, the left feature is dogboned, and the right feature is a conventional square.
I sketched everything in 2D in OnShape, then assembled it into 3D to check that everything would fit. I would like for everything to perfectly fit together, since everything in the stepstool is a load-bearing member. For example, the center of the steps rest on top of a support brace; otherwise, they would flex and possibly snap if someone were to step on it with no support.
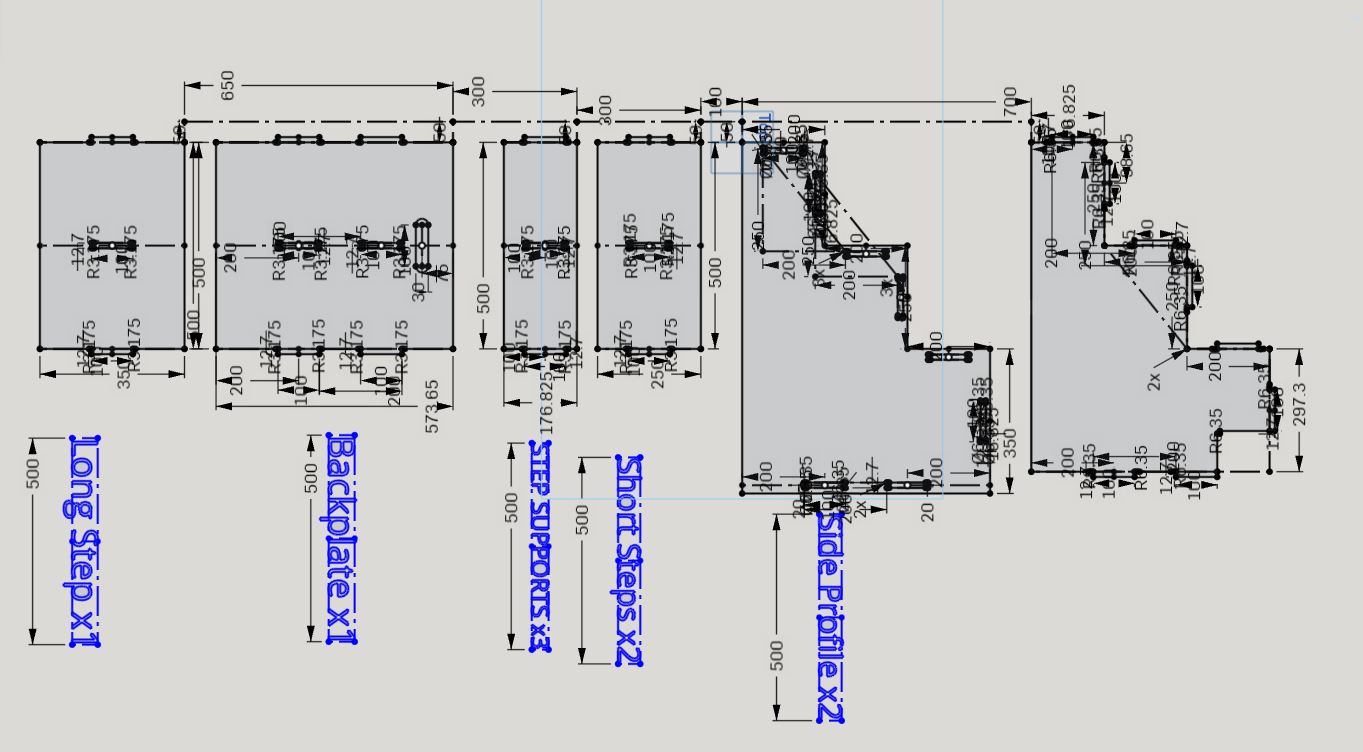
Below is a 2D sketch, and 3D rendering of the assembled stepstool.
3D rendering of stool, drag me around!
Manufacturing
Anthony helped me translate my design into machine code that the router can understand. He used Fusion 360 to auto-arrange my parts into a 48x48” plywood sheet. Then, we generated tabs to hold the wood in place – when cutting wood, there will be small “trimmings” of leftover wood in between the pieces we’re cutting. If left unchecked, the small “trimmings” could fly out of the machine, potentially ruining the job or even causing injuries. Thus, the solution is to design in “tabs”, or thin bridges of wood holding the loose “trimmings” in place.
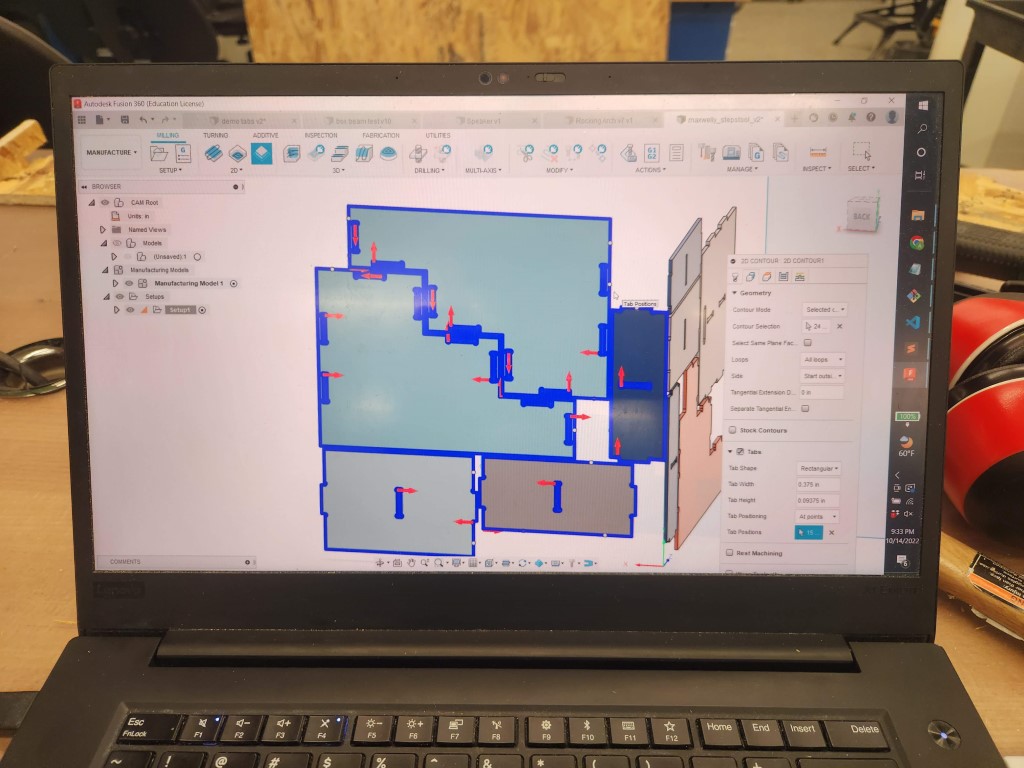
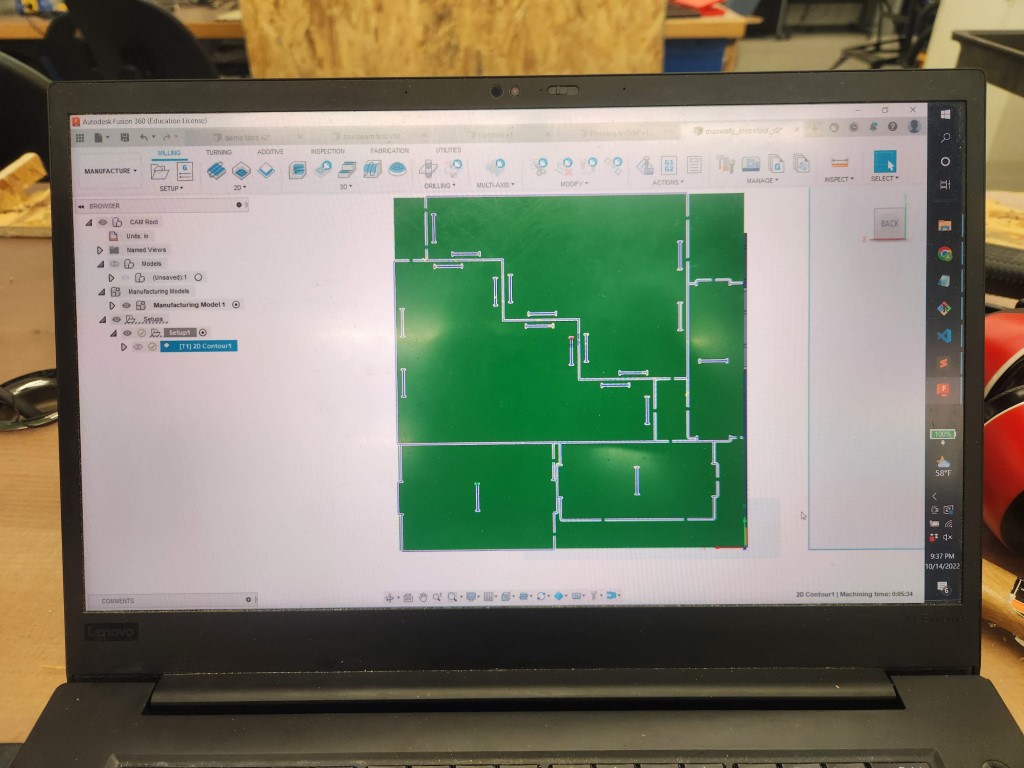
After arranging the parts and placing tabs, the next step is to generate machine code, also known as GCODE, that the router understands. Fusion 360 CAM automatically takes care of that. We transferred the GCODE file to the router computer via flash drive.
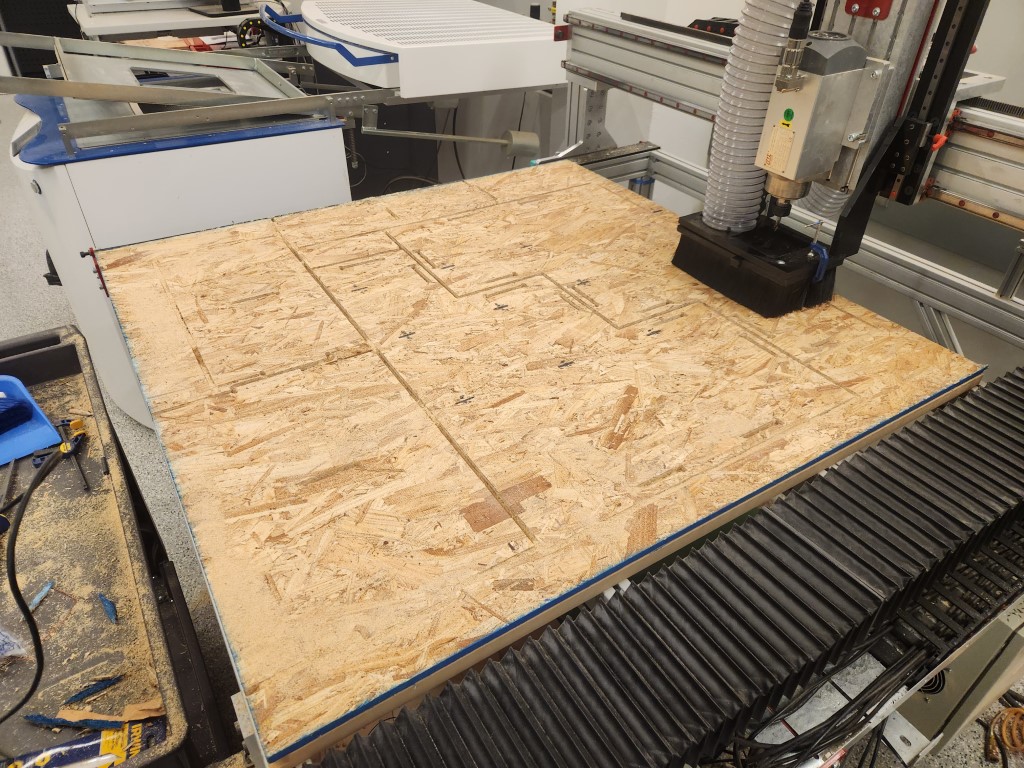
The routing was smooth. We first attached the wood to the bed of the router using a staple gun. Then we zeroed the machine against the corner of the wood using a special calibration tool. Then, we clicked play and let the machine do its thing!

Assembly
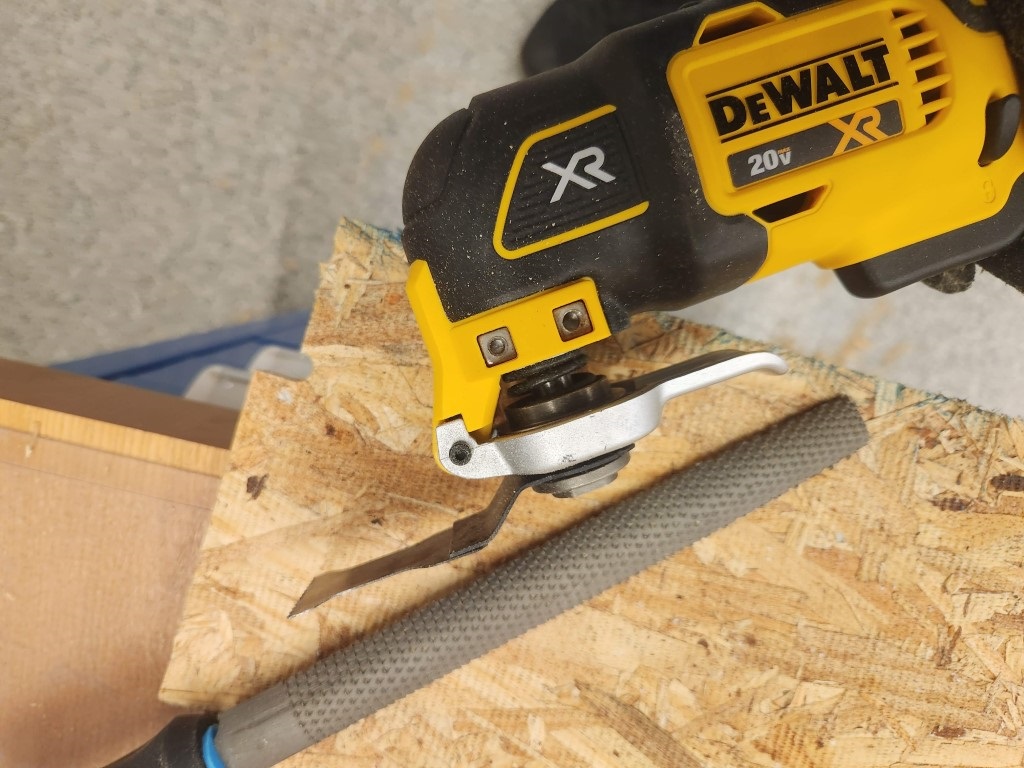
The first thing I noticed was that the tabs were slightly wider than the slots they were supposed to go into. I used a rasp to remove a tiny bit of wood such that the wood would perfectly fit. I then cut off the tab remnants (the ones I added in Fusion 360) with an oscillating tool, leaving a nice smooth edge. With the wood removed, the pieces fit together nicely.
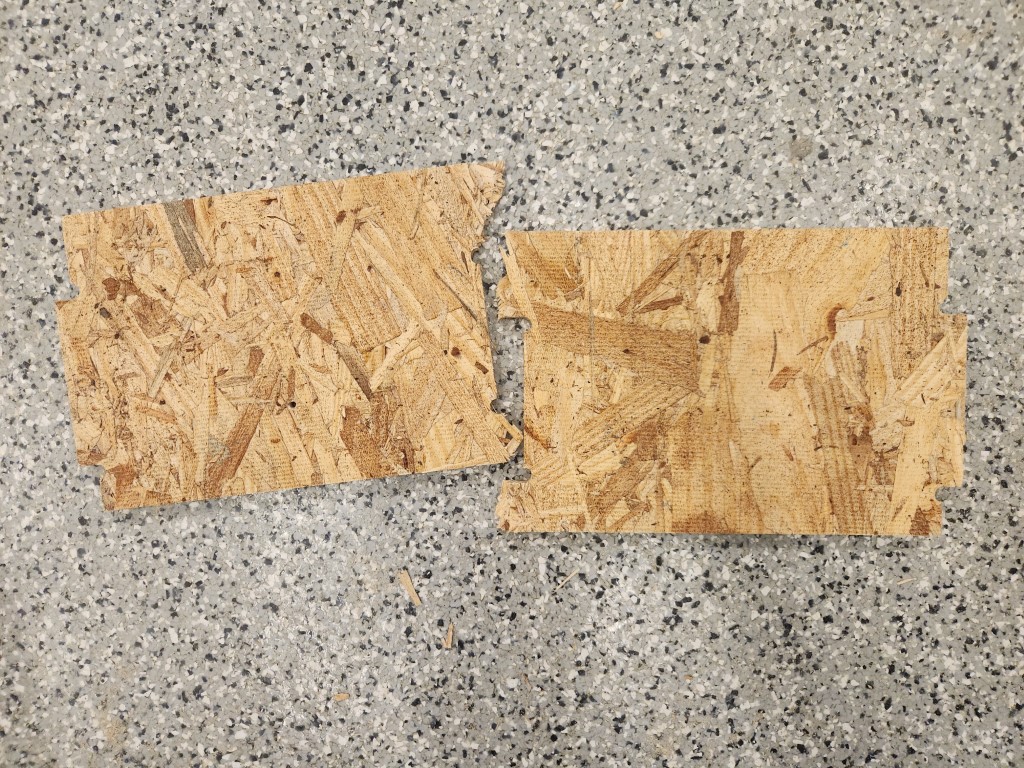
One of the pieces of wood had gaps in the inside, so the wood was very fragile and crumbly. I tried assembling with it but it broke in half. I wanted to wait until more machine time opens up to cut out a replacement piece. I also discovered that the tab holders are quite narrow on top, which tends to snap when putting the pieces together.
Assembly otherwise went smoothly, and the pieces fit together nicely. I should use wood glue for extra strength, but did not use glue as I’m waiting on a replacement for the piece that snapped. Even without glue, the stepstool is strong enough to stand on!
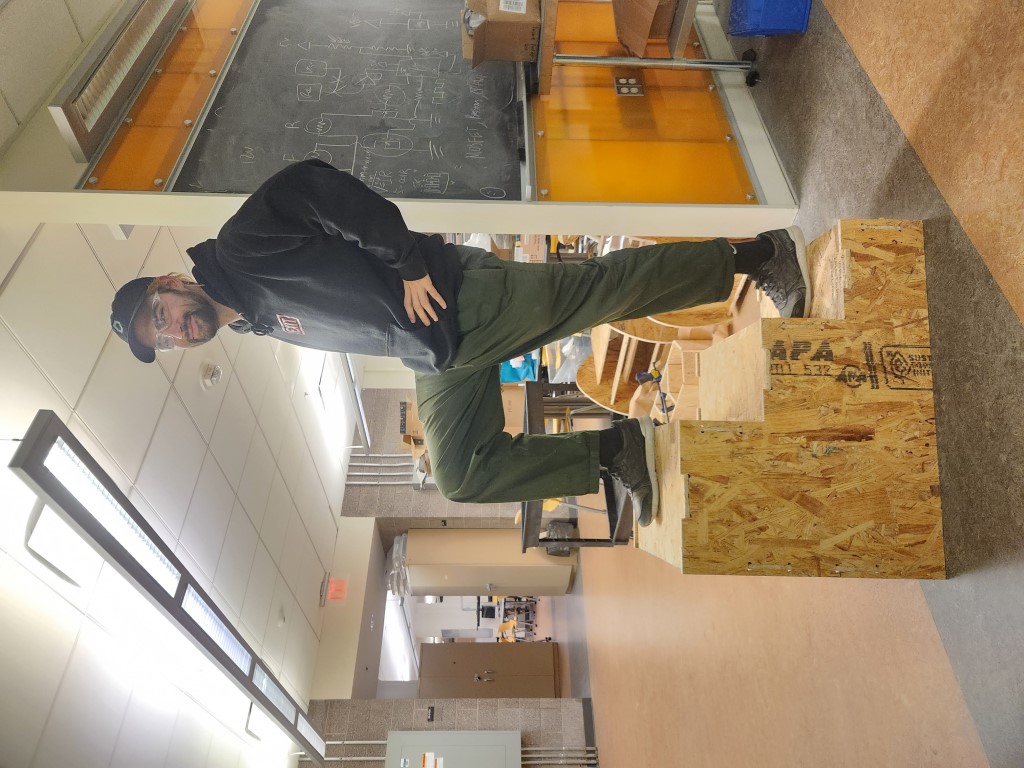
The stepstool holds up Alec from EDS!