Intro to MCU Programming
Posted on October 29, 2022 by Maxwell Yun

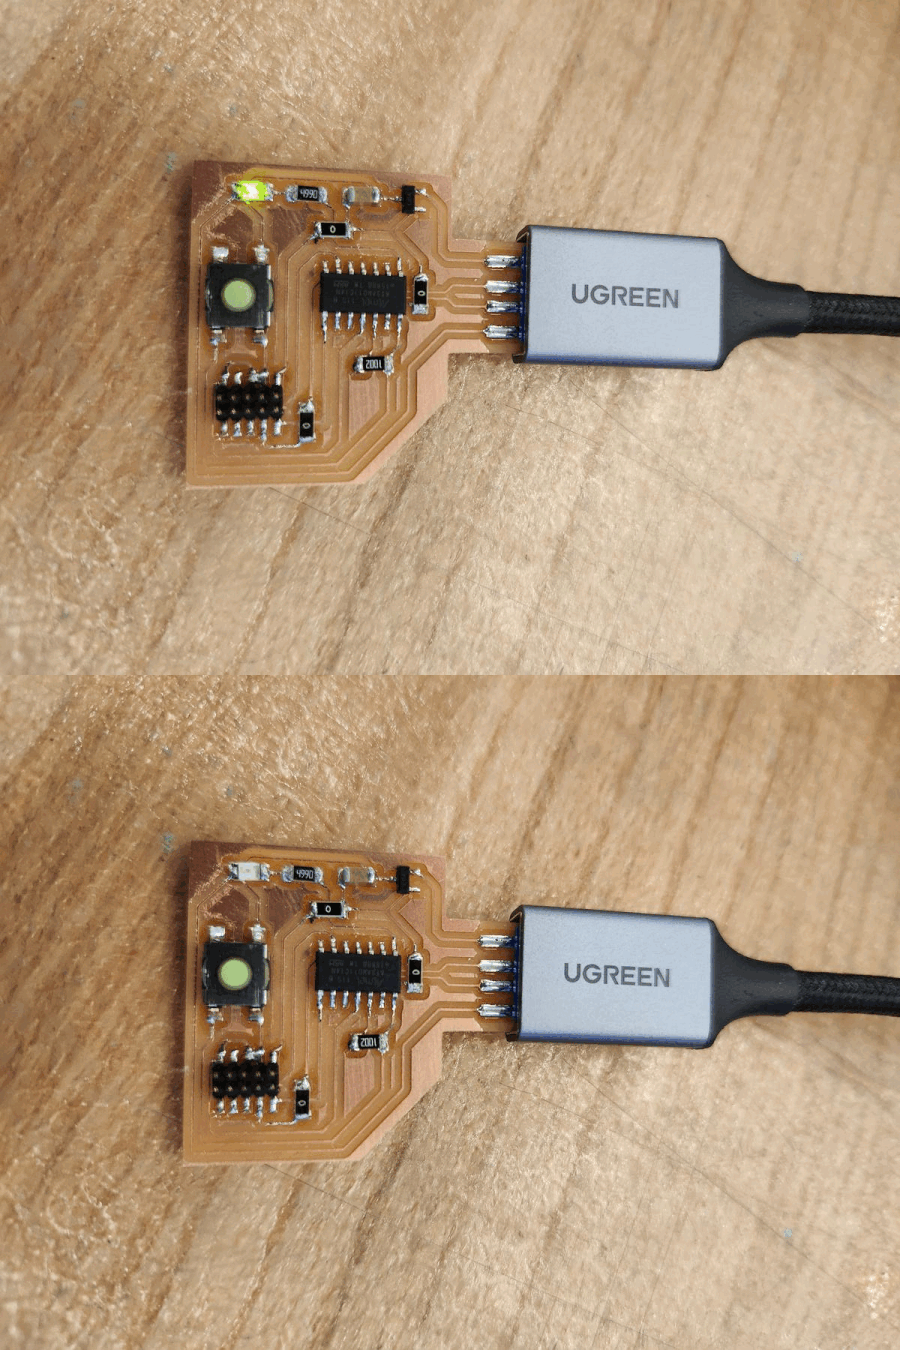
For this week’s project, I programmed the board I designed in Week 5. That board has an ATSAMD11C microcontroller with a button connected through resistor pull-up to Pin PA04 and an LED connected to pin PA05.
I used the Arduino development environment and the Arduino bootloader for the ARM MCU core, detailed in the Week 5 report. I programmed the Arduino to turn on the LED when the button is pressed using the below code. Note that since the button is connected with a resistor pull-up, the logic is flipped.
const int buttonPin = 4; // the number of the pushbutton pin
const int ledPin = 5; // the number of the LED pin
int buttonState = 0; // variable for reading the pushbutton status
void setup() {
pinMode(ledPin, OUTPUT);
pinMode(buttonPin, INPUT);
}
void loop() {
buttonState = digitalRead(buttonPin);
if (buttonState == HIGH) {
digitalWrite(ledPin, HIGH);
} else {
digitalWrite(ledPin, LOW);
}
}