Week 2
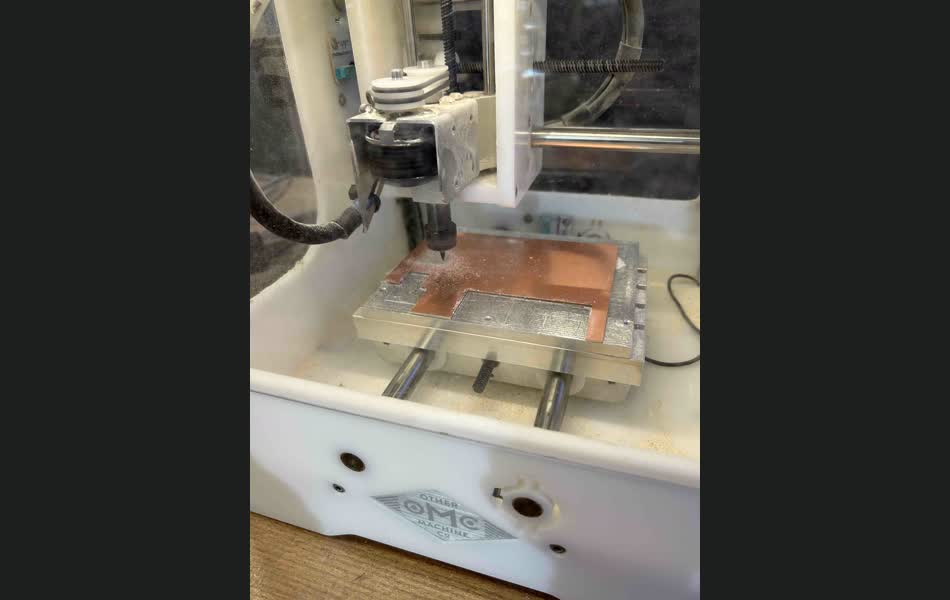
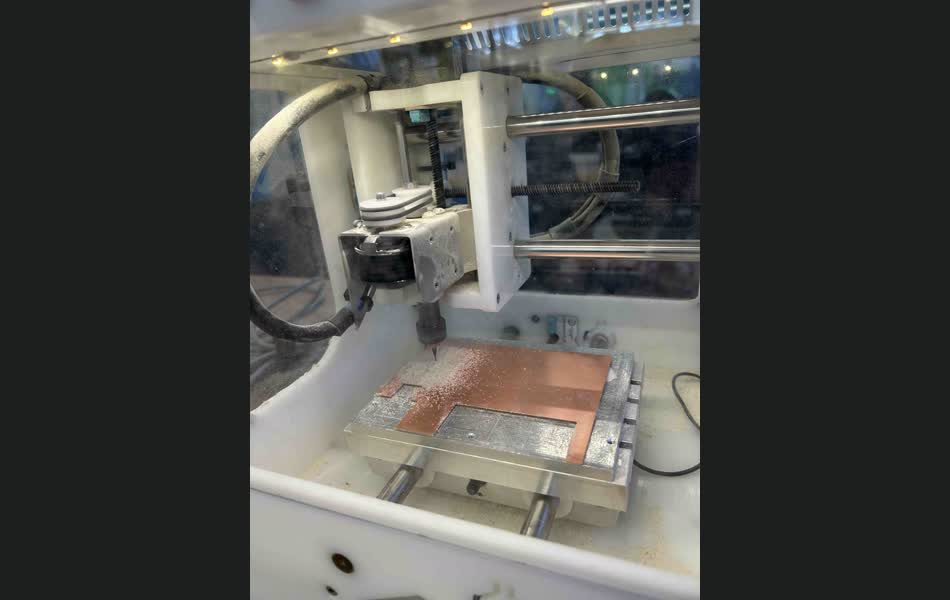
So, board construction week! I began by learning how to use the milling machine, which was significantly easier to use than I had expected. The magnetic walls, which would lock the machine unless it was safe, and the conductive calibration setup was really cool.
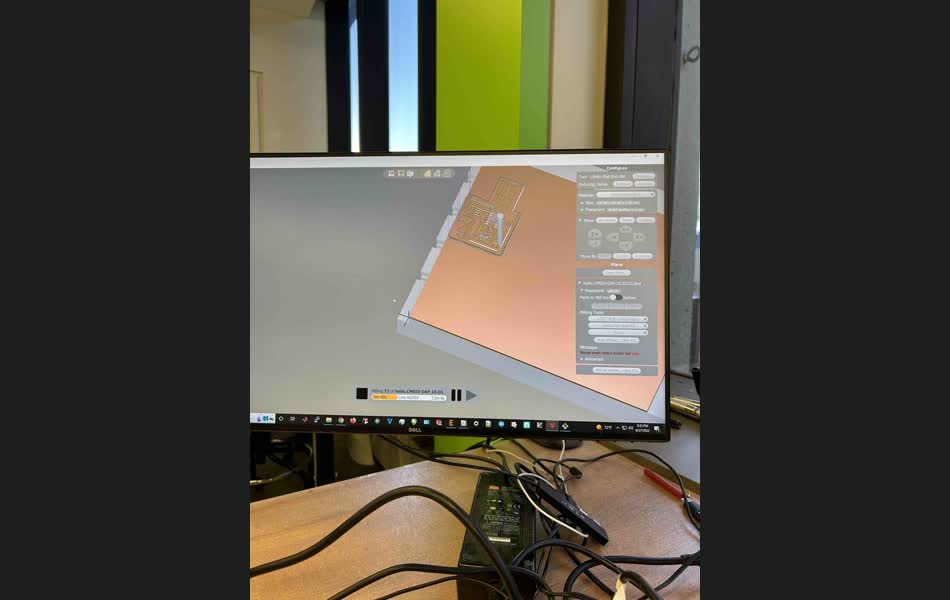
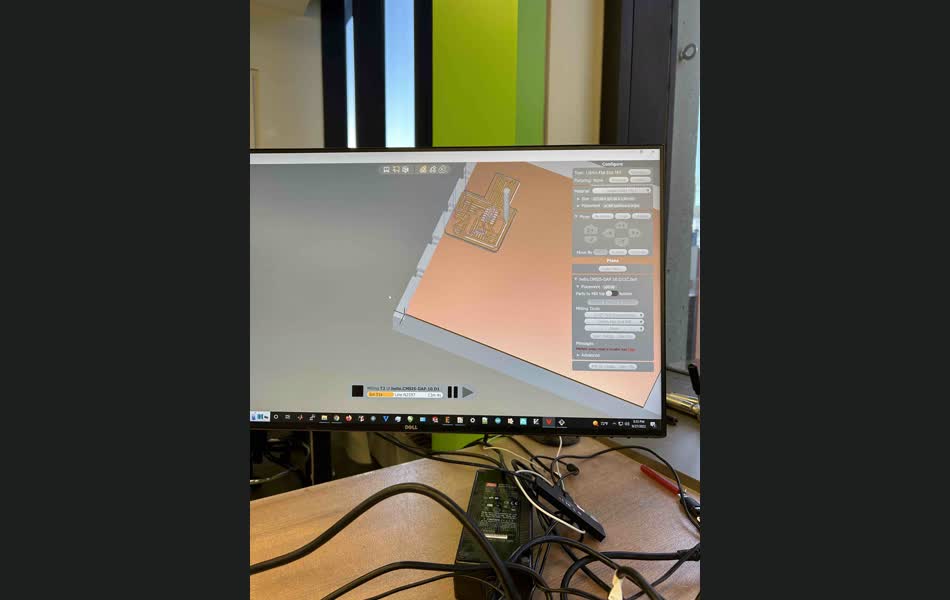
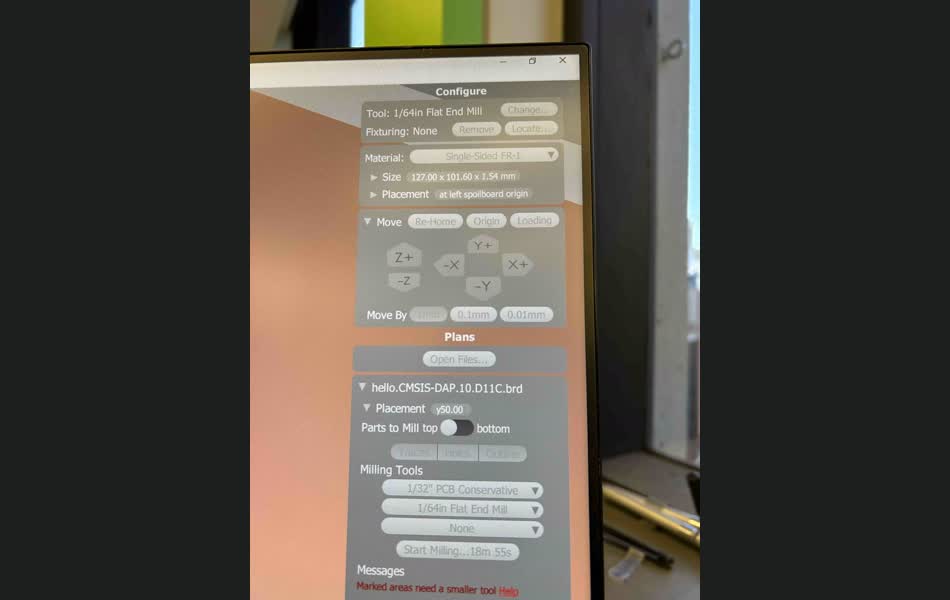
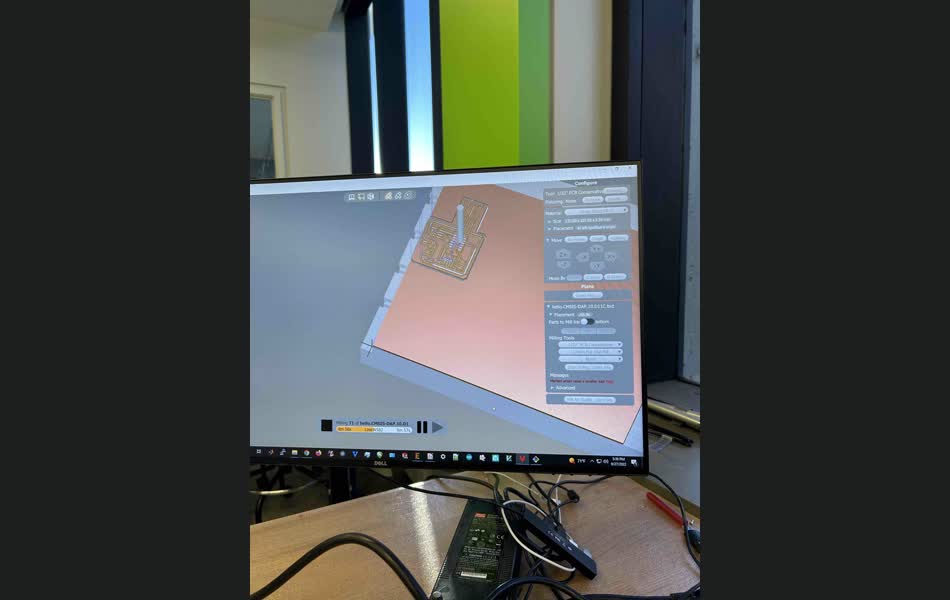
The software for milling the board showed a nice preview of the process, which was nice to visualize.
Additionally, the machine had a nice feature where it would automatically ask for a change to a new bit once the finer parts of the board had been milled.
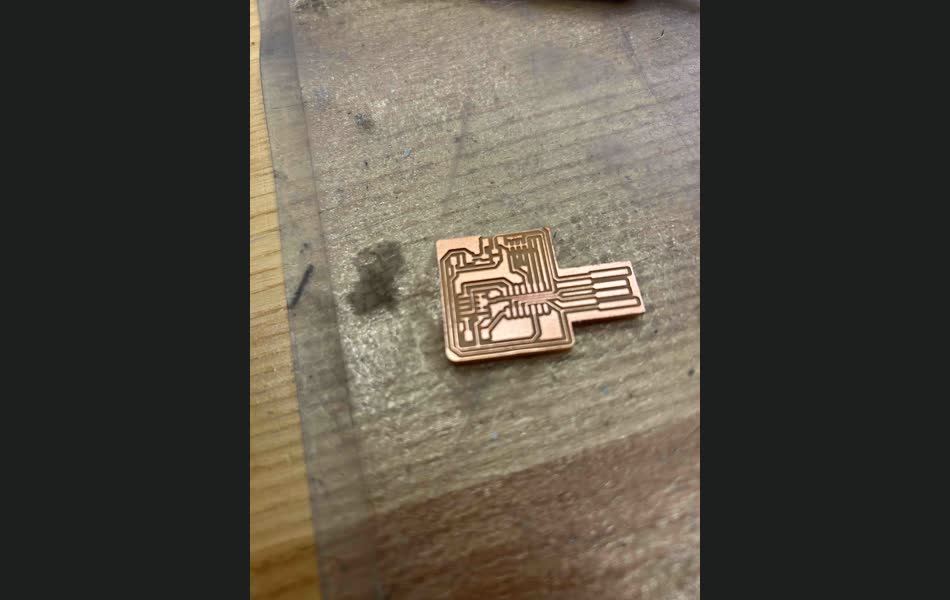
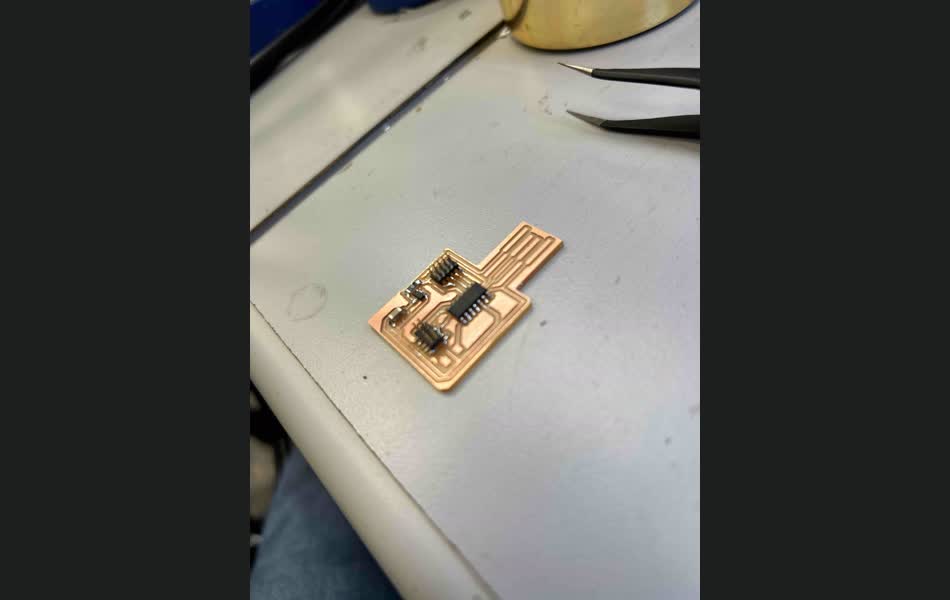
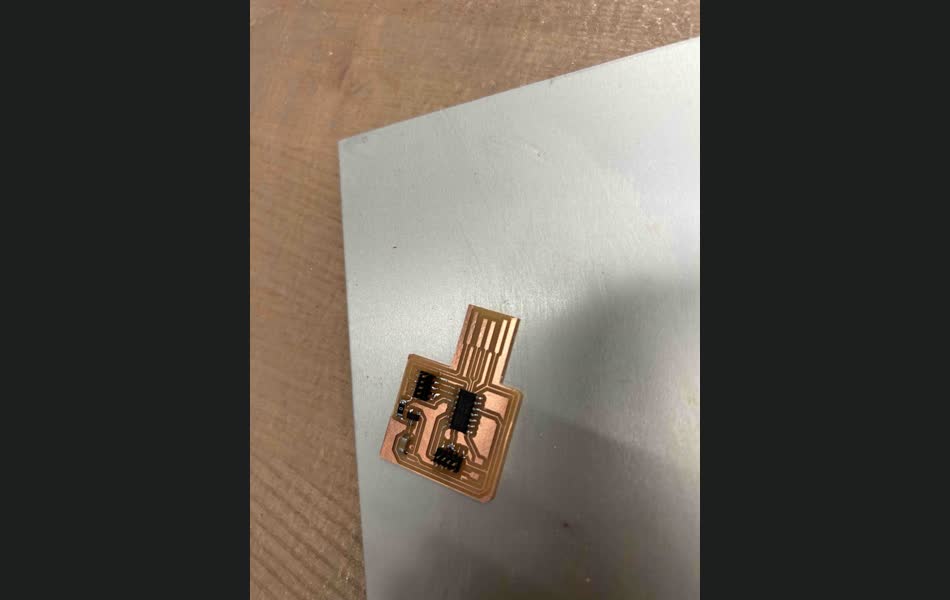
Here's the final printed board! Yay, what an absolute beauty!
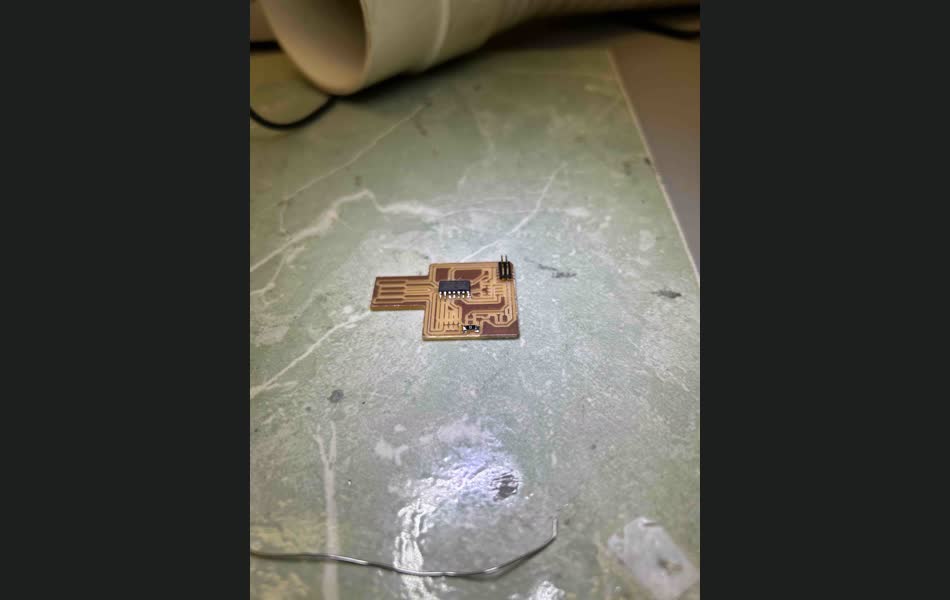
Then I began soldering the components onto the board.
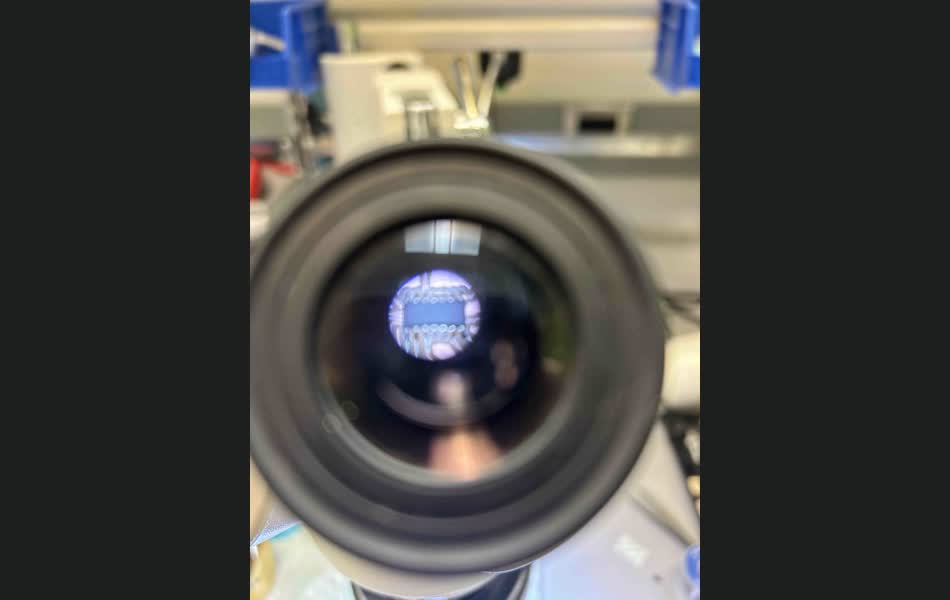
The magnifying goggles were a godsend, as I could see the soldering iron tip even with my absolute trash vision. I got the hang of the technique pretty quickly, the key realization being that I needed to heat the component first, then the copper, then go back to the component and leave the heat transferring until the solder had melted DUE TO THE COMPONENT HEAT (not the iron's). This pretty consistently resulted in a good solder joint.
Not included here is the process where we realized that I, being a genius, had forgotten that there was another zero ohm resistor on the board, because it was obstructed in the image. That alongside the fact that I had soldered the pins one index to the left, s owe used the air gun to fix that.
But when we then plugged in the board and ran the code: it worked!