Week 4
This week was about making a even cooler board and making sure it could talk to us! Considering that my board from the previous week's board was not all that impressive in terms of functionality, I decided to begin by printing out a cooler board, one with an OLED, a more powerful processor (the SAMD21), which would support more powerful tasks in future weeks, along with supporting the basic LED and button necessary for this week. Beginning with a complex design was probably in contradiction with our design spiral, but I was excited to dip my toes into the process! - and I learned a lot during the process.
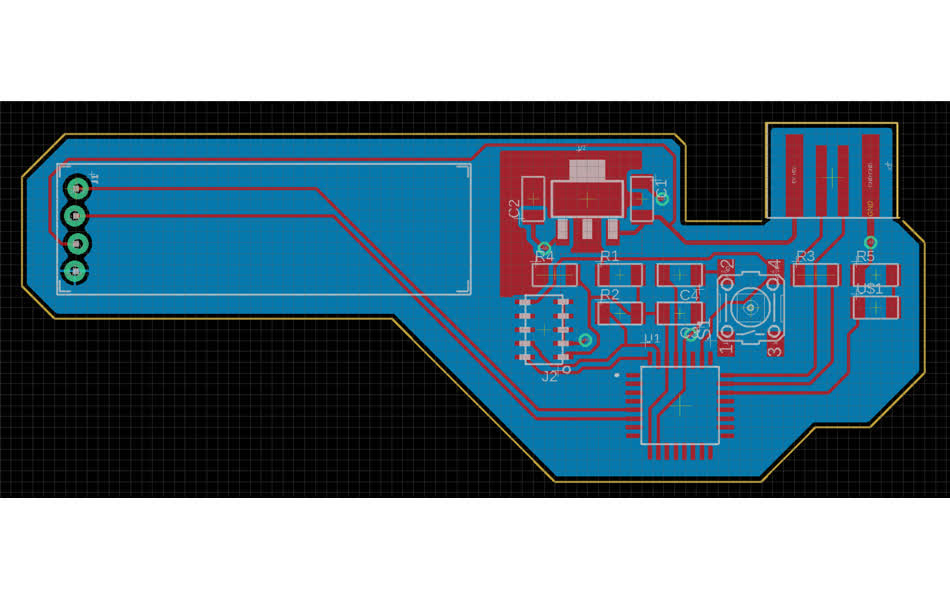
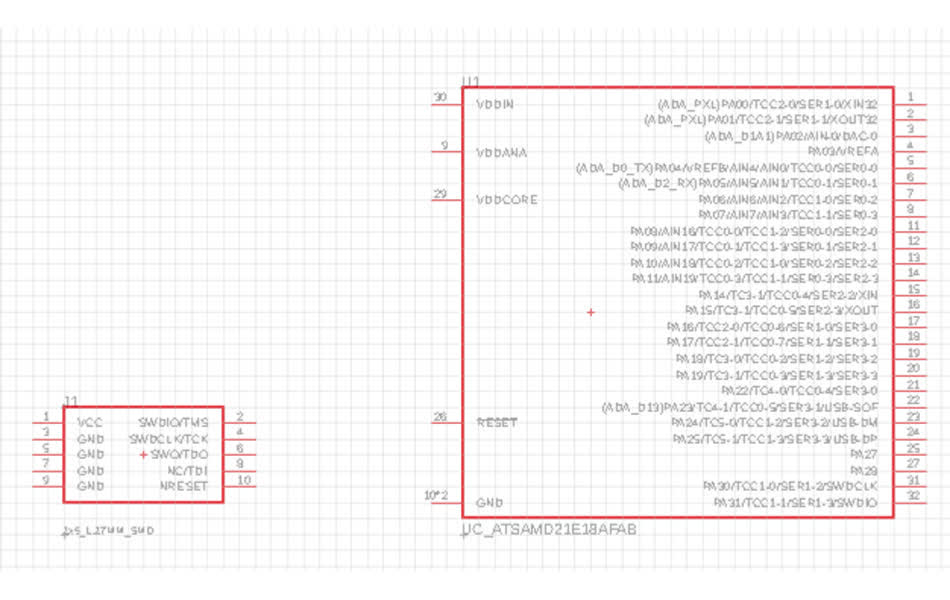
I began by developing a valid board, working to have a OLED display, and the processor to power it; I also structured it to be powered by a USB. The board also had an LED and a button for specific functionality for the microcontroller. Designing the board was a bit of a challenge, especially in understanding the datasheet, setting up the pin connections and necessary circuits (with resistors and capacitors), and optimizing the traces, but then came milling.
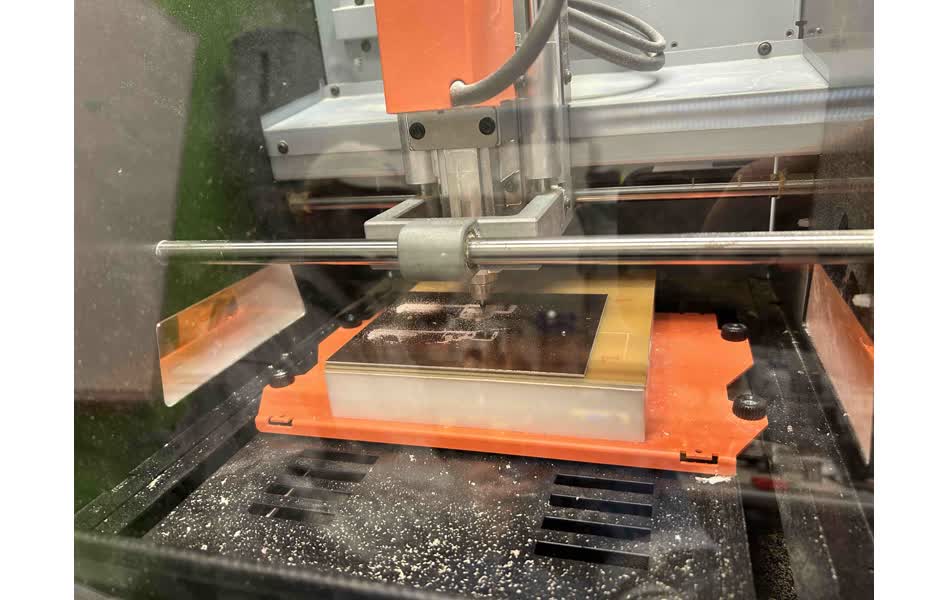
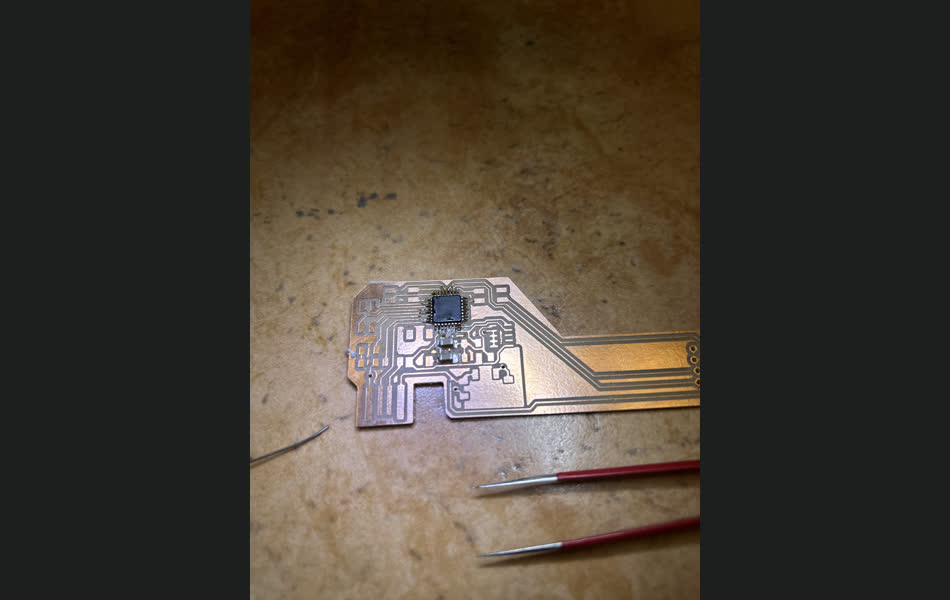
For milling, we began by converting the chip design of my board to a png such that the milling pipeline could preprocess my image, which required us to fill in vias & holes in Adobe Illustrator, fix some image preprocessing issues, and do a double pass of the board to cut traces and then cut out the board. I also tried to cut the holes with a smaller bit, since I thought it would be able to go through, but the 1/64th bit was too short to go all the way through, which resulted in the cone structures to burrow through the board. :( Thankfully the board was still functional, so we used an external drill to make the via holes.

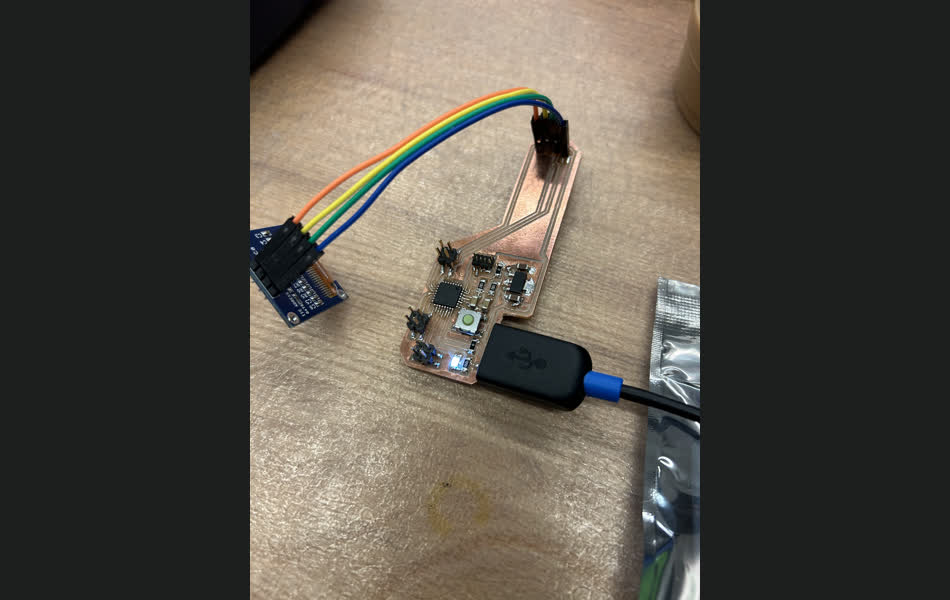
Then I soldered everything onto the board, which took a while with the high density of small pads, along with the via holes. I also had to solder the OLED display, which was a bit of a challenge, but I was able to hone my soldering skills in the process (maybe to a bit of a perfectionist degree).
Then, I loaded a Arduino Feather bootloader onto the SAMD21, which allowed me to program the board using PlatformIO, which is a super nice VSCode extention that supersedes Arduino's IDE (and I personally like using better). Once the bootloader was loaded using the programmer (that we made two weeks ago) I could program it like any other Arduino board and got it to register button presses and toggle the LED on and off! This was super satisfying to get working :D