Week 7
This week was about molding and casting, but I wanted to try to also wanted to try an interesting new method for 3D model generation.
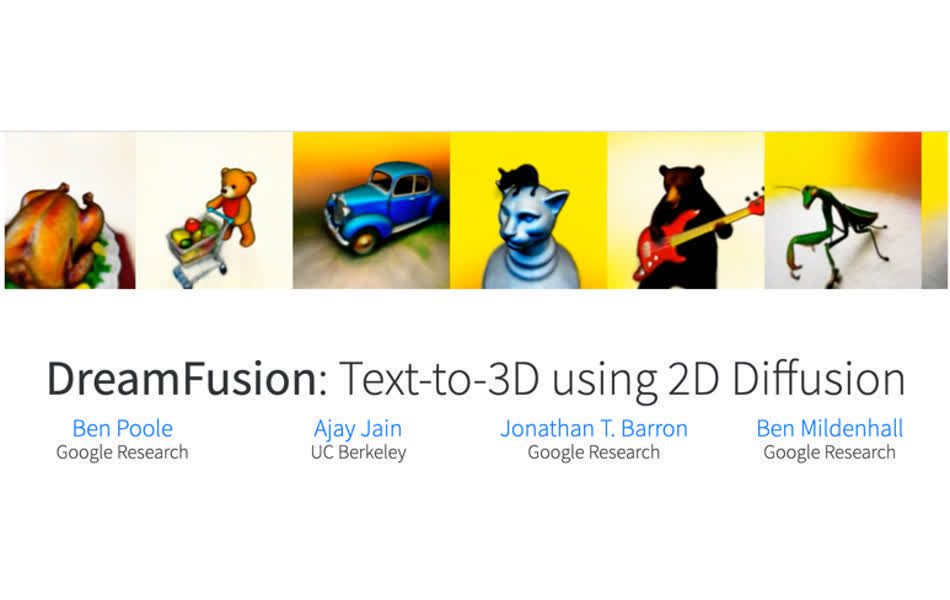
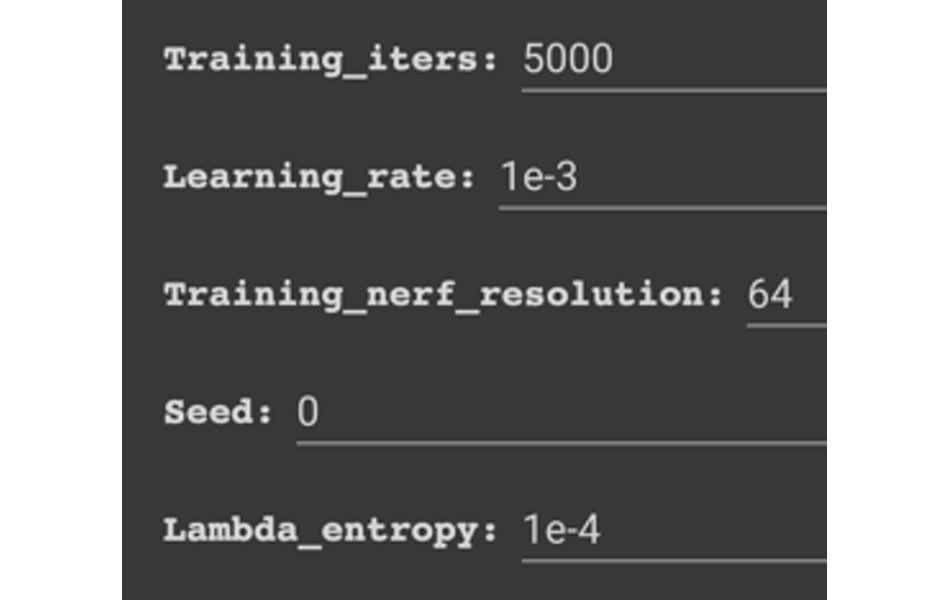
I'd heard about DreamFusion (which was also brought up in previous classes by other students) and wanted to give it a try; thankfully, there's been a analagous model that uses a different diffusion submodel (Imagen in original vs. Stable Diffusion in the modified), to construct 3D models from text prompts. I used my colab notebook here to document/run my experiments. The settings I found optimal are shown down below + you can try running it yourself. During model running, I used a huggingface API to get Stable Diffusion, which needs to be authenticated manually on HuggingFace's website.
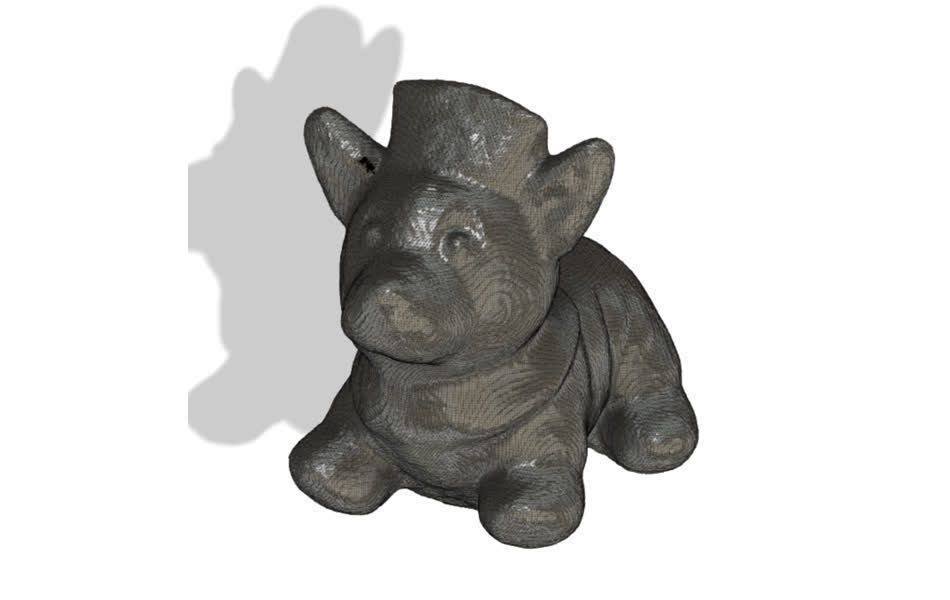
I found that the model was able to generate some interesting results, but it was quite slow and finnicky, depending on the given prompt. I eventually figured out the the quality of the Stable Diffusion output was indicative of the 3D model generated, so I started by pre-vetting Stable Diffusion runs by visually inspecting the output before generating the 3D model. I asked it to generate an image of a corgi, since that was one of the examples the original paper had shown to work, and received the following result:
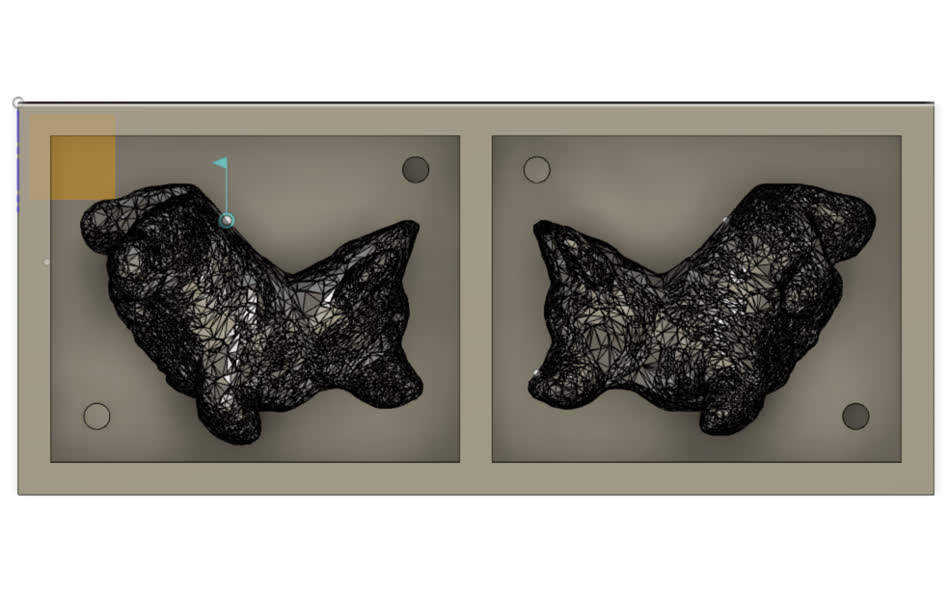
While there were some imperfections, I still loved how cute it looked, and moved forward with creating a mold. I began by drawing a plane between the sides of the corgi, then marking correspondent points on each side, which I would use to align the half-models later. Then, I laid them on a plane, symmetrically set the corgis so they would align, and created the outer box dimensions of 3" x 7" x 1.5" (with 0.25" walls). I also parametrically created alignment points for the two halves so that it would be easier to put them together during building.
Then, using the 3D model, we constructed a CAM toolpath using Fusion 360's built-in manufacturing tools. The process consisted of adding a toolpath to remove most of the material, and postprocessing finishing passes to ensure the model was smooth and clean. The toolpath was then exported as a G-Code file, which was then uploaded to the CNC machine to cut the wax. The machine took a lot longer than expected because the simulation modeled acceleration as infinite, when that was impossible; additionally, the machine feed rate was a bit too high so one of the alignment pegs broke off. However, the model was still usable, and looked great!
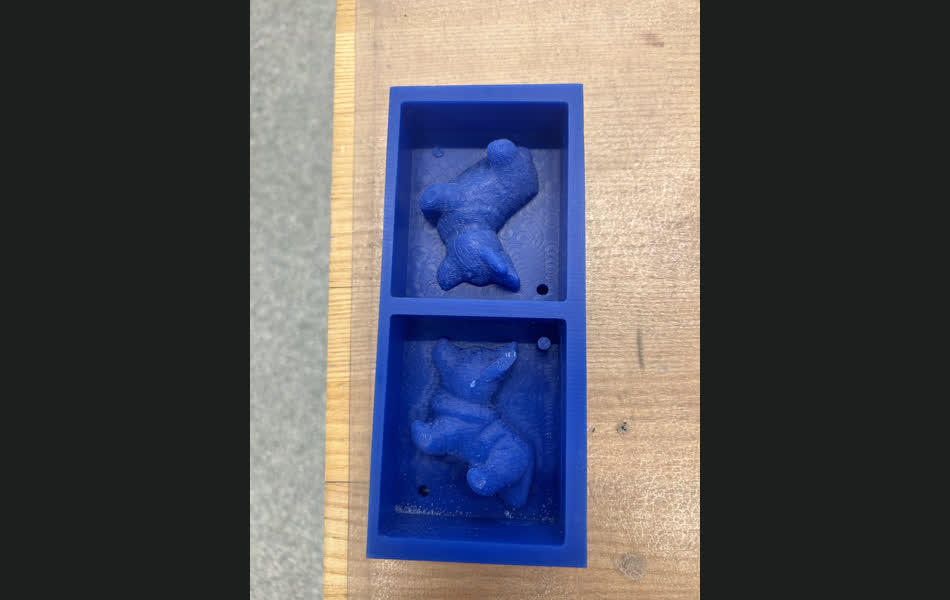
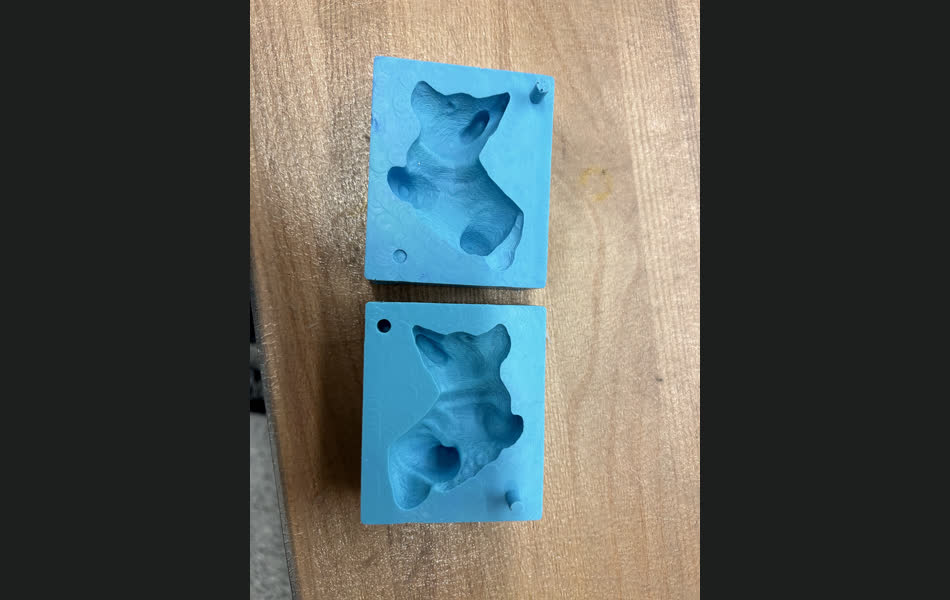
Once the wax was cut, I mixed and poured oomoo to create our reusable mold; it took around 2 hours to set, and then I could remove it from the wax -- it was a bit tricky, but we were able to get it out without breaking it.
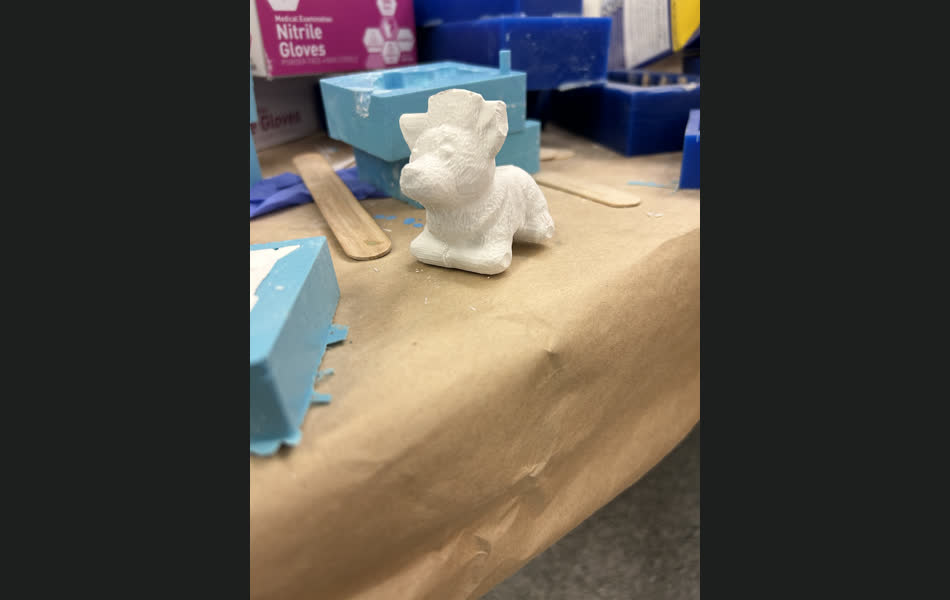
Then, I added some mixed drystone to the mold (20:100 ratio, water:powder), and waited half an hour for it to set. After that, I removed the mold, and was able to see the corgi model! It was a bit patchy, but I'm sure with more practice with the pouring and setting technique, I could get it to look better. Still a great result, and I'm excited to try this again!