01 | Computer Aided Design
For the first week our assignment was to 3D model in a variety of software a potential final project idea. I’m not settled yet but I’ve always wanted to build a submarine so ran with that. The first question is what would I do with a submarine, so now I’m introducing Naval Chess.
What is Naval Chess?
My idea with Naval chess is to be able to play a chess game but entirely on water. Ideally I’d like to:
- Have portable chess pieces
- They can move around the water
- They sink when they’re killed
- They somehow understand their relative posititons.
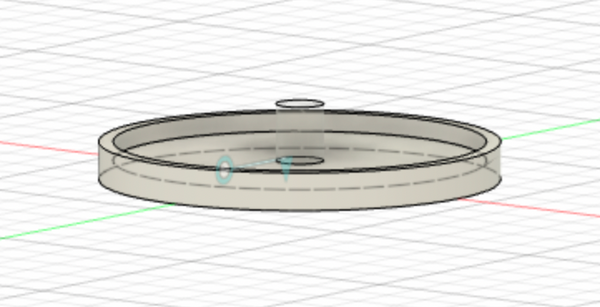
Modelling the Queen
To begin I wanted to experiment with some Fusion360 features I hadn't tried out before. Revolve seemed useful so I designed a Queen Chess piece. Unfortunally, I didn't make it parametric and need to consider better how to minimize the number of parameters a design needs.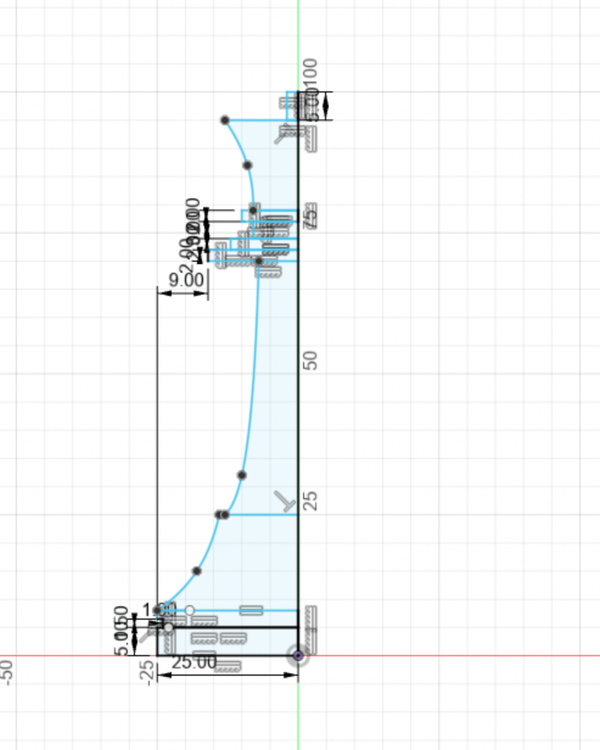
Once sketched, I revolved it around it’s center
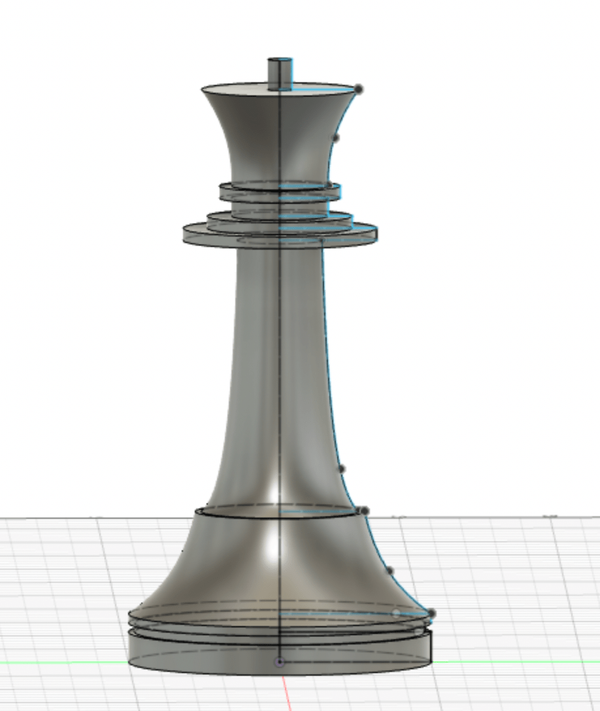
Next up was filleting all the edges and the top of the Queen to give the piece it’s distintice curves
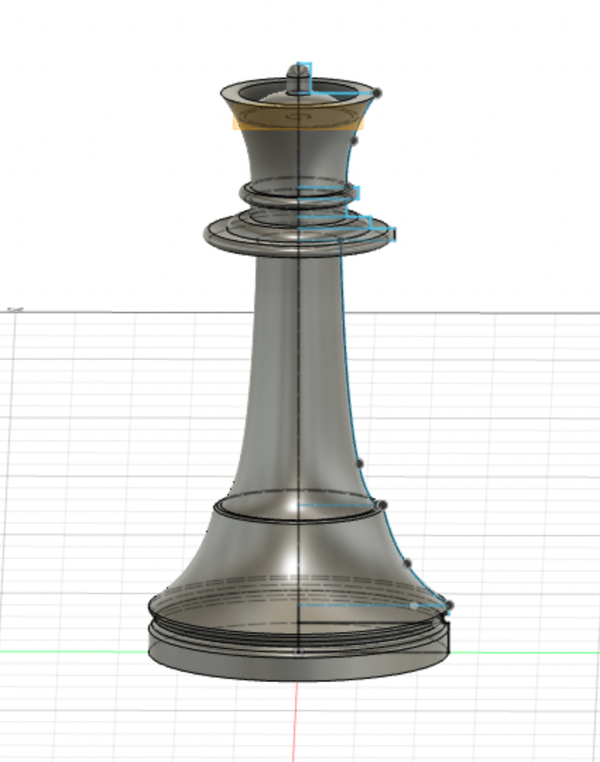
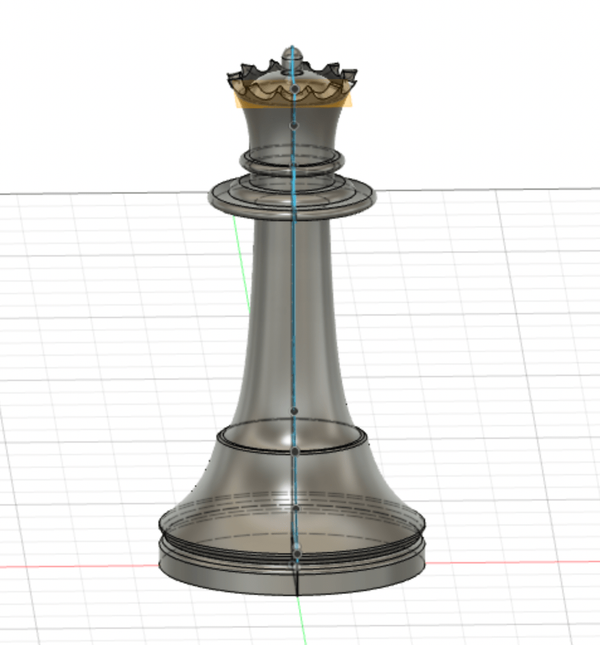
Finally, I wanted my Queen piece to have ridges along it’s head. To do this I first made an offset plane and extruded a cylinder that cut through the Queen’s rim. Then I circular patterned this cut out feature and filleted the resulting sharp tops.
Modelling the Submarine
Of cousrse what good is a chess piece if it doesn’t have some aquatic vechicle to ferry it around. Next up was designing the submarine the piece would sit on.
Why a submarine?
- Submarines are cool
- They can go underwater which is the effect I want for when a piece dies
Propeller
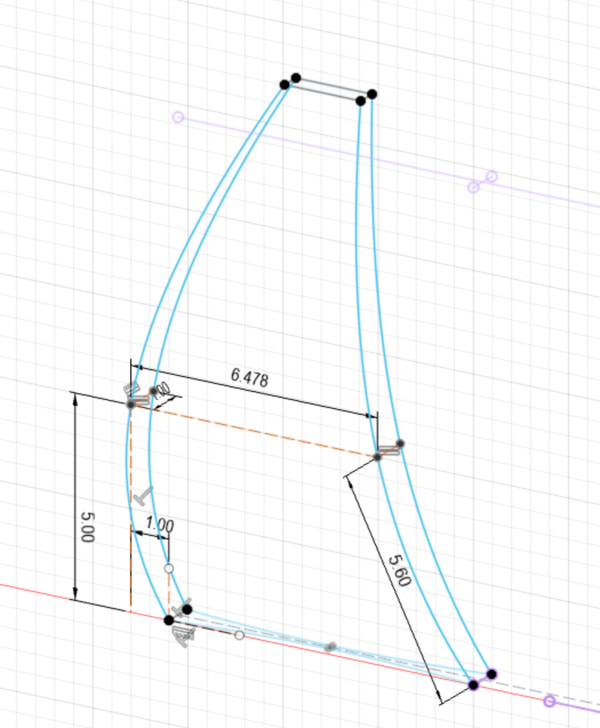
First up for the submarine was a propeller. After defining the bottom and top of the propeller, I used Fusion’s 3D sketch feature to sketch the rails.
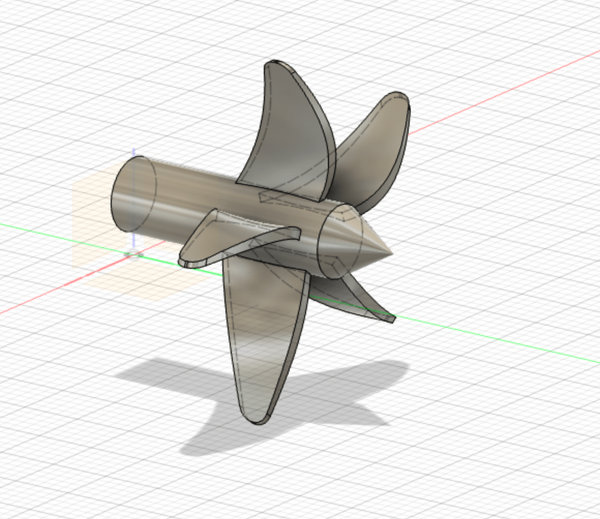
Then I made a cylinder for the shaft and circular patterned the blades around it. Finally I chamfered it’s end to give it a point.
Rest of the body
To get the submarine to alter it’s density I thought I could use a motorized syringe. The idea is that the submarine would pull back the syrine, taking in water and hence sinking.
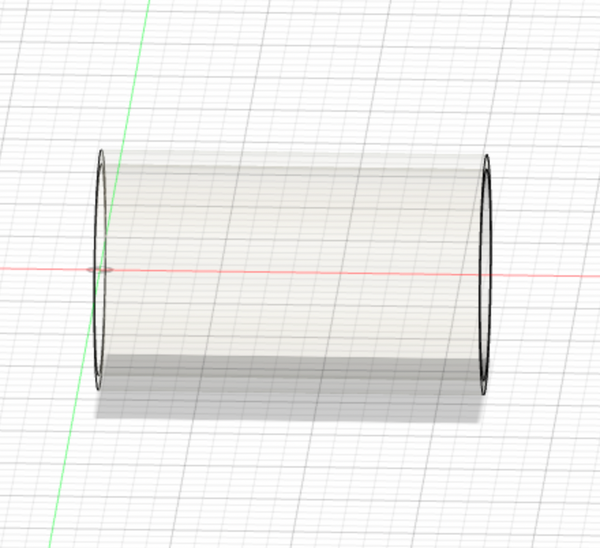
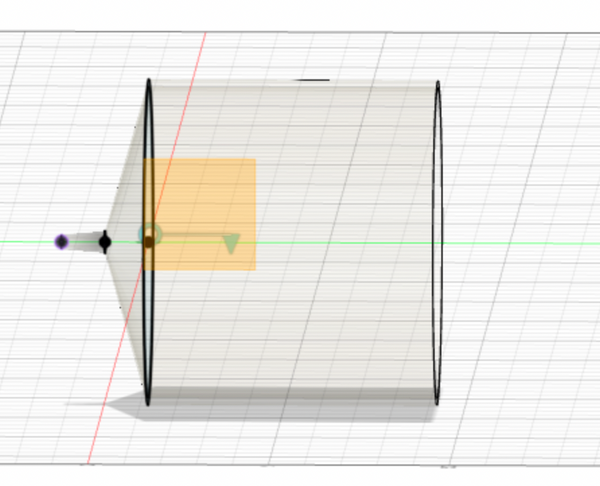
First up was the body this began as a simple cylinder
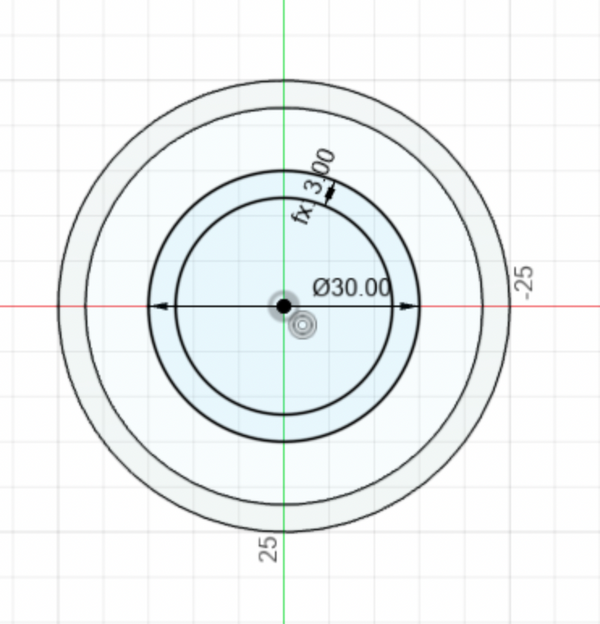
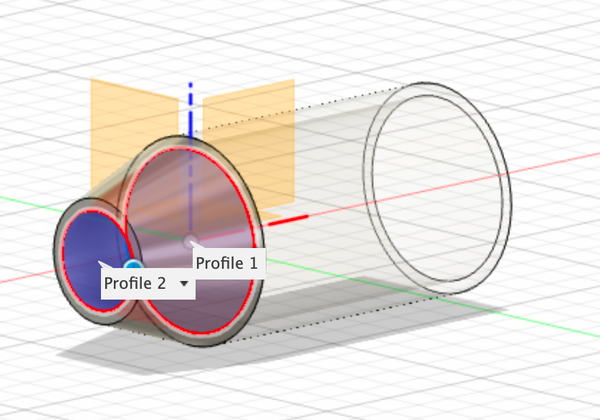
Then I offset a plane from one of the ends, created a new sketch, and drew two smaller circles. Unfortunally, Fusion would not let me loft between the wall of my hallow cylinder and the area between my two sketched circles so I had to do two lofts one to create a new body and another to cut out the inside.
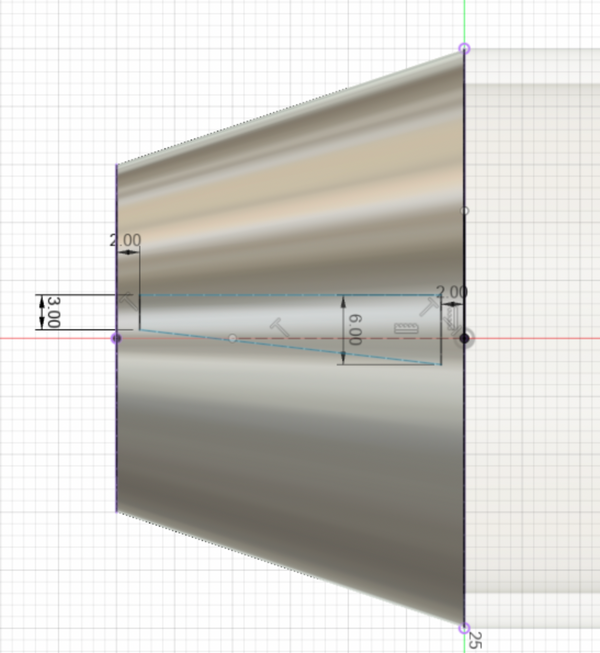
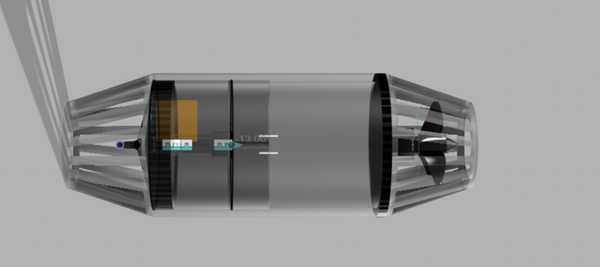
Now, at this point I realised I had no idea how propellers actually worked and started googling. Apparantly there’s a whole sub internet culture dedicated to taking pictures and figuring out how US submarines work since the internals are all classified information. Anyway, the point is that I discovered the ends of my submarines would need sections cut out of them to allow water to get through while still protecting the propeller from large objects. I sketched an angled area, cut it out of the end of the submarine and circular patterend the feature all around.
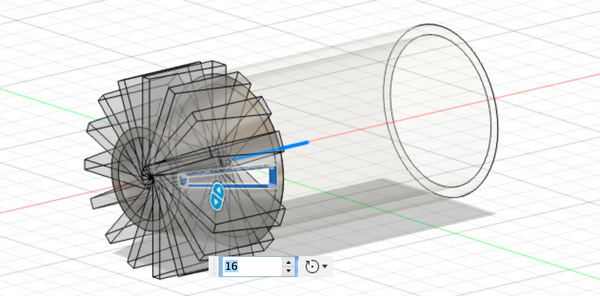
Next up I wanted to position the propeller. I extruded a section out of one of the ends and positioned the propeller inside
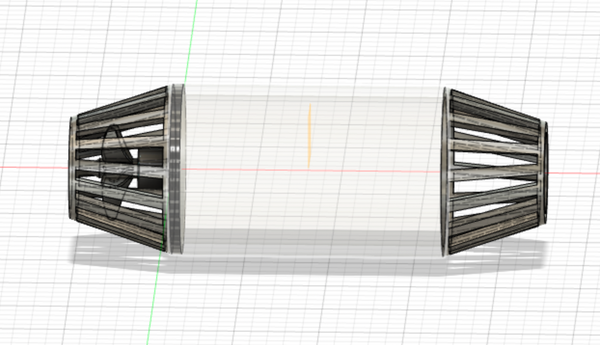
For visuals I wanted the other side of the submarine to look the same so I mirrored about a central plane.
Next I thought this submarine could be a cool way to test out Fusion 360’s joint system. I created the different syringe components (rubber end, rubber inset, shaft, threaded screw, screw inset).


Finally I used joints to join them all together.
The end result animated nicely really nicely