04 | 3D Printing and scanning
Brainstorming
The requirements for this week’s project are
- Can be made subtractively
Here’s a list of random ideas I could do:
- Ship in a bottle
- Something where I place another item inside during the print
- A lamp?
- Something wearable
- Baymax Plant Holder (something I was working on for a friend, but I think it could also be made subtractively)
- Generate something using code
- Spikey ball
- Hair on characters
- A pirate ship (would match some other nautical themes)
- Generate rollacosters with code (Could I do this with ThinkerCad code blocks to reuse it elsewhere)
- Print in place zipline
- Print in place rolling chair (print in place wheels and axel seem difficult)
Decided Upon: Pirate ship in a bottle
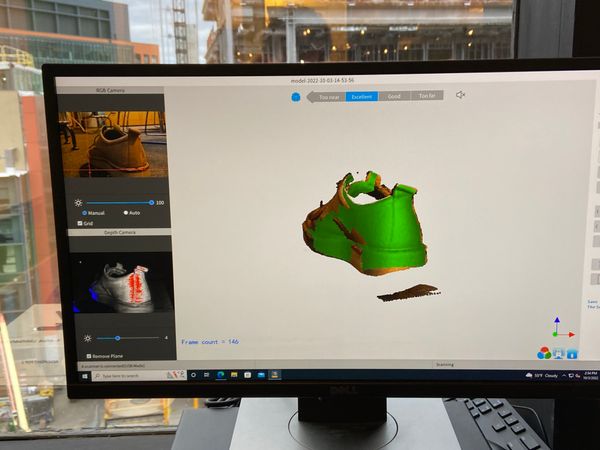
3D scanning
The second part of this week's assignent was to 3D scan something. I was really impressed with the scanner in EDS. A couple of years ago I'd tried using my phone's camera for some simple photogramatry and it converted one of my stuffed toys into a horrible monster so my hopes weren't high.We used a Revopoint Pop2 3D scanner which takes snapshot of an object from multiple angles and then can track geometery between them to create a mesh of the object.
I initally wanted to scan my head (after seeing some cool colour prints from previous year’s HTMAA) however after talking to Anthony (and some experimentating) I realised that the Revopoint scanner wasn’t up to the task. Human hair (especailly 3D curly hair like mine) is hard to scan.
There’s Unfortunally a variety of factors which can mess up a 3D scan. The technique the scanner uses utilizes light colours and generally does a bad job at scanning dark objects. However RevoPoint have a special dark feature which I wanted to test out

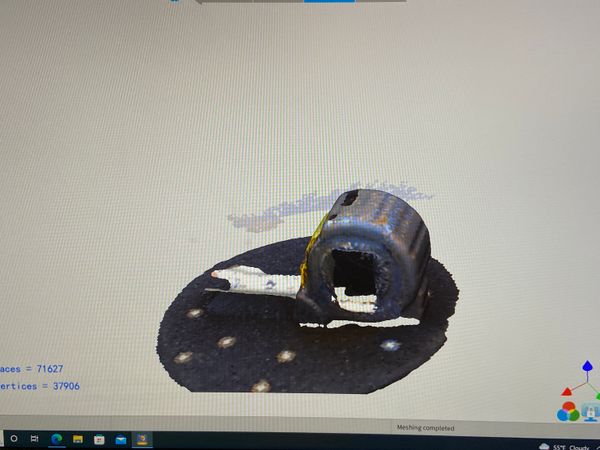
As you can see the scanner really doesn’t work great with shiny surfaces and even in dark mode it lost a lot of the tape measure’s details.
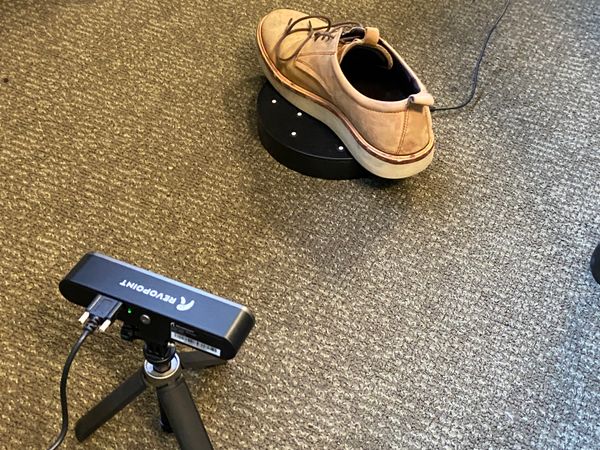
Next up I wanted a better scan. Unable to find any close by items I looked down, saw my shoe, and decided to do that.
Cadding the ship in a bottle
I’ve decided to change my final project away from submarines, so as a final ode to my nautical theme I decided to try make a pirate ship inside a bottle. Unfortunally, I didn’t obey the supply side time planning enough and the printing went all wrong, but first the CAD.
This CAD definentyl challenged my Fusion skills and spatial ability, but lofting and I are much better friends now than we were two days ago.
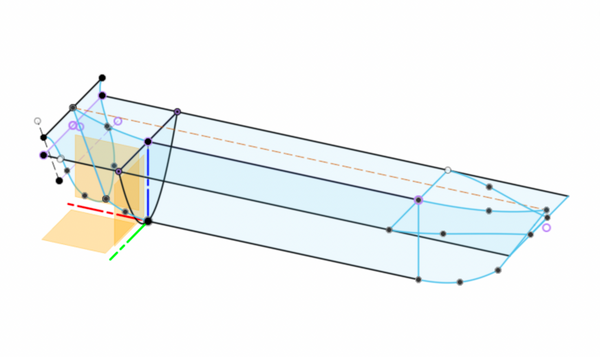
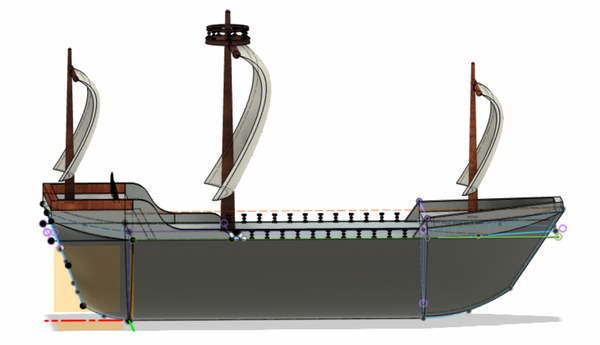
To begin I sketched out the different profiles of the ship’s hull. I included a spline at the bottom and top of the end piece to use as a rail while lofting to get a ship’s distinctive curved end.
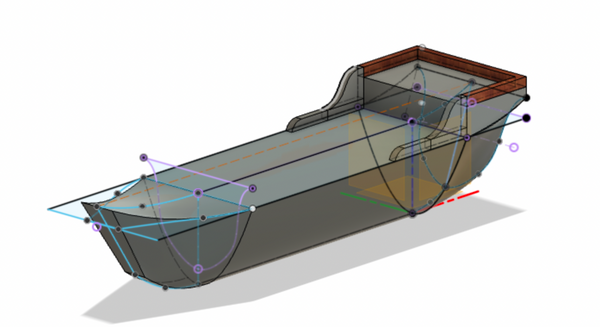
Next up I extruded and cut a rectangular section into the send of the boat where the captain’s quarters would be.
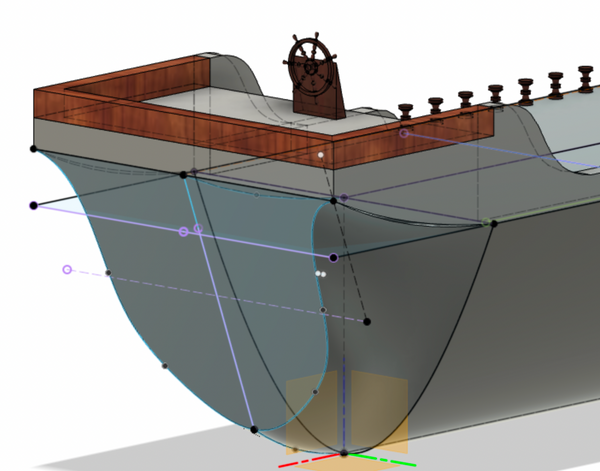
Next up was the posts at the side of the boat. Following on from what I learned when cadding the queen chess piece and sketched a side profile and revolved it.

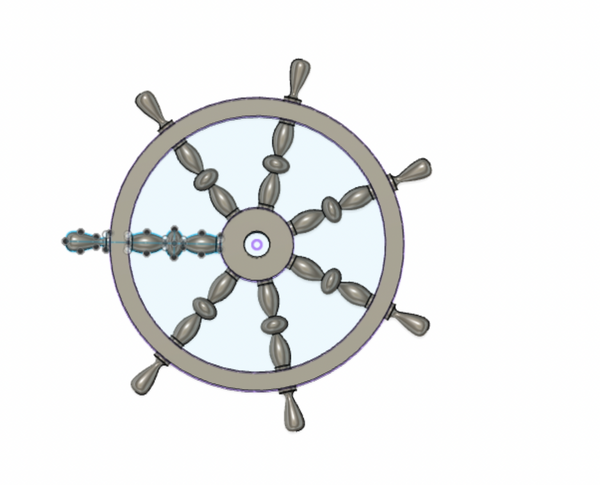
In a new file, I then cadded a ship wheel which I linked into the ship. This was slightly annoying however, as Fusion has limited options to modify linked components. When I added the wheel it’s size was wrong and I had to scale it in the original file to fix that.
After some more adventures on lofting I added the masts and sails. The tried to emulate the effect of wind on the sails by creating splines in a 3D sketch which I used as a rails when lofting between the curved top and bottom of the sail.
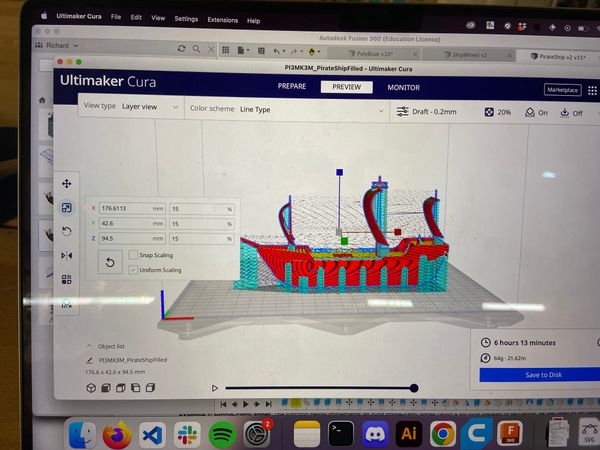
Up to this point, the ship would be made subtractively (if difficultly) so to make it only possible to made additively I hollowed out the inside. My plan was to try CAD some cannons and place them inside while it was printing but I unfortunally ran out of time.
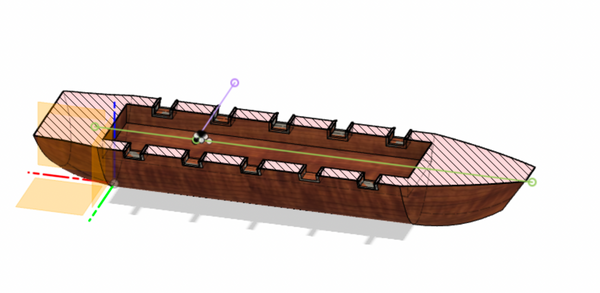
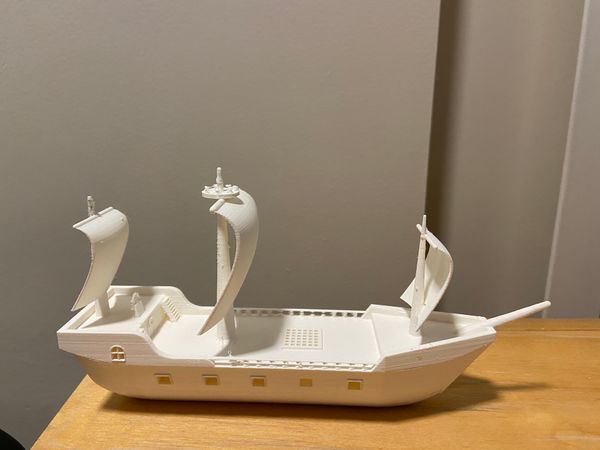
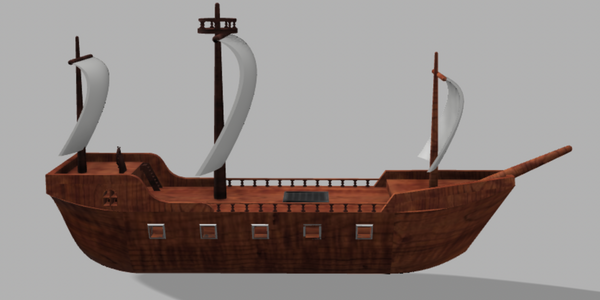
All together it looks like:
3D Printing
Metropolis (my second home) has a rack of the same Prusas as EDS, so for this assignment I wanted to try use some different 3D printers. The Deep has a Ultimaker S5, a dual extruder printer which uses PVA for water soluable supports.
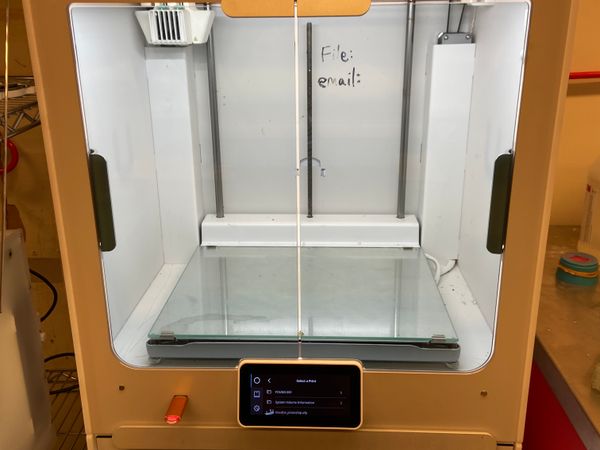
While the deck of the boat might of been able to print without supports (by using bridging), the sails definetely needed supports so my plan was to print the ship with PVA and then dissolve the supports away.
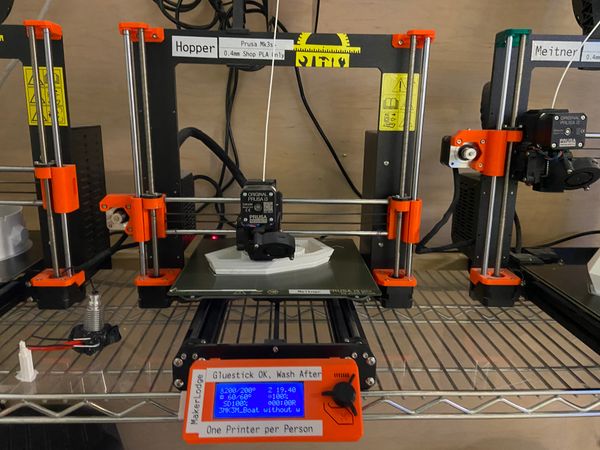
Unfortunally, I left this step too late. When I tried to start my print the S5’s screen exploded with different errors, and fine dust poured out of it’s filament feeder. Instead then I copied my wheel over to a low-poly lifeguard ship I had previously made and printed that.
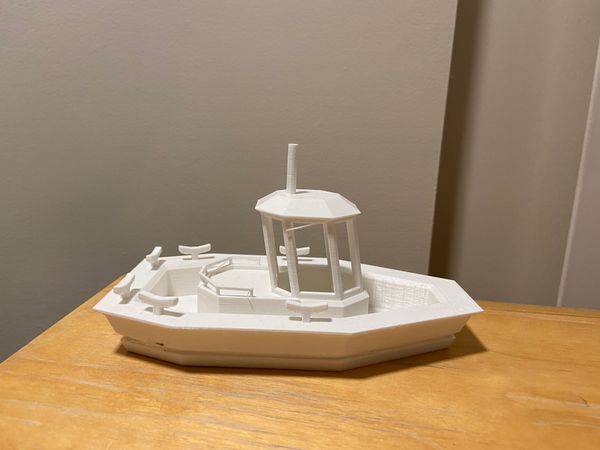
Update: 1 week later
The S5 was fixed so I got to print my piece. Unfortunally, I forgot to take a picture of it with all the water soluable supports but there was a ton. It took 5 days in a bath of water for everything to dissolve. I also realised once I put it in water that it didn’t actually function as a boat and in fact sinks. I’m not too disappointed since I didn’t design it to float, but in the future I’d love to try make a boat that does.