 .
.
TLDR: This week, I got the chance to use a vinyl cutter and brush up on my skills in laser cutting. Through the process, I also gained a lot of CAD knowledge, learned how to make cardboard joints, and experimented with foldable joints.
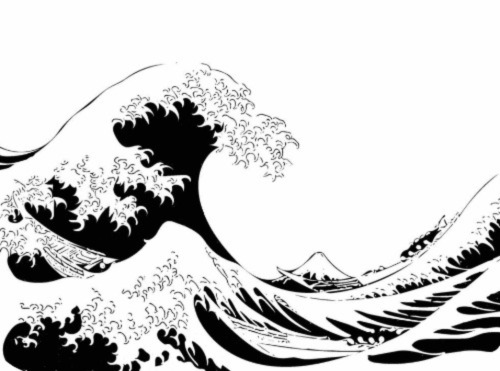
Vinyl cutting: I decided to add some personality to my rather bare laptop by putting a vinyl sticker of The Great Wave off Kanagawa, the famous Japanese woodblock print.
.
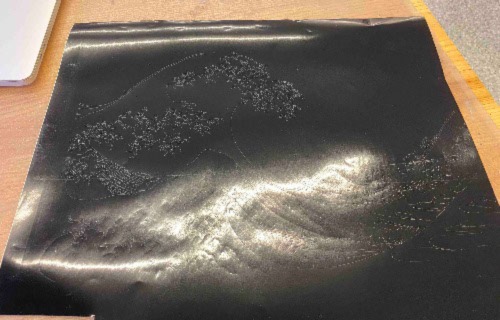
The design is very intricate, with a lot of small lines that would be difficult in the removal process. So I modified the image by filling in colors to create more continuous shapes. Prior to vinyl cutting, I used the vinyl cutting software to adjust and visualize what is being picked up, and increased the dpi to decrease the size of the sticker to the exact dimensions of my laptop.
Fresh off the vinyl cutter!
 .
.
I peeled off the negative space with tweezers and a lot of patience, and I really like the final result.
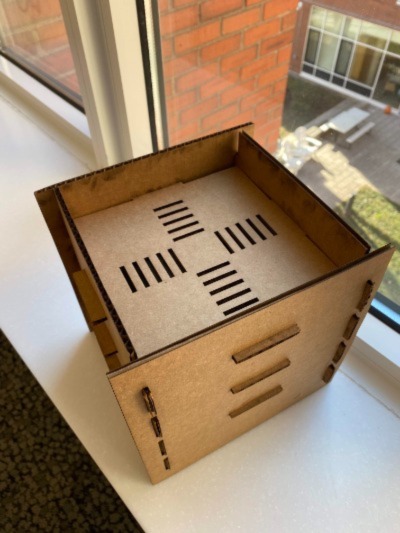
Laser Cutting: A Plont
After safety training on the laser cutter and completing the group assignment to familiarize myself with the laser-cutter's focus, power, speed, rate, kerf, joint clearance and types. I was ready to make my own creation!
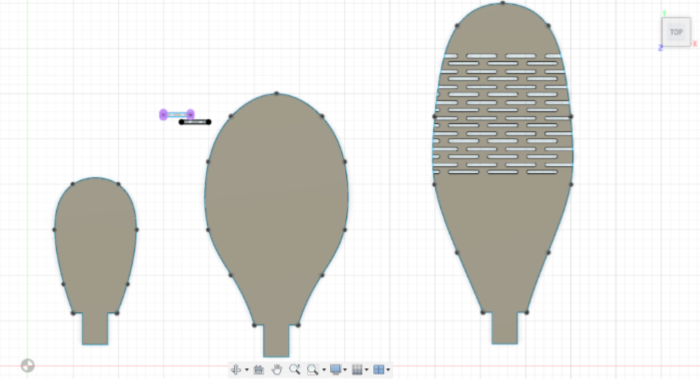
Idea origin story: When I was younger, whenever there was a special occasion like a birthday or an anniversary, my dad would buy a pot of orchids (they are so gorgeous!). However, what also remained constant was the fact that the orchids would not survive very long, despite our efforts. I initially wanted to make a cardboard orchid plant both to permanently preserve the flowers and fuel my plant addiction. Figuring that the flowers were a bit too delicate, I settled on creating bendable cardboard leaves.
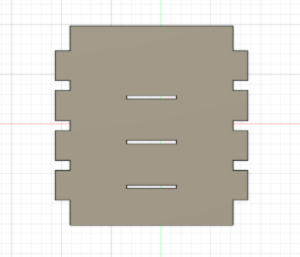
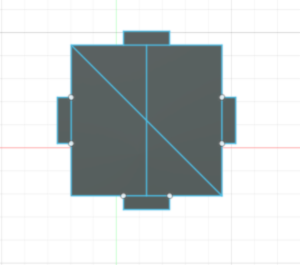
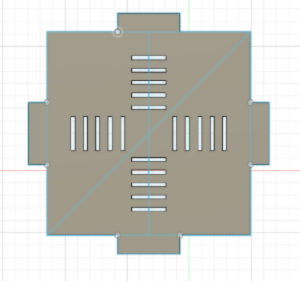
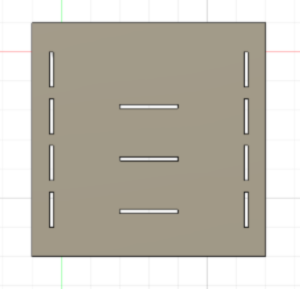
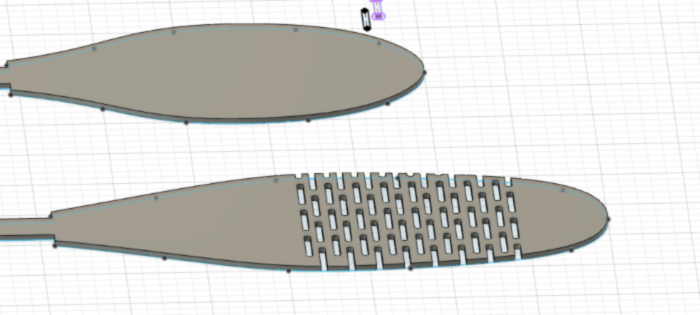
Design sketch: The cubic plant pot is made from 4 sides and three layers. The leaves include living joints and are attached to the "soil" with a latch joint, where the width of the hold determines the angle that the leaves are tilted.
What I learned:
1) Parametric design is so powerful! Whenever I had a repeating pattern, setting the dimensions (or some other attribute) as a parameter allows me to abstract away that attribute and simply change everything at once if need be! This is the case for defining the clearance for laser cutting purposes. I also found it helpful when creating leaves of the orchid by repeated rectangular patterning. I could just start with two holes in my pattern, define their size and relative positioning with parameters, and push the pattern button!
2) A lot of CAD tips! Hovering my finger over the esc key to exit out of a previous operation. Staying in the Solids world of Fusion so I can easily extrude and cut away. Using the 3D visualization tool liberally to be sure that I am clicking where I want.
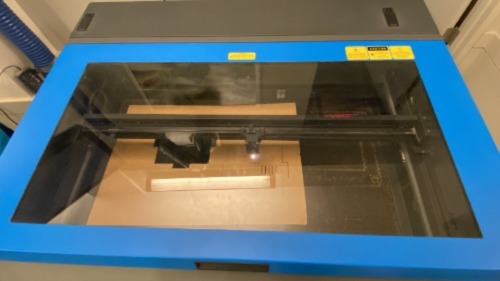
I was having a bit of trouble laser cutting the leaves as the dxf file that was exported had duplicate lines with no efficient way to remove them. The first attempt resulted in setting the cardboard on fire :(. . To laser cut, select matte board for the cut strength and focus the laser. Then, export the .dxf files, and edit it into a .wav file by selecting hairline and turning the cut lines red. Then on the lasercutting interface, place the design at an approrpiate location and hit click.
Here are some laser cutting progress photos and the assembled product.