This week, for make something big, I decided to create a bunny bookshelf.
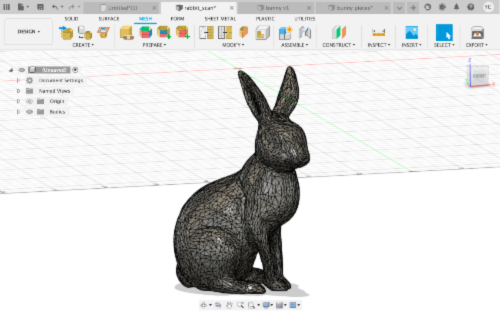
First I found a nice 3D model of a bunny online here, and converted it to a solid in Fusion.
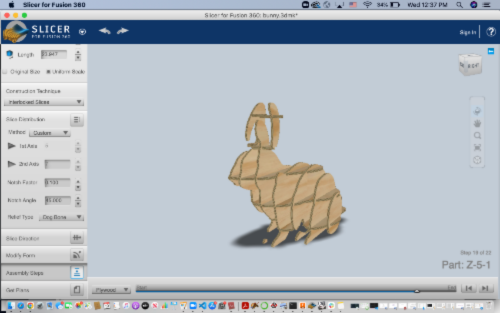
Then, using Slicer for Fusion 360, I created slices of the model along two axis and the program auto generated how the pieces will fit together to give me a 3D puzzle of the bunny. It was a magical experience, but nonetheless tedious since the functionalities of Slicer is very limited. I was unable to create slices along 3 axis to get a more aesthetically pleasing product from all anges. More importantly, I was unable to vary the parallel distance between each piece, making some of the slices extremely awkward (sometimes levitating) shapes. Playing around with the slice angle and settled on this design.
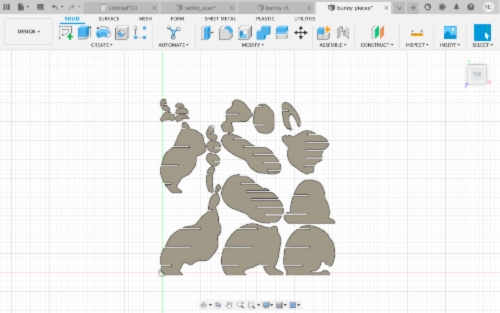
After changing the size and thickness to match the wood material, I exported the following diagram.
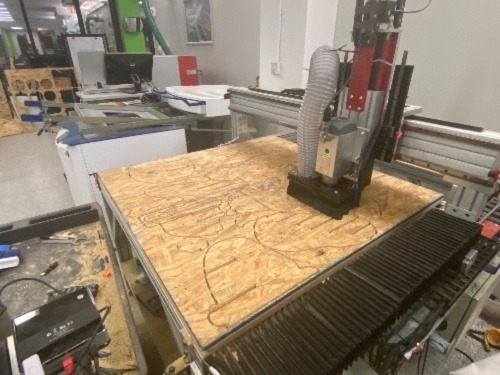
Then, I performed CAM to align and add tabs for stability. Because the dogbone feature was not working, Anthony suggested adding two holes manually at the corners of each connection to create the dogbone shape. Making sure everything looked nice, I set out to cut! I pushed in plastic nails to stabilize the wood to the cutting surface and calibrated the tool tip. Then, the machine did its magic.
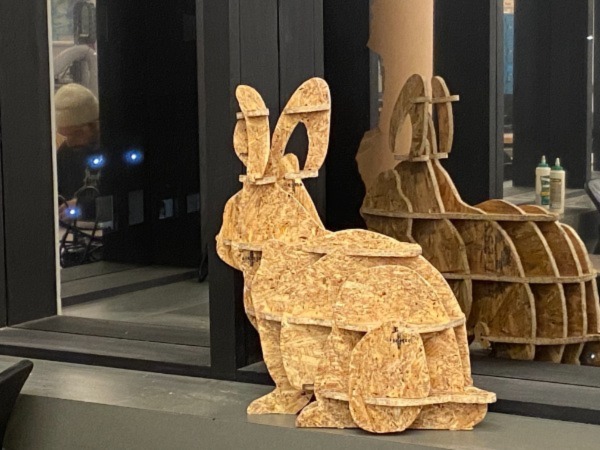
Finally, I cut out all the pieces from the wood, removed the remaining bits of tabs, and sanded a bit. I followed the assembly order generated by Slicer and used Epoxy to glue the ears that have very little contact to the rest of the pieces.
Here's a happy hoppy bunny!