This website is for the course How to Make (Almost) Anything (Fall 2022)
Contact Me
You can reach me at
alexiaasgari@gsd.harvard.edu
and video editing!
This is the thumbnail I created for the video I edited. I added an extra group member to the photo :)

I started by mocking up some models on rhino using information from Laser cutting week 1 for my design.
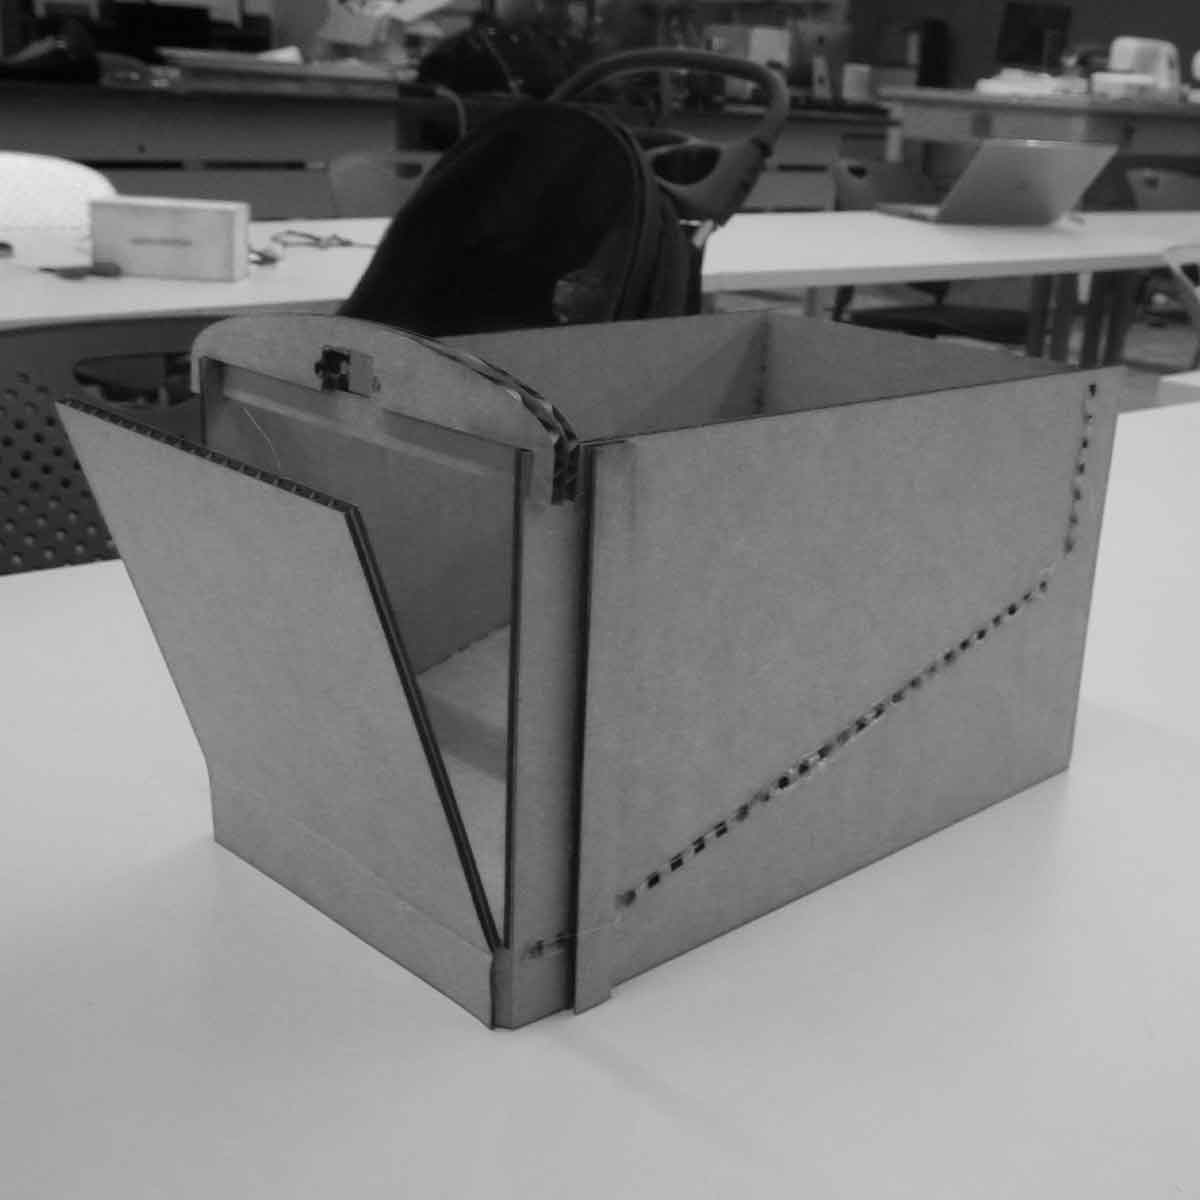
I laser cut the design and created it. Here you can see attempt 1. Main issues included door swing and not giving enough tolerance for the door to open as well as it opening at a wrong angle. I also needed more room for the servo as the fit was a bit too snug
I laser cut the design and created it. Here you can see attempt 1. Main issues included door swing.
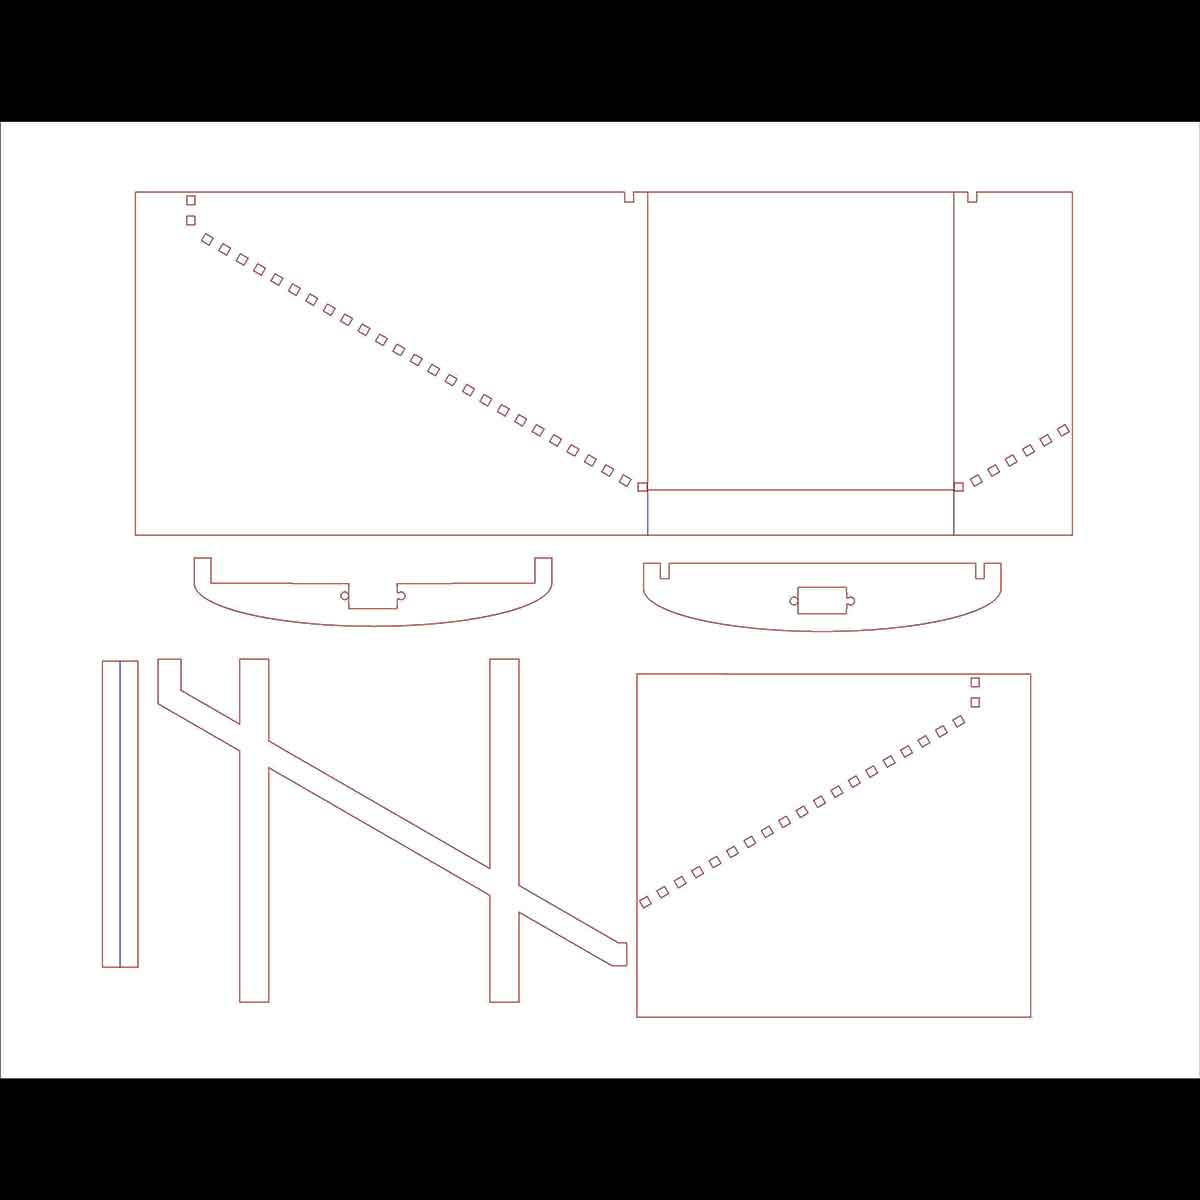
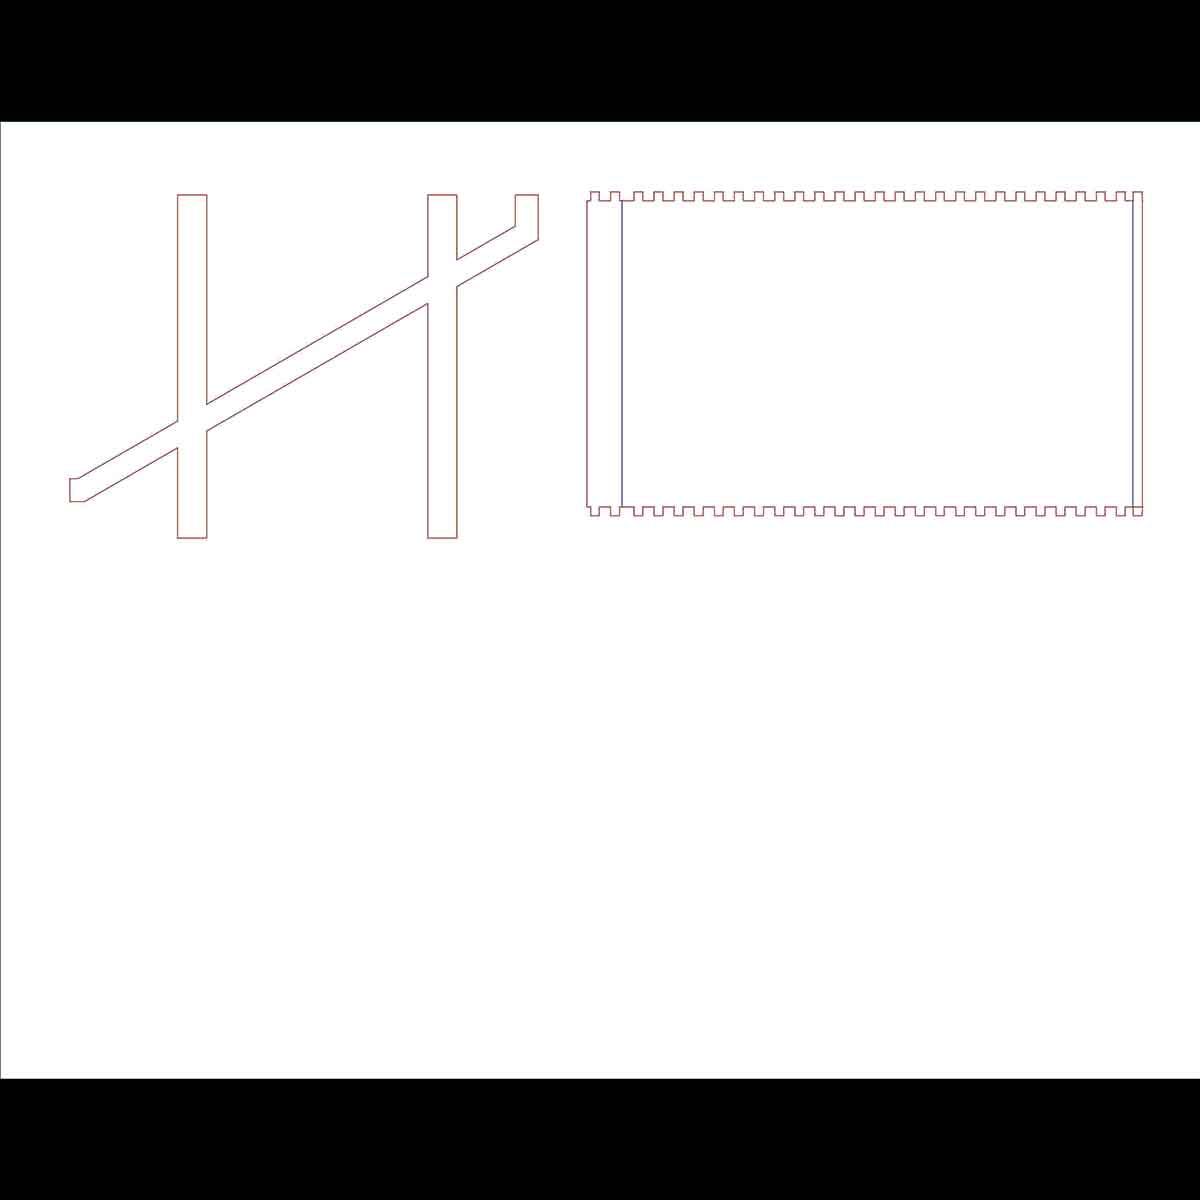
These are screenshots of the lasercut pdf files where the red (a bit faint in these screenshots) are cut lines and the blue are engrave lines.
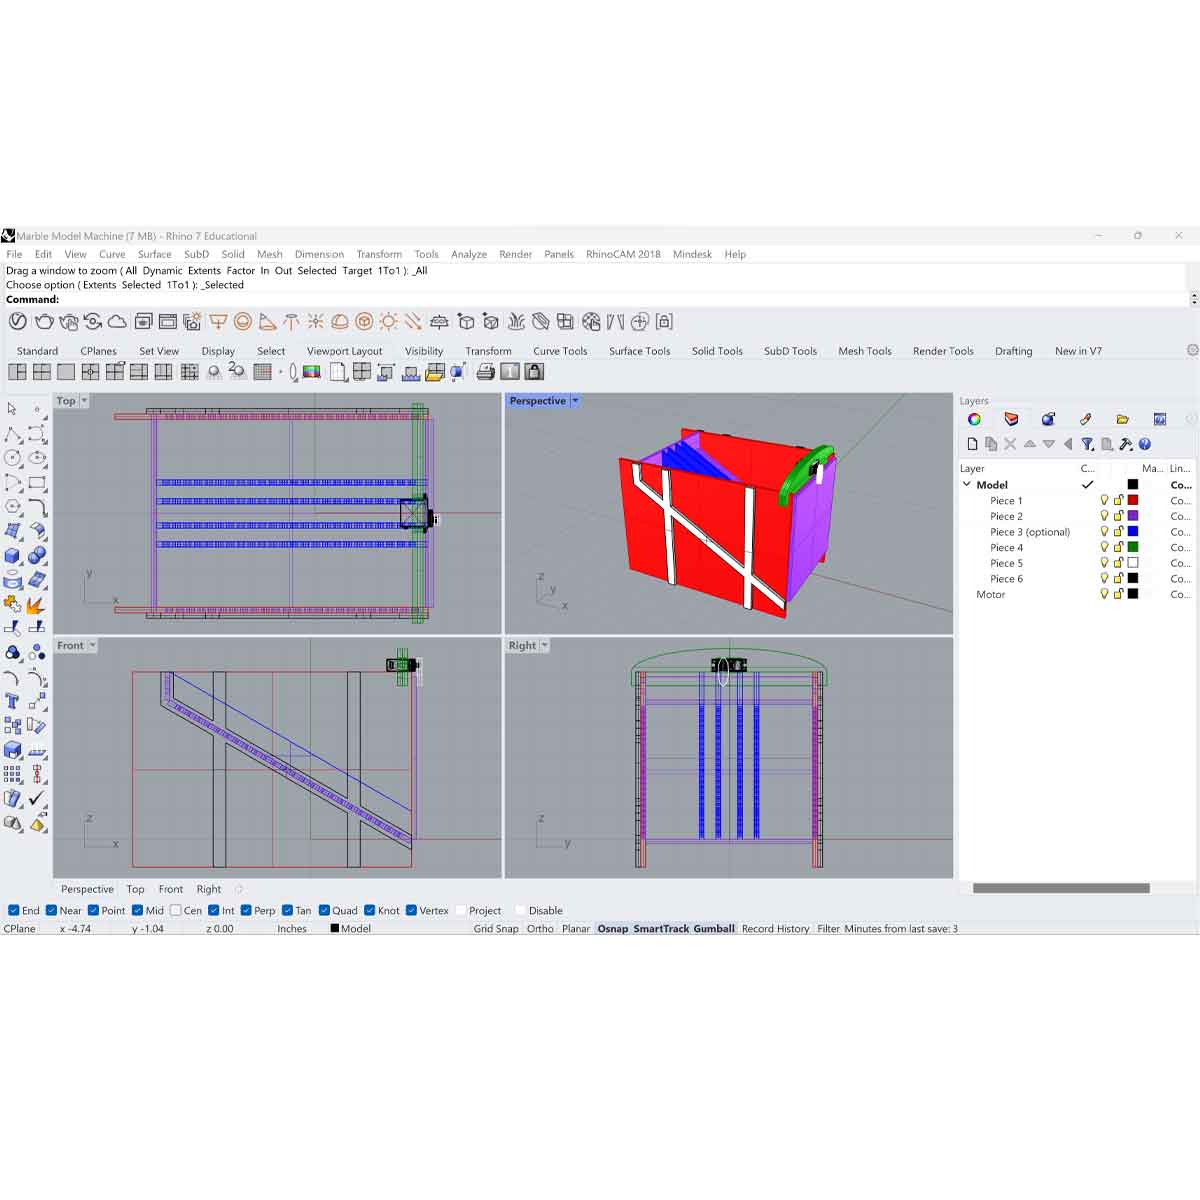

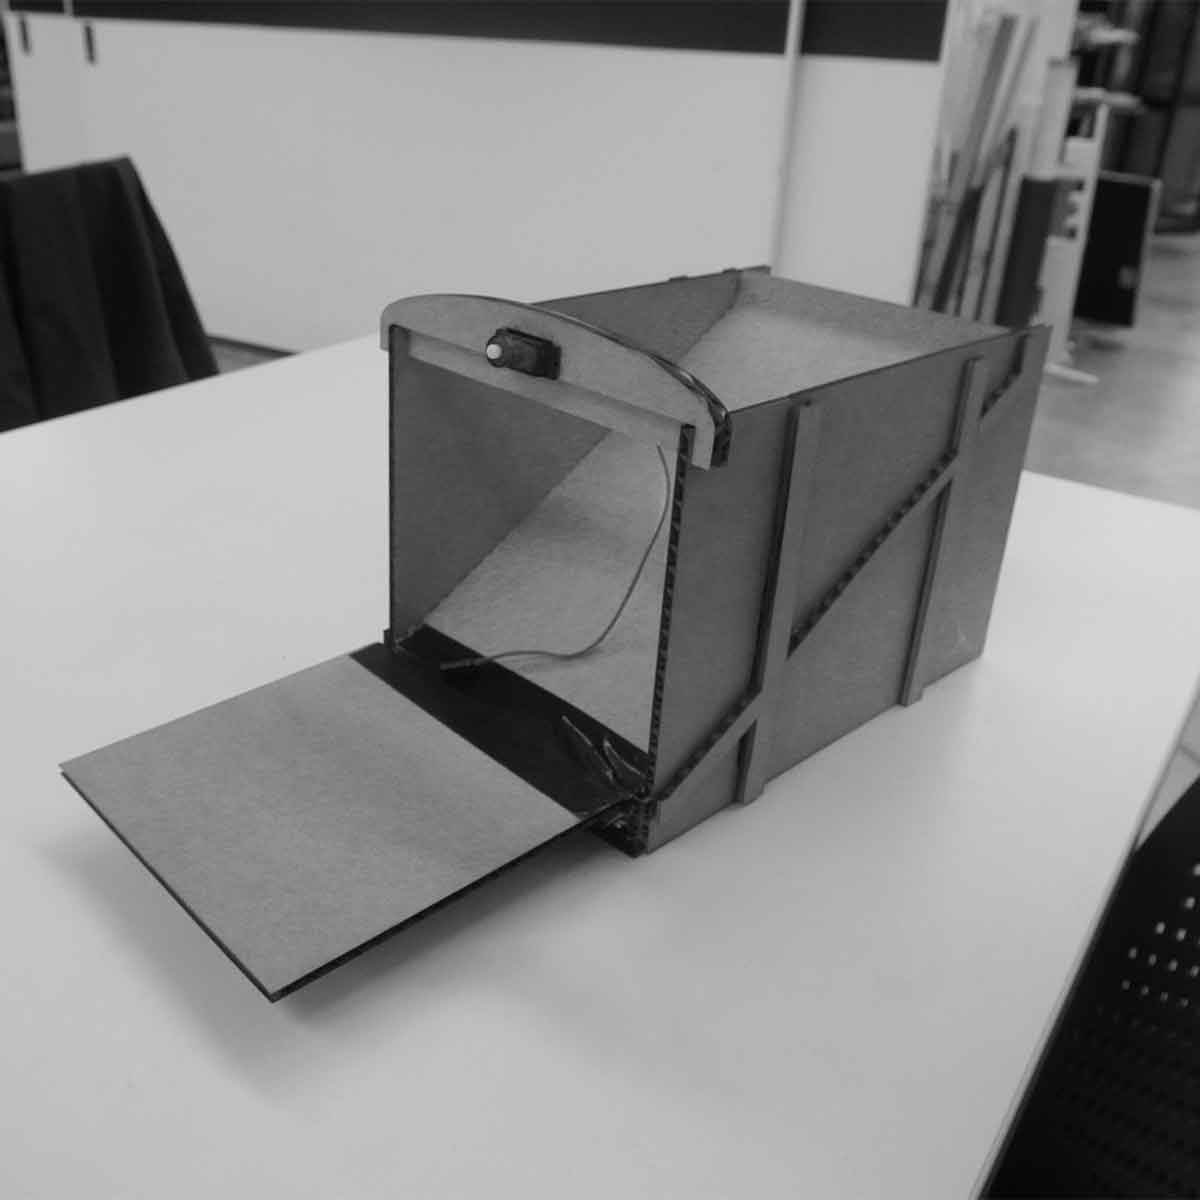
Model 3 was designed with these new ideas in mind. I thought of maybe adding a weight to it, but realized the cardboard does not like being folded so if I re-engineered the design for the open position being the unfolded position and the closed position being folded (as the servo would add the pressure to hold it in place) I could have the door open. I also added removable guides that allowed for a lesser amount of marbles to still take advantage of the ramp. Rather than having them line the bottom of the ramp, they could stack up to the top.
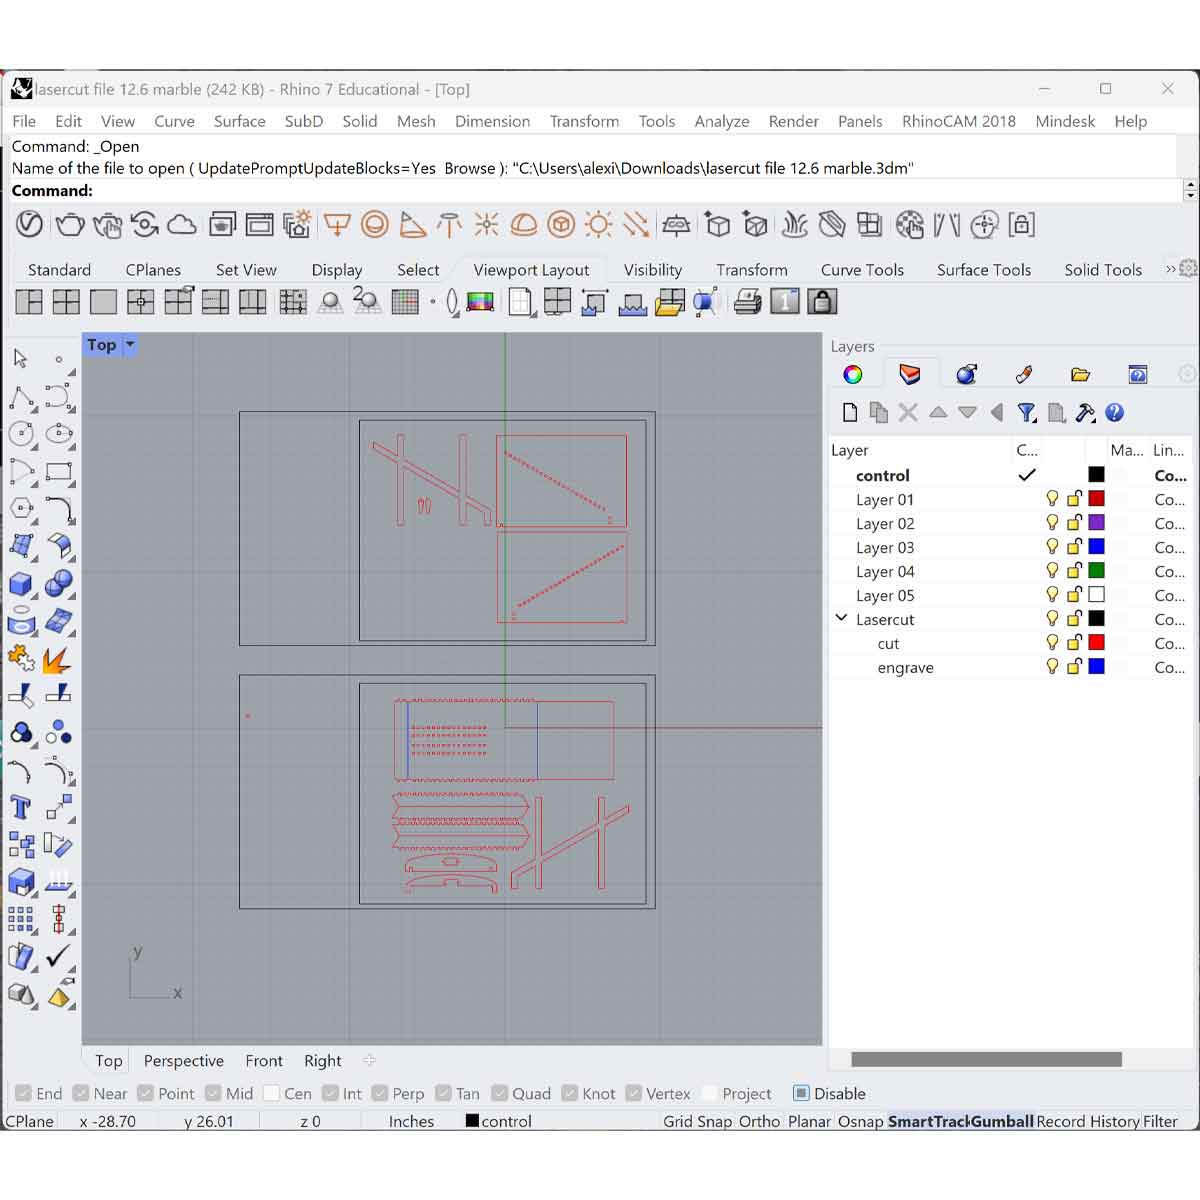
The laser cutter in the Science Center was down and I didn't have shop access at the GSD yet so I sent Tiali to lasercut my file. Those laser cutters have access to rhino so I sent the file in rhino and cut some cardboard for Tiali and he thankfully saved the day by getting them cut.
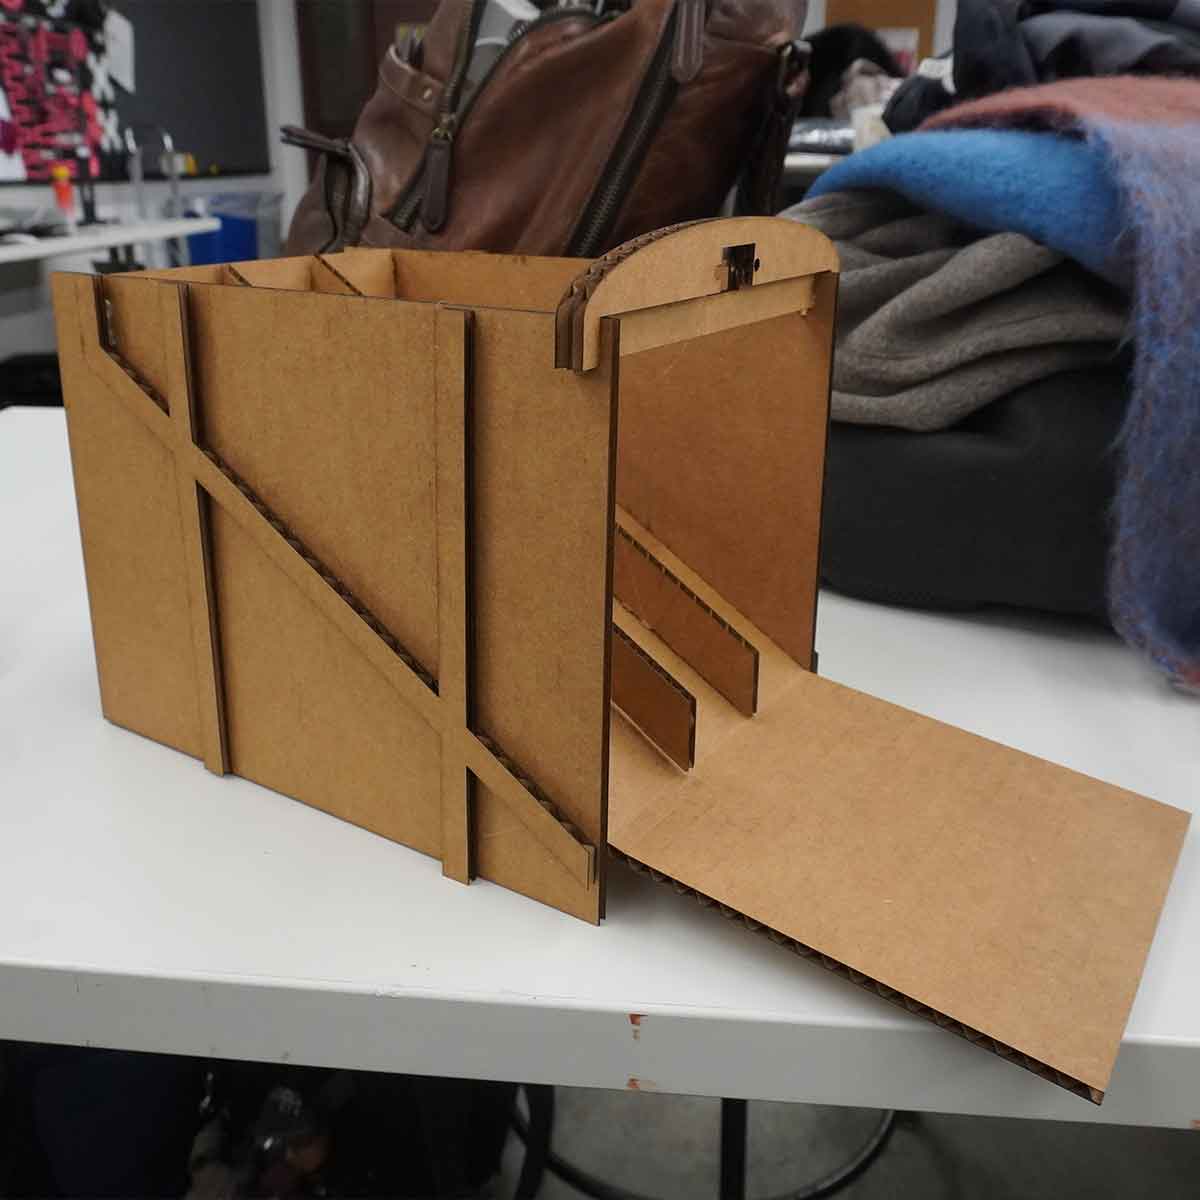

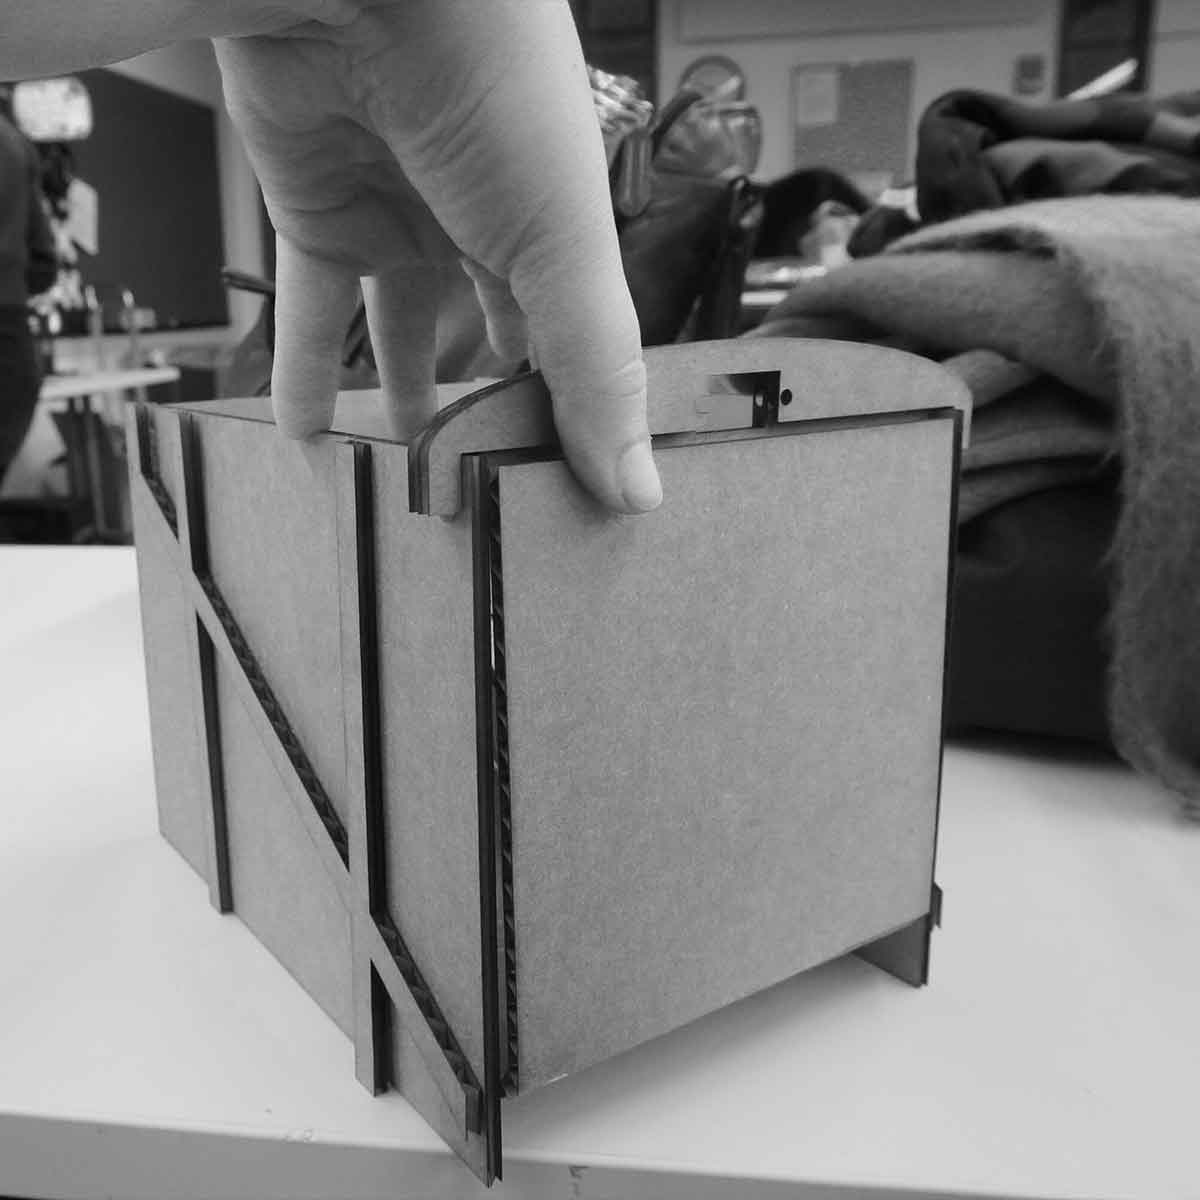
Here are some model photos. The cut objects were missing certain lines from the files and the engraving lines needed more depth so with a handy olfa knife and a hot glue gun I pieced it together. It was easy to assemble with the minor corrections.
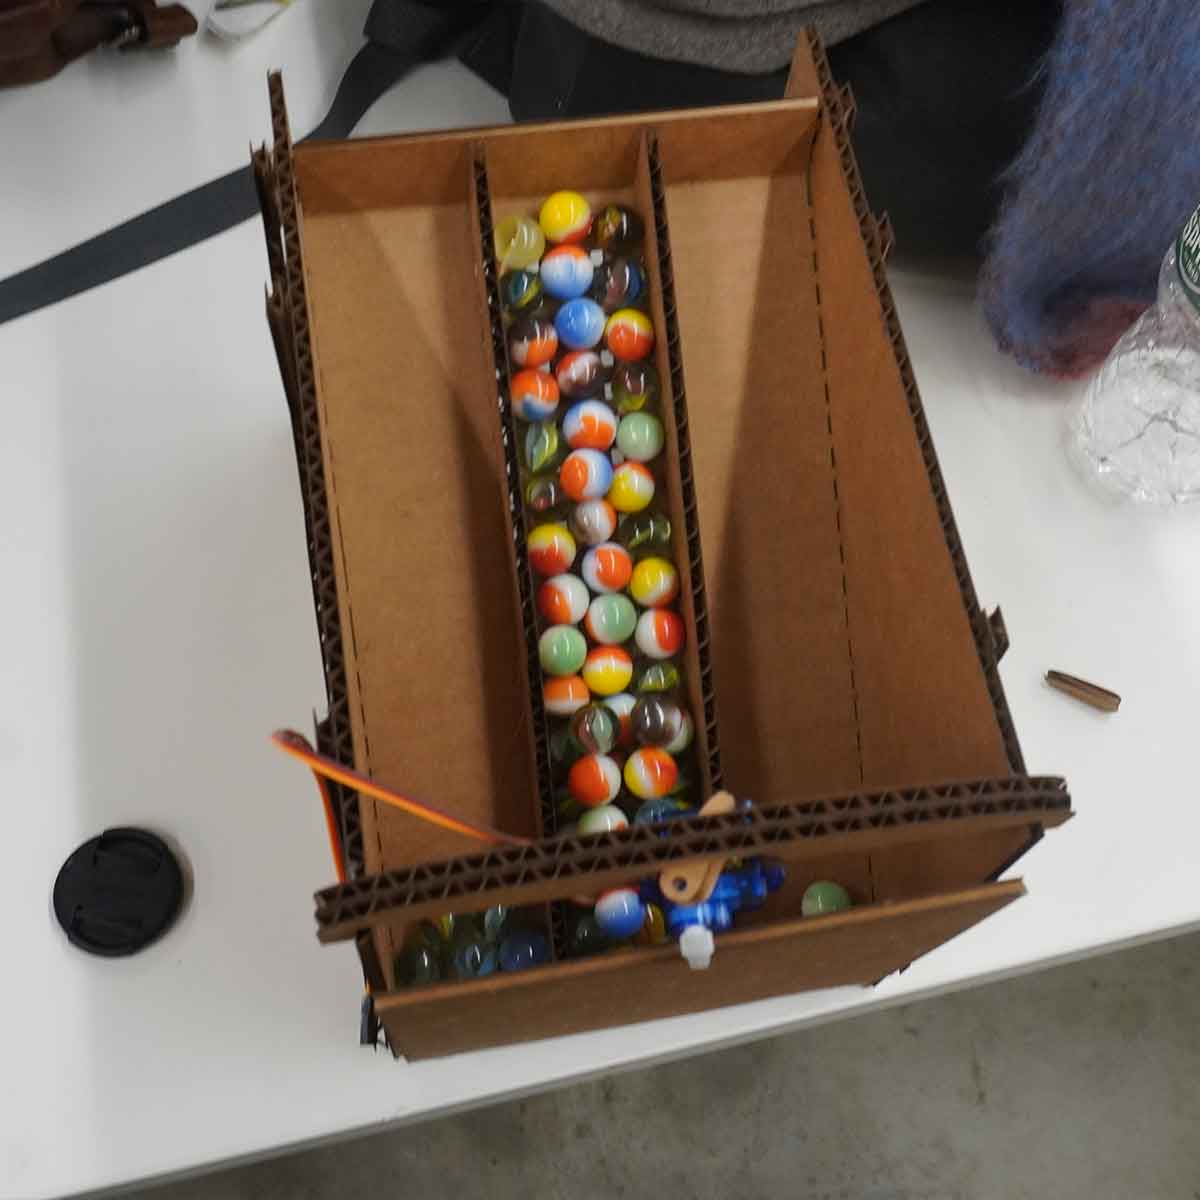
We then filled it with marbles. This shows the intention behind the guards.
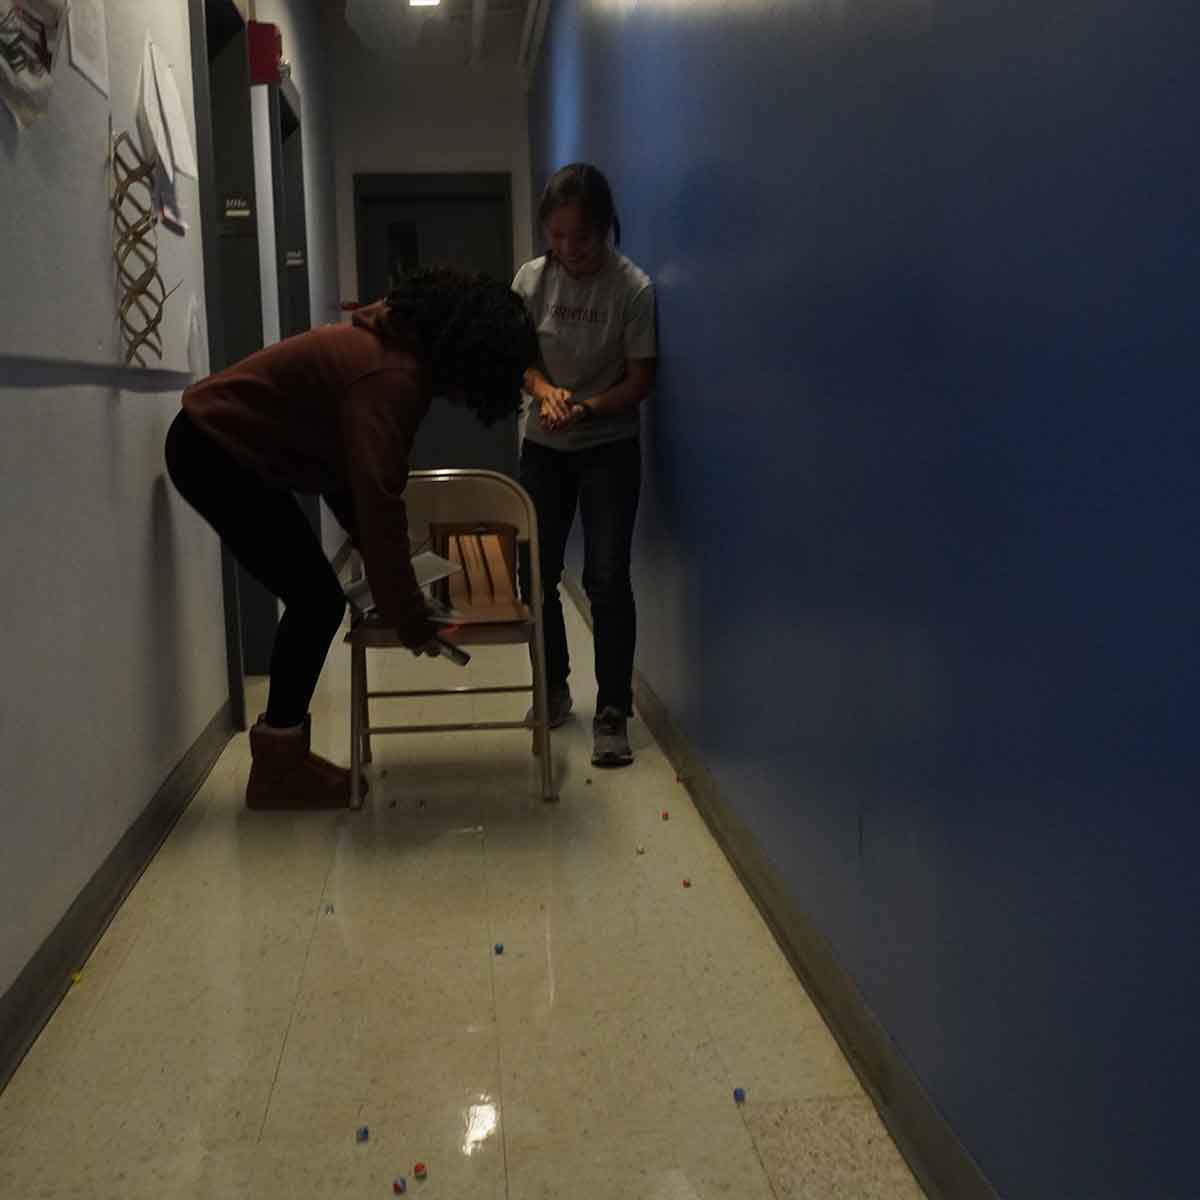
Jessica, Kia, and I went to a neighbouring hallway that we could barricade (to avoid marbles sliding under the doors) and tested several times, using a breadboard and button Jessica connected to the servo.
The video of testing (including Jessica's very real fall) can be found here
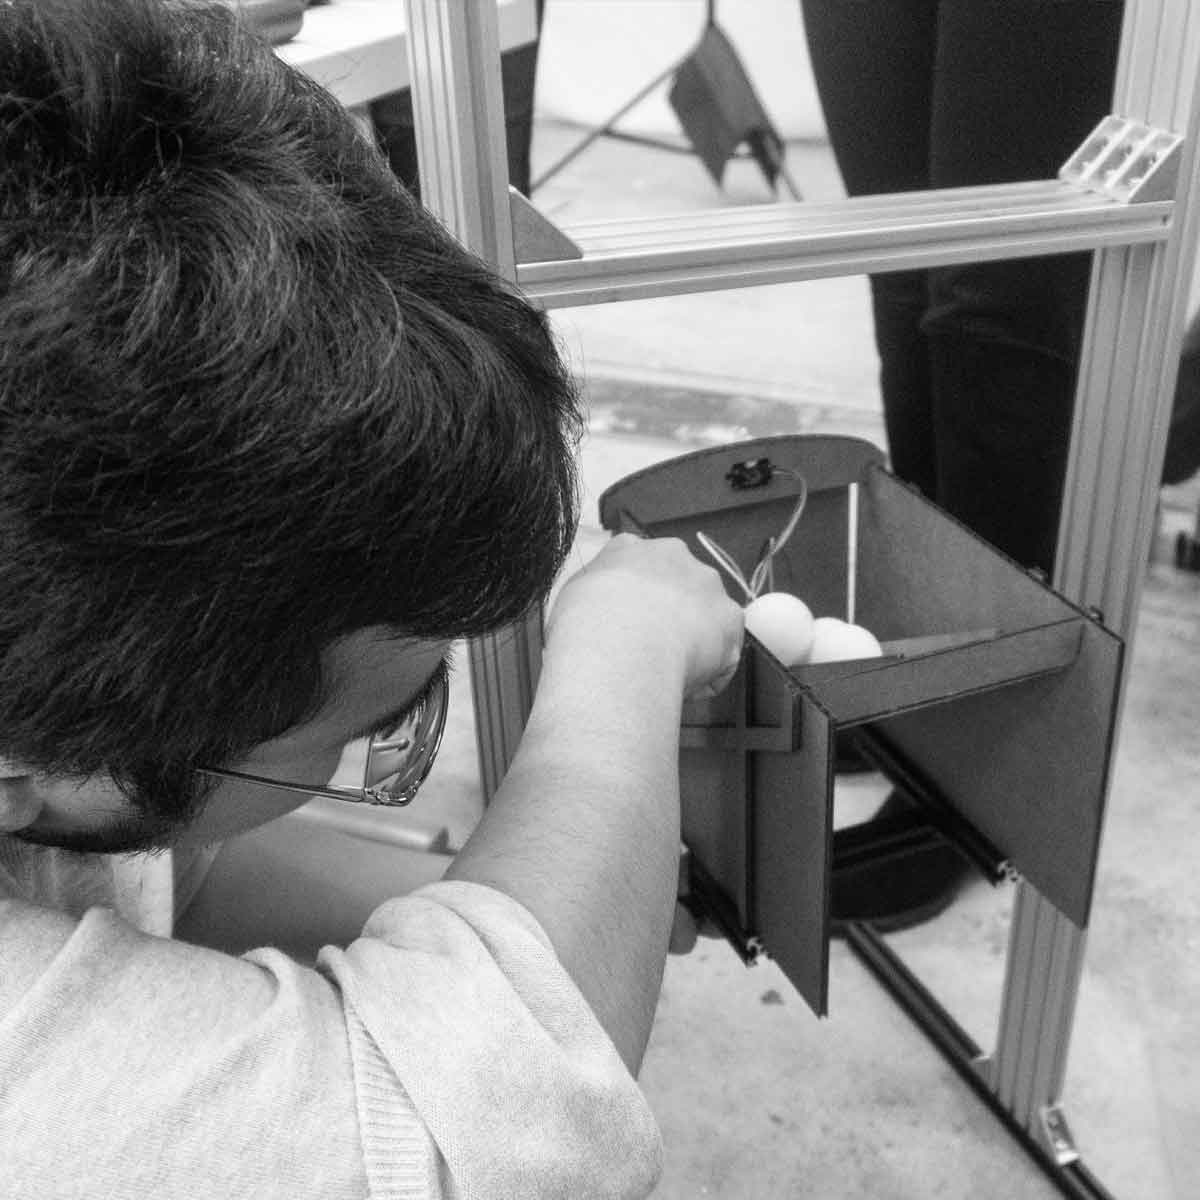
After our rigorous testing Tiali helped me set up the model on the machine. I cut the aluminum with a handsaw and we screwed in the brackets together to make a slotting mechanism he suggested
As for my video, I hope you enjoy it as much as I did. Its missing a few things but since the machine wasn't running till 4:00 am the night before and me and a few others stayed behind for some cleanup, I had to throw it together as quick as possible.
I played to my strengths this week and chose to contribute via documentation (recording/editing the video and taking photos) and designing the physical housing for the marble model.
The being the videographer means I'm not in a lot of the documentation because I was behind the camera, but I was excited to put my photography experience into use.
As for the marble housing mechanism, I spent the past week starting Thursday designing it. We had a new laser cutter in the lab so I luckily had the opportunity to use it. I designed the housing out of cardboard on rhino. We had the material in abundance and already knew parameters for conection details in week one. I tried to limit the assembly process to as few parts as possible, trying to limit glued connections. I laughed with my teammates about how you can clearly tell the marble machine was designed by an architecture student. To make the process as simple and easy as possible I decided to use one servo to open the door, simply unlatching it. Jessica took on the task of programming servo movement. through my models I tested angles, door opening connections and even the size for the servo (at first I didn't account for the wire that needed to go through). Ultimatley I ended up with a cool and functional design. Jessica, Kia and I went and tested it in a hallway, having fun making a mess.
If you would like to recreate this project, maybe filling it with marbles, spiders, or any other prank items, feel free to use my files.
You can access them at Alexia's Public HTMAA Archive Week 12
.
.
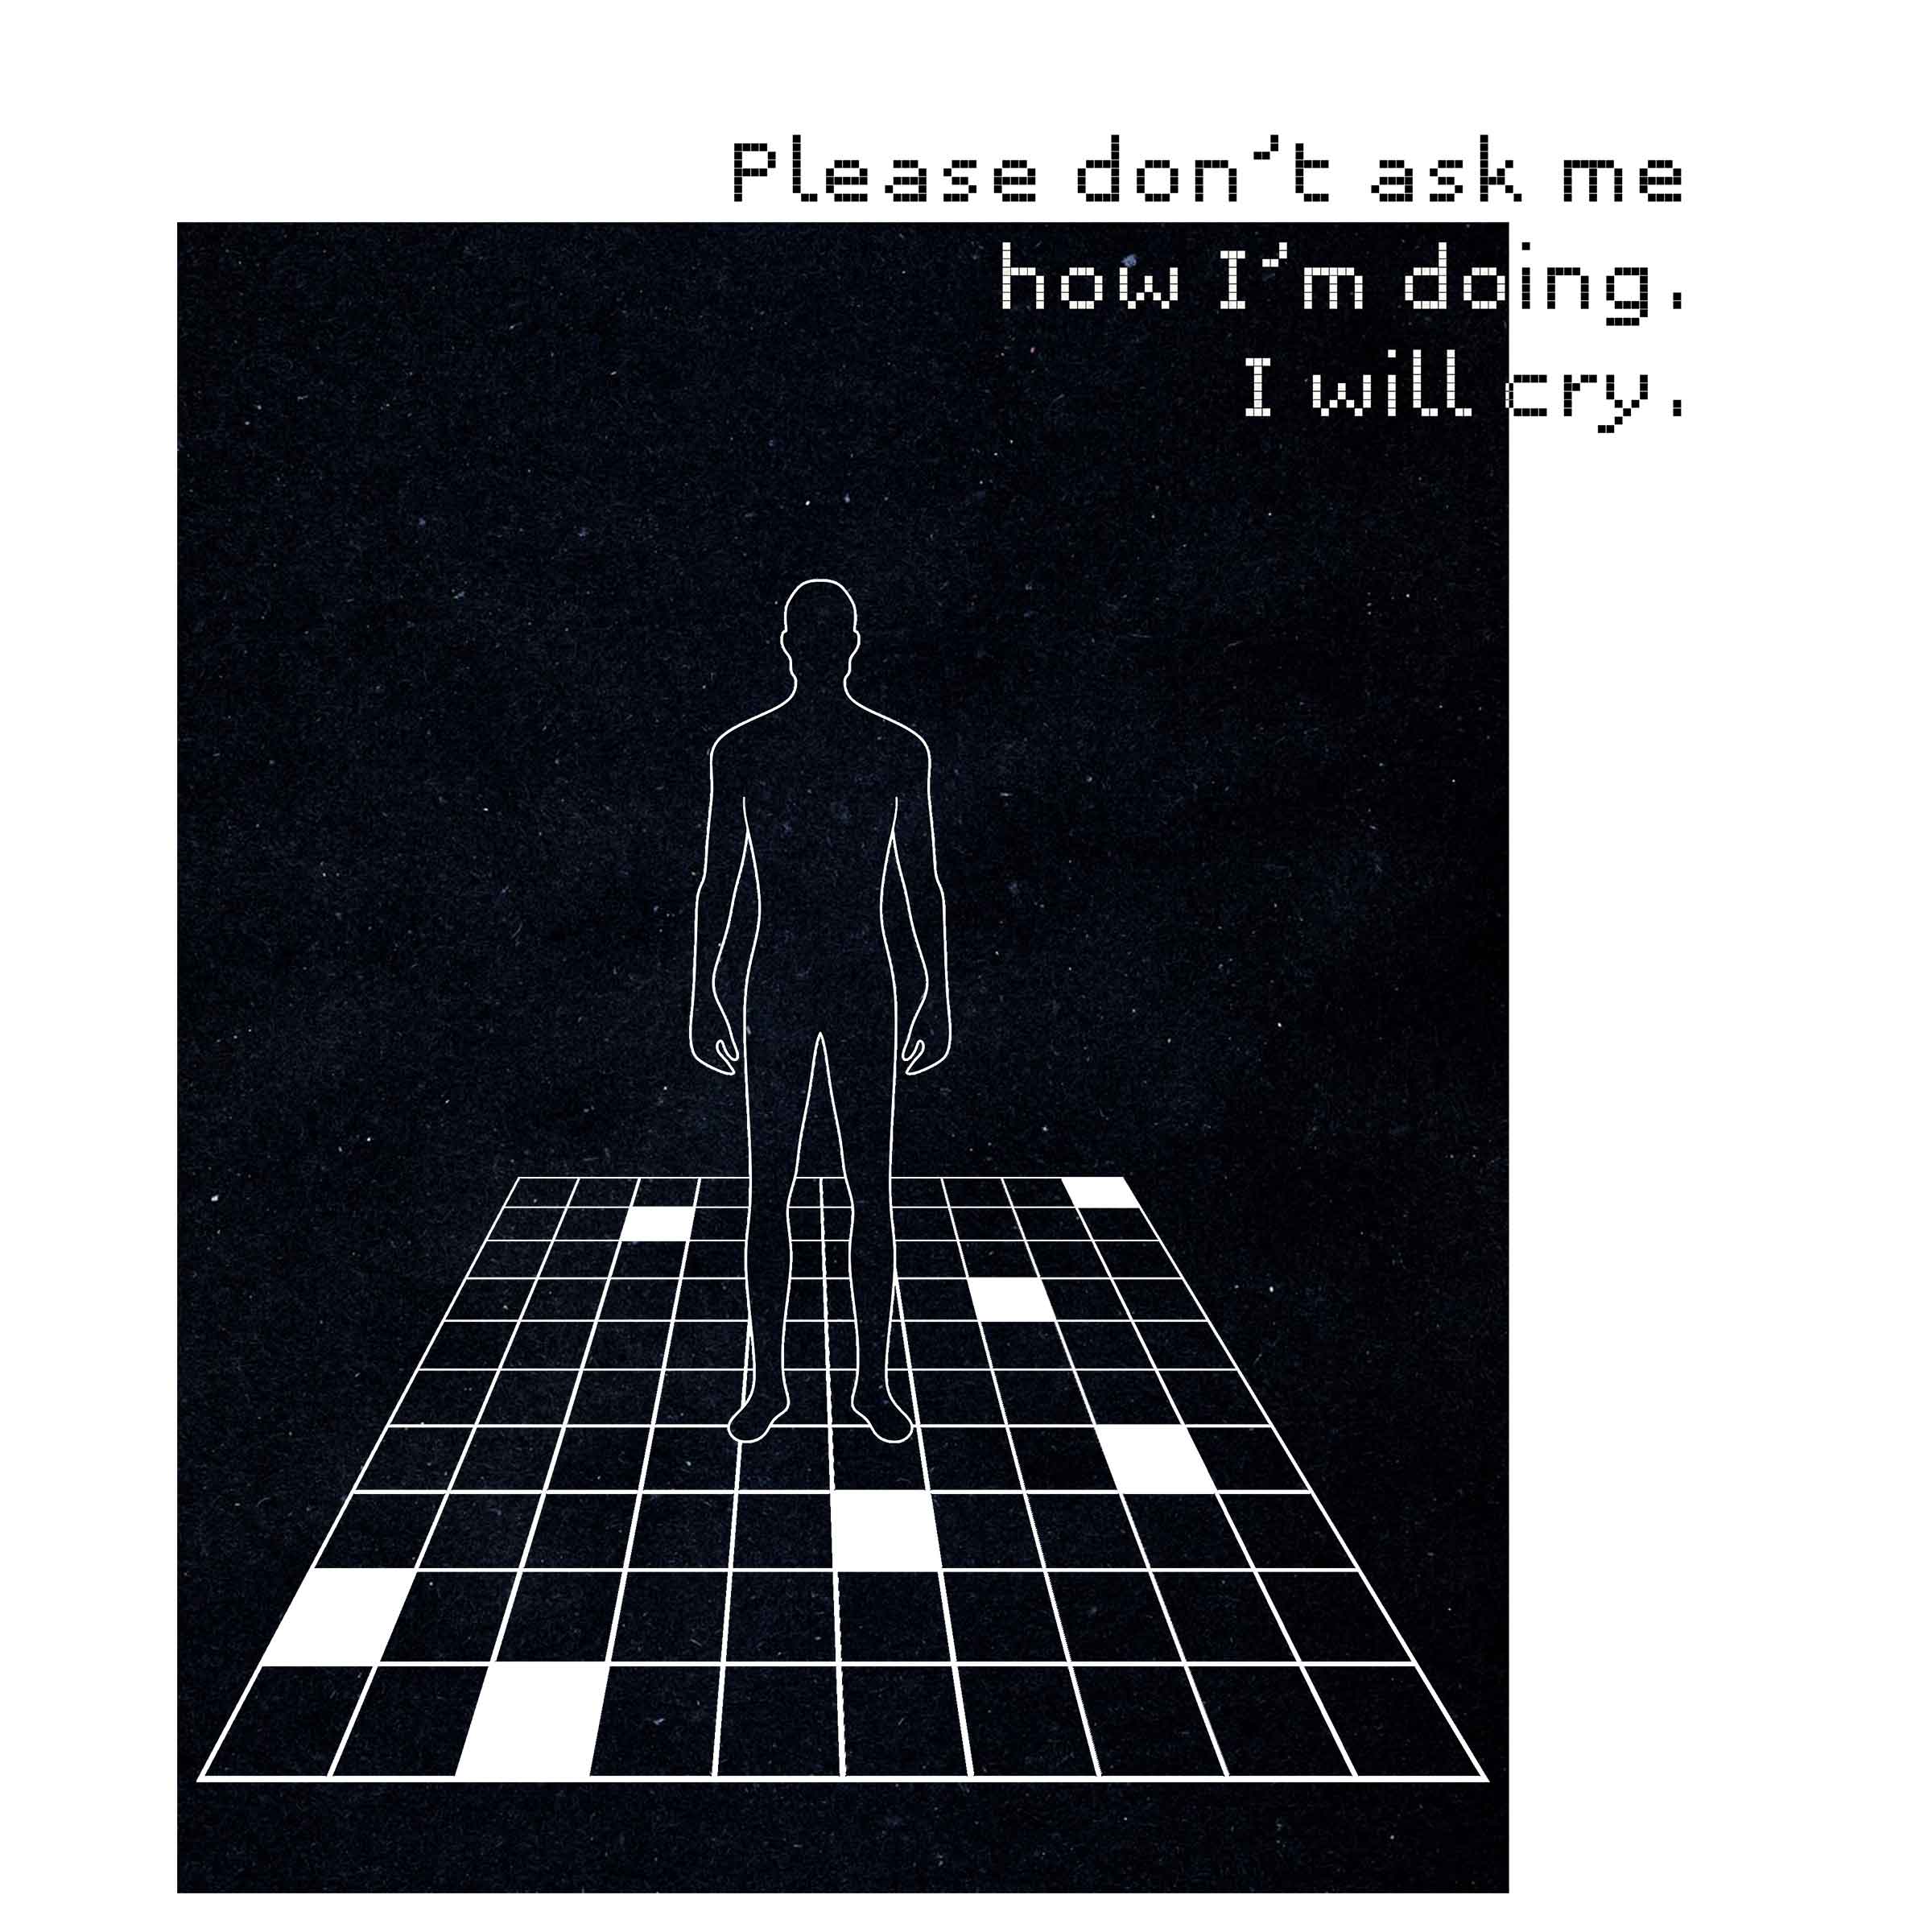
As I mentioned, This week was A LOT. We really have a sense of community between students in the Harvard cohort so people were constantly asking me how I was doing... Normally I respond with a "okay" or "been better days" but at one point I cried from the sheer amount of stress and sleep deprivation. It caught everyone off guard that that one question could trigger my bawling. As I backed away I laughed and said I would be back tomorrow with a note card that said "Please don't ask me how I'm doing. I will cry."
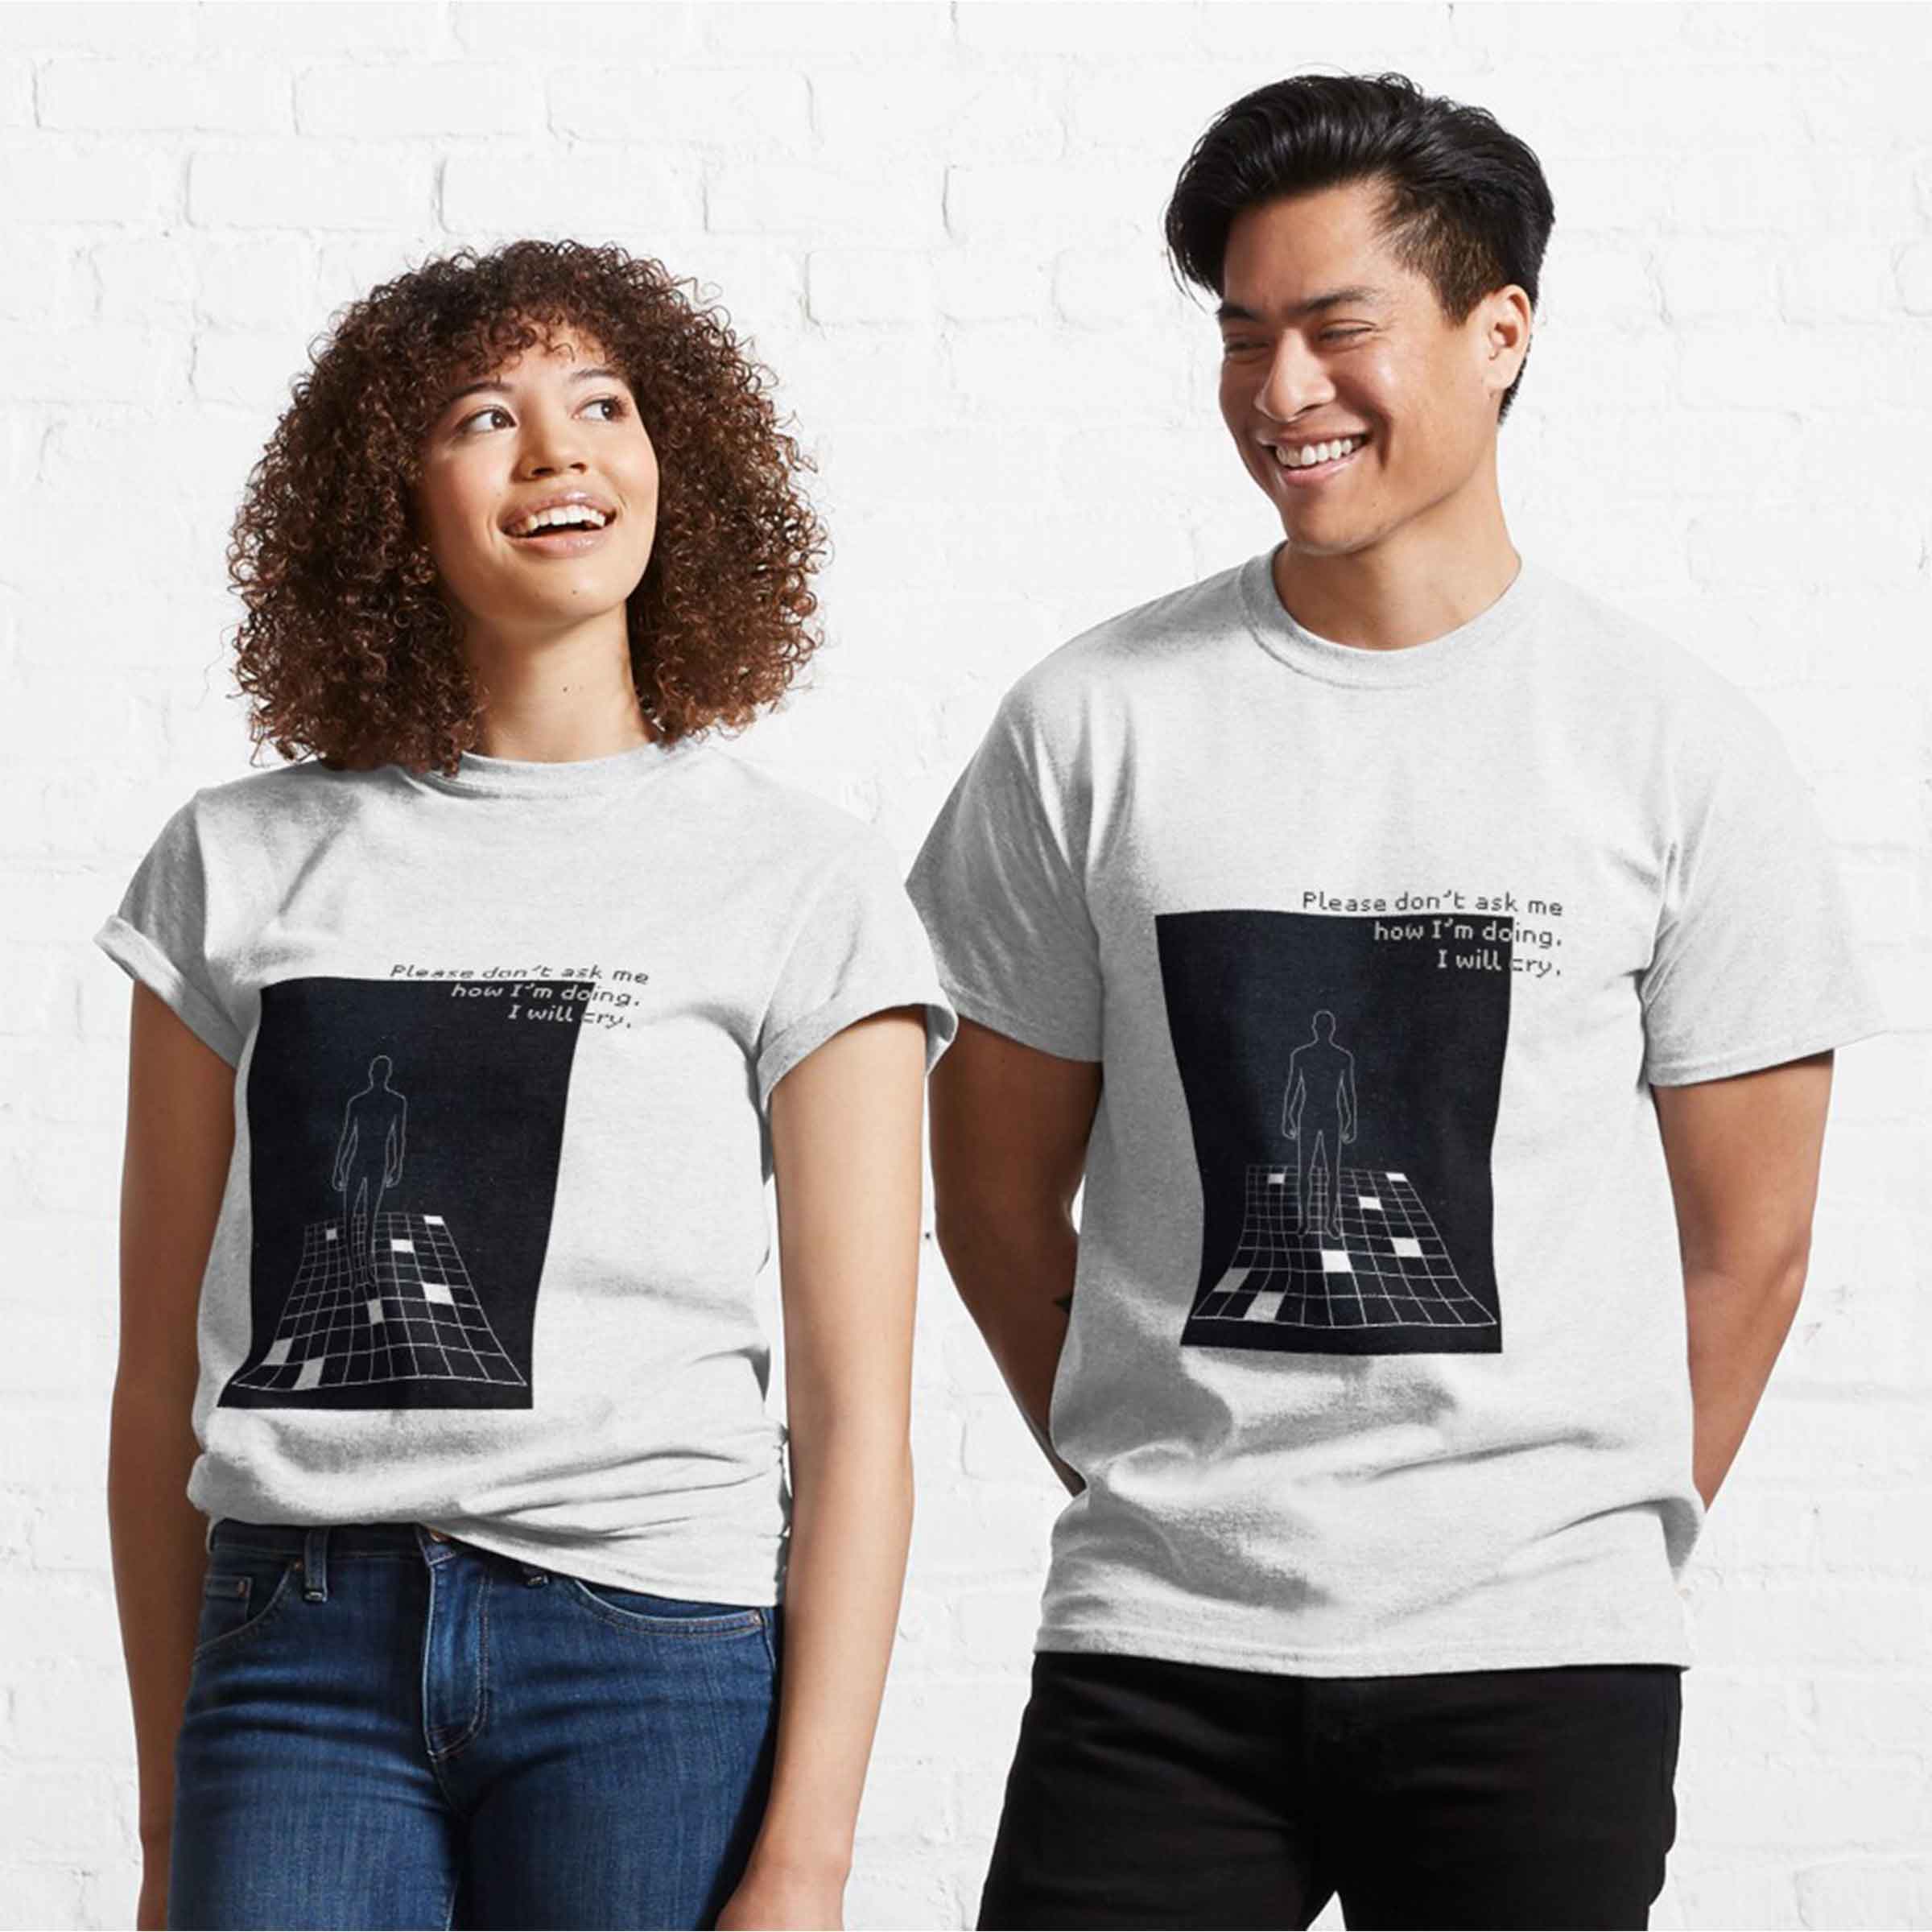
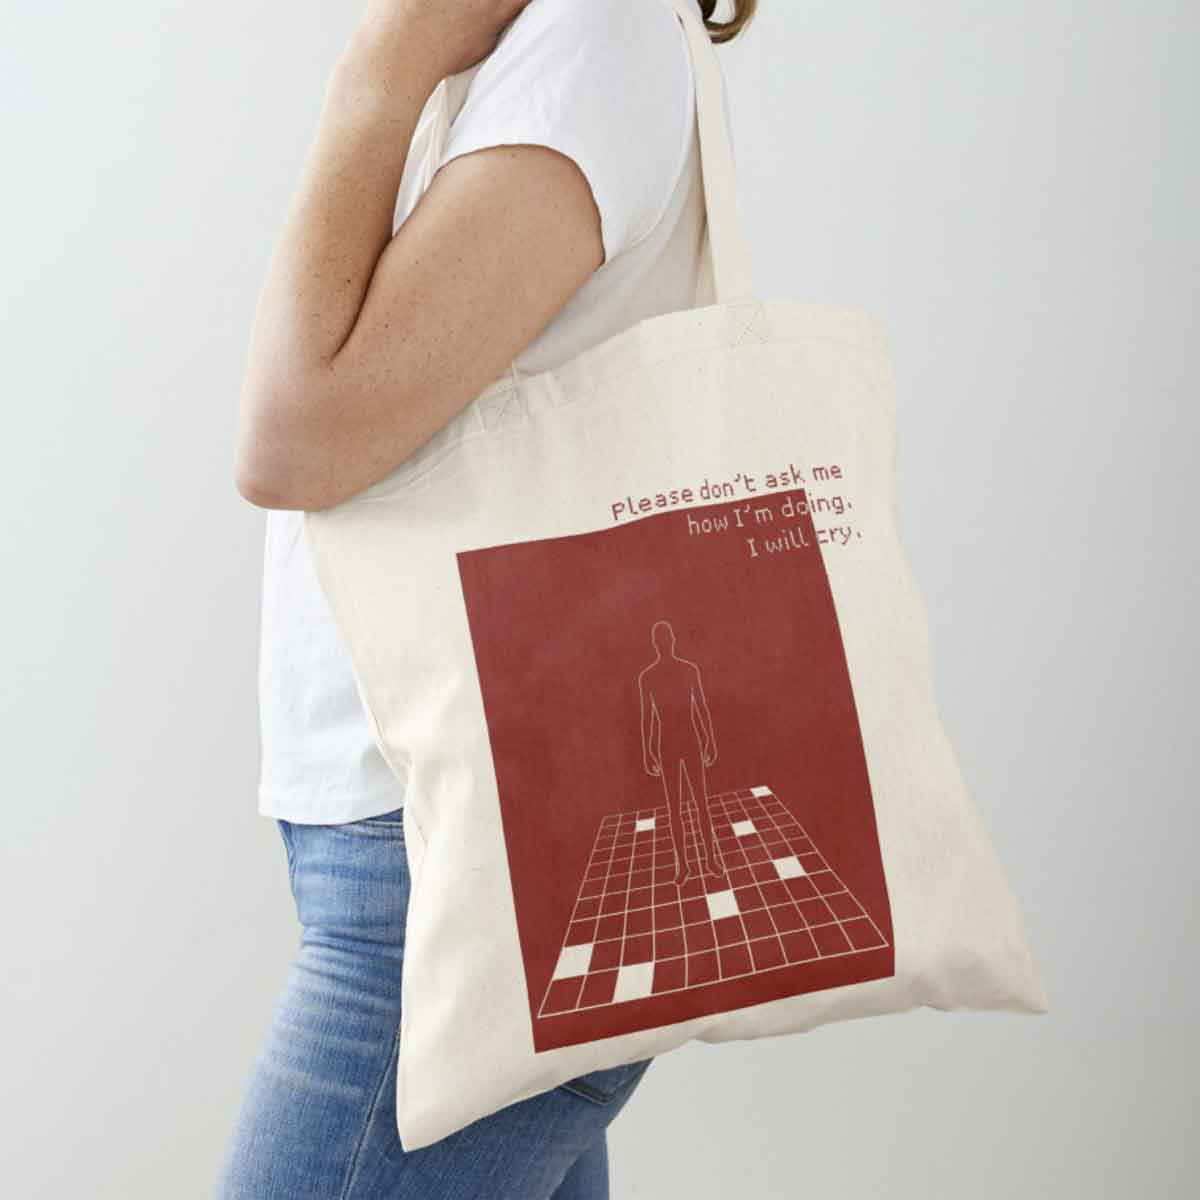
I made this design and threw it on my redbubble if anyone shares the same sentiment and would like it displayed on a totebag, sticker or t-shirt.
If you'd like to shop
click here for the tshirt
or click here for the totebag