This website is for the course How to Make (Almost) Anything (Fall 2022)
Contact Me
You can reach me at
alexiaasgari@gsd.harvard.edu
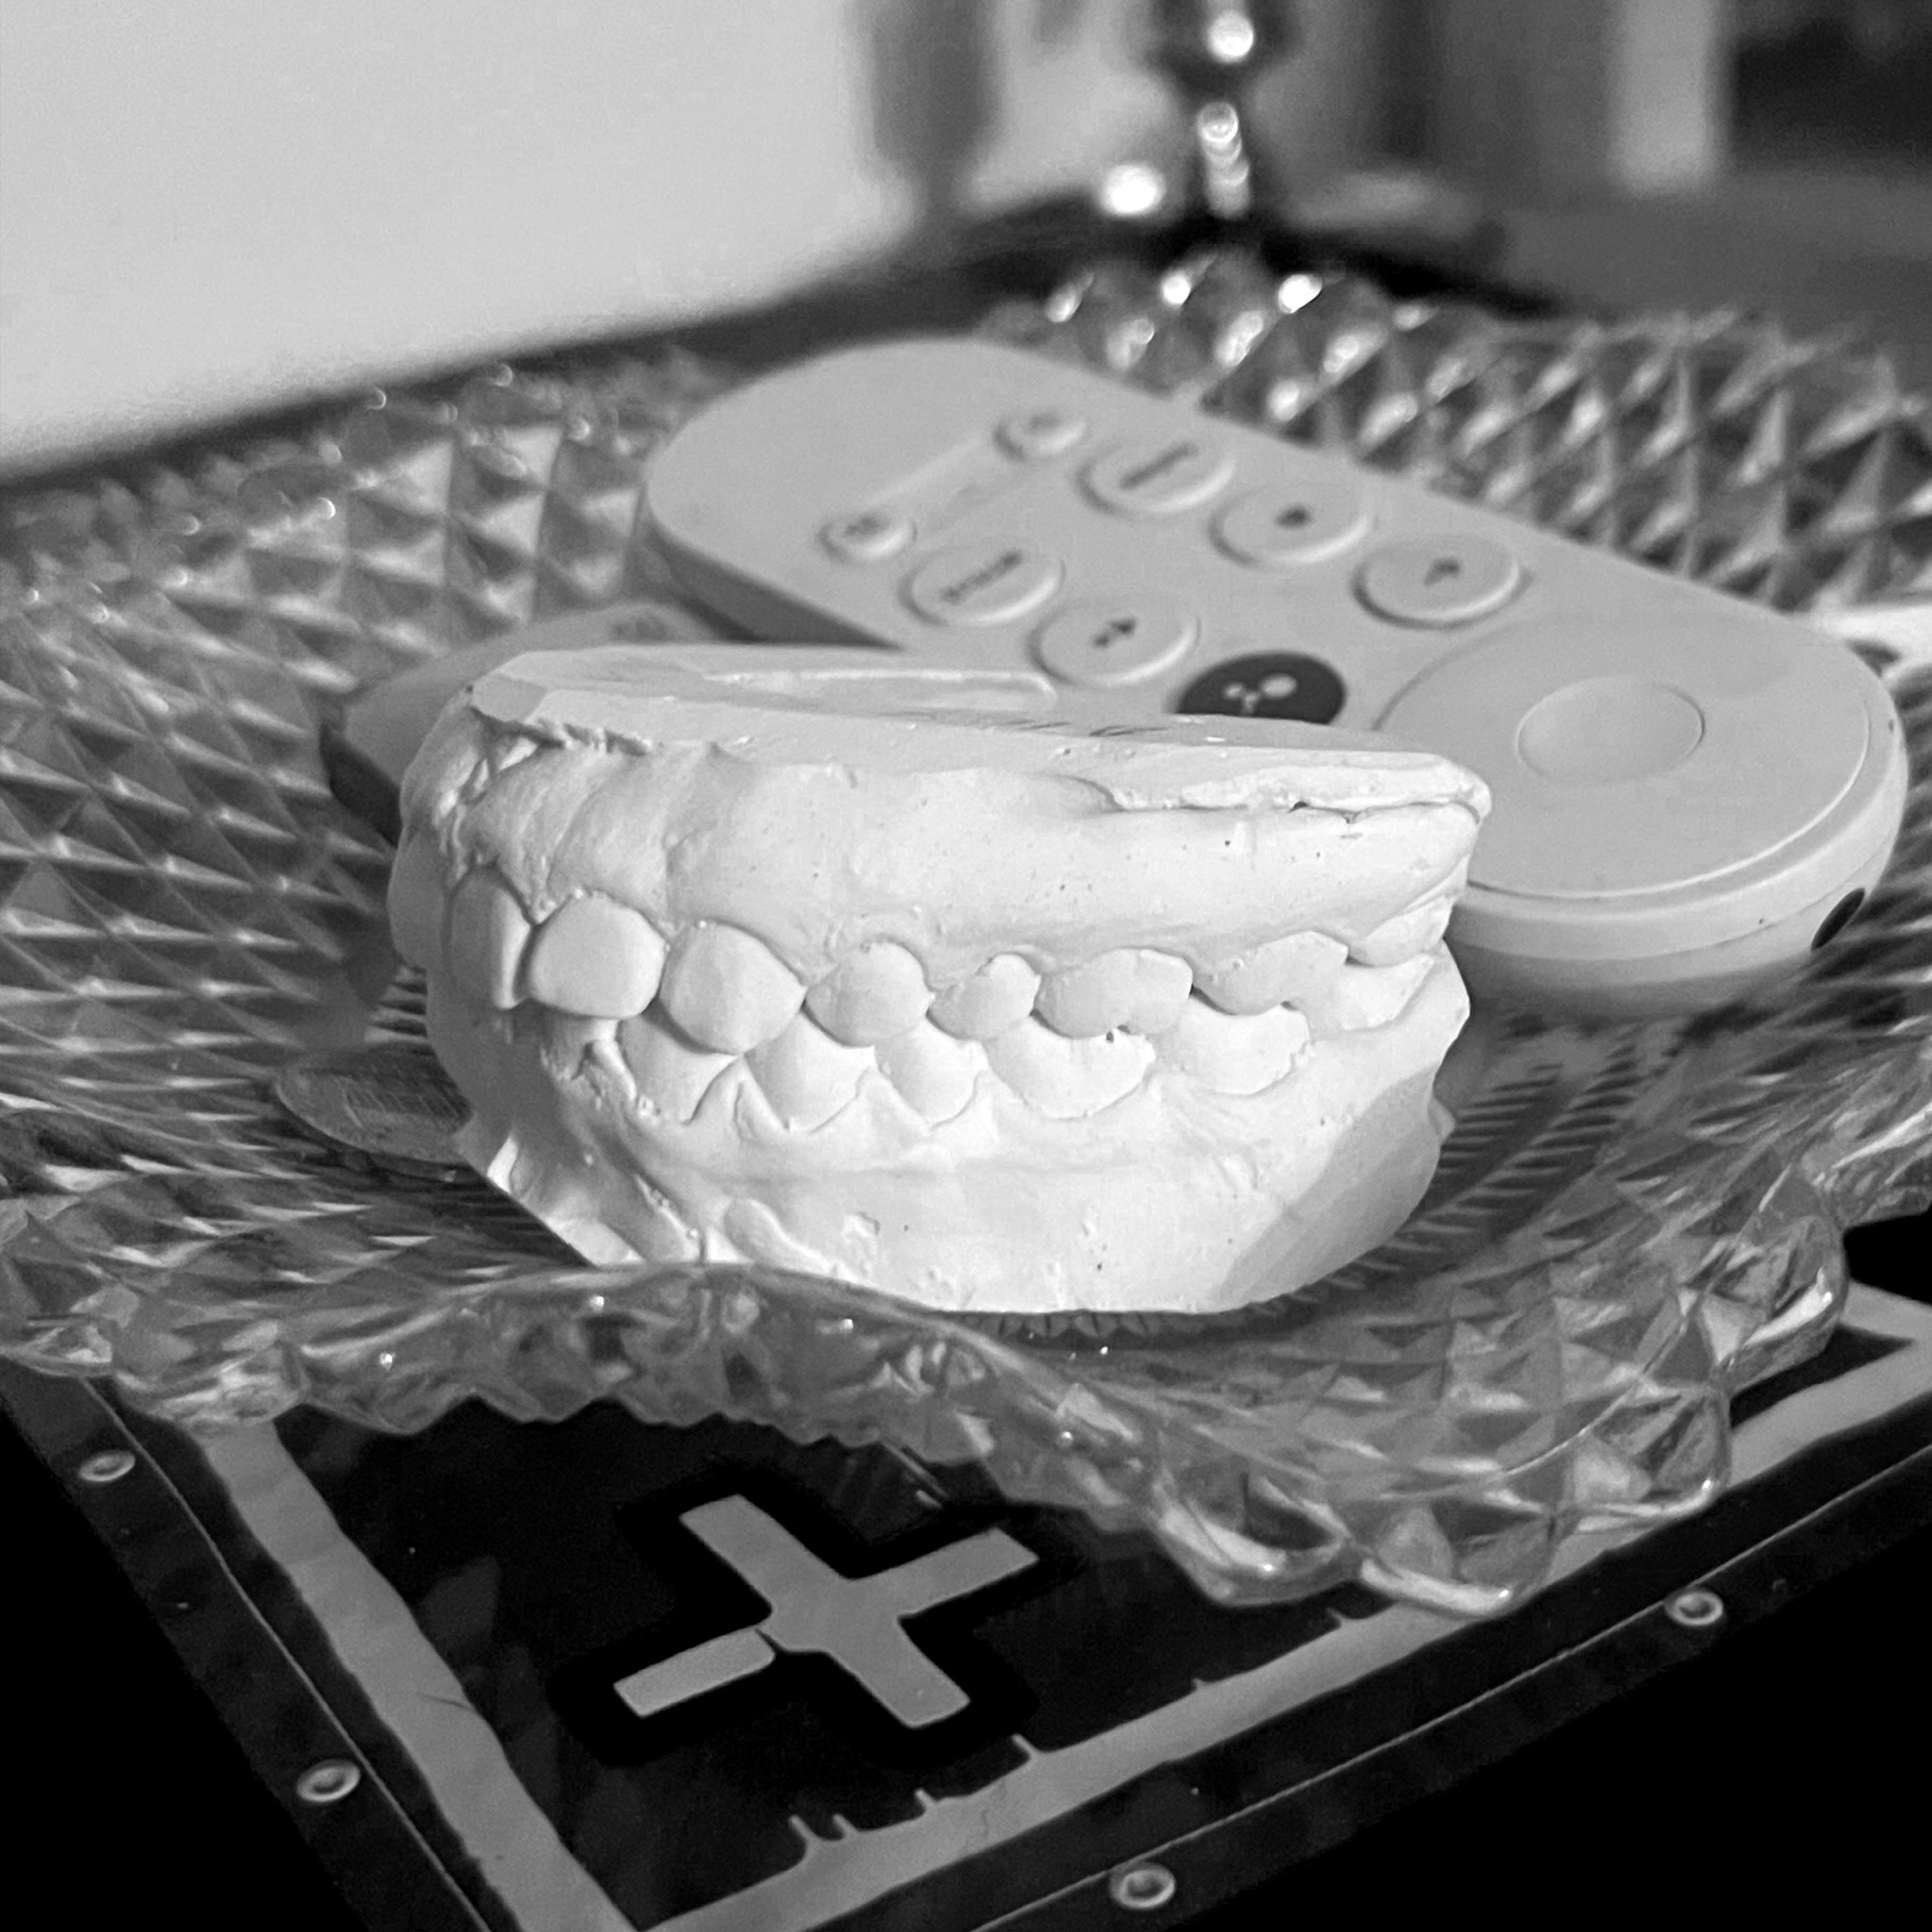
My aunt who is a dentist allowed me to keep this plaster replication of my teeth.
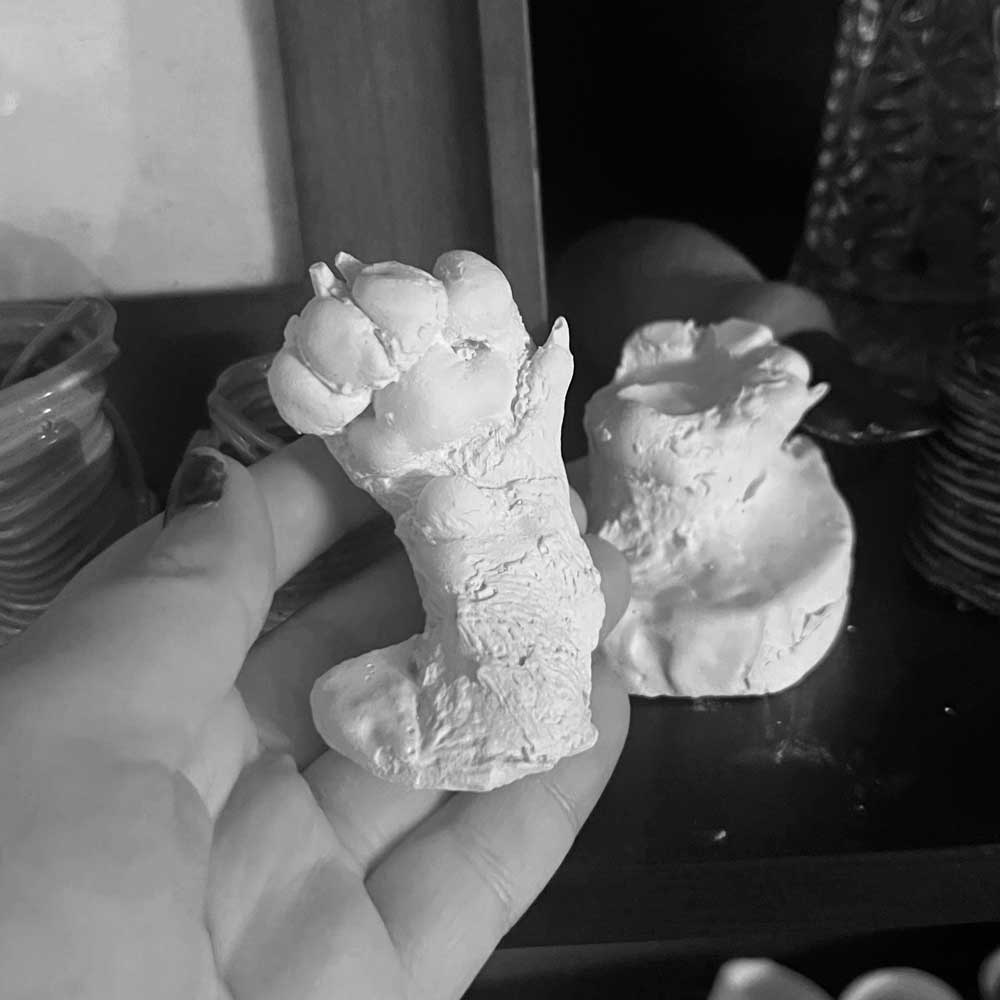
This summer I made molds of my puppy's paws to compare over time. He was 6 lbs and now he's 11 lb.

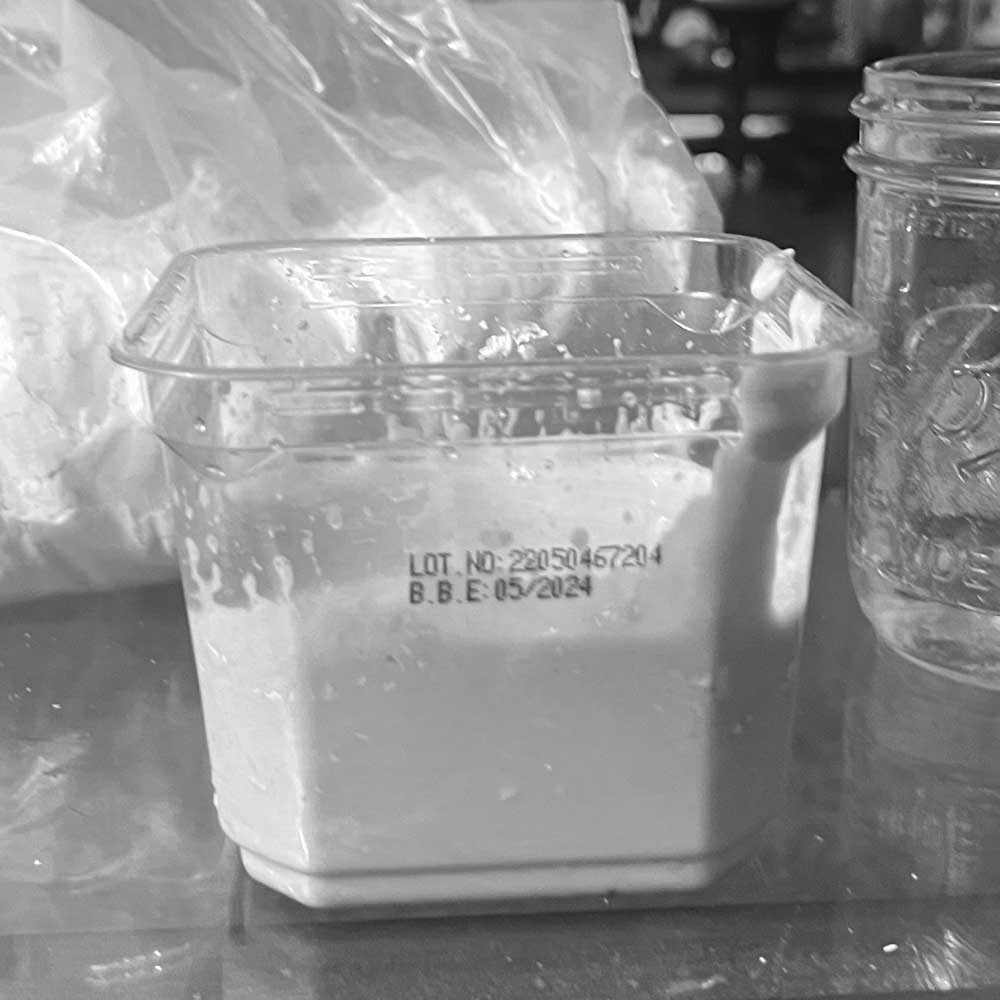
Here the alginate is mixed
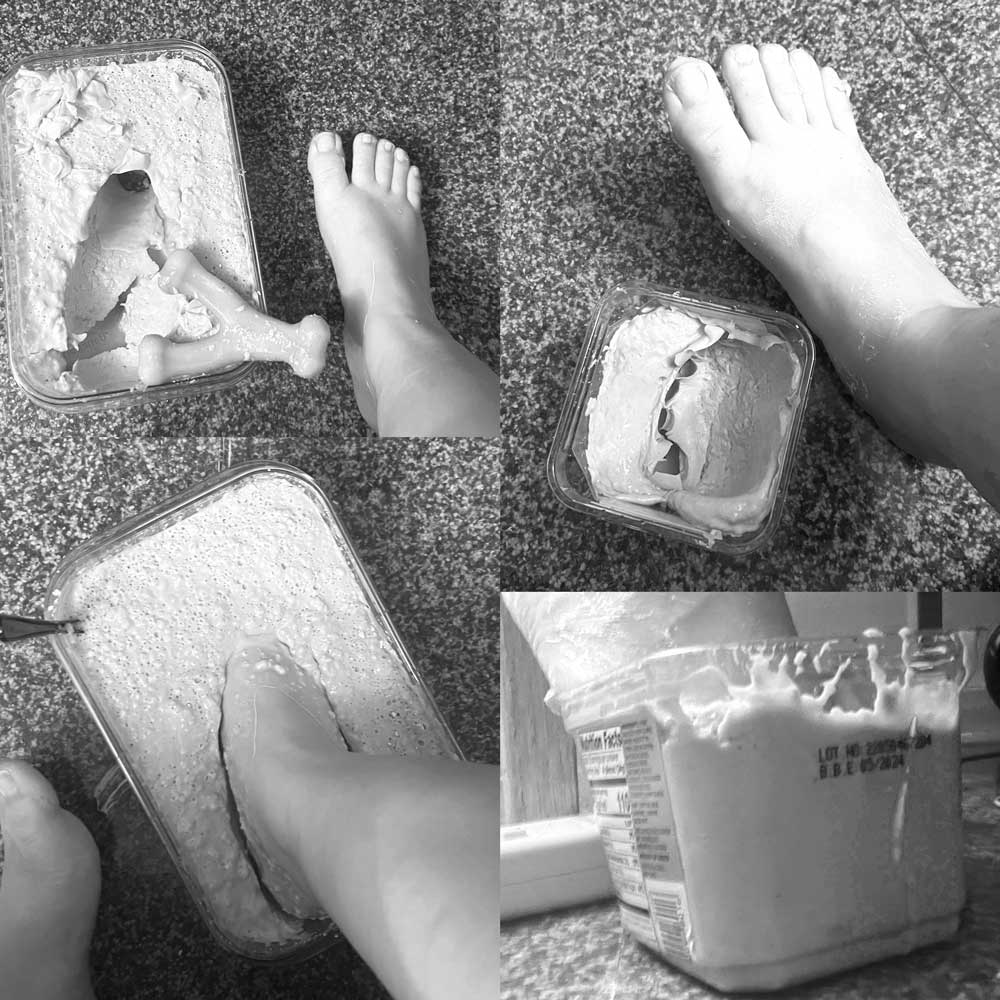
I put my toes in a variety of positions, trying my best to keep them still for the 5 minutes it took to cure.
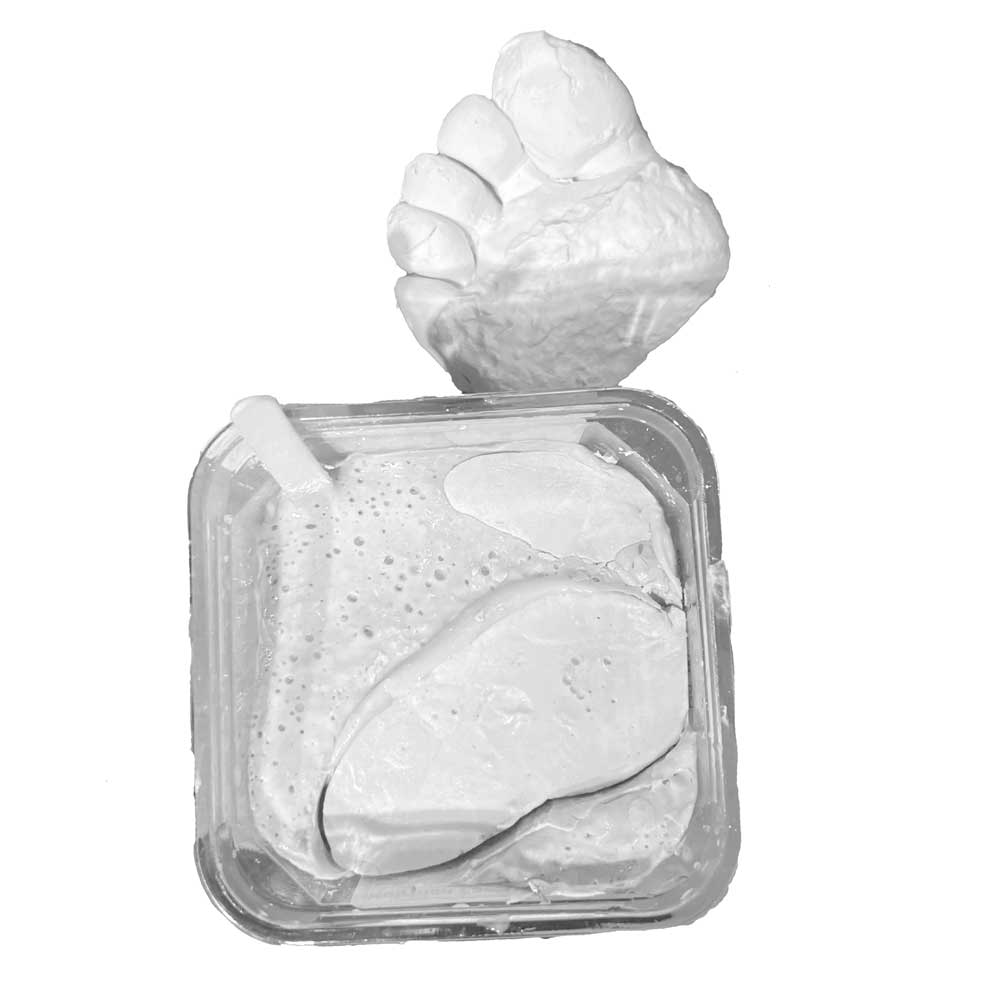
I poured plaster in the mold.
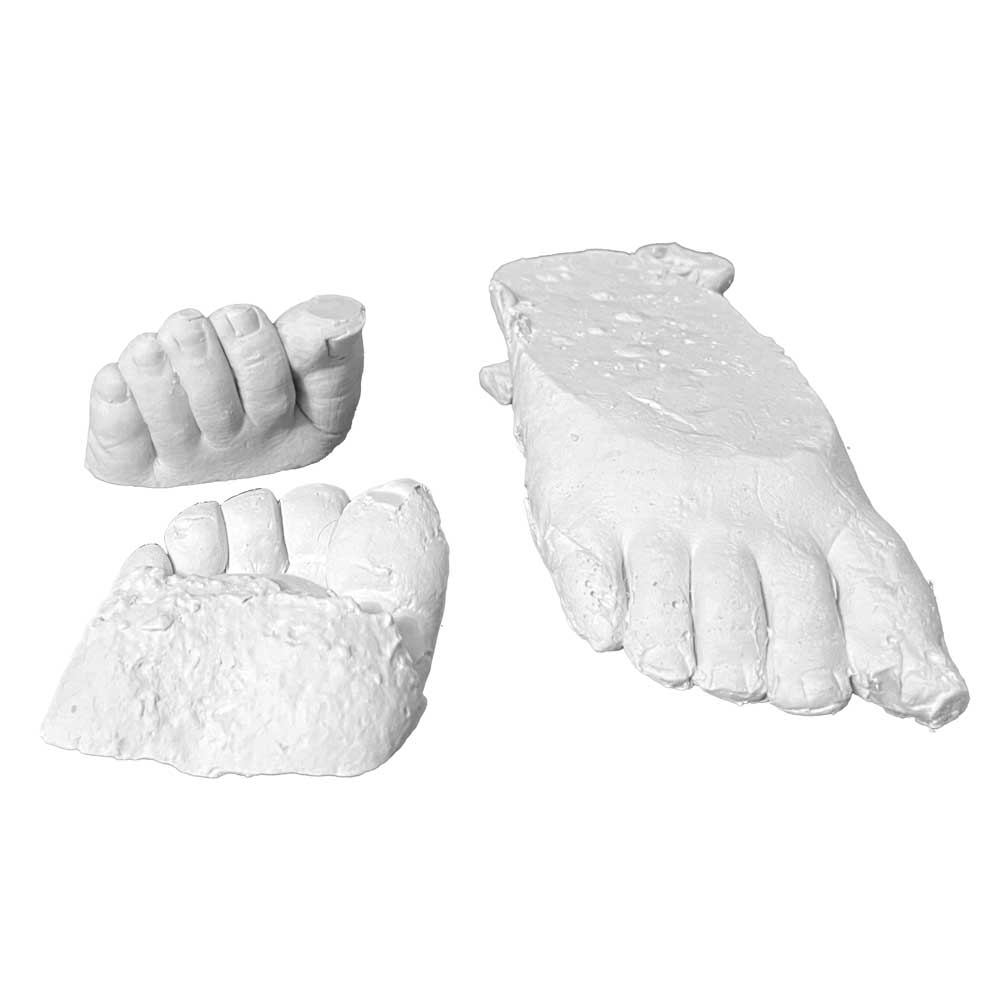
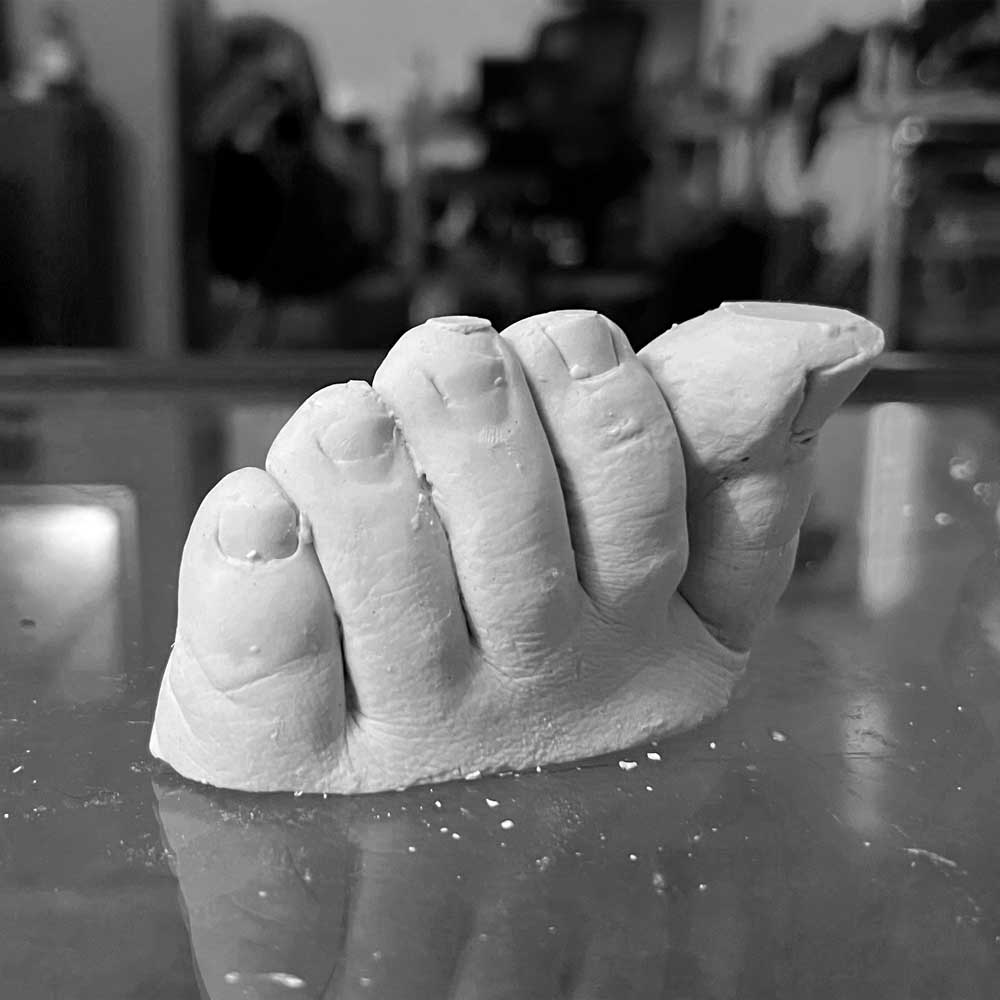
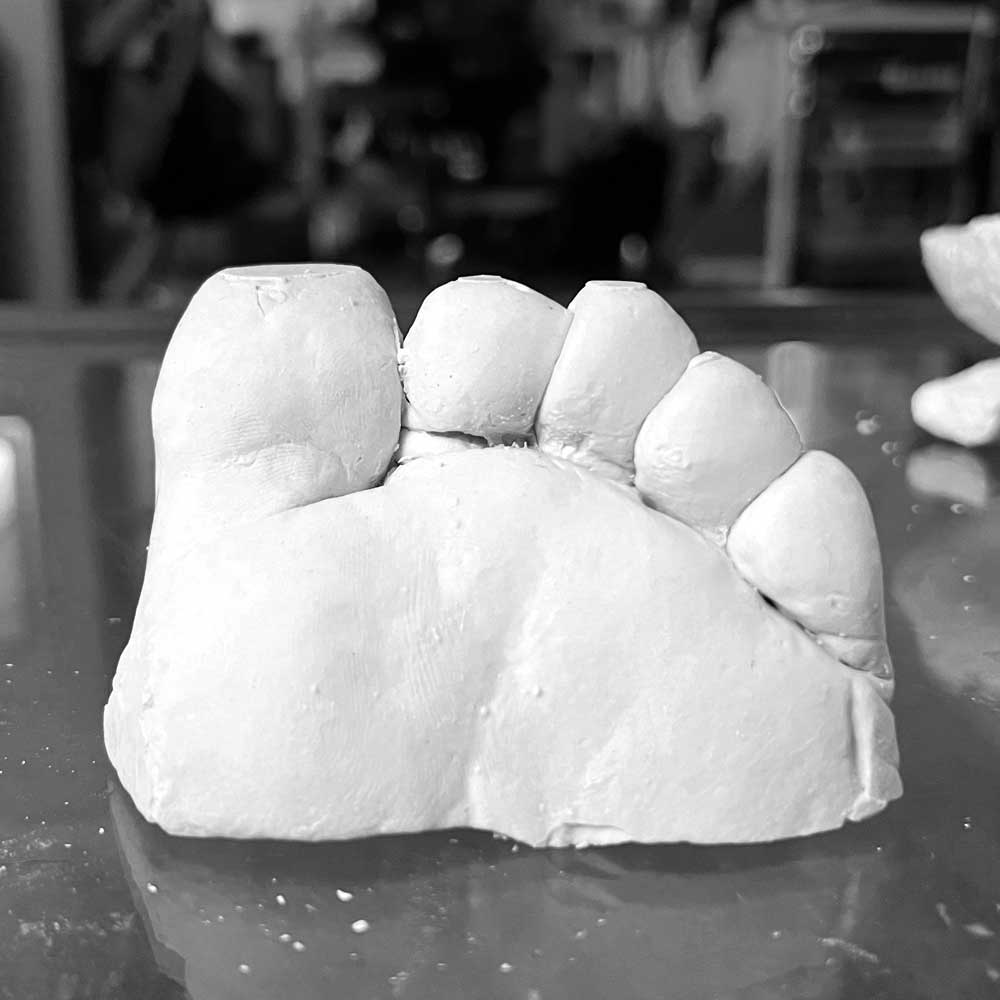
Ultimatley this foot came out best. Next to find Omoo to cast the inverse and pour in wax.
As a fun little project I aimed to use a body safe alginate to make a casing for a torch in the shape of my toes. It was really hard to keep my feet still so I had to try several iterations.
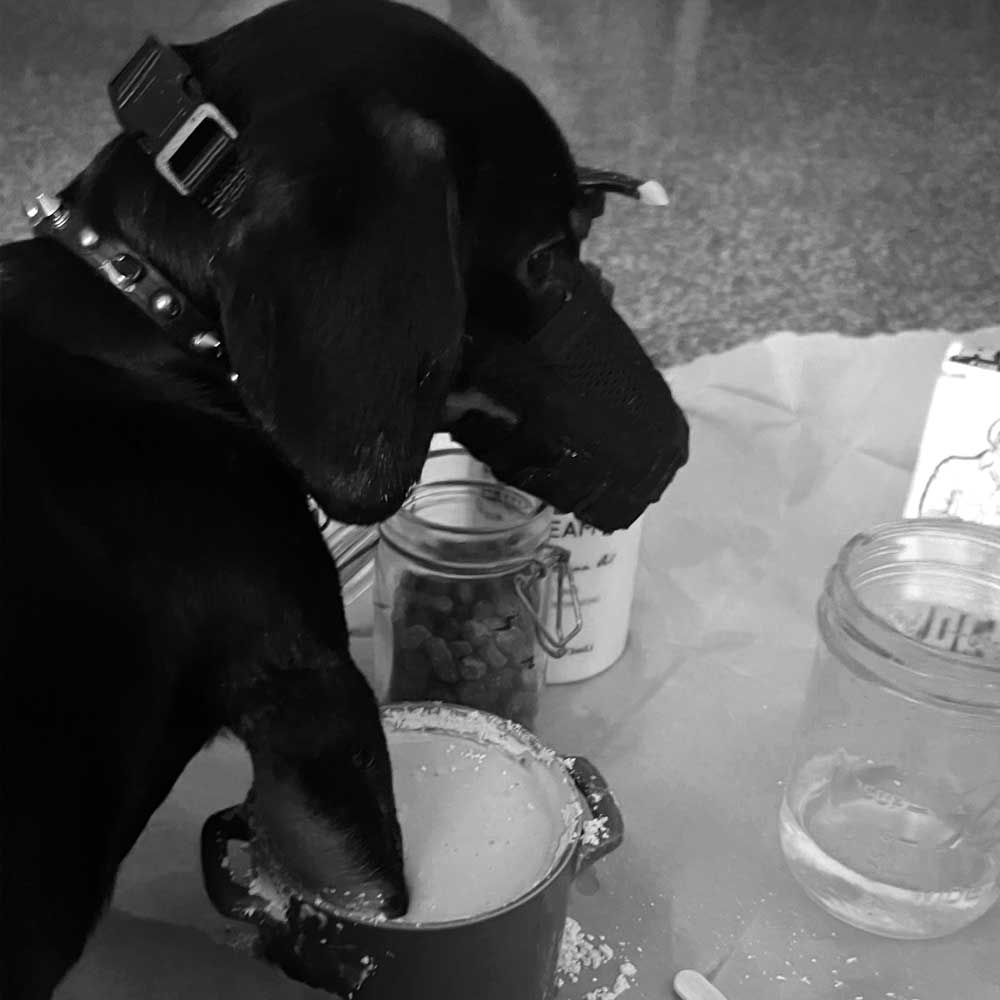
Unfortunatley Frankie had to be muzzled to prevent him from eating the ingredients but he was a very cooperative boy overall.
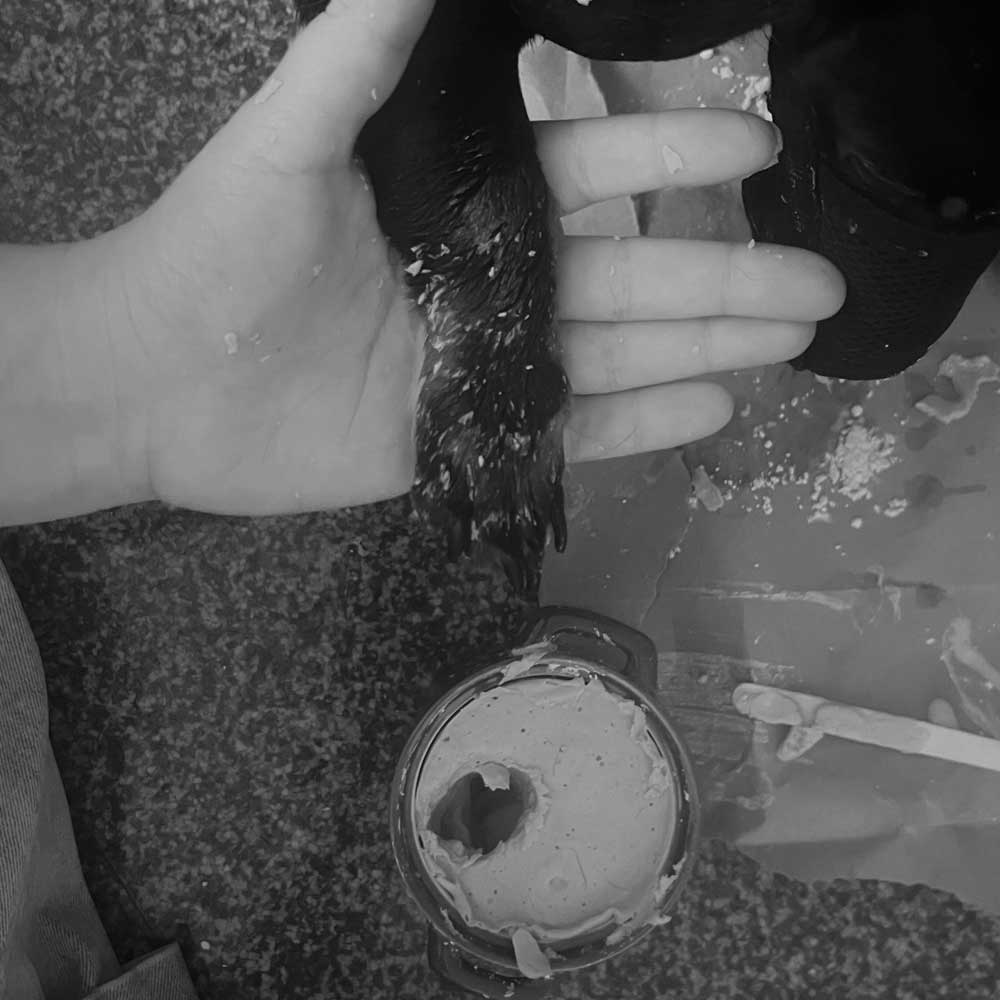
Even with moisturizer acting as a lubricat, his fur got a bit messy so he got a long bath. In the summer I used Nivea instead and that worked better. Frankie got a long bath after.
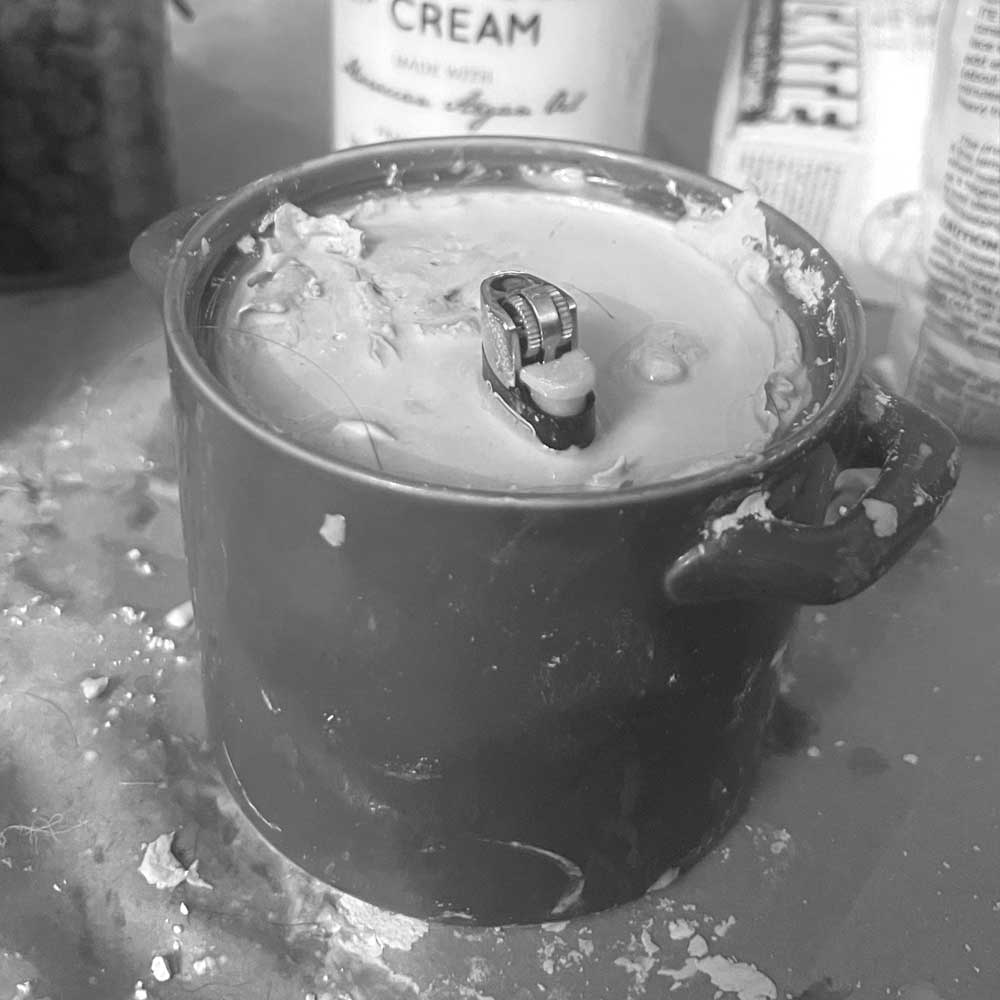
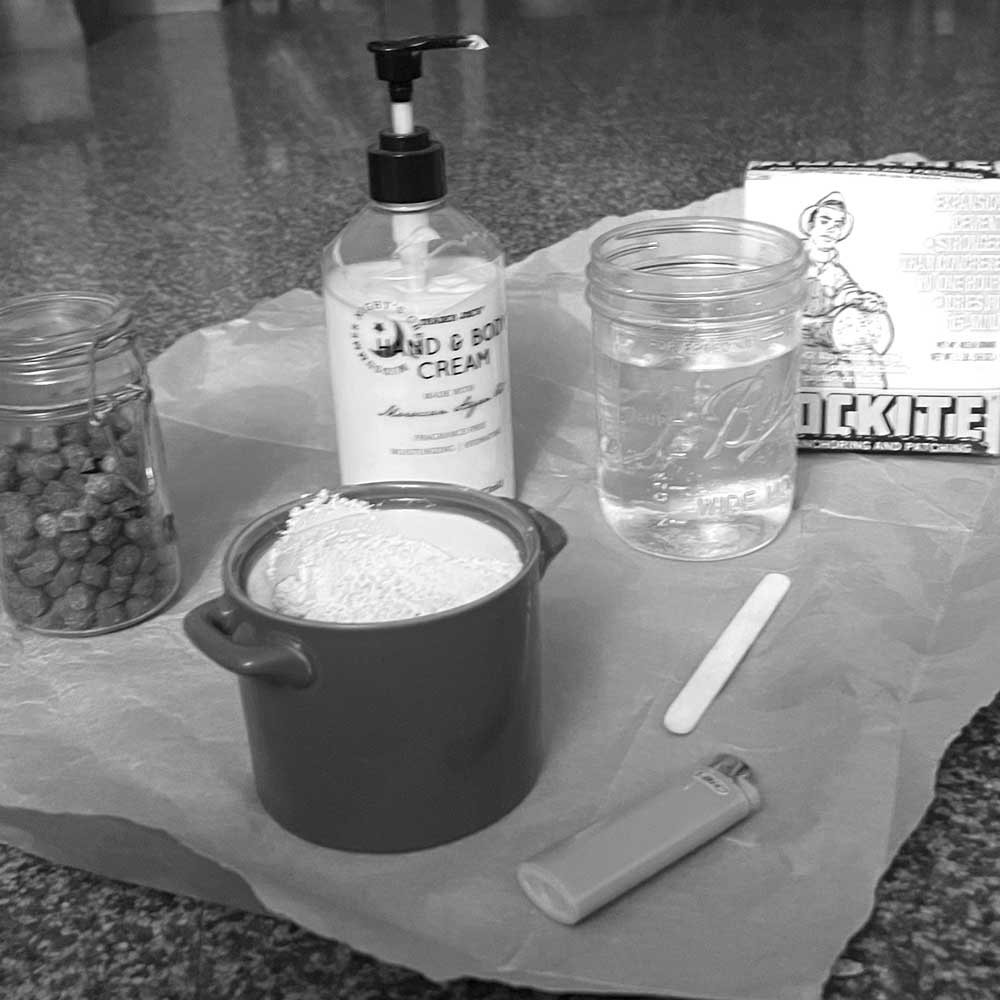
On a smaller scale I thought it would be nice to make a rockite cast of my puppy's paw as a lighter.
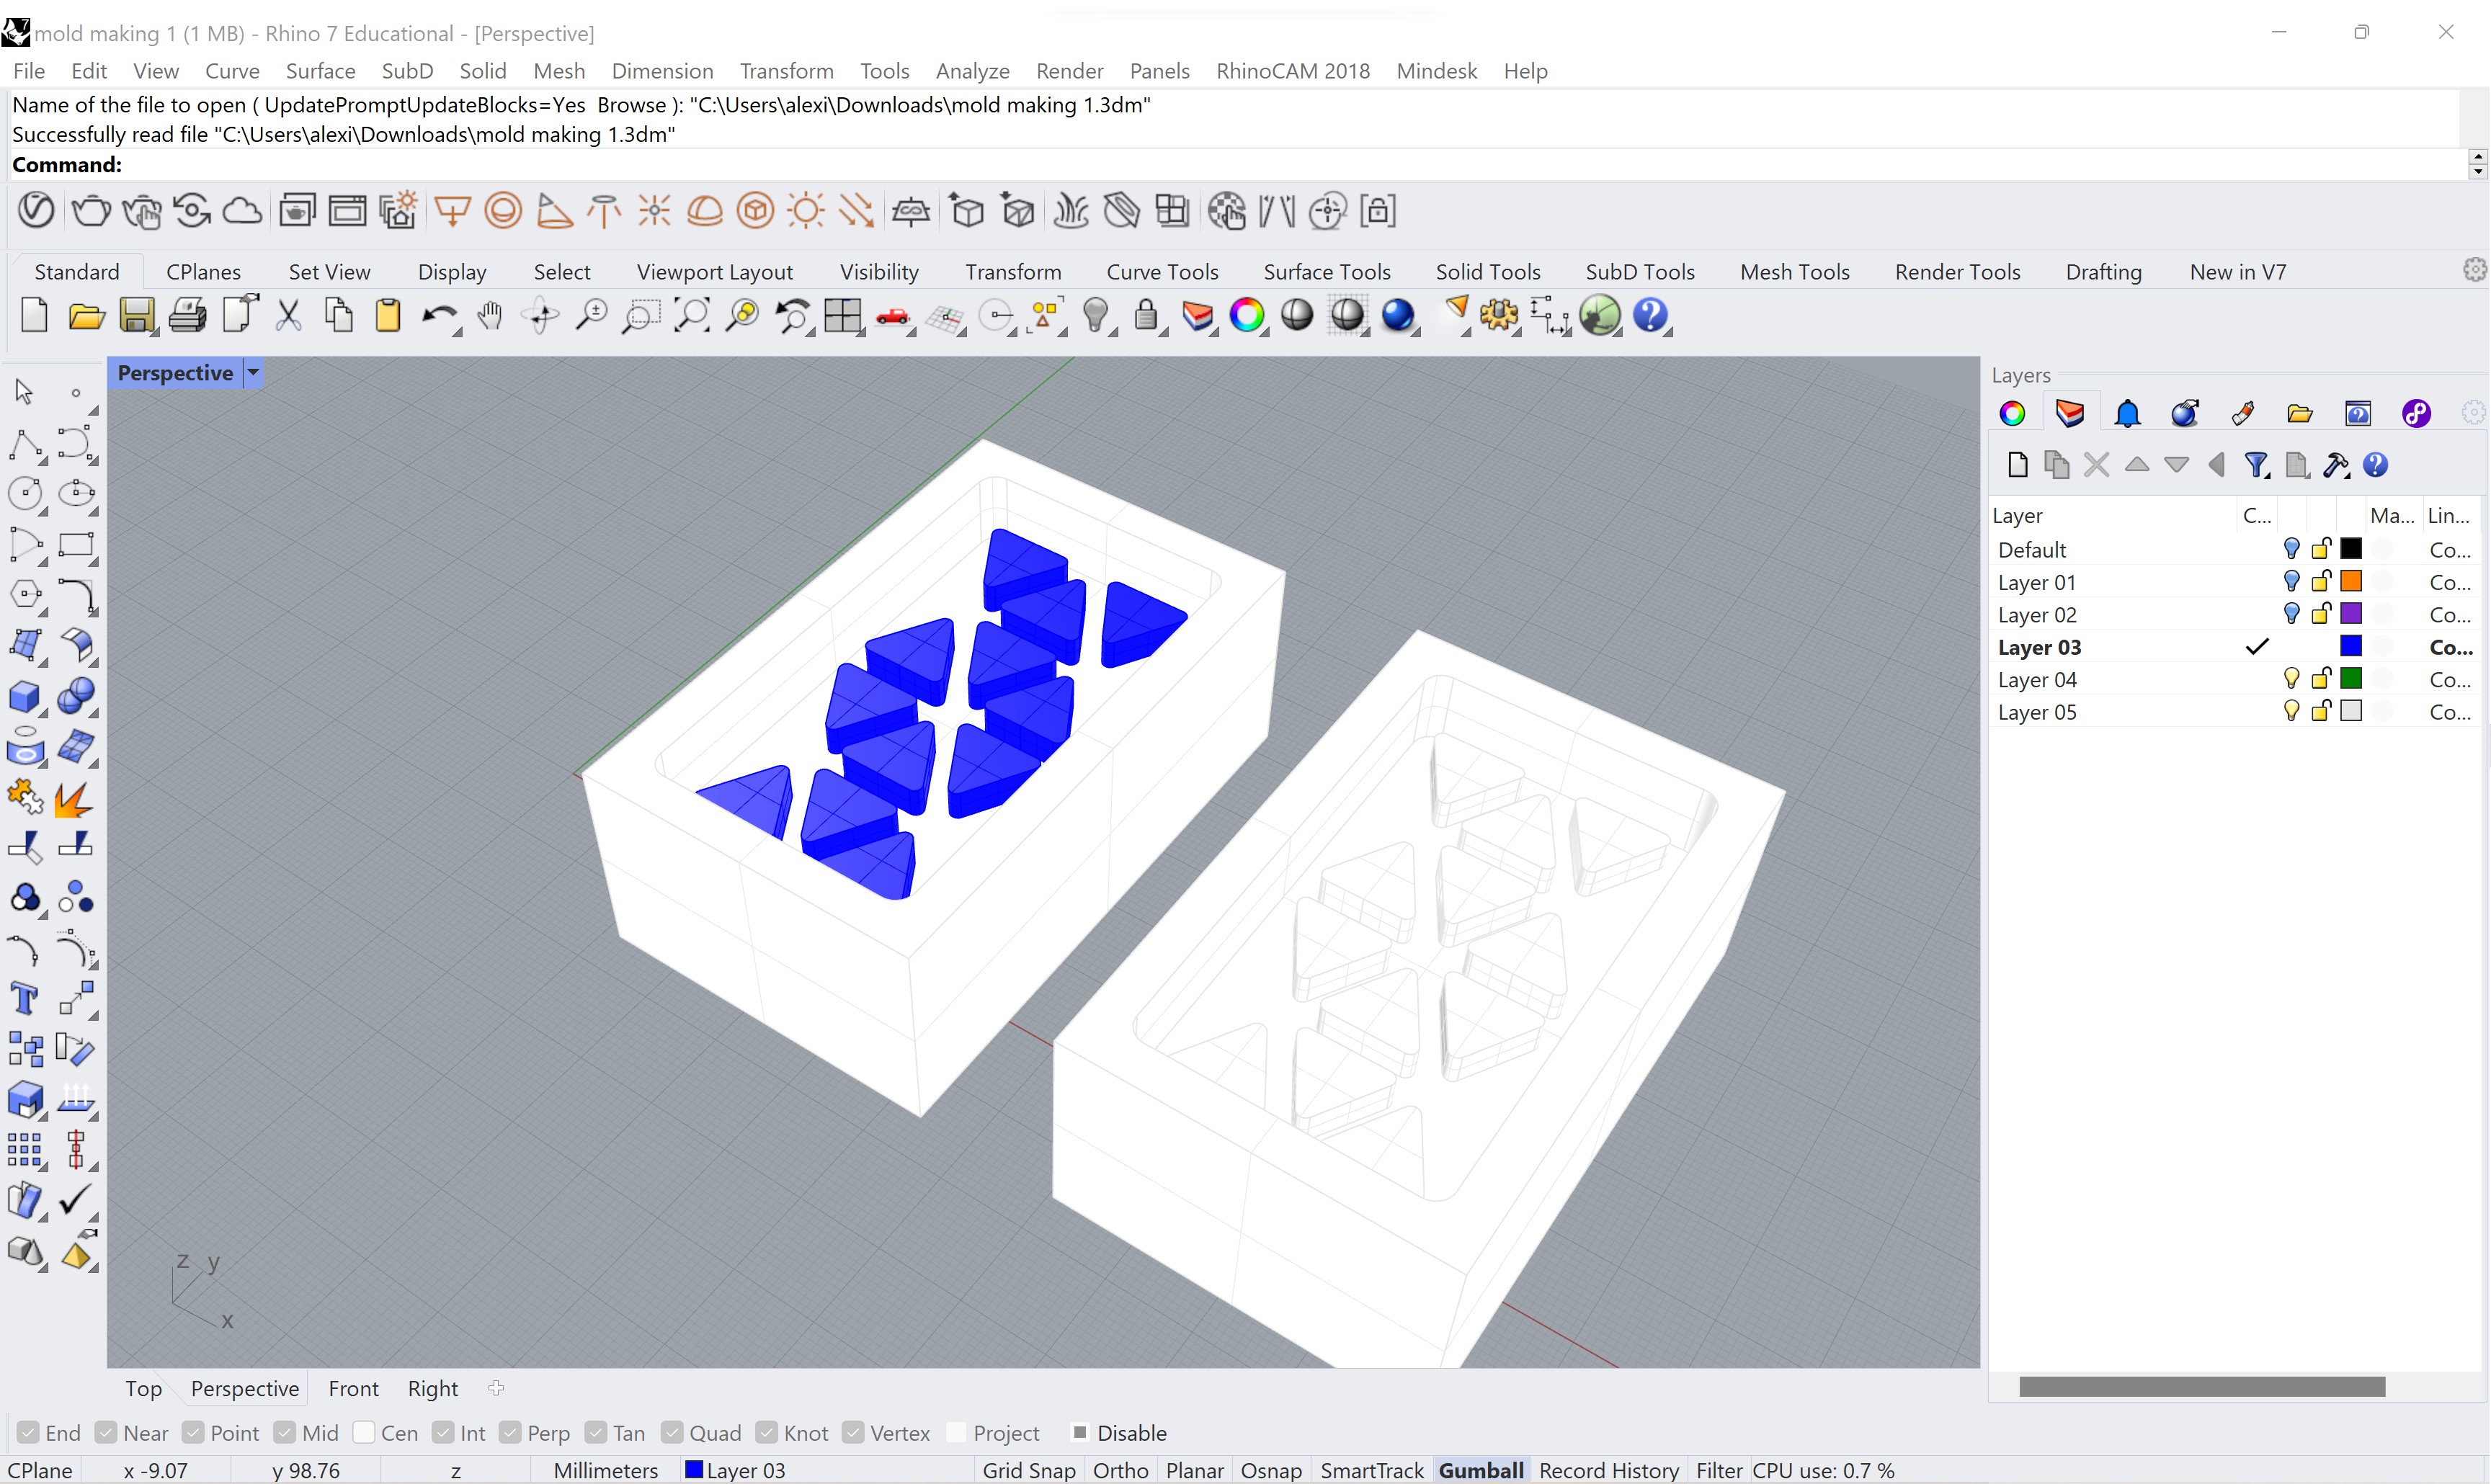
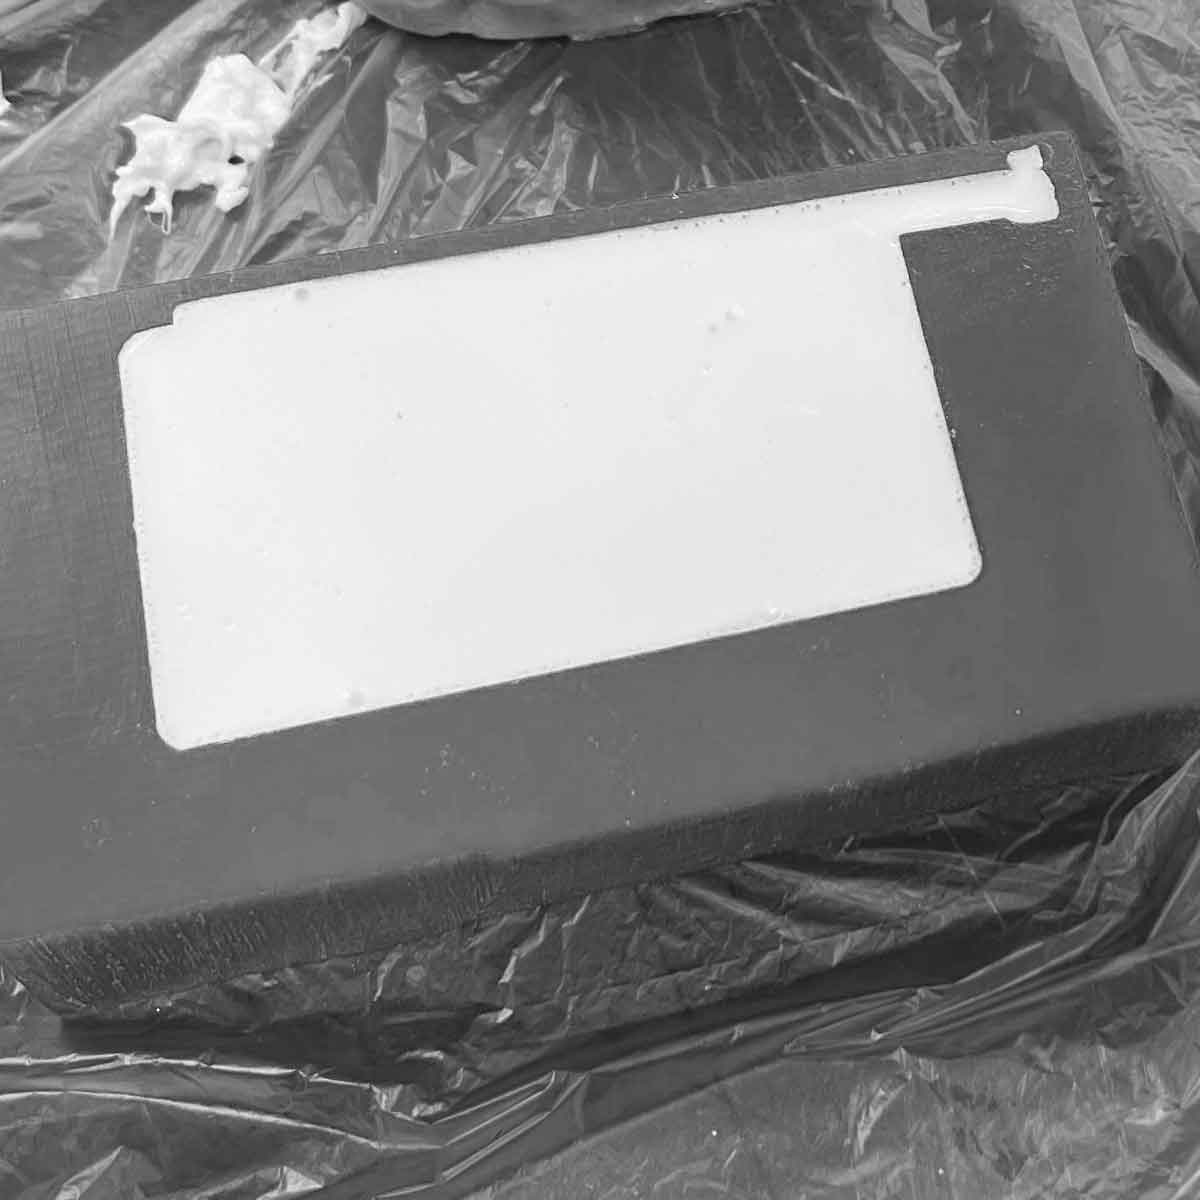
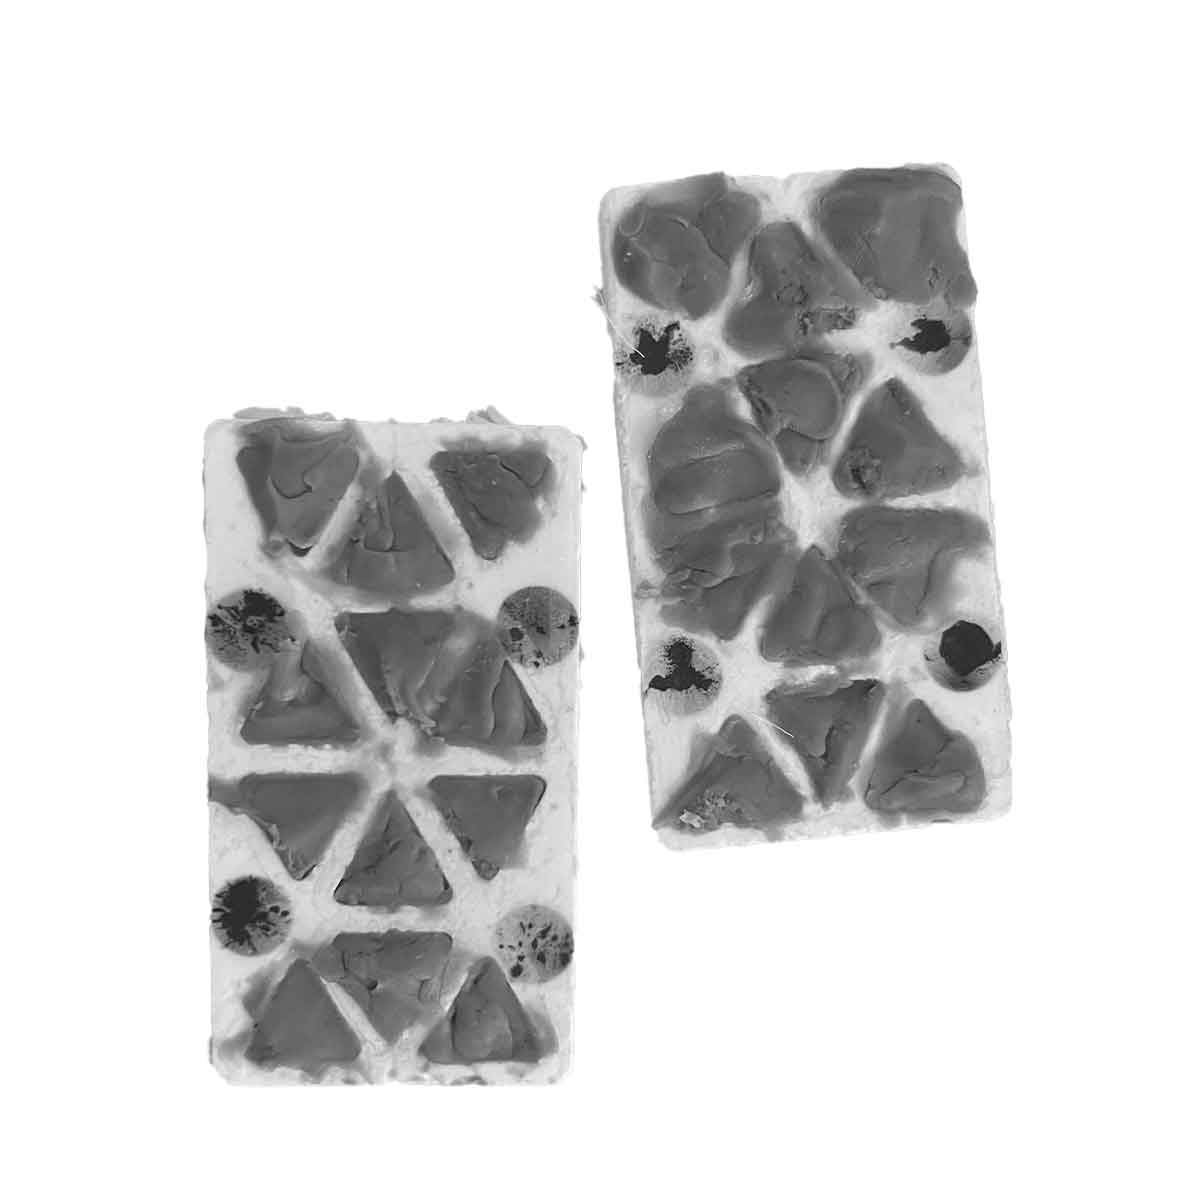
I designed the simple pattern in rhino at the scale of the wax block.
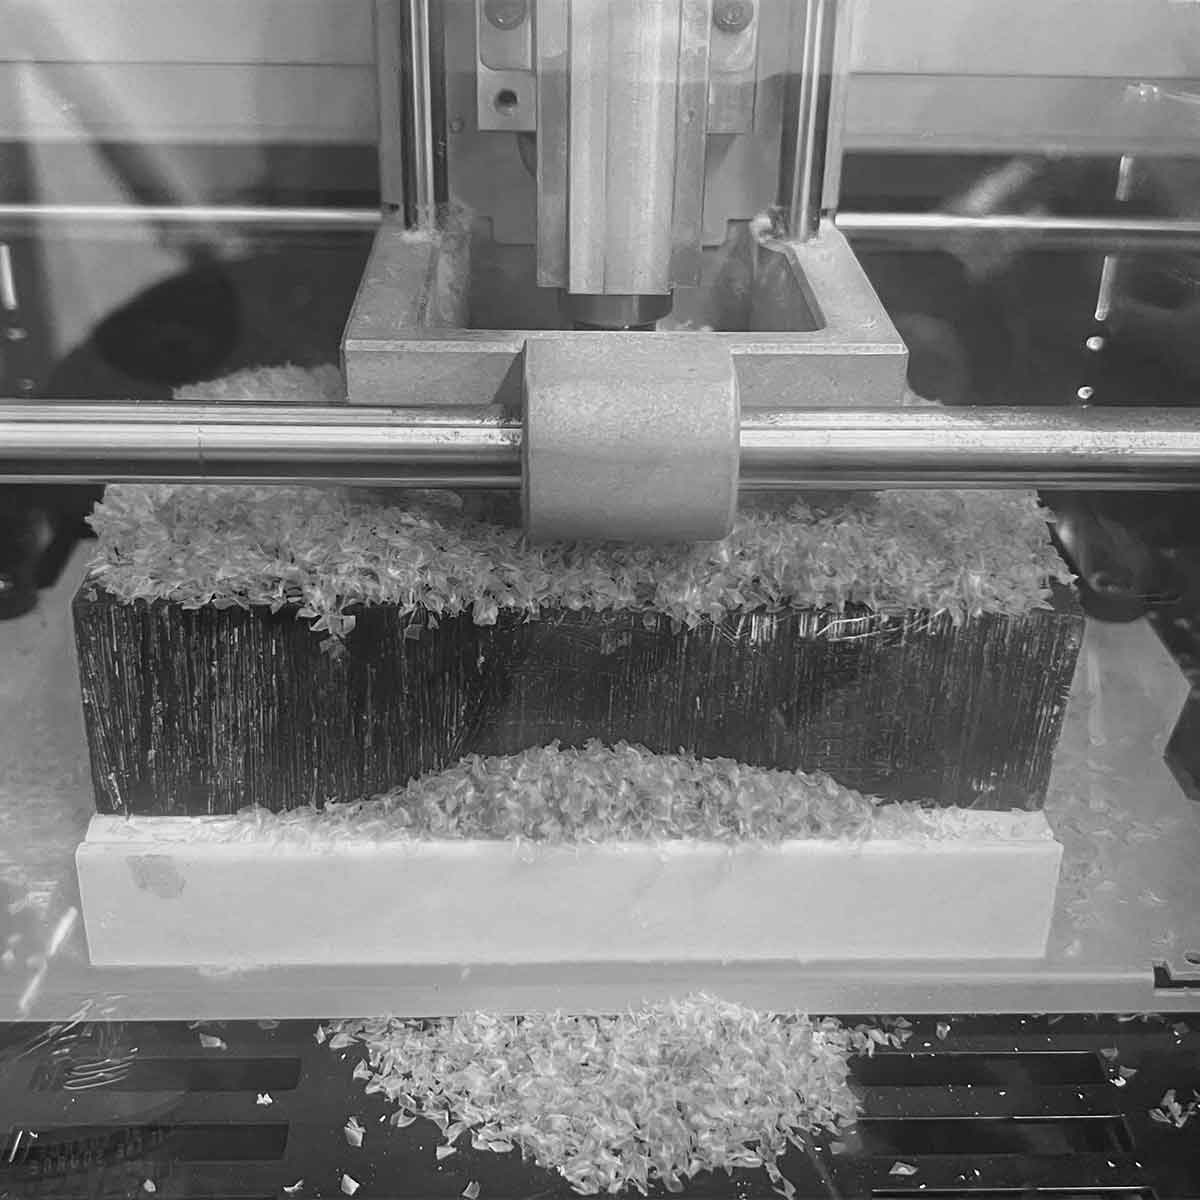
I milled using Mods which unfortunatley does not have a time estimate.
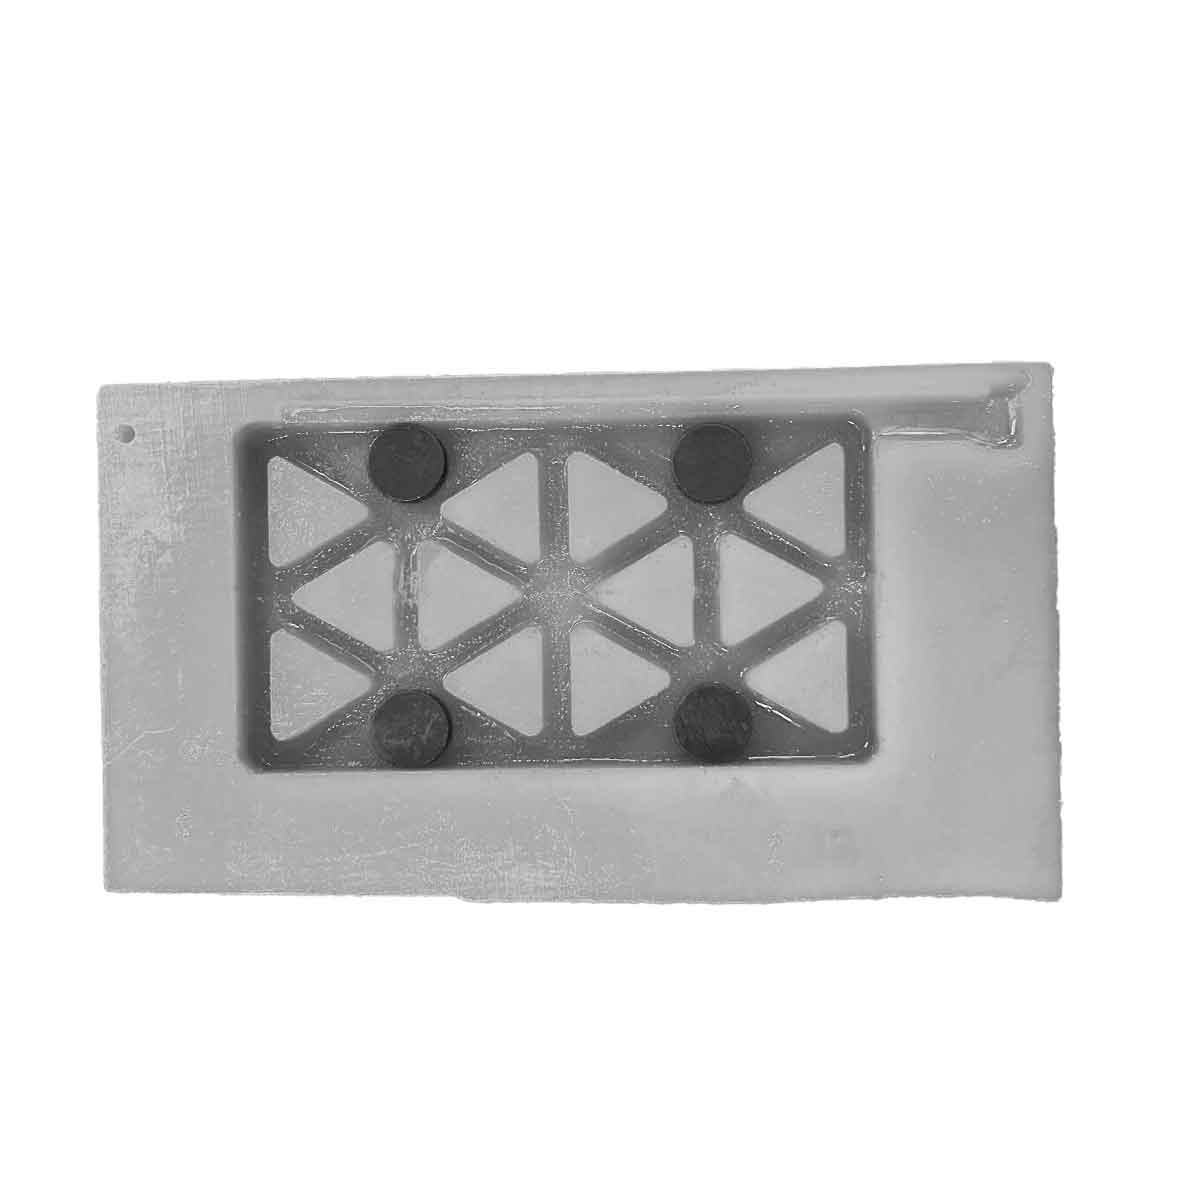
Because of my desire to stamp several objects next to eachother, creating a lip or ball joint didn't seem to help so I cast magnets in place.
Also to note, my calibration was slightly off and we were all out of unused wax blocks, not having enough for the whole class :(
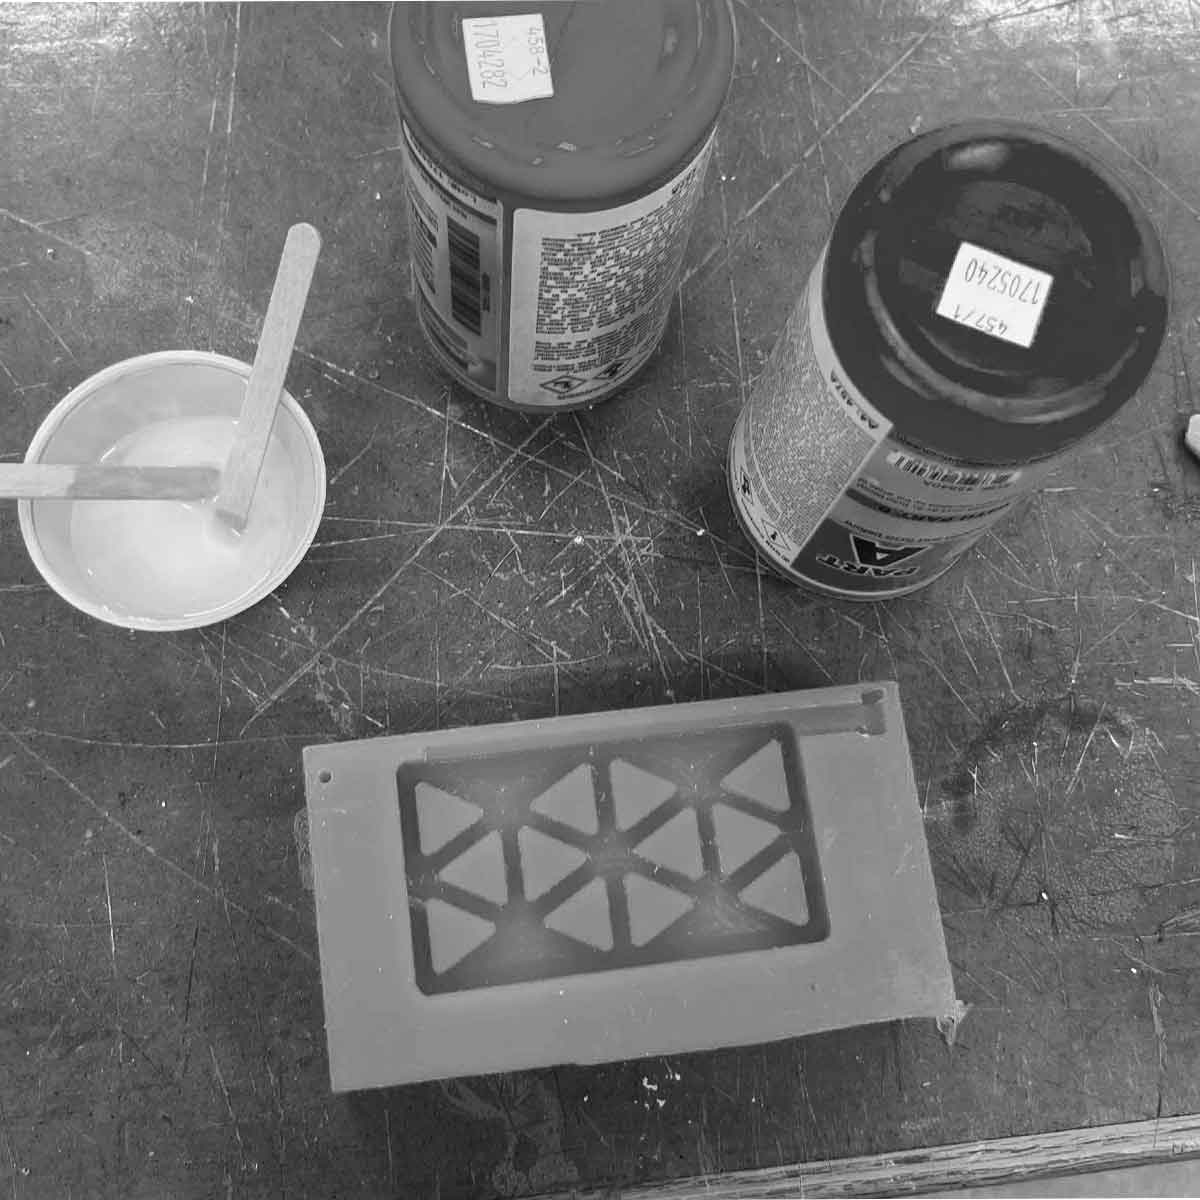
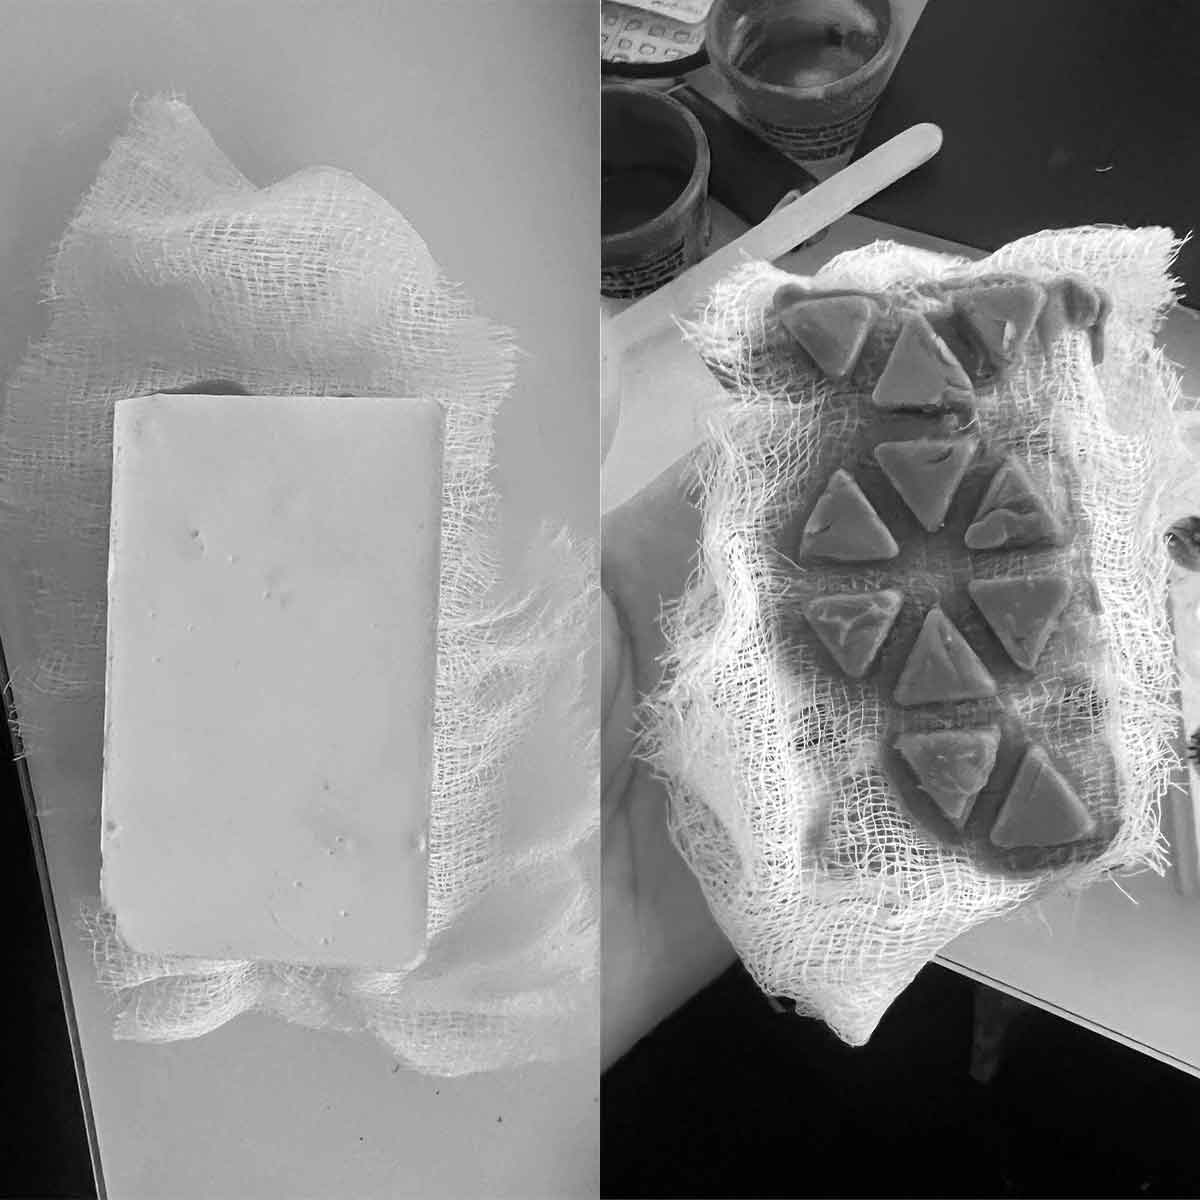
I gathered my materials to cast, at this point not noticing I had the inccorrect material- a lesson in sleep deprivation I suppose.
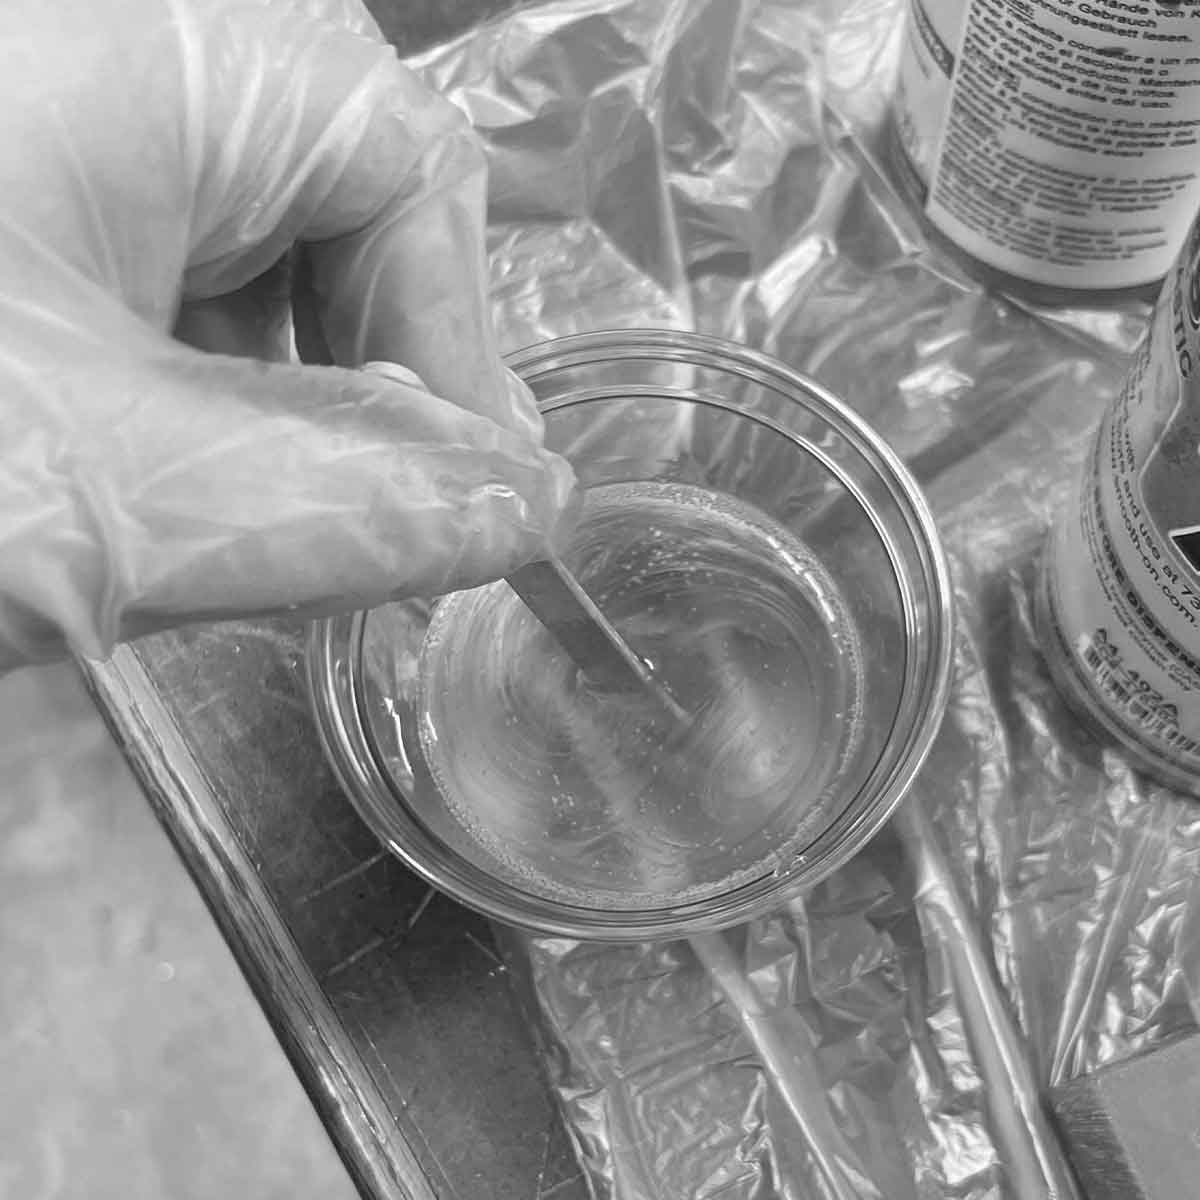
I continued mixing...not noticing
...not noticing as I poured into my milled wax mold
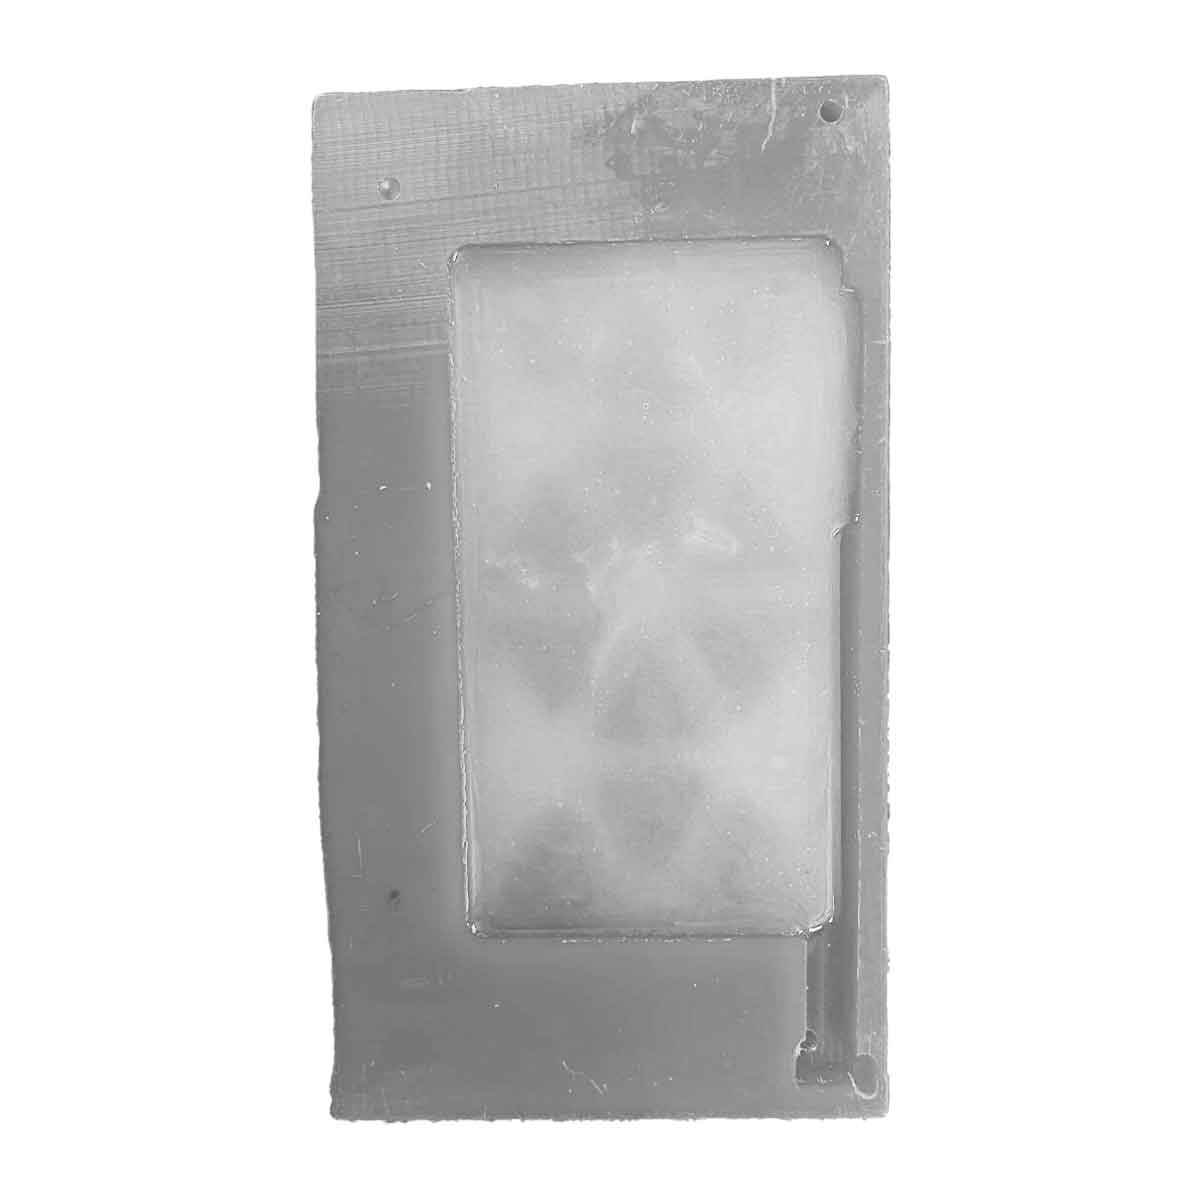
Here I finally noticed as what I expected to dry into a soft translucent plastic, cured into a rigid white plastic.
... Oh no! How to resolve this.
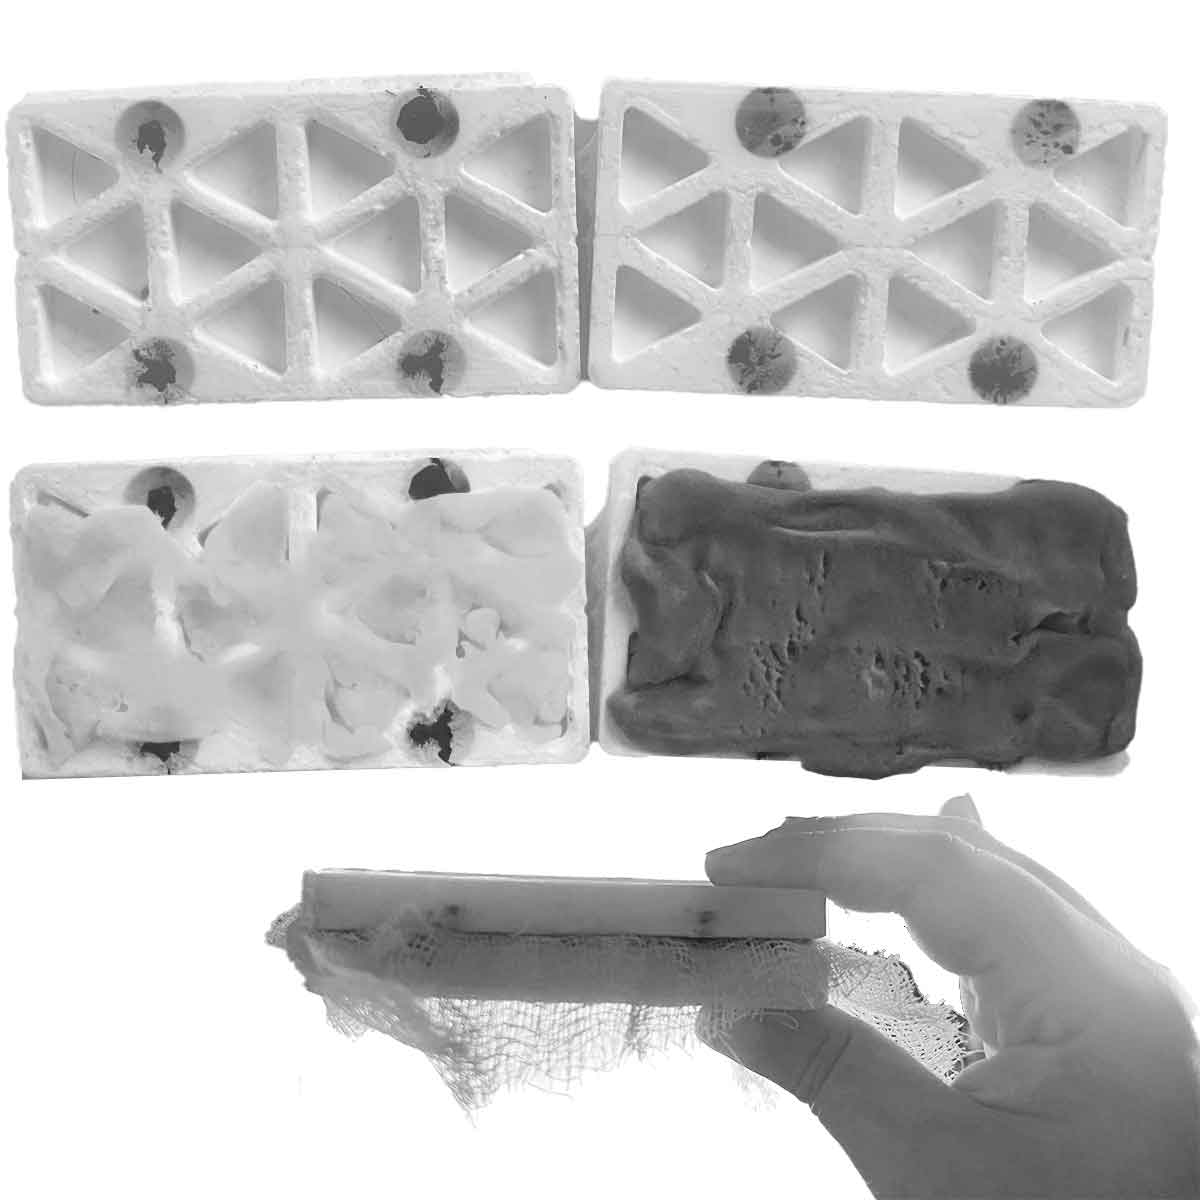
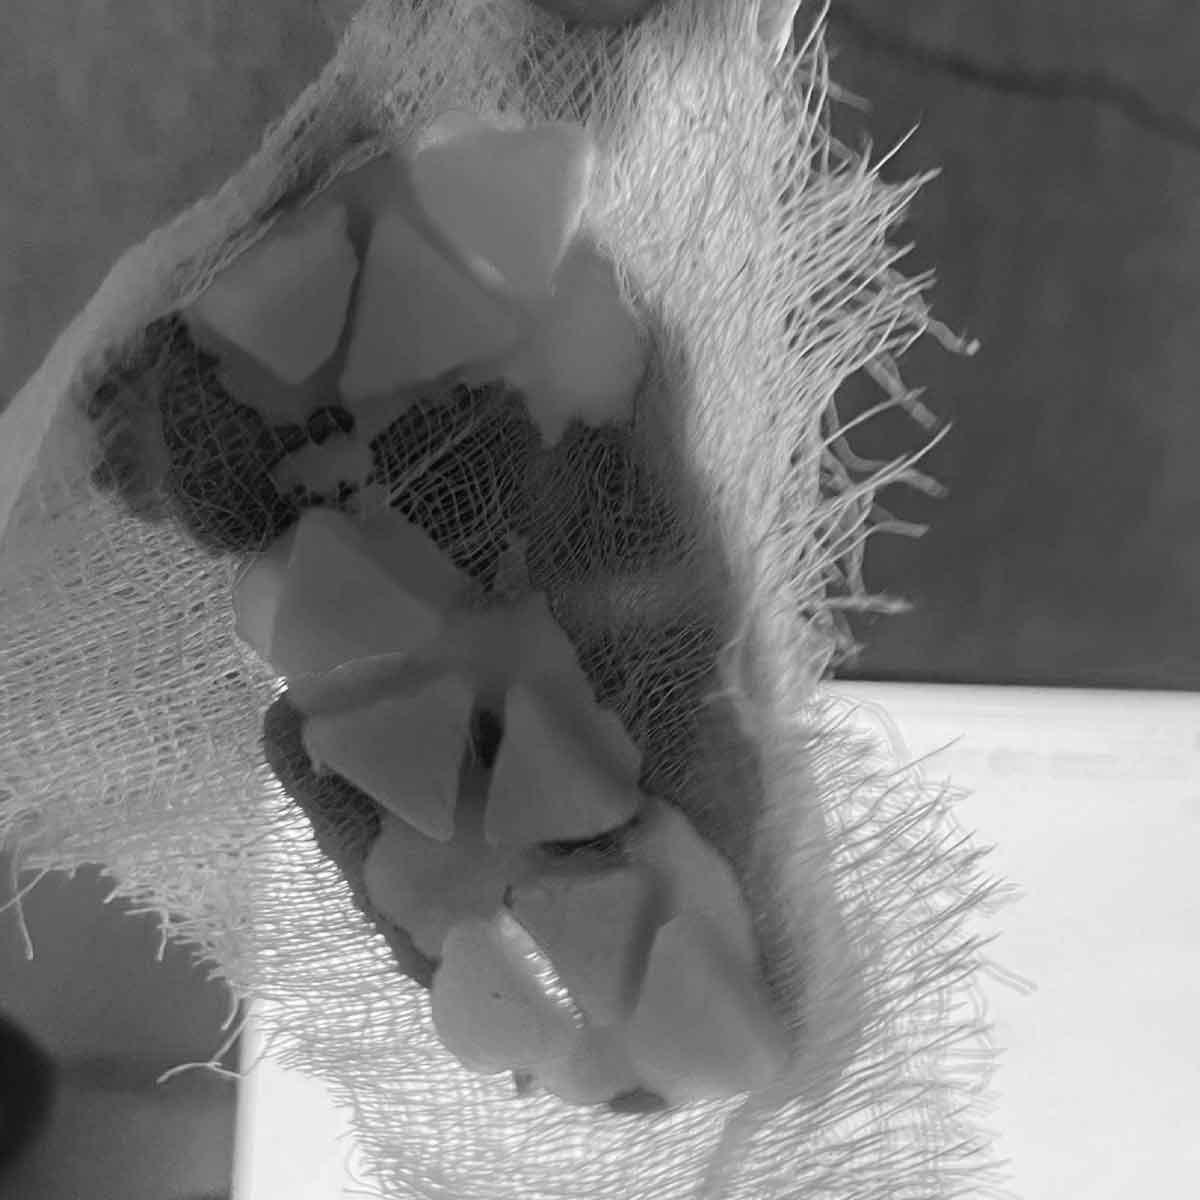
I used some air dry clay to mimic the press molding process filling each cavity. I then layed the guaze like fabric between the molds and pressed down.
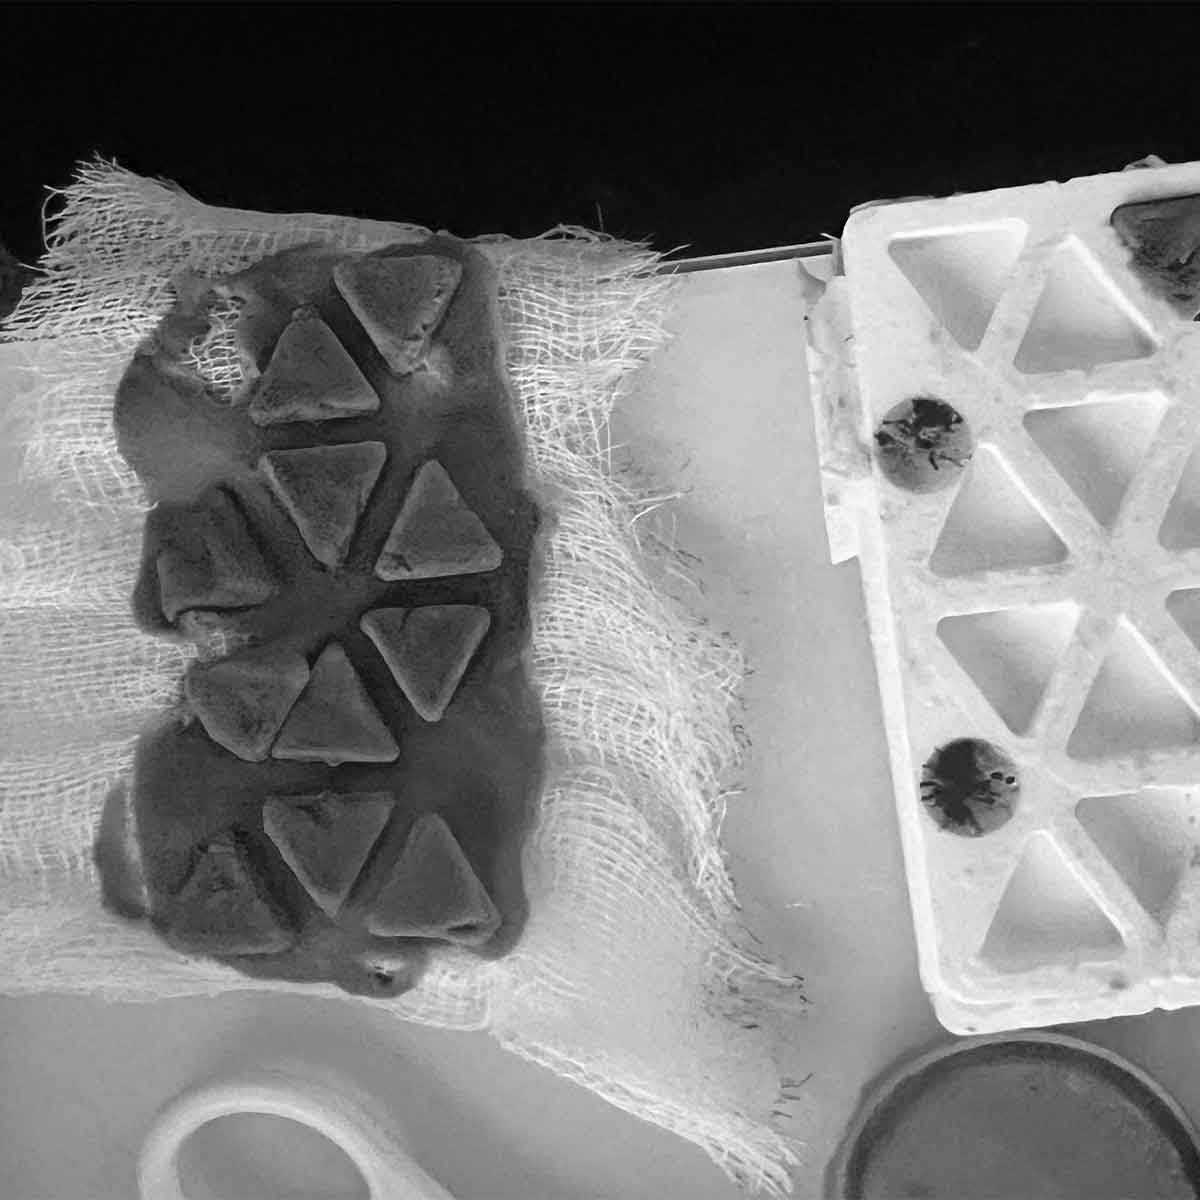
I could tell there was too much clay covering other parts of the fabric, eliminating the controlled rigidity I was going for. Lessons for next time
At least I could tell the idea to have the clay adhere through the fabric works. Time for a second try!
I filled the mold again, this time with less clay.
I stepped on it to truely press down the mold. It removed alright with only a few pieces missing
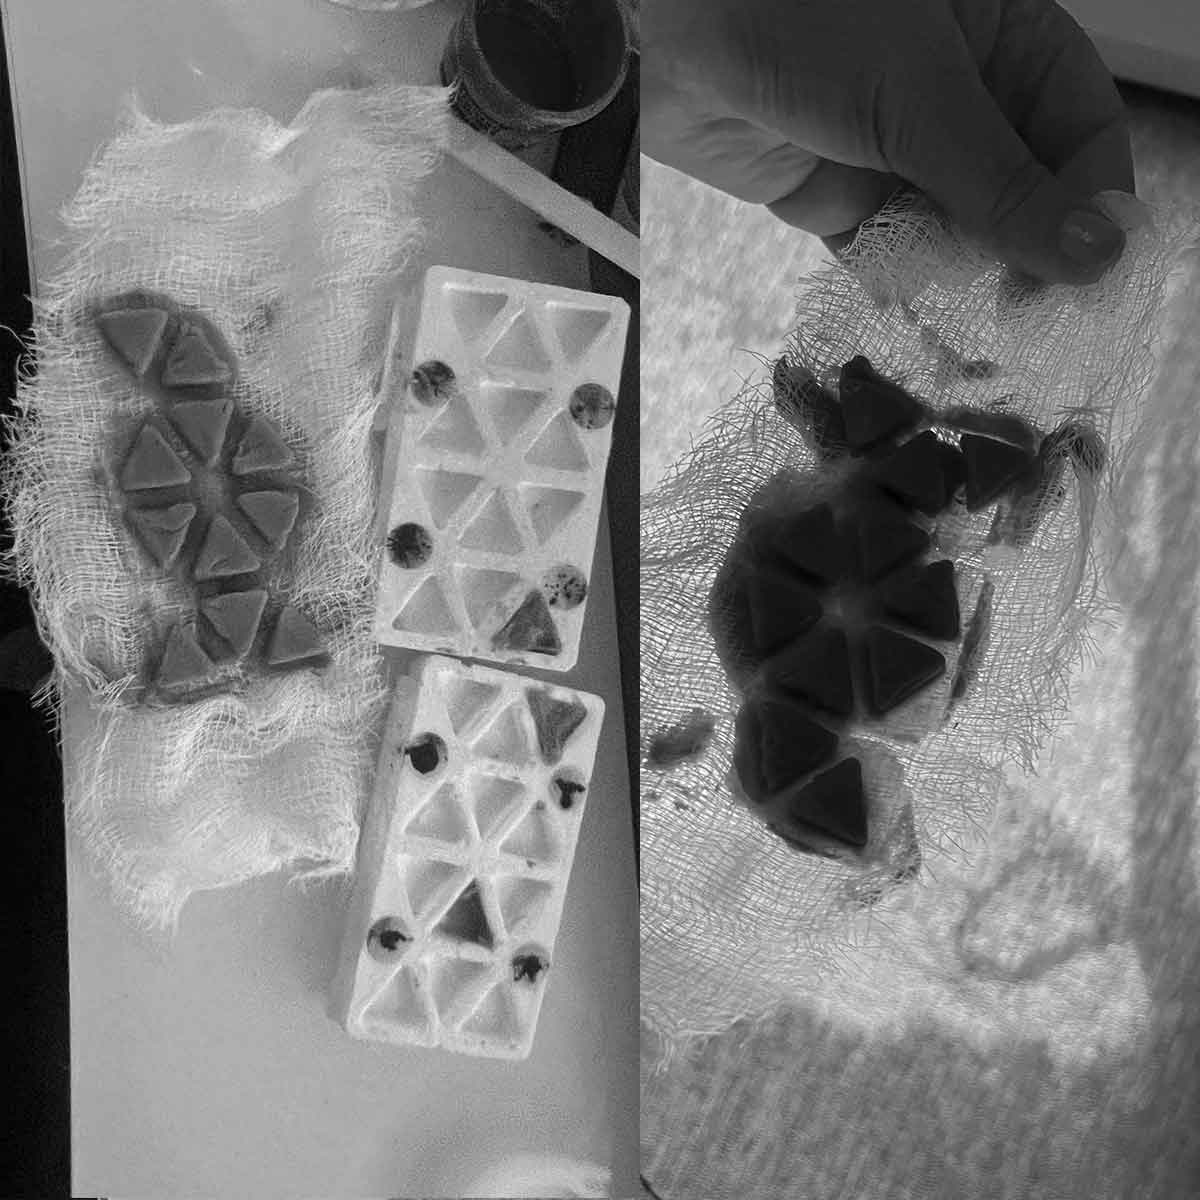
And it adhered! it looked and felt pretty good.
More images to come
This project was actually the result of a silly accident. I thought I bought dragon skin to mold make, hoping to cast the dragon skin and then cast a rigid resin onto the fabric, creating opaque tiles to control folding patterns, but a slip up along the way changed the direction slightly. In a ceramics course I am currently taking with Nathan King, I learned the teqnique of press molding. Although it requires plaster due to the drying properties and uses standard clay, I made due with what I had to test this concept, rather sucessfully. The plan was by casting something on both sides of a mesh like fabric in a 2 part mold, I would essentially be able to stamp rigid forms onto the textile.