Final Project
For my final project, I plan to build a wall piece with parameterized light show that reacts to music. I hopw to use it as a decoration in my living room and as a center piece during DJ sets.
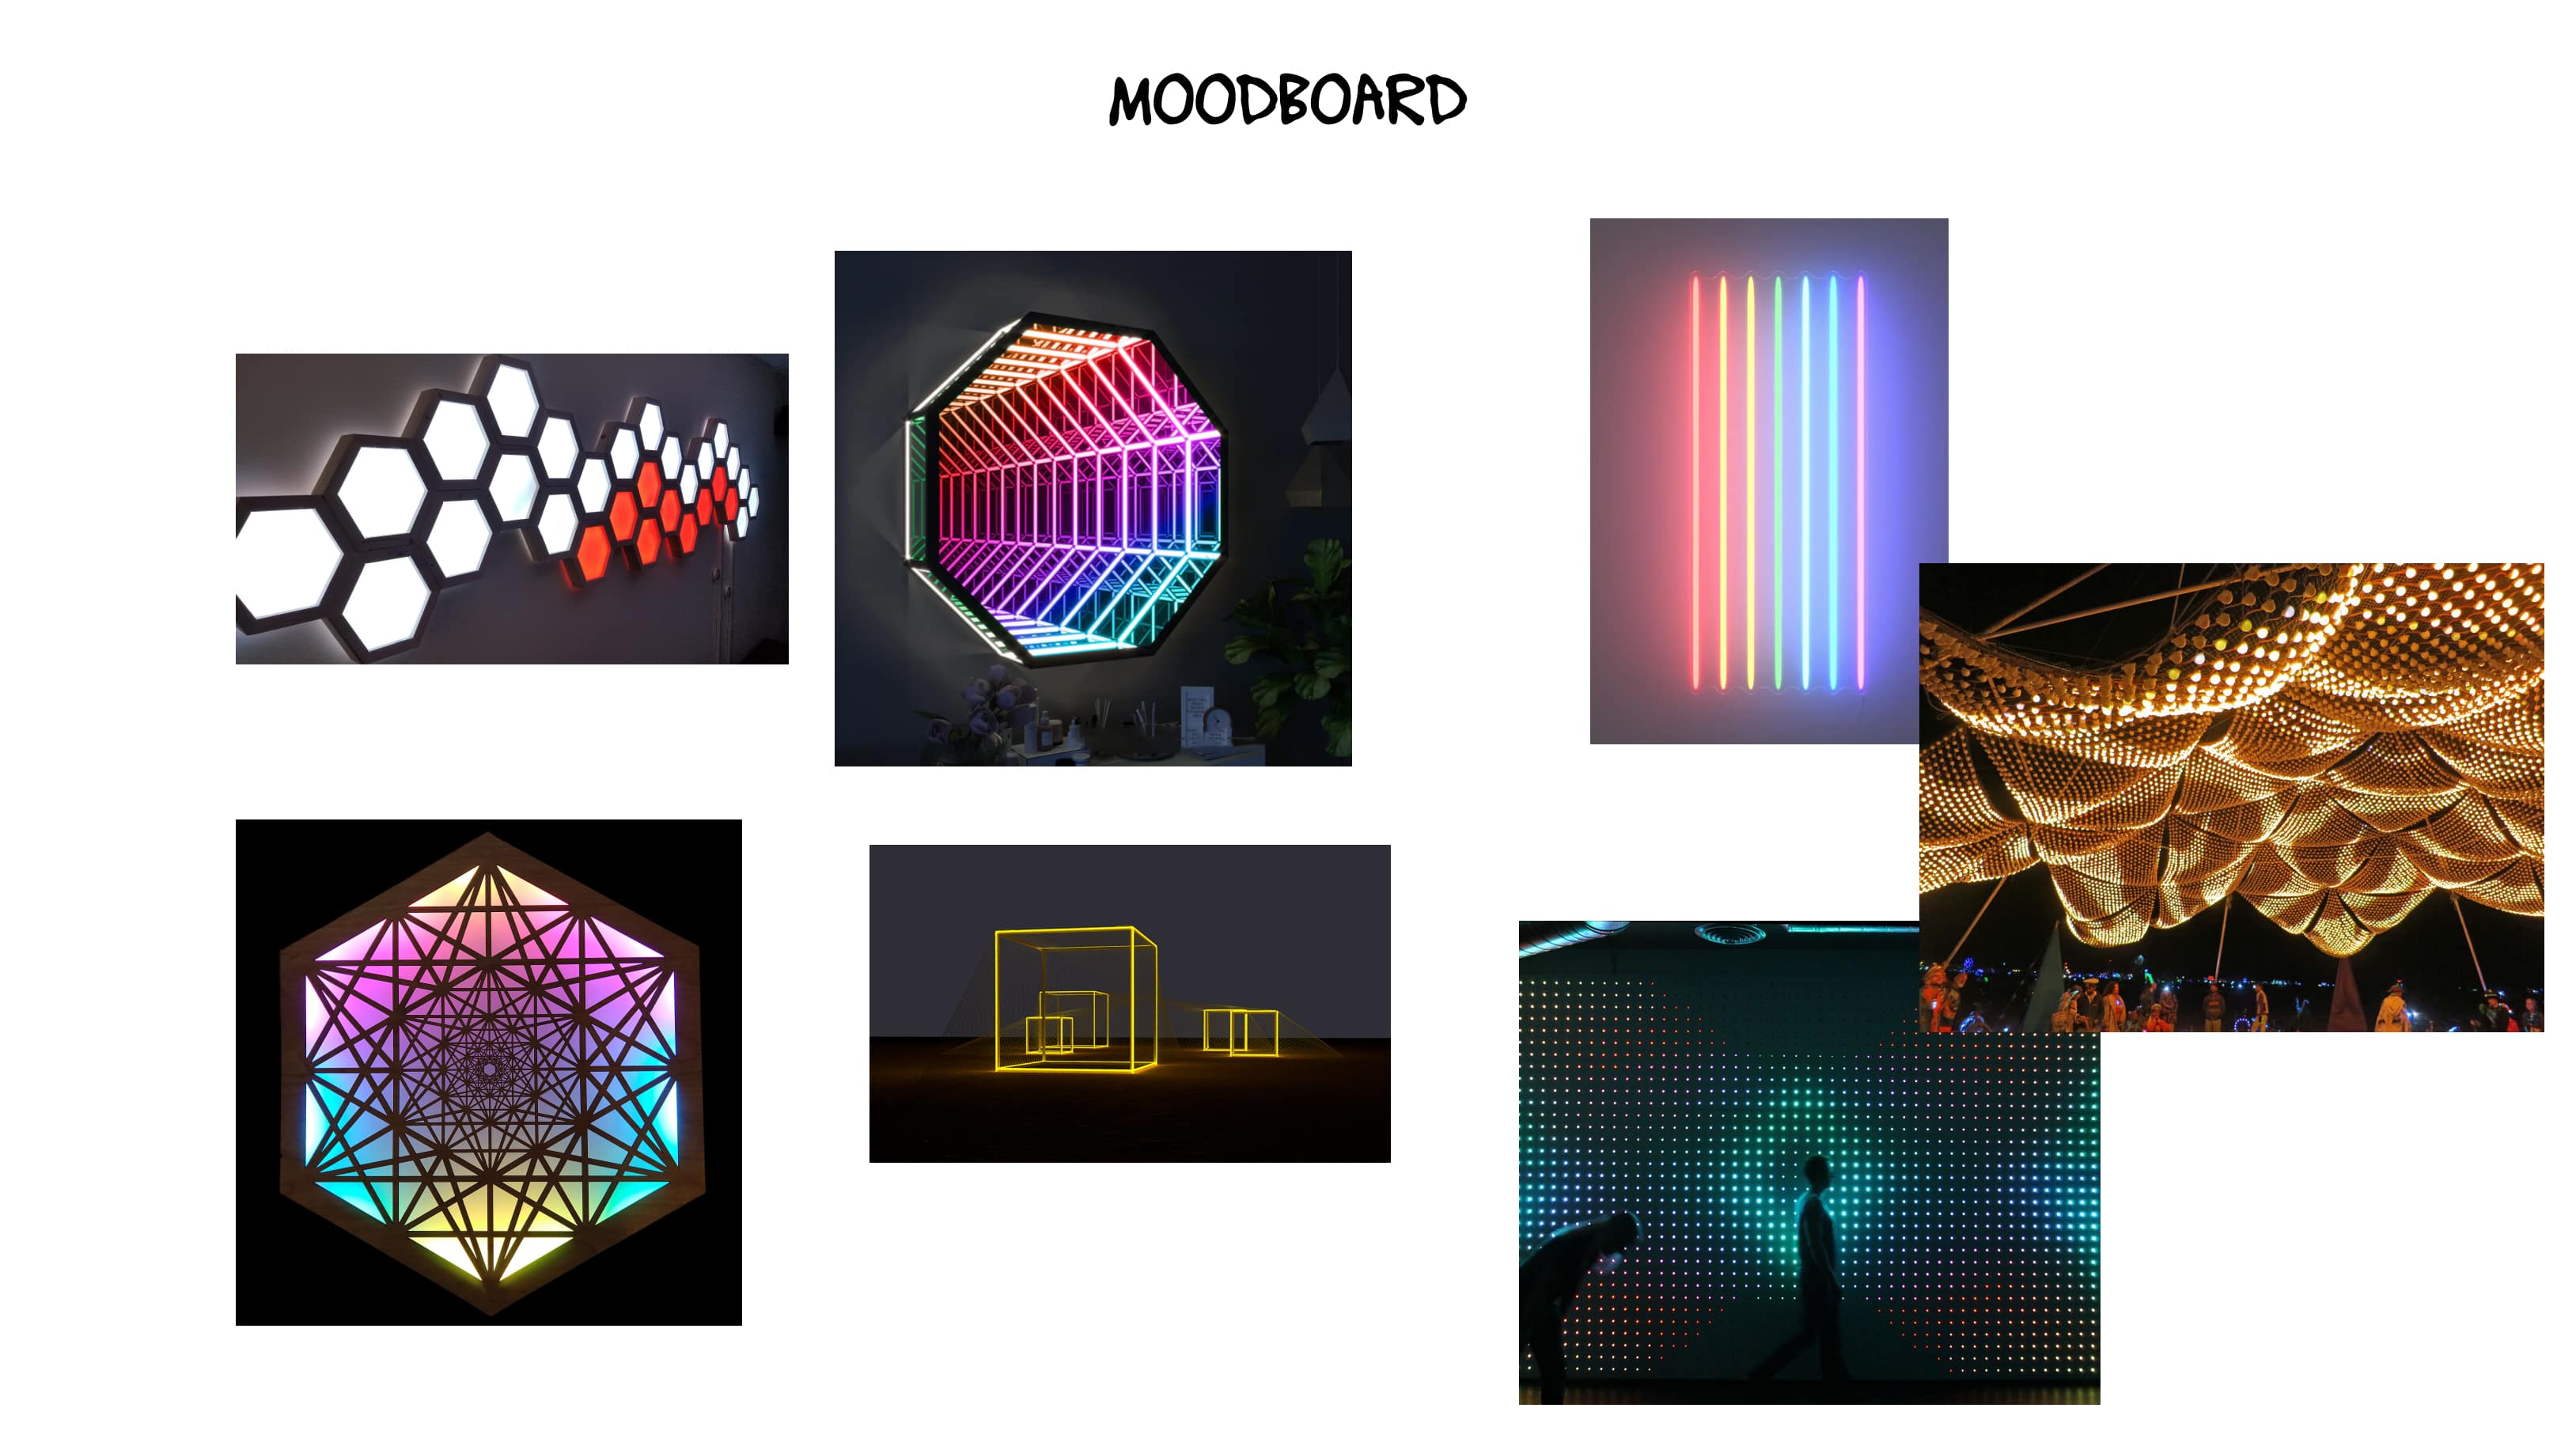
System design
The piece will take the shape of a meter-large snowflake counting 5 main branches and 20 sub-branches. Each branch will be lined with LEDs and the center will support a round LED matrix. The base of the snowflake will be made out of wood and the branches will be covered by resin-casted diffusers. THe snowflake will include a microphone as its input.
To control the snowflake, I plan to build a wireless command built out of the same wood. The command will have a mode dial, as well as multiple parameters enabling users to control the light show. I plan to build 4 pre-made lightshows and to implement a manual mode. TO control the manual mode, the controller will include 4 sliders and a set of 10 color buttons. I plan to also add a "white out" button to the command that will instantaneously set all LEDs to white, overriding other prgrams.
The below sketch portrays a high level schematic and a preliminary list of inputs/outputs.
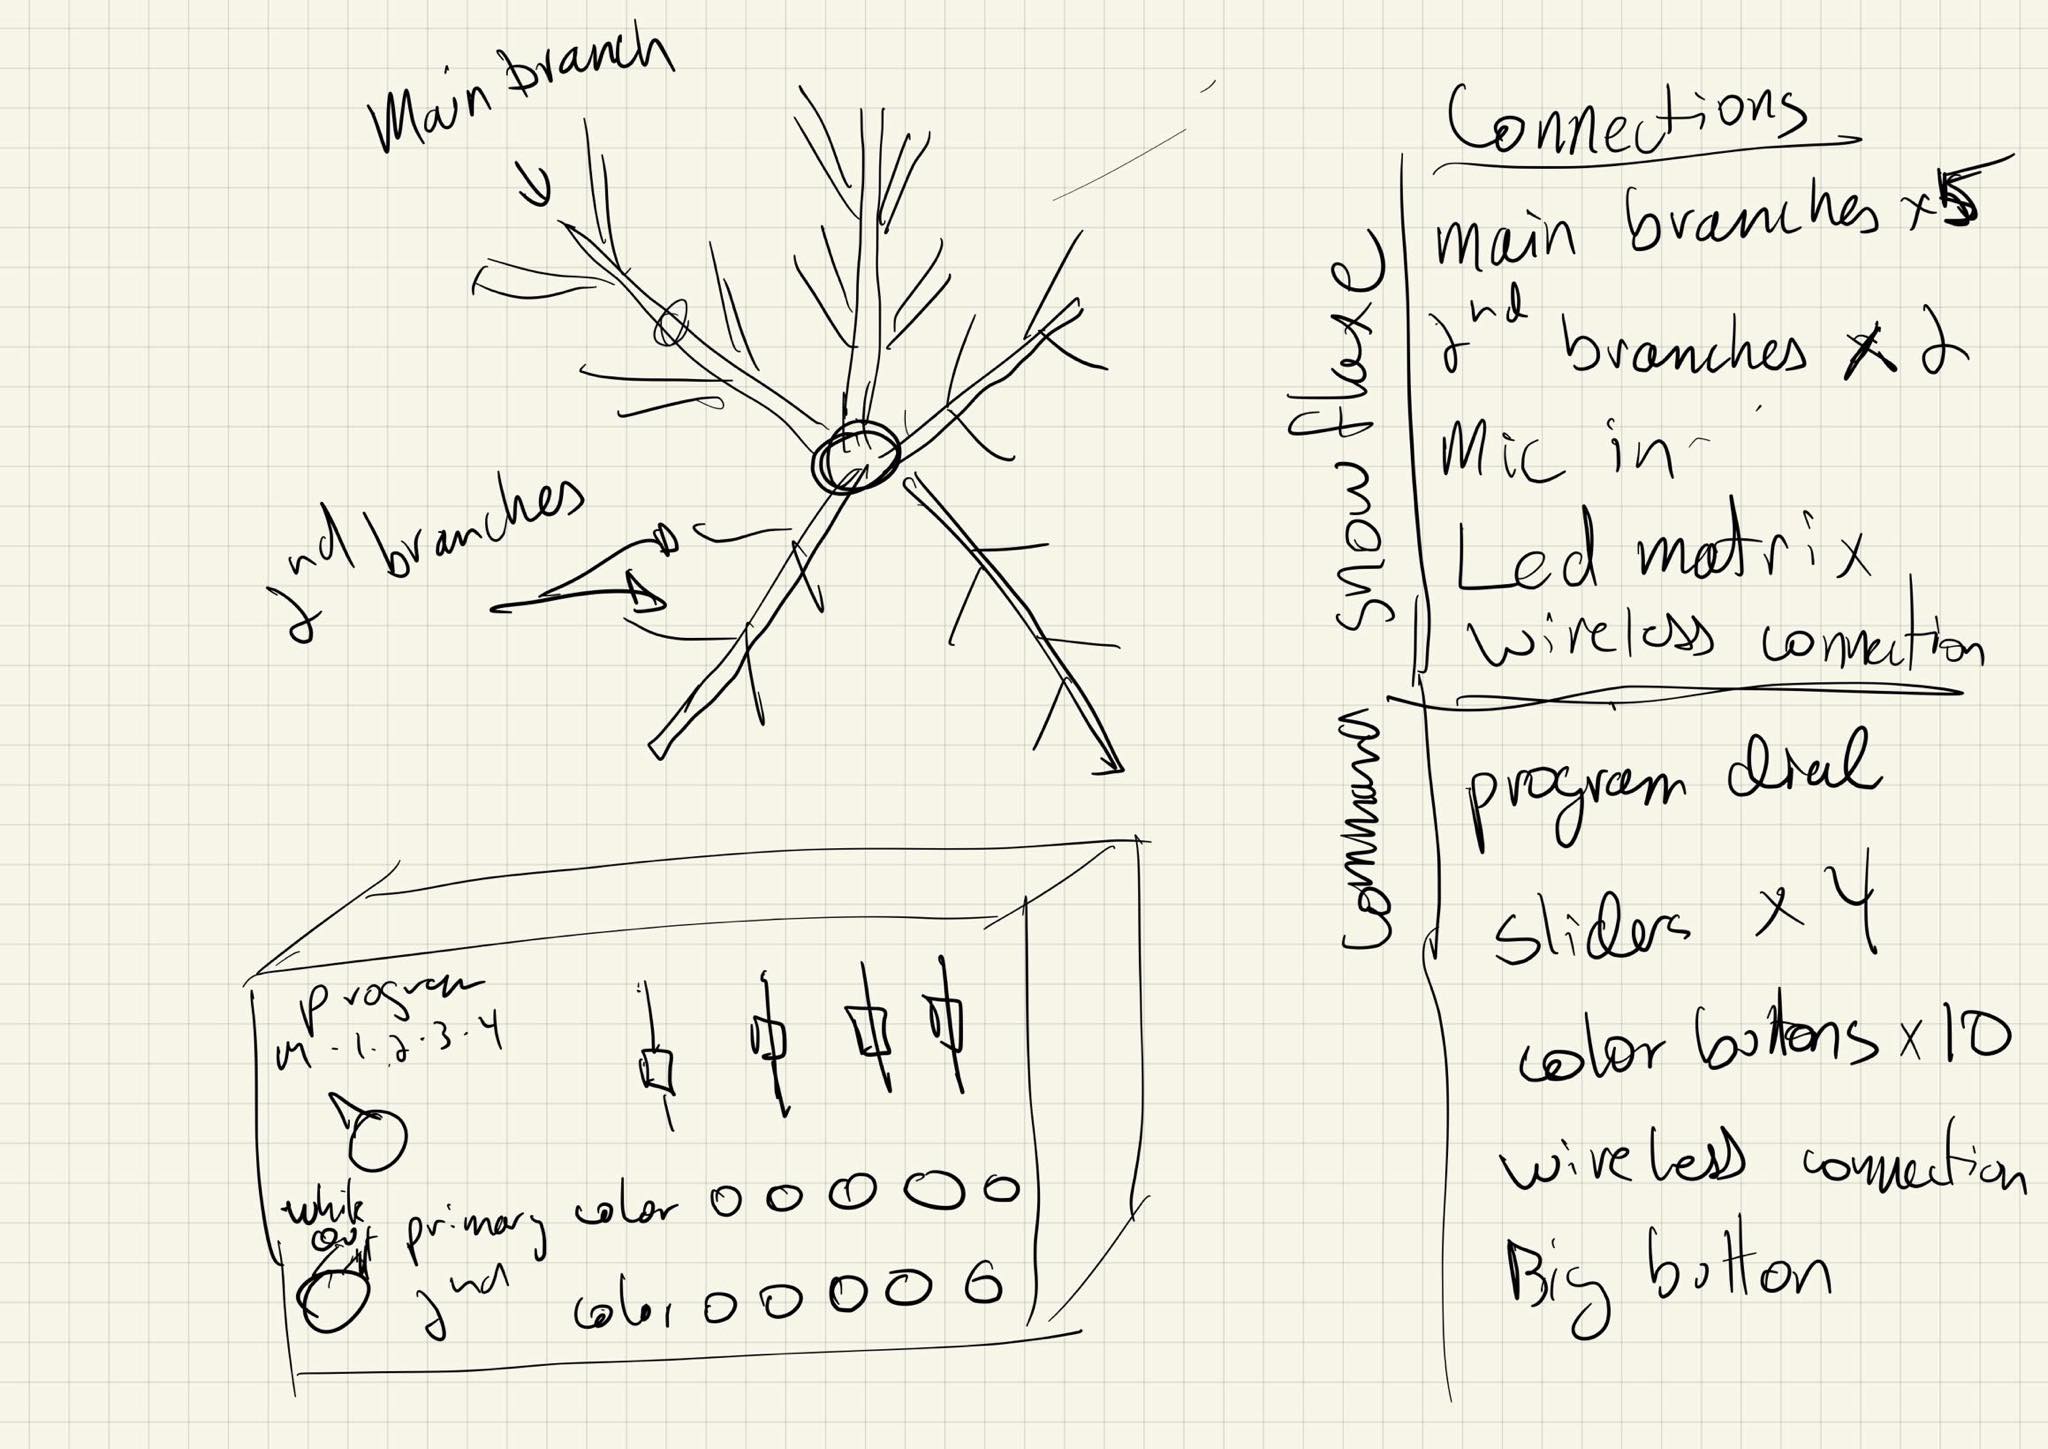
Snowflake
- Main branch LED data x5
- Secondary branch LED data x20
- LED Matrix
- Microphone in
- Wireless connection
Command
- Program dial (5 positions)
- Slider x4
- Color buttons x10
- White out button
- Wireless connection
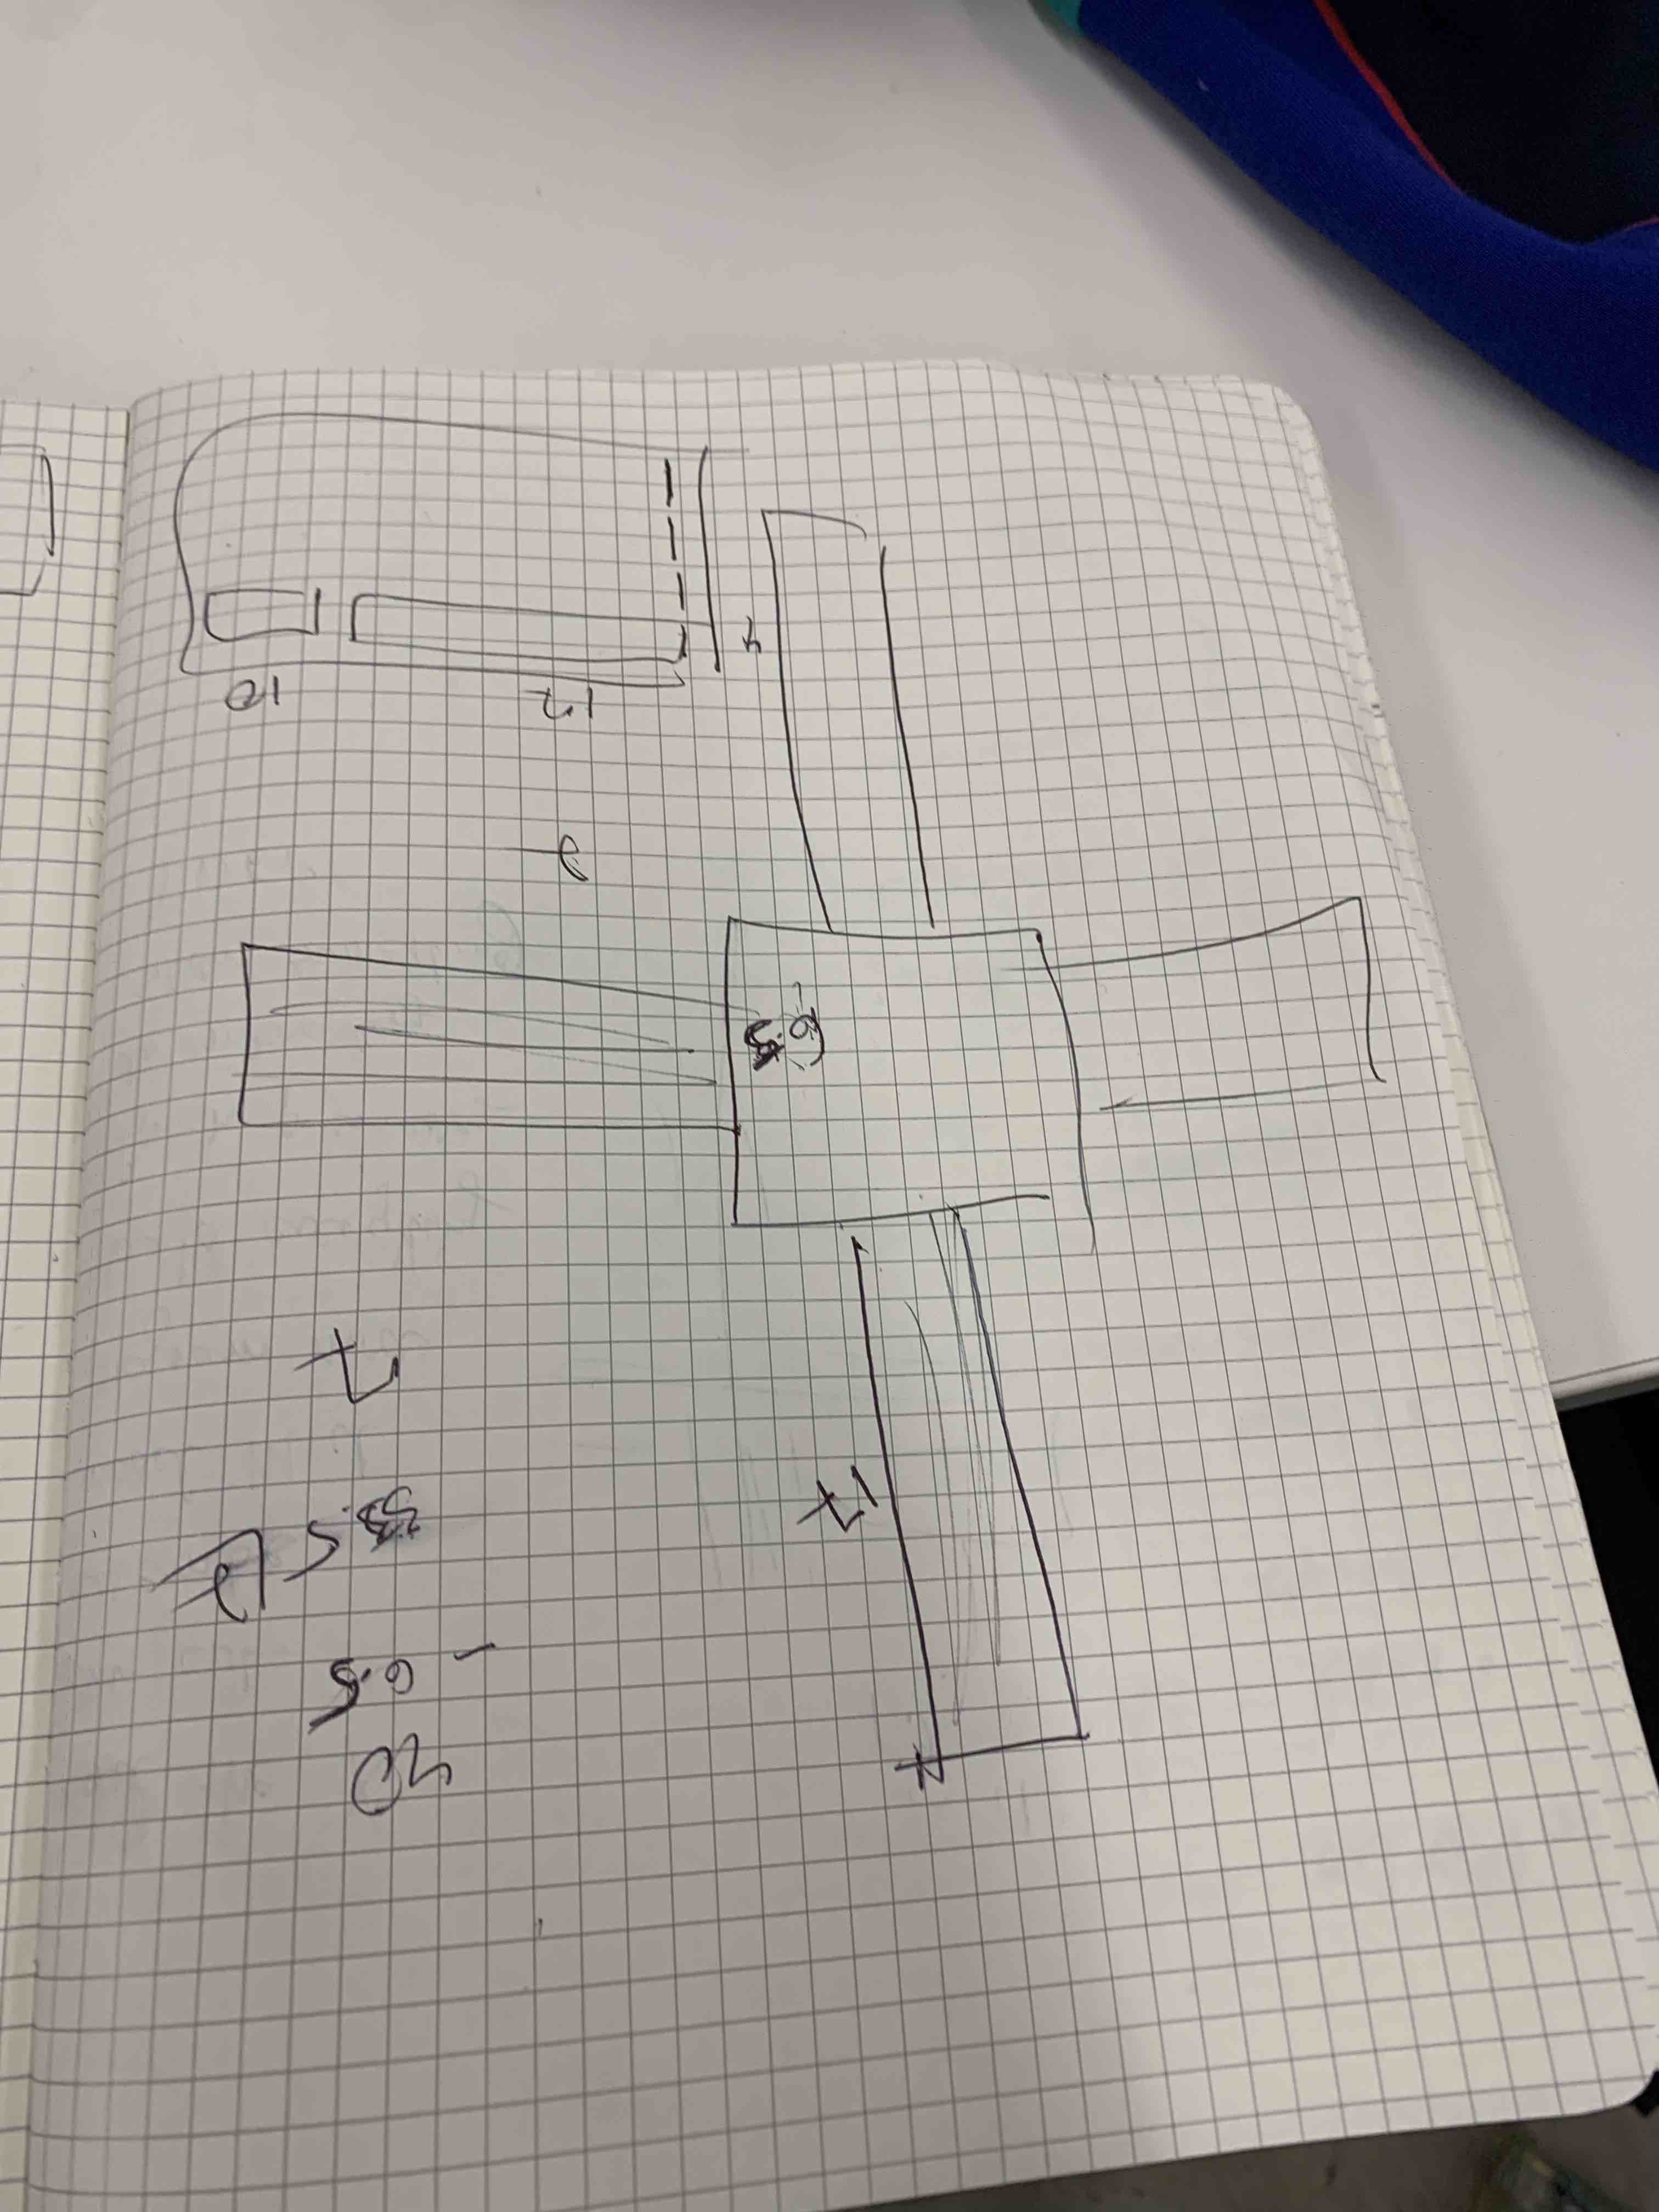
Update on the design
I quickly realized that building and programming a snowflake shape would be complicated. Given time constrainsts, I revised the design and decided to build a big X instead. This would make programming and building the sculpture easier. Moreover, another of my friend runs raves in Montreal for which the logo is a big X. As such, the X will be useful to him also.
Below is a sketch of the revised designed of the sculpture.
I also changed my strategy in regards to actuating the scultpture. I decided to use mapping software connecting it to my mac to define the color of the LEDs. Building a connected system that would interact with TouchDesigner or Arena would allow me to change the colors and programs in easy to use interfaces and withiout having to code C in arduino.
I started experimenting with TouchDeisgner to understand how I could connect it to my board. My goal was to use the ESP32 board I had built. Following online tutorials, I realized that I should transfer data from TouchDesigner to my sculpture through serial. I found tutorials online that would help with that and after a lot of debugging, I was able to light on and off LED on a strip.
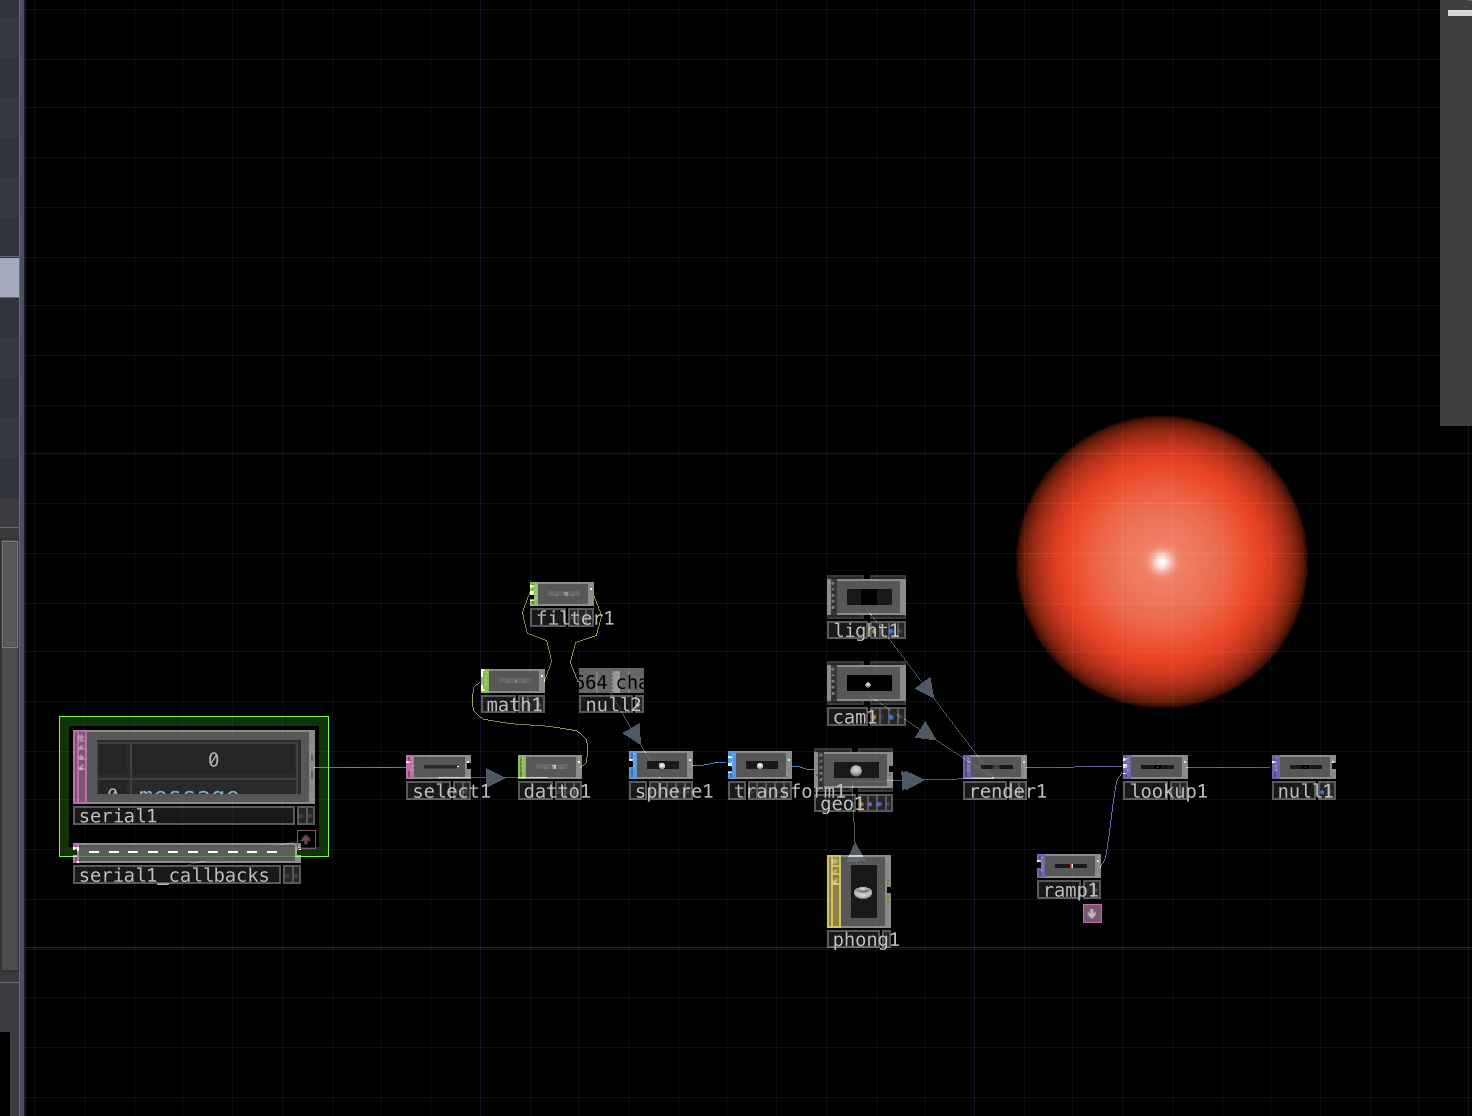
However, the data transfer rate was way too slow and the result was very choppy. This would not provide the result I intended for the project. I scraped the internet to find a new solution, but not much could be found. I realized that I had to use the DMX protocol to transder the data to the sculpture. I had 2 options, eaither doing it wirelessly, or through a XLR cable.
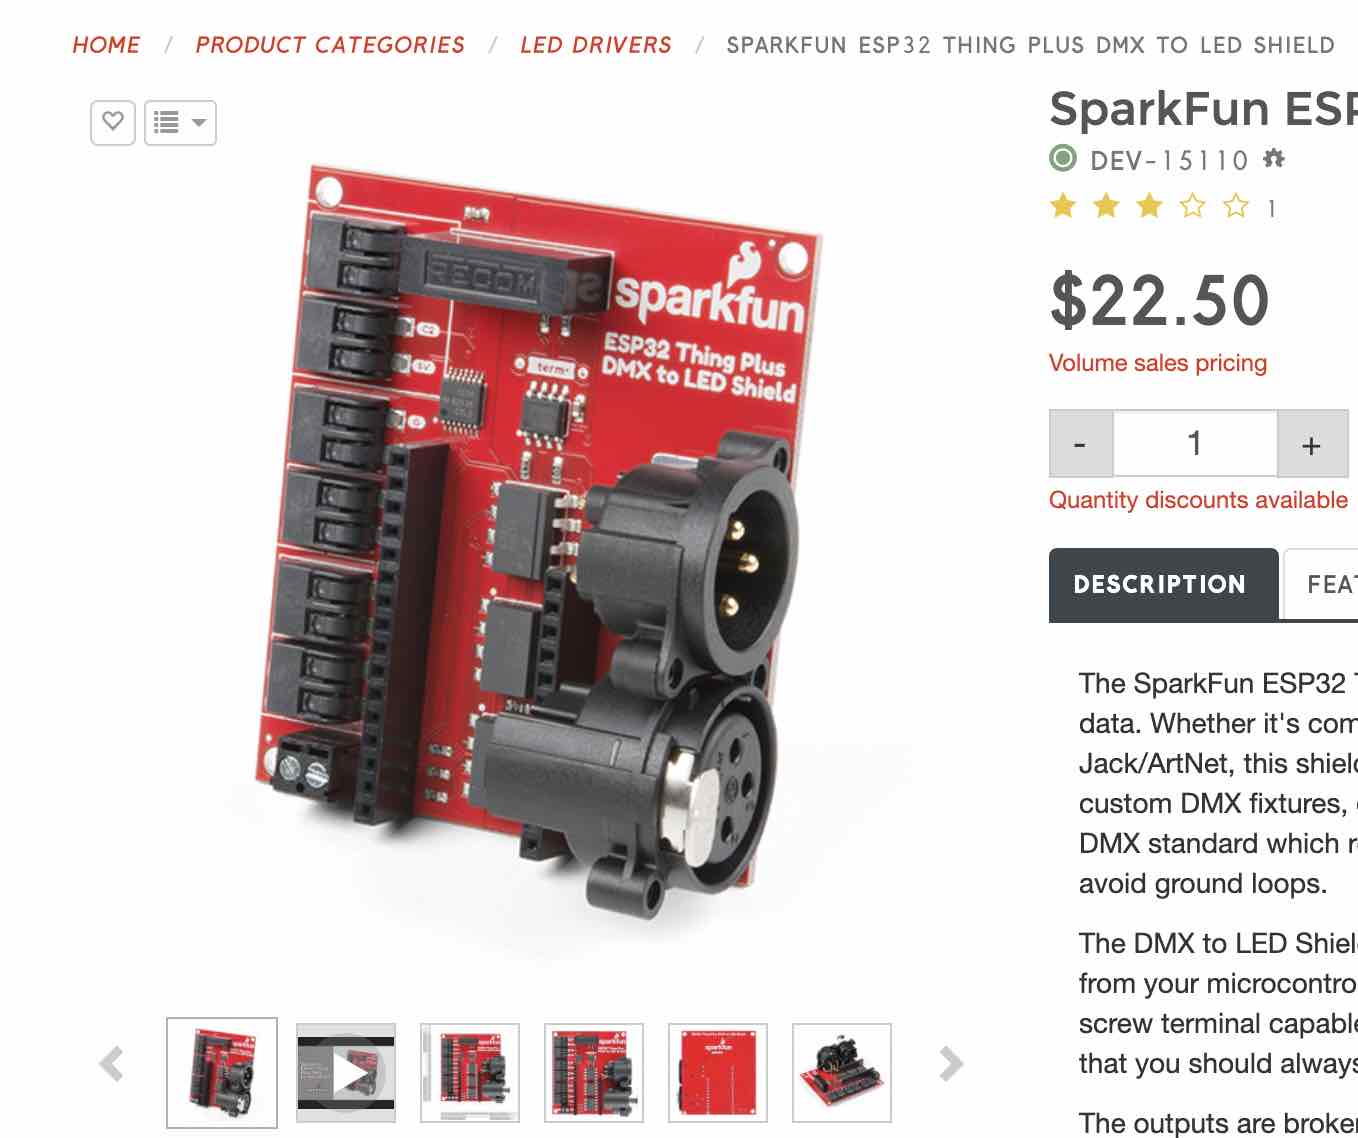
I started by exploring the wireless possibility through the ESP32. However, even programming it, I realized that this was very cumbersome. In a party environment, wireless connections are way more unstable and reliability is very important to my design. Luckily, I found another solution, a DMX breakout board by Sparkfun made for their ESP32 board. At 2am few days before the final, I decided to buy it with expedited shipping. I also made the decision to get the ESP32 board by Sparkfun. I understand that the spirit of the class is to build boards, however, I already onboarded this skill and had very little leaway to make sure this would work. I thought that biuying the ESP32 board was a good investment in the project given the situation. I also had to buy a DMX interface for my computer to output the signal.
Yes, I did a second project
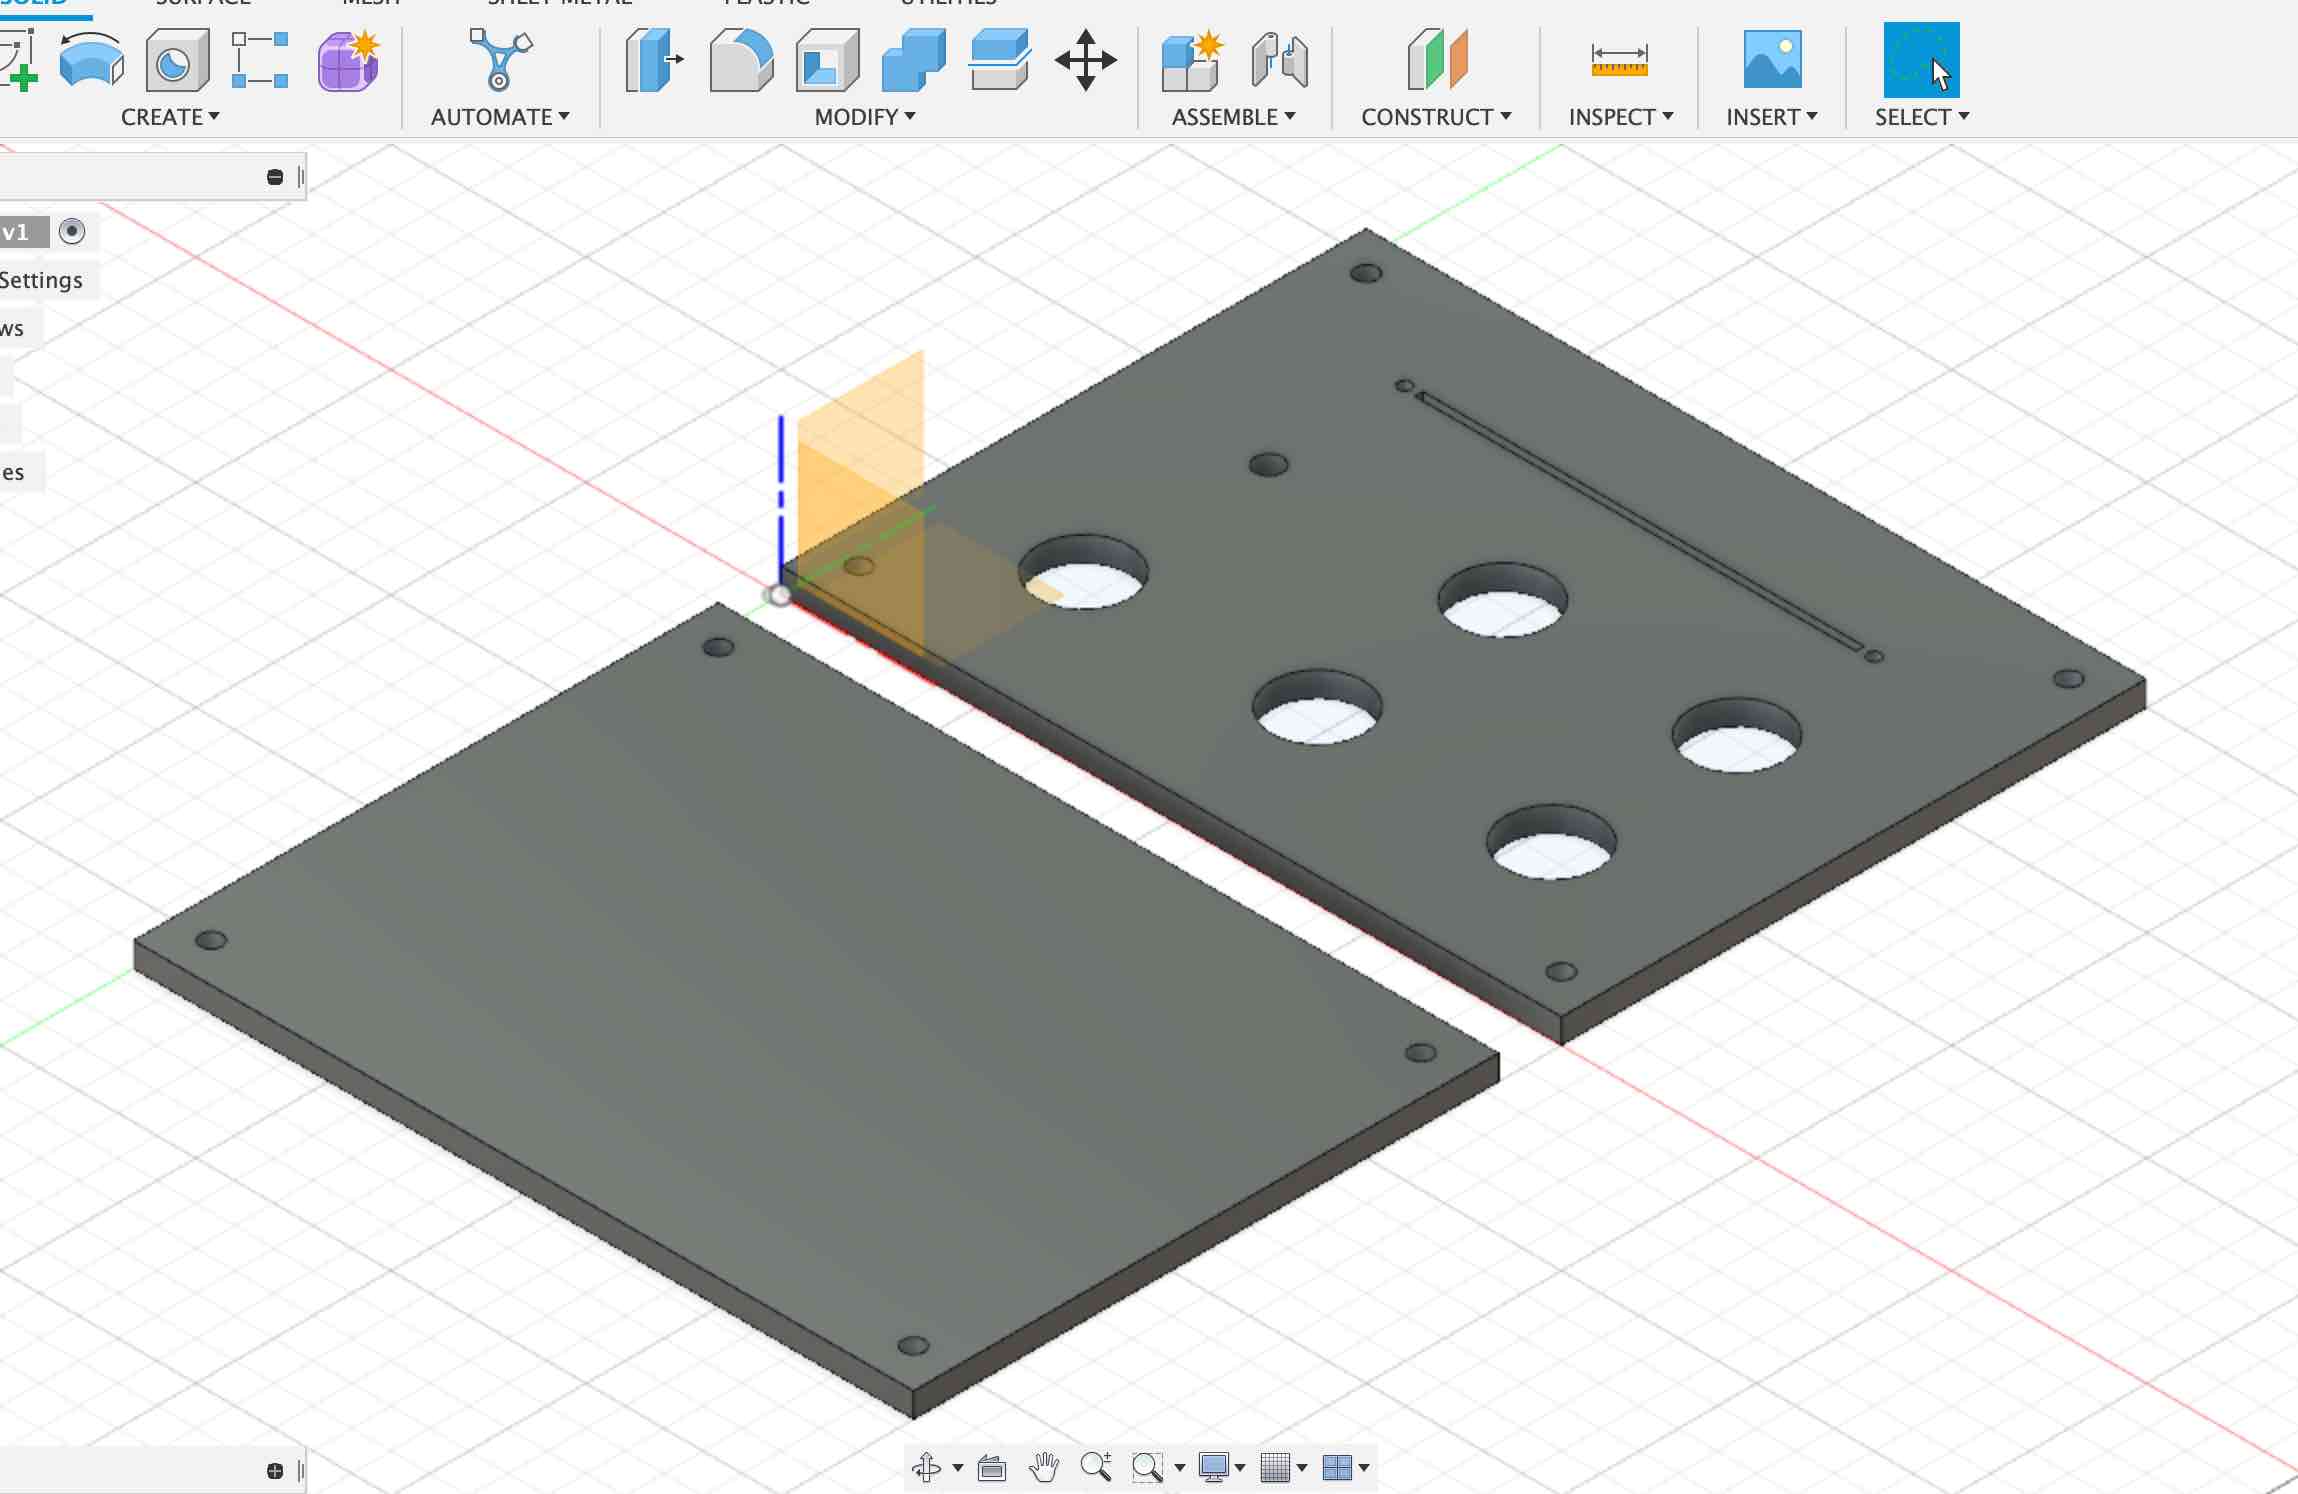
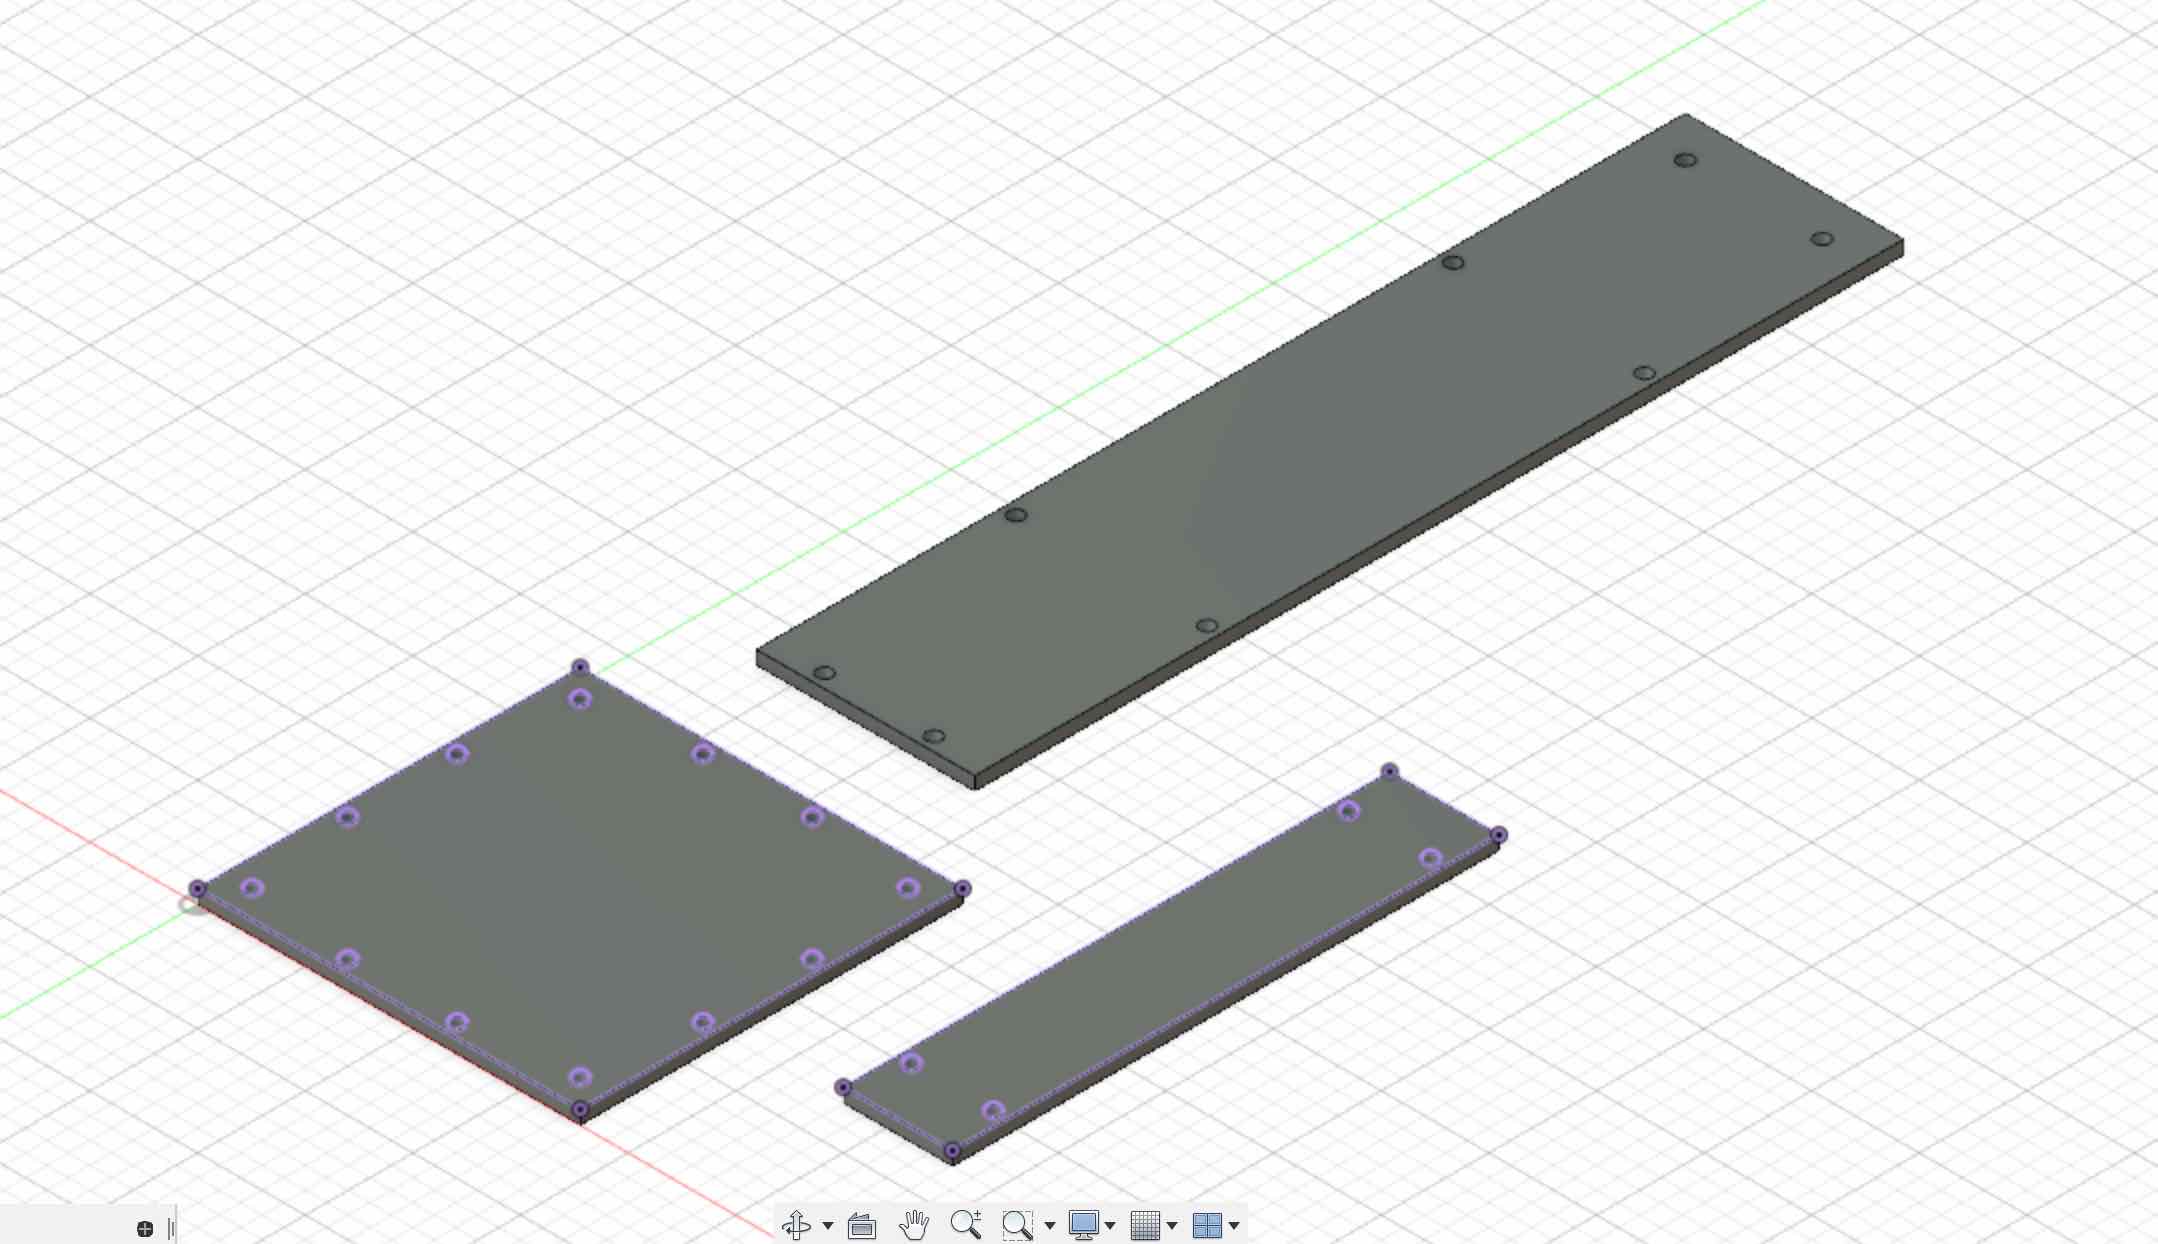
As I waited for the boards to ship, I decided to build a side project for the sculpture; a MIDI controller that would allow me to control the software on my mac. I decided to add 5 buttons, a rotating potentiometer and a sliding potentiometer. It would be made of clear acrylic and large bolts. How hard can it be???
Below is a design of the 2 scrylic parts.
I assembled the parts and linked the button lights together. Overall, I really like this part of the project, I think that it will add a lot to the experience of the sculpture.
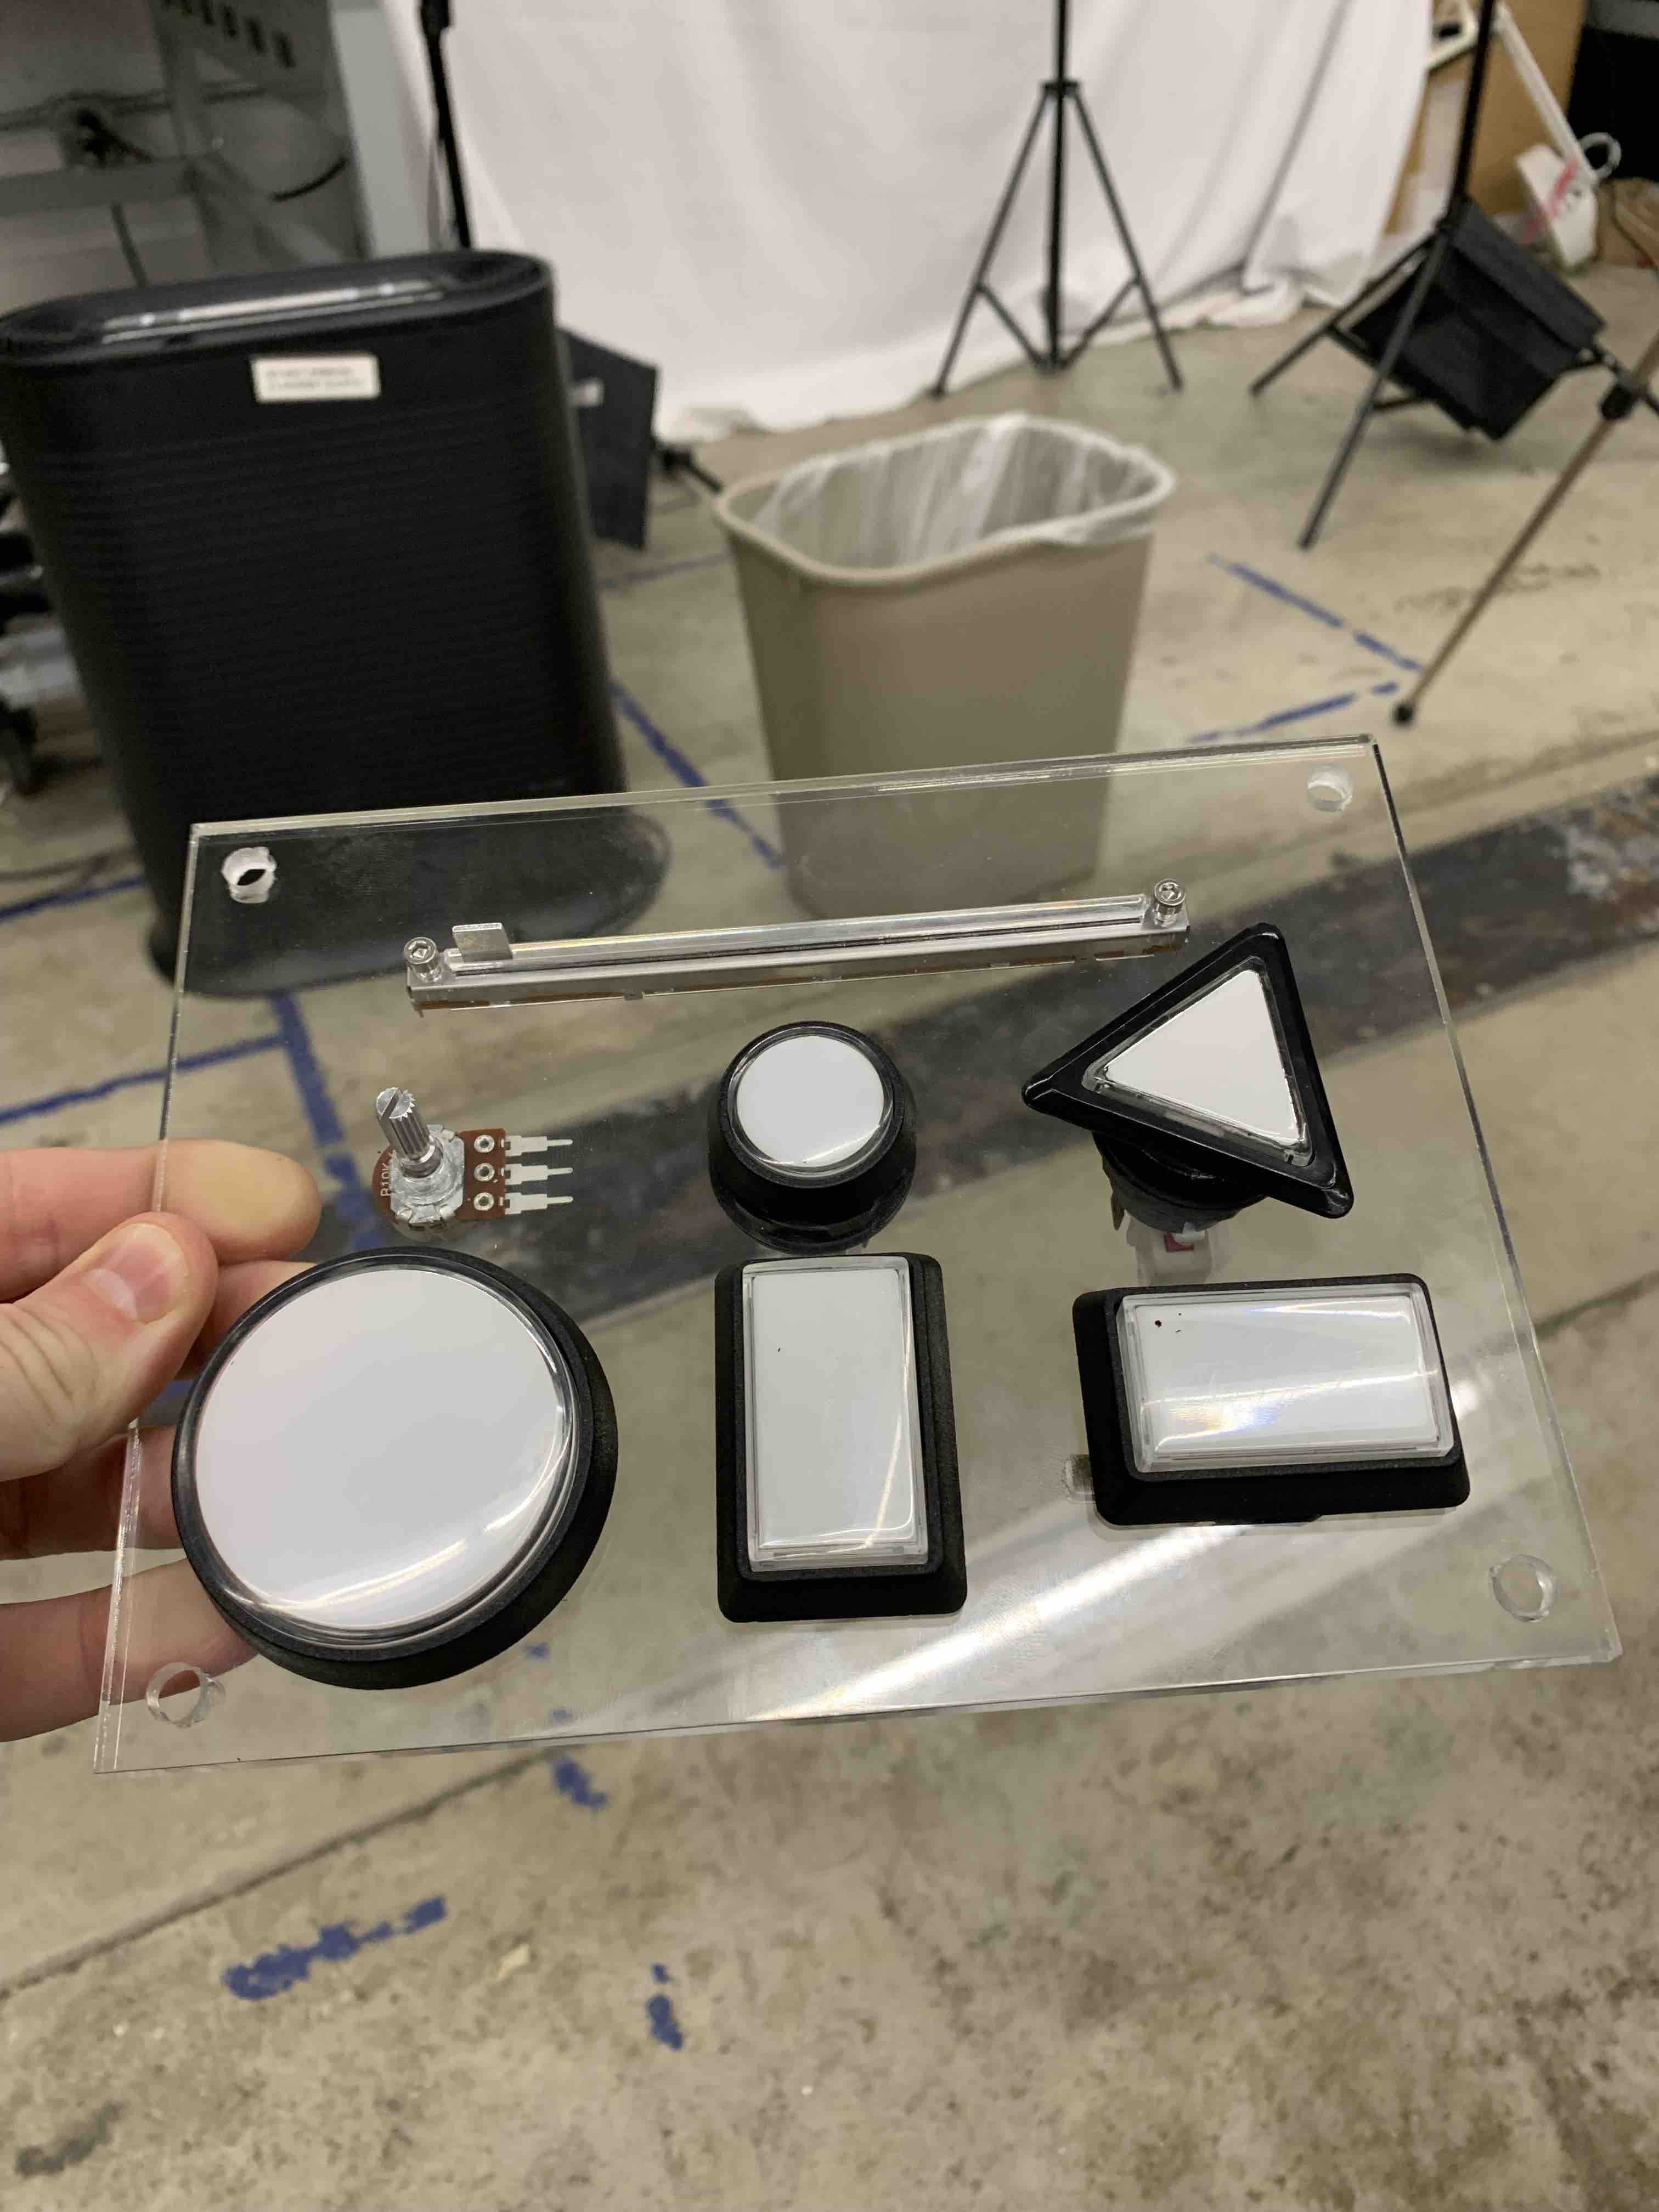
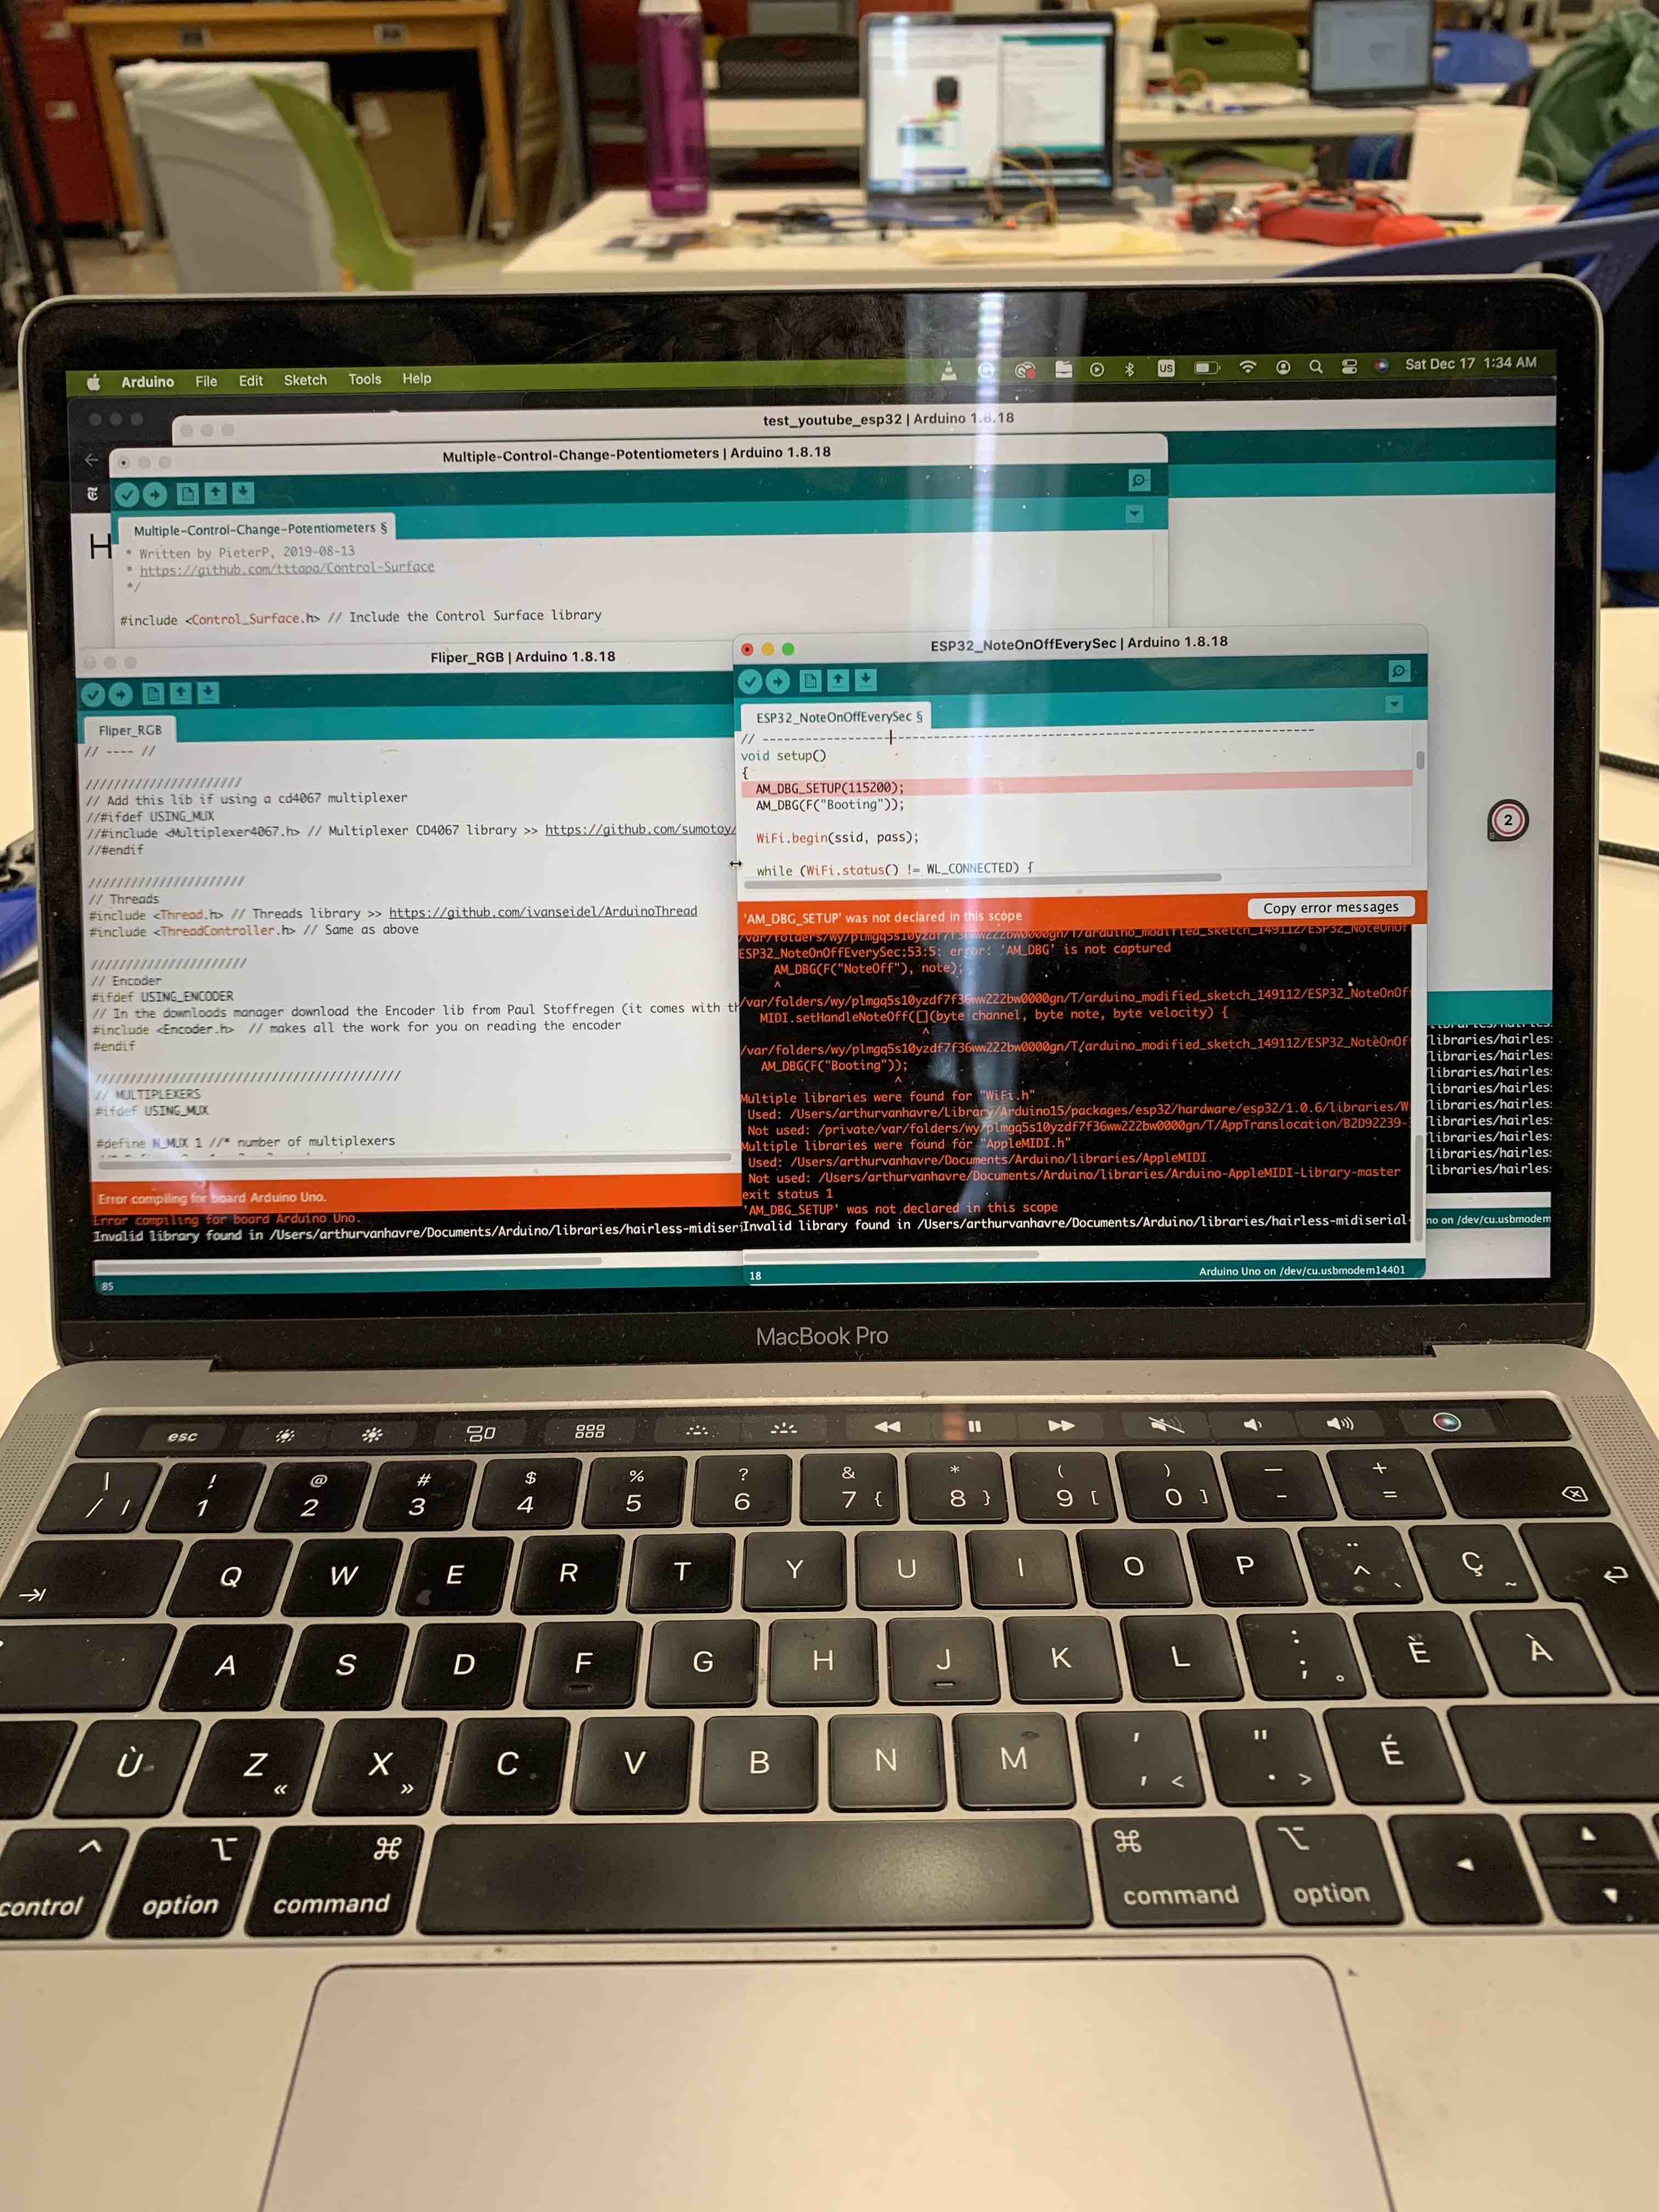
However, I encountered great toruble when trying to program the unit. I thought that building a MIDI controller would be a piece of cake; it seemed like a very classic arduino project. However, it proved to be much more complicated than anticipated. The main issue came from the usb interface of the chipsets. It turns out that MIDI-over-USB is not native to a lot of chips. Namely, it is not native to the ESP32. I found software that could turn serial signals into MIDI, however these 32-bit pieces of software were not Mac friendly, and, even after a lot of research, I could not find an easy to use alternative.
I learned a lot about the type of chipsets and their usb interface. It turns out that only few arduinos can do native MIDI controls. These count the Arduino Micro and the Arduino Leonardo. They are able to achieve this feat because of their atmega32u4 (a chip we don't have in the lab...) After a lot of research though, I found a hack to use an arduino uno R3 as a MIDI controller. It required swapping the firmware of the usb interface (an atmega16u2). Using this hack and the controle surface library, I was to get it recognized as a MIDI controller. However, the workflow was very inconvenient as I had to flash the firmware back and forth everytime I wanted to tweak or test the code. I hope to work with Leo and Quentin find a better solution to this problem.
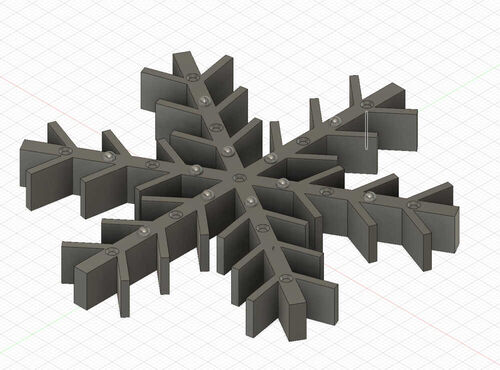
Building the big X
As my DMX interface parts were on the way, I also designed and built the structure of the X. I decided to make it out of quarter inch clear acrylic that i would laser-cut.
I designed the parts in Fusion. I decided to build an open concept with bracket in galvanized steel. I am going for a cyber-punk aesthetic with a lot of LEDs, visible cables and a lot of metal.
The idea is to have 4 branches, each branch with 3 rows of LEDs on them. In the middle, I will add the 16x16 LED matric I had used for my Halloween costume. I have a lot to learn about DMX data universes (that's the data format fort DMX) and hope that this many LEDs will be compatible with my architecture.
Below is a design of the acrylic parts.
We had issues with the laser-cutter on Friday night. I hope to be able to cut my pieces on Saturday.

The little board that could
I got all the parts for DMX over XLR. However, I realized that the format was far from efficient. I could only transmit 512 bytes of data per DMX universe.
Given that RGB lights take 3 bytes per LED, I was limited to 170 lights. That wasn't going to cut it.
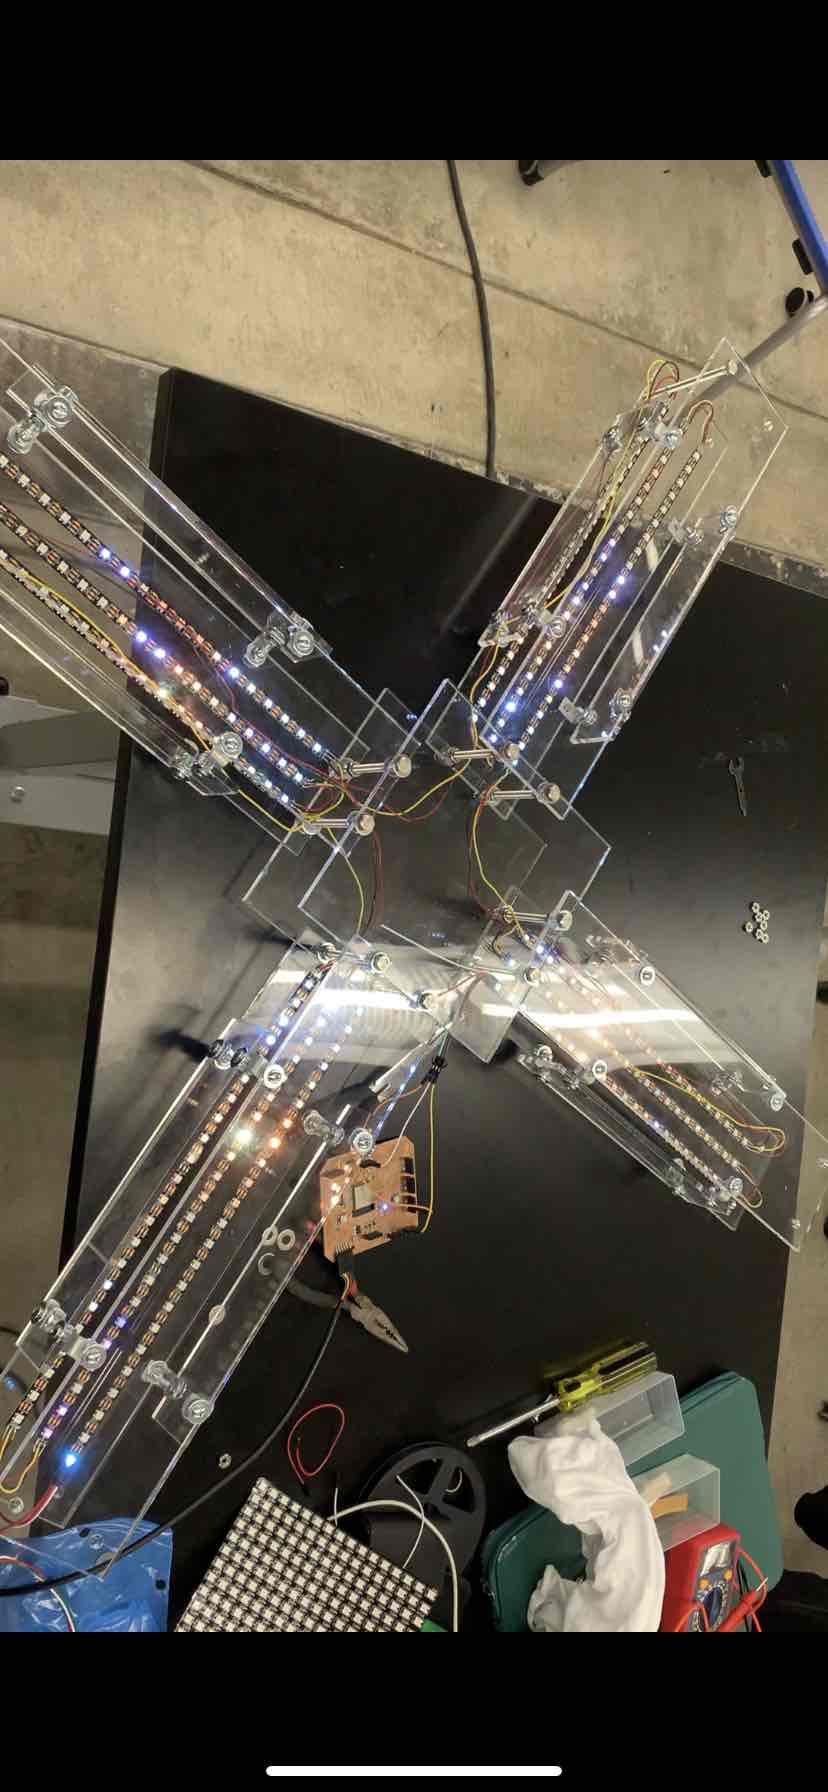
After researching a new solution, I came back to the idea of transmitting the DMX data over Artnet wifi directly to the ESP32. I used the board I had milled to test it and it worked on the first time. It turns out that you should always believe in yourself cause there's a way to make your DIY hardware beat $250 parts from Amazon. Also, FYI Enttec parts are very bad, I would not recommend ordering from them. Build quality is low and documentation is very unclear. I had my Eureka moment When the wifi connection worked and that my LED strip lit up. It was the first time when I really felt like I had a project and that I would be able to present to the class.
Below is a video of th first time I lit up the LEDs.
I experimented with the ESP32 and tried to push the number of LEDs I could power. I started having issues with some LEDs behaving weirdly, staying open when data was off and showing the wrong color. My belief is that the issue was 2-sided; there was too much data for my little chip, and there was not enough power coming out of my MacBook. After a few tries, I realized that one ESP32 hooked up to my computer was able to power around 270 LEDs. I thus decided to use two ESP32 chips powered by 2 different USB outputs to power the 550 LEDs of my design. To make it by the deadline, and to feel like I had not purchased parts for nothing, I used the Sparkfun ESP32 Thing Plus I had b ought for the DMX over XLR setup.

Nuts and bolts
I then built the structure using an obscene number of nuts and bolts. This took forever, but I'm happy with the result! I laser cut all the pieces and it really fits with the aesthetic I was going for.
I decided to 3D print a stand for the LED matrix. This also enabled me to store the PCBs under the stand. I used Legos to prop up the PCBs. This had the double purpose of holding the board up to make accessible the pins, but also to make it somewhat modular. This strategy, while not perfect, makes the programming process easier (because the switches and buttons are more easily accessible).
One last thing I had issues with was the LED connections breaking apart. I had to resolder a lot of them and even had to scrape out some covering tape to reconnect one LED. To prevent this issue from breaking the system when I am at an event, far from a soldering iron, I added hot glue to all the cionnections.
Below is a picture of the assembled structure and of the 3d printed component.
Let there be light
Once I had assembled the X, figured out the DMX codec, understood the powering and the control of the LEDs, I got to designing the images projected onto them.
I pivoted away from TouchDesigner, and chose to use Resolume Arena instead. It is very intuitive and enabled me to easily map out the LEDs. I think that TouchDesigner can offer more fleaxibility and creativity, but It will be for a next iteration.
With Arena, I found that using circular complex shapes was the best for the system. It creates interesting patters and visuals on the sculpture. I was also able to display text on the LED matrix I don't tink I'll be using this feature, but it's fun to know that I can! In TouchDesigner, using generative Ai to create text might be a cool system.
Below are a few videos of the sculpture in action. I think it's very cool and I look forward to using it at events this winter.
Boring stuff
I ended up spending $218.20 on this project. Considerting that an Artnet interface by itself is more than that, I think that I did pretty well. The main cost drivers was the acrylic and the pre-made boards. If I were to rebuild the system, I could do it for around $150.
Below is a breakdown of costs.
| ESP32 | 4.20 |
|---|---|
| LED strip | 33.00 |
| LES matrix | 20.00 |
| Sparkfun ESP32 Thing Plus | 24.00 |
| Acrylic | 83.00 |
| Misc hardware | 20.00 |
| Other hardware of all sorts | 5.00 |
| 3d printing | 1.00 |
| Glues and adhesive | 3.00 |
| DMX interface I did not end up using | 25.00 |
| Friends we made along the way | Priceless |
In regards to evaluation criteria, I think that my project was successful. I was able to achieve my goals and create something that is useful and enjoyable. I demonstrated the ability to use techniques inclusing 2d and 3d design, additive and substractive manufacturing, electronic design and production, embedded programming, interfacing and packaging. I also managed my project well, using supply-side time management and refining my goals based on what was possible. My project was inspired by small scale projects found online and by large scale stage deisgn systems.
Overall, I am very grateful for the opportunity to take this class. I really feel like I onboarded a lot of skills and that I will be able to apply them throughout my life. Until next time. That's it, I can build anything.
XOXO