Week 5: Computer Aided Manufacturing
This week, I decided to build a pair of HiFi speakres for my living room. This project took mew forever, please give me an A.

First step was to learn about speaker design. I researched the topic and selected components to buy. I acquired a 10'' woofer, a horn, a horn driver, a 3000 hz crossover, and 4'' port.
Based on the specs of the selected parts, I designed the speaker cabinets in Fusion 360.
I then exported the DXF files of each face of the design to prepare the CNC G-code files. I was surprised that each file had to be exported individually from fusion.
I imported the DXF files to Aspire and nested them on 3 48x48 sheets. Using Nathan's guide, I defined the cuts for the pockets, the inside cuts and the ouside cuts.
I chose to upgrade from the provided OSB and bought 3/4'' birch plywood for the project. I had the Home Depot staff cut the sheets in half to fit the Science Center ShopBot.
From there, I milled 3 sheets of plywood. The milling took longer than expected; I milled for almost 2 hours. This is probably due to the fact that I did 6 passes on each cut. I made that decision because my wood was thicker than OSB and because I wanted cleaner cuts.
I encountered an issue with the cuts: the milling did not go through the entirety of the lines. As such, I had to finish some of the cuts by hand. I used a japanese saw to cut through the wood. This also allowed me to break the tabs I had designed throughout the pices.
Because they have an irregular shape, I had to use the bandsaw to cut the speaker inside shelves. This was a bit challenging, but the table jug saw did the trick. Everything needed a good sanding, but all was going according to plan.
I encountered issues with speaker components sourcing. First, I was send the wrong port tubes by parts express. Second, I ordered mismatching horns and horn drivers. I had to place a second order with partsexpress.com to rectify the issue. Their support team was very helpful and the right parts were quickly underway.
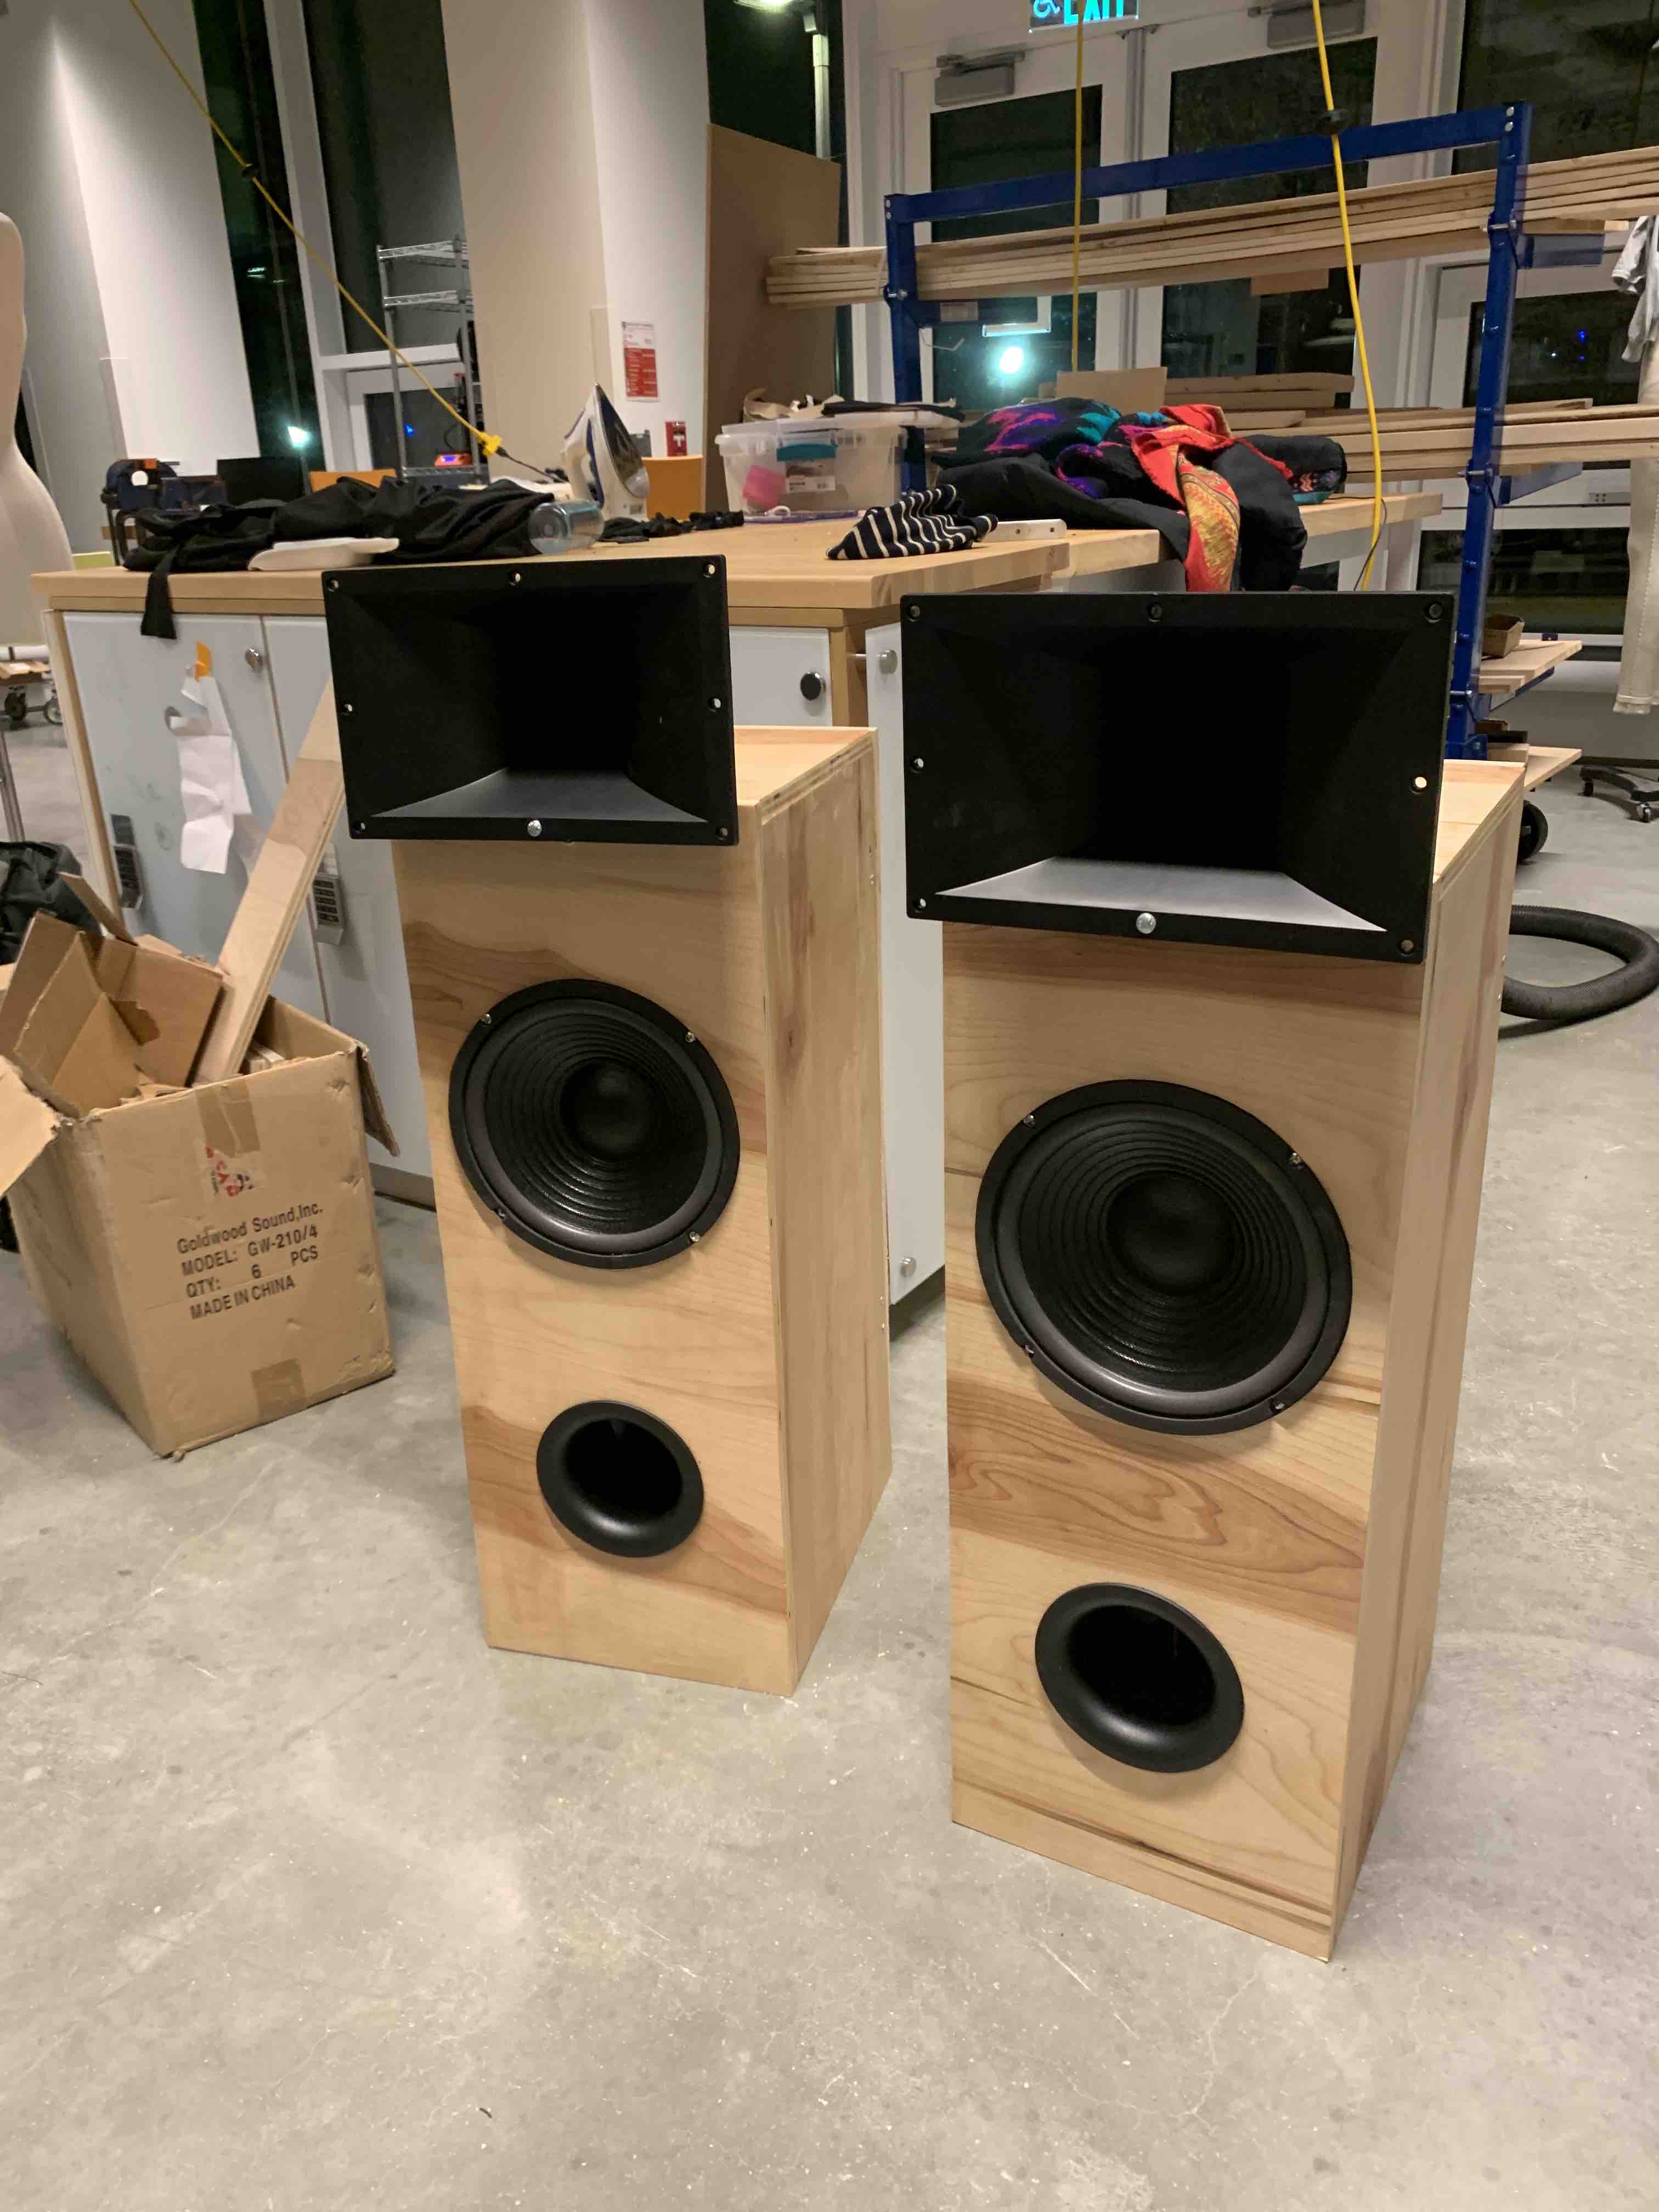
Alas, I had all parts to build the speaker cabinets and all speaker components. I was ready for assembly.
I'll go quickly over this part as it has little to do with digital fabrication. But I spend around 40 hours gluing and nailing together the cases for both speakers. I took my time for this step as I truly enjoyu wood working. I encountered some fit issues. I had trouble with scaling when exporting my cut files to Aspire. I had to be a little creative and find ways to hide the issues. i replaced a side panel for one of the speakers. and had to adjust the height of the back panel on both.
Here is a list of all the steps:
- Sand each component
- Glue each component together
- Sand the gle off of the links
- Use a dremmel to make the drivers fit the front holes
- Hack the vent tubes so that they would fit in the front lower holes
- Make holes for the top horns
- Assemble the horn structure
- Varnish everything (2 coats)
I then soldered all components together inside the speaker. This was pretty straightforward; I used high quality speaker wire and led-free soldeing. I soldered the crossover to the drivers and the inputs to the speaker interface in the back. During this step, I installed sound insulation inside the speakers. I used foam and cotton to limit vibration. I read online that this was important but that there was no real technique to this.
I closed the back enclosure of the speakers on December 9th. After spending almost two months on this project, it was finally done!