Week 6: Embedded programming
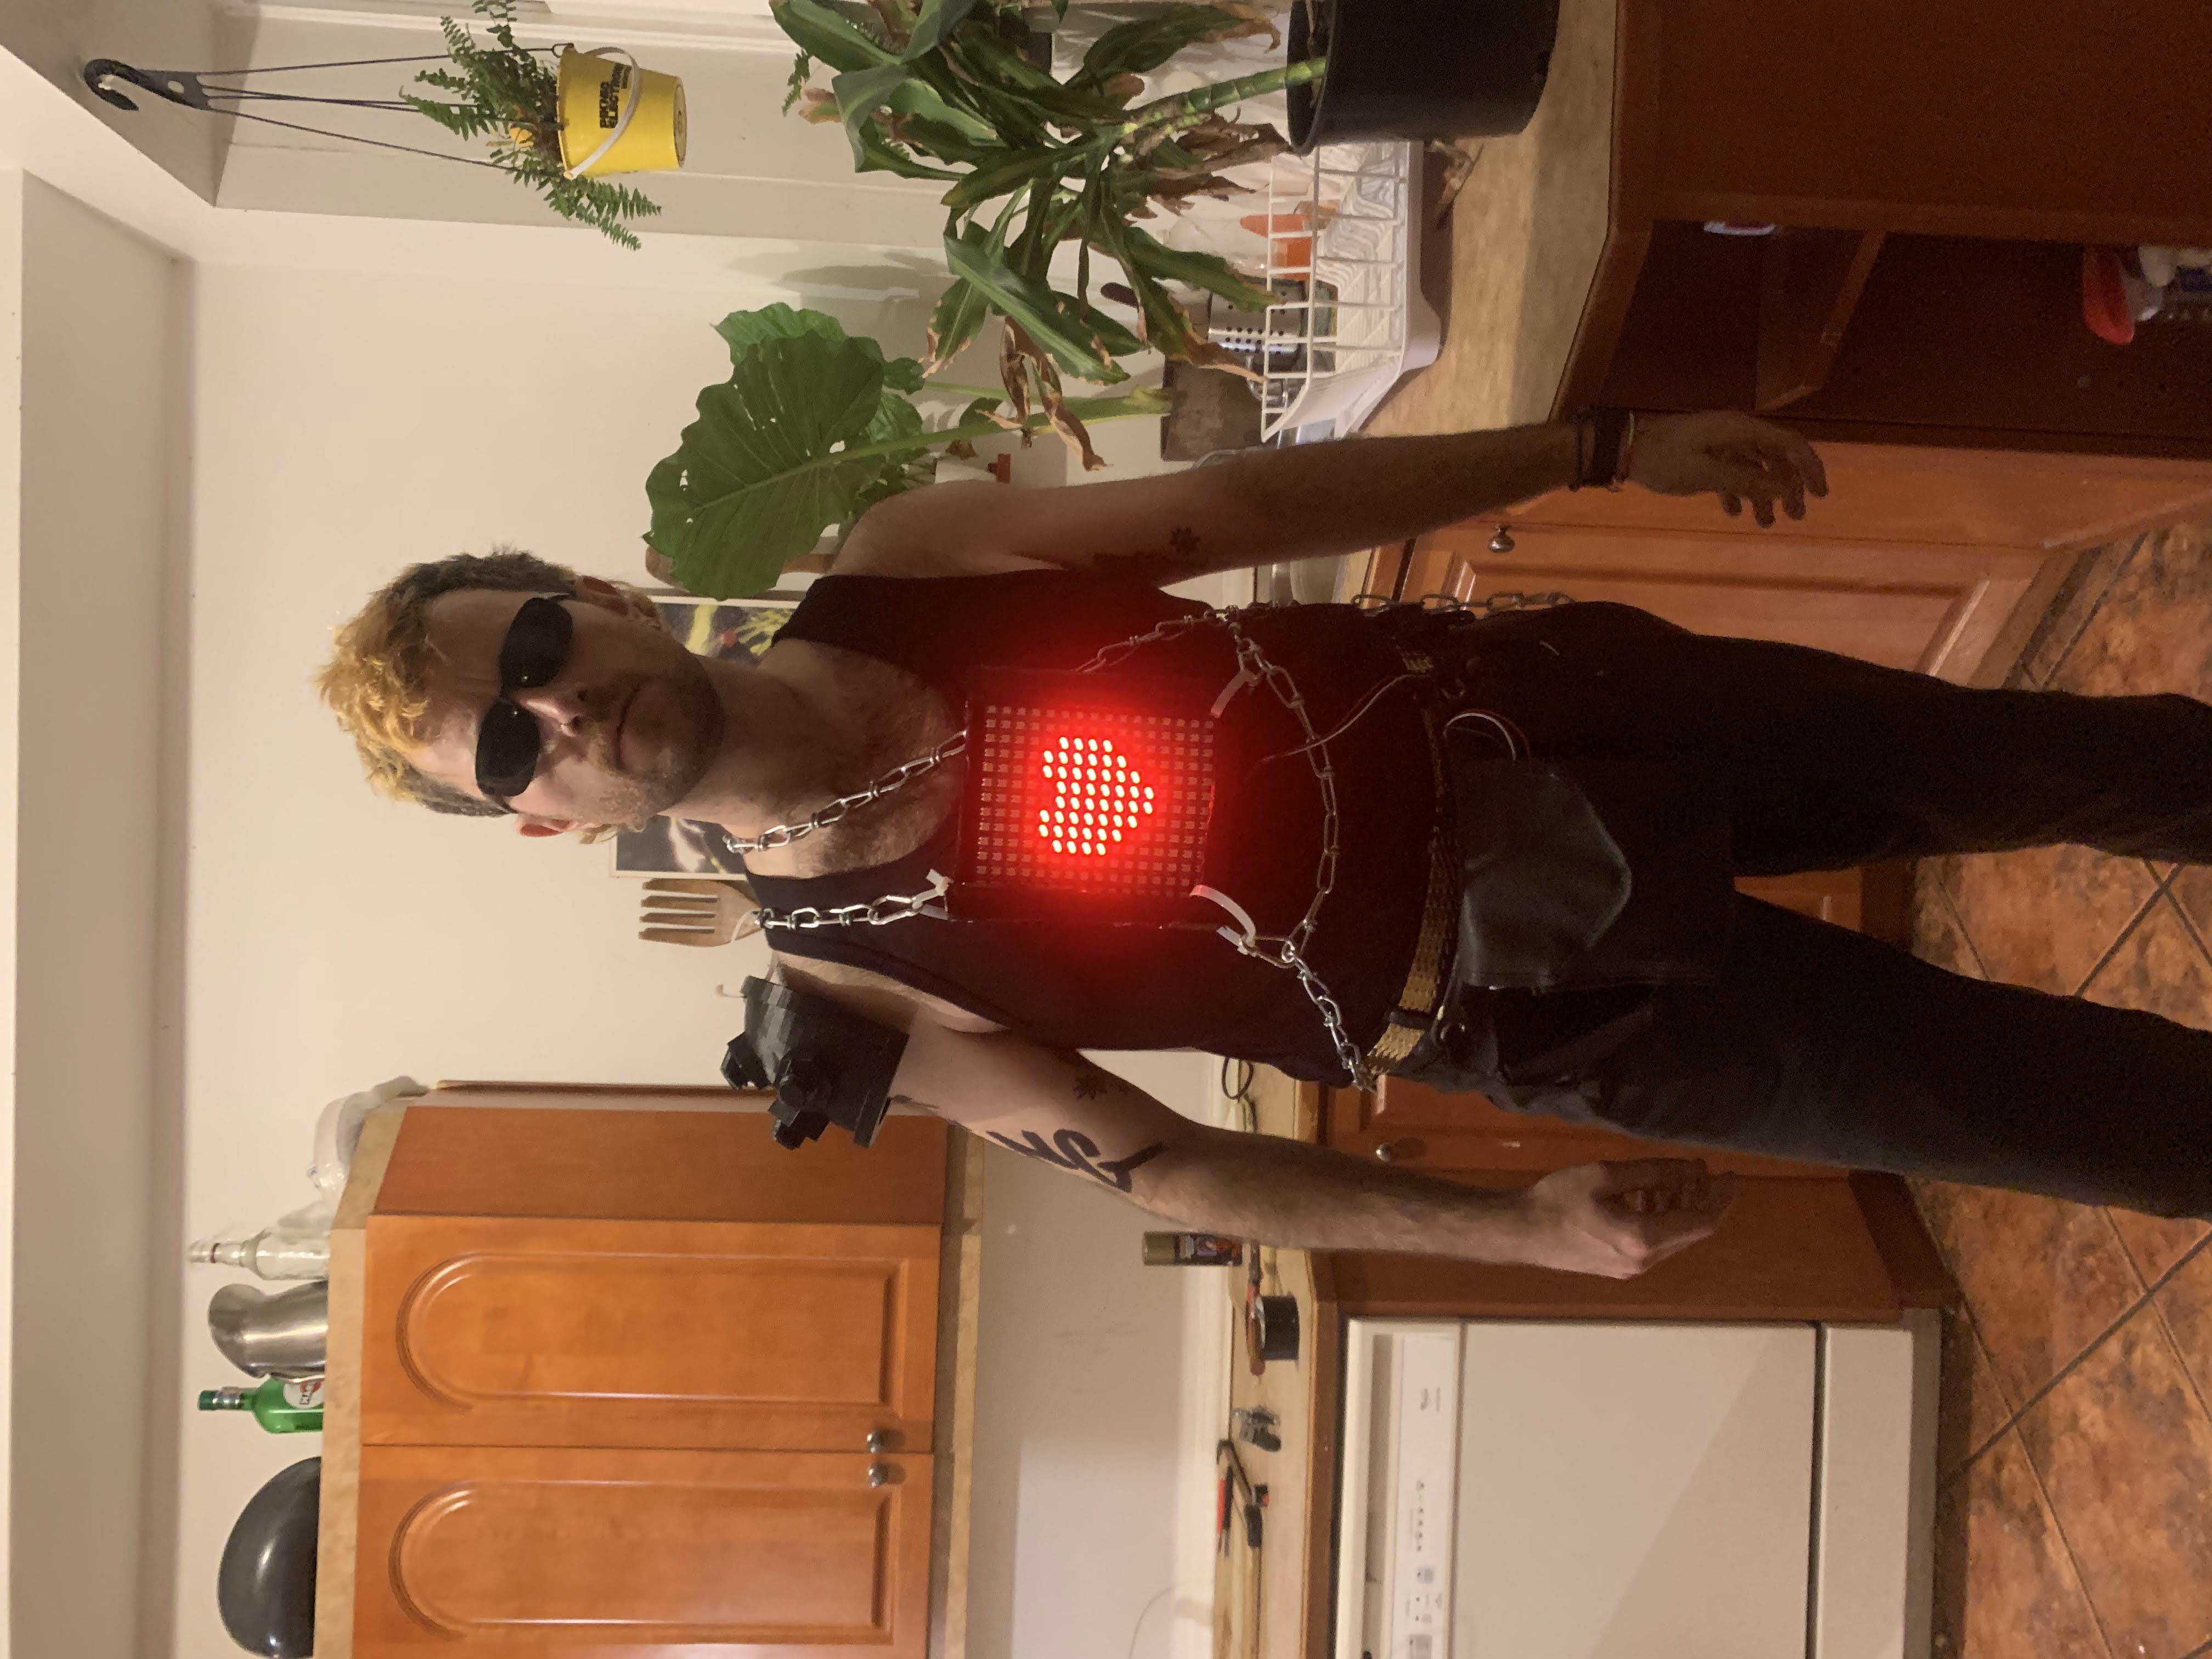
This week, I built a programmable LED matrix for my halloween costume. The idea is to create a beating heart animation that I can wear on my chest and be a cyborg. This project turned out awesome, I learned a ton and I was extremely proud of my costume!
A acquired a 16x16 WS2812B LED matrix programmable by arduino. The project required a new PCB and the use of multiple arduino libraries.
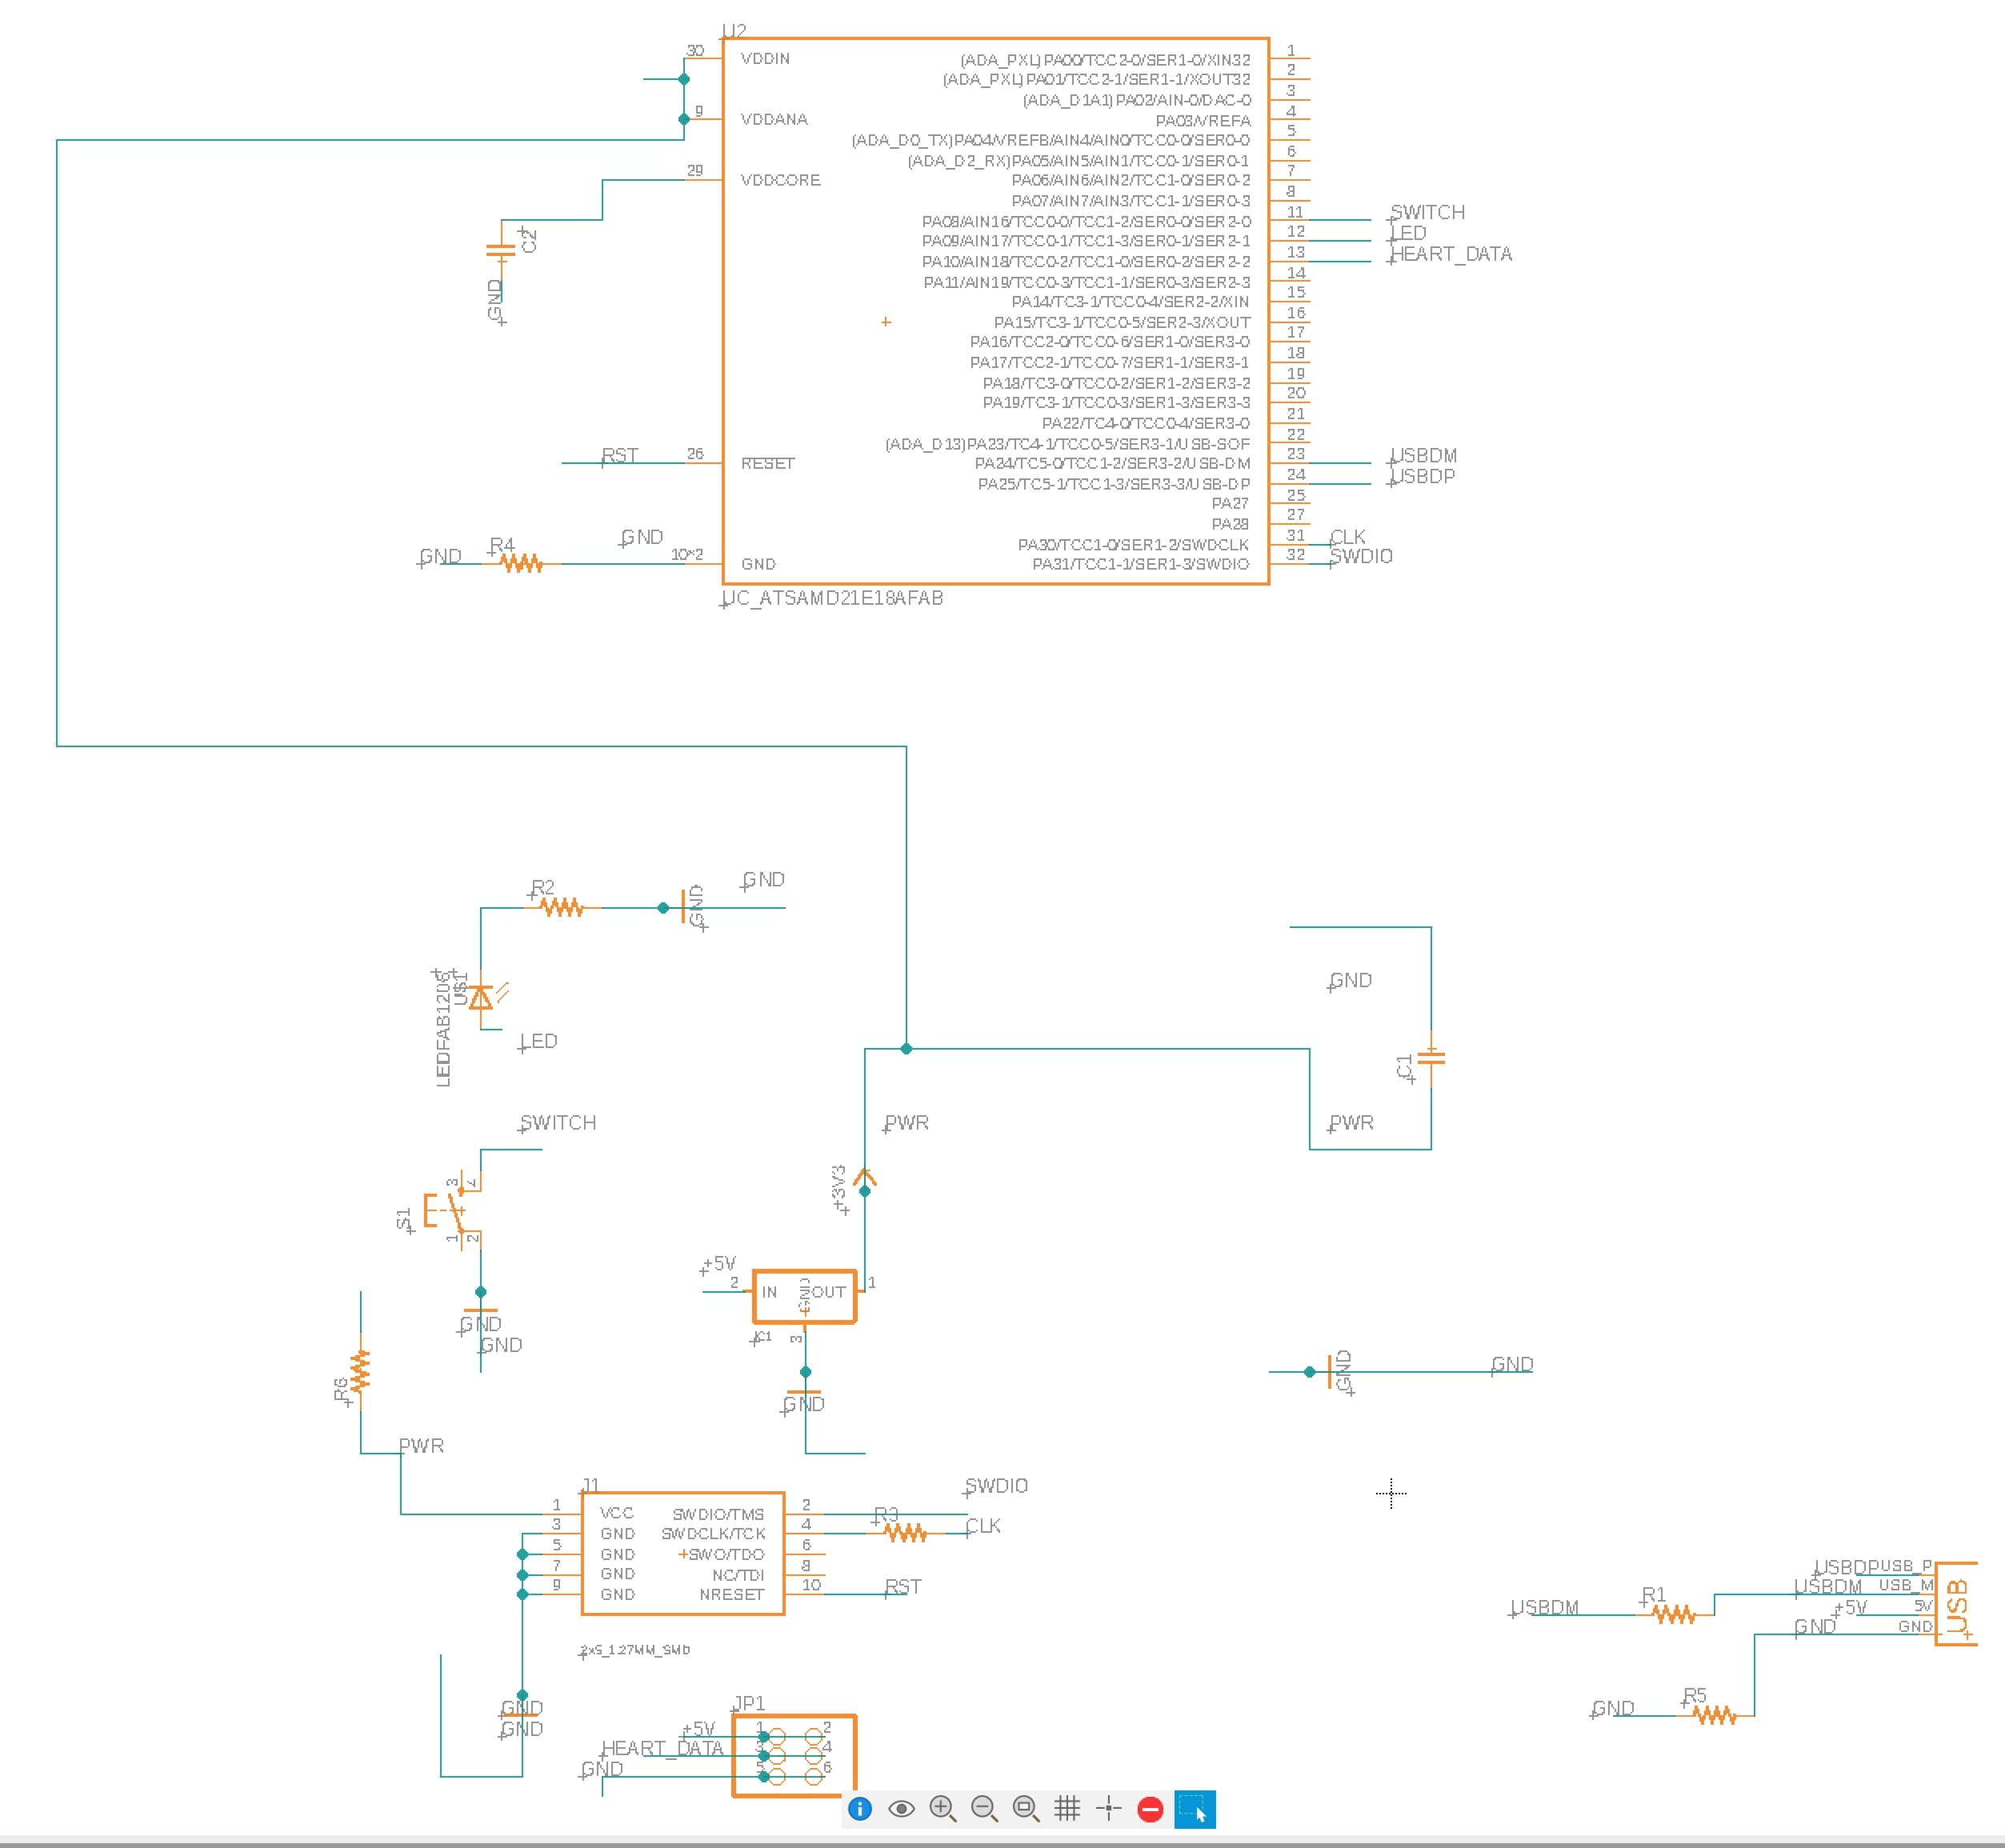
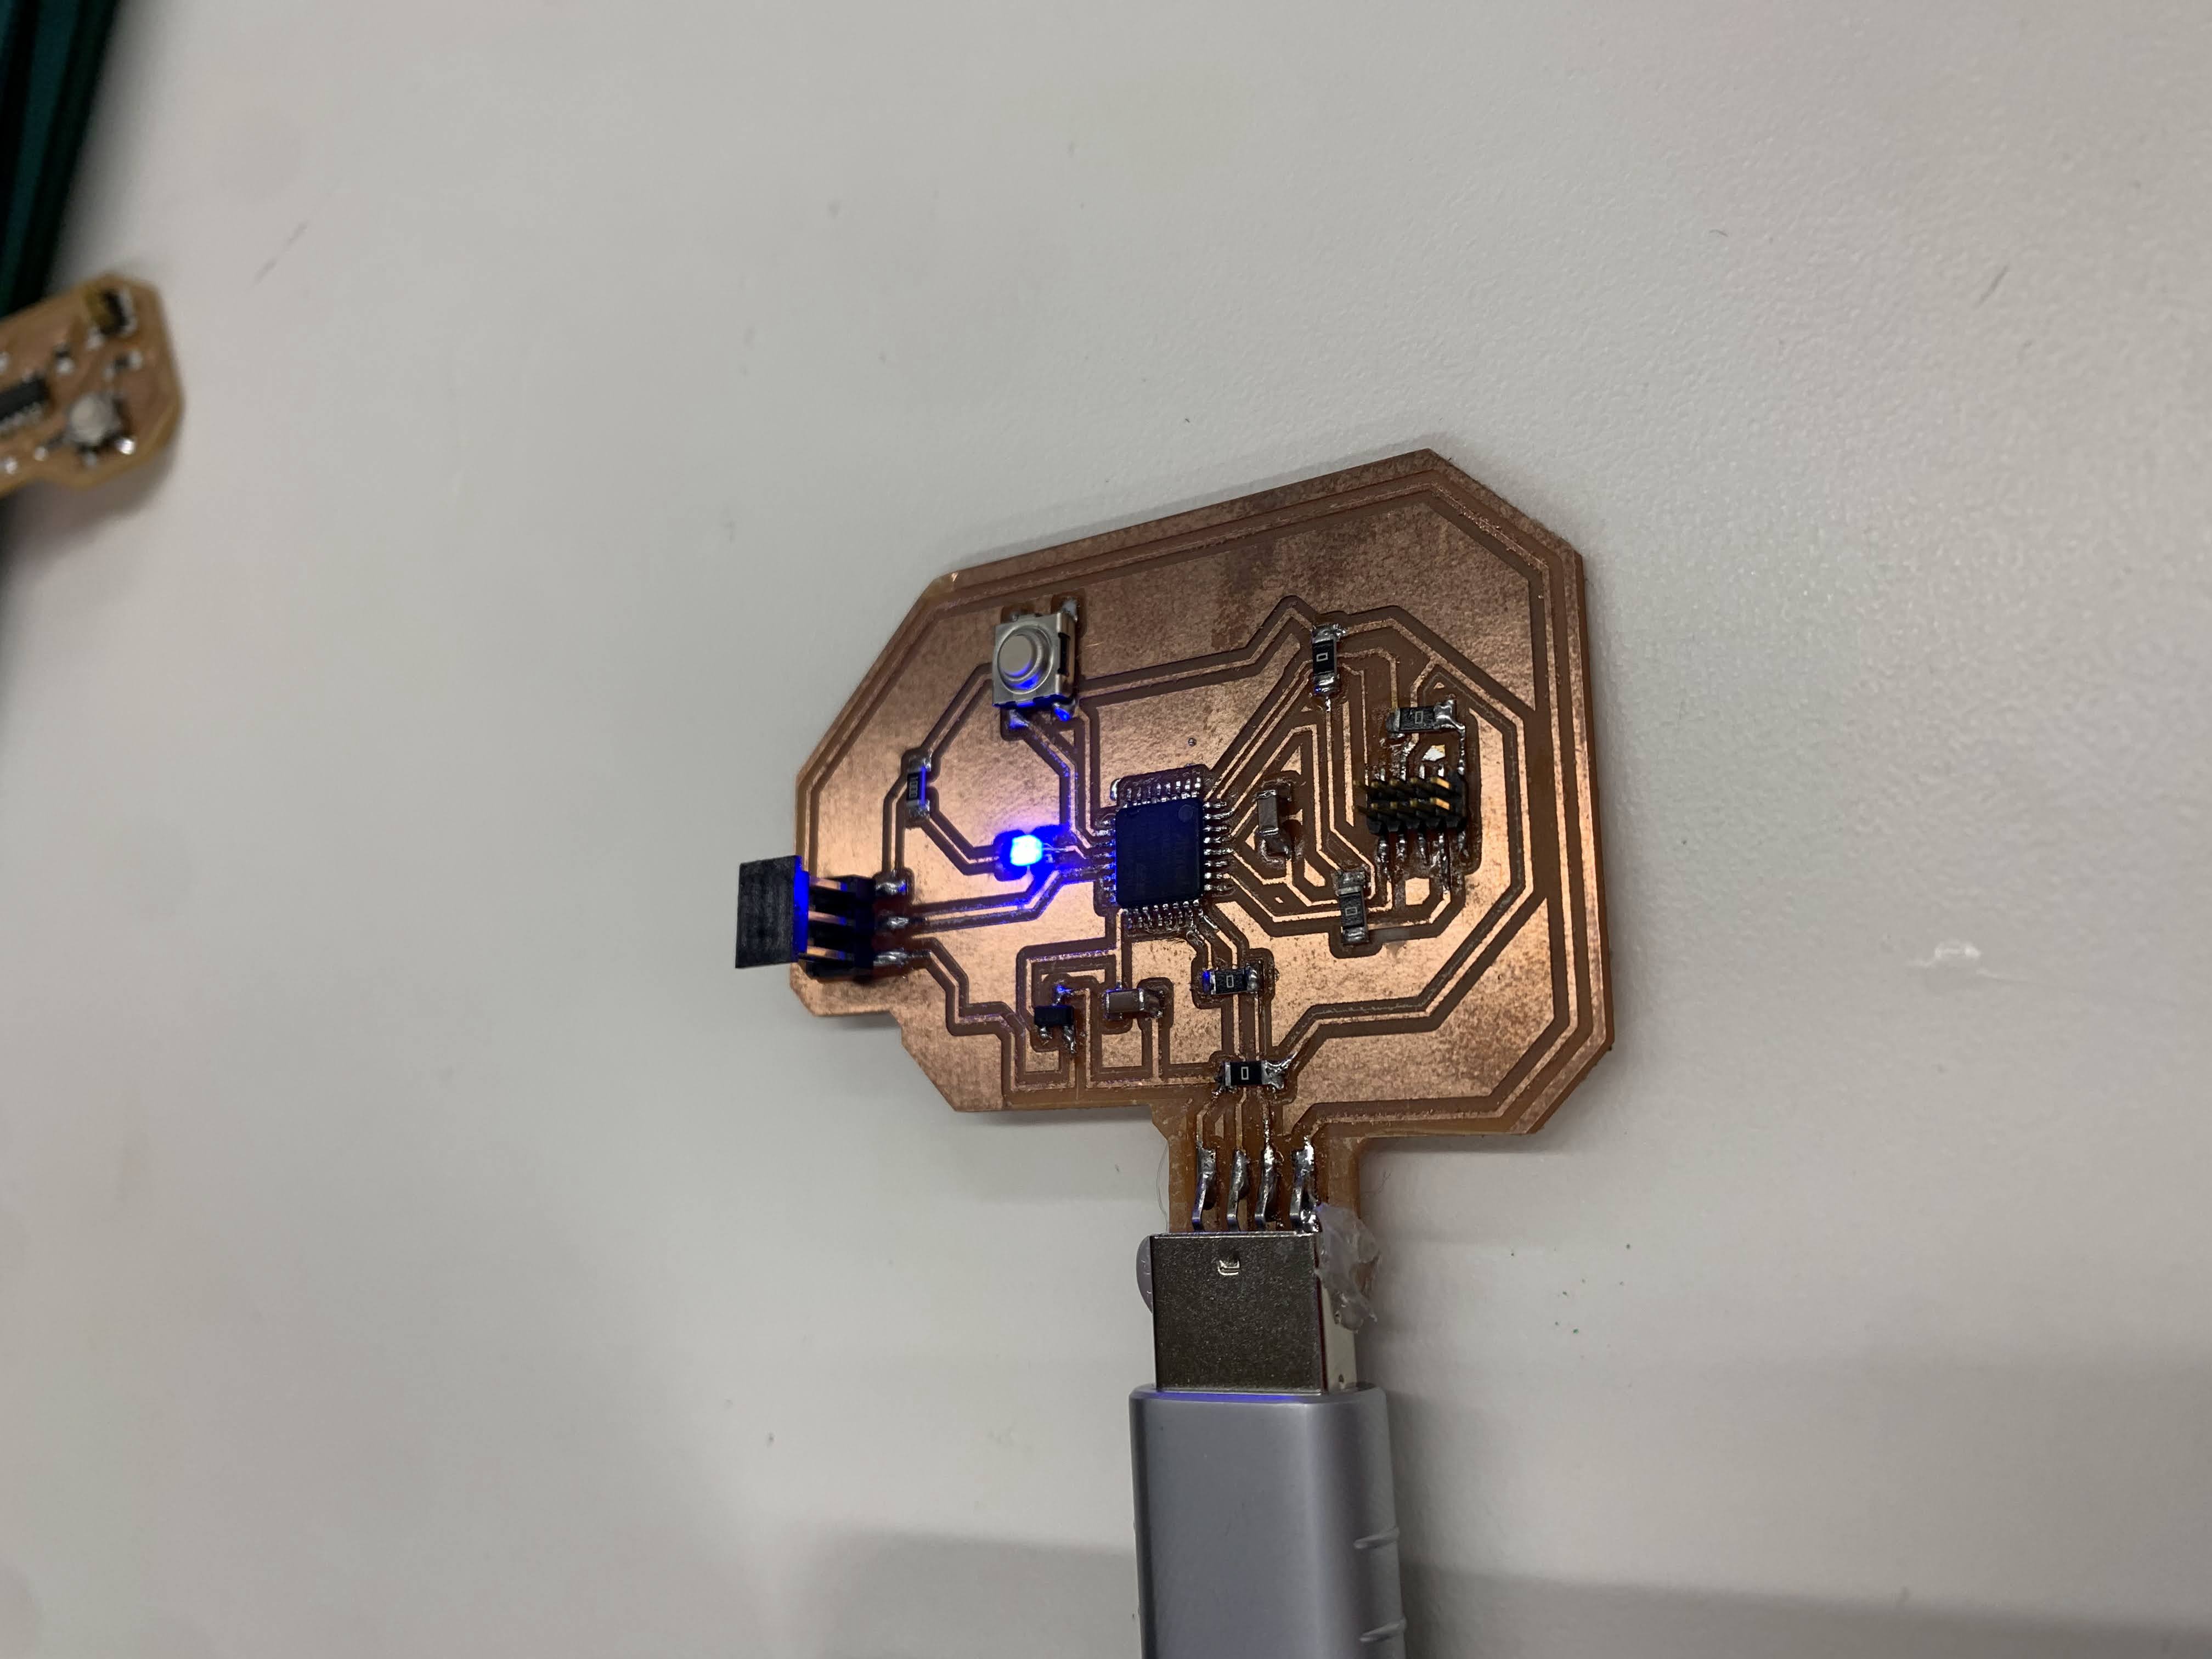
The first step was to develop the design the board in Eagle. Following Leo's advice, I used a SAMD21 processor. I added a fixed LED, a button and a 6x2 connector to the board. At first, I had the idea of using a micro usb controller. However, after milling the first version, i realized that the connector was too small and impractical to use. Instead, I chose to use a USBA conector with a soldered-on adapter.
To route the board, I had to use multiple 0 ohms resistors.
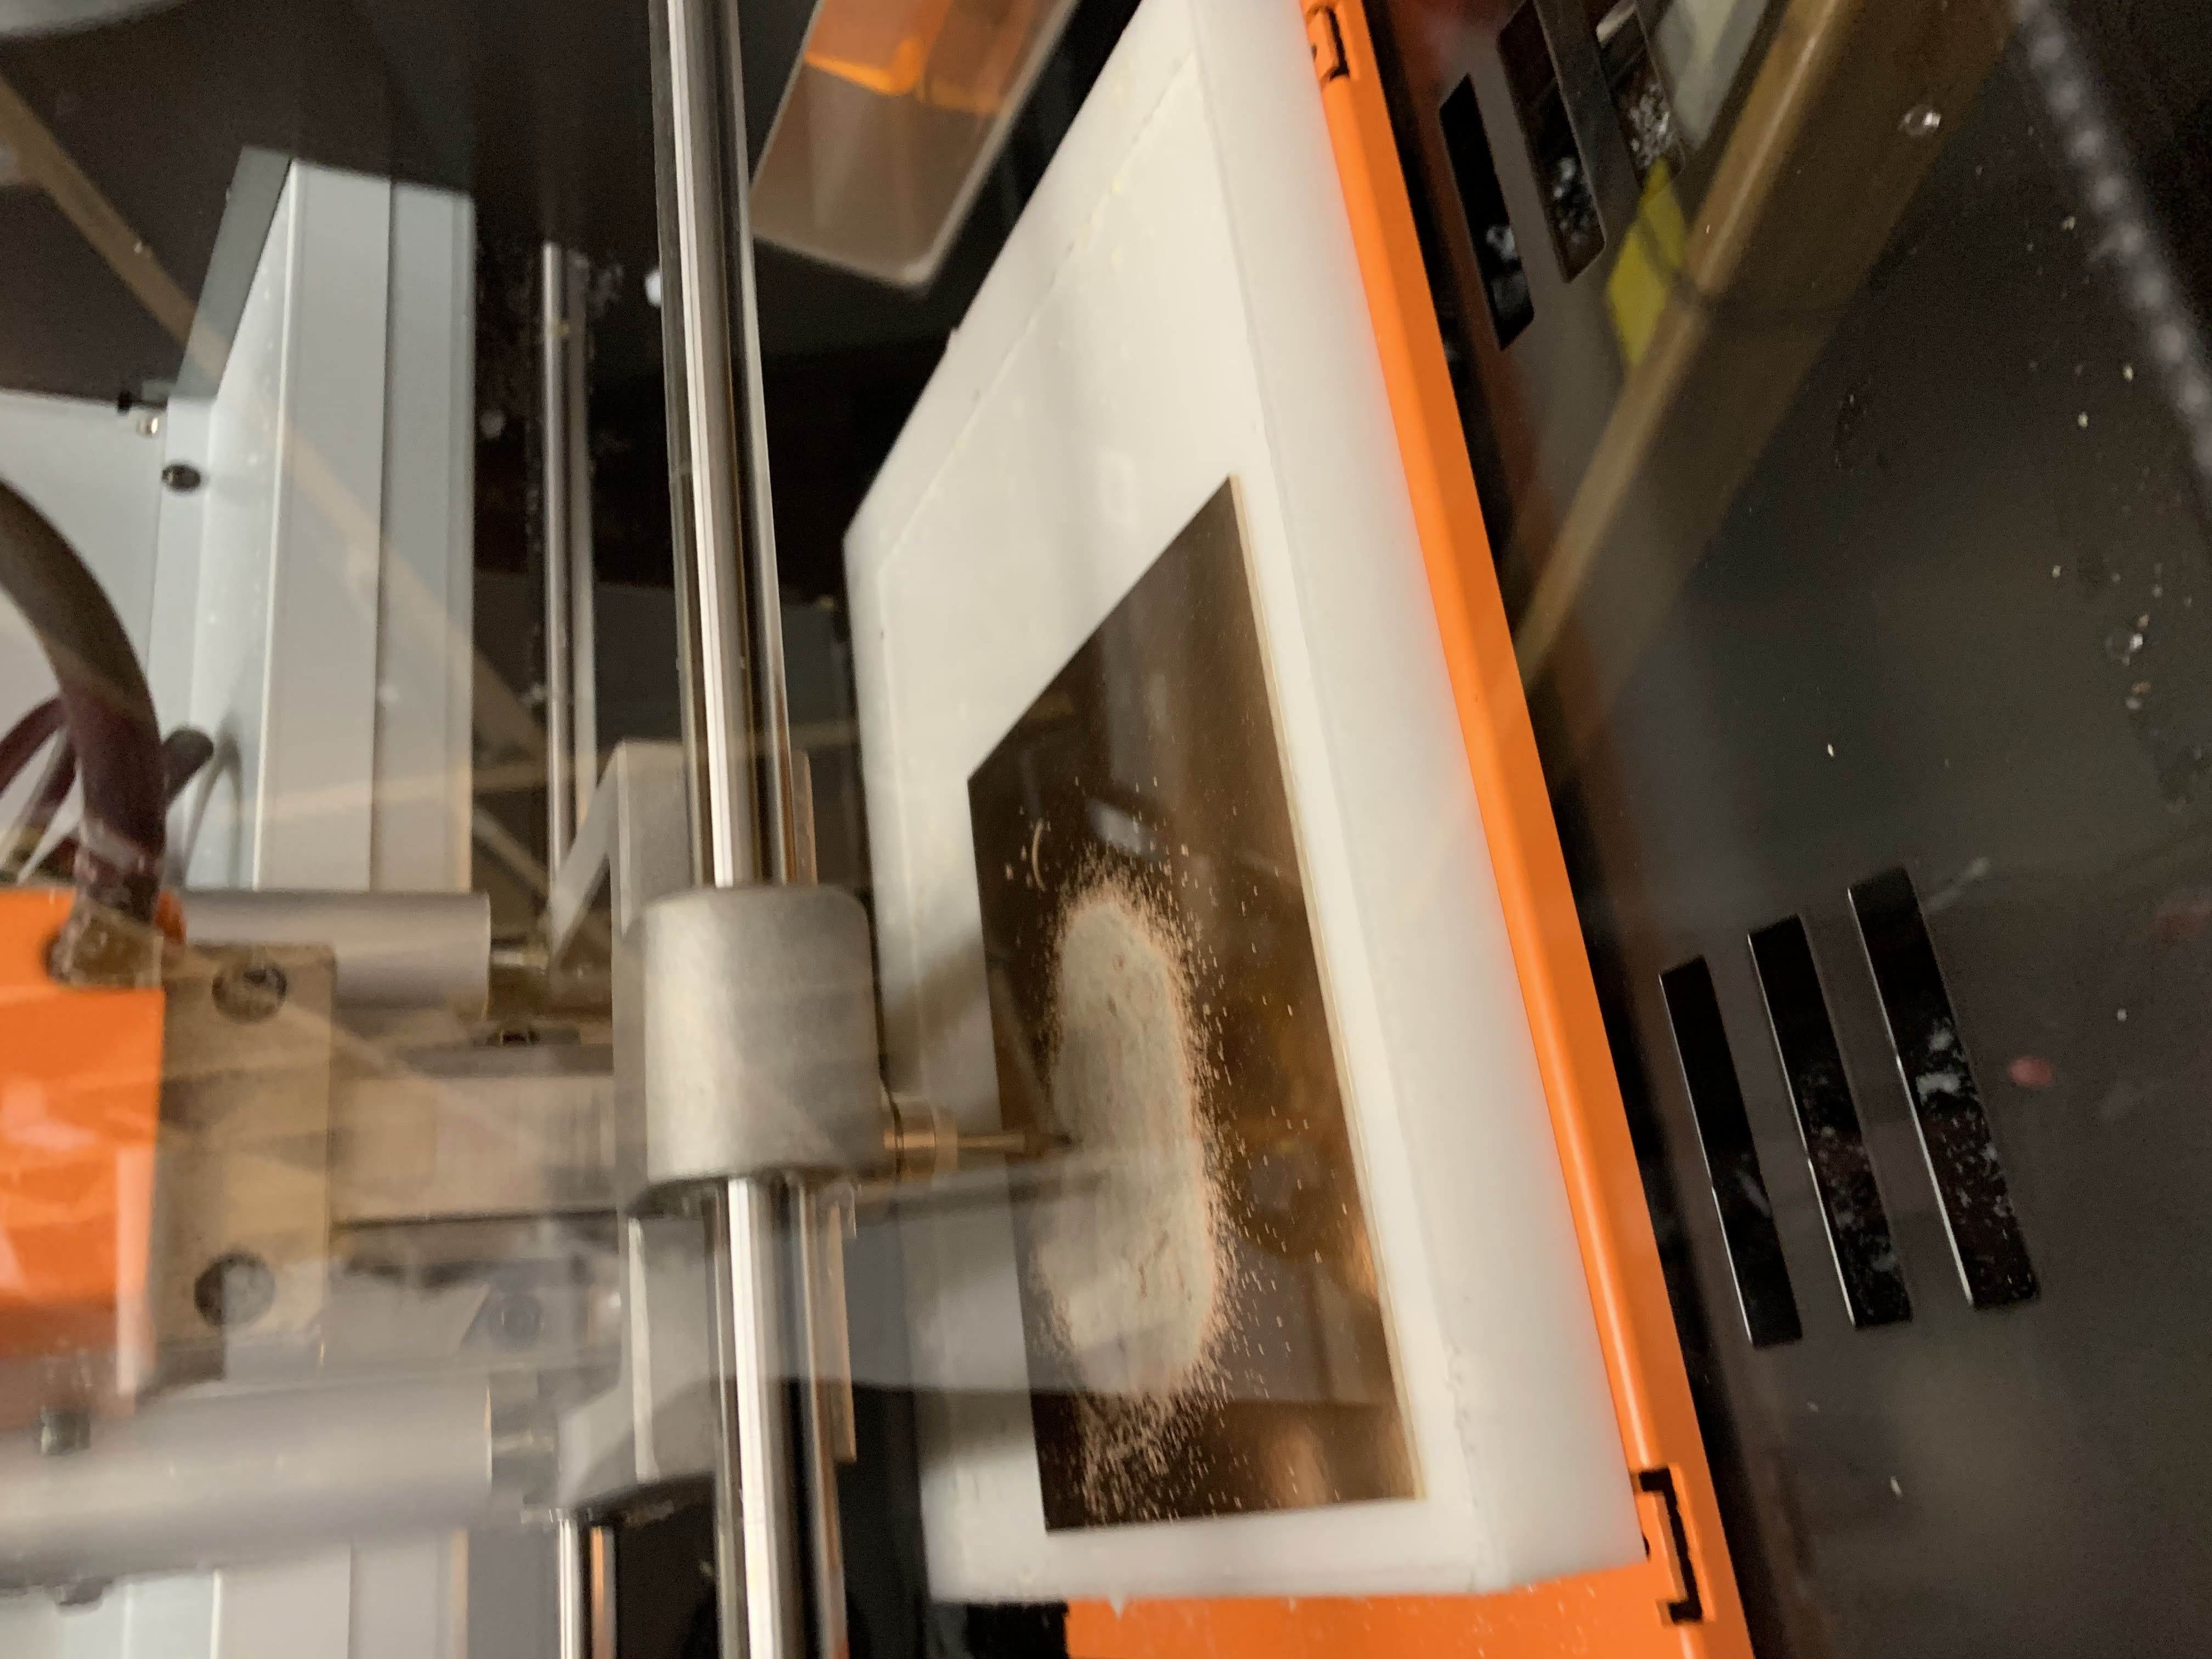
Milling went smoothly, but I had a lot of trouble soldering the SAMD21 microcontroller. It took me 5 tries before I was able to solder it in place.
In the end, the technique that worked best for me was to put too much soldering on a whole side of the board. I then use the copper braid to remove the excess solder and am left with the right amount of solder on each pin.
Aside from the (many) hours soldering the SAMD21, the rest of the stuffing went smoothly.
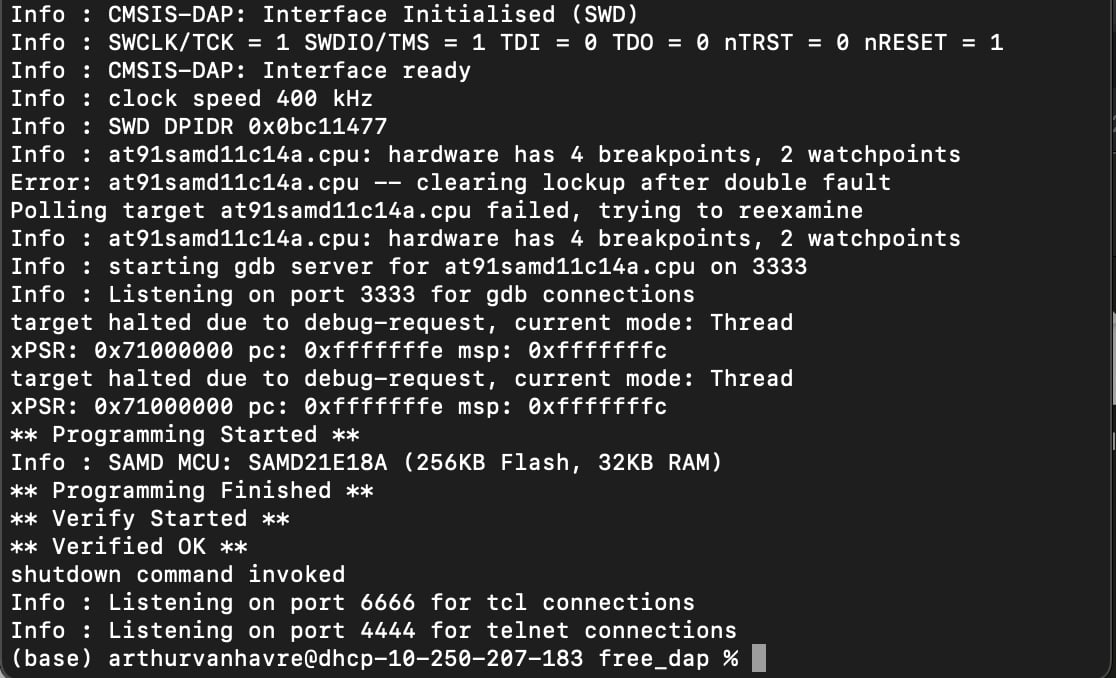
I then bootloaded the board. During this step, I learned abnout the way OPENOCD and binaries work. After a failed attempt, I found the right binary for the SAMD21 and edited the OPENOCD program.
Once the board was programmed, I was quickly able to find it in the Arduino IDE.
In the Arduino IDE, i started by programming the onboard LED of my board. I was able to quickly make it blink on the press of the button. I based my work on Leo's example to make this part work.
                                #define PIN_LED_R 15
                                #define PIN_LED_MATRIX 10
                                #define PIN_LED_B 9

                                #define PIN_BUTTON 8

                                void setup() {
                                  // put your setup code here, to run once:
                                  digitalWrite(PIN_LED_R, HIGH);
                                  //digitalWrite(PIN_LED_G, HIGH);
                                  digitalWrite(PIN_LED_B, HIGH);
                                  pinMode(PIN_LED_R, OUTPUT);
                                  //pinMode(PIN_LED_G, OUTPUT);
                                  pinMode(PIN_LED_B, OUTPUT);
                                  pinMode(PIN_BUTTON, INPUT_PULLUP);
                                }

                                void loop() {
                                  // put your main code here, to run repeatedly:
                                   int value = digitalRead(PIN_BUTTON);
                                  if (value) {
                                    analogWrite(PIN_LED_B, 255);
                                  } else {
                                    analogWrite(PIN_LED_B, 0);
                                  }

                                  delay(1);

                                }
Once I managed to utilize the onboard LED, I tried to program the external LED matrix. To do so, I had to identify the right library to use. At first, I wanted to use the FASTLed library. However, I was unable to use it with the SAMD21. I think that it is incompatible with the chip. After a lot of research, I figured out that the Adafruit NeoPixel library was a good option.
I based myself off of an Adafruit tutorial to build the code. I was quickly able to project the snowflake on my matrix.
Their project was for an 8x8 snowflake; I adapted it to my 16x16 matrix and changed the design to make a heart. The NeoMatrix library was not very efficient and I had to write a line of code per pixel of the design.Once I managed to utilize the onboard LED, I tried to program the external LED matrix. To do so, I had to identify the right library to use. At first, I wanted to use the FASTLed library. However, I was unable to use it with the SAMD21. I think that it is incompatible with the chip. After a lot of research, I figured out that the Adafruit NeoPixel library was a good option.
I based myself off of an Adafruit tutorial to build the code. I was quickly able to project the snowflake on my matrix.
Their project was for an 8x8 snowflake; I adapted it to my 16x16 matrix and changed the design to make a heart. The NeoMatrix library was not very efficient and I had to write a line of code per pixel of the design.
To do so, I designed a 4 step animation of a beating heart in Google Sheets and used it as a map for each pixel. I then coded eveything in the arduino IDE and, after a little debugging, was able to get my heart to beat!.
To make sure I could wear the matrix, I then extended its wire. I soldered an extension and used shrink wrap and duct tape to insulate it.
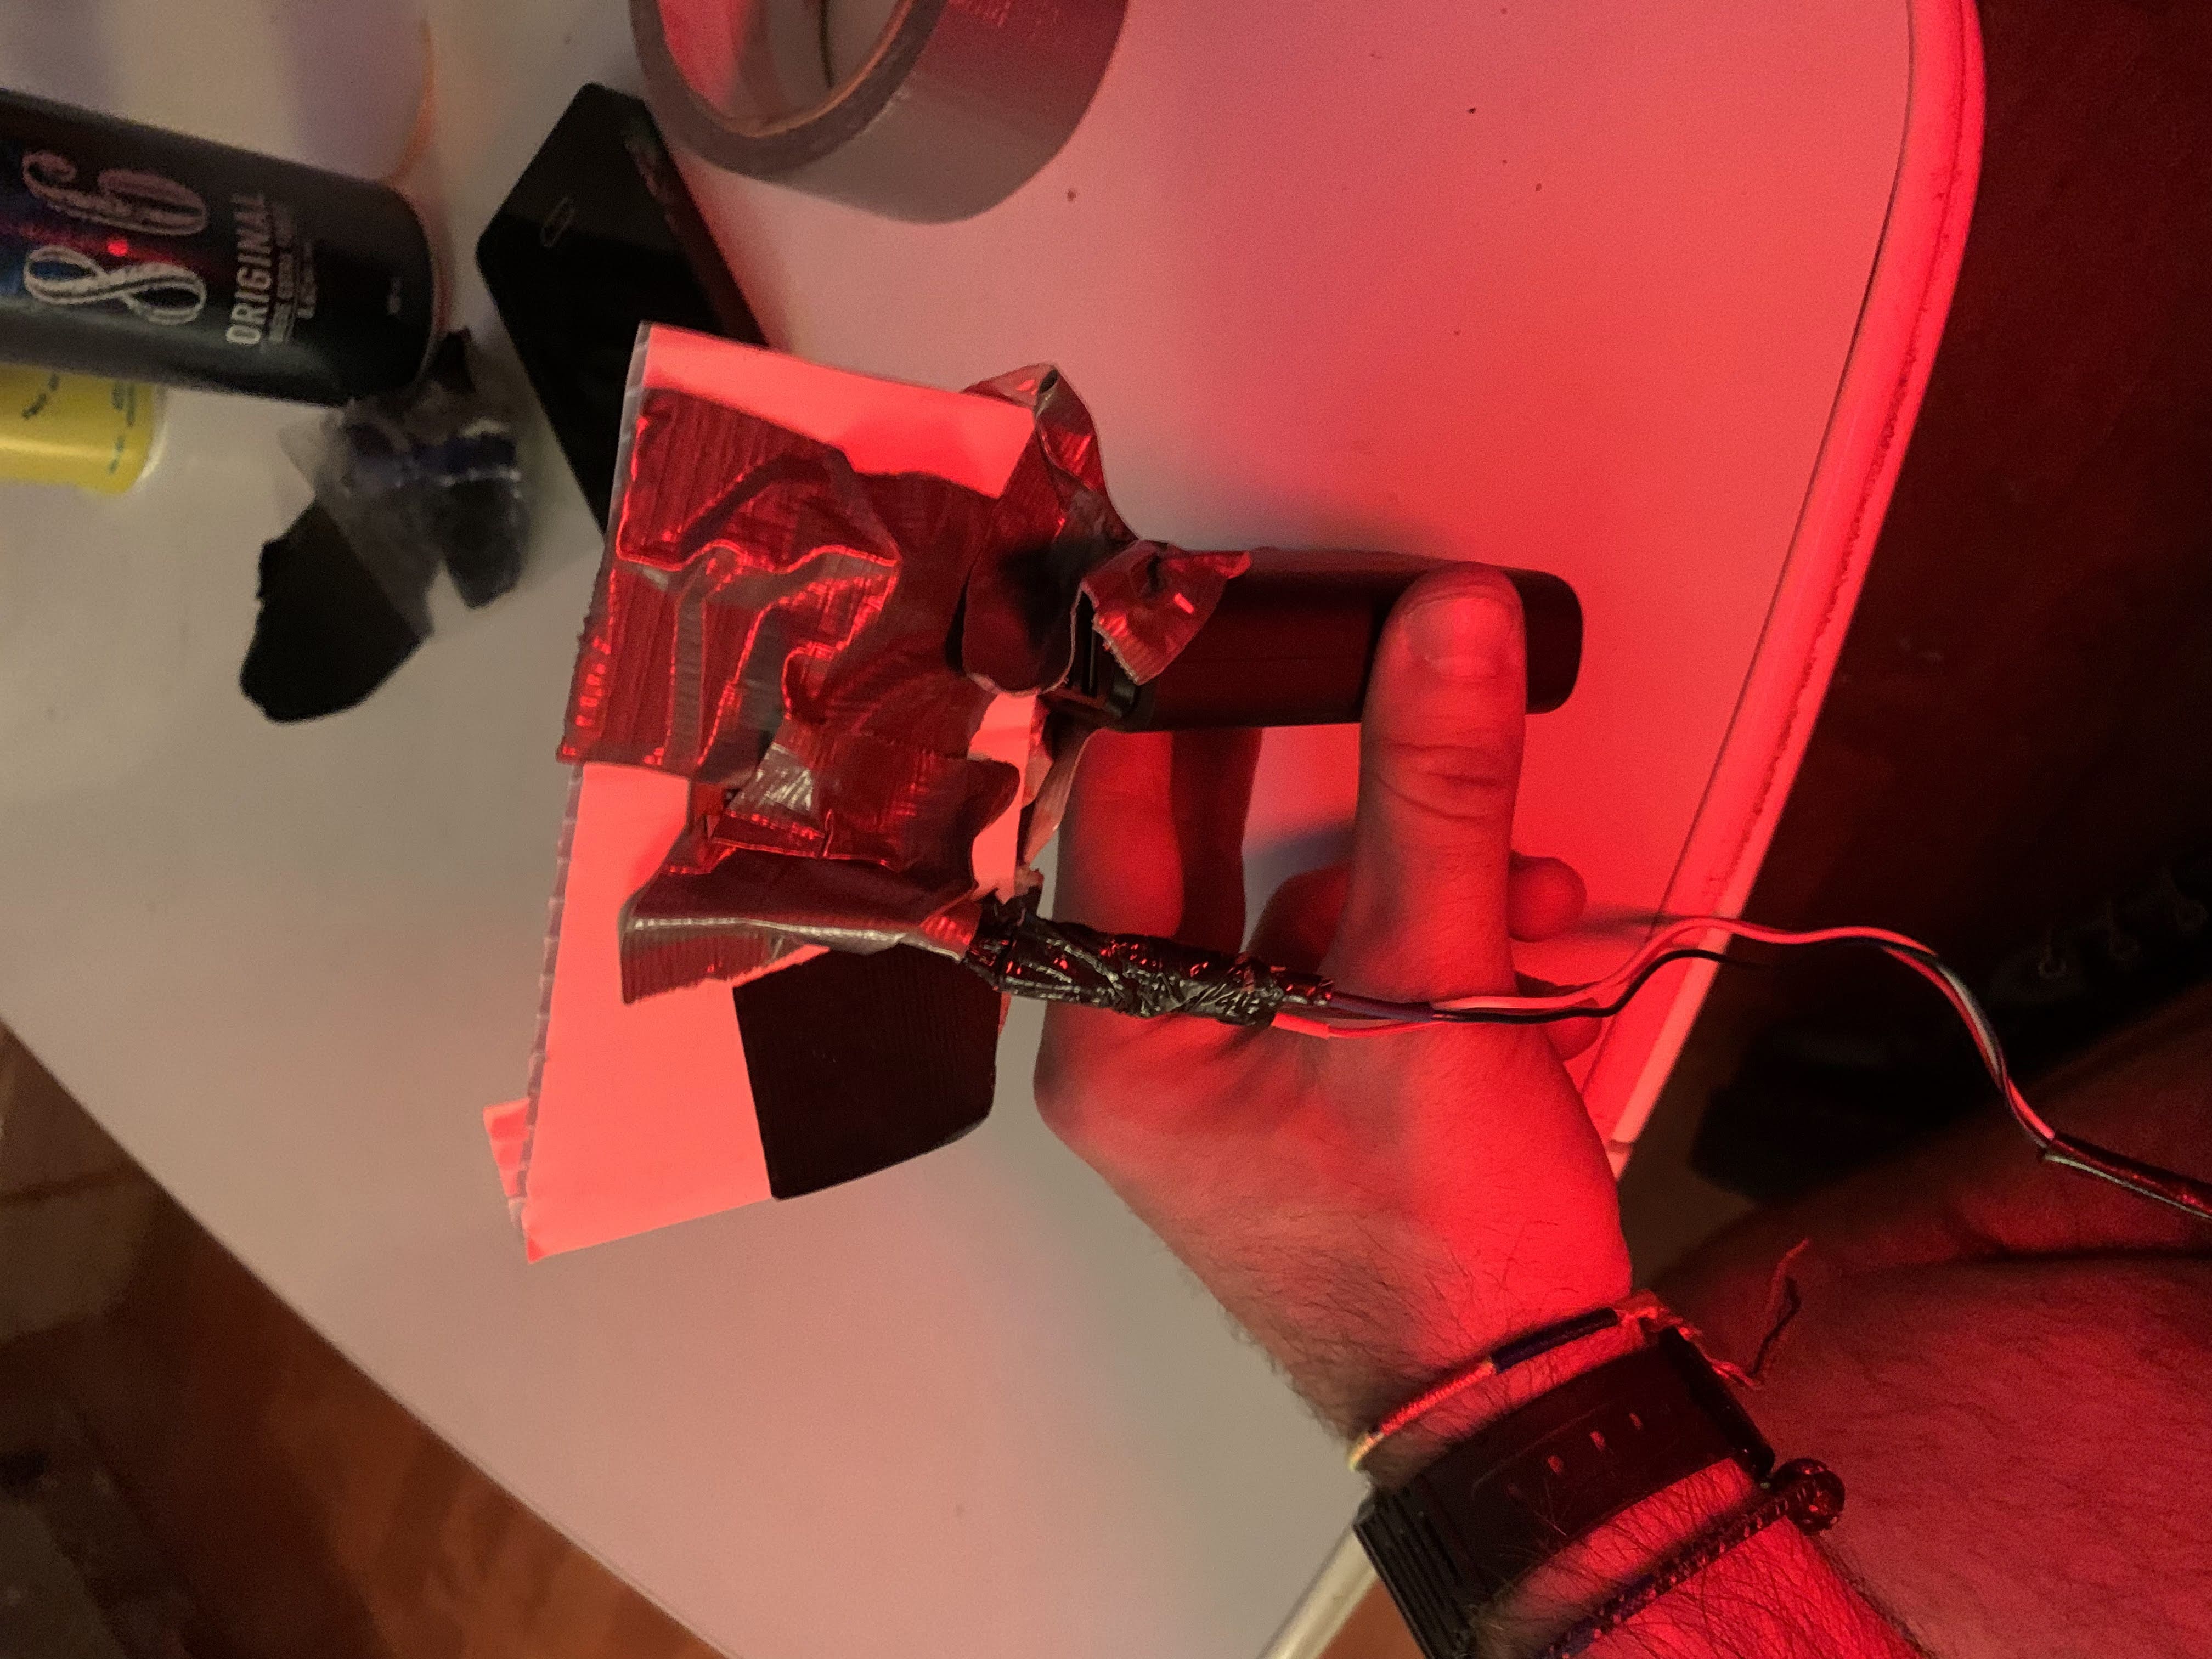
I was impressed by what I had built. Not only was the final product very cool, it was also very durable. I had expected my prototype to break within the first minutes of my Halloween party. Nonetheless, to my surprise, it lasted all night! A fun bug I had throughout the night, is that, at random intervals, the heart would flash green instead of red. I could not control it and don't know what caused this.
This is a new step in my maker journey. I used something I built from scratch and felt pride showing it to my friends and telling them about the build process. I am also happy that I will be able to tweak the code and re-use it for other costumes and projects.