Week 7: Molding and casting
I kept it simple this week; I built custom stamps for friends for them to use when they throw events with our music collective.
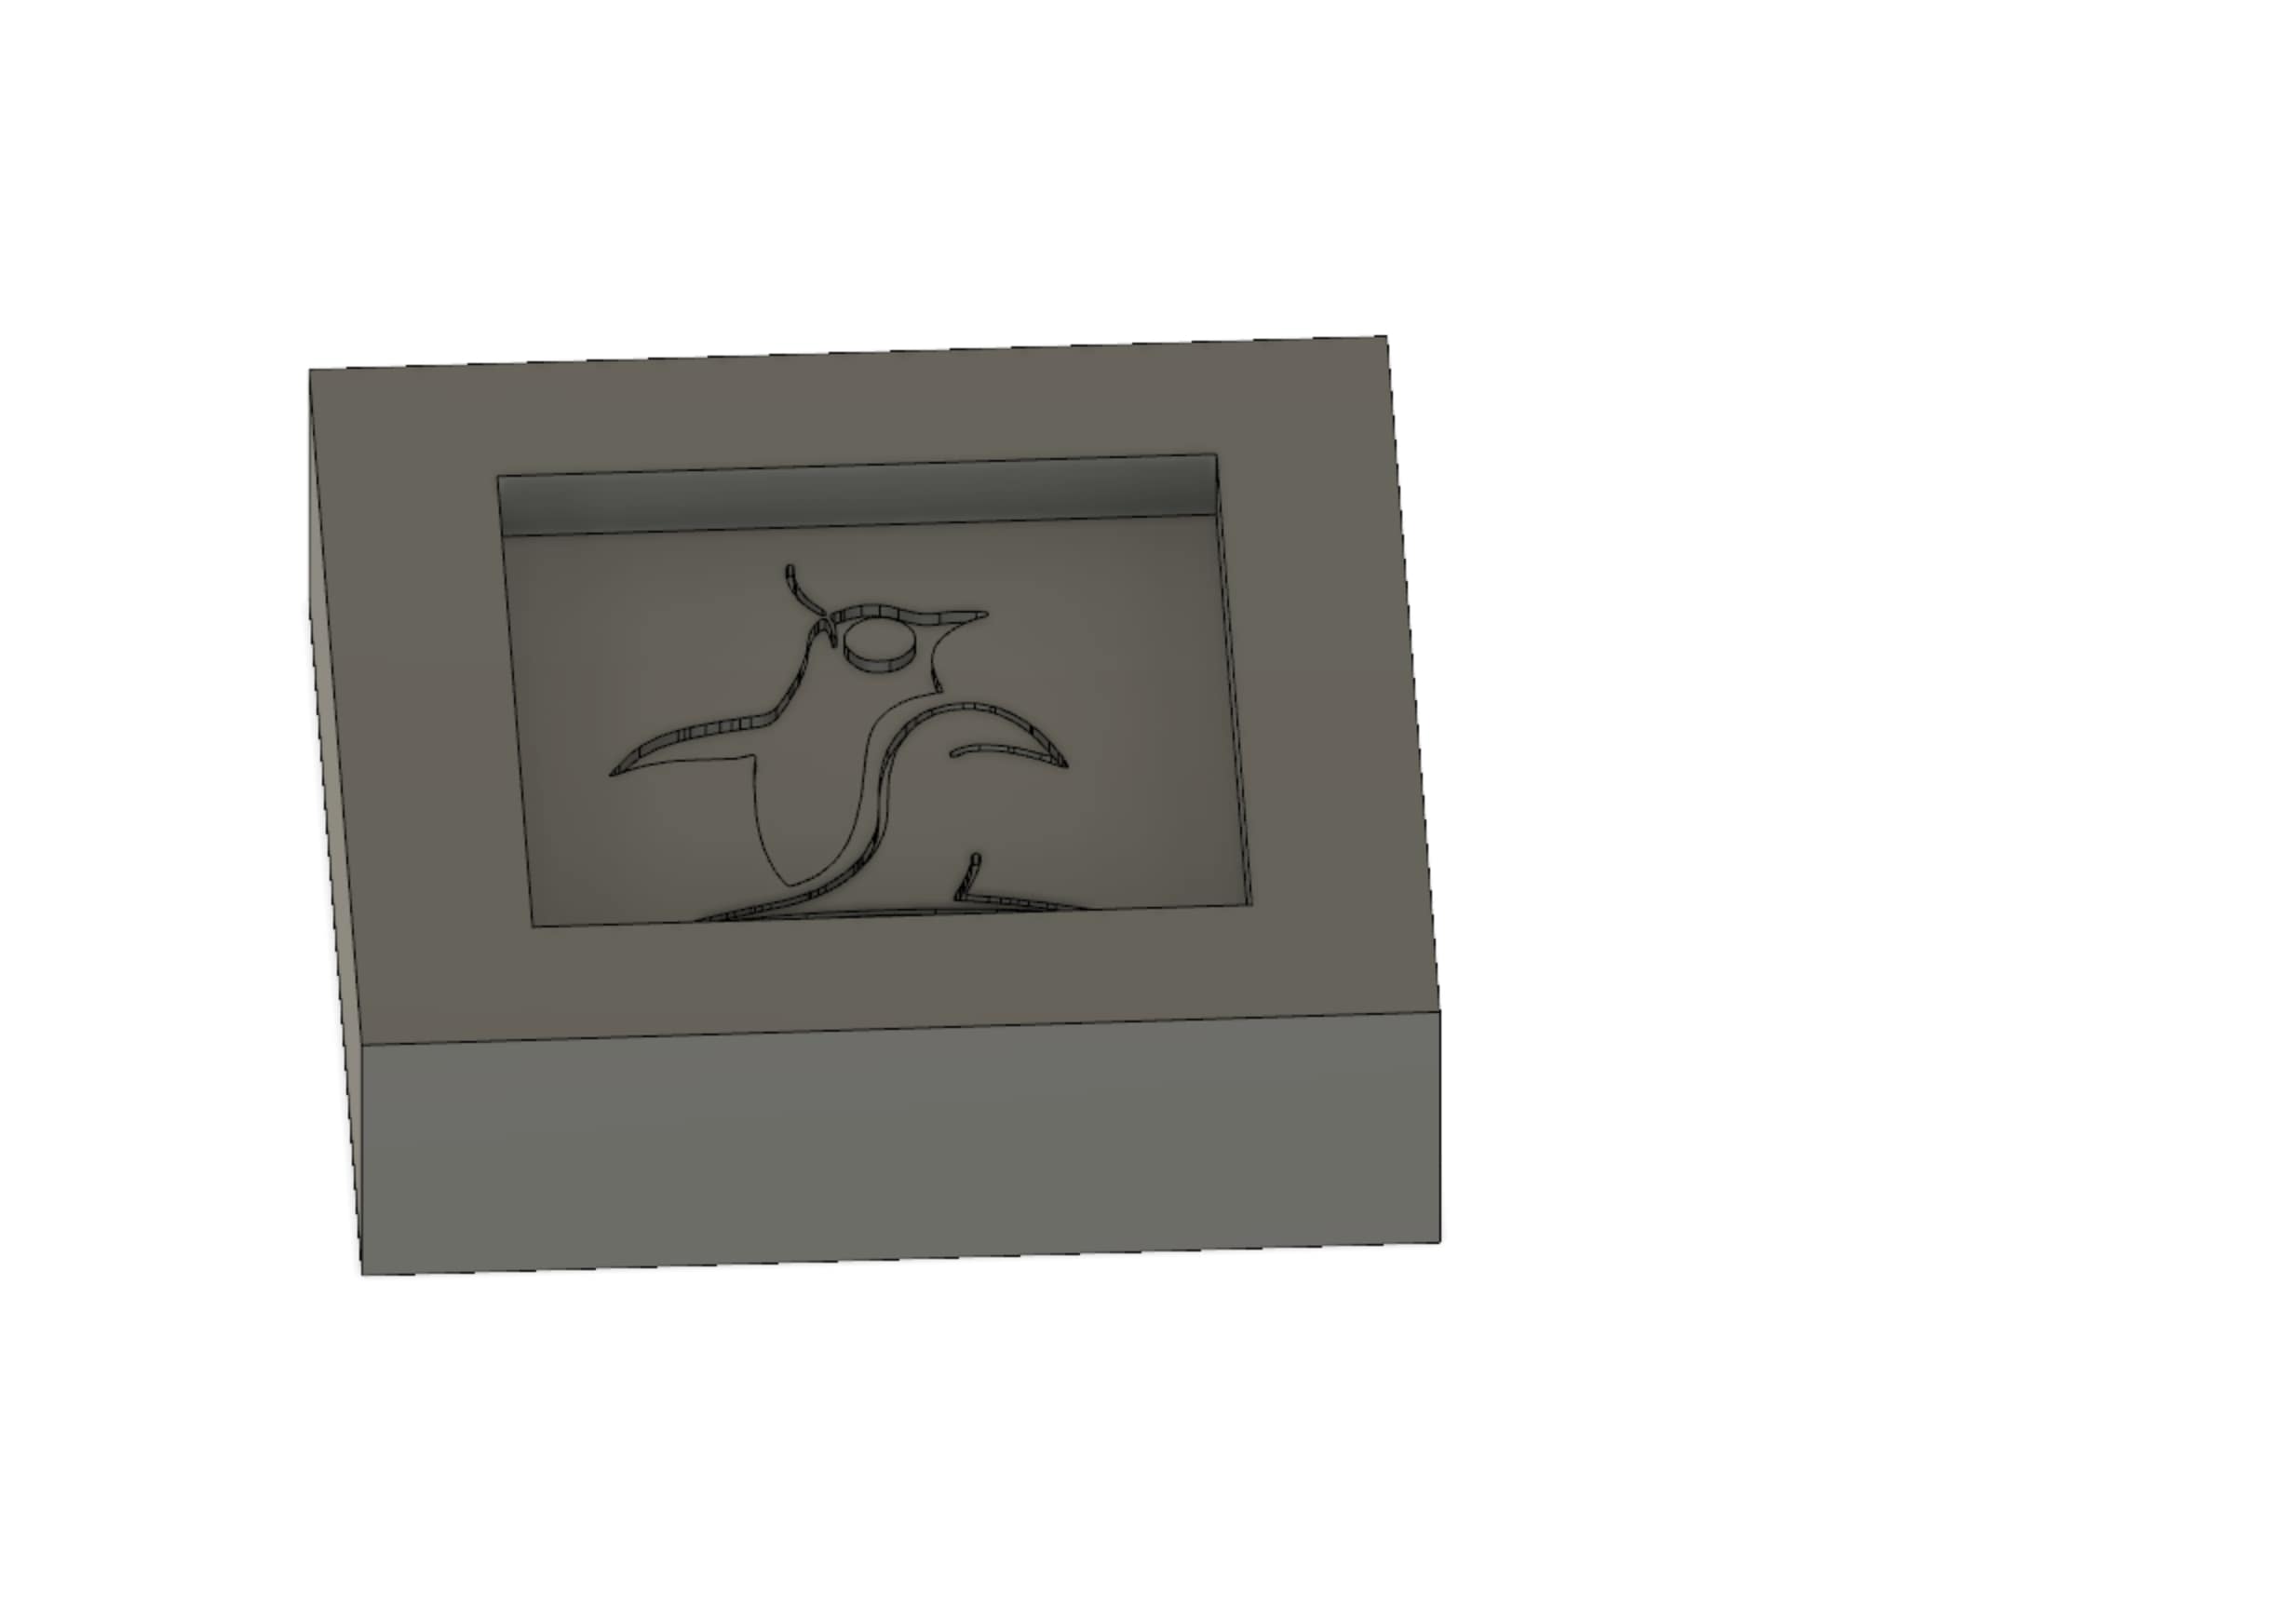
The first step of the process was to design the mold of the stamp in Fusion 360. I planned to cast my final product in Oomoo. As such, I could pour it directly into the milled wax.
My strategy was thus different from my colleagues; I milled the negative of my final product in the wax. I defined a simple square and used a vector file to intrude the desired shape. Given the design limits of the machine, I made sure that my design would be under 15mm deep.
This strategy was simple and efficient. I was able to quickly design my stamp using a SVG file of the pinguin logo. In fusion, I inserted the logo and extruded the shape quite quickly. This worked really well and I wil try to do it again for other designs.
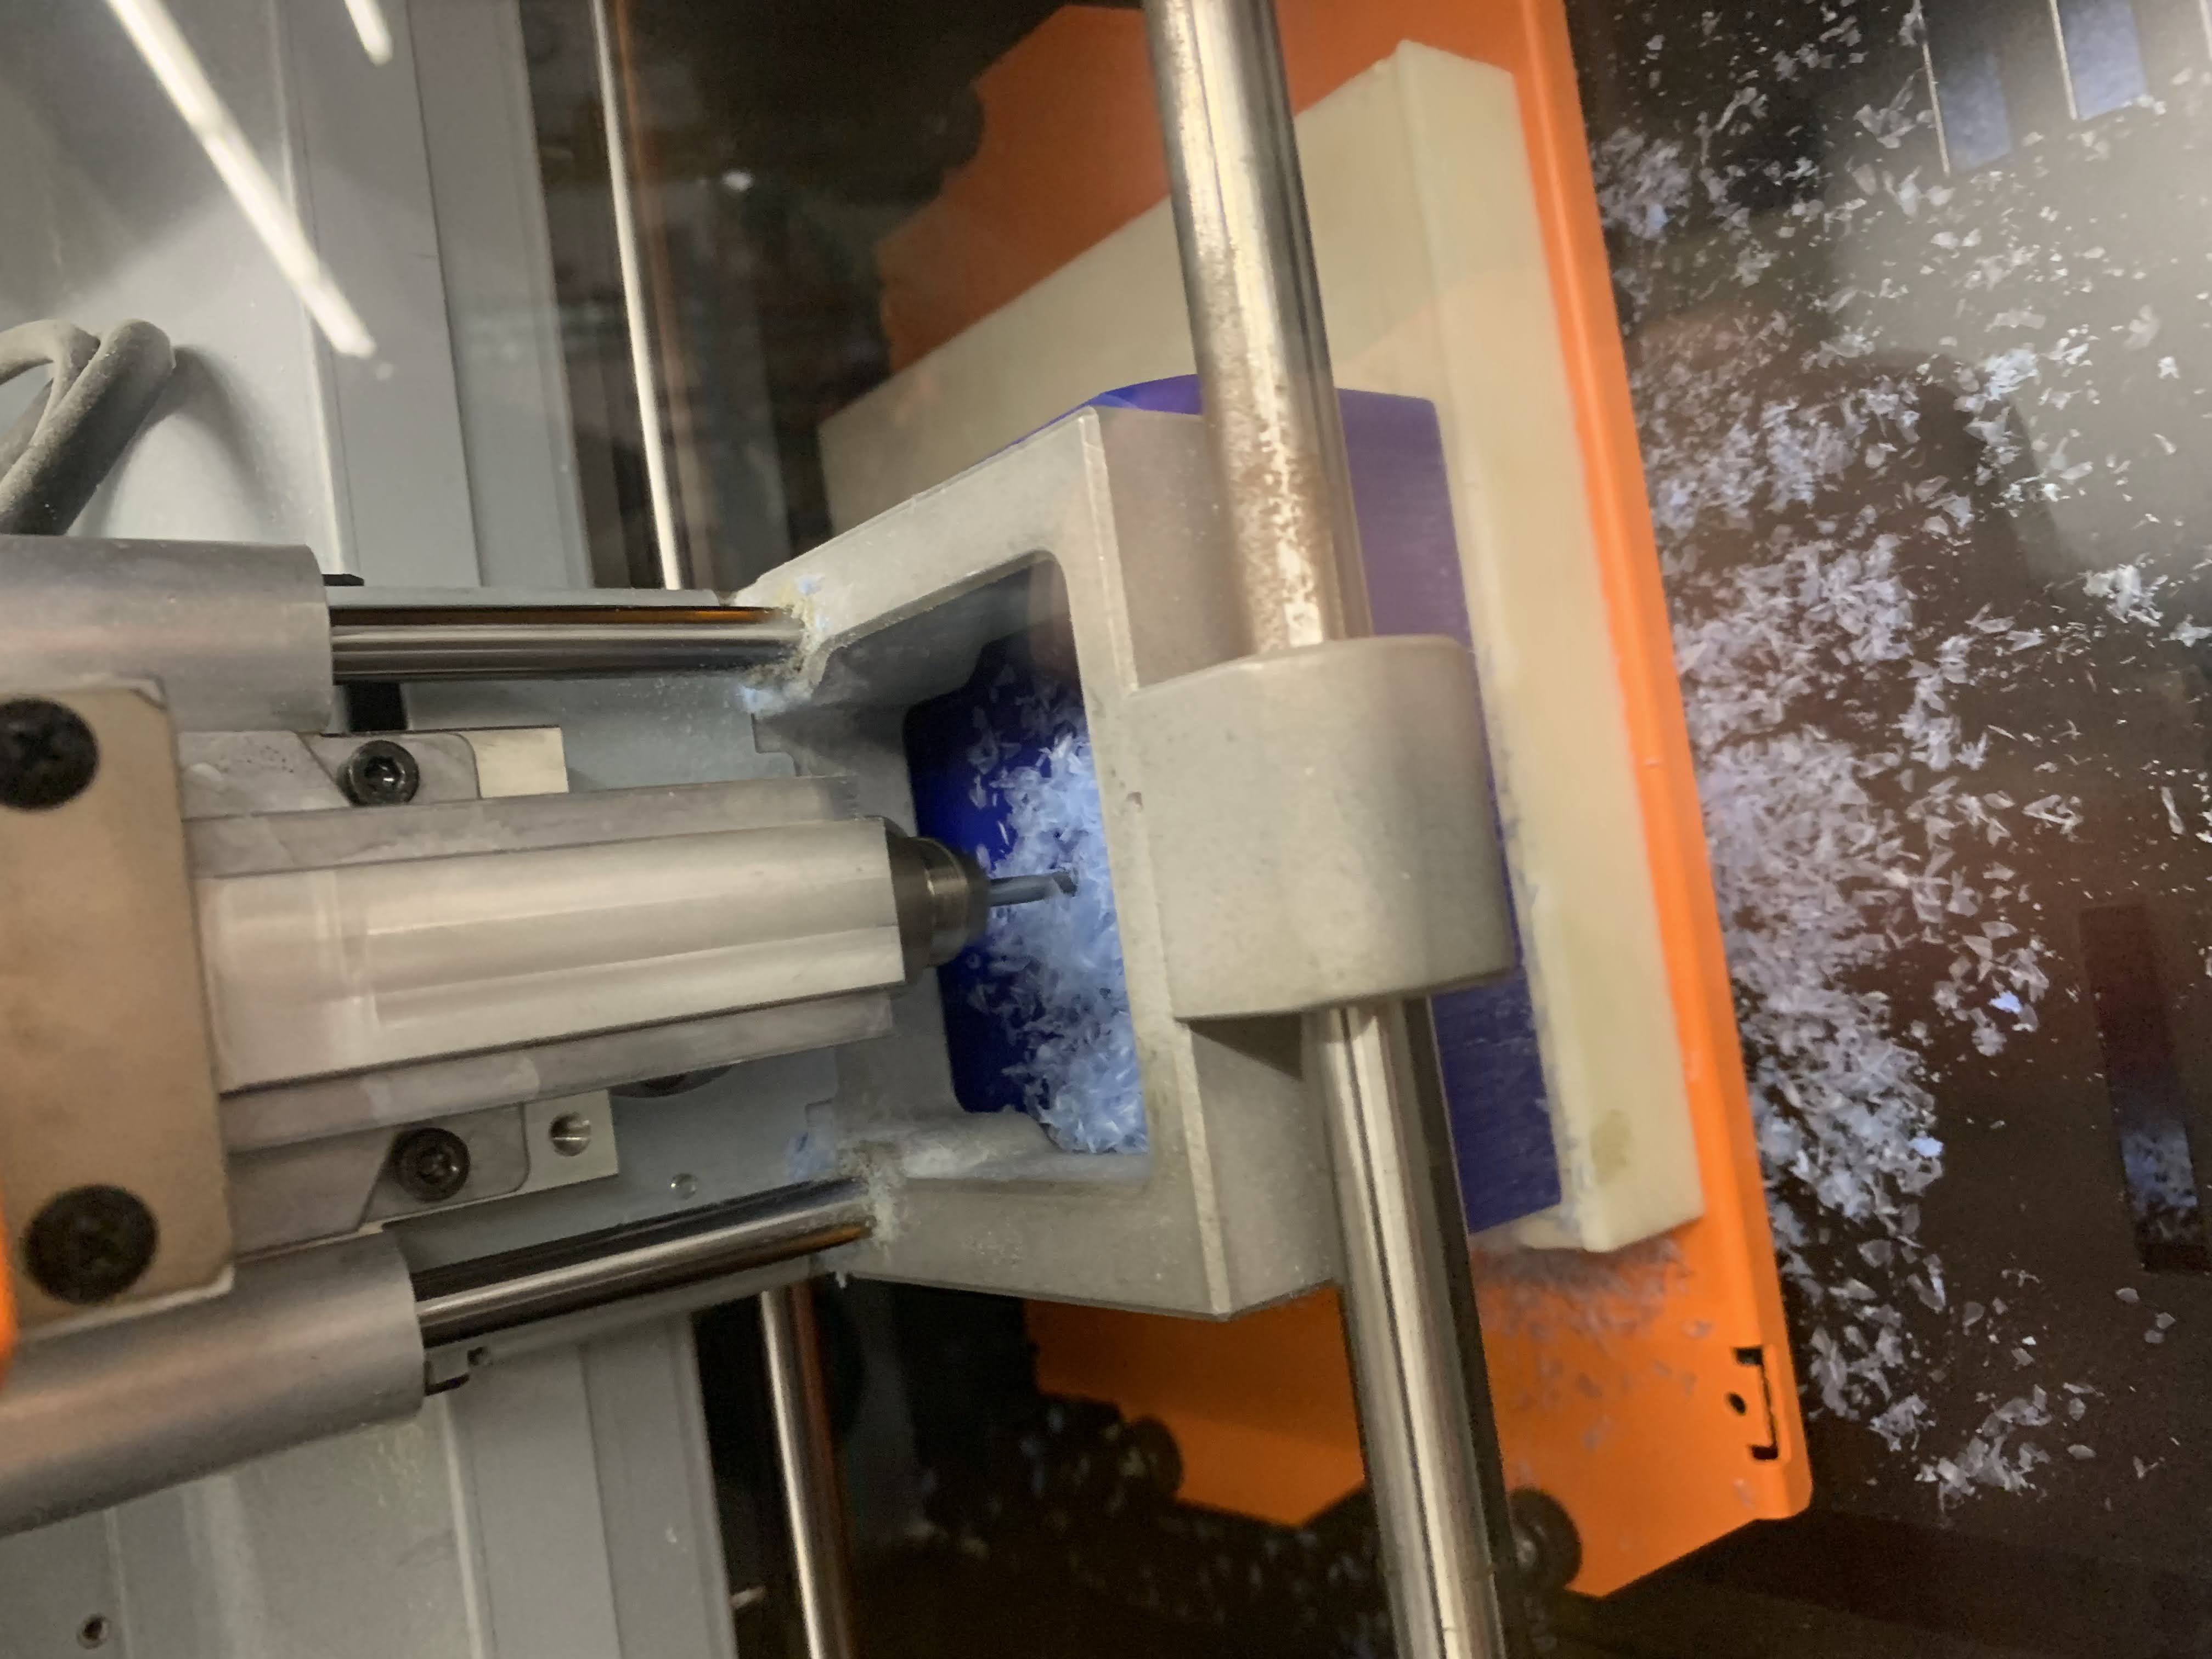
I then milled the design using MODS' 2.5D program. I had to adjust the settings of the machine to match my design. This included entering the total depth and setting up the tool speed.
I started with a rough cut of the shape outline (the "square" of the stamp) using a 1/8'' endmill. I then used a 1/32'' endmill for the final pass. To make sure that the second pass of the milling did not air cut the whole design, I extruded the "sqaure" part of the design in Fusion 360, only leaving the drawing to be milled. This strategy worked very well and my design was milled very quickly. Nathan helped me adjust the settings to make sure that it would be deep enough in the wax.
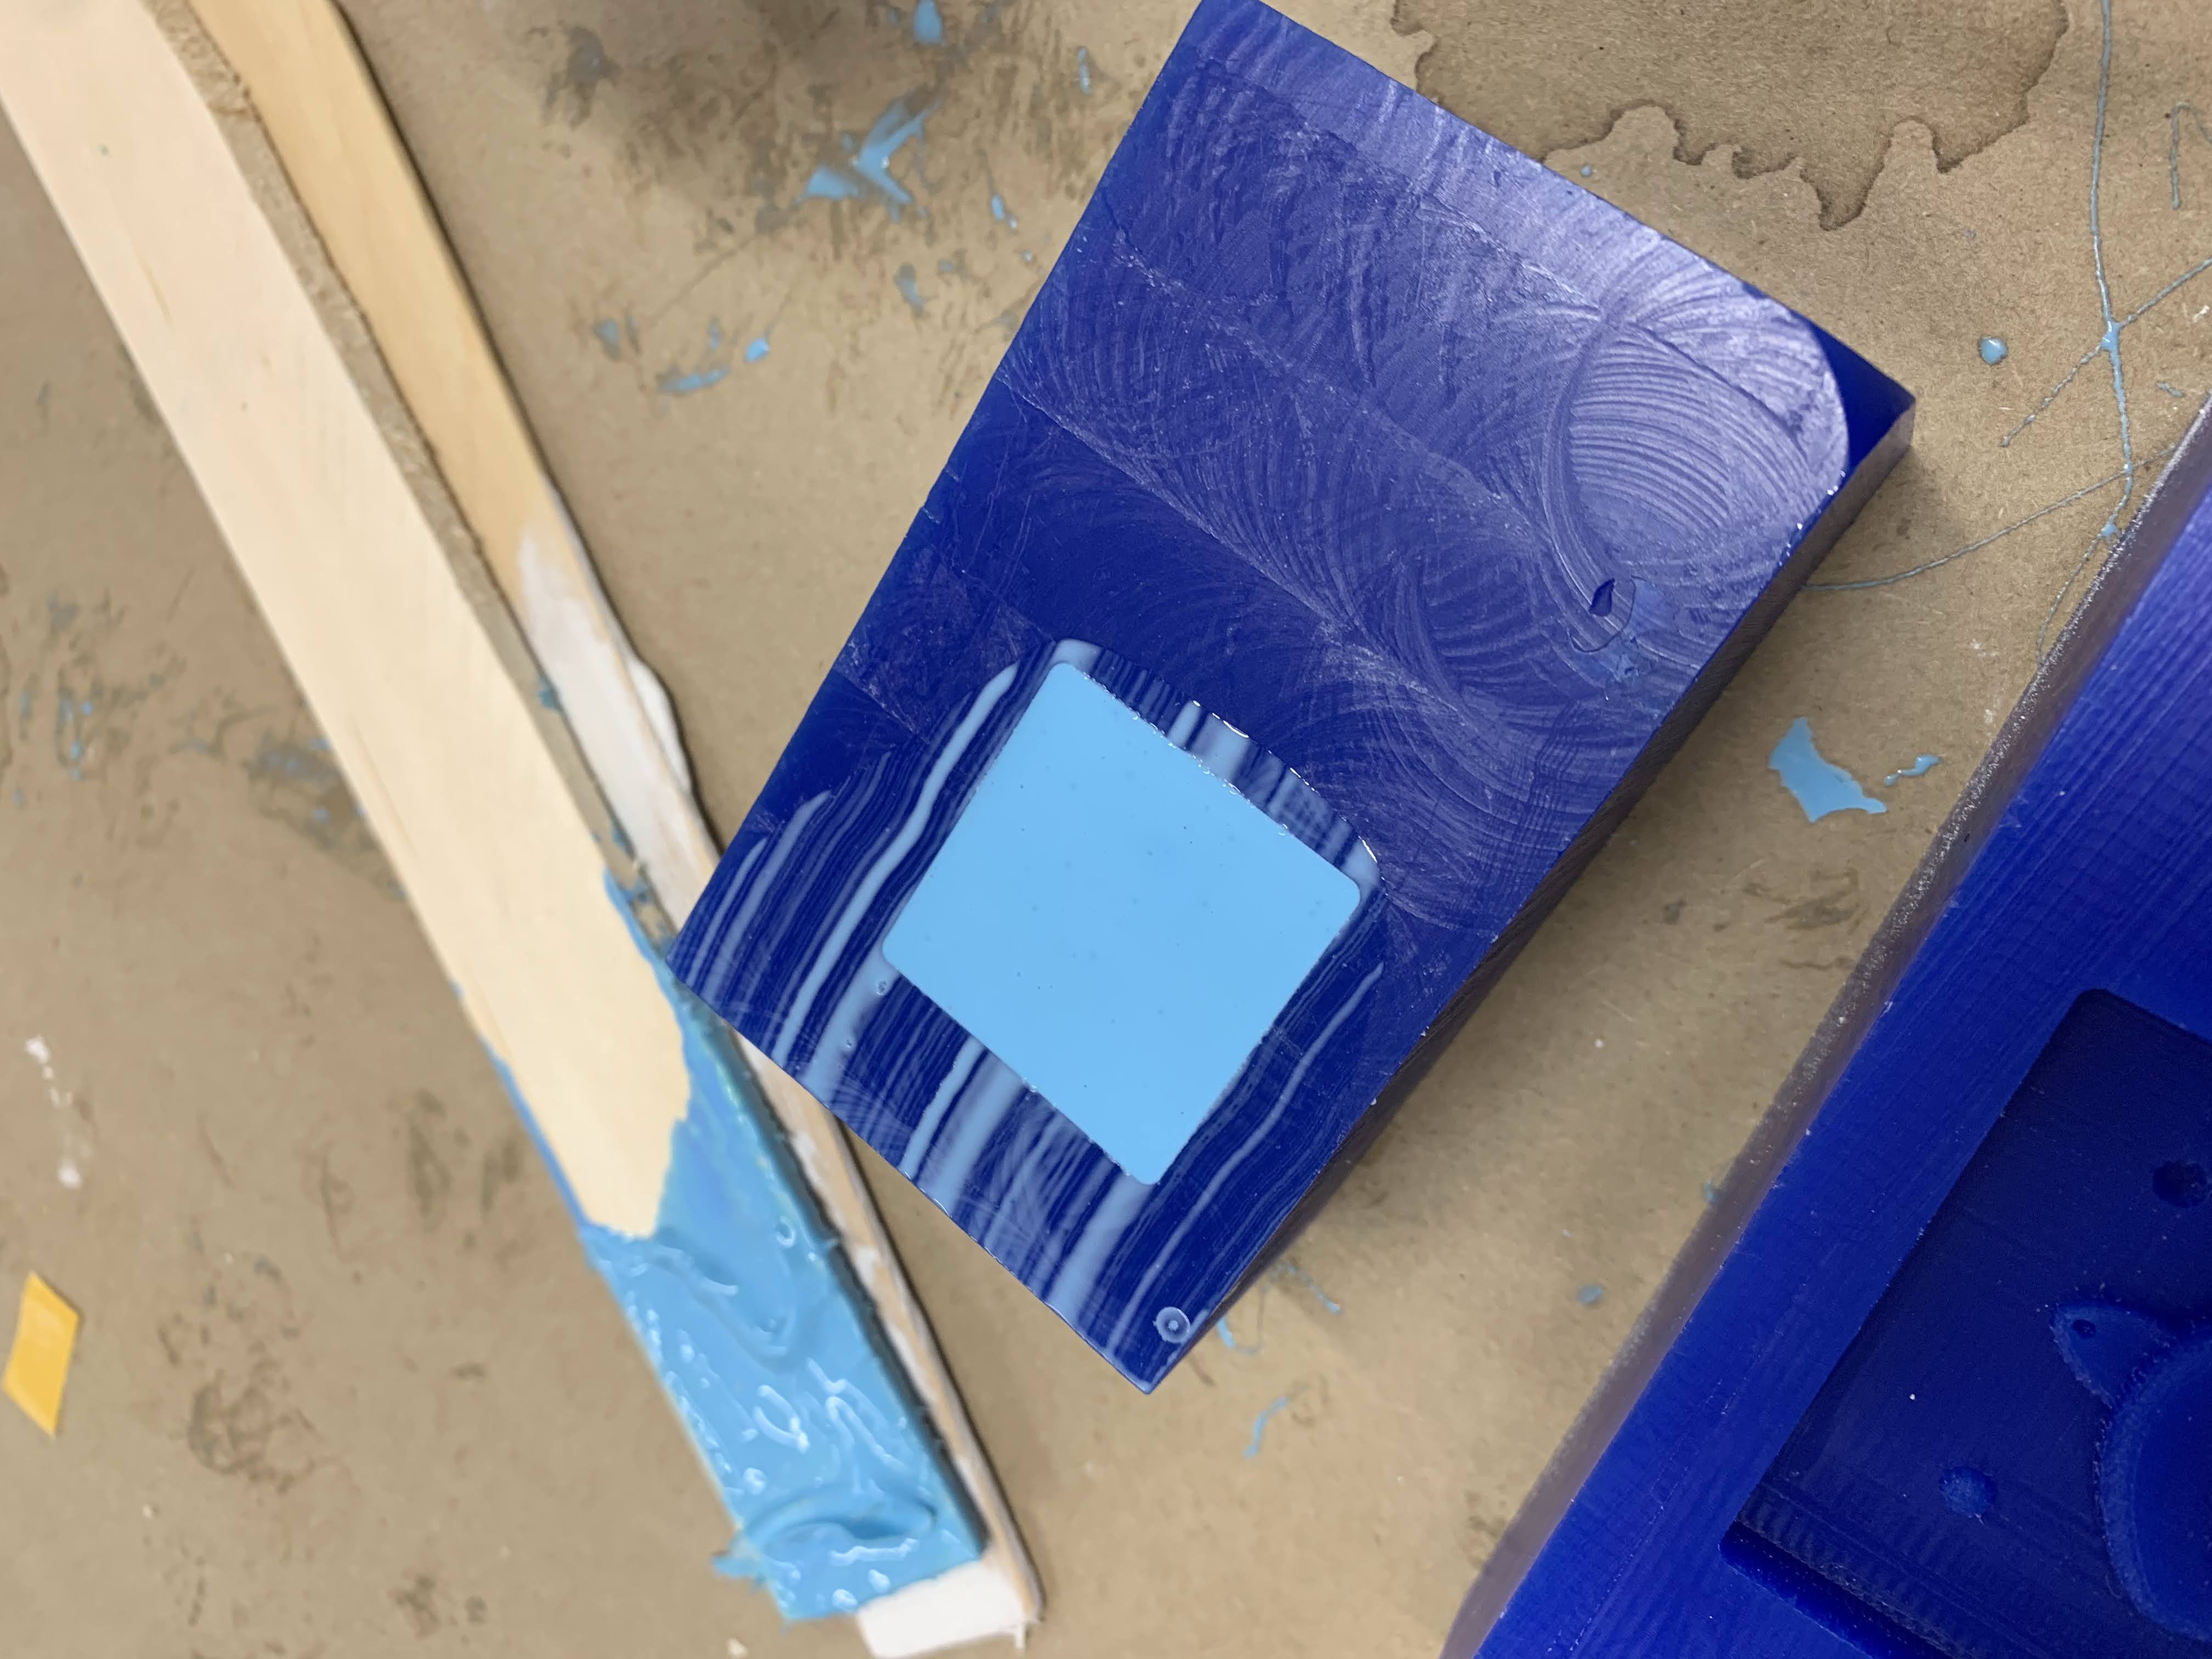
Once the wax was milled, I cleaned up the mold using a wire and compressed air. I then mixed the Oomoo. This was very easy as it uses a 1:1 ratio. I poured the Oomoo in the mold and let it cure for 2 hours.
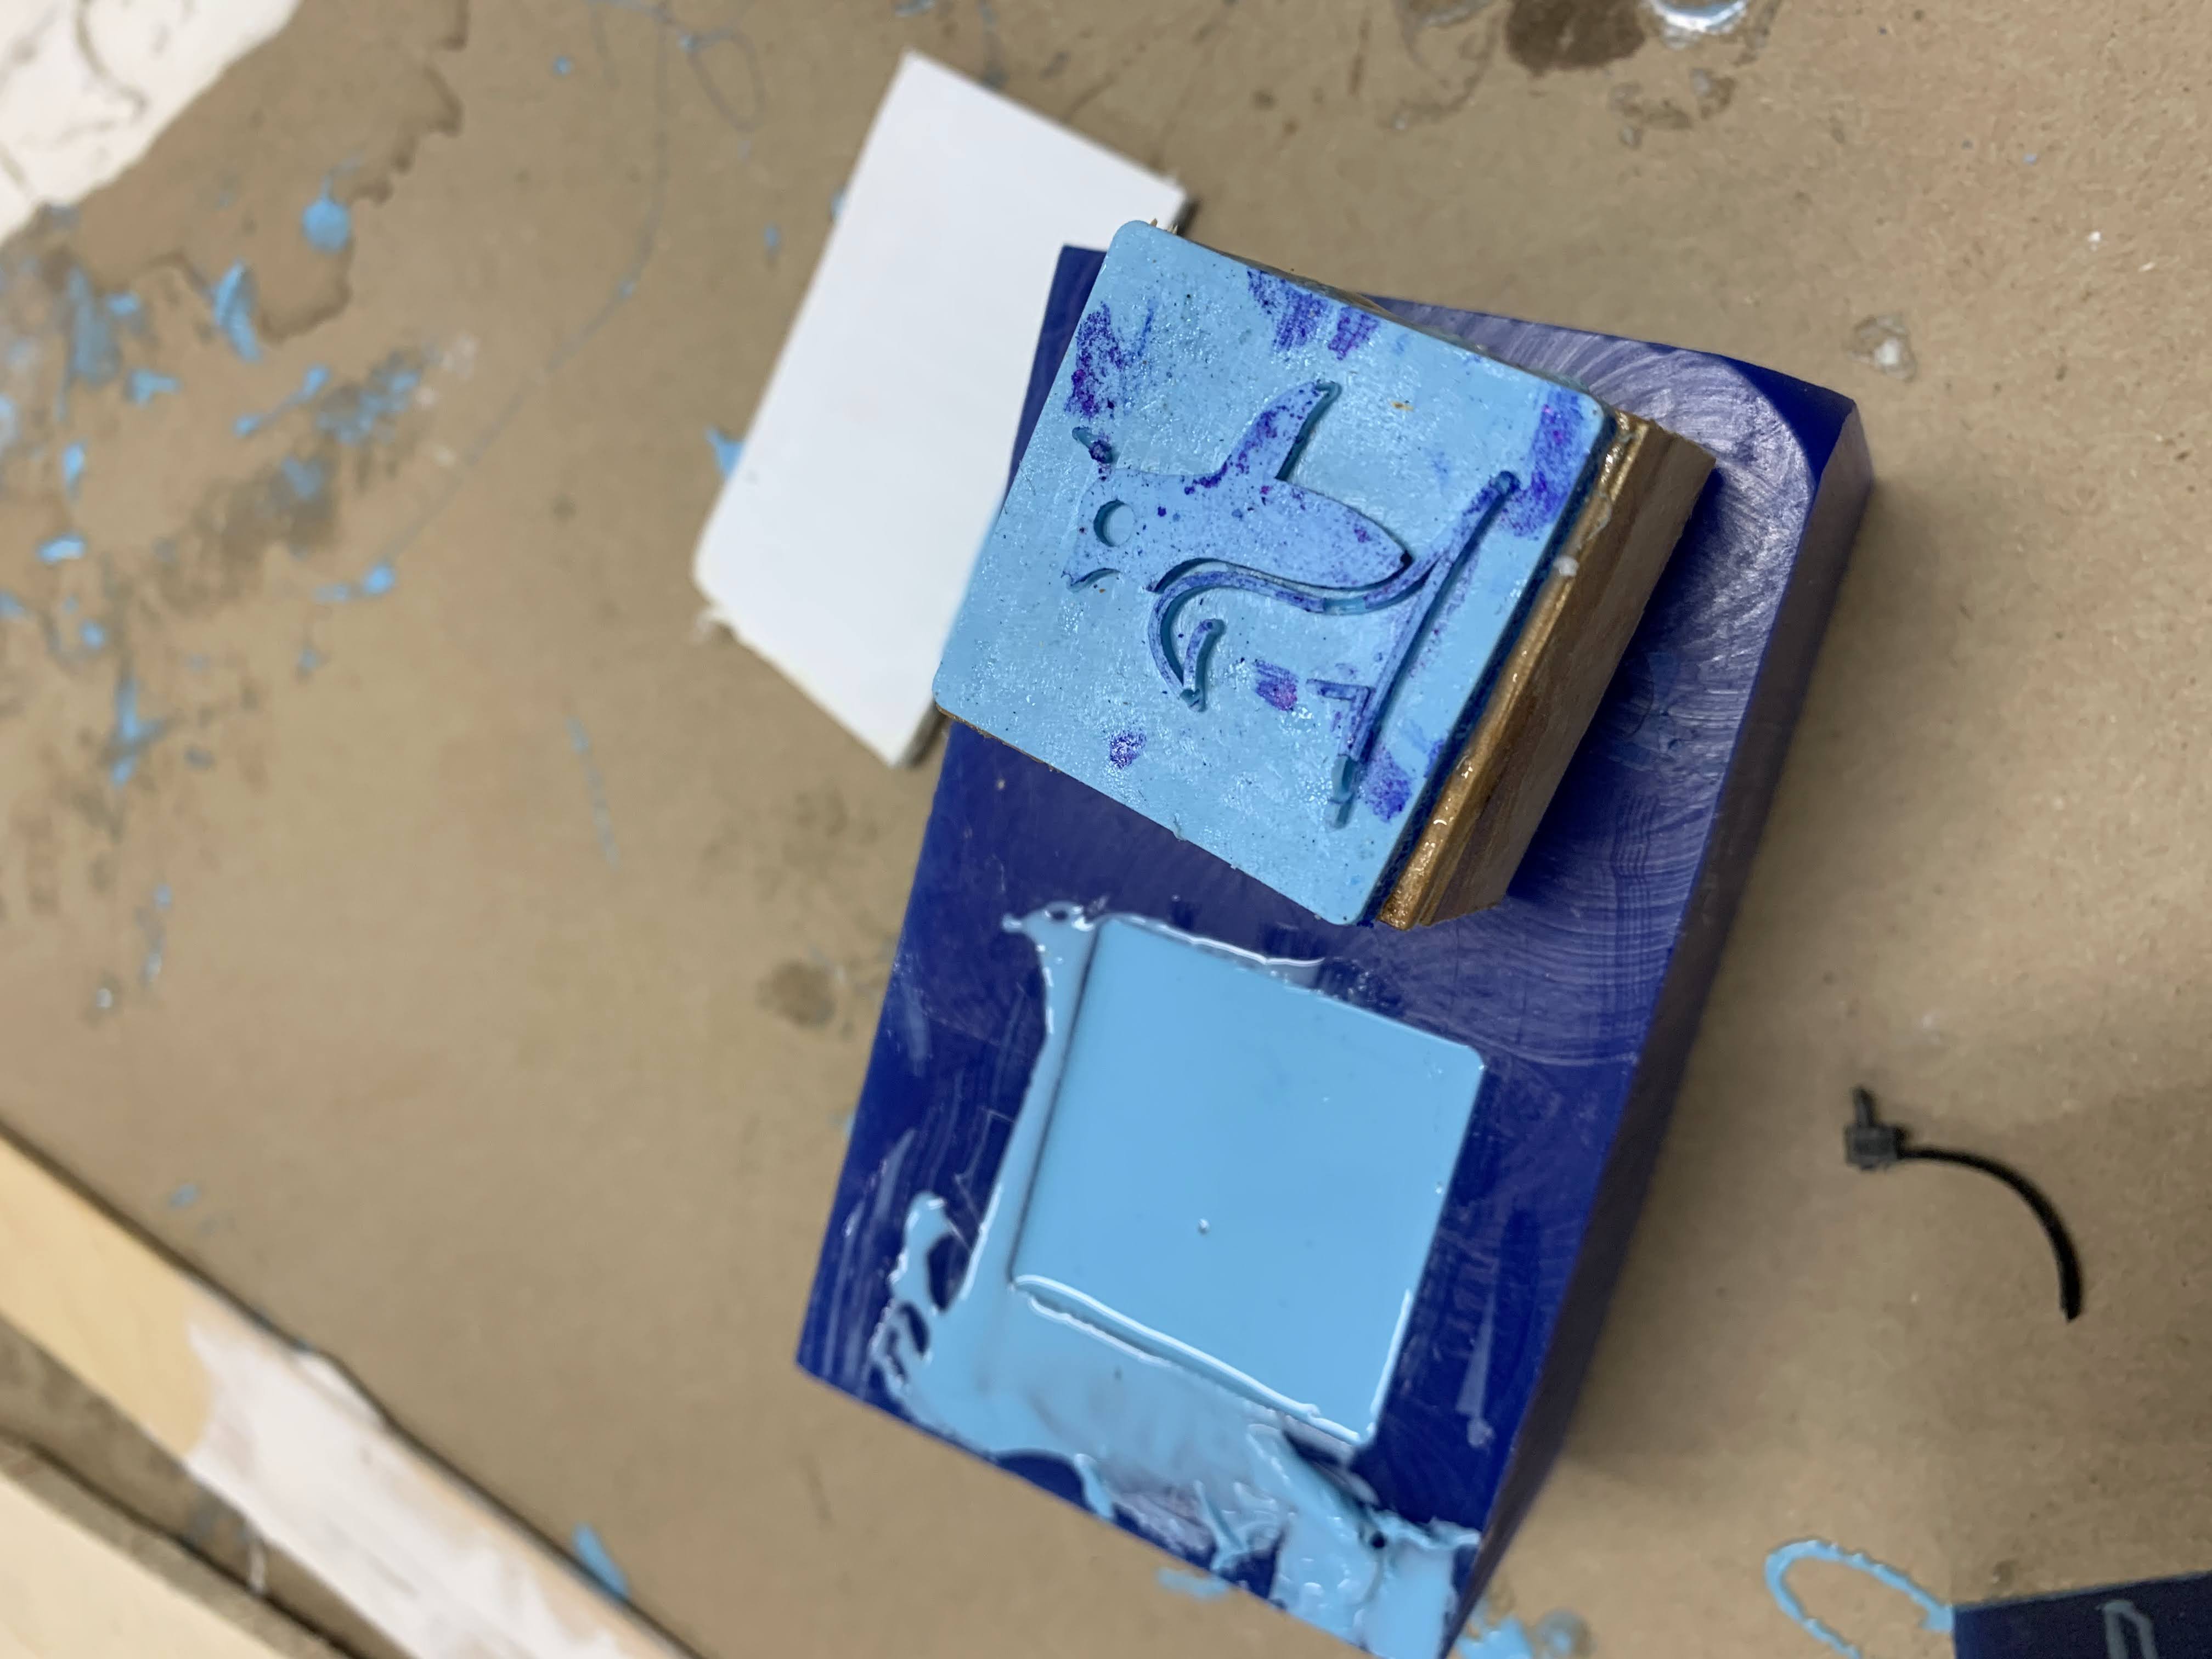
Once cured, I demolded the stamp. and glued it to a piece of wood. I happy with the result and I know that it will be useful to my friends.
Overall, this was a very simple project through which I learned about milling, molding, casting and materials selections. The stamps I built will be used by my friends at multiple events; I am very happy with the result.