This week, I explored inflatables!
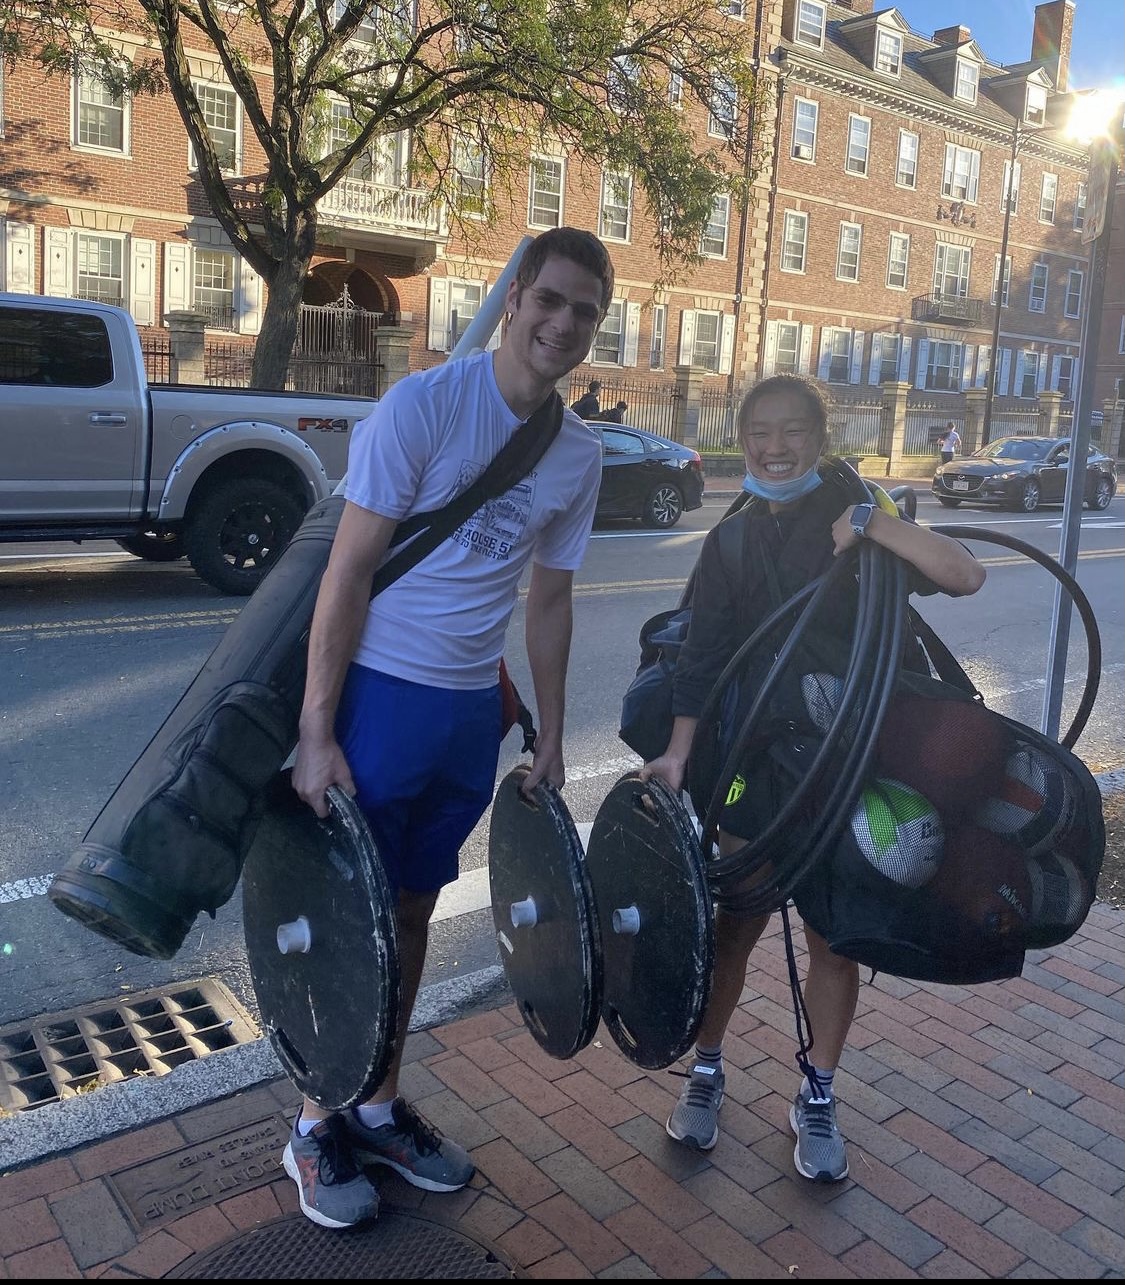
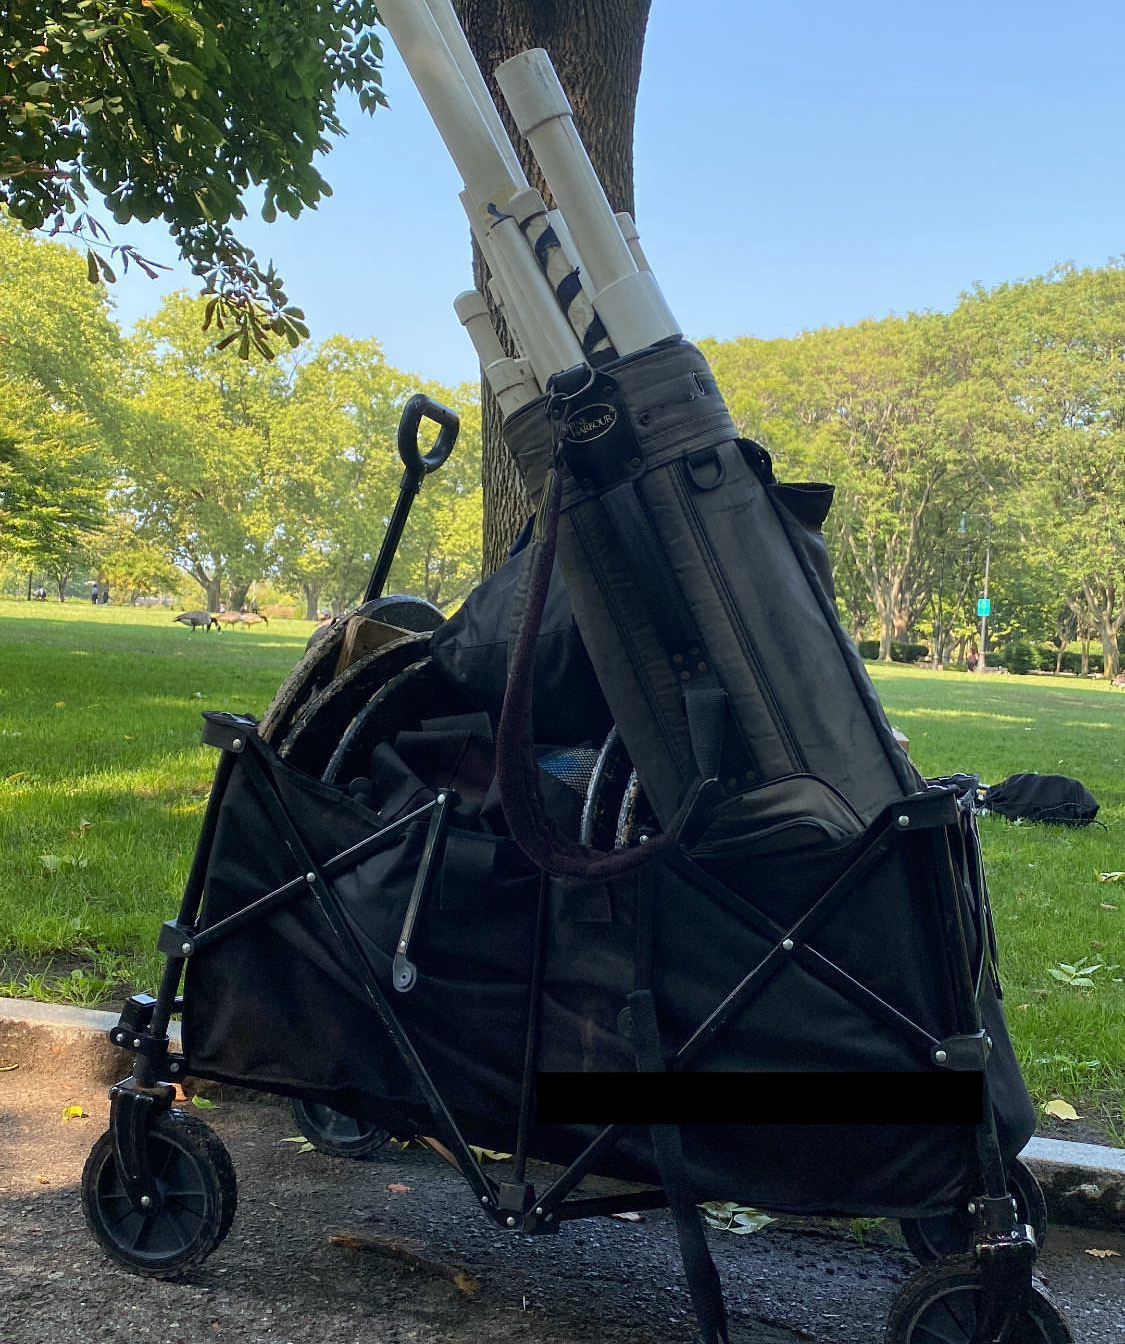
I chose this wildcard topic because my final project idea is to make a better quidditch hoop. The current hoop model consists of a hula hoop, PVC pipe, and wooden base.
Lugging all of this equipment to practice is a bonding experience, but a painful one.
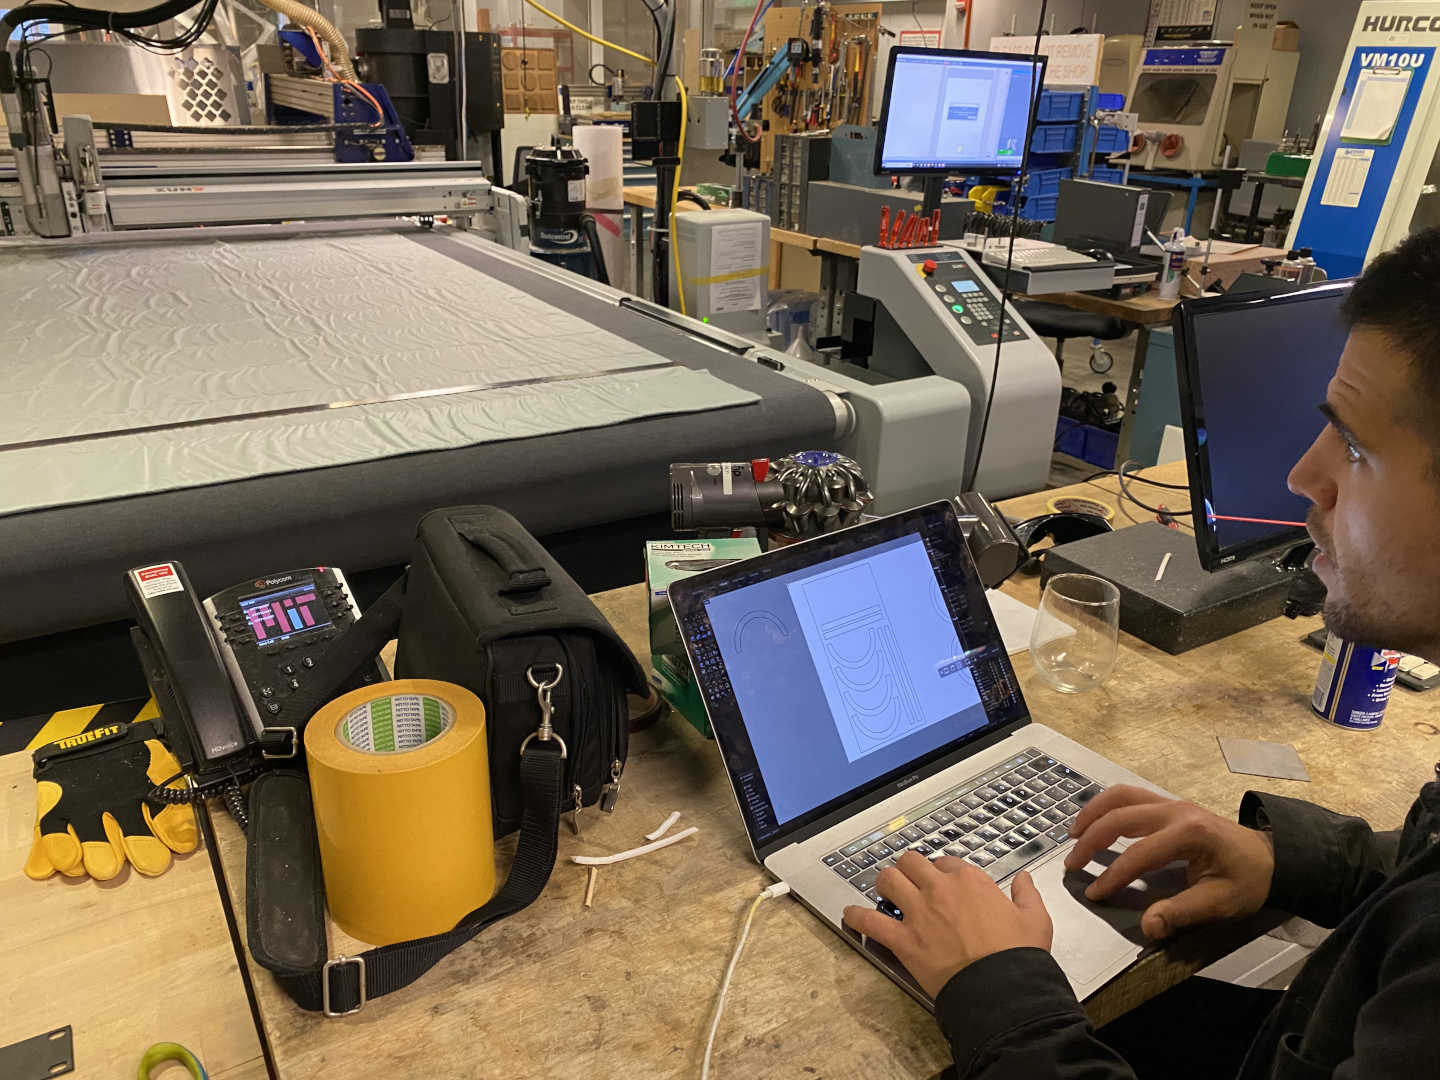
I started by making a simple hoop model in Fusion 360.
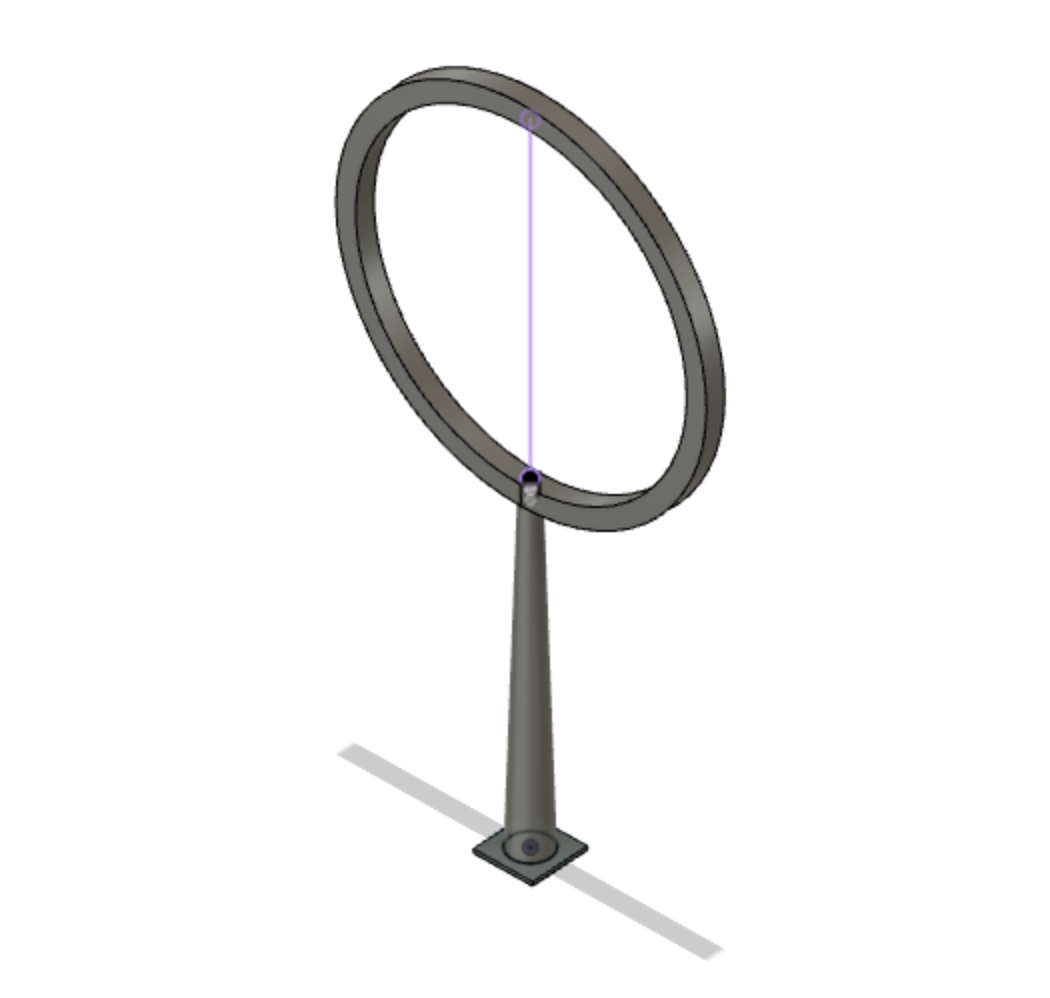
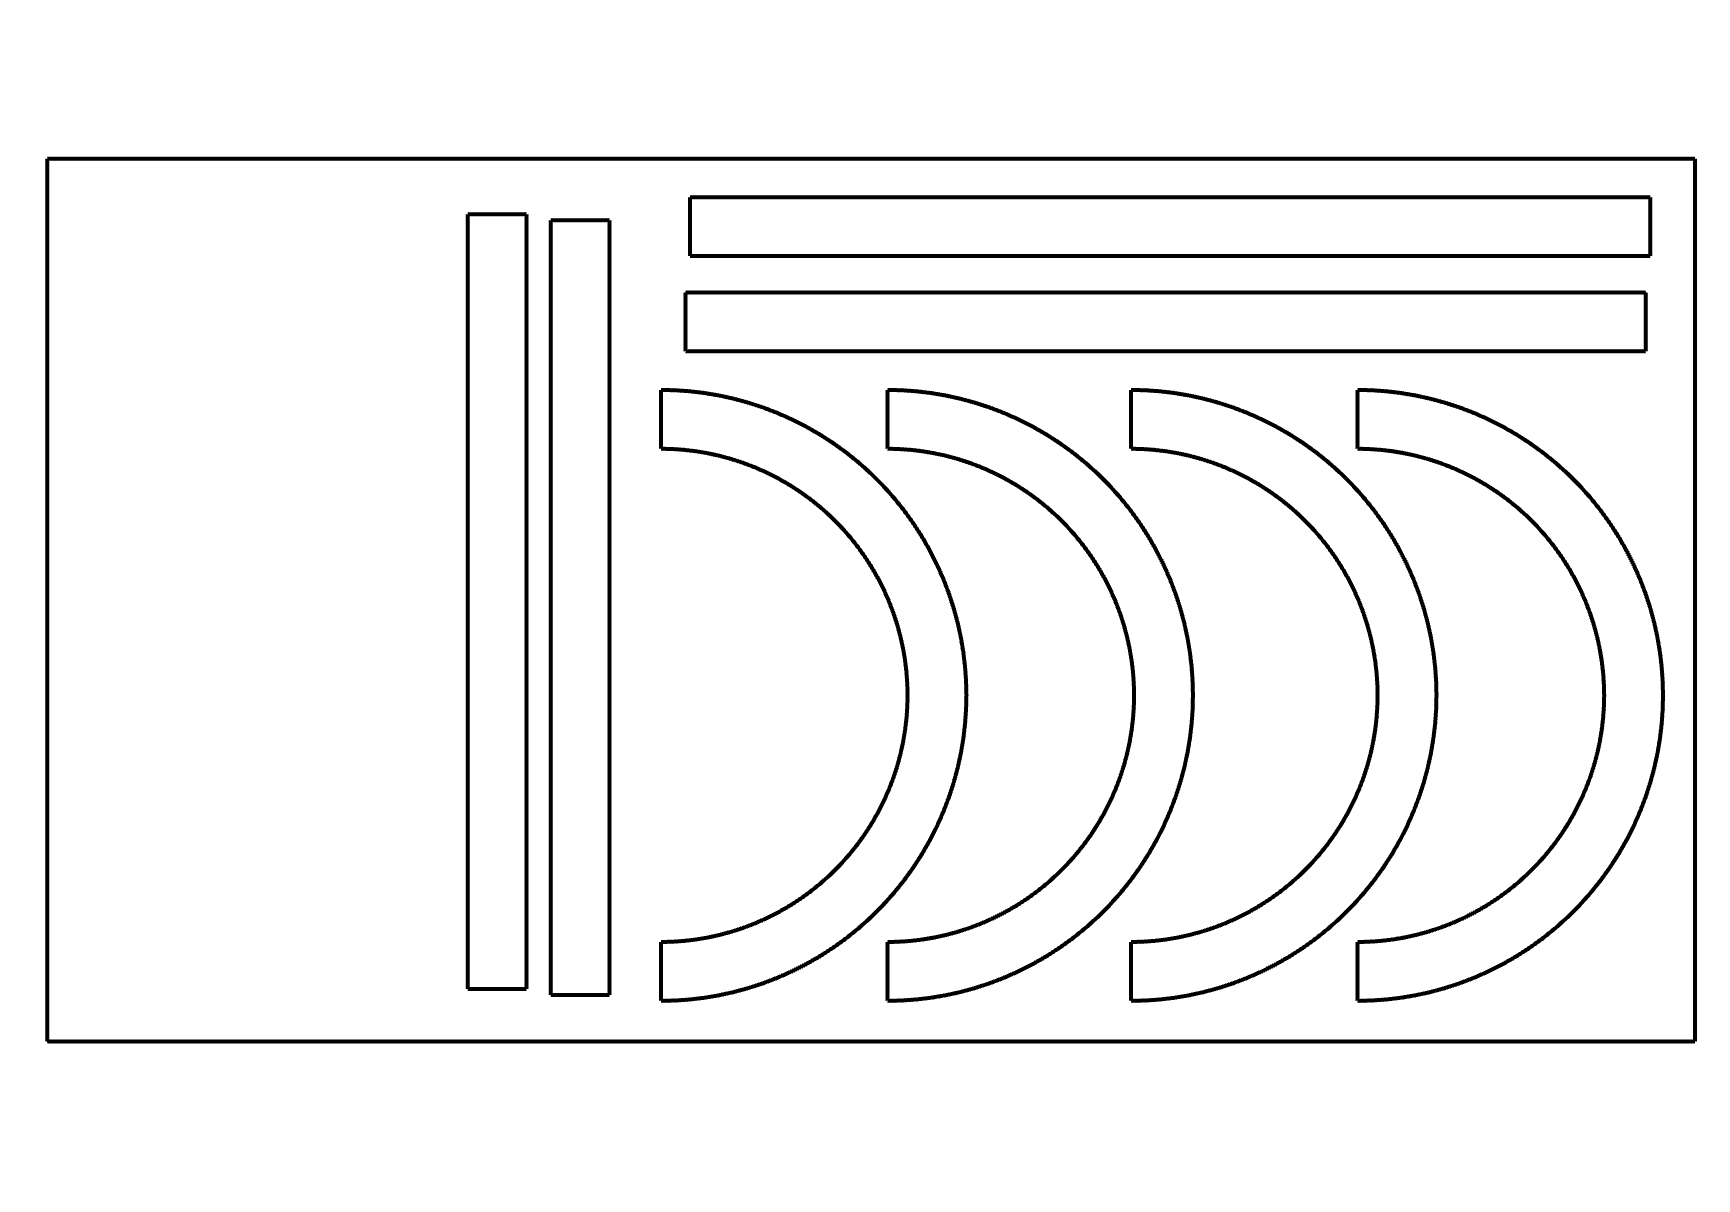
At first, my hoop was a standard torus (S1 X S1). After doing a bit of reading, I found that a 2D net only allows for curvature in one direction. So, I changed it to have the cross section of a square ((0,1) X (0,1) X S1). For simplicity's sake, I decided to exclude the pole and only model the hoop part for now. My pieces were very simple: rectangles and semi-circle cutouts. I cut them in half to save fabric space. Alfonso helped me use the Zund CNC machine at the Mars Lab.
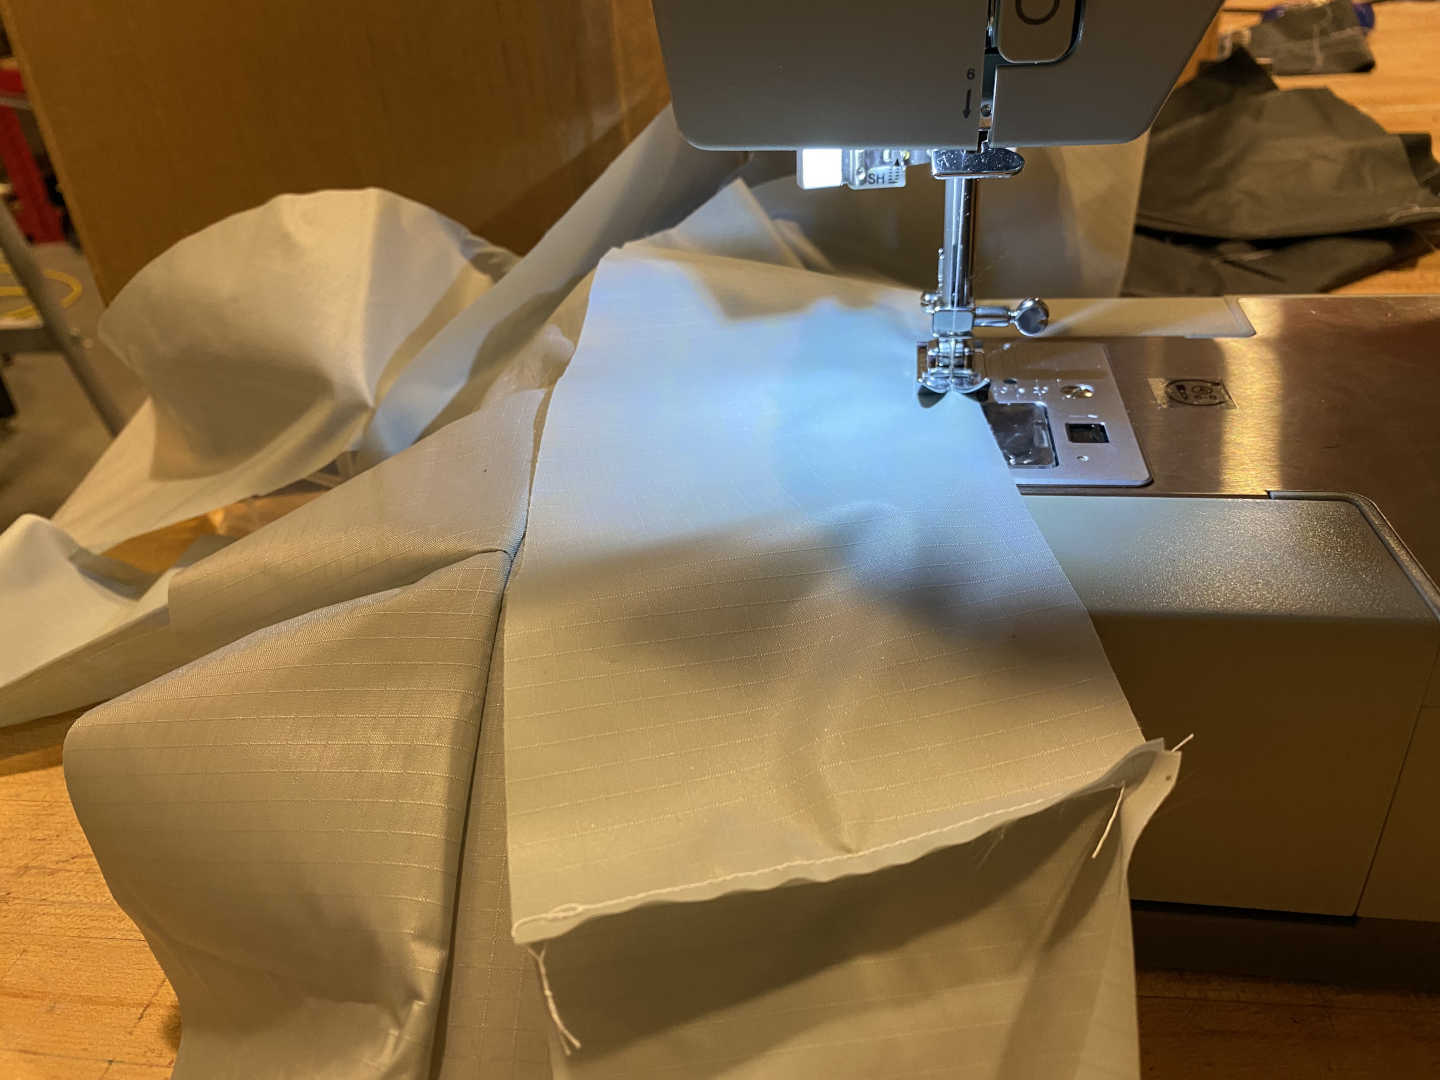
Miana taught me how to sew! The machine was a Singer Heavy Duty sewing machine, which had convenient labels to indicate how to thread the spool and bobbin. I had to figure out how to sew a rectangle edge and semi-circle edge together. This made some of my stitches a bit wobbly. Ultimately, I had to sew the circumference four times. This took about three hours.
I finished sewing all the pieces, and then disaster struck. How does one turn a torus inside out?! My non-topologist brain had forgotten to consider this. After tugging on parts and verifying that it is, in fact, impossible, I gave in and cut the torus in half. I pulled these pieces through then stitched it back up.
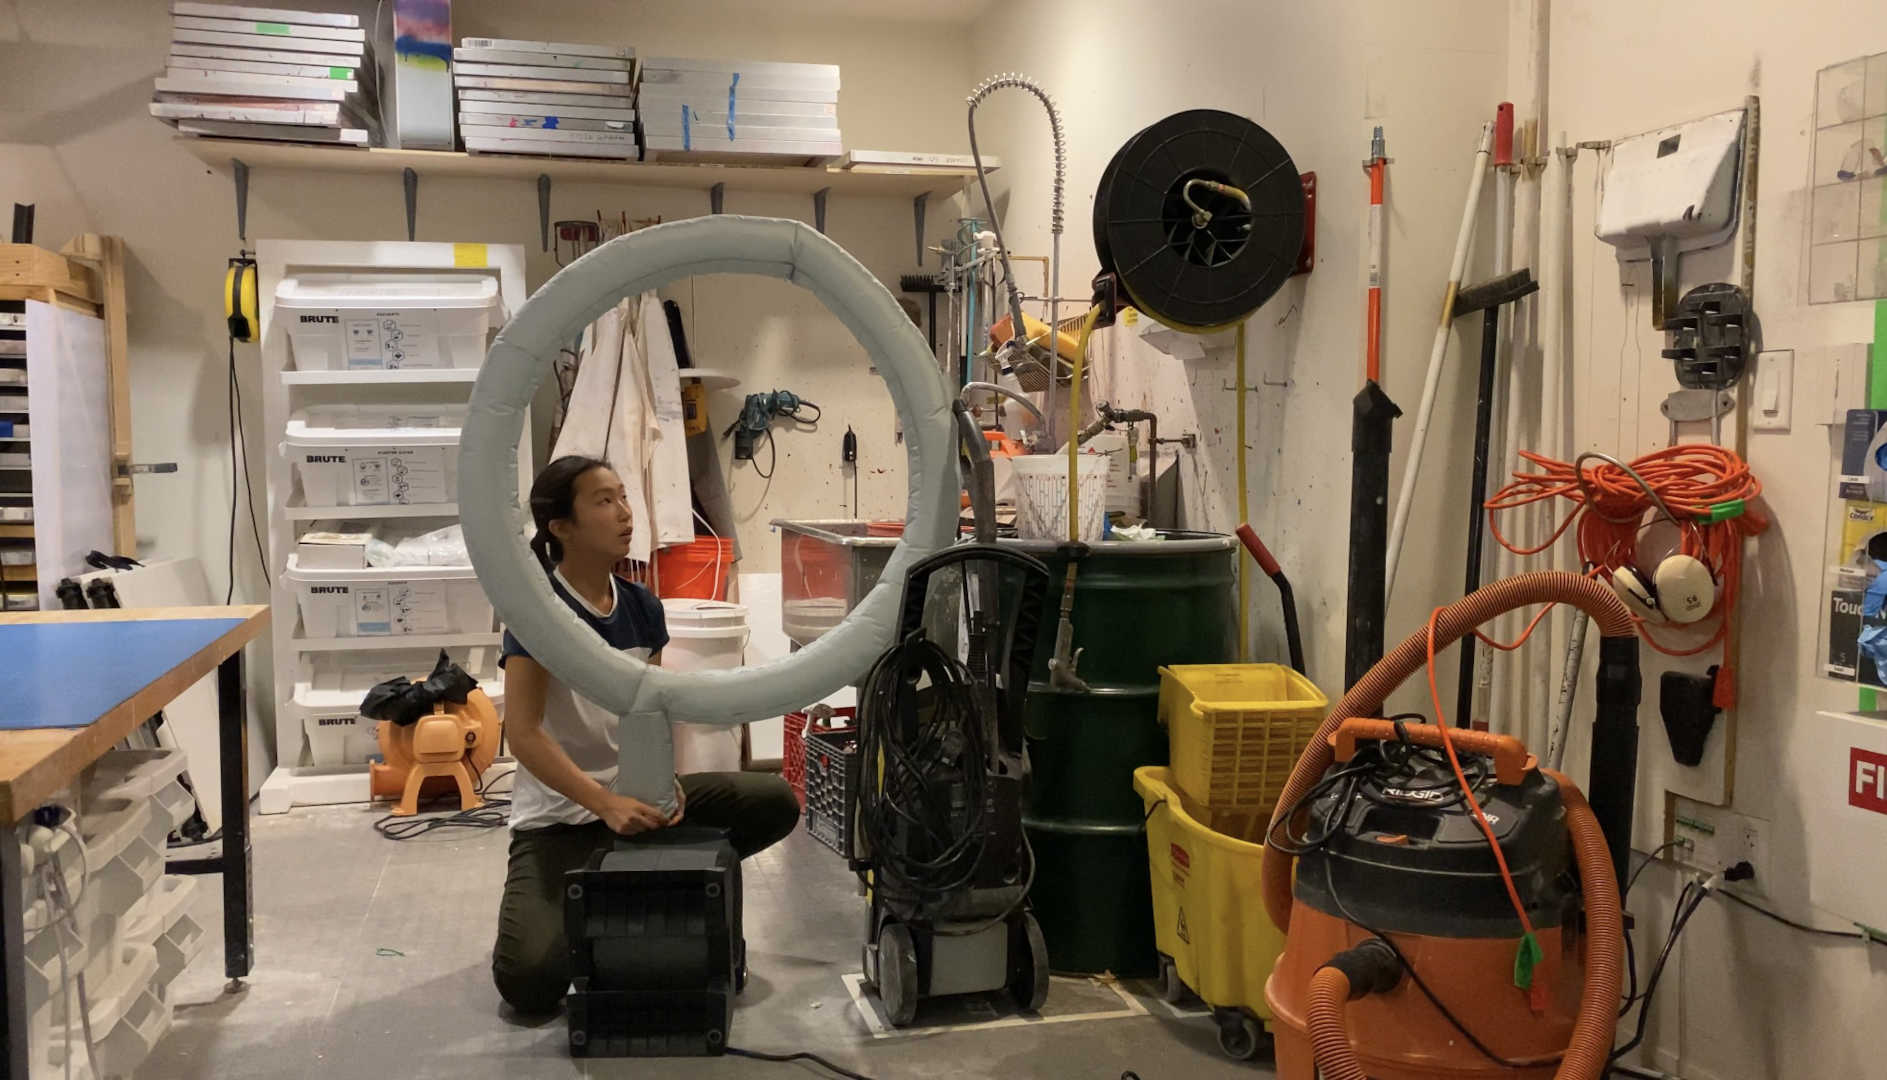
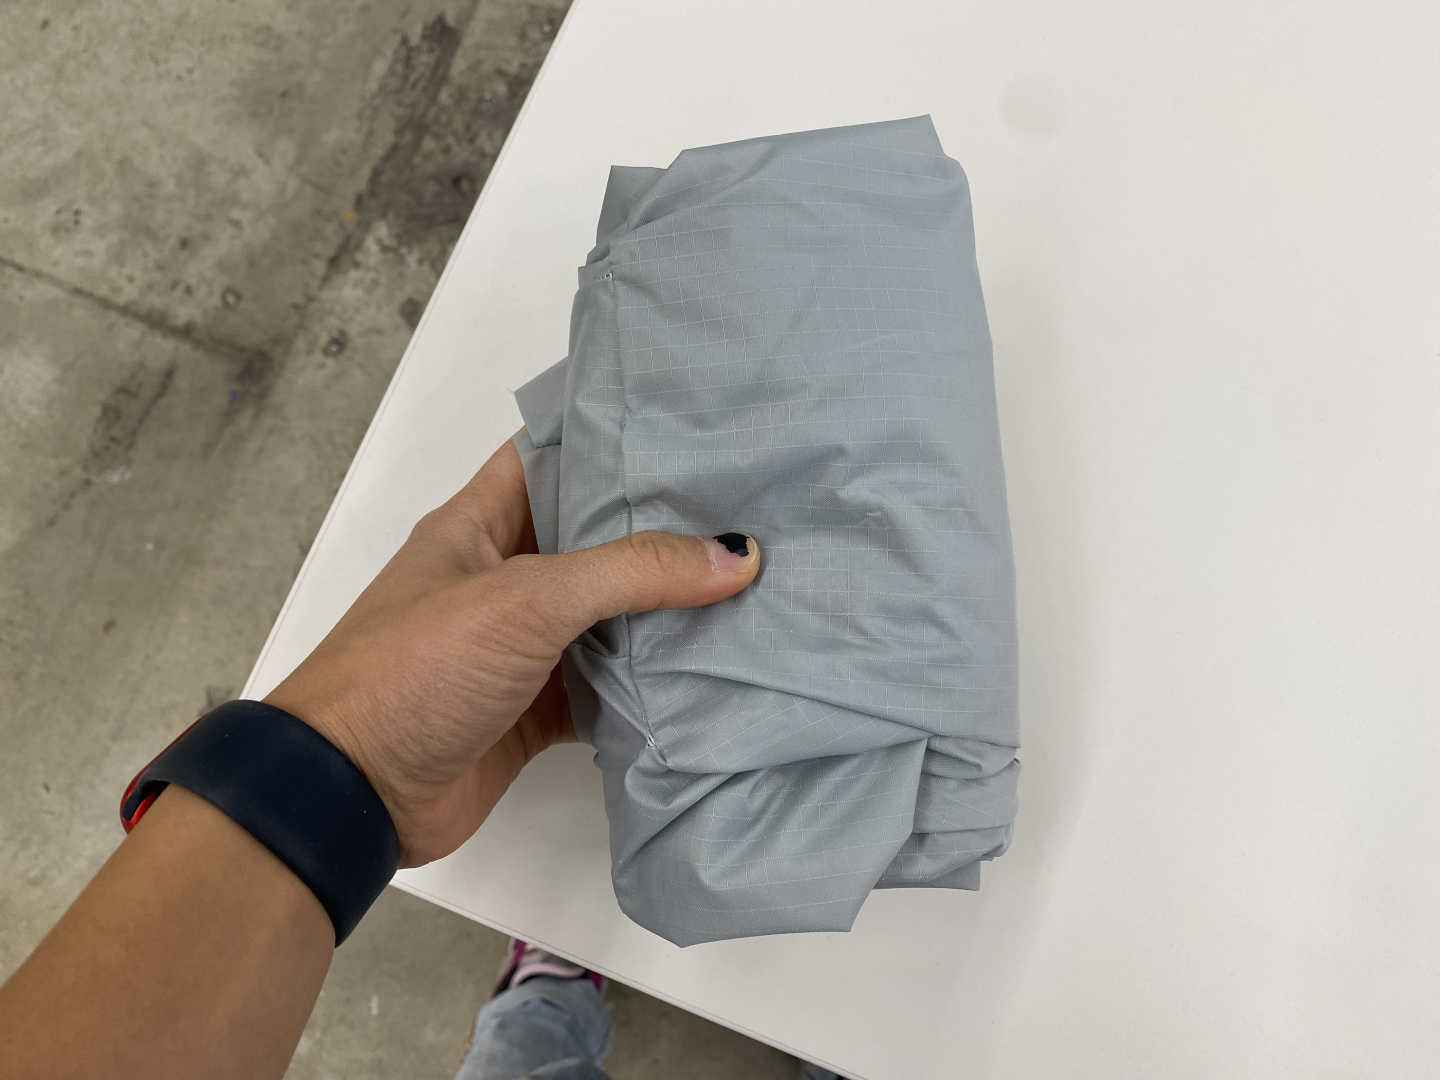
This is regulation hoop size! And the best part: it folds down to the size of a book!