The following article describes a project over the initial span of 2 weeks with both input and output combined into a singular design. Hence, I am copying this article to both the input week and the output week. The input is the capacitative touch capabilities. The output is the RGB LED and the buzzer music notes.
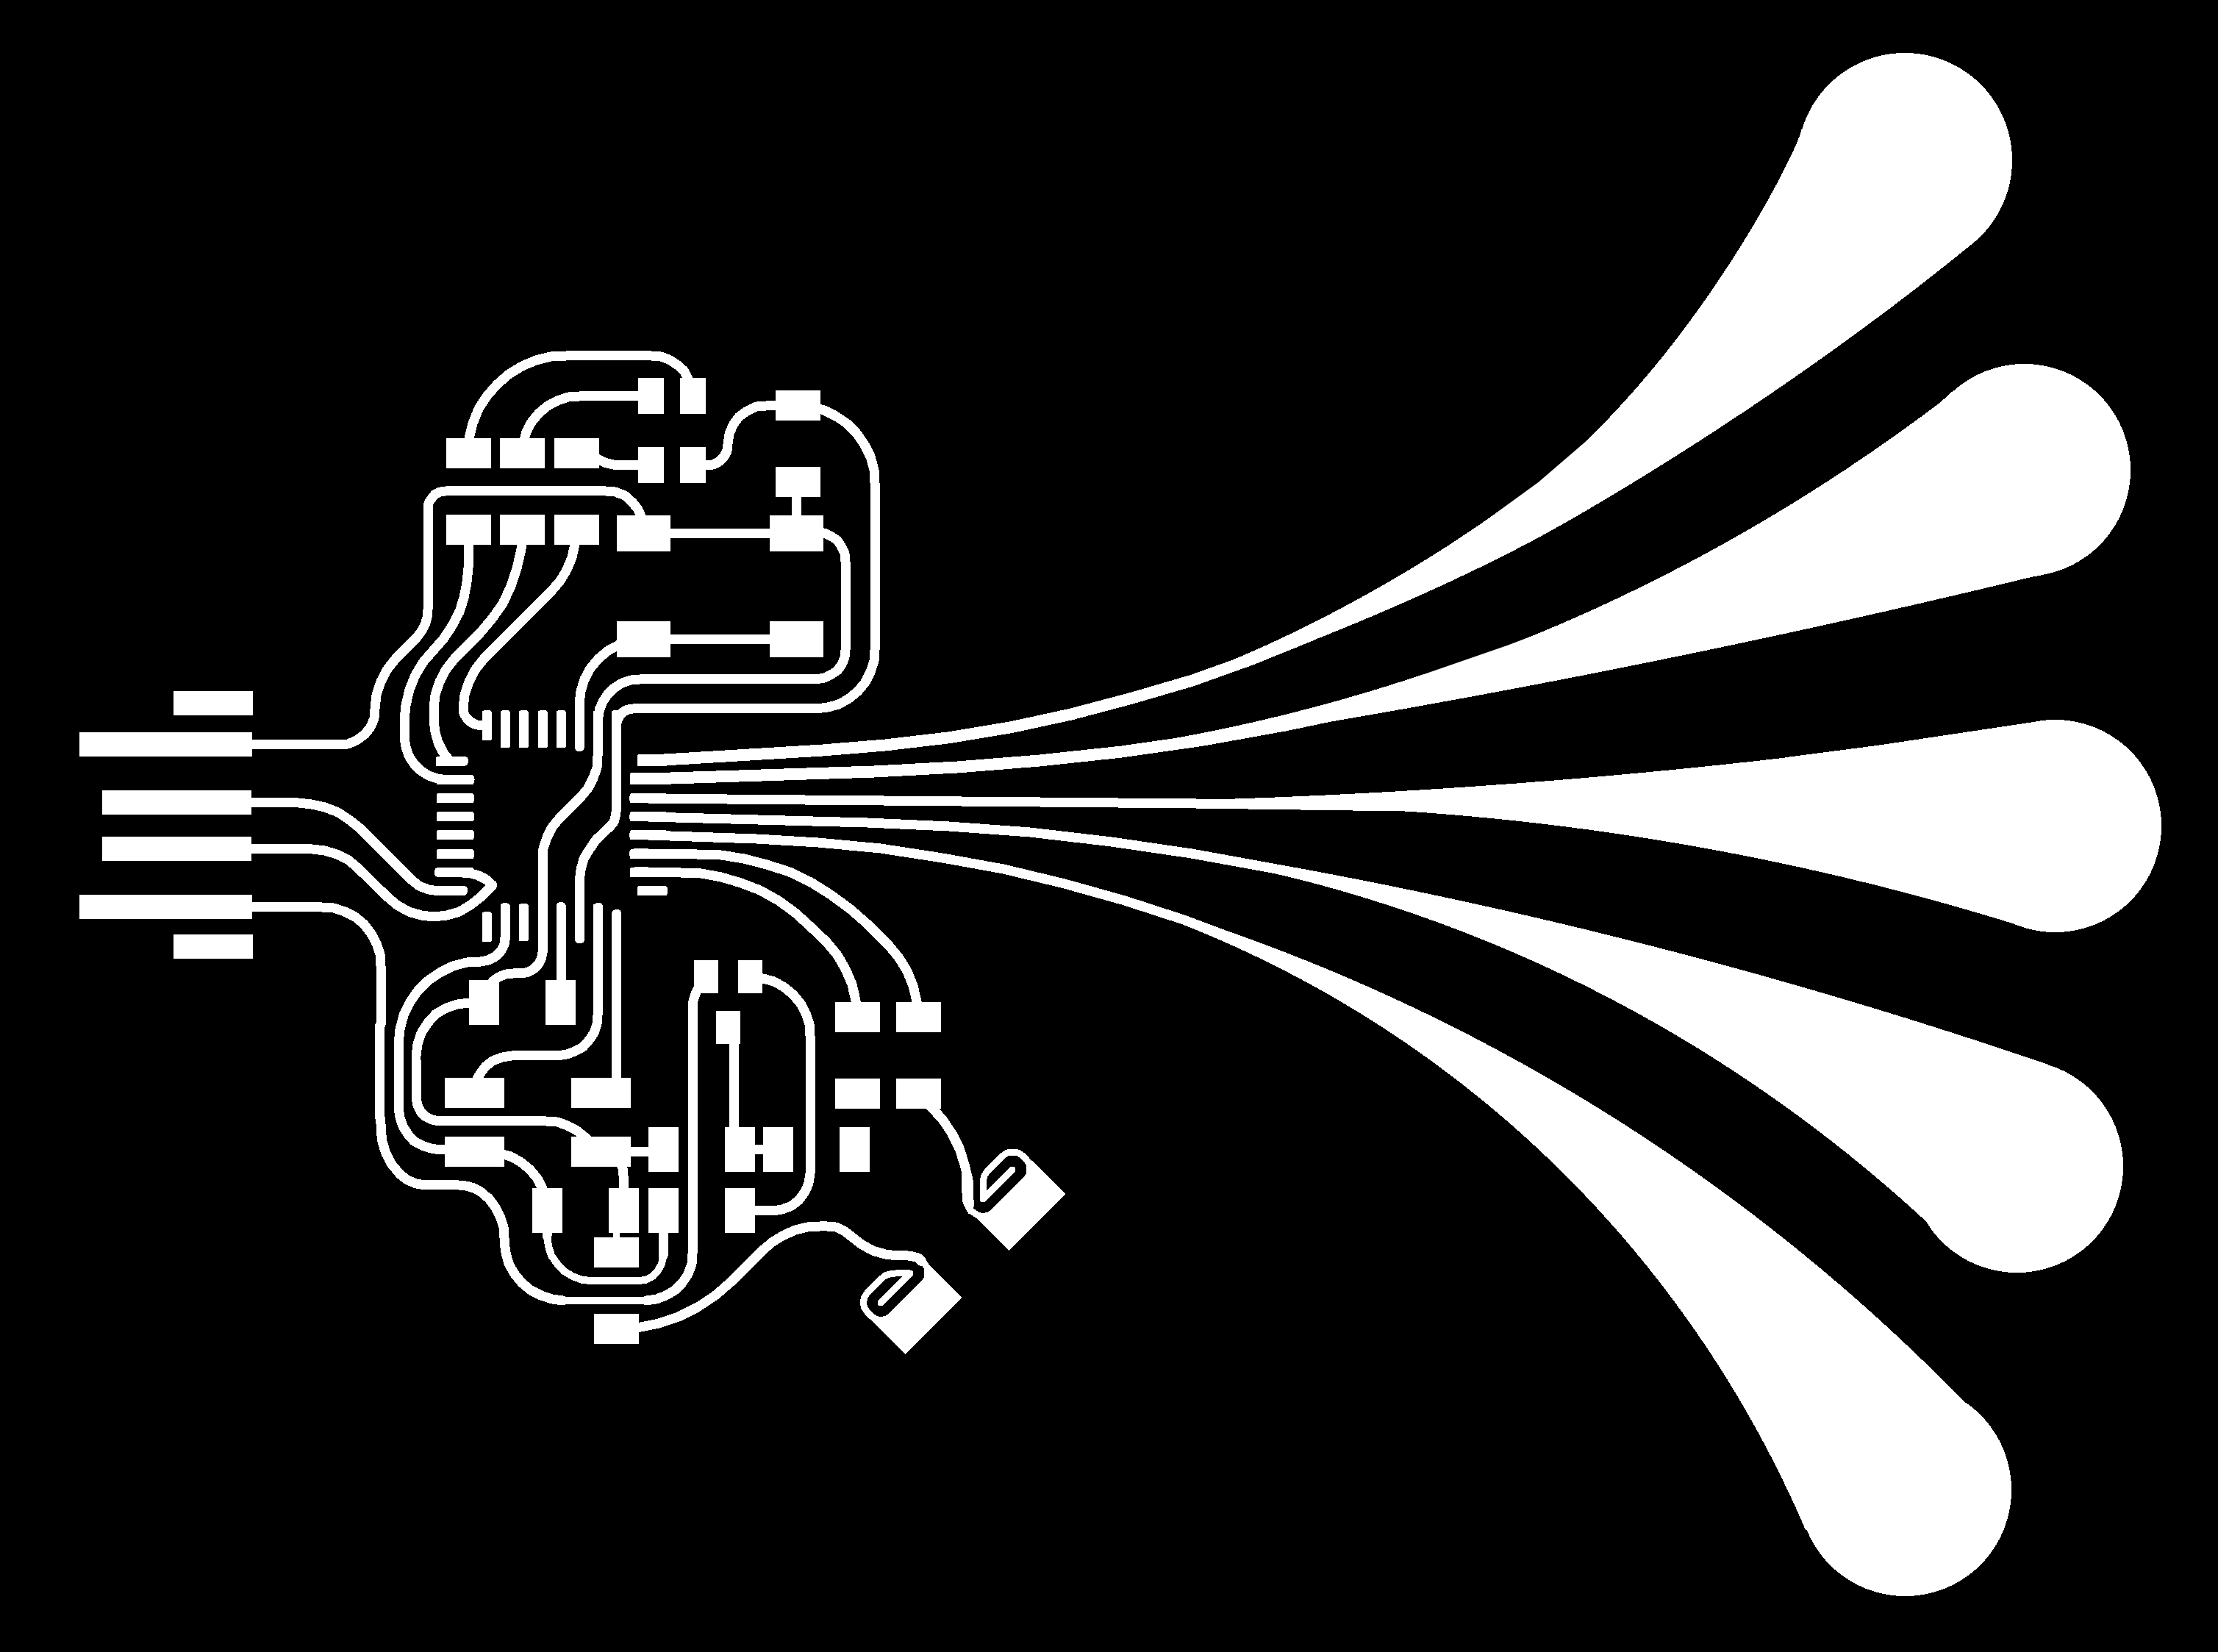
I want to make a piano pcb this week, following quentin's design. I really like the opportunaty this device gives in making an interesting shape. I have one goal for this machine: I want to make it fancy. I want to use only curvy trace lines, and no diagonal and orthogonal lines.
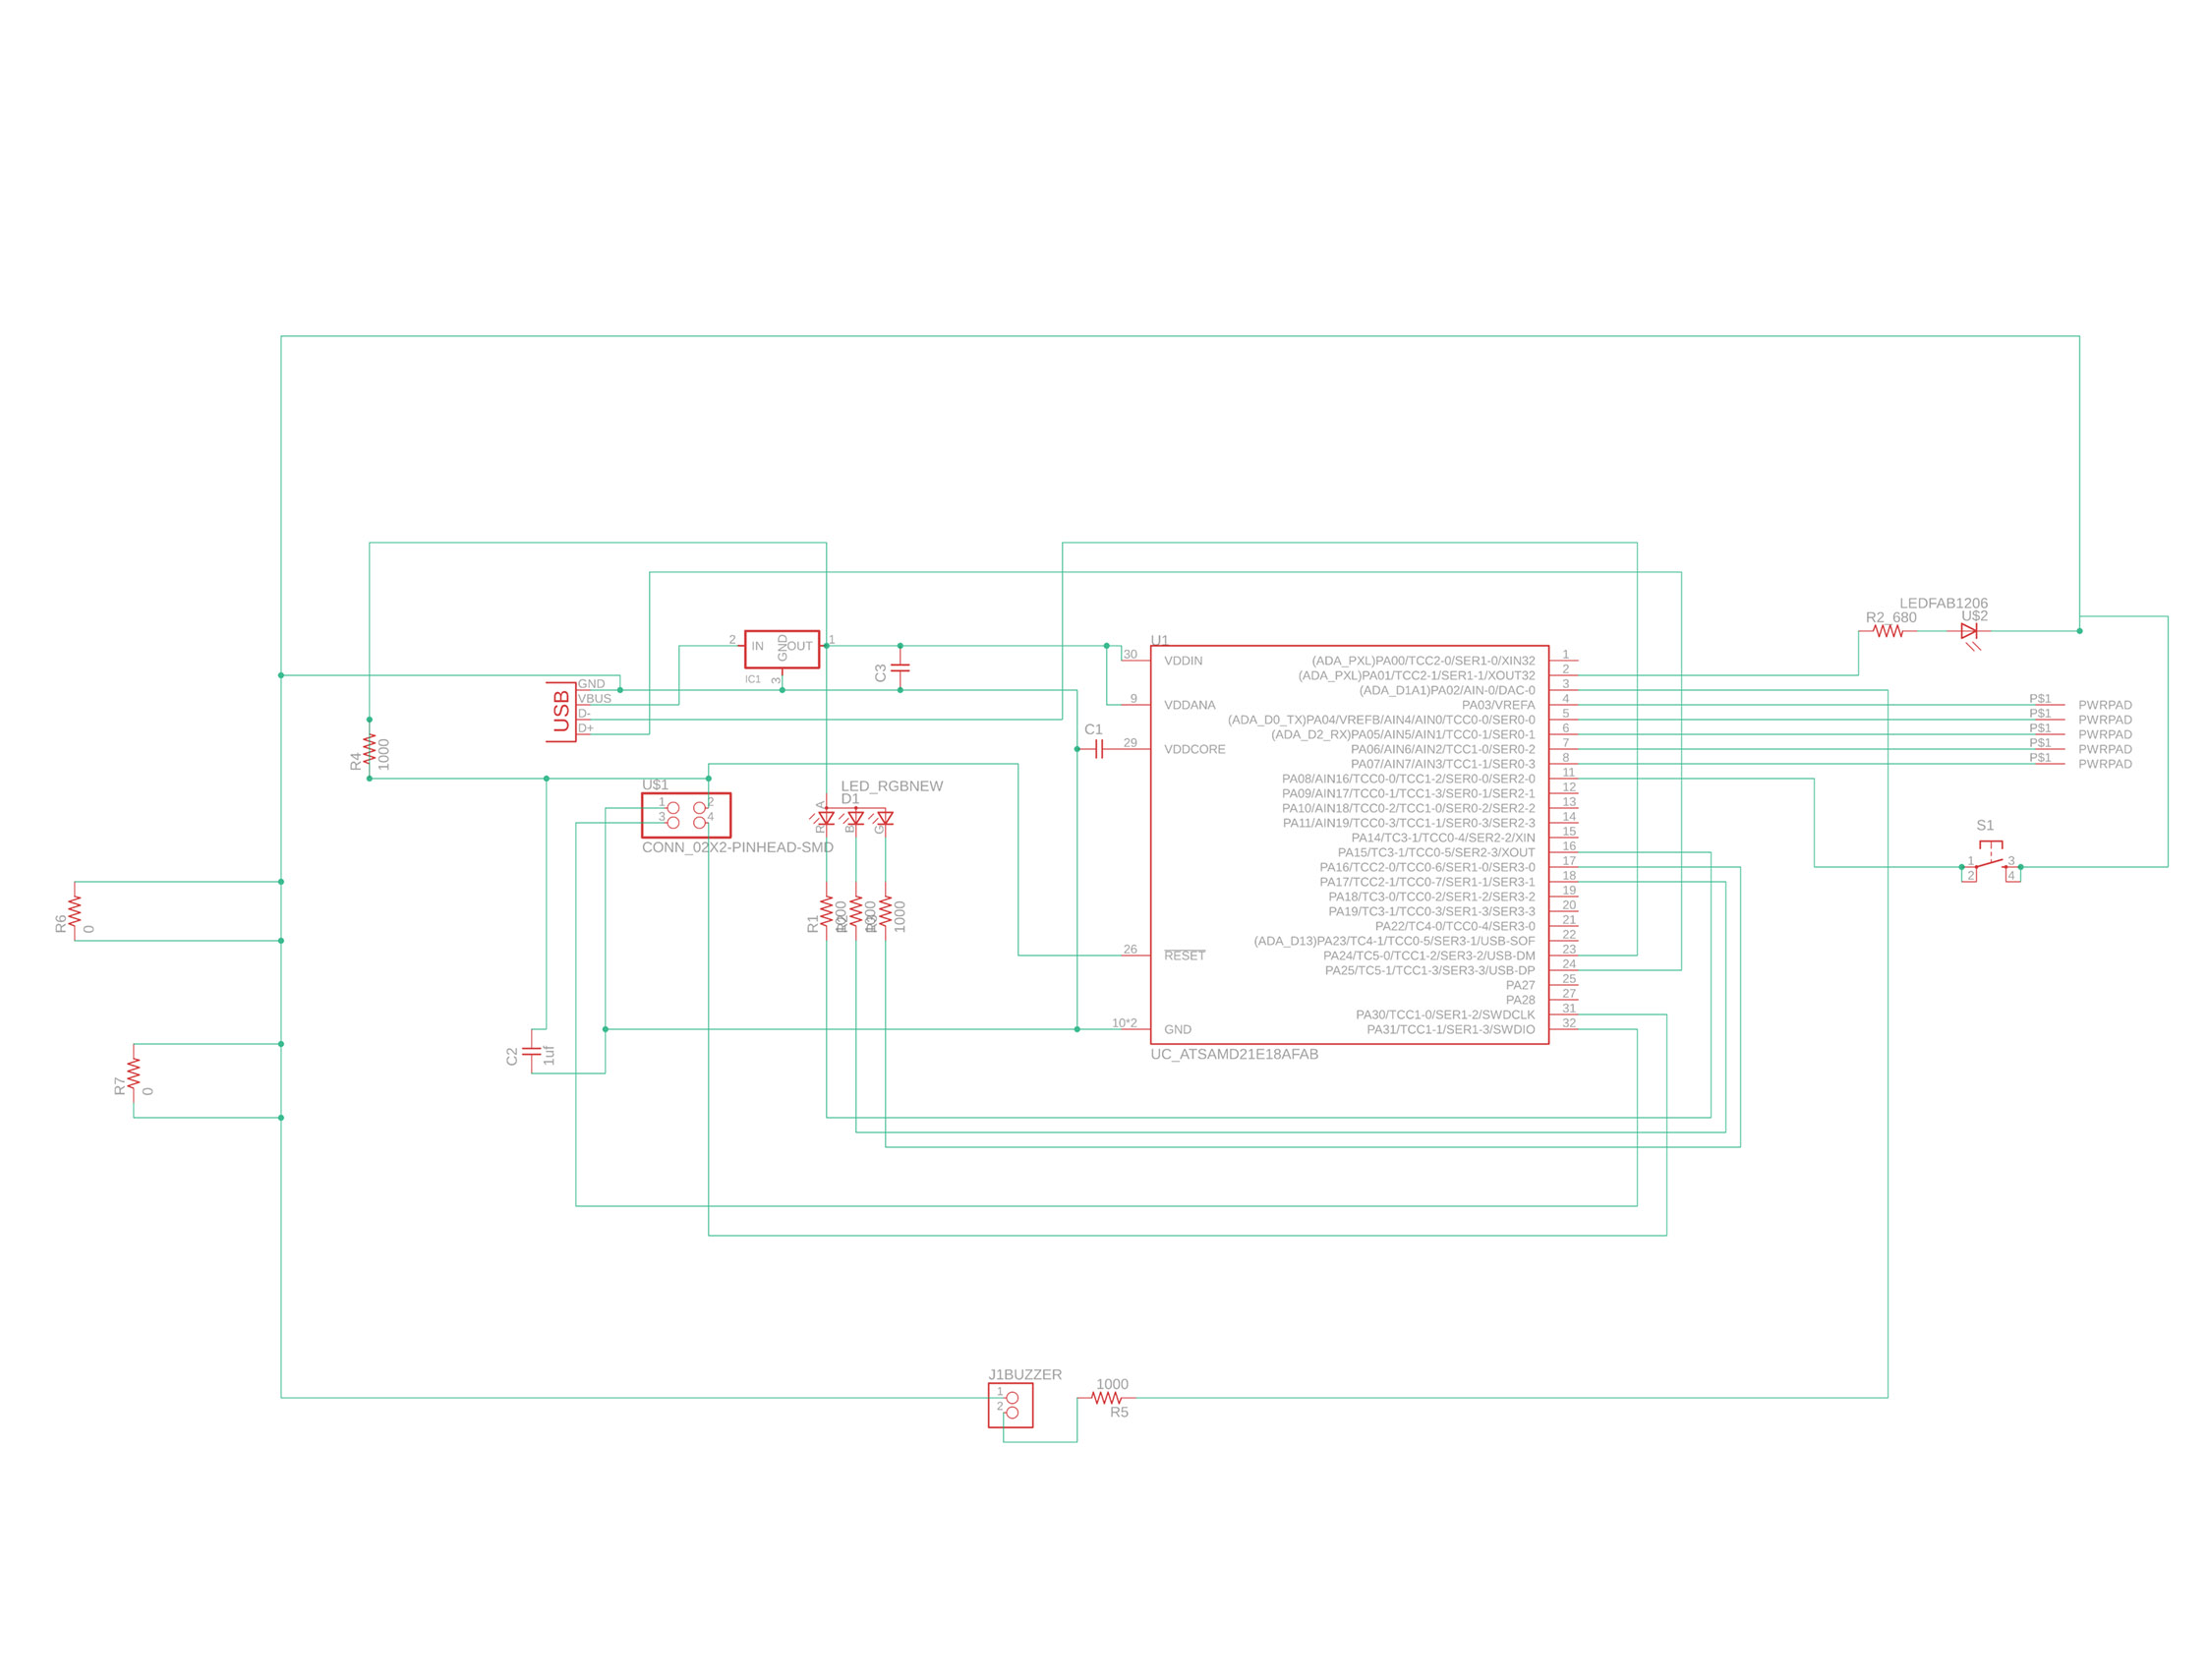
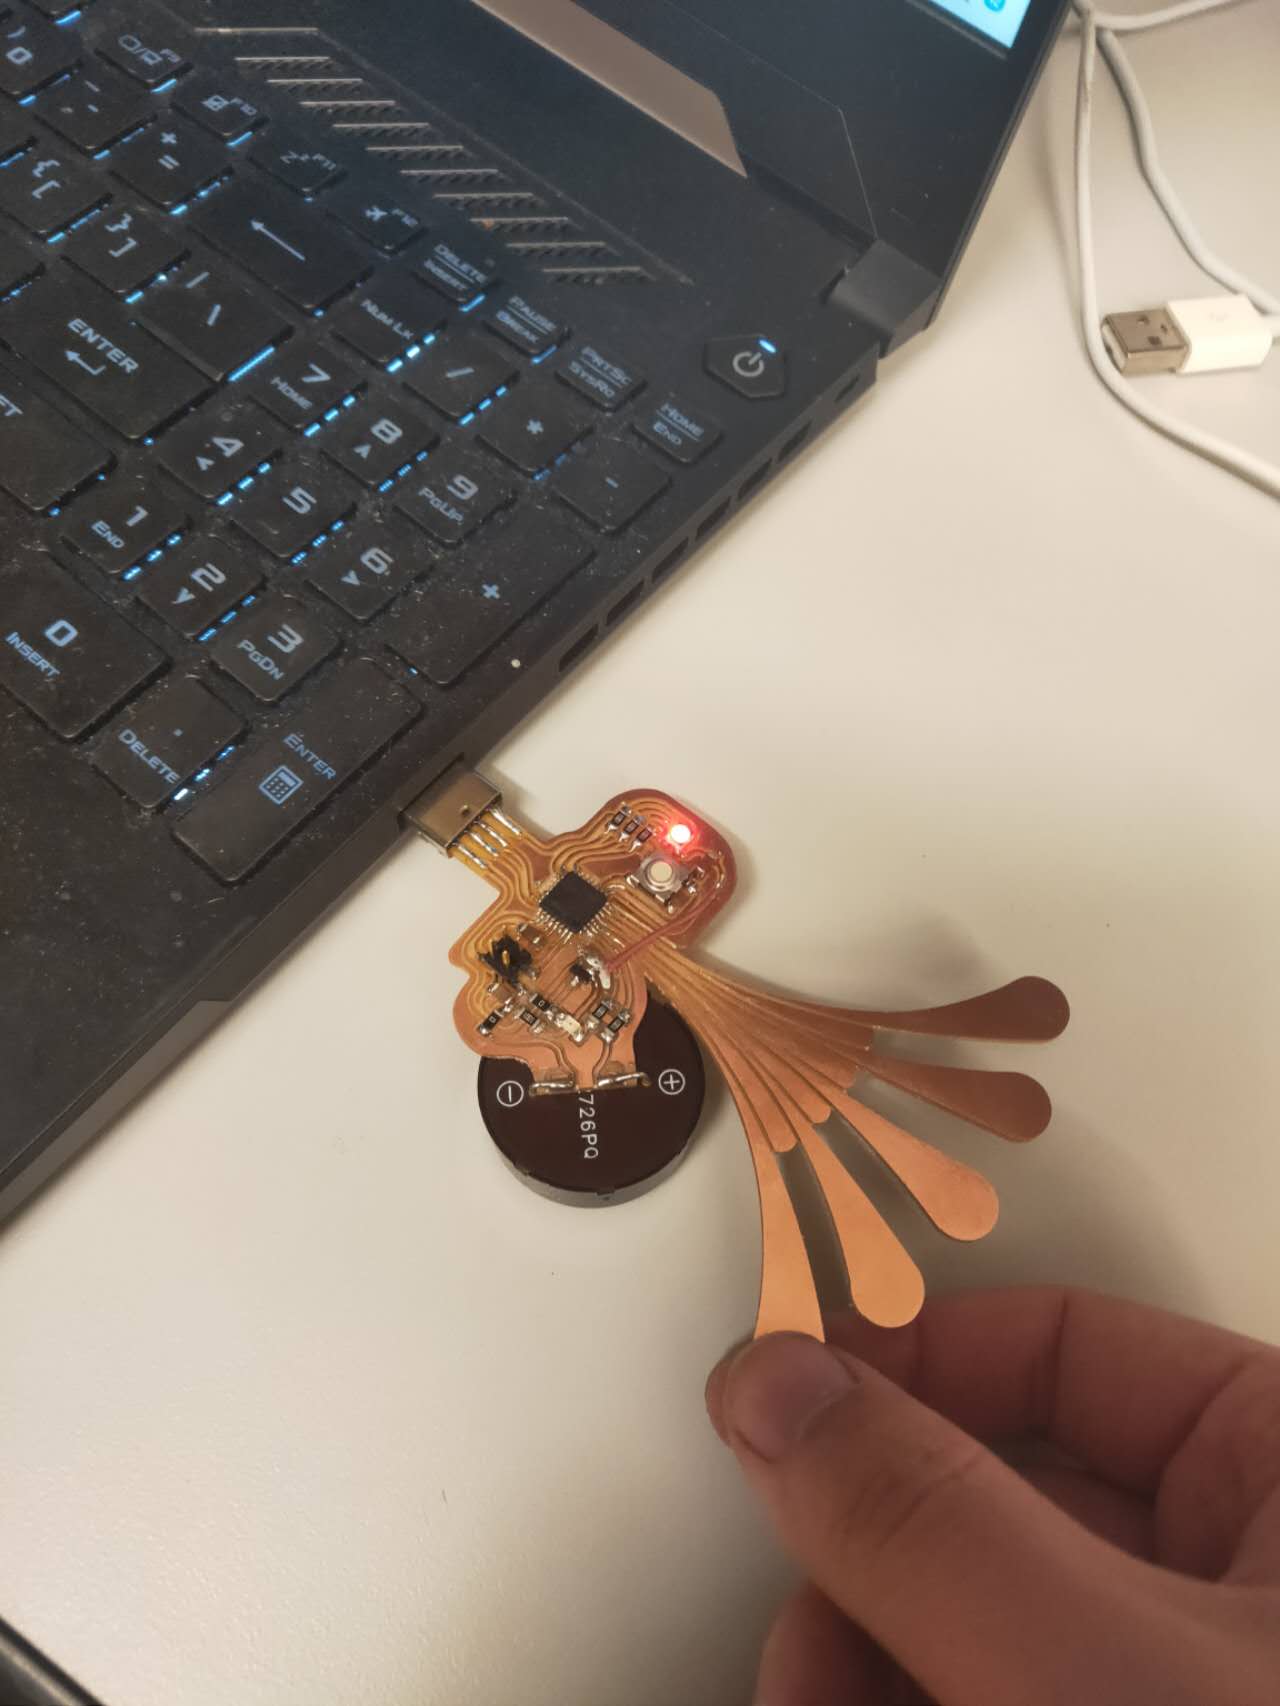
The piano will use a SAMD21 as the processor which has capacitative touch capabilities. I want to layout to be in a peacock shape, with touch pads extending out as tails. Based on the Quentin's design, I added a led indicator as power light and a switch for more purposes. There is a RGB LED to fulfill this week's output requirement.
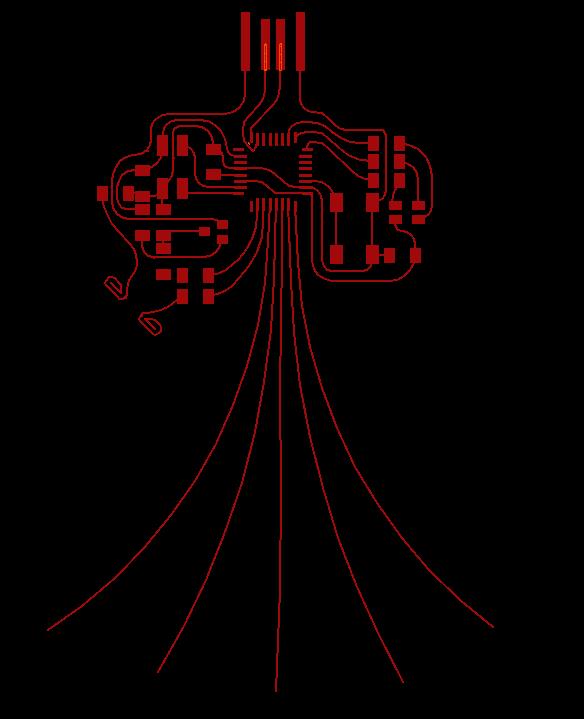
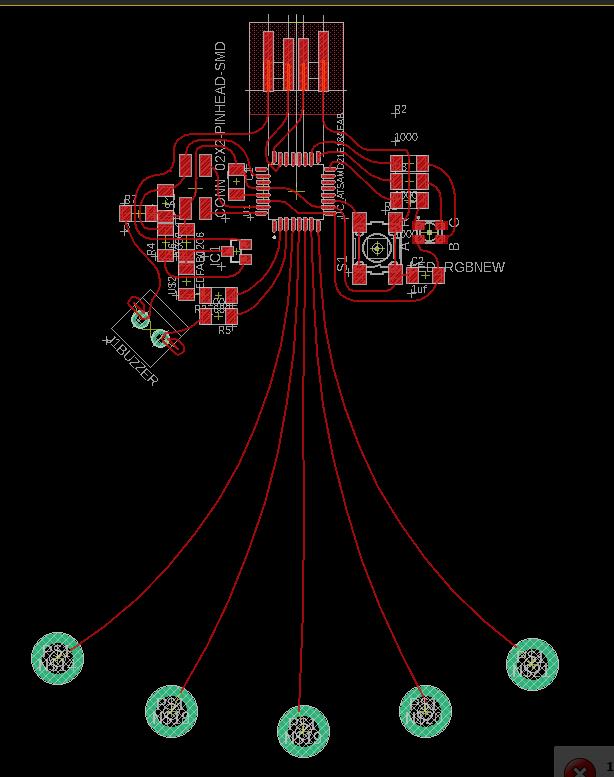
For the touch pads, I wanted to make it more interesting. So I shaped them into tear drop shapes. The tear drops tails will extend out and be separate individual branches.
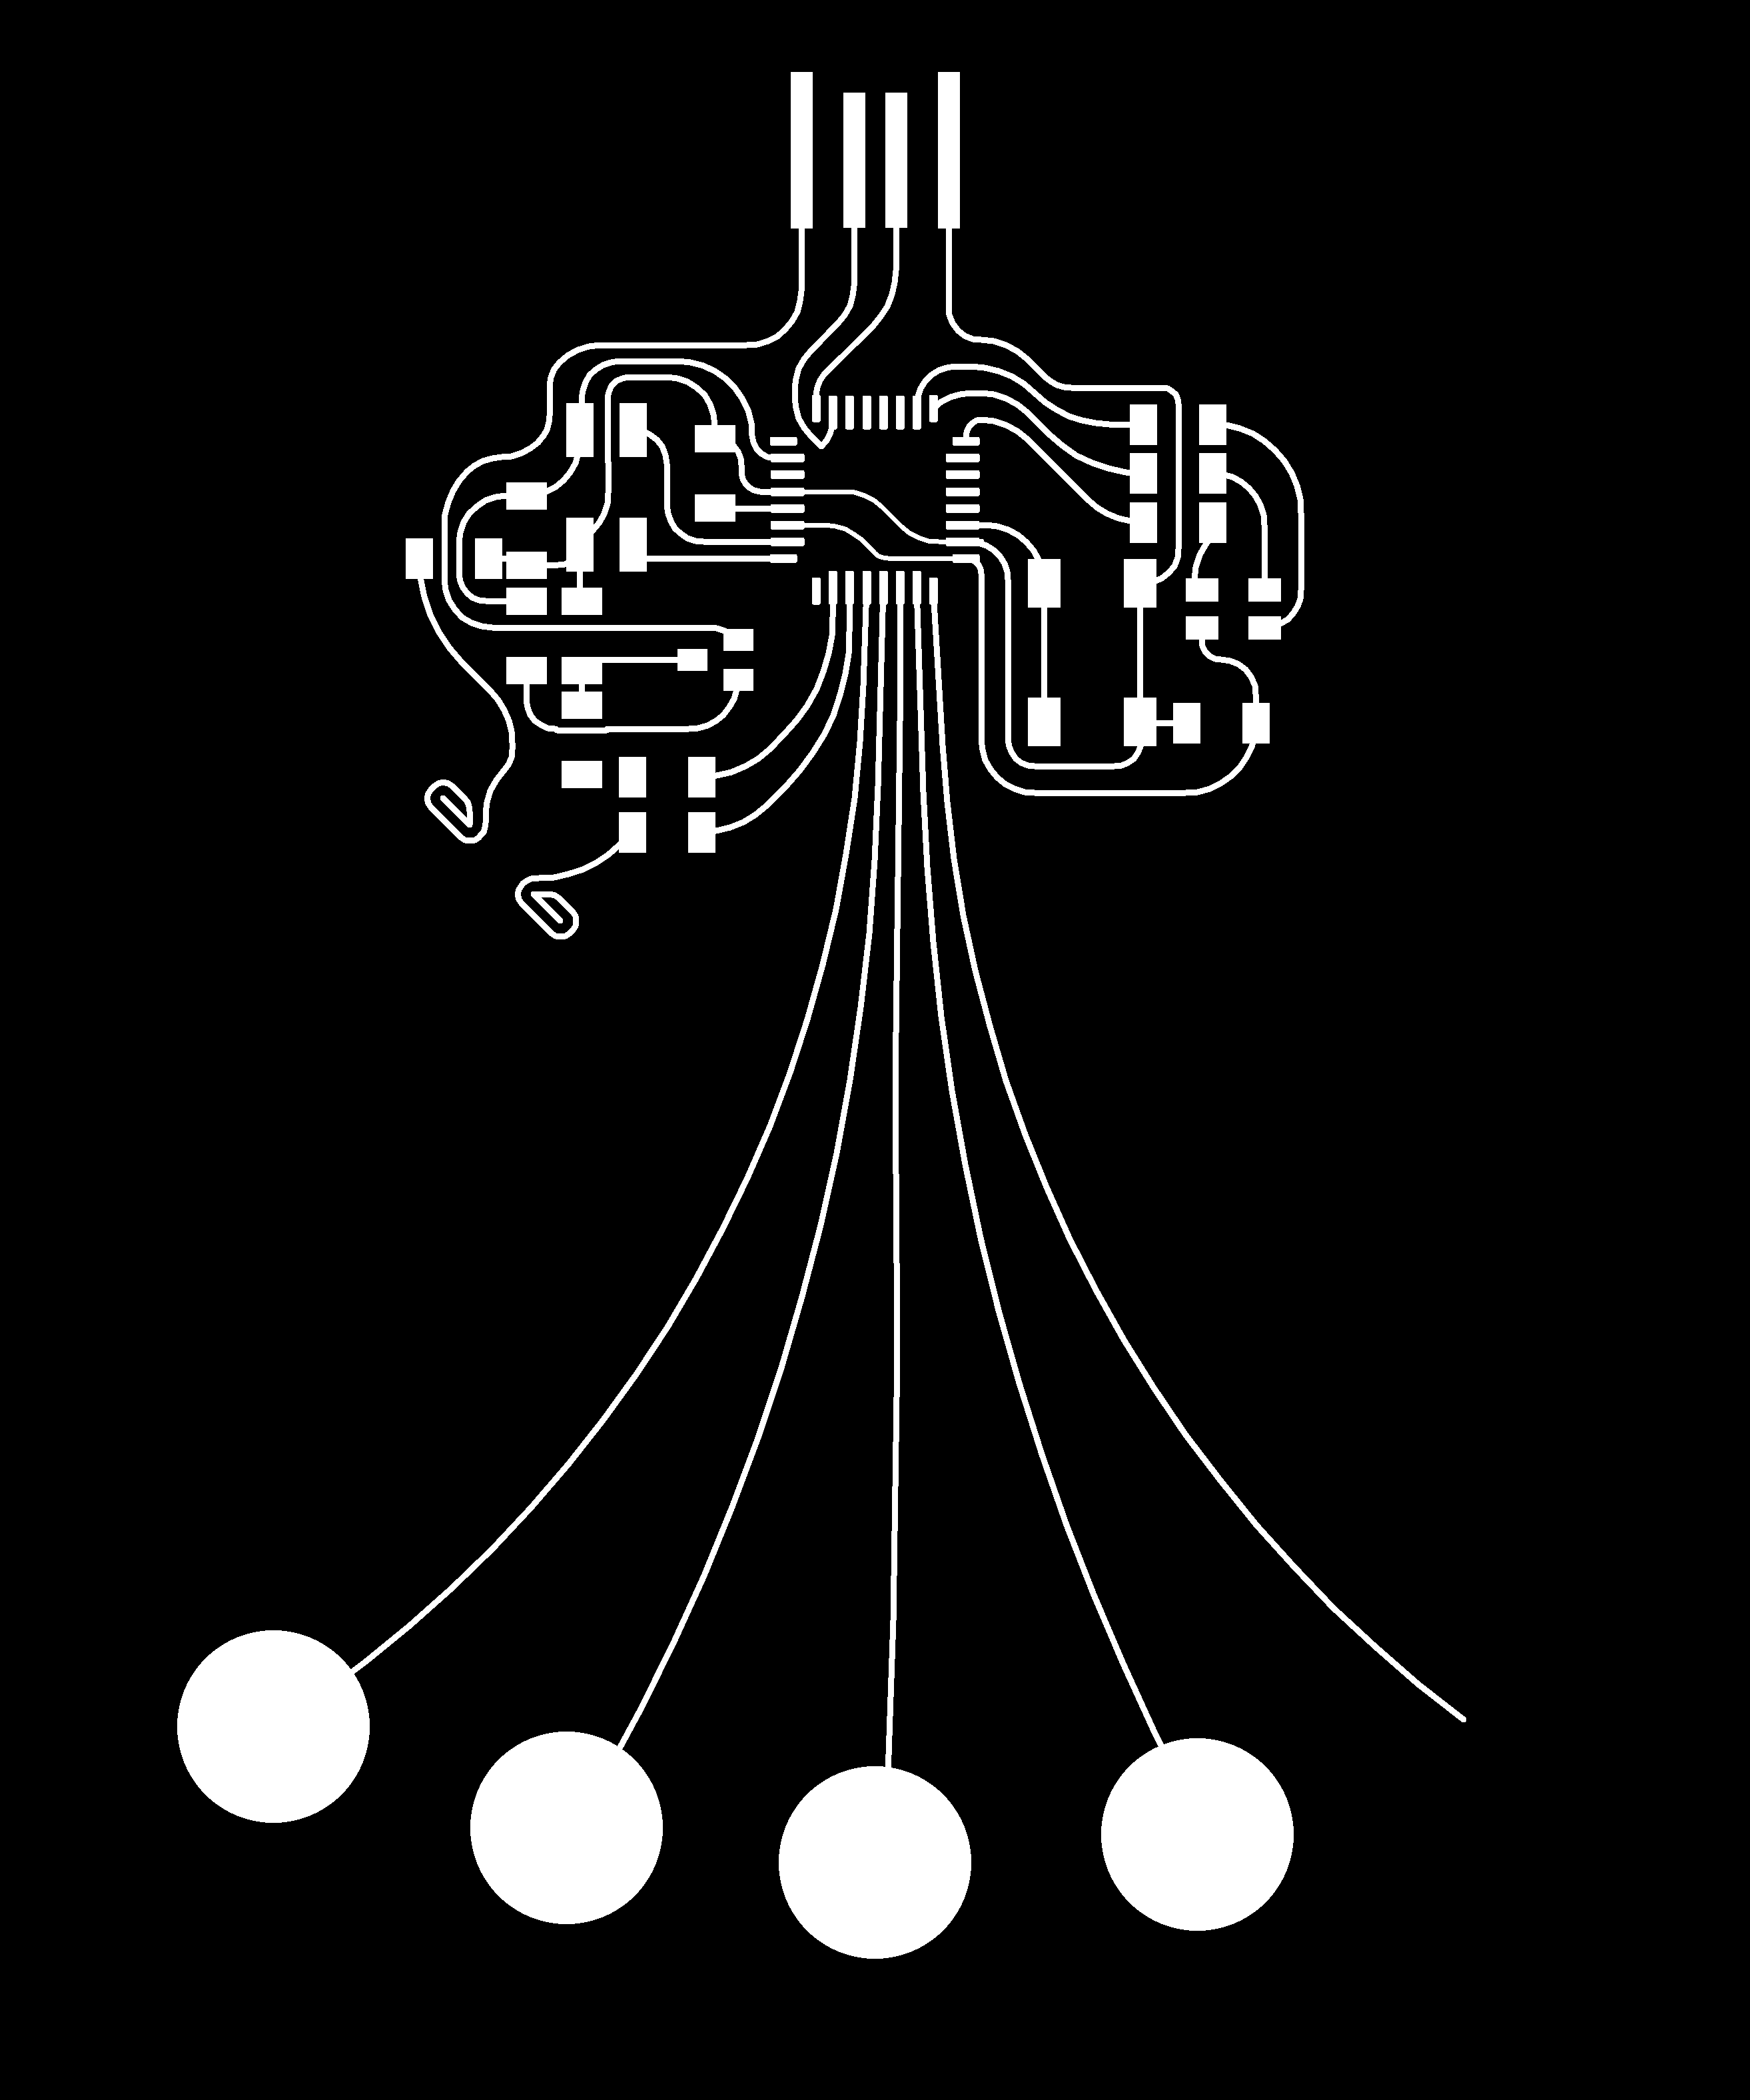
Here are the pngs for the final tracings and outlines.

I had a touch time mailing it out properly. It was a rough time.
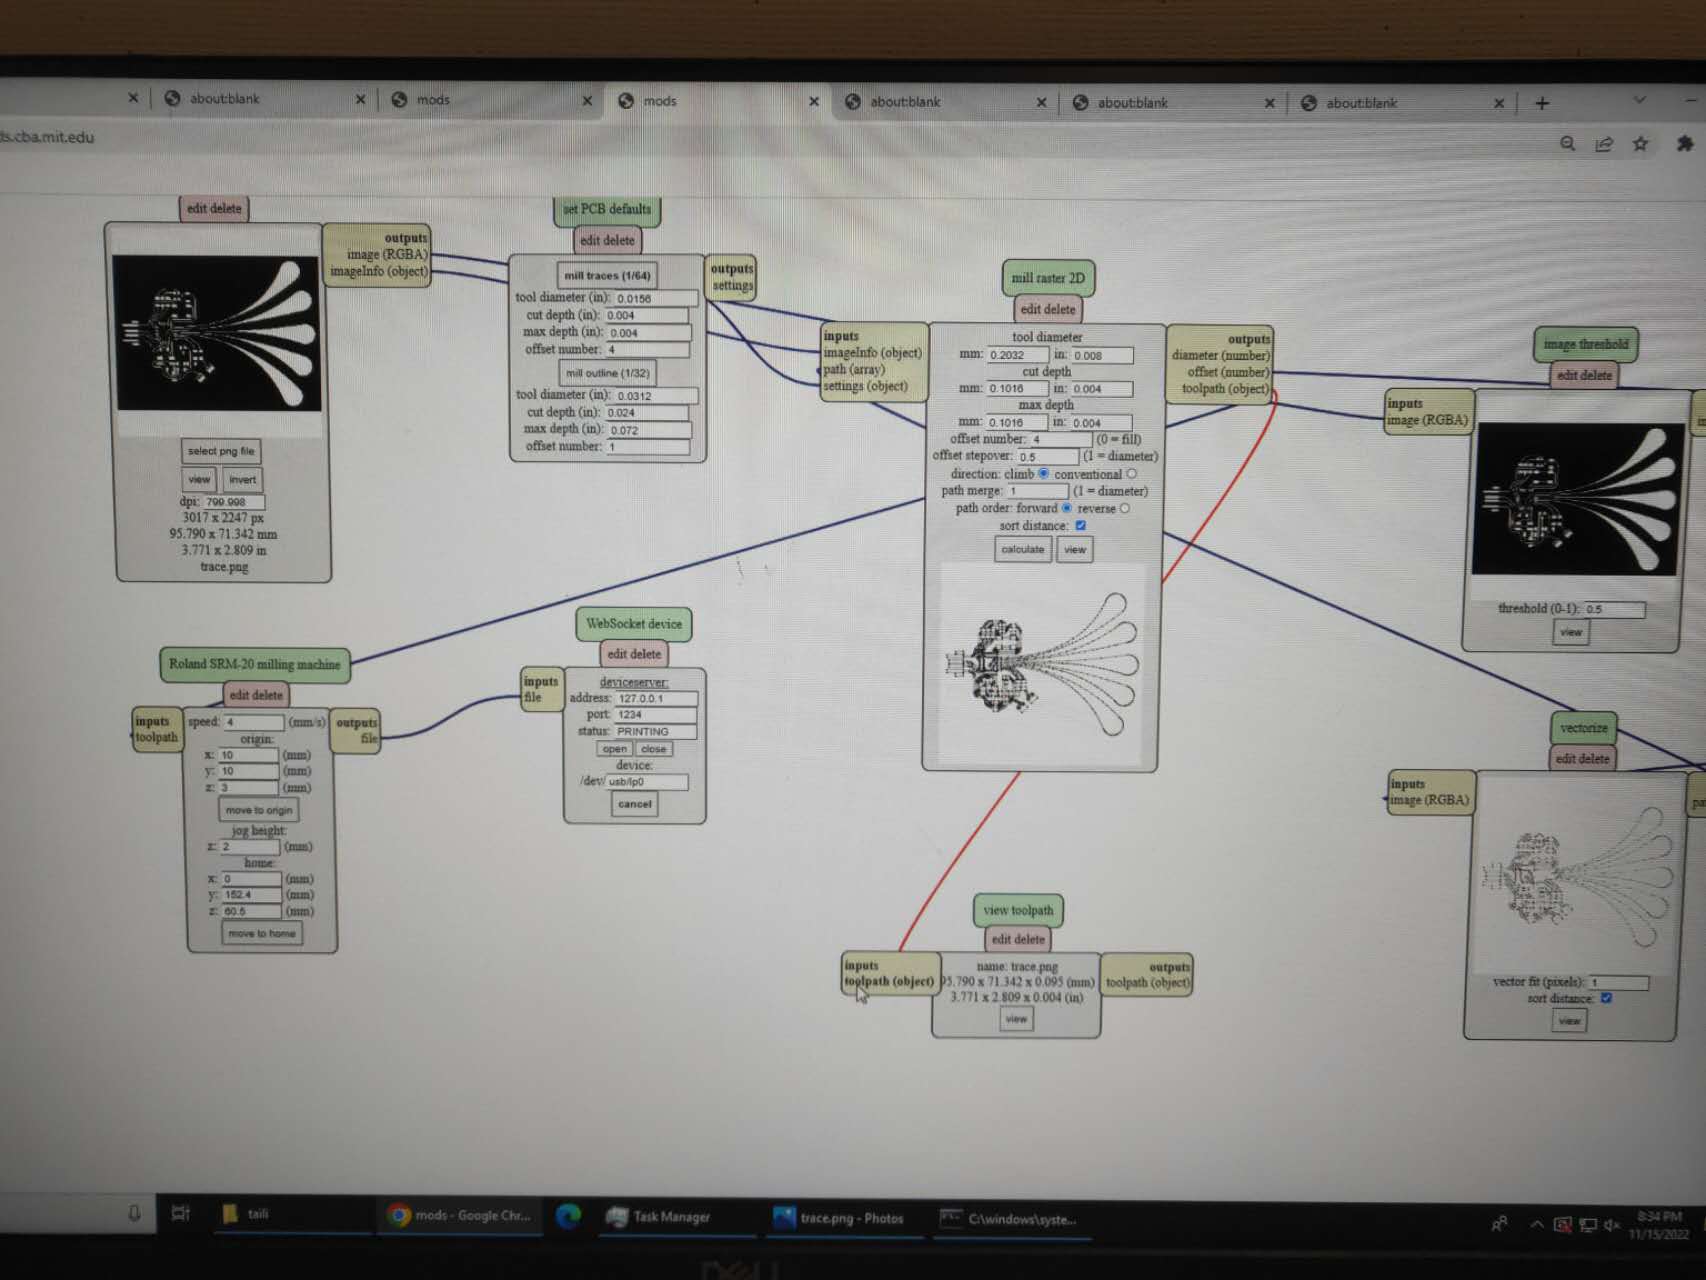
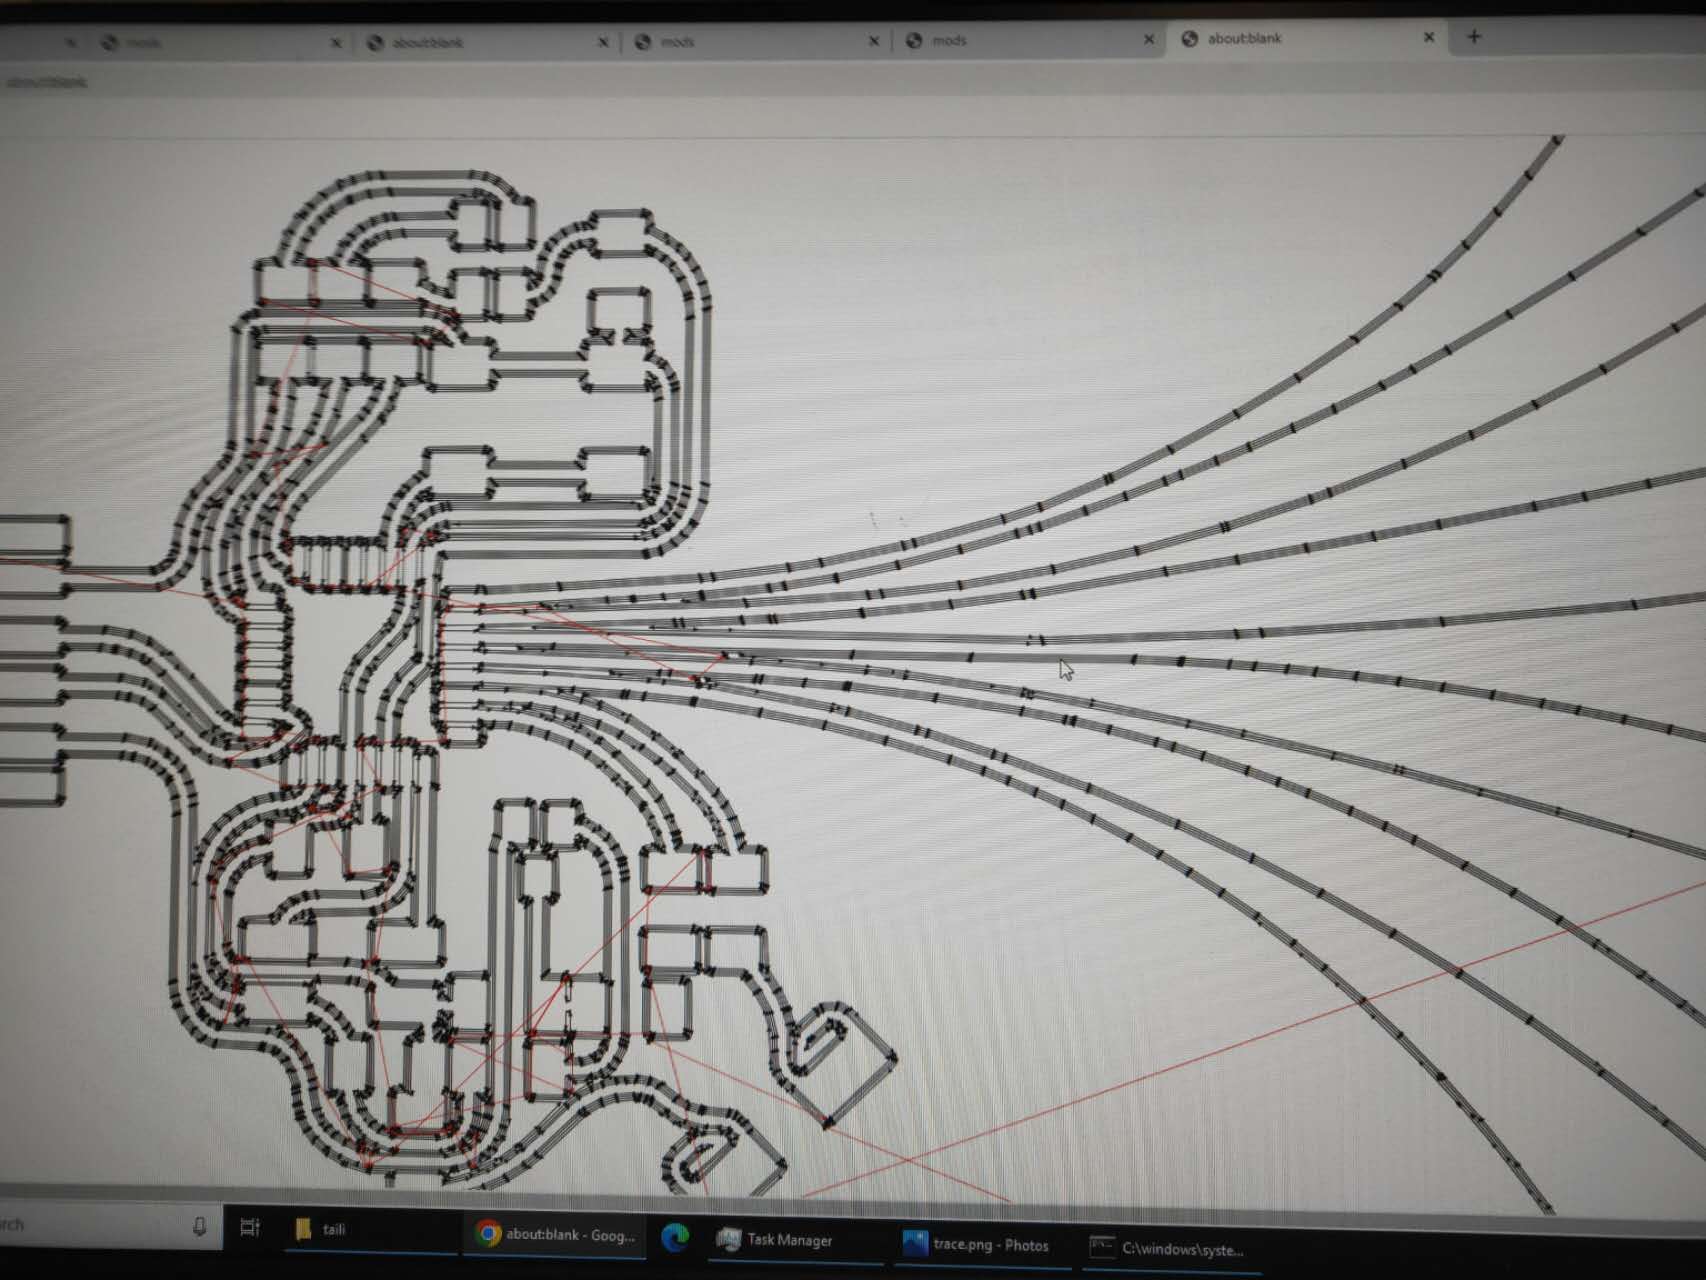
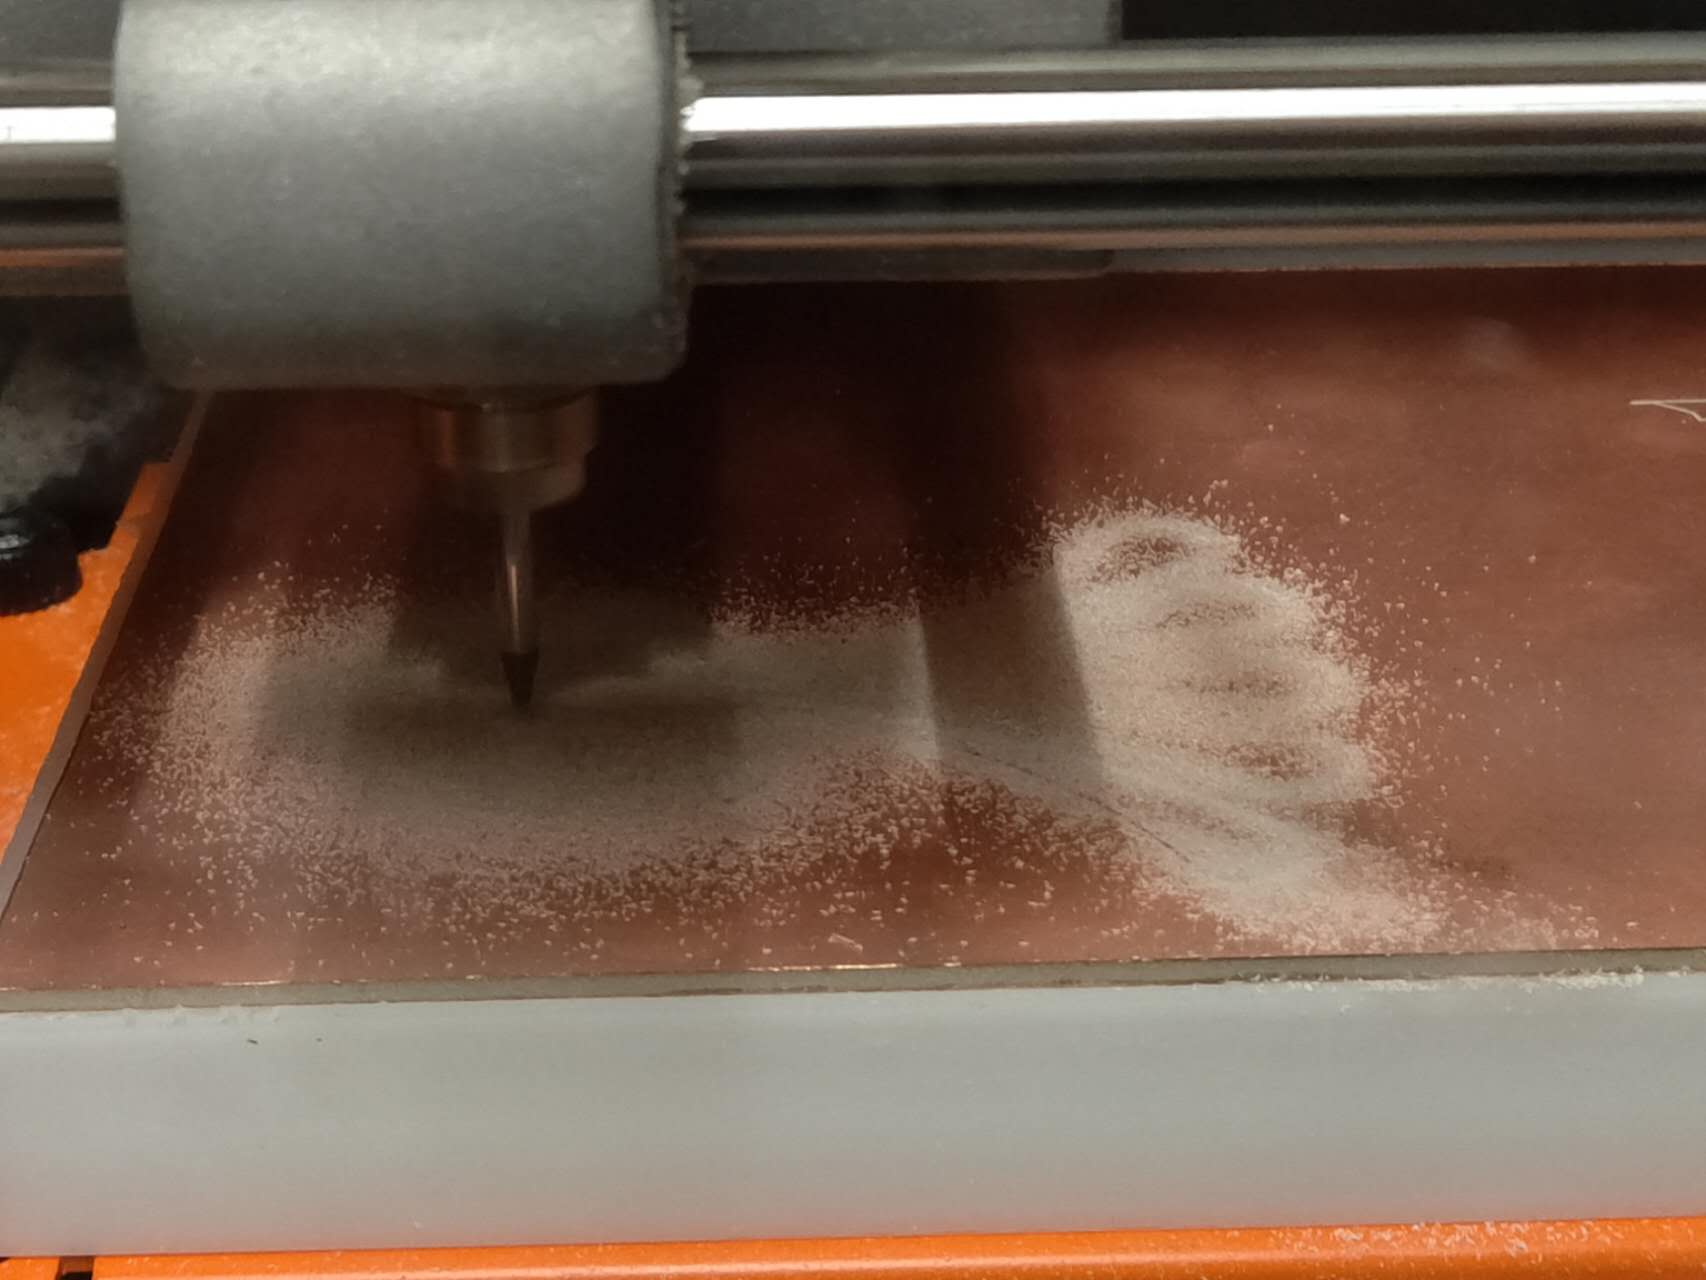
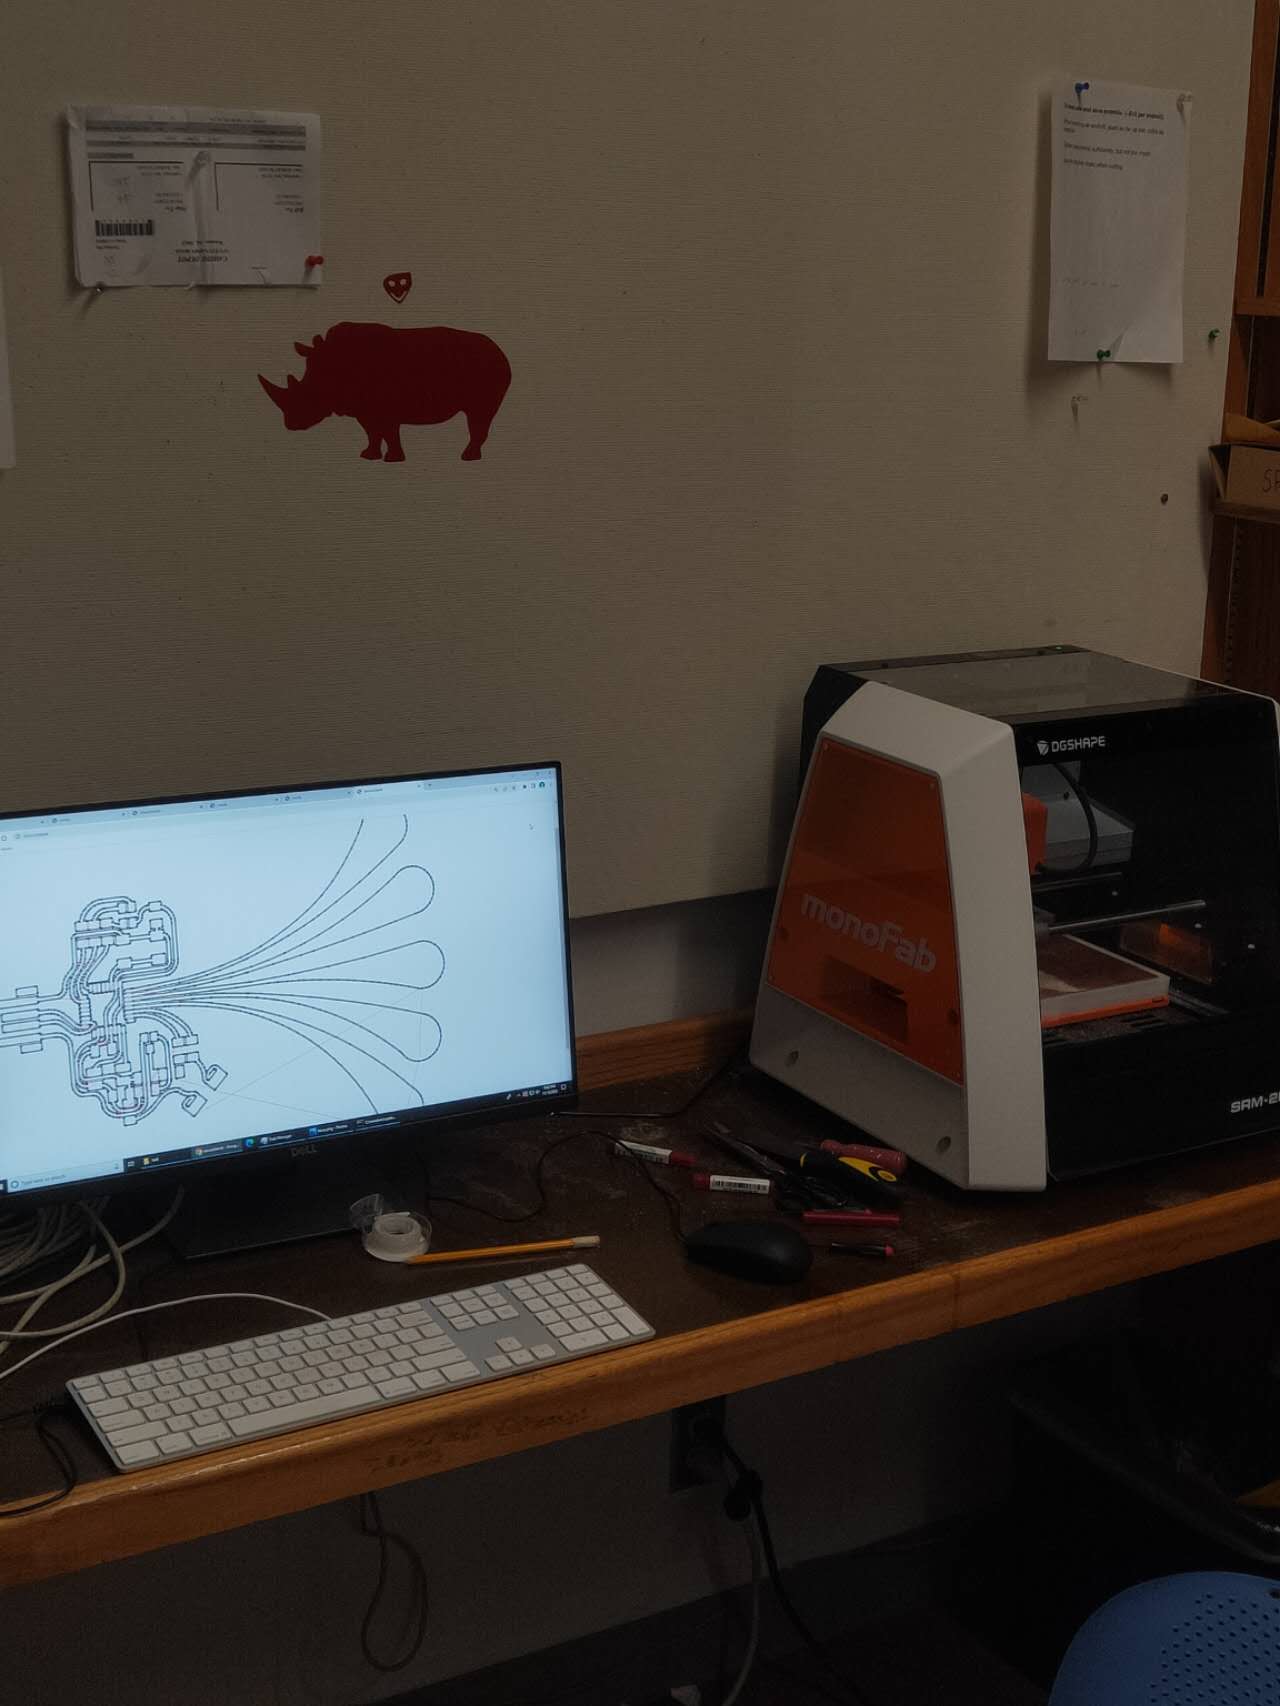
As you can see, both are in process. I had a rough time on other things this week. I will catch up soon. But when this is done, I will also finish the week 9 homework, the input device. Since this board has a RGB LED
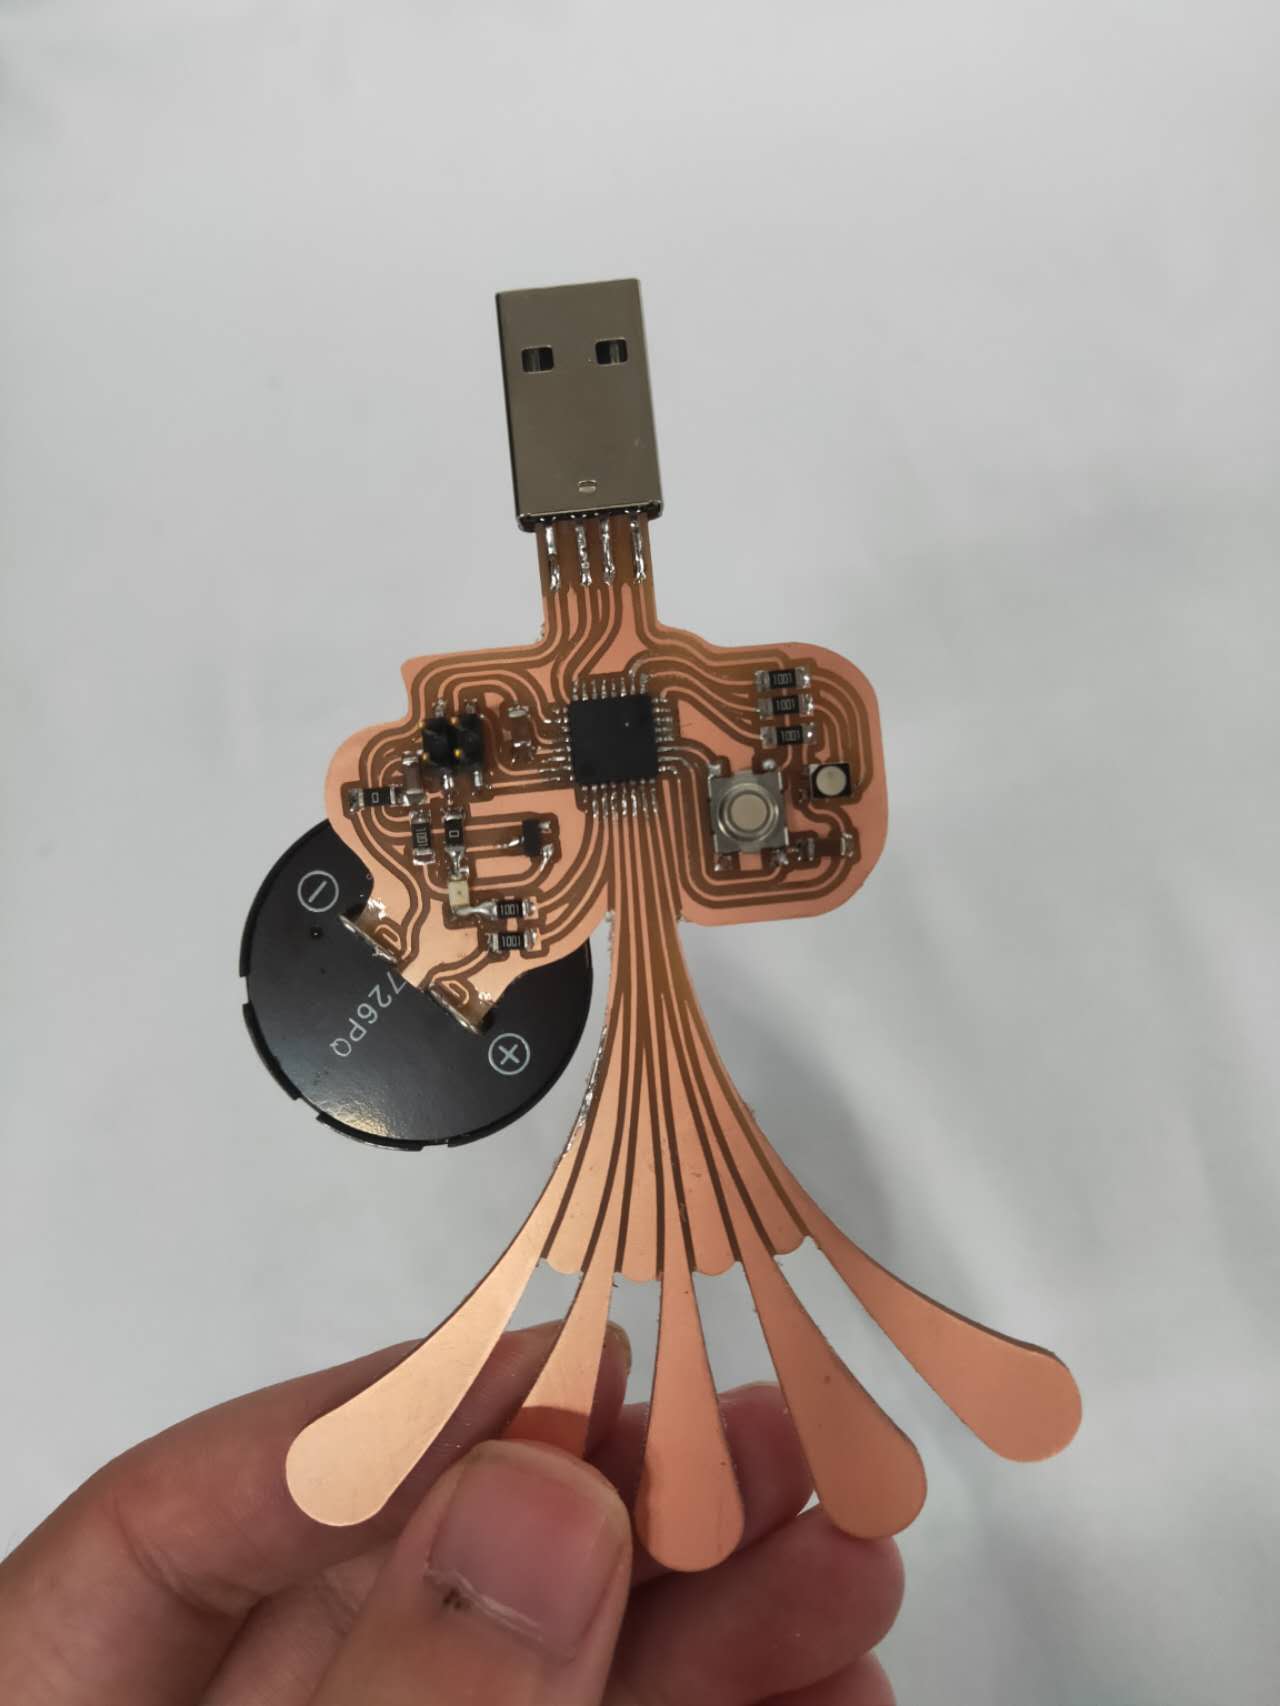
Eventually, I successfully miled it and soldered it. However, after programming it, the pcb doesn't port to the computer. so something is wrong with the processor. I resolder it multiple times and still couldn't get it to work. Tomorrow I will resolder a new processor on it, program it, and see then if it works.
After a month of doing other work, I came back to this broken board in the final week, try to fix it. I talked to Quentin about it and he realized the output voltage is not connected to the VDD pin on the SAMD2117 chip properly. To fix it, it is very simple, we just need to add a jumper wire to branch the two pins. After some quick work, Quentin and I got the piano board to properly programmed and ported. We launched Quentin's Buzzer Piano code. It finally worked!
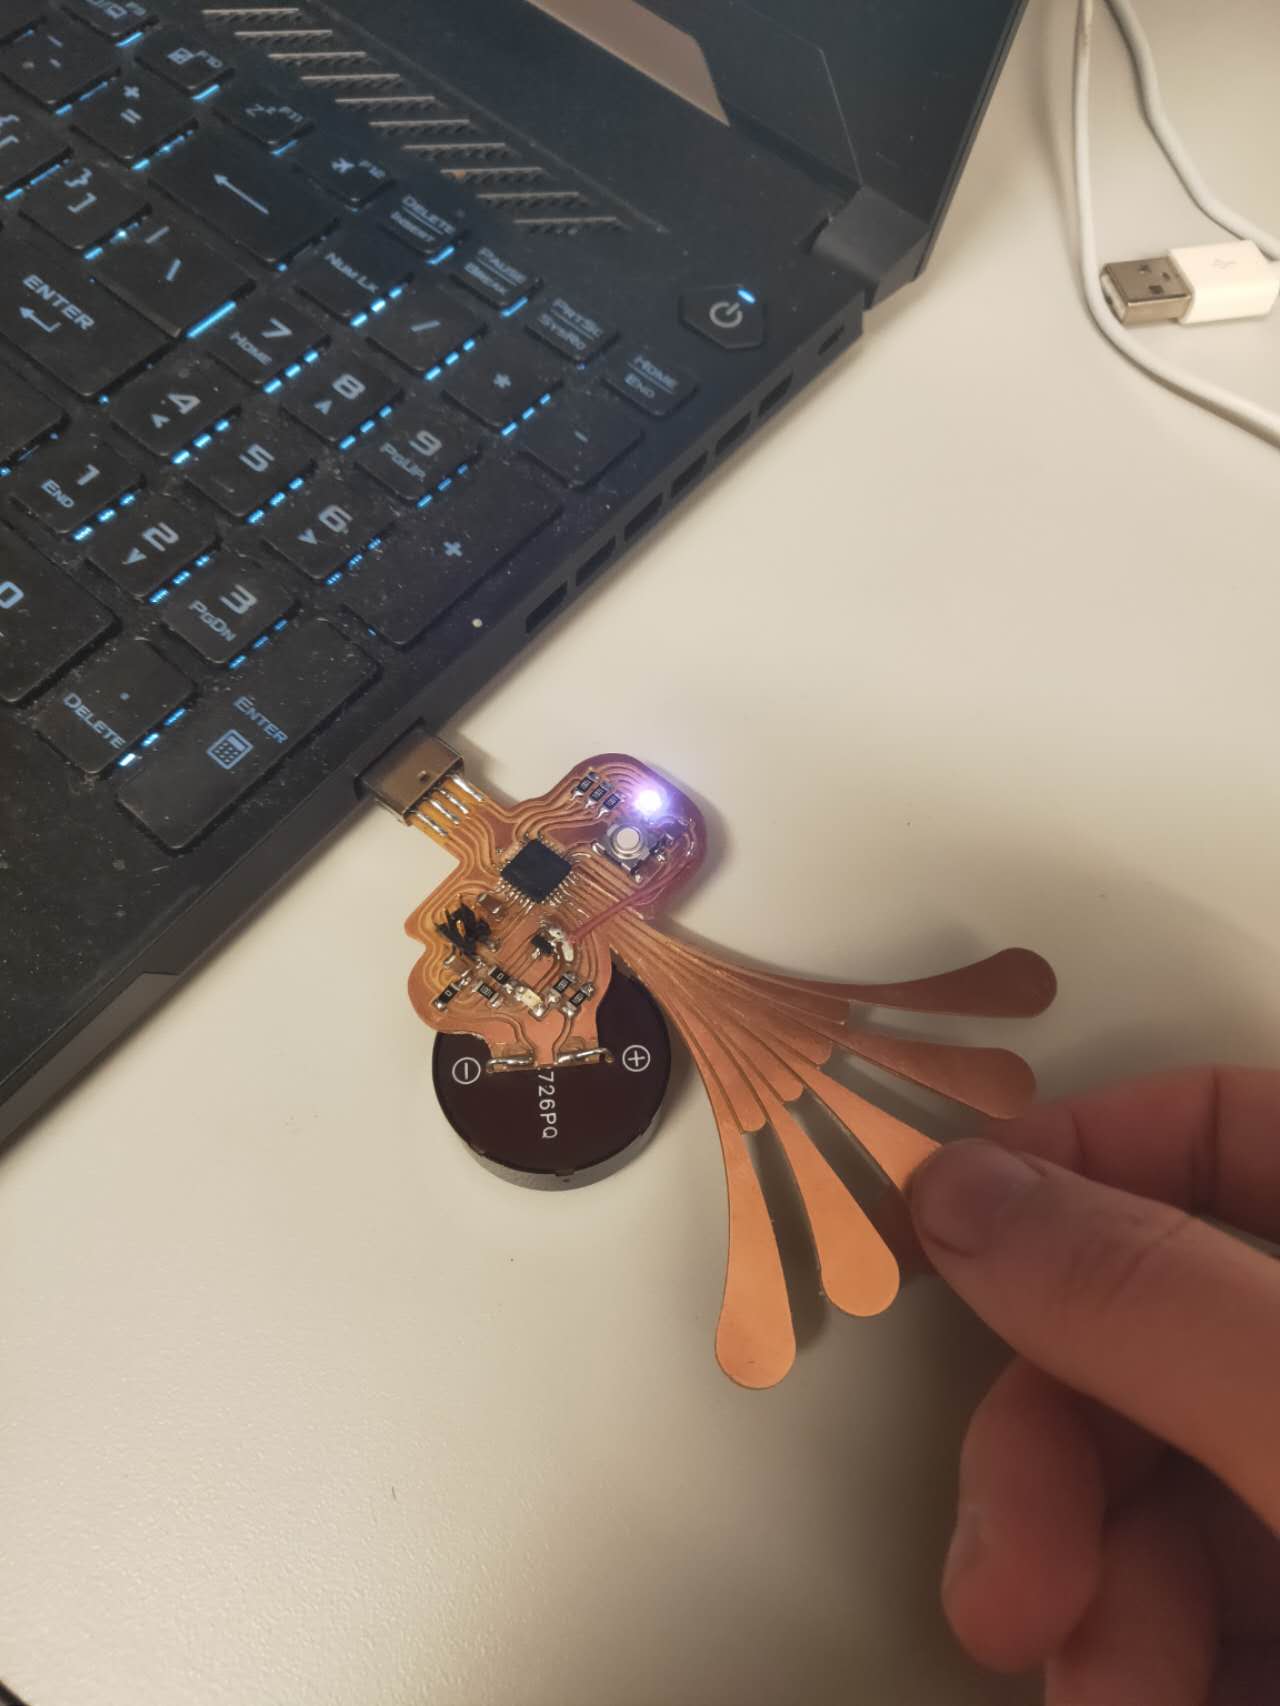
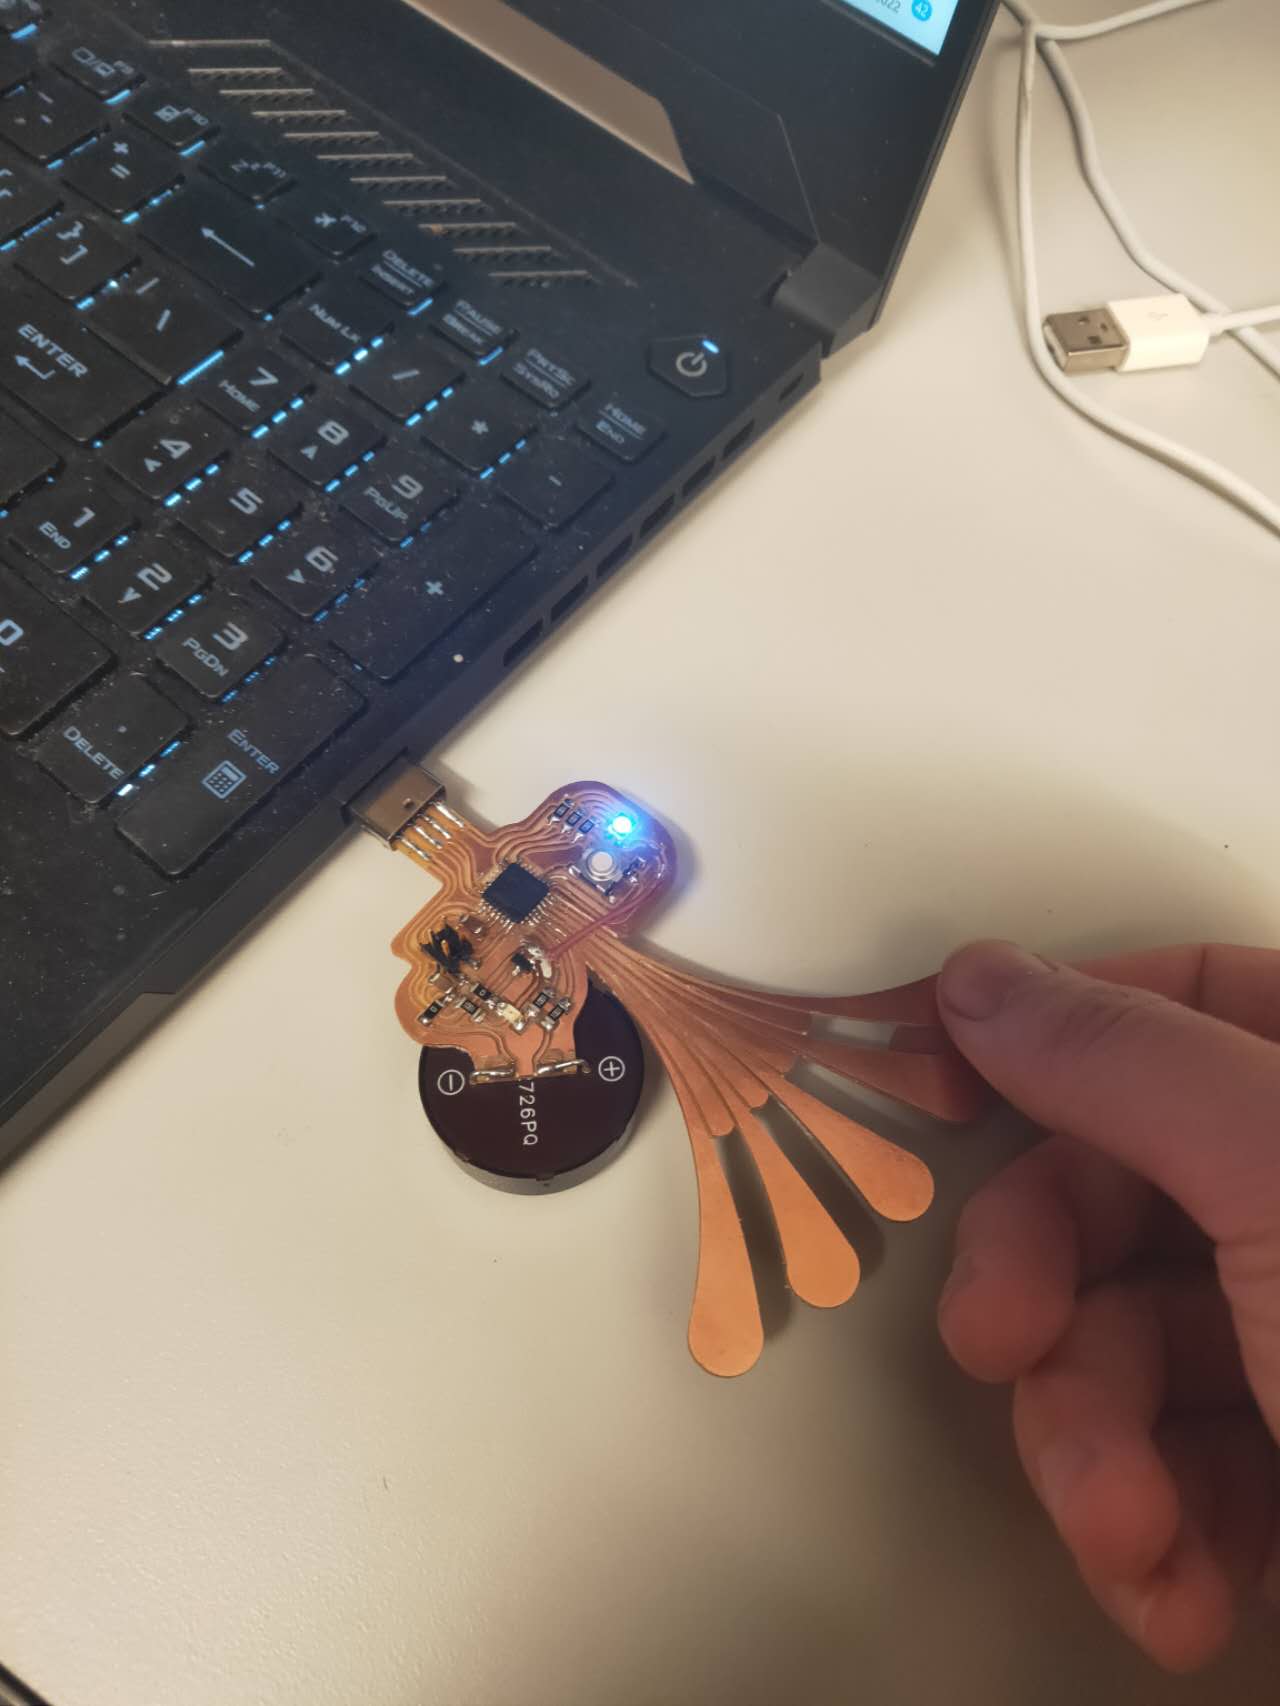
The above photos show the Piano's RGB light making a purple light, a blue light, and a red light. The green light is broken for some reason, and we only have two primary colors. However, nevertheless it works!