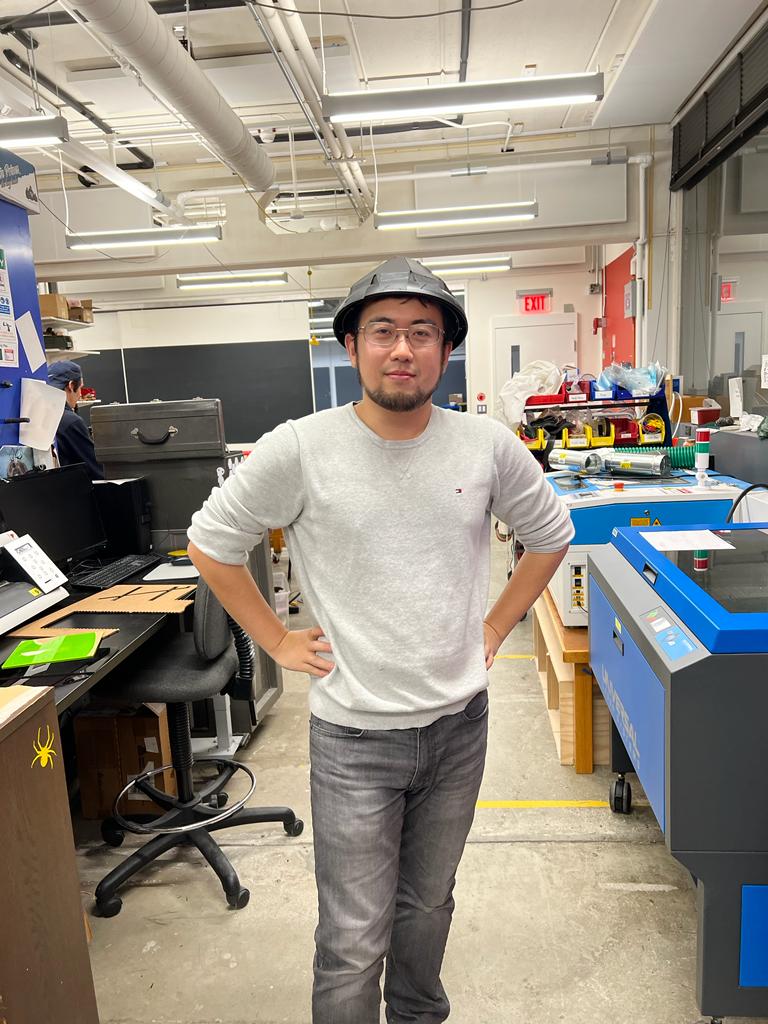
This week we are making a machine as a whole class. This is the most chaotic time of the entire semester, as there are a lot to do in a very short amount of time and with many people working at the same time it is very hard to coodinate. My goal for this week is to successfully contribute some effort for the group and build a big machine that's fun.
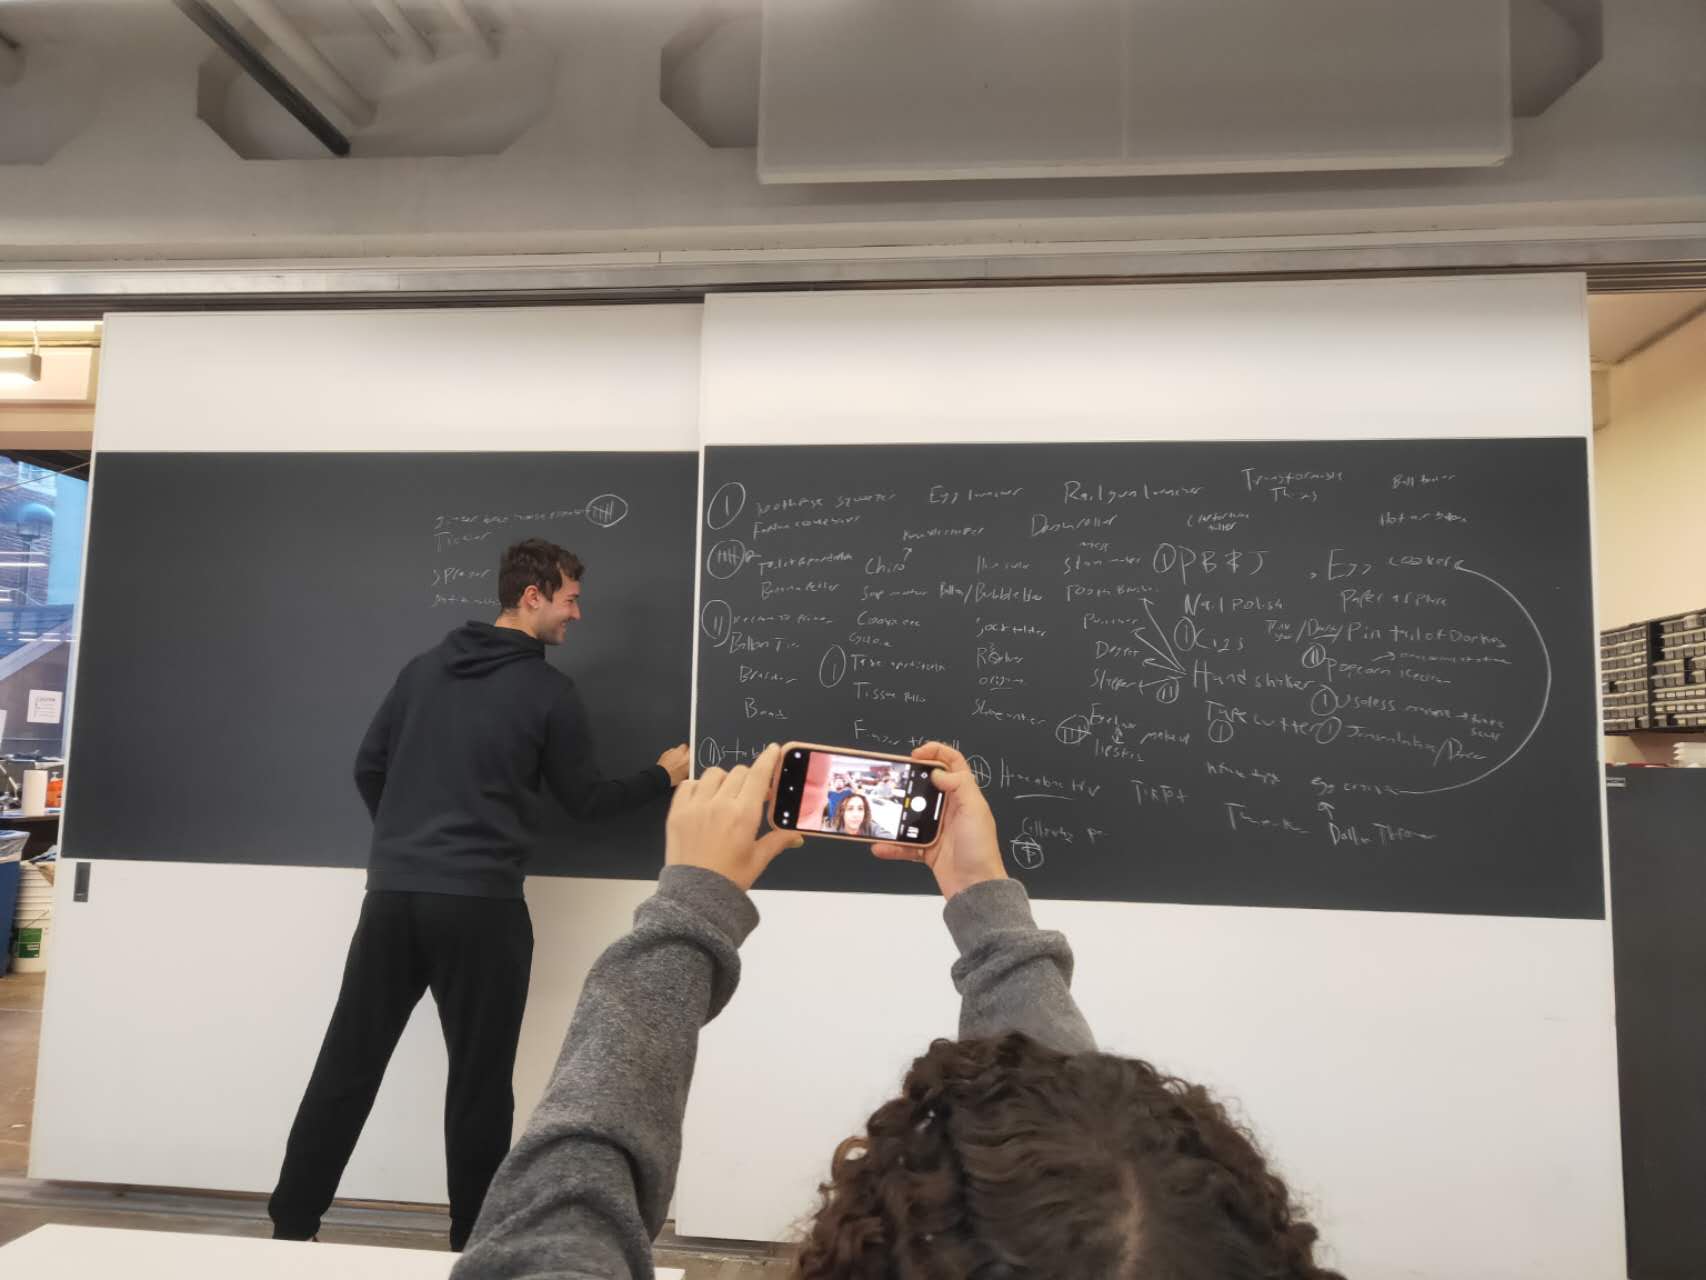
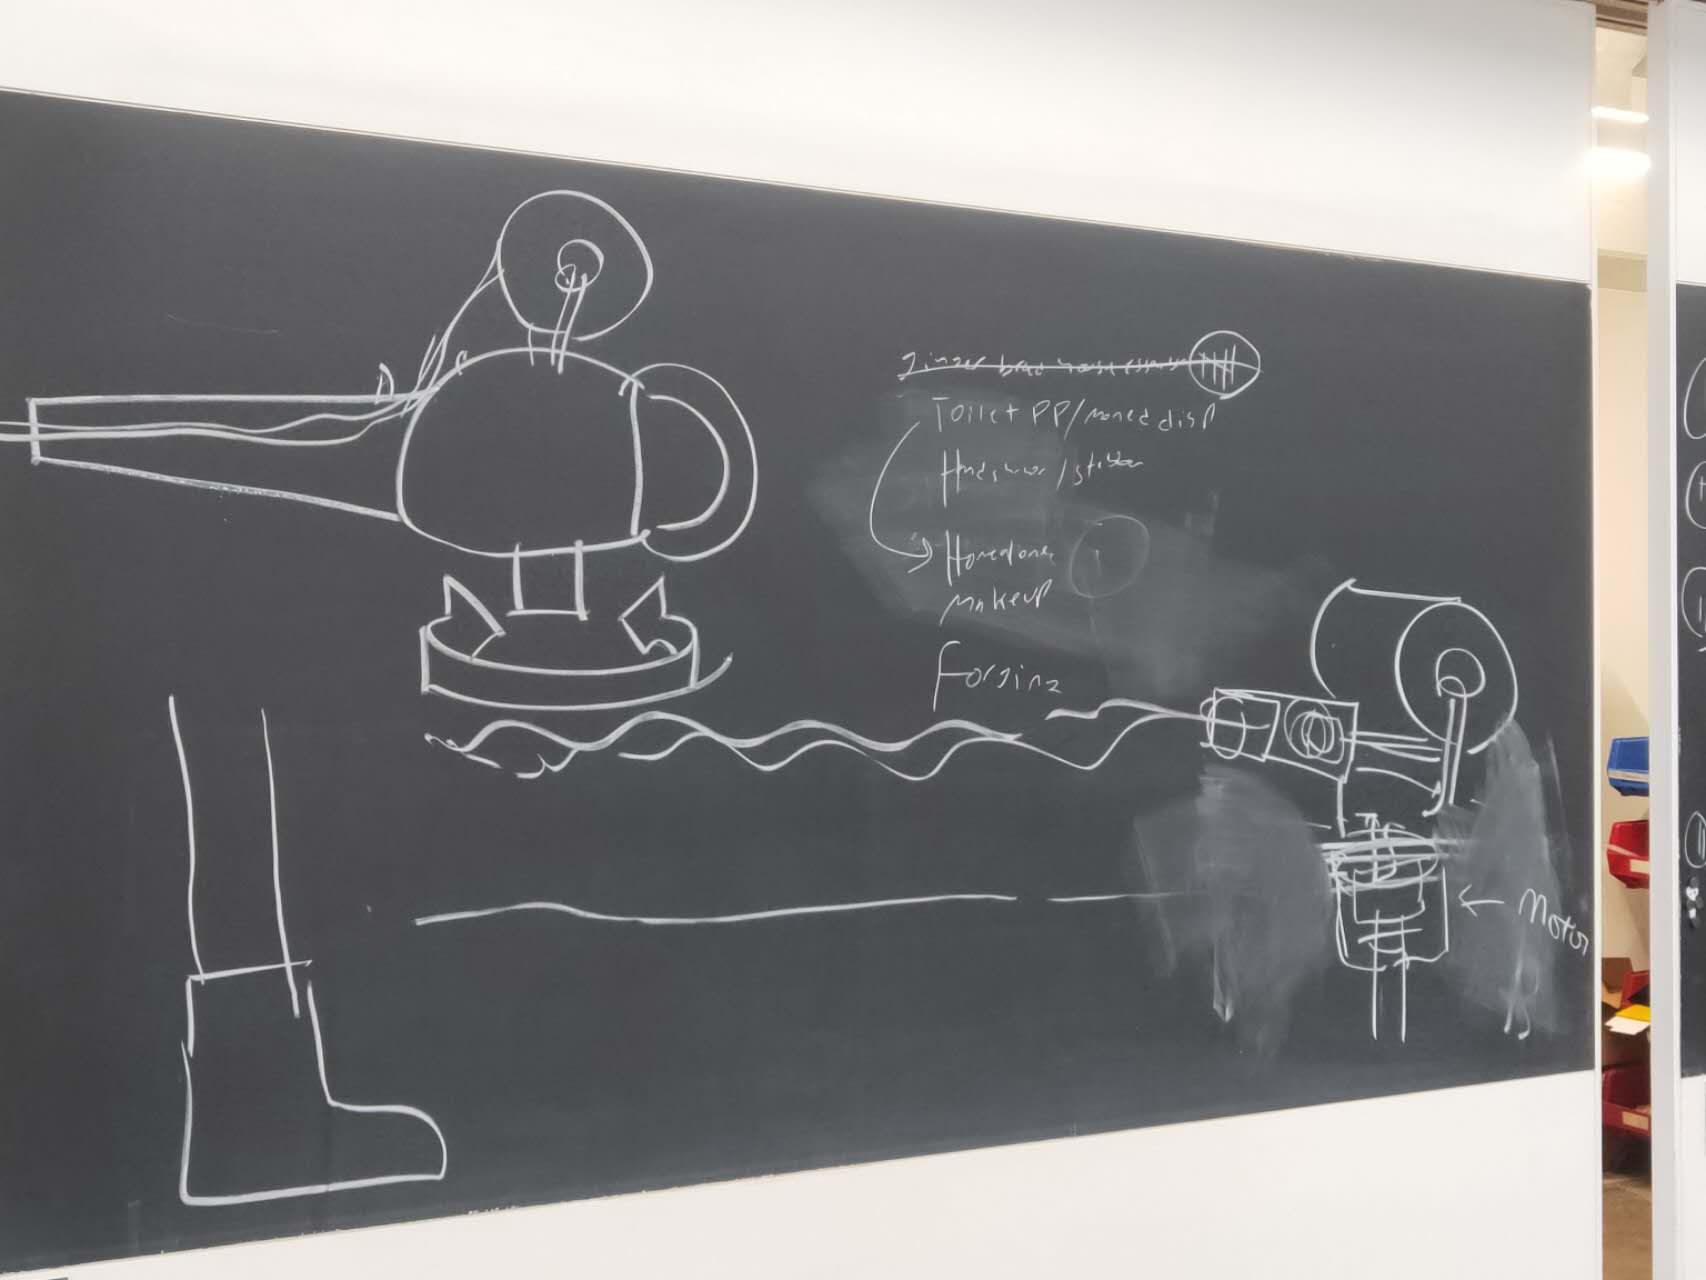
We started as a team to brain storm machine ideas. We have filled the entire wall of fun and weird machines, then we start to eliminate bad ideas and merge good ideas according to group votes. I suggested a cool machine idea which is a toilet paper gun, which is able to quickly shoot out an entire roll of toilet paper. My class mates decided to combine this idea with the movie "Home Alone", to make it some kind of home made self defense machine. I suggested the gun should be in the form of a sentry gun, with a base, and two rotational axises to pan in x direction and tilt in y direction to help the gun to aim. Then, on the top we add a powered motor and a fan to help to dispense the toilet paper as far as possible. On the board I draw the rough shape of the gun.
I have to leave before the discussion ended, but I was told after that I am being put into the pan and tilt team, aka the base and aim team. Nix, Danny, and I are in this team. We talked about it on zoom over the evening and decided on how to work together in a team.
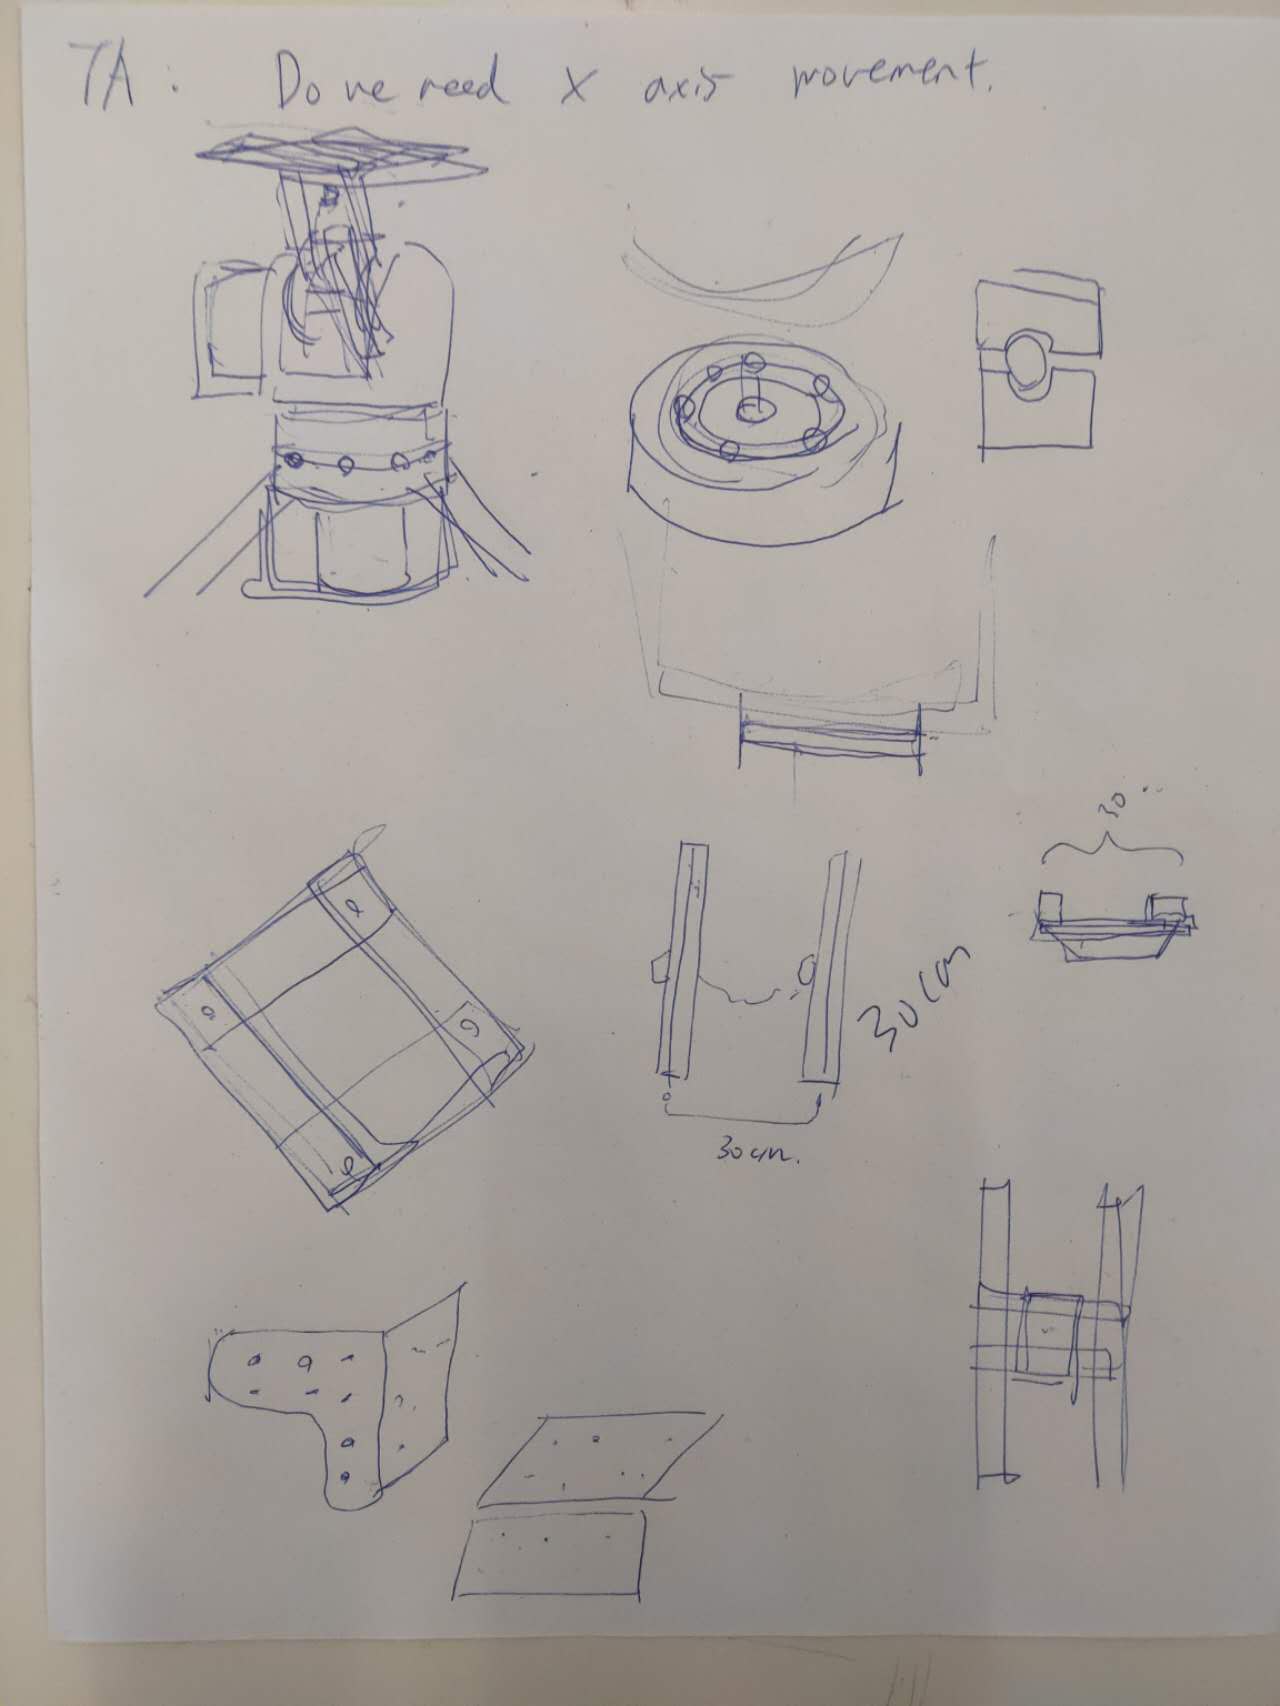
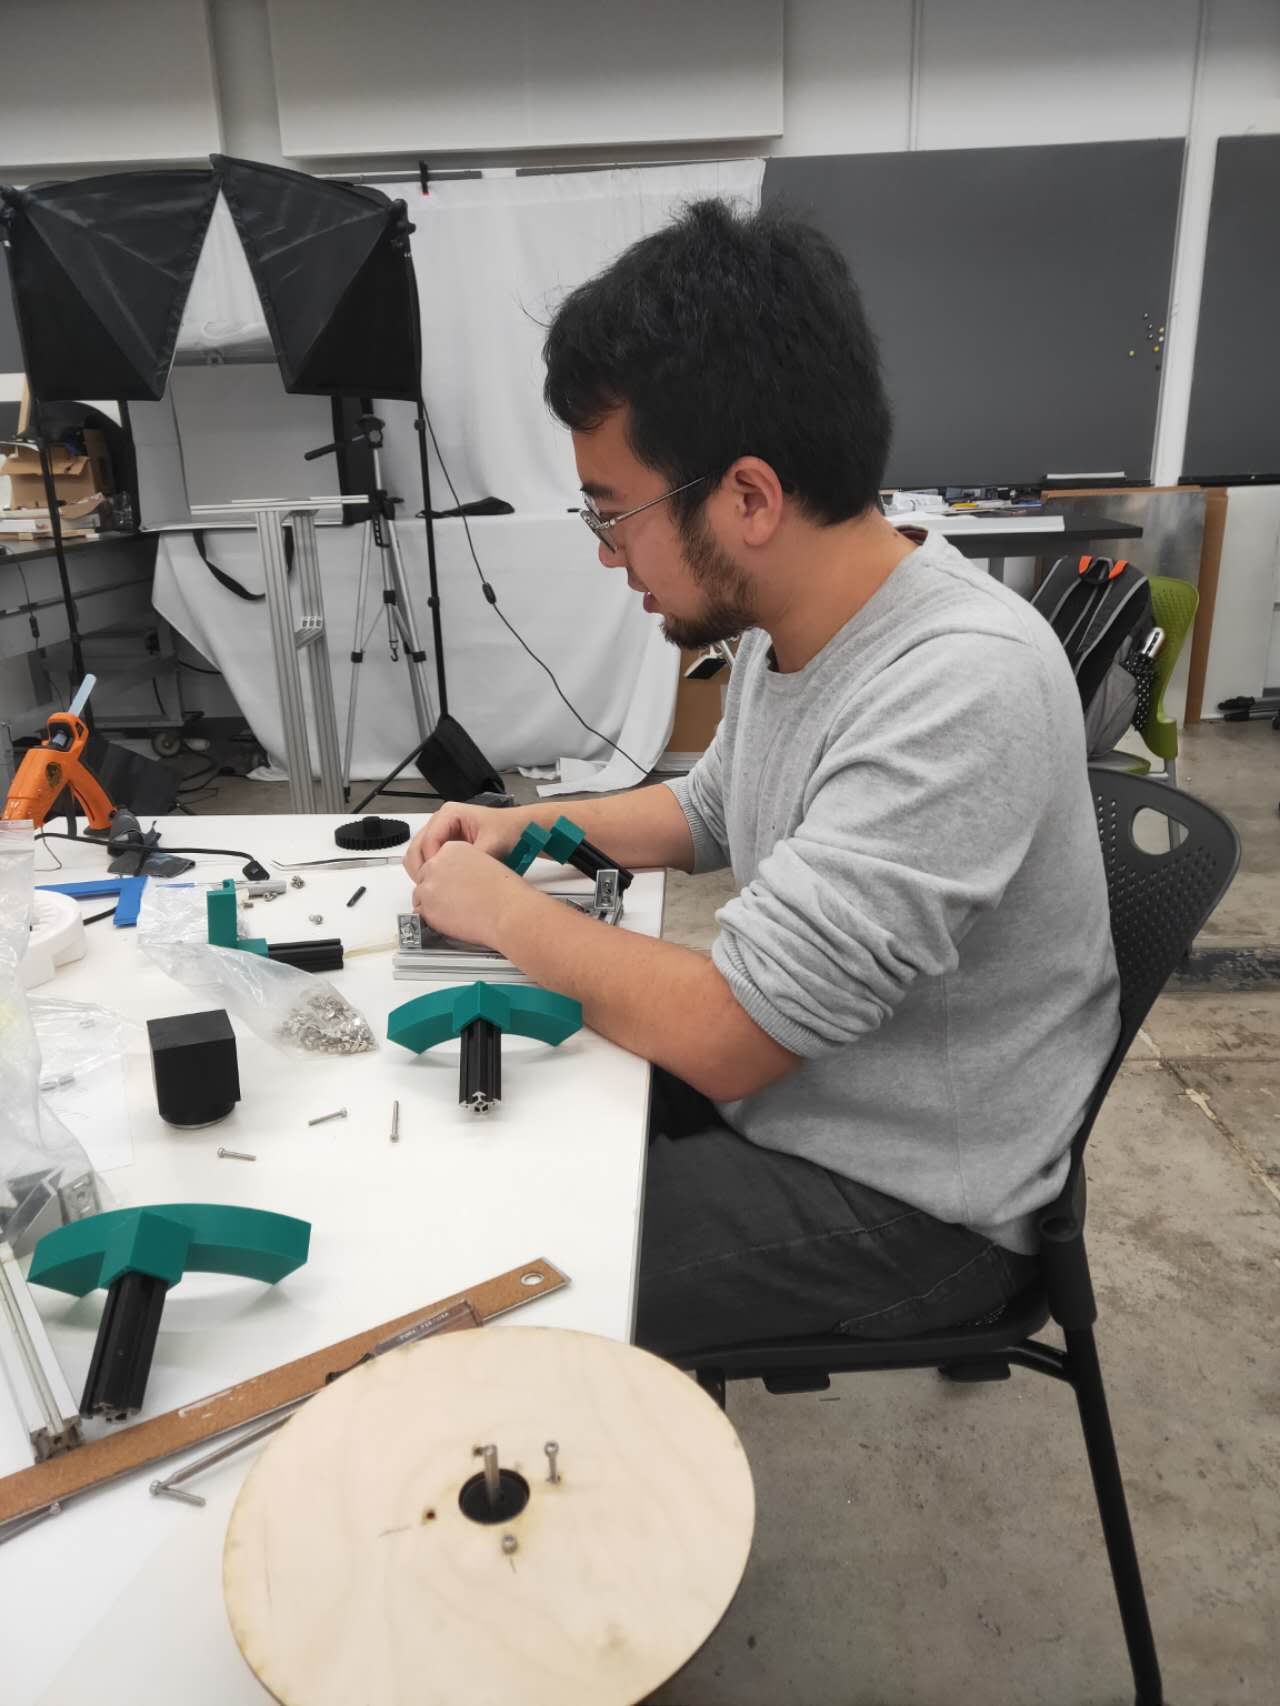
Nix is going to model the gear mechanics for the motors. His design uses a lot of aluminum parts and 3d printed parts. Danny is working on the programming to get the motor turnning. I volunteered to do the entire base structures which will let all the mechanisms and guns on the top.
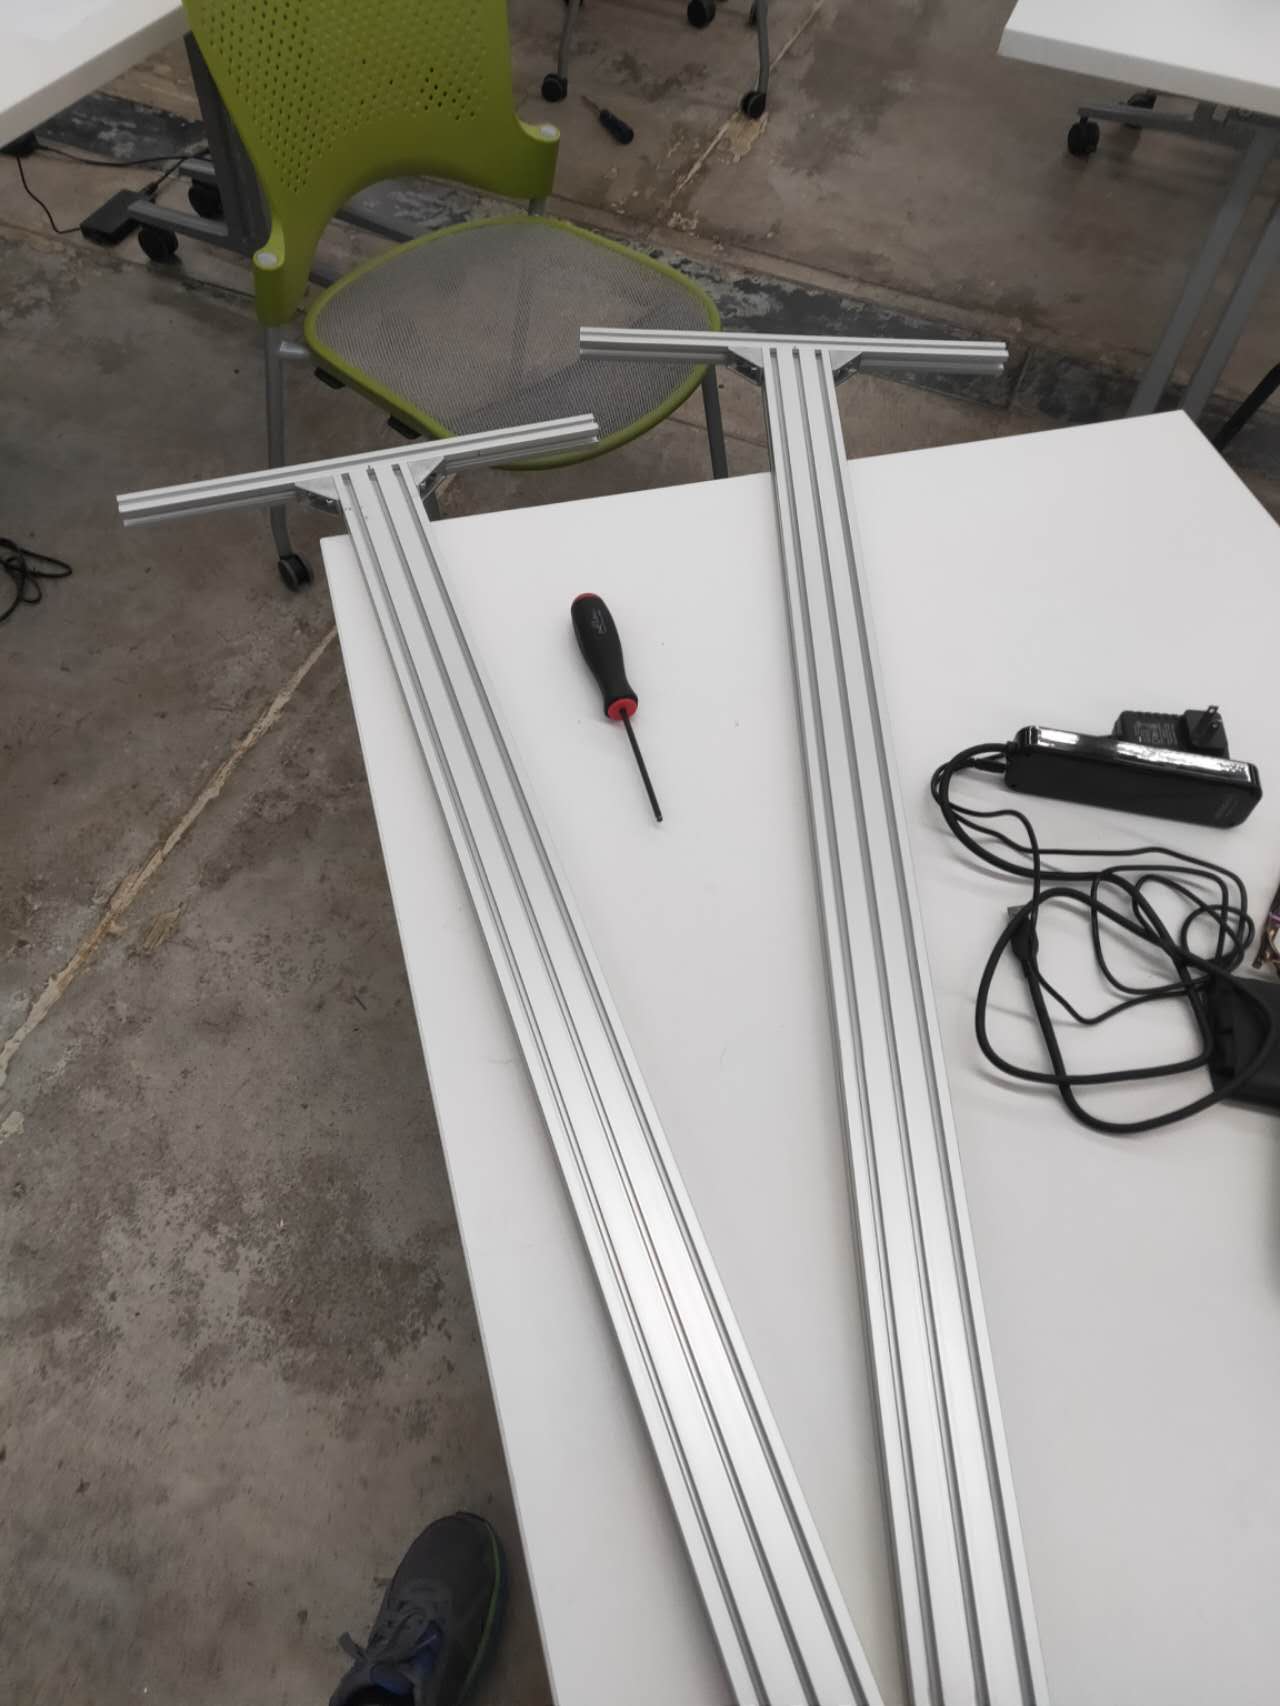
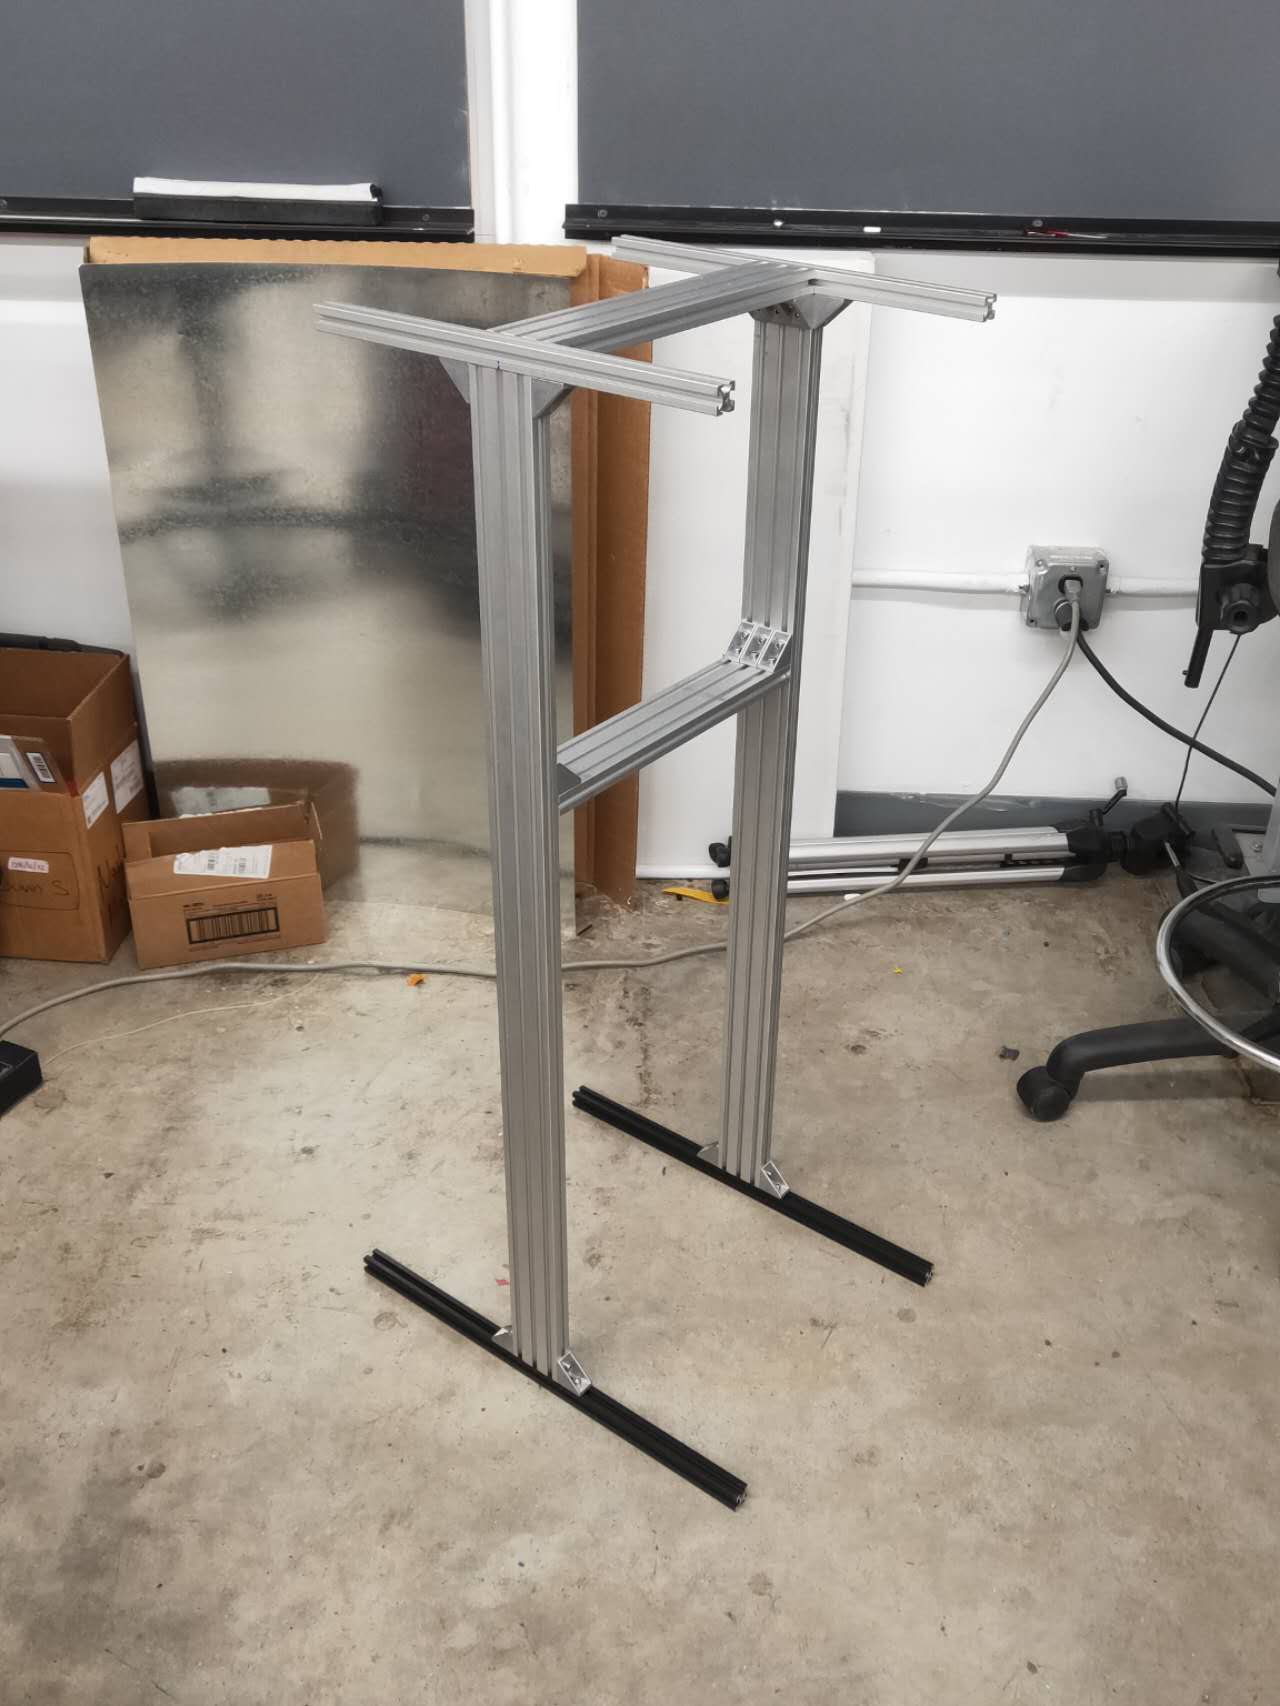
I designed a basic but sturdy base with aluminum frame and aluminum L joint connections which are provided. It is made up of two big I frames, connecting each other in the middle. I made the base 1 meter tall so that we all can operate the machine without bending down. The goal is to design and make a solid aluminum frame to house everything possible on top of it, without worrying it tilting over or being off-balanced.
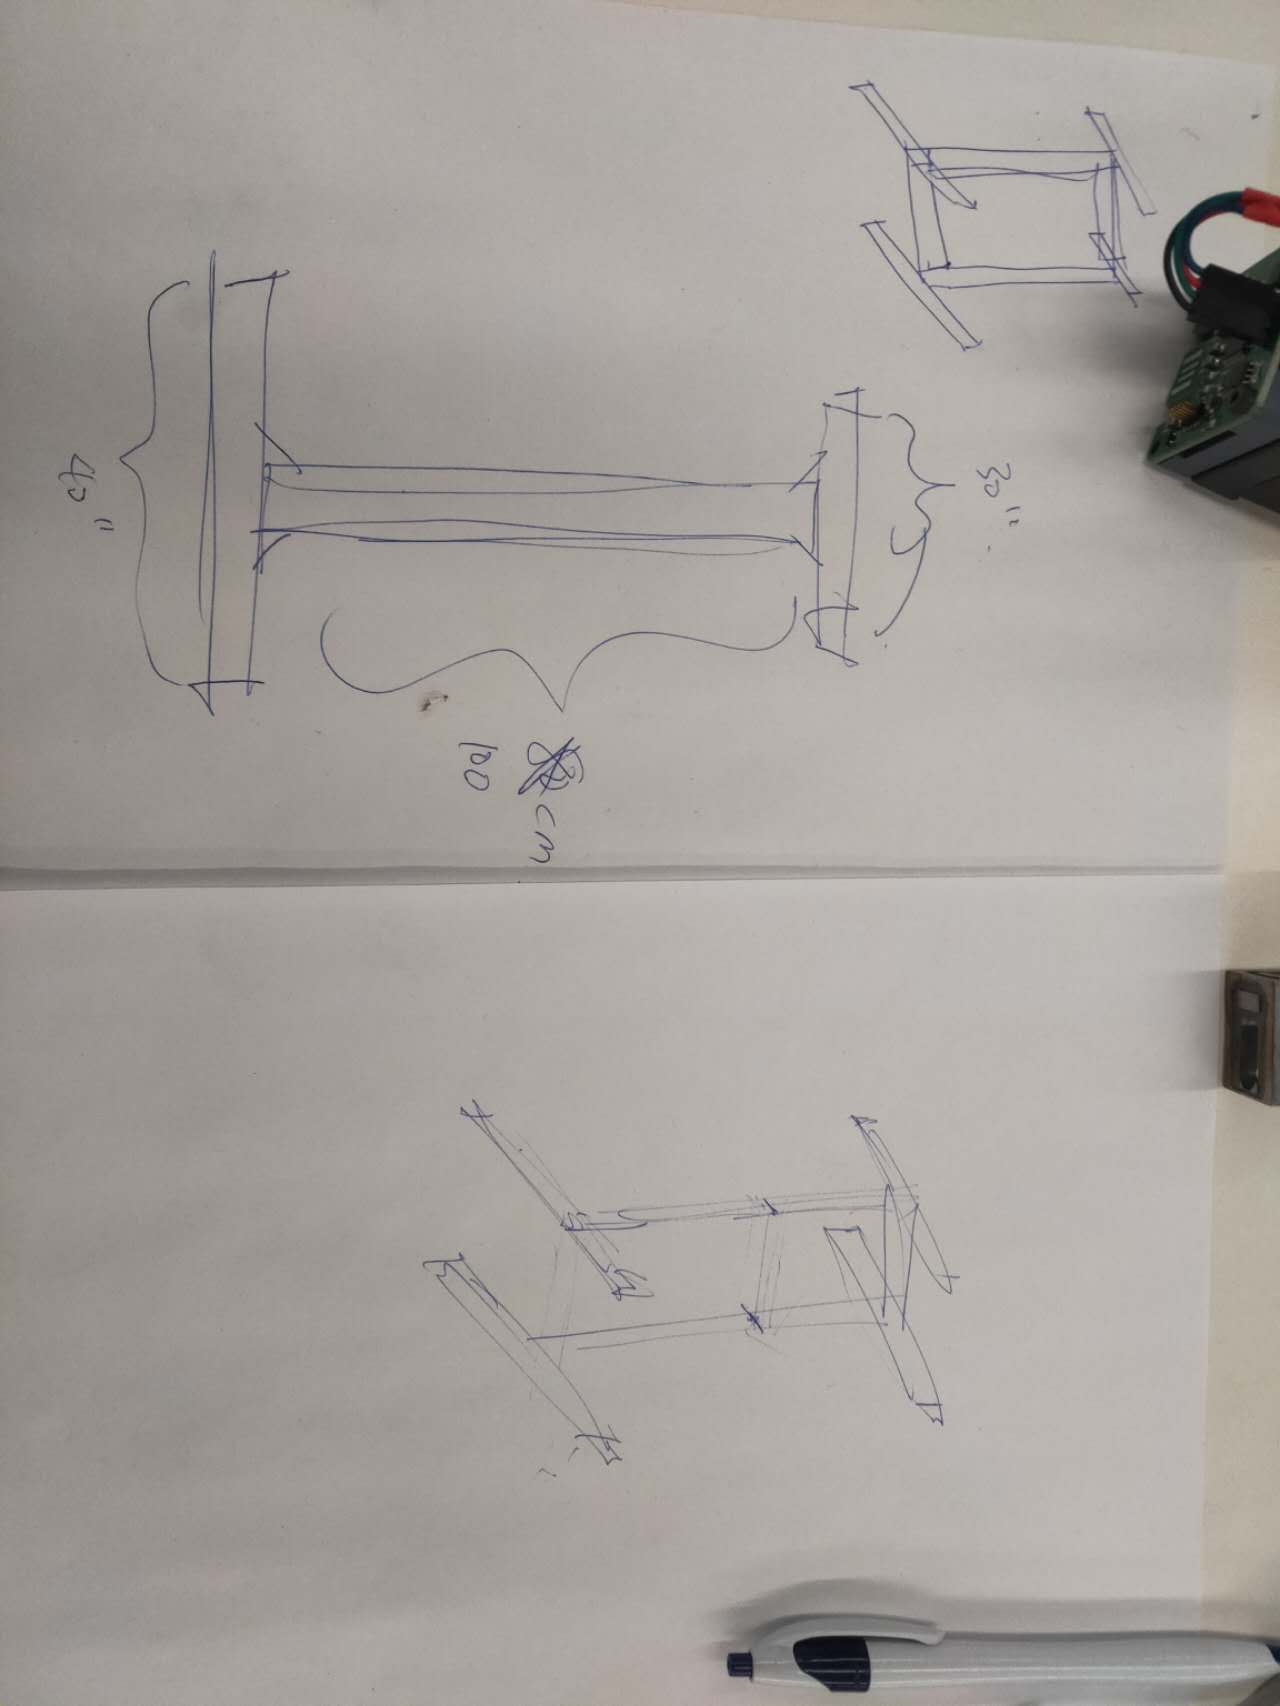
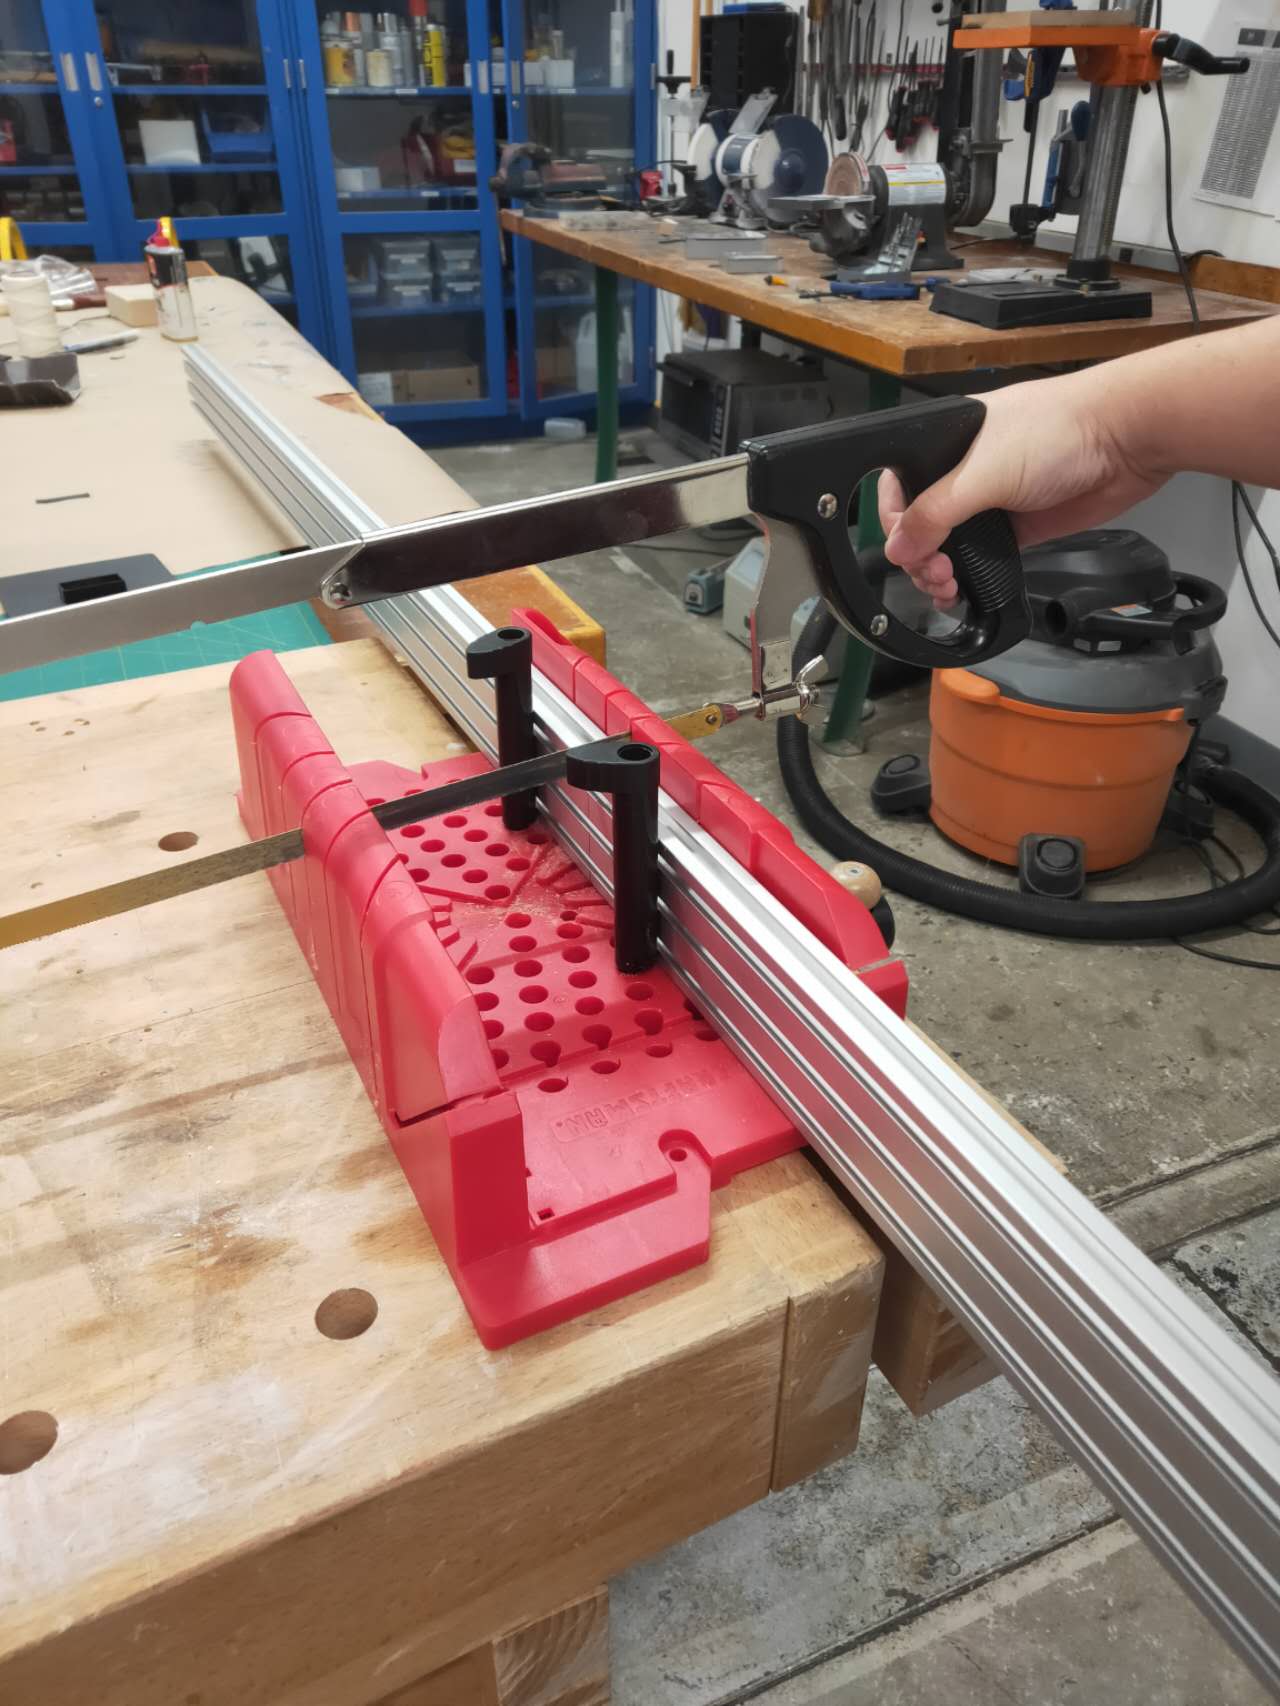
I secure aluminum struts on wooden clamps, and start chopping off the struts to correct dimensions I want to use. It was very hard to cut through 1 by 3 struts, the super wide ones. I use those wide struts to be the legs. After a few hours, I finished the base structure and went home.
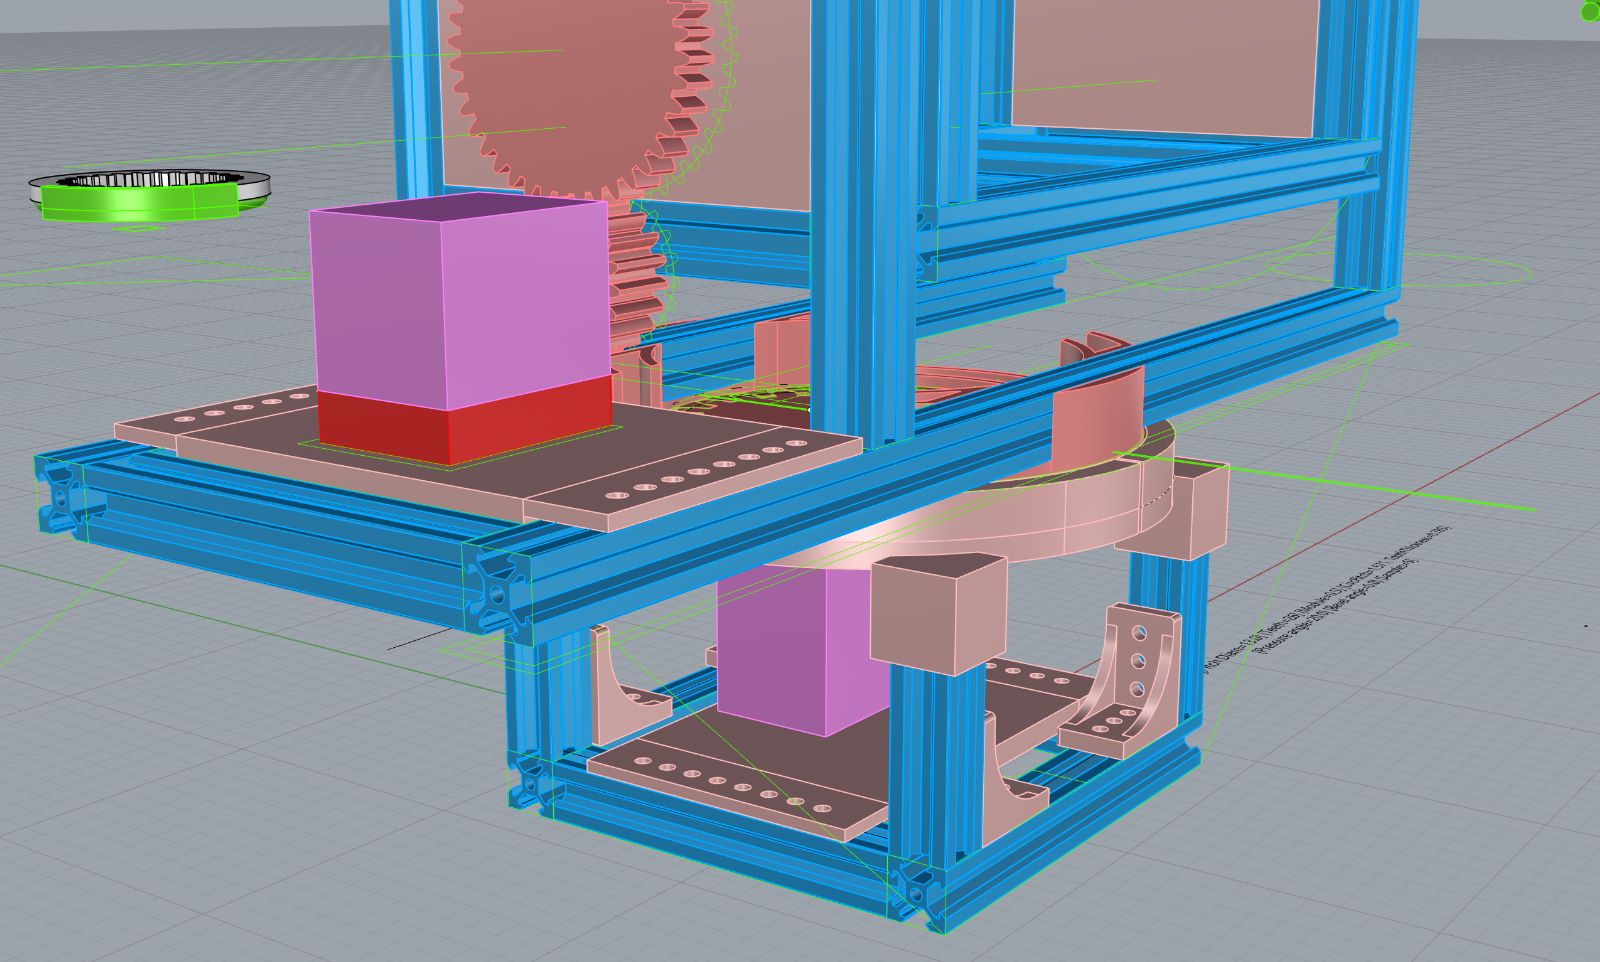
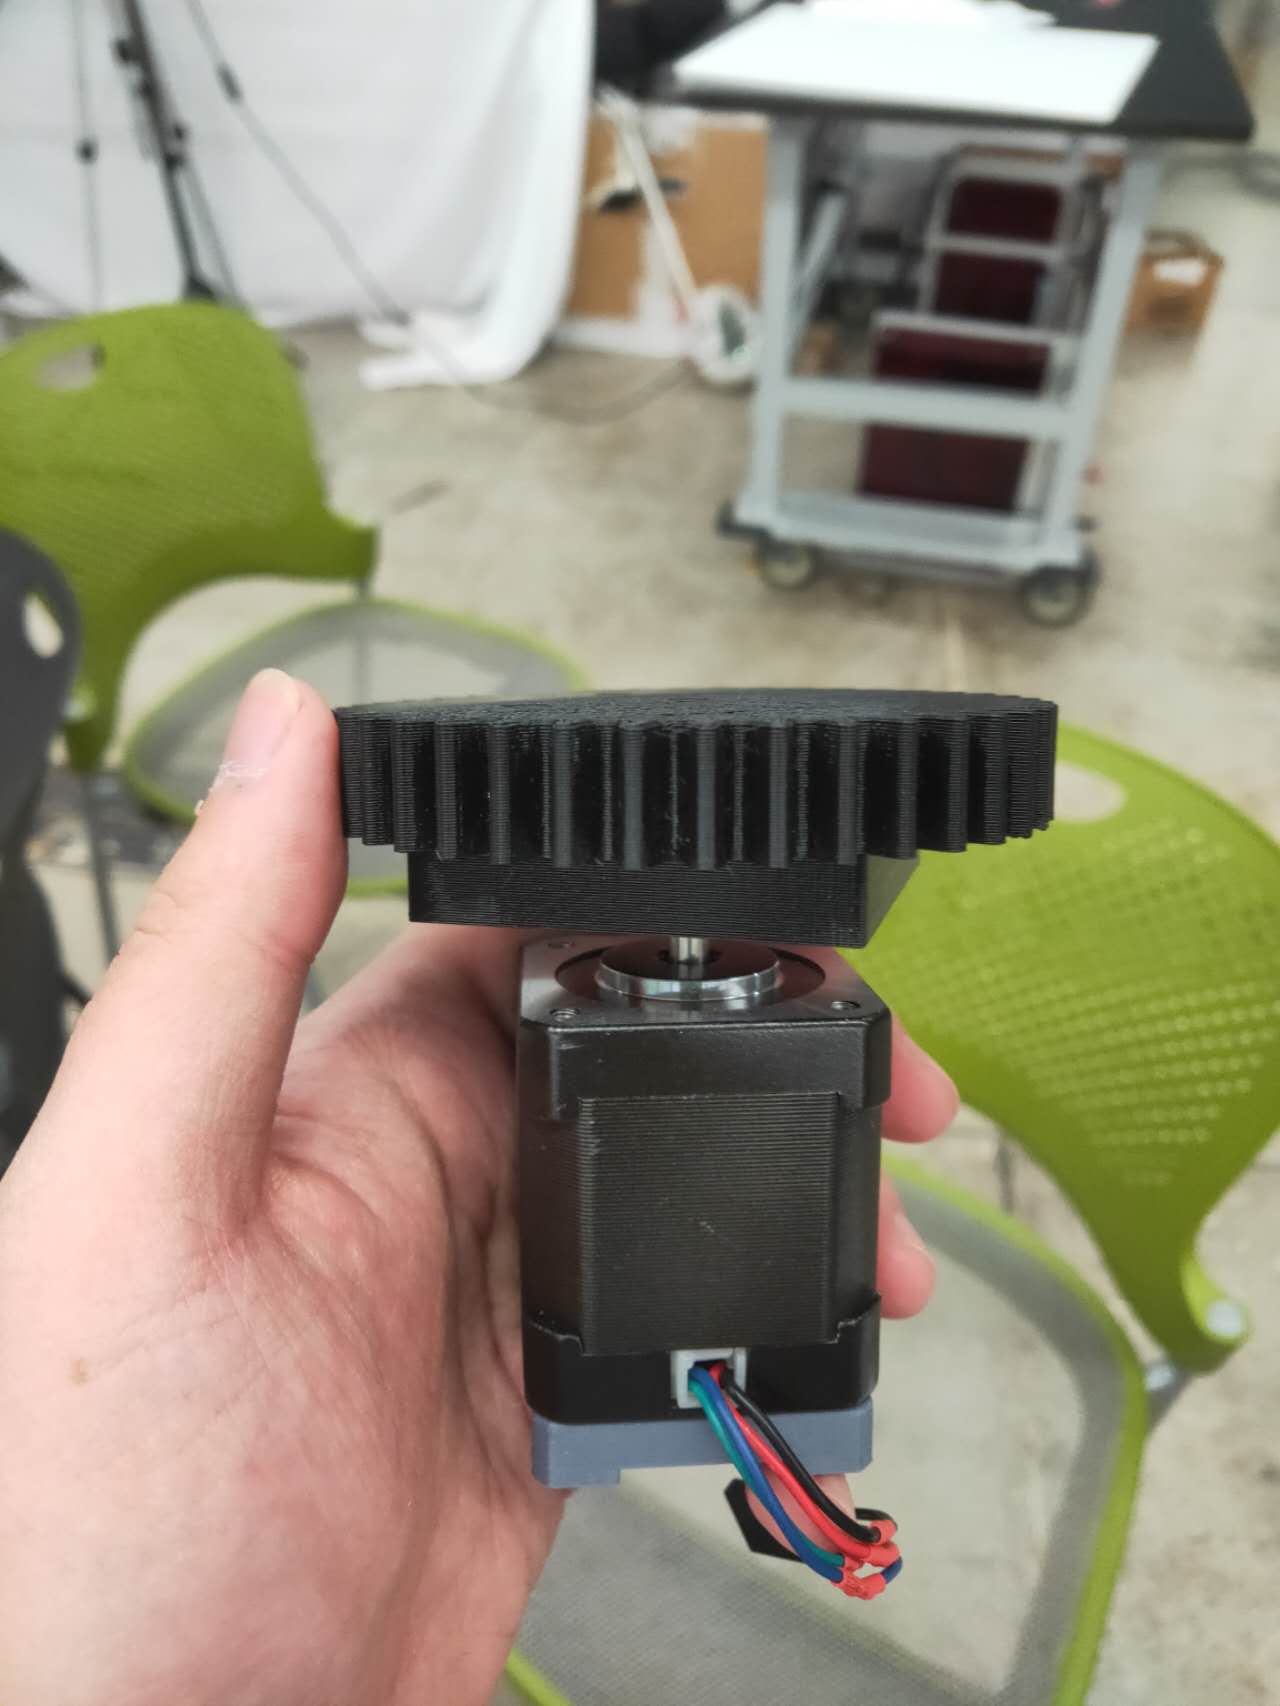
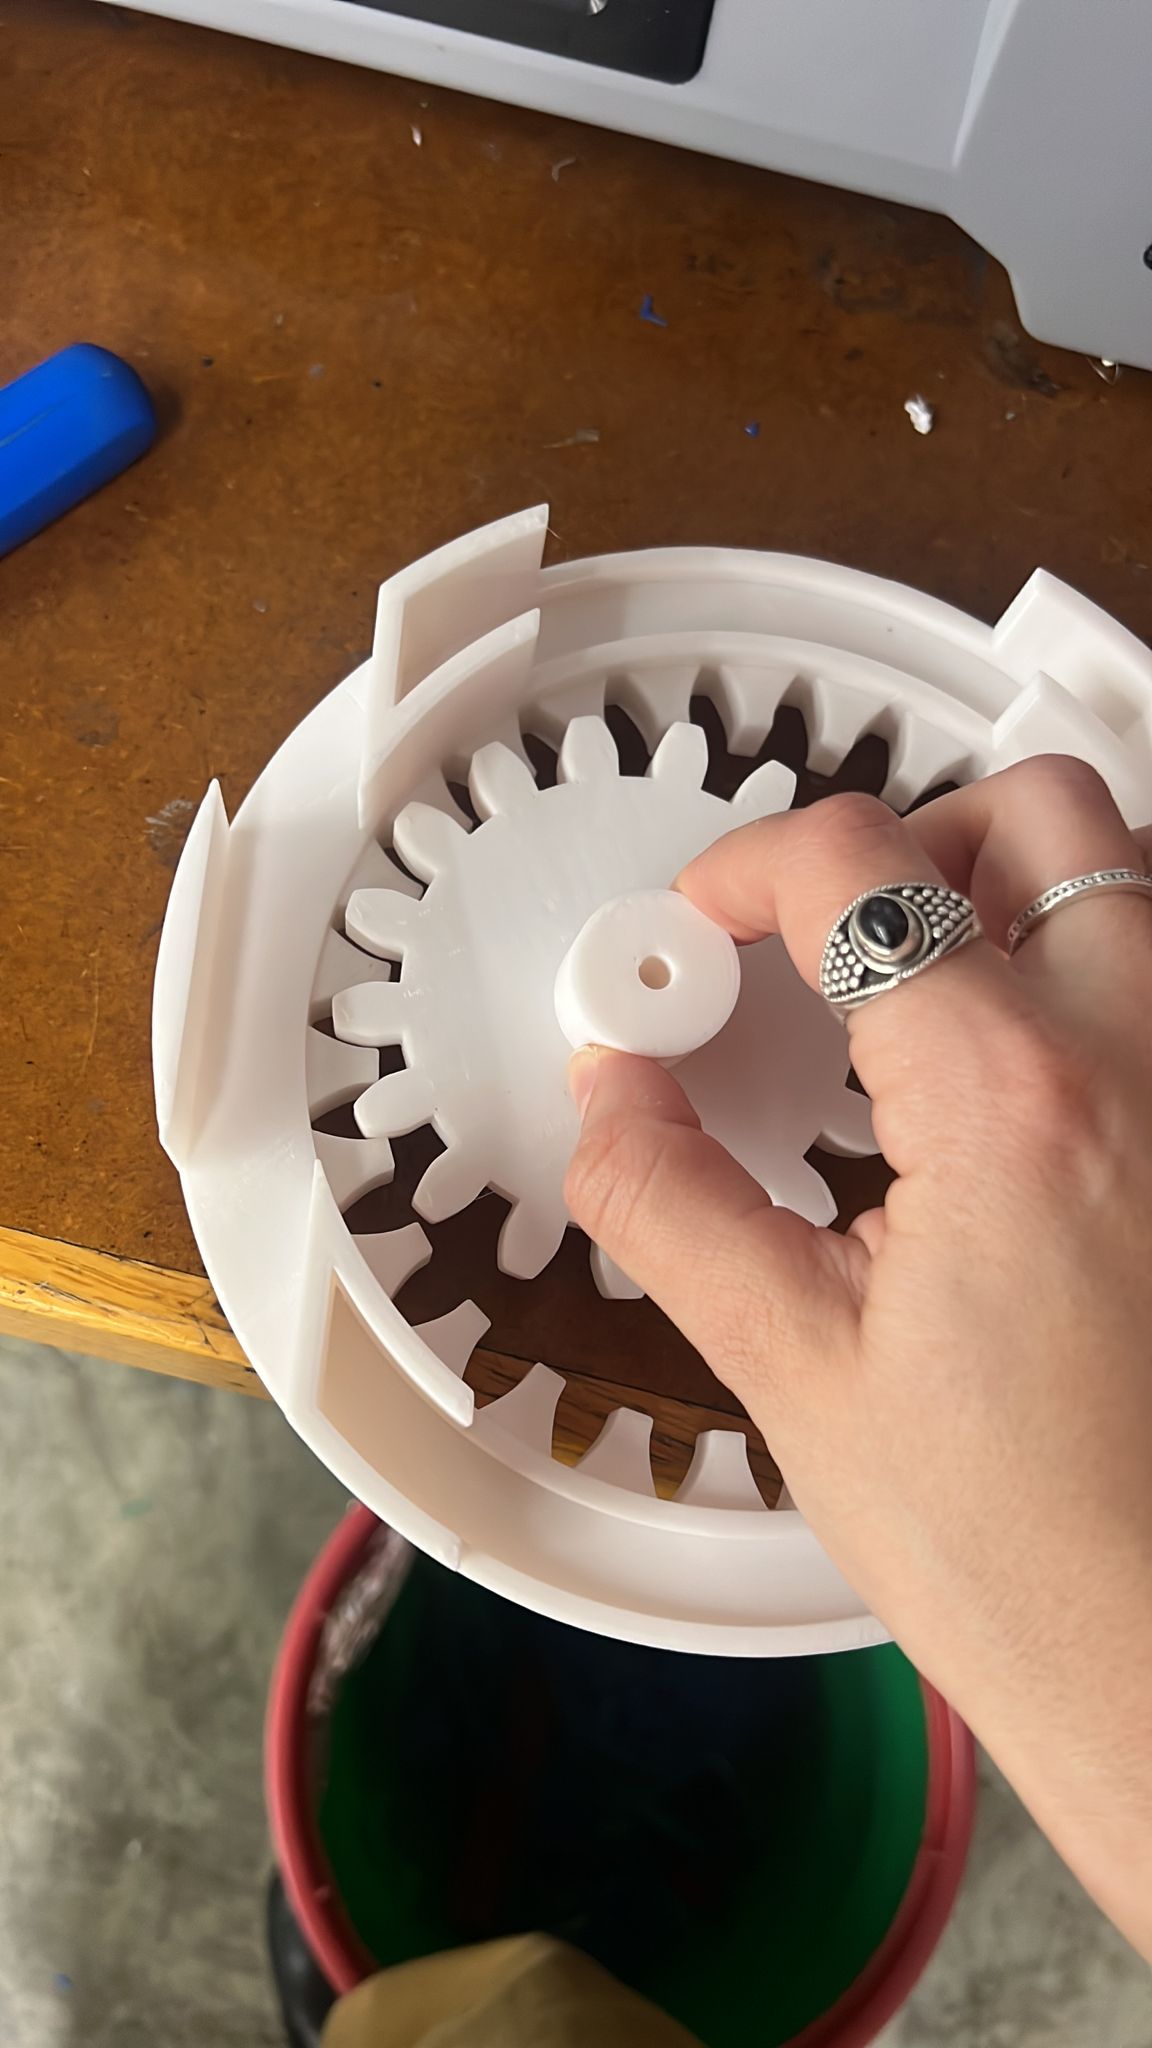
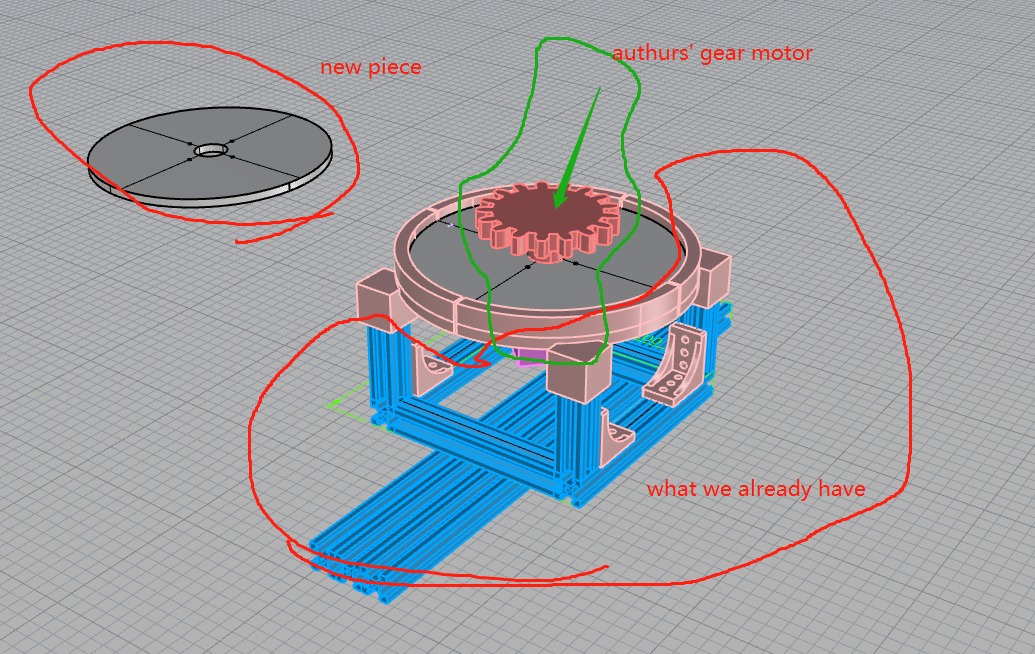
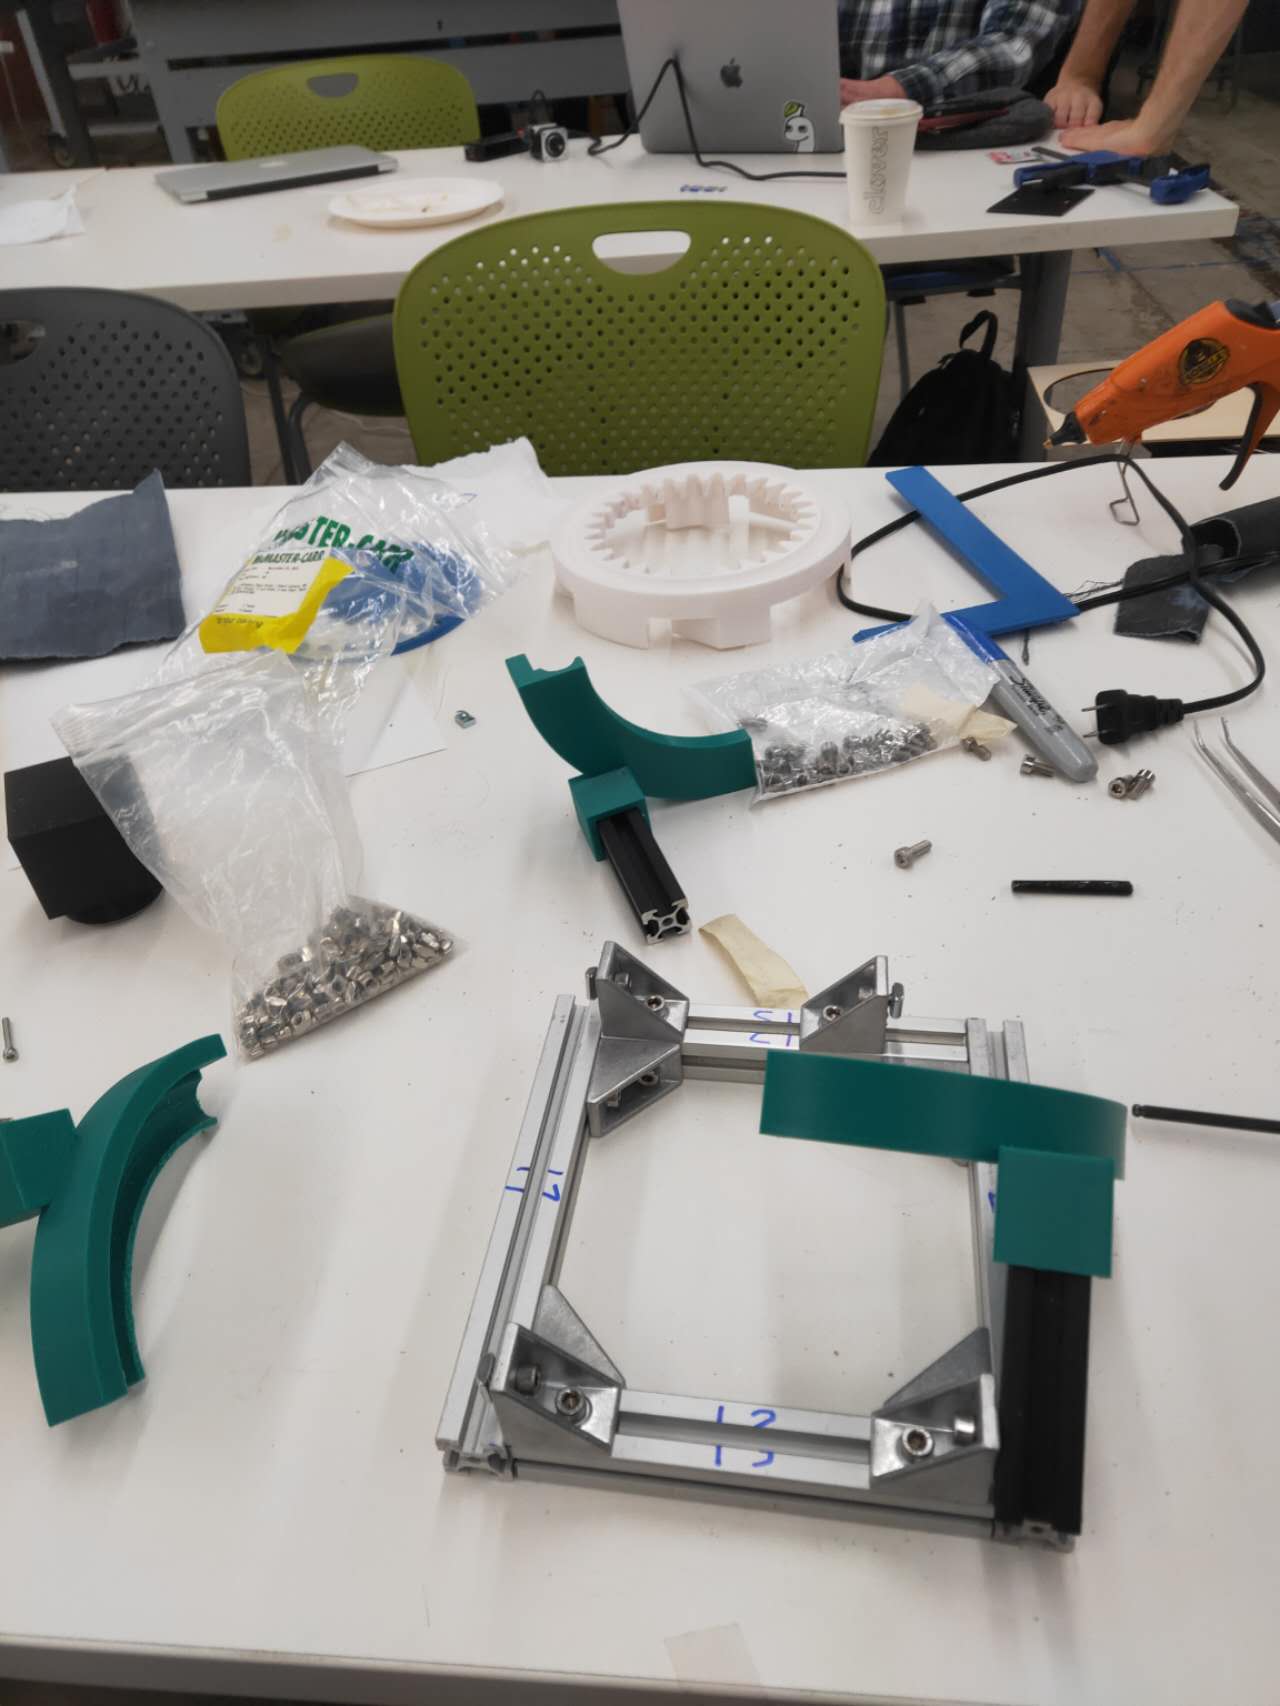
Later, I come in to the lab to help to modify our plans to make pan and tilt connections. People have decided the mechanism Nix designed is too complex and the 3d prints are taking forever to finish. When I went to the lab on the last day, we only got half of the design printed. Arthur came up and had a discussion with me to talk about his simplier design of a x pan moter. I decided to adapt it to the 3d parts that are already printed, and combine the two design to make a proper motor housing. That way we don't have to make extra parts but simply make a working turning joint with the parts we already have in the lab. I have to agree with Arthur because there is no way all the prints are going to get done in 24 hours. Also, I will break my arm to cut all the aluminum struts to the correct sizes for Nix's design.
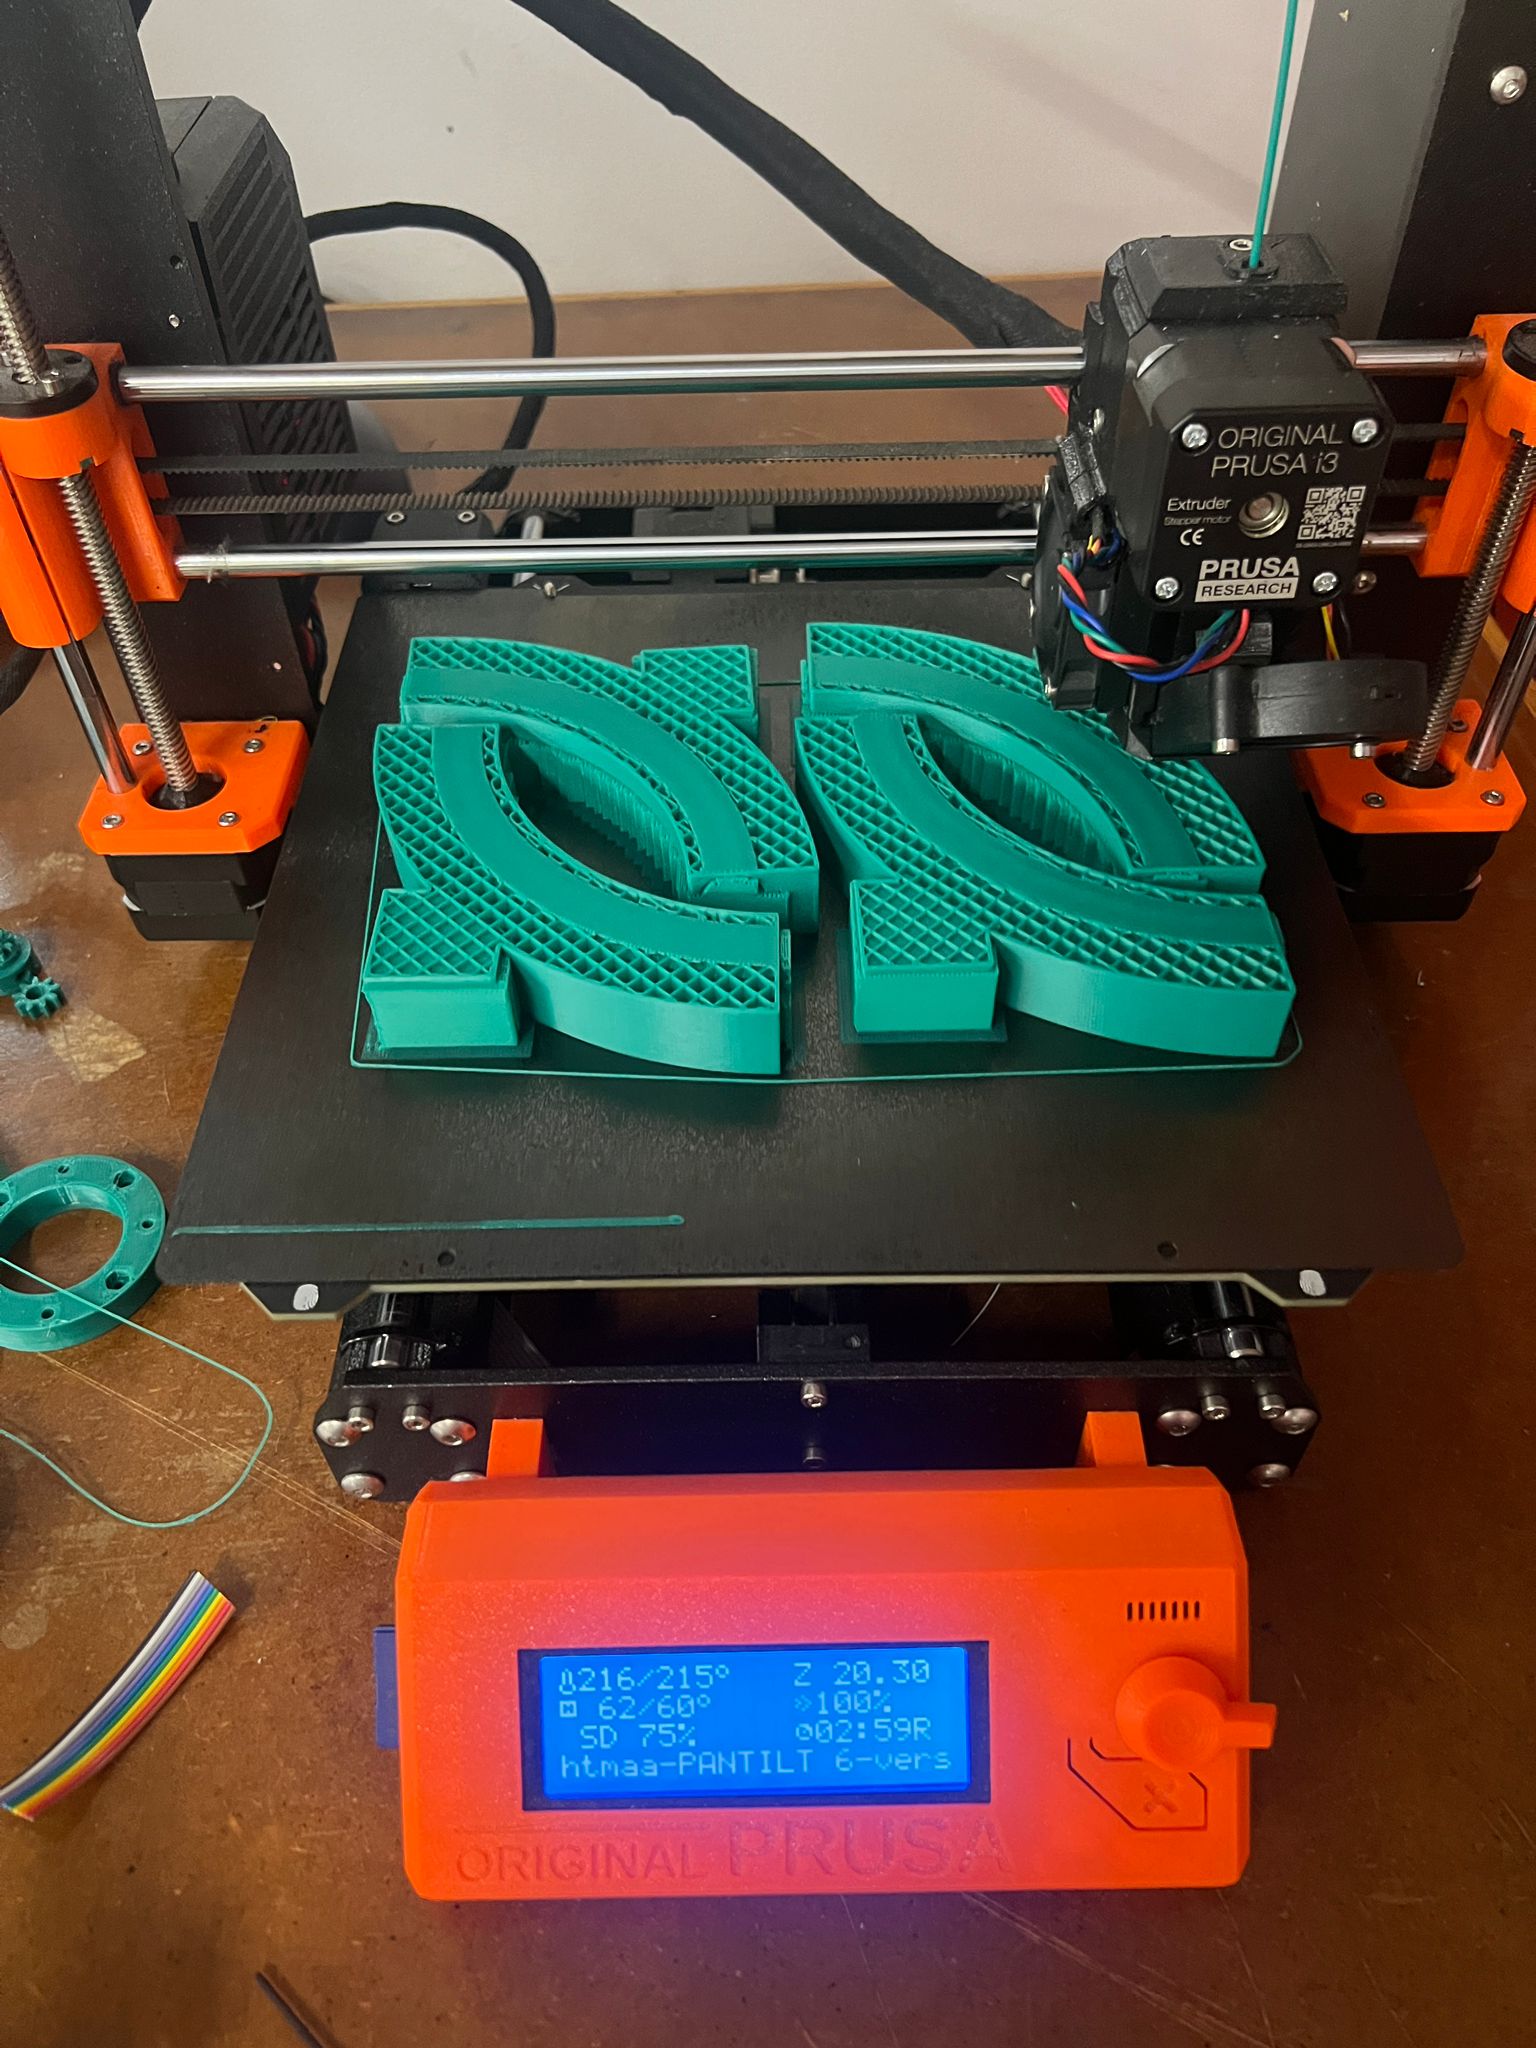
Some prints have failed over night and some are successful. I checked what survived and found out that most of the parts for the base motor housing are printed. I gathered all the good pieces and asked Rehana and Noy to help me sand the 3d printed parts to make them fit better.
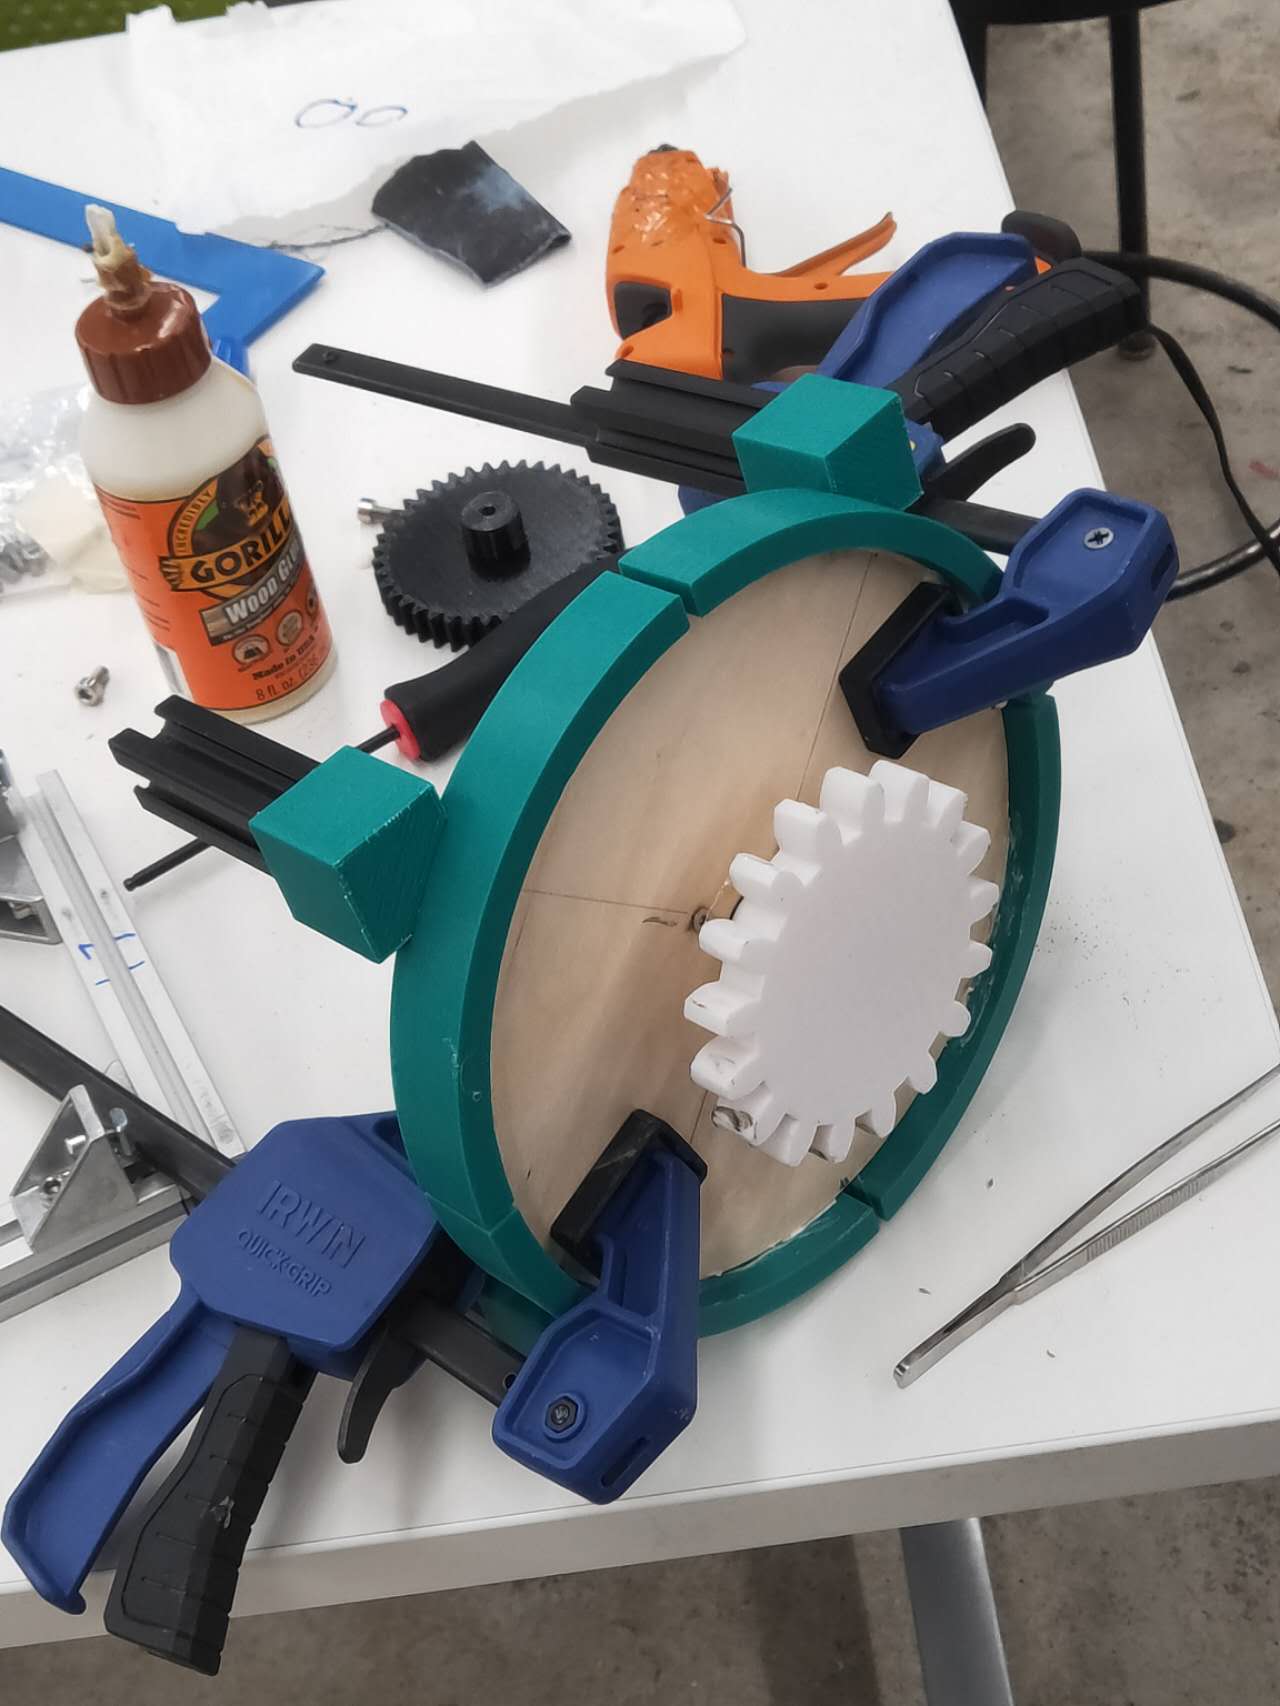
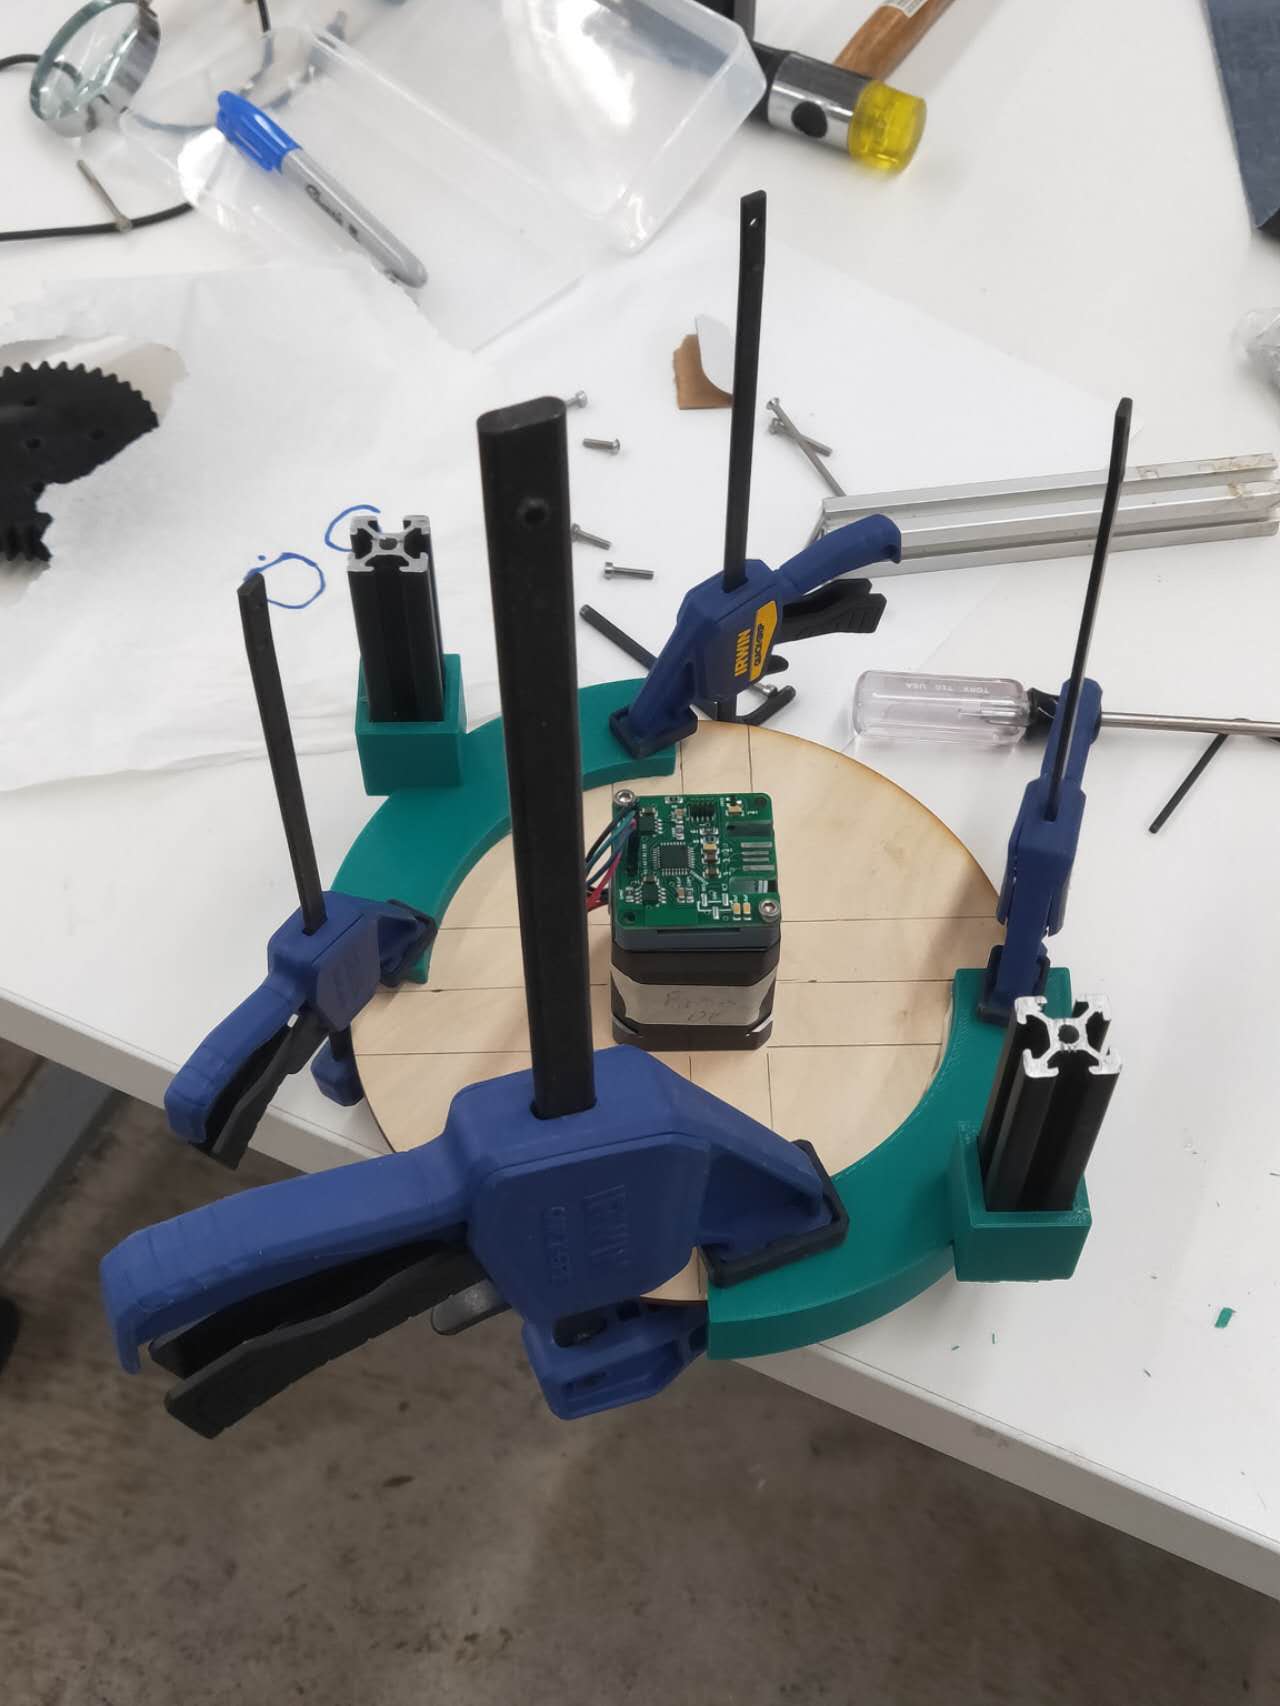
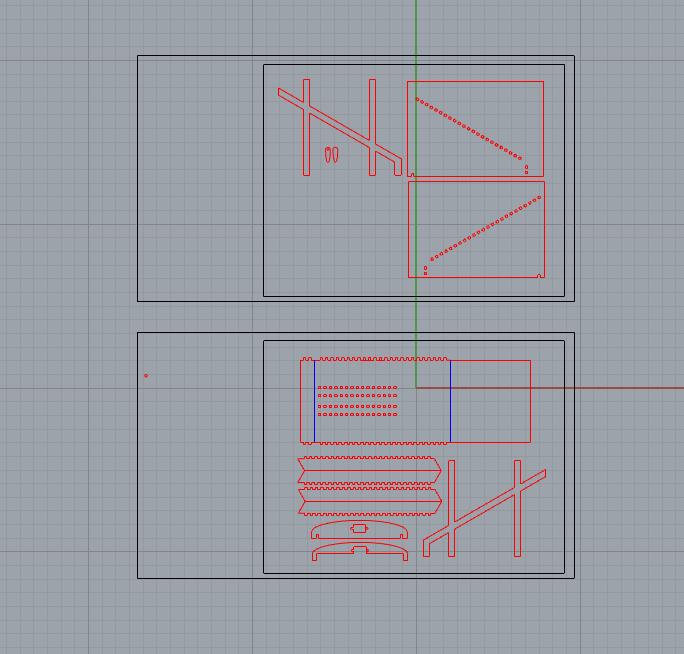
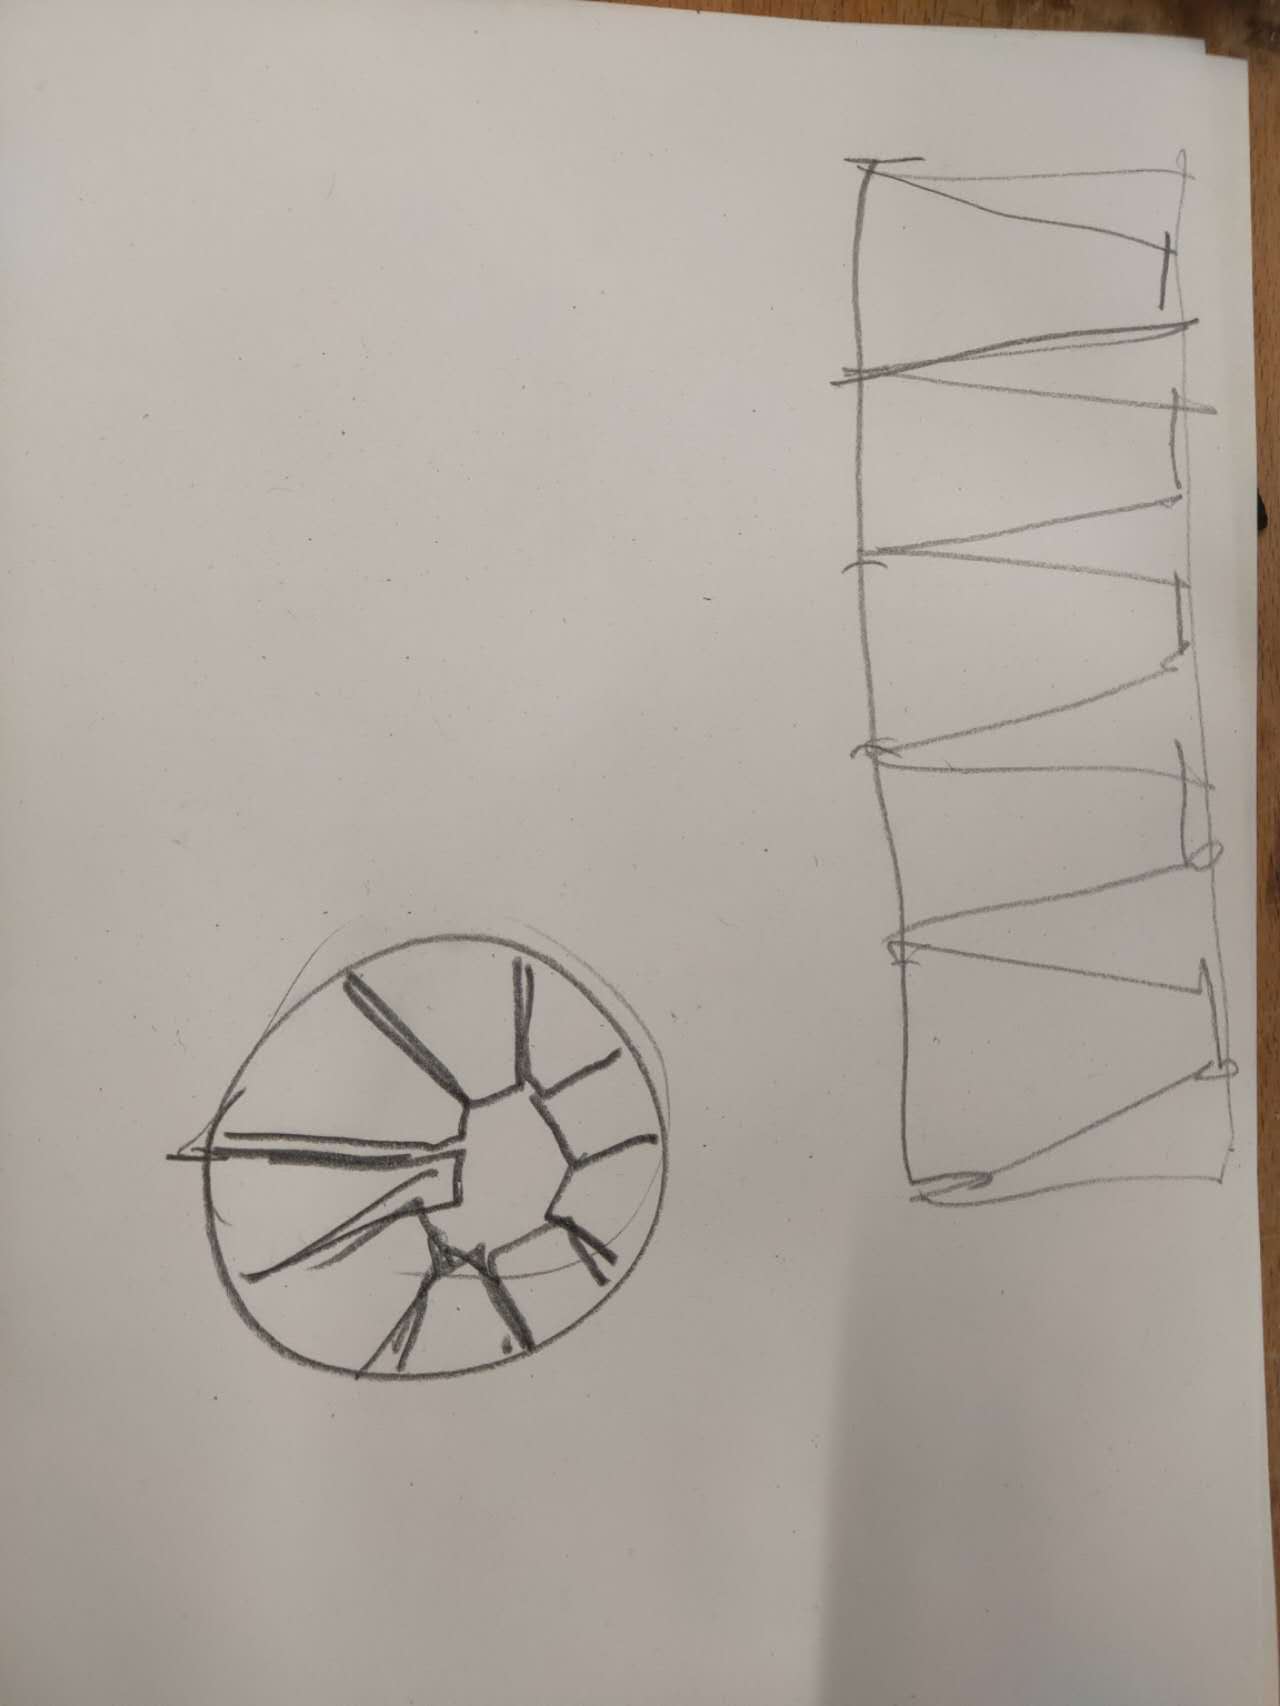
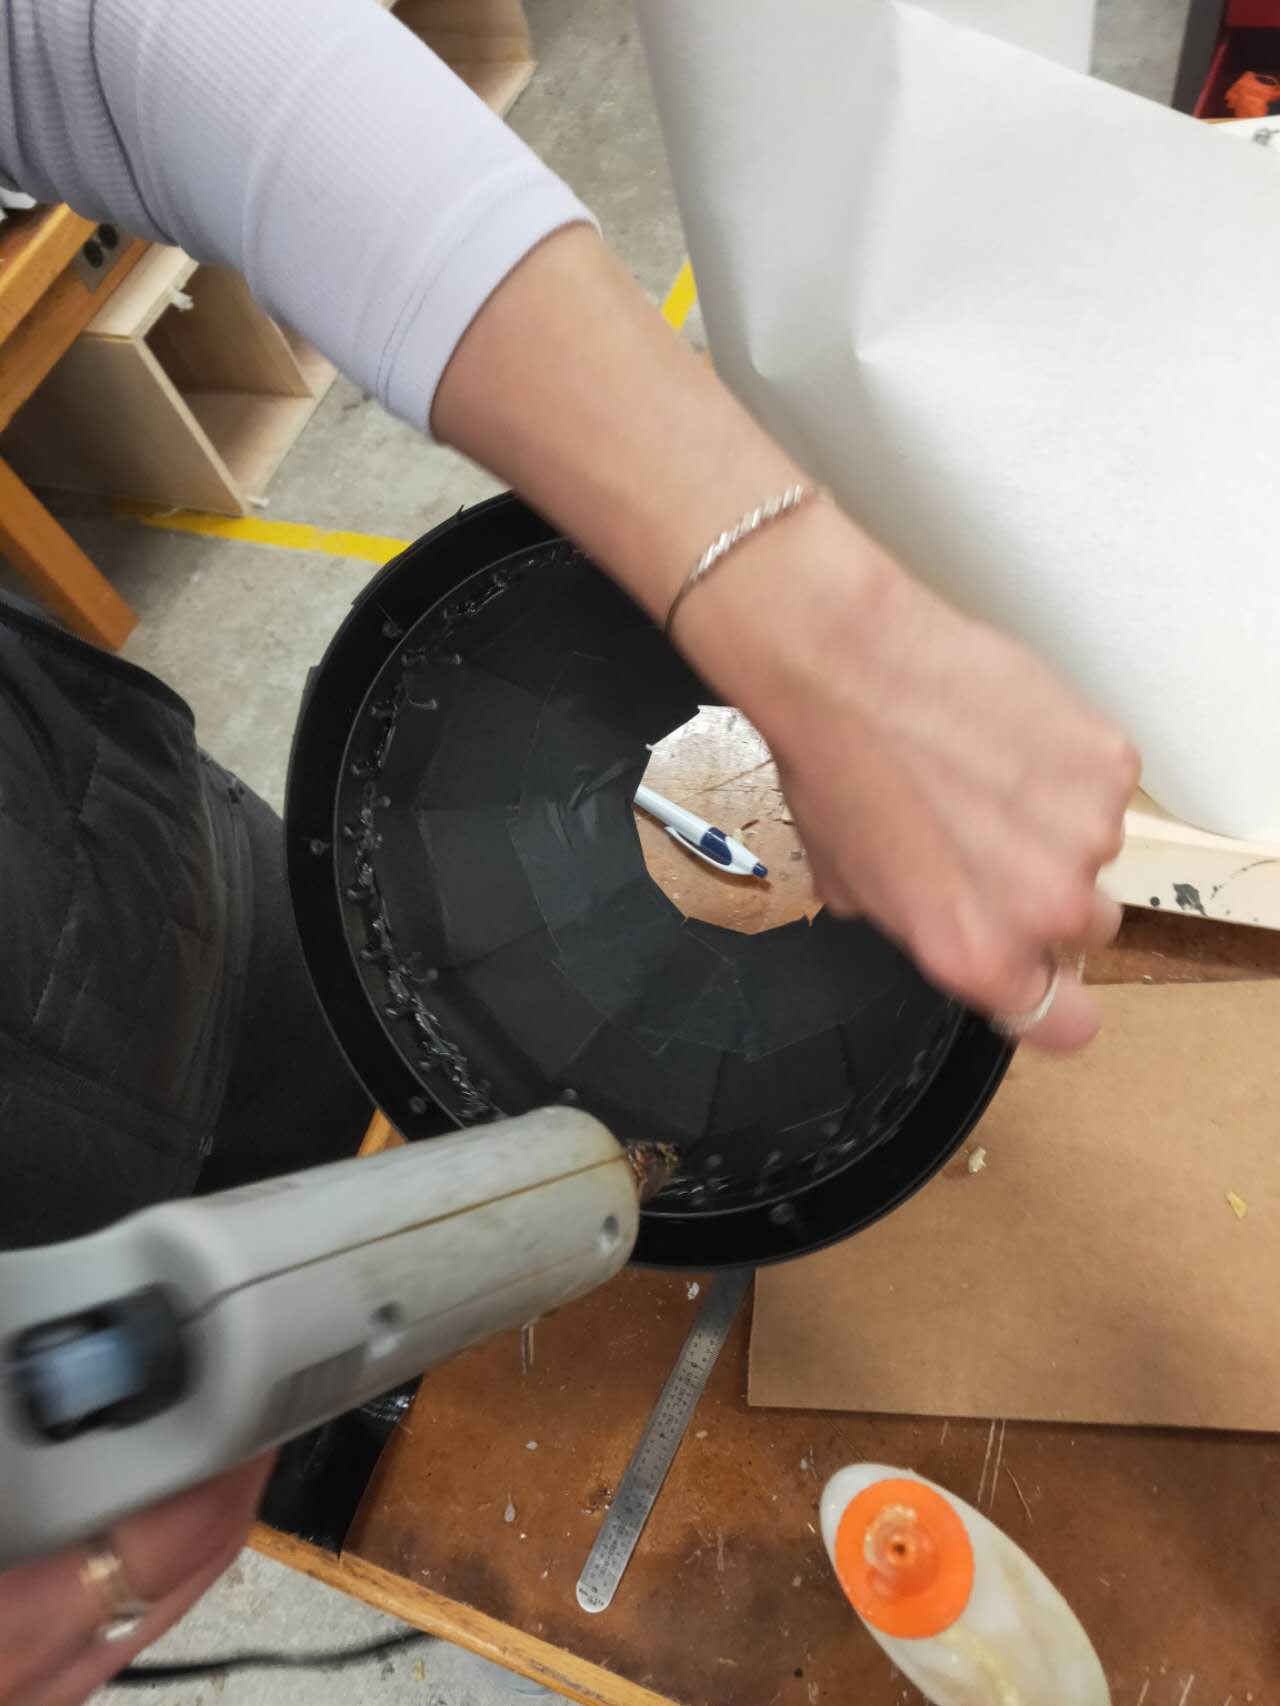
I pull apart Nix's mechanism in Rhino and added in Arthur's part and came up with a simple constination of the two to make it work. Basically, I only need to laser cut a plywood connector plate and a top plate. The connector plate is to connect the motor at its top. The top plate will connect the motor directly to the dispensor unit. The SC lasercutter is broken so I run to GSD to cut the 2 plates and quickly run back. I use the connector plate to fuse the brackets into one solid part and Sondos bolted on the motor underneath it. By doing that, we can access the motor from underneath with power cables and etc.
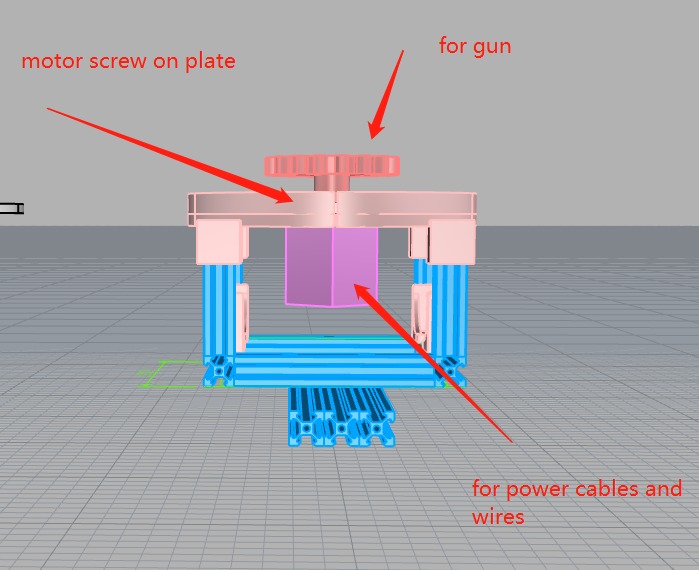
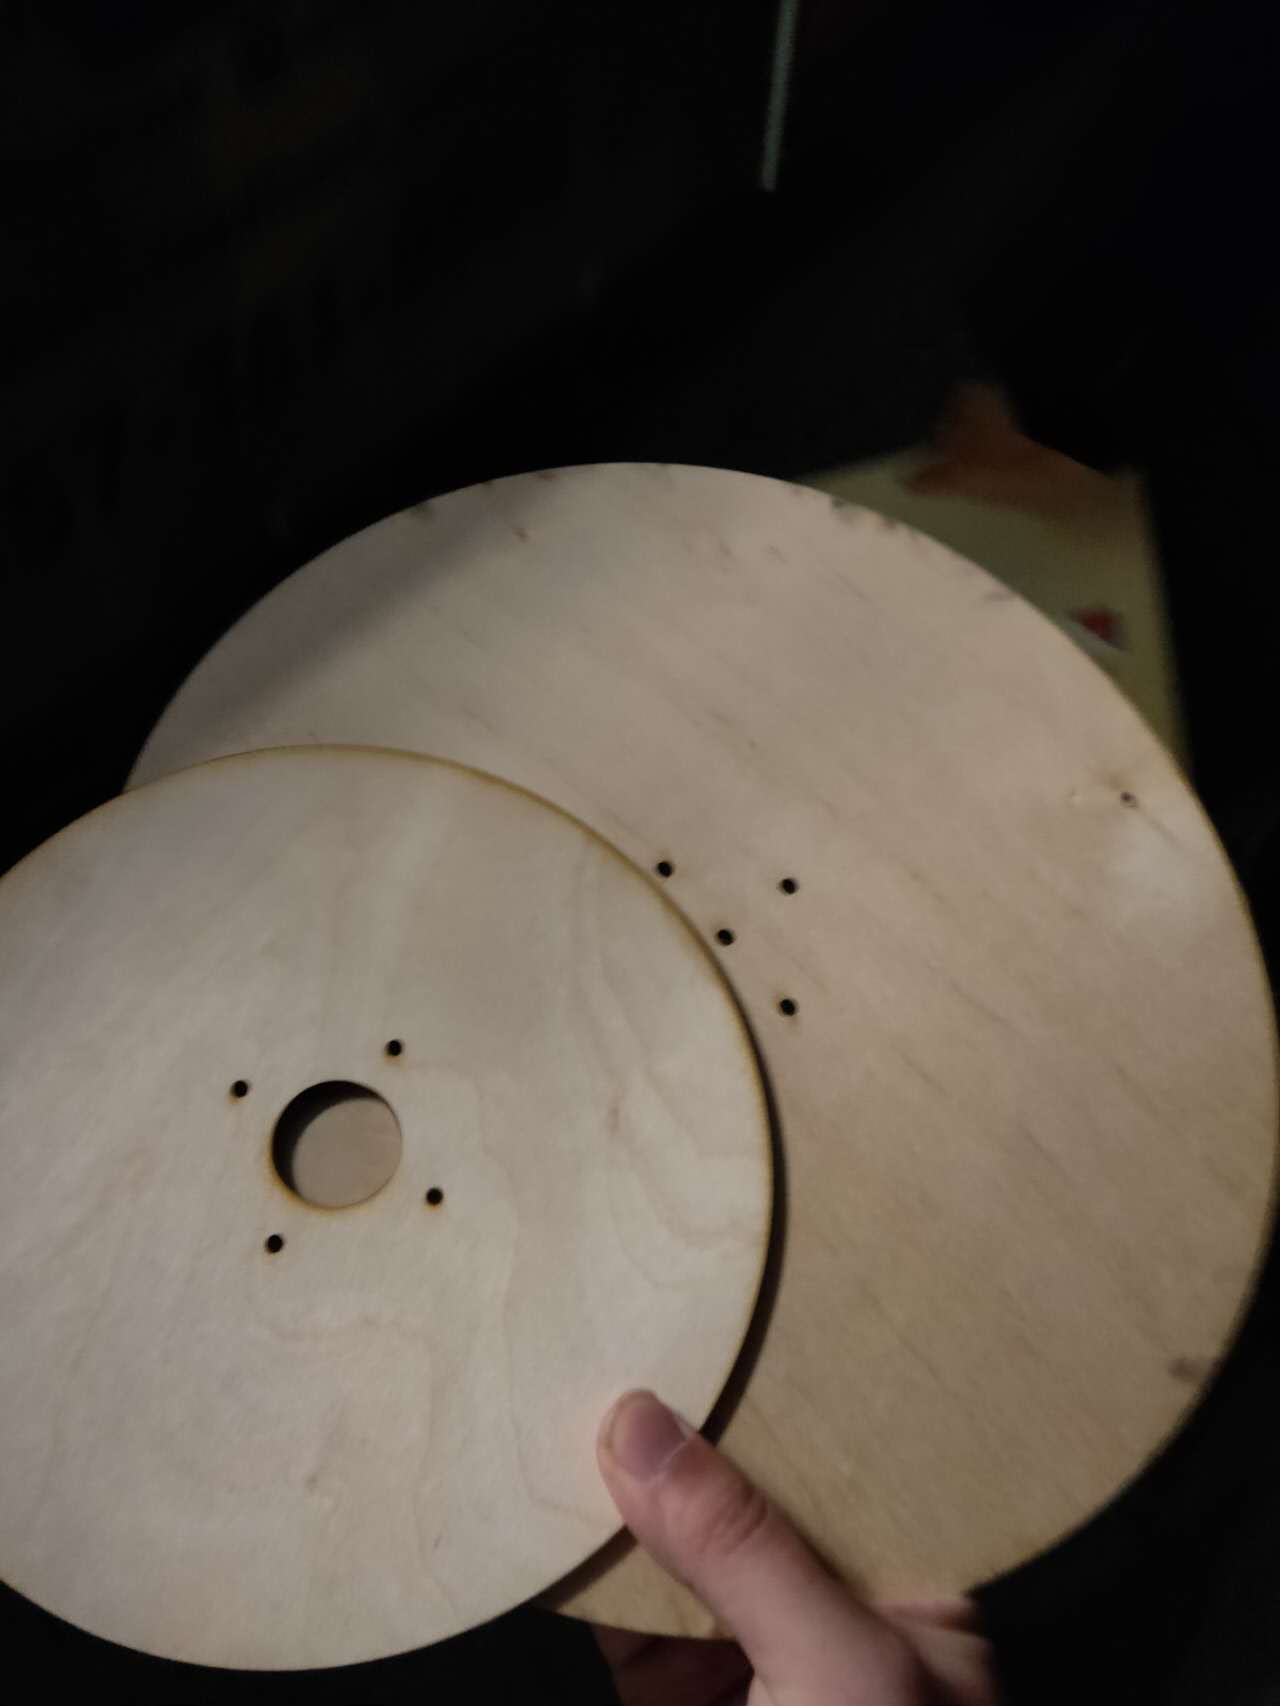
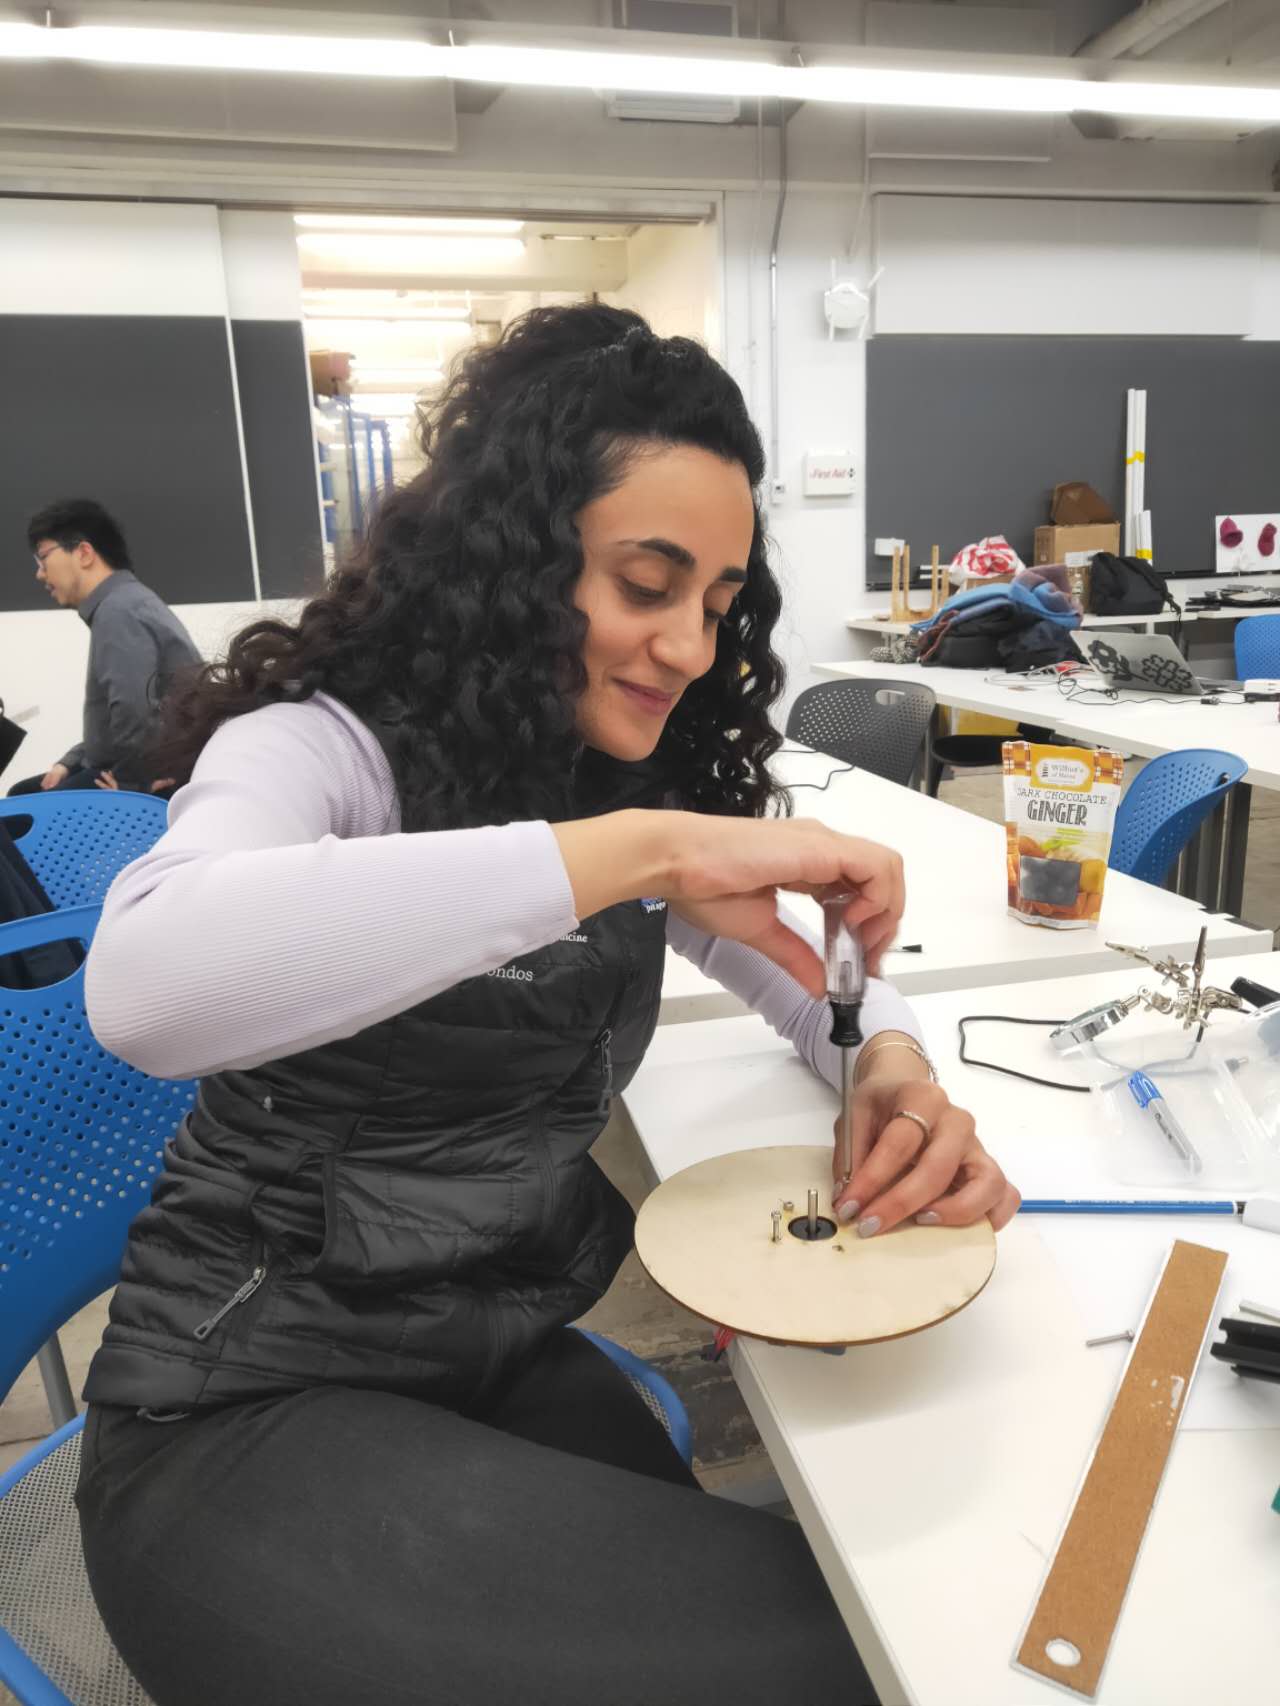
I use hot glue and wood glue to secure the plate on to the 3d printed parts. While the parts are drying, I used clamps to make sure they bond together. Eventually everything is solid, and I bolt the bracket on to the main frame. Sondos helped me to adjust the screw holes on the plywood and 3d prints and make sure they fit better with the existing parts.

The whole thing came together and looks wonderful. :)
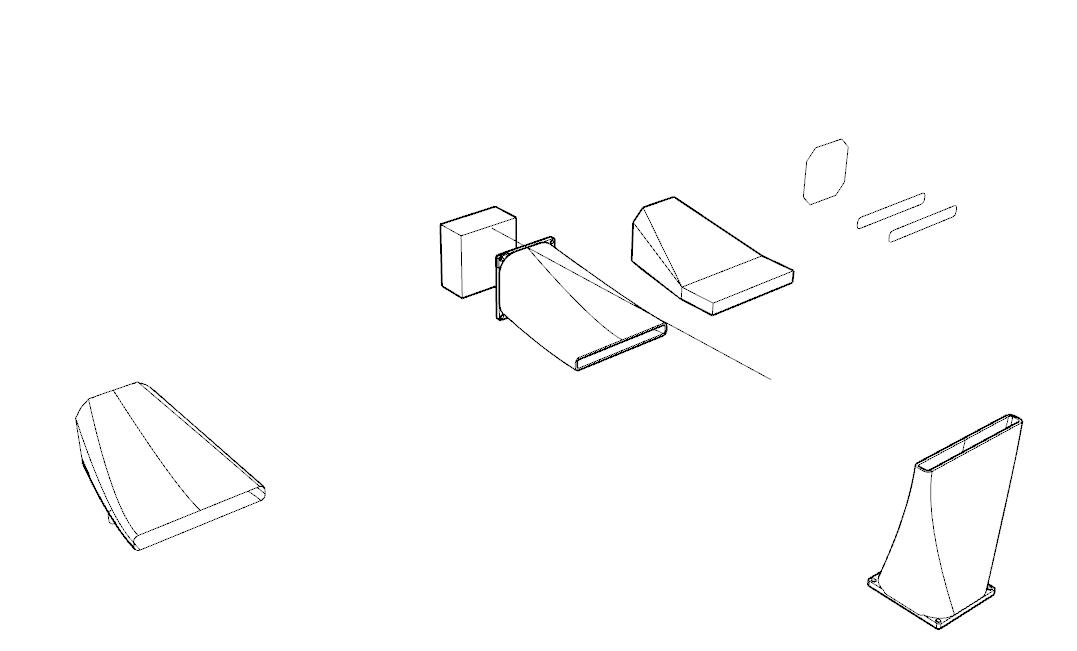
During the weekends, I also helped with a few other tasks for my team. Initally for our first fan iteration, I designed a fan nozzle to help better directing the wind. I first sketched the idea in pencil with my teammates Rehana, Noy, and Claire. After they agreed on my design idea, I modeled it in Rhino and sent to Noy for printing later.
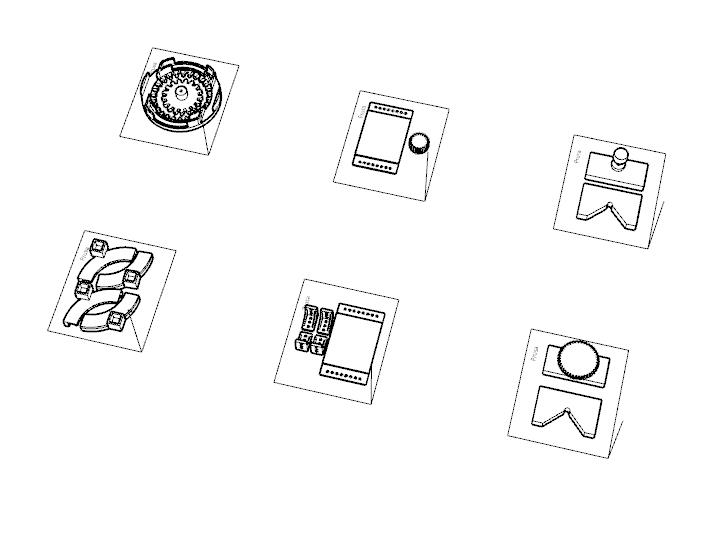
Then, I also helped Noy to organize Nix's pan and tilt 3d files into printable organizations and formats. I separate the entire construction into 6 separate beds.
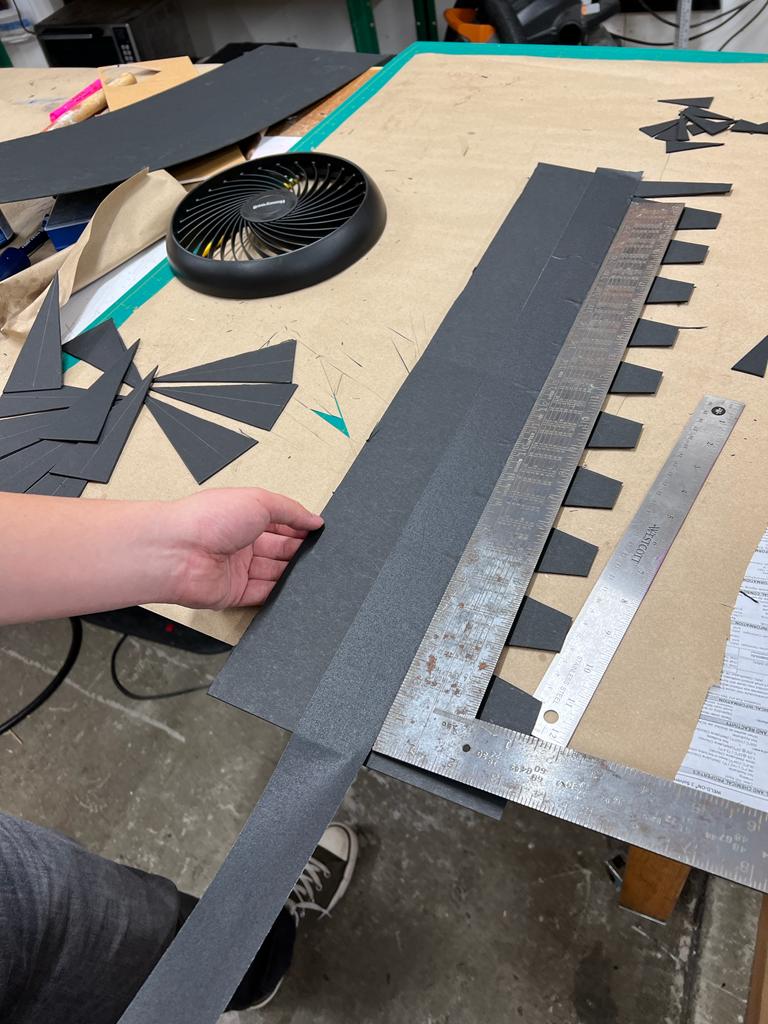
Later, I helped the Marble trap team to laser cut the cardboard to build the trap version 2. I also came up with a attachment idea with Alexia to secure the marble trap machine on top of the main frame. We built a simple tray with 2 aluminum struts and bolted on a horizontal bar, which then go inbetween the two legs of the foundation. the cardboard Marble trap could easily go in and out without hassle. Now the main frame has 3 tiers. The first tier is the marble trap. The second tier is the fan. The third tier is the gun.
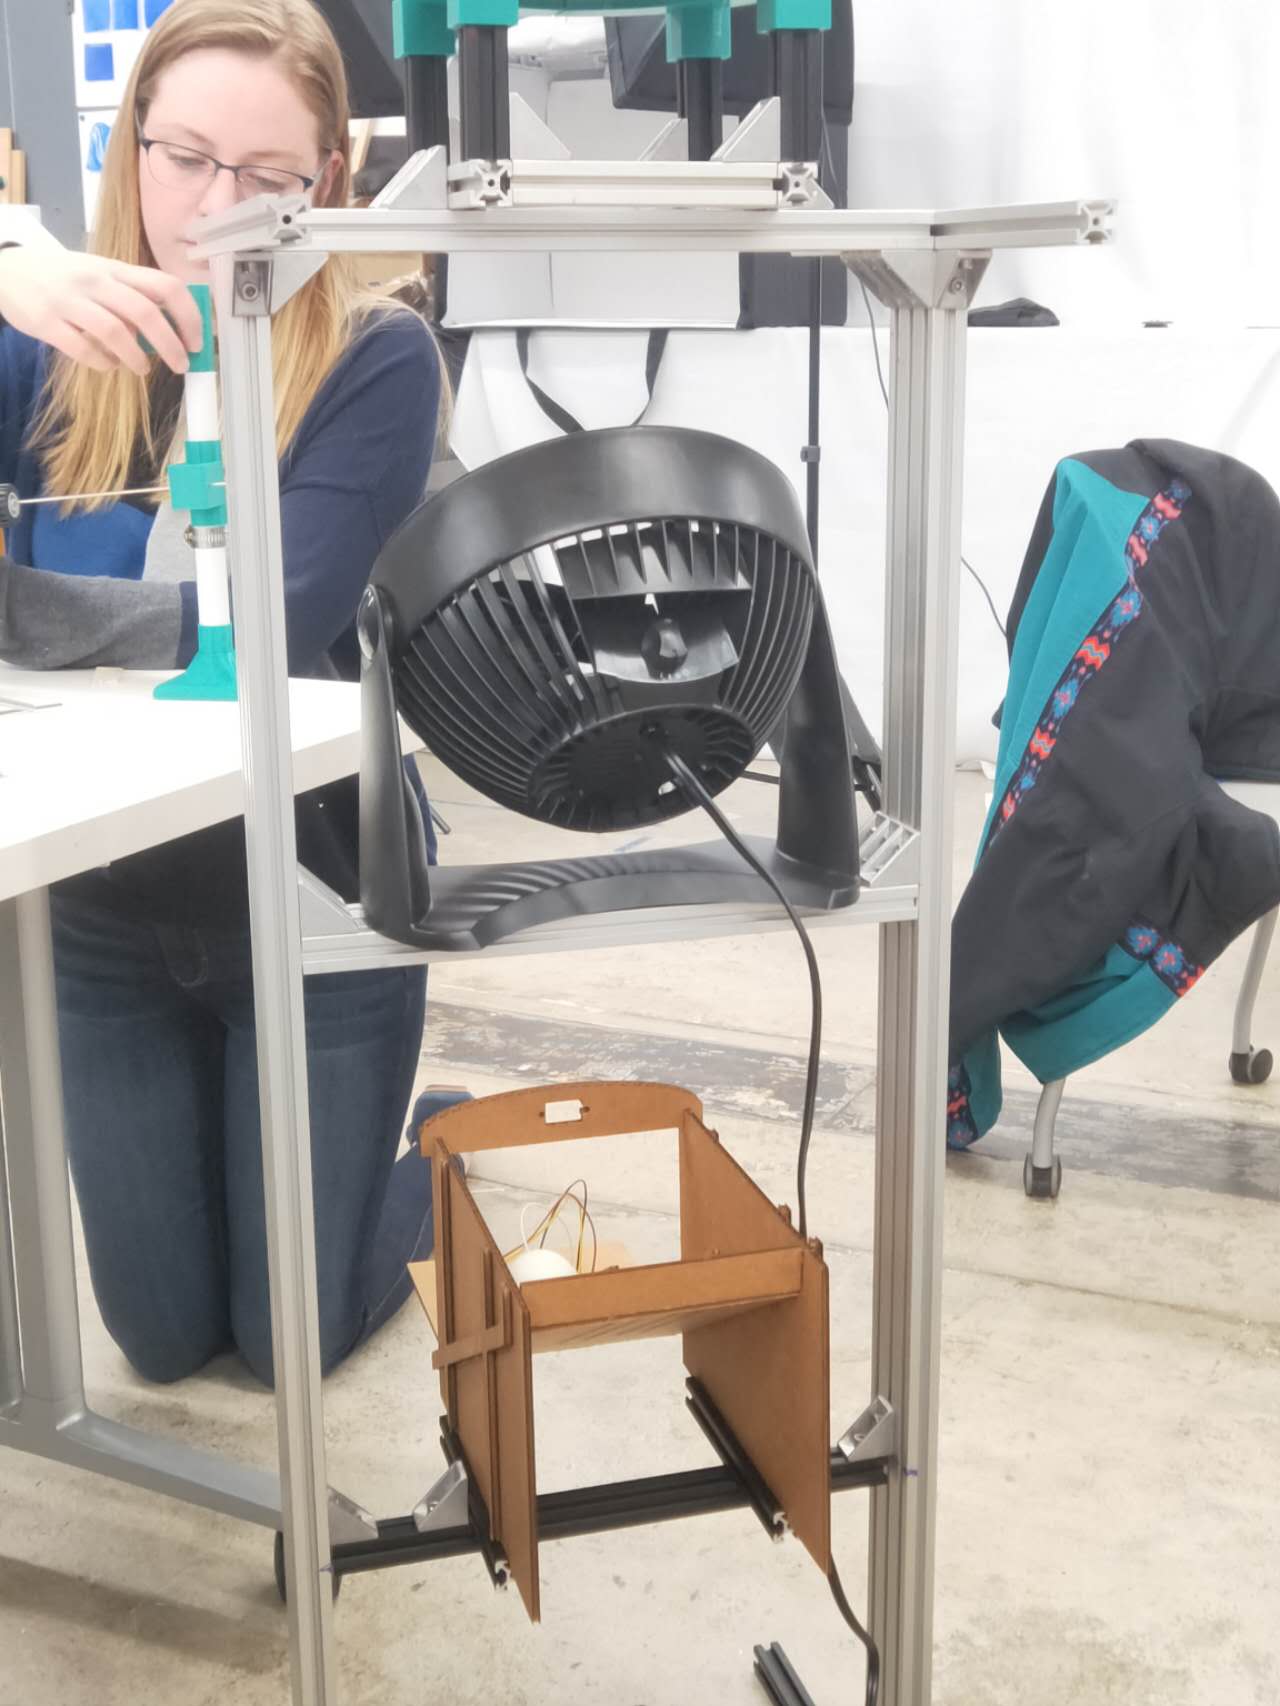
Sondos decided to make a funnel for the fan. I help her to design the template out of a cardboard piece and roll it together to make a funnel. We taped and hotglue the back end so the funnel nozzle is air tight.
I had a great time with everyone!