The seventh week we are tasked with programming. This is kind of hard because we need to tackle with more complex PCB designs. Also, we need to learn some arduino. I have zero experience with coding so it will be a new.
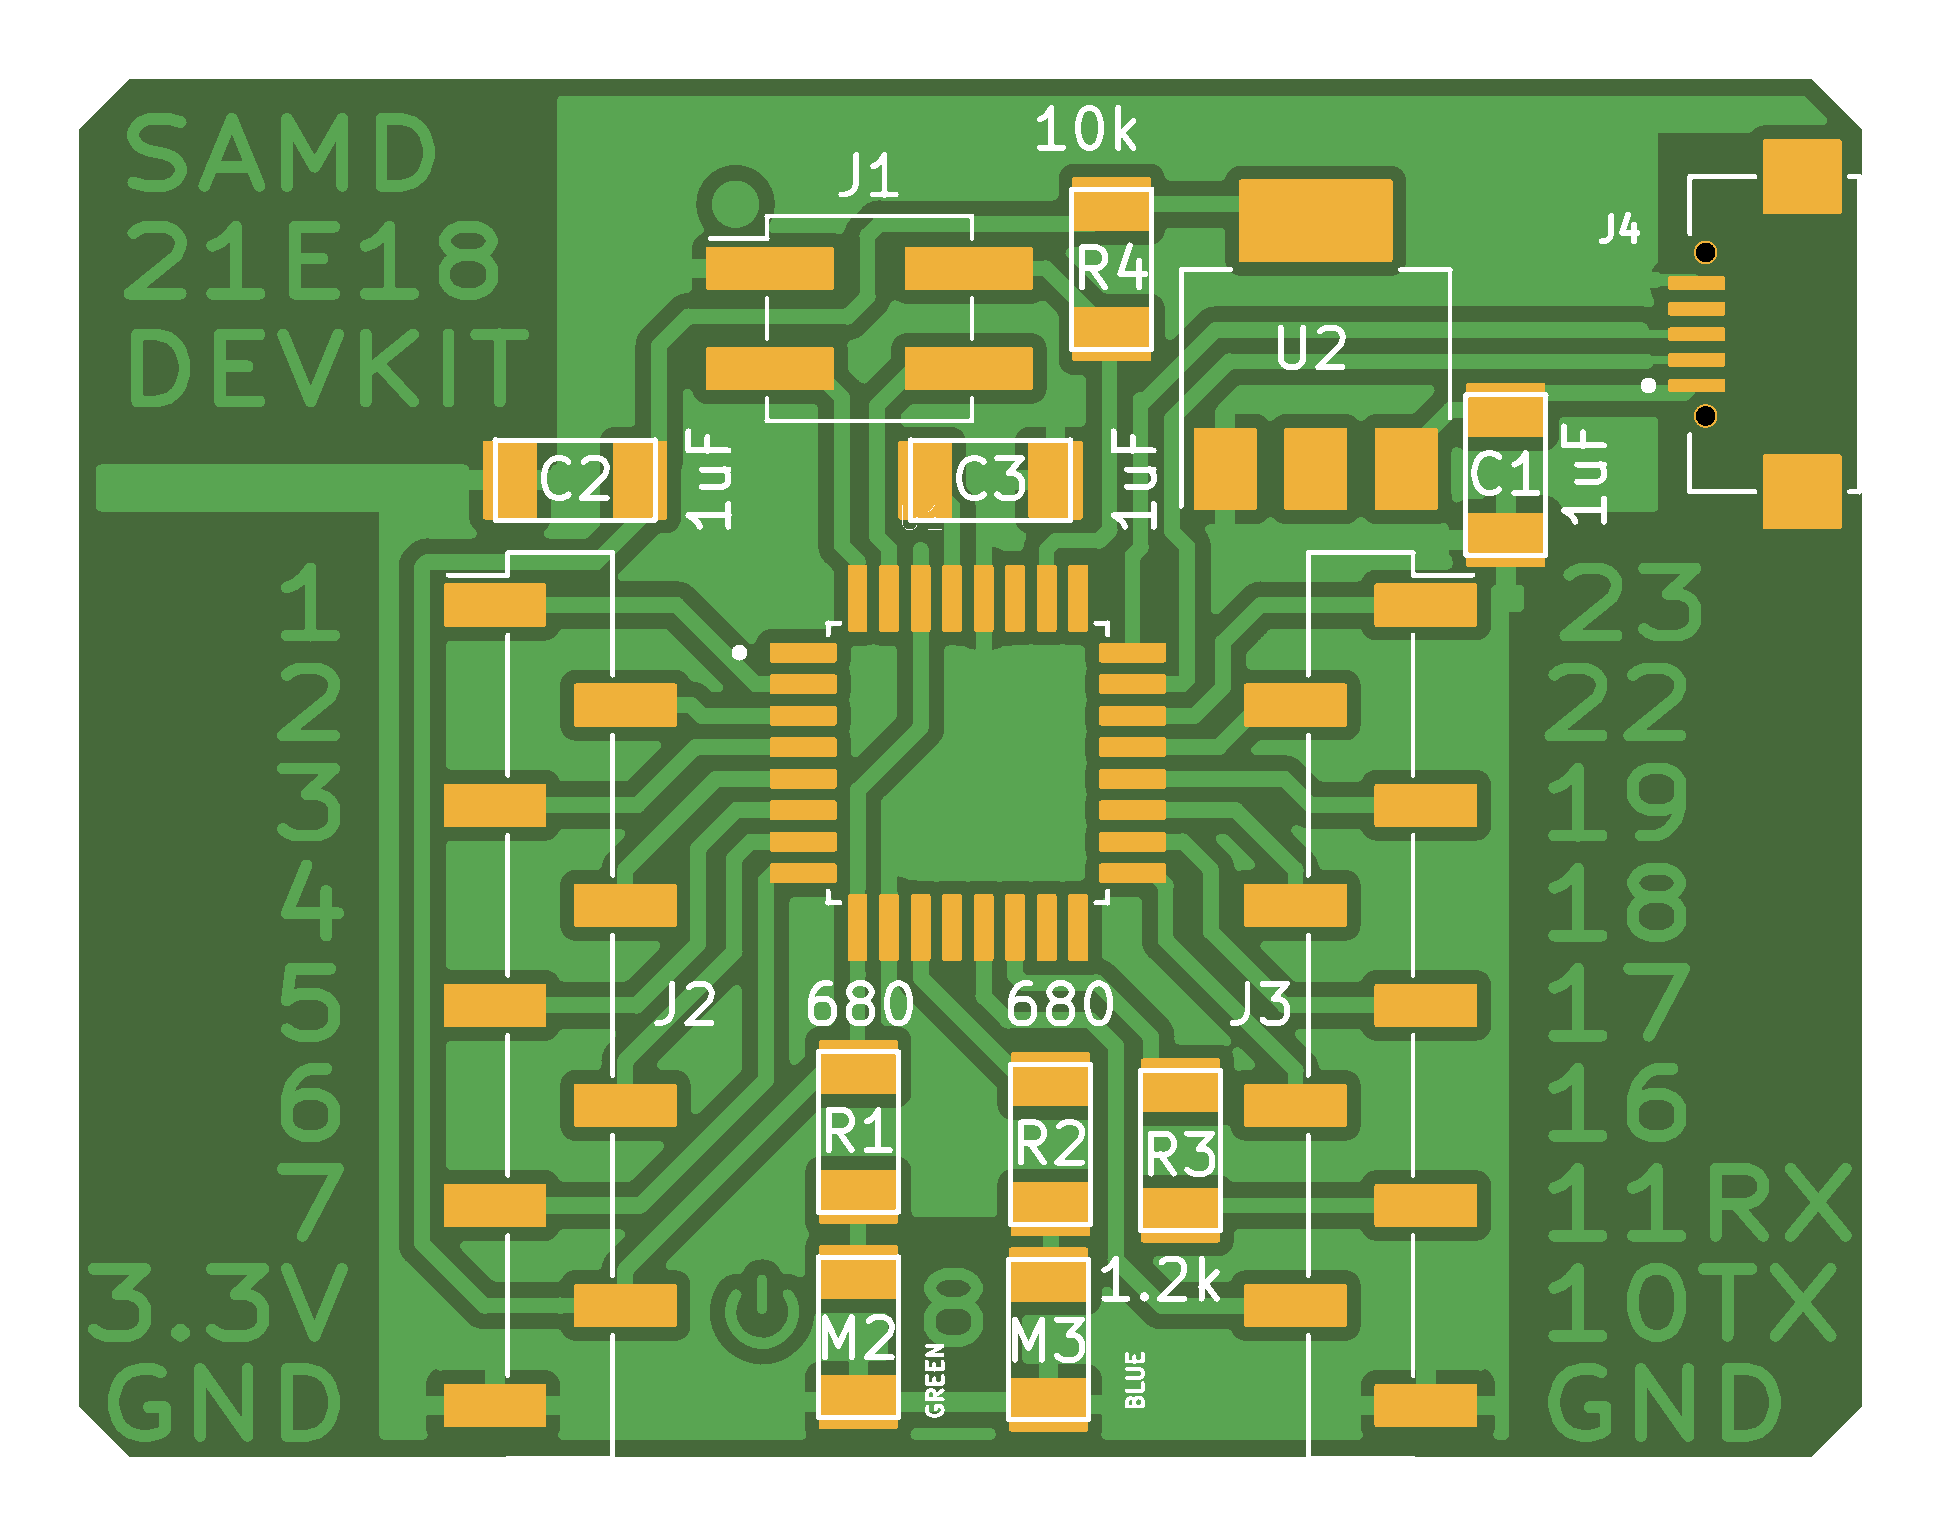
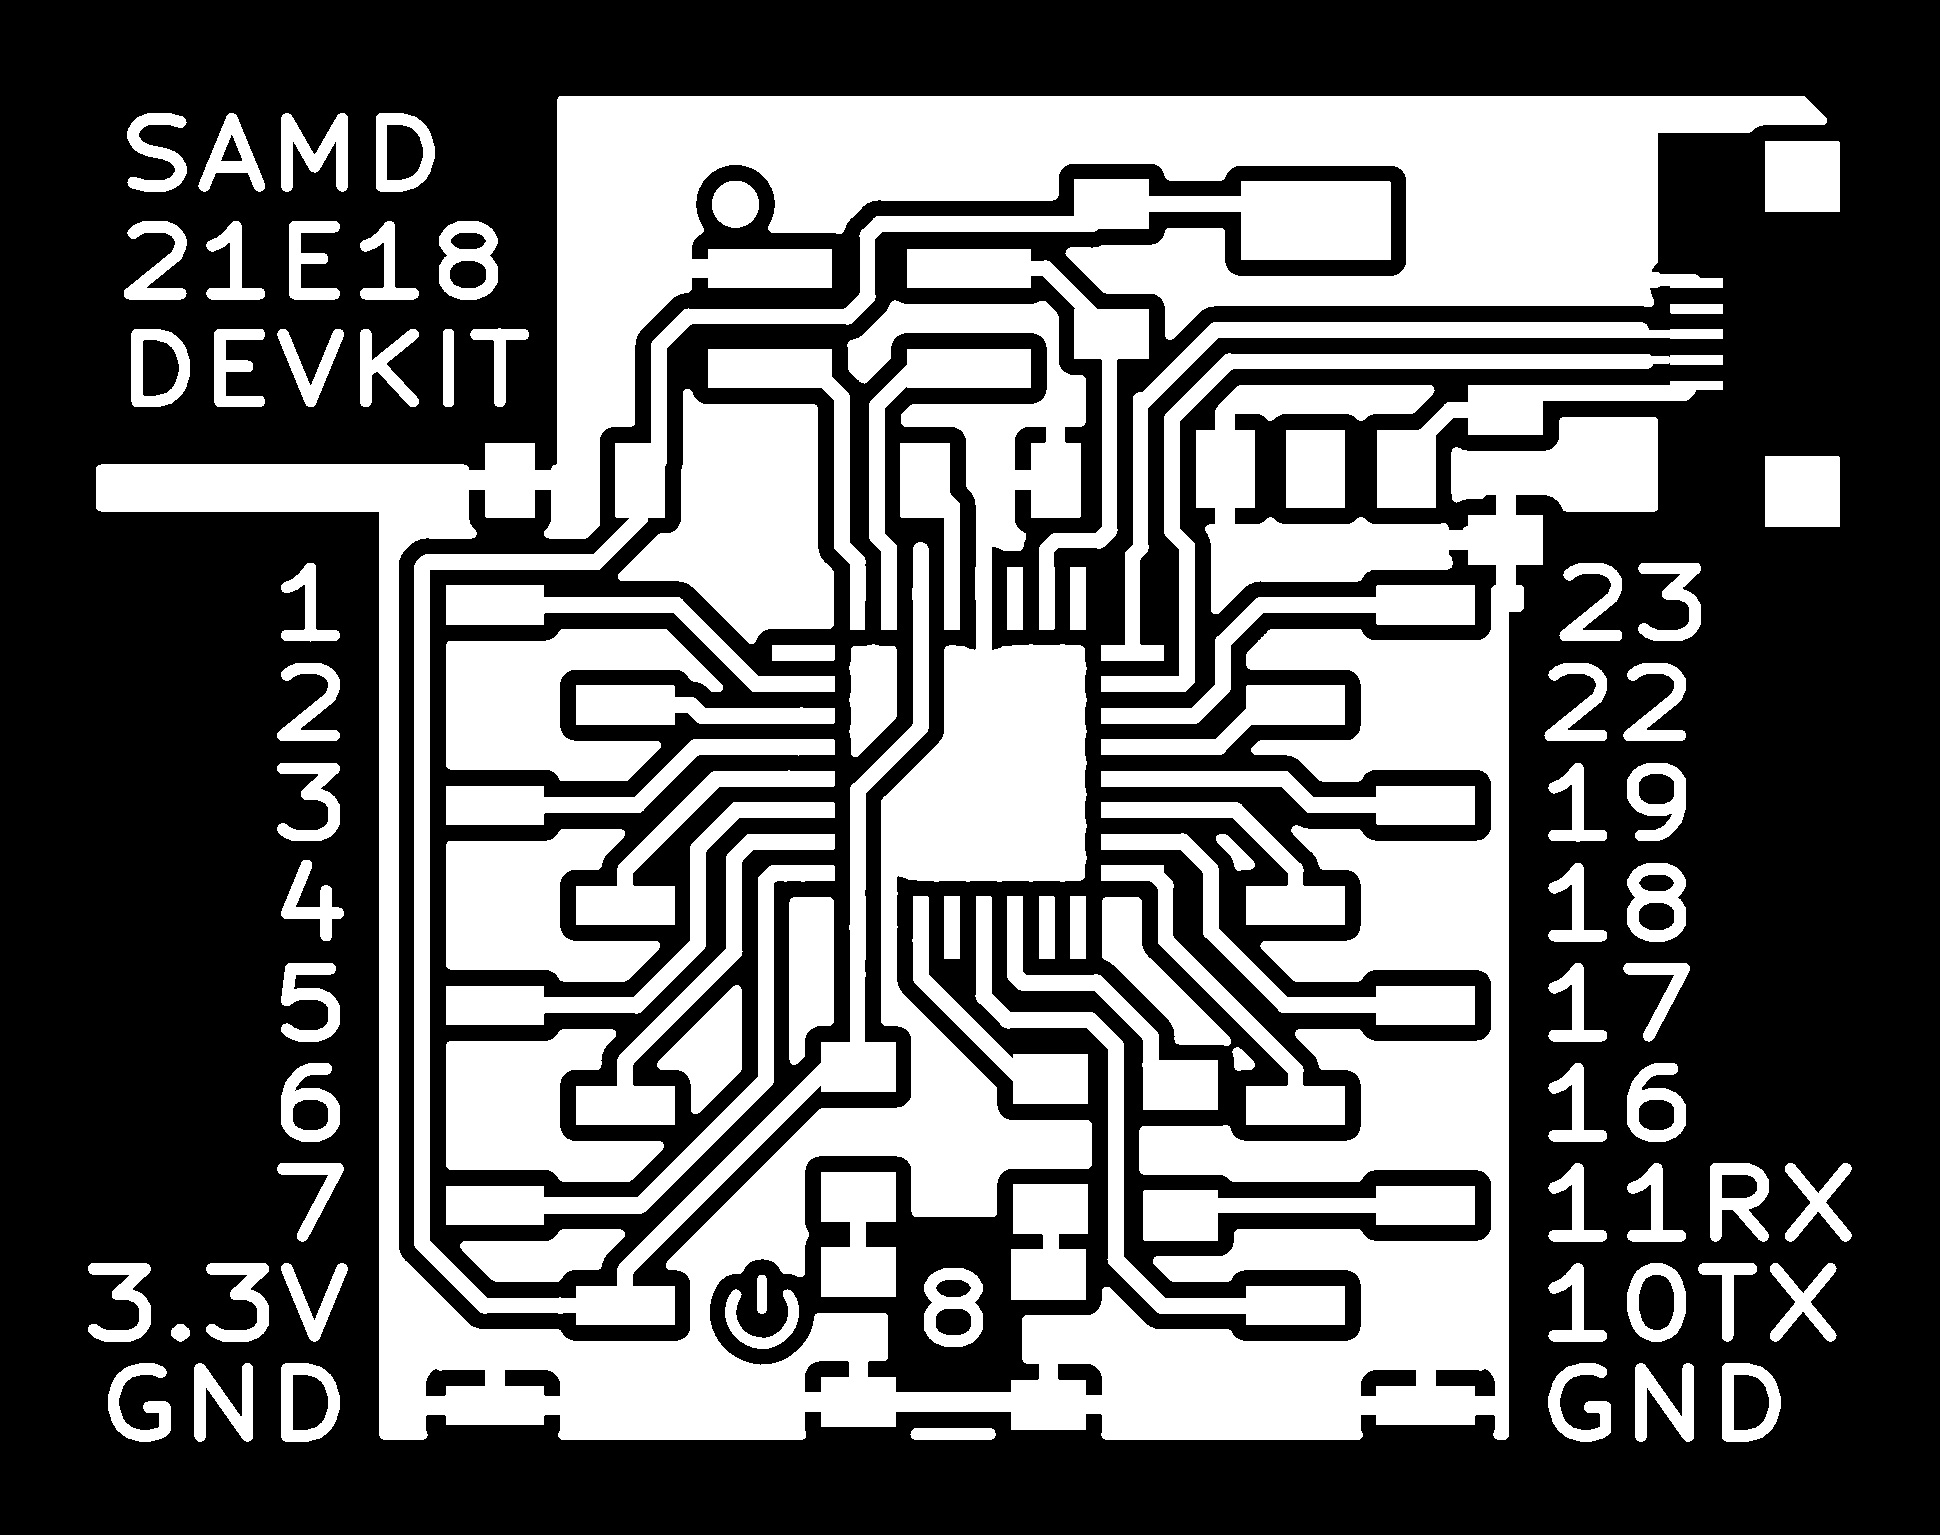
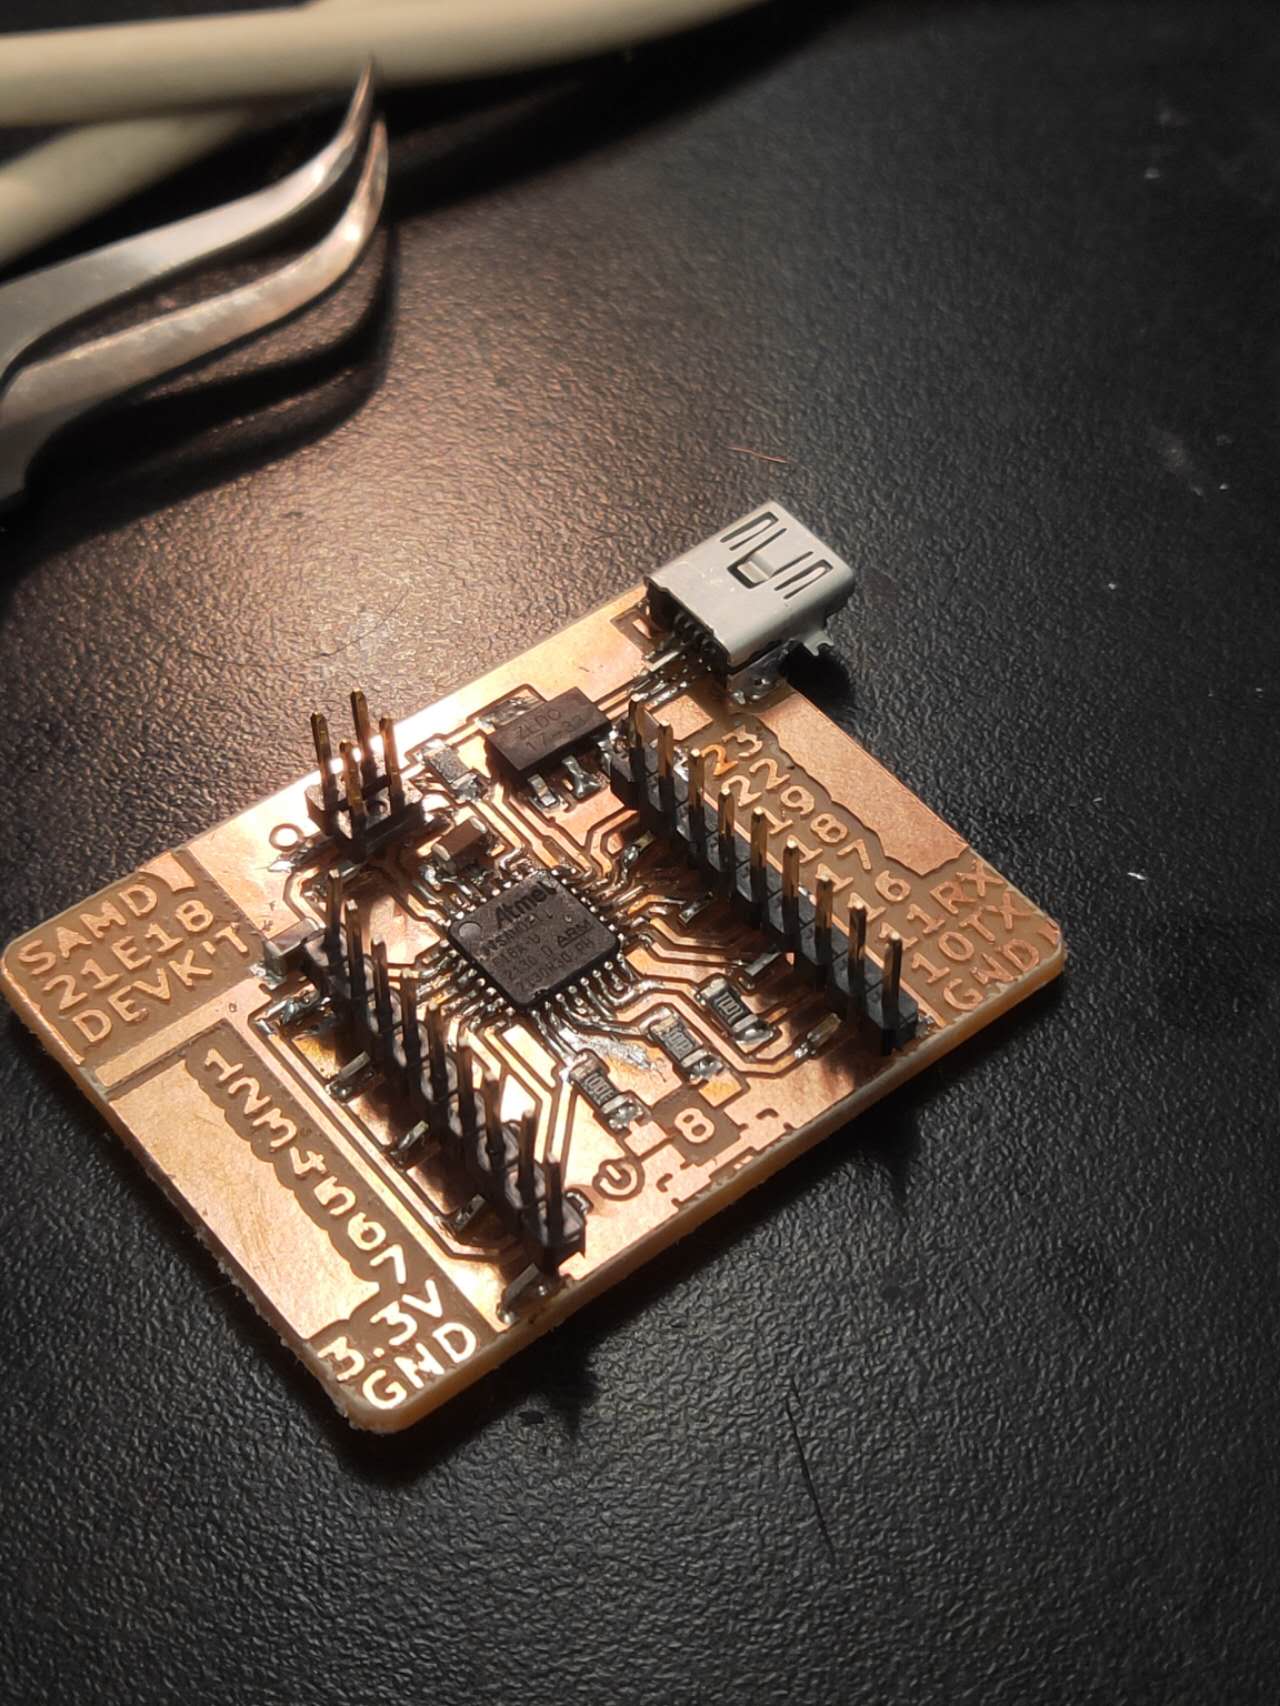
I start off the project by using Quentin's SAMD21's pcb design. It is a complex board which allows all kind of programing to happen. He told us it is very future proof. You can find his package here: download Quentin's board here . By making his board, you can program multiple actions in it.
I mail the board and I think the tracings are very tight. Some are too loose and the tracing become damaged. However, mostly look fine. I decided I will keep using it.

I finished tracing and I went to solder the parts

It took me awhile to find all the parts. There are two leds on the pcb, one to indicate the power, another one to act as other signals.
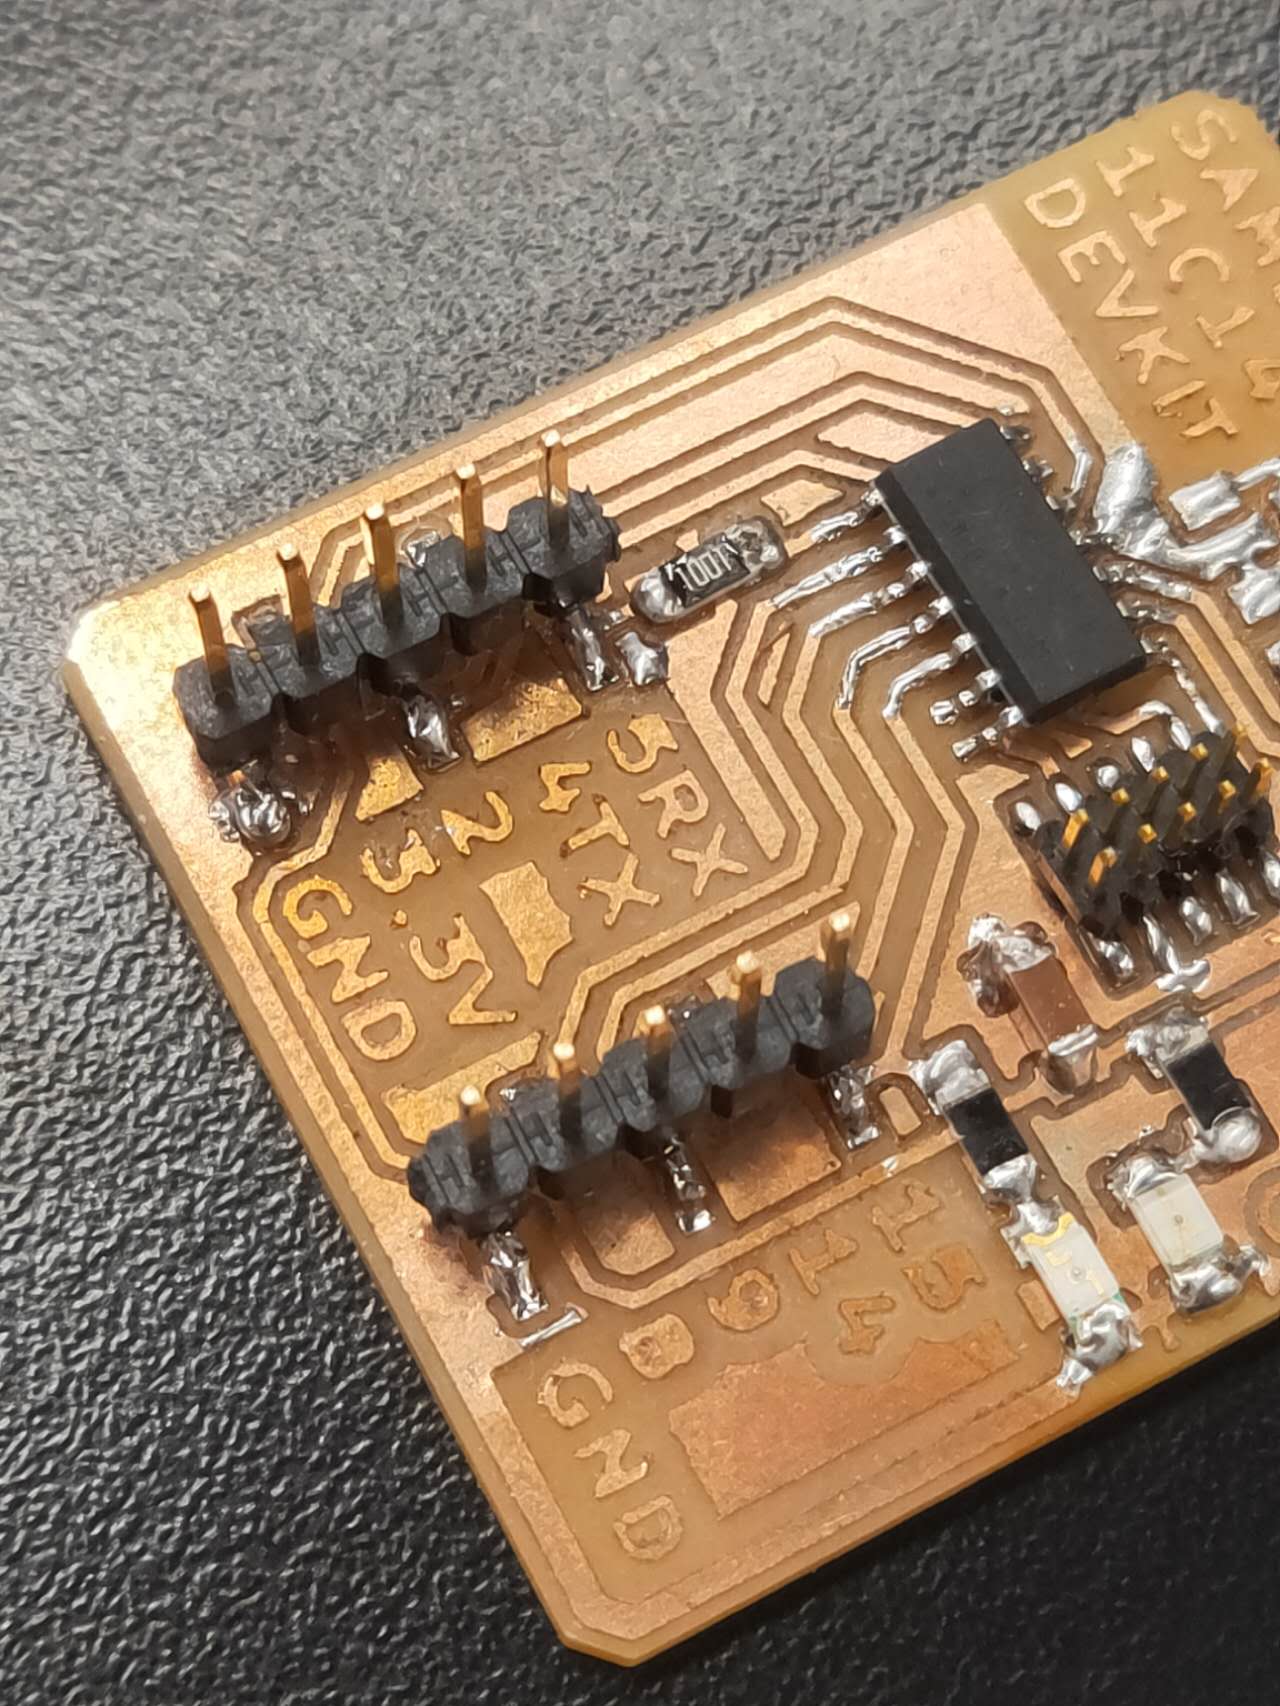
There are 2 by 2 pins for us to bootload the chip.
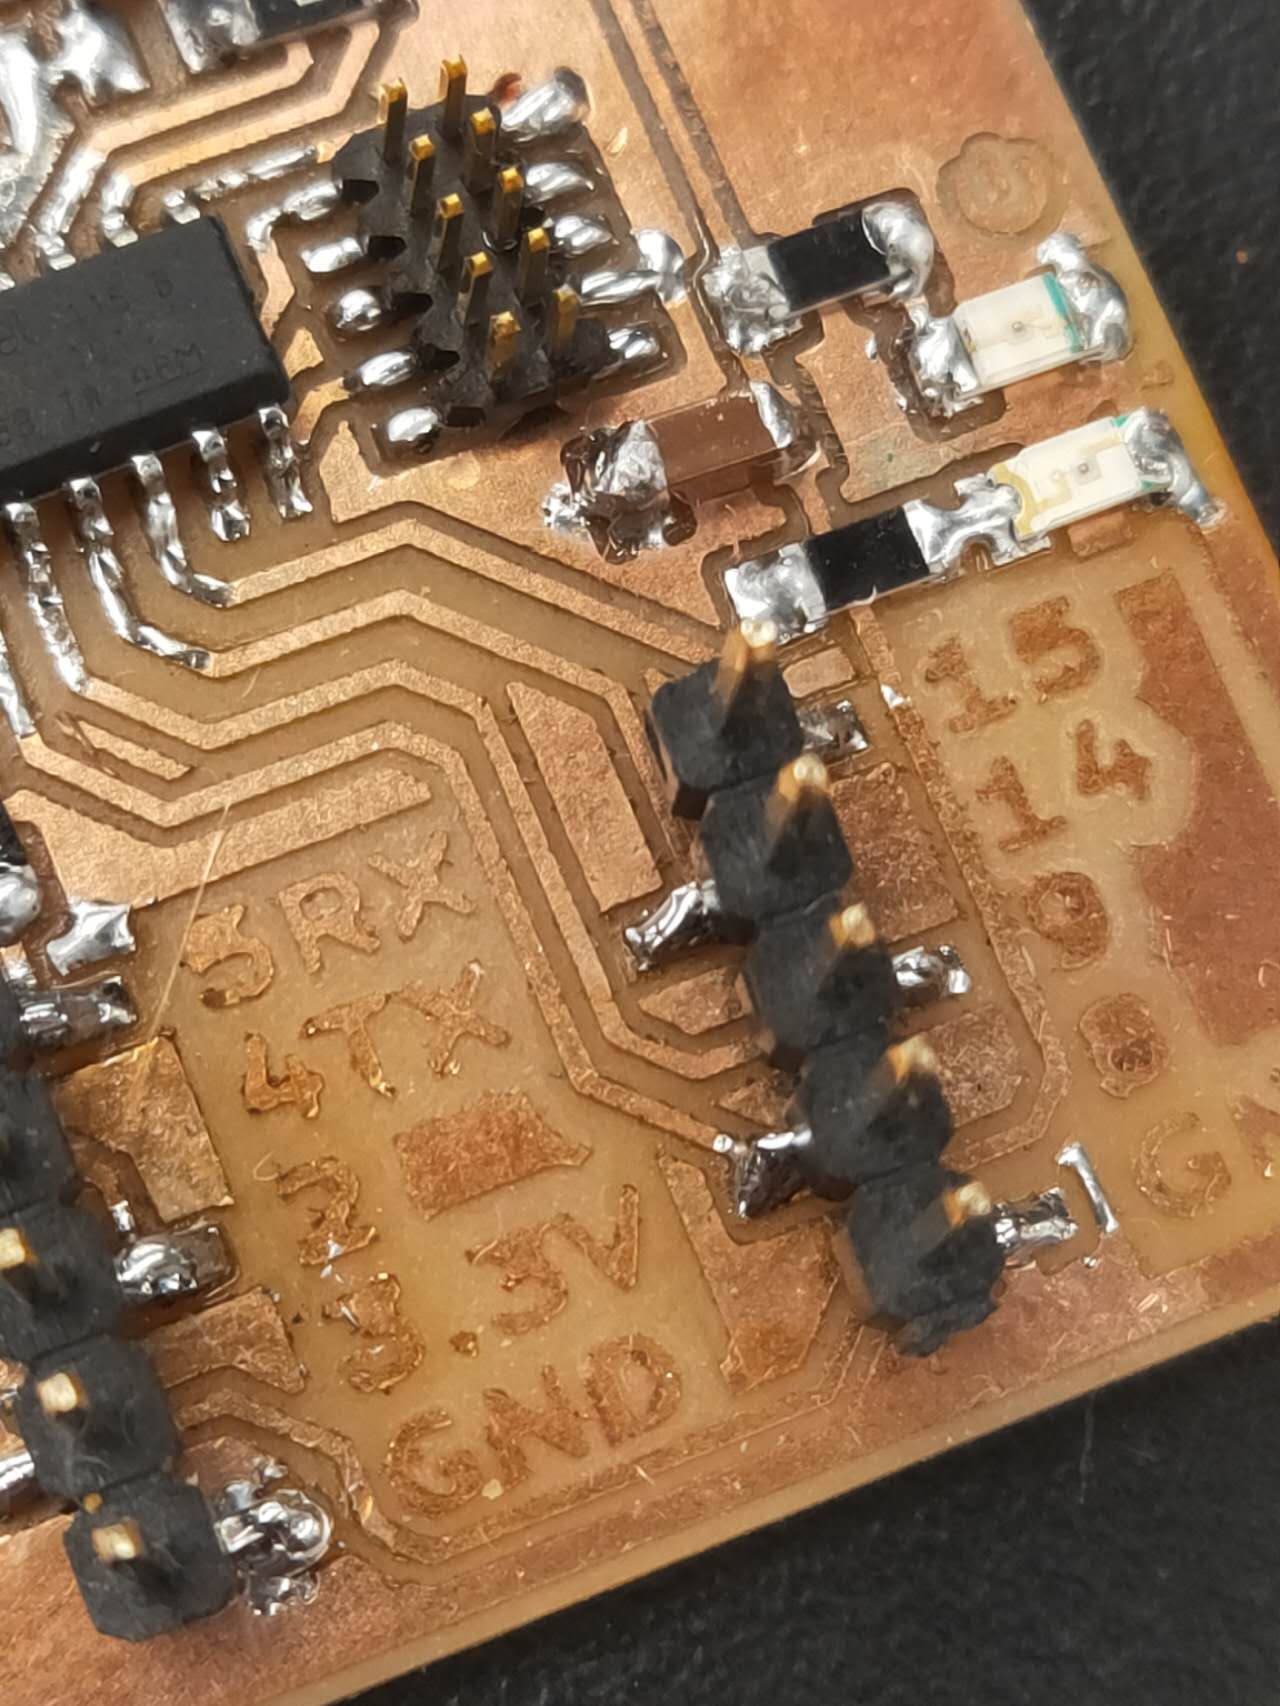
I had some trouble soldering on the mini USB head to the PCB. One of the tracing is short, so I have to move the mini usb closer to improvise.
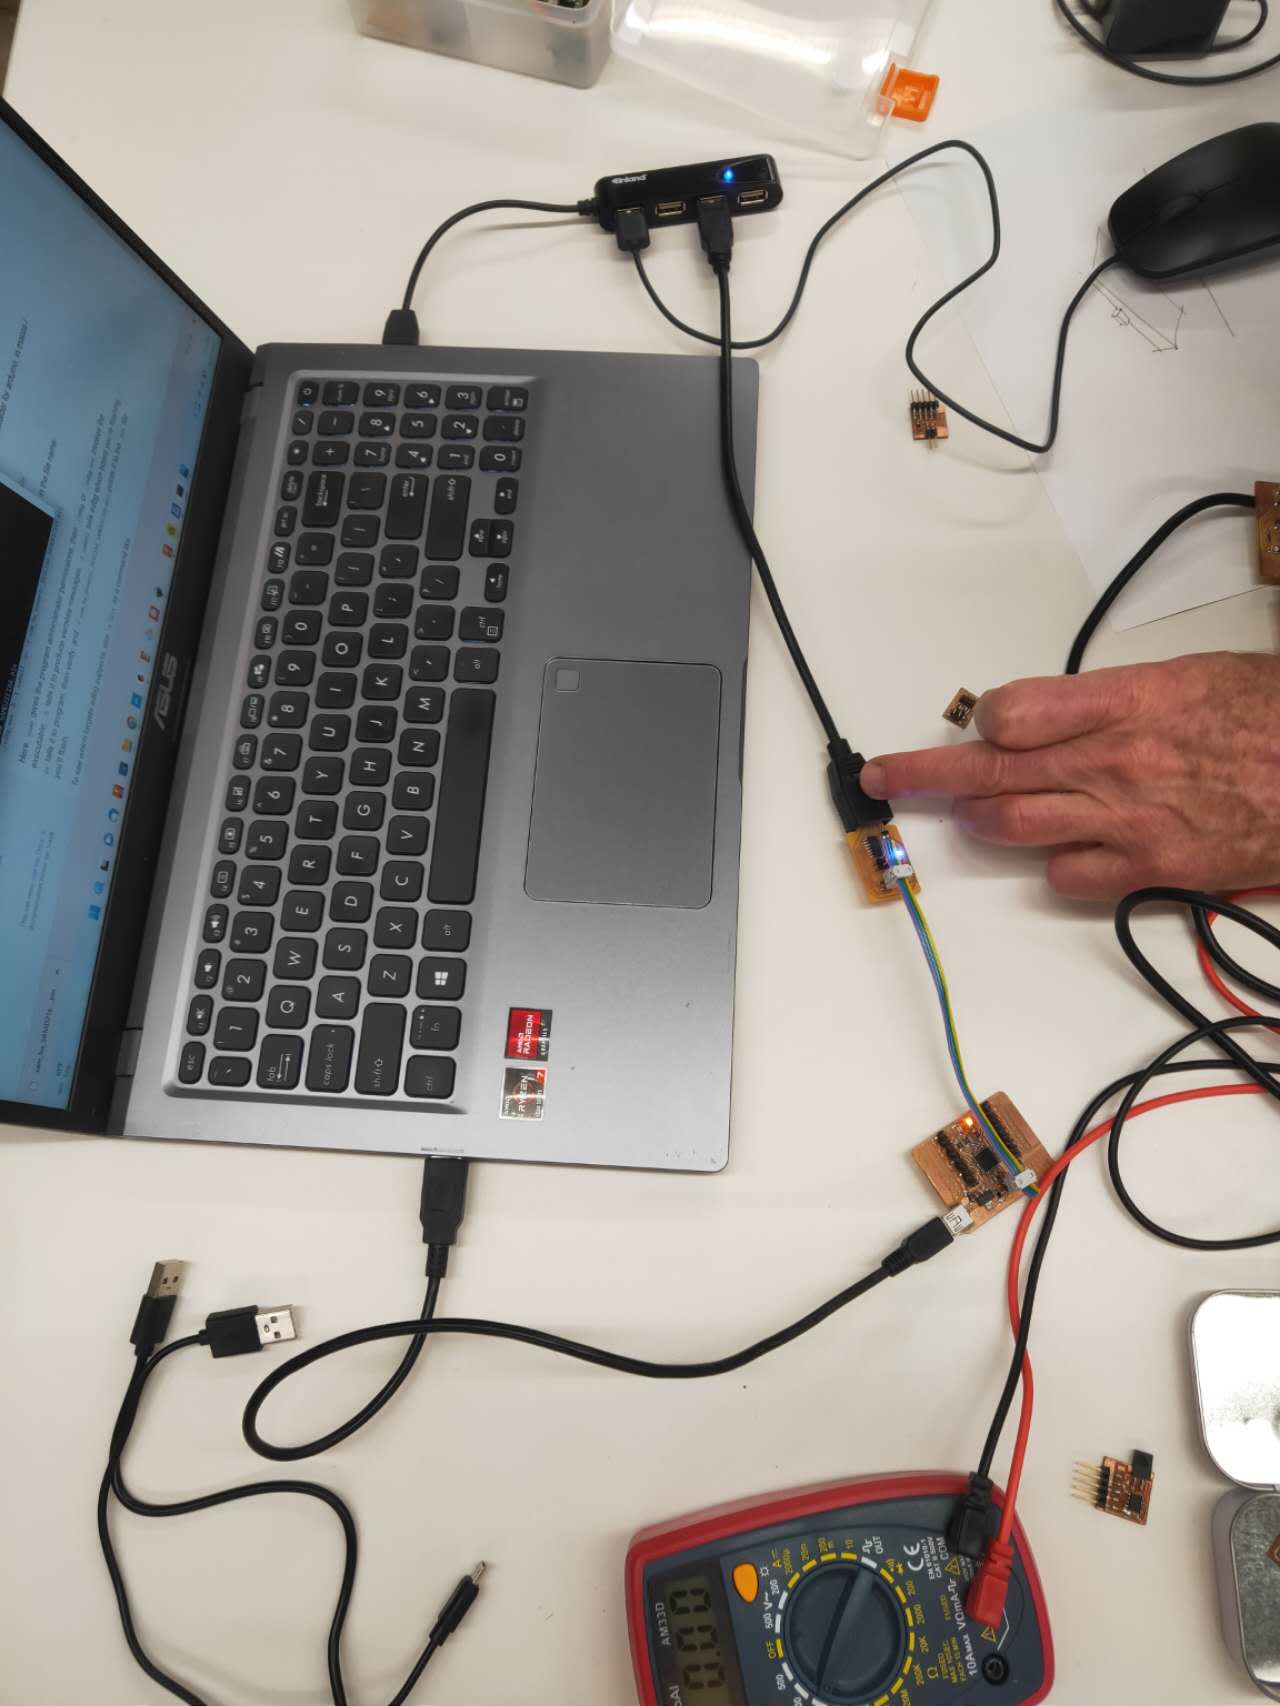
I successfully program the SAMD21, however, when I plug in the mini USB, Arduino doesn't detect it. The power light turns on but the port tab doesn't come up
I got some help from Rob, but we tried out best to toubleshoot, but we couldn't figure out the reason. It is frustrating so I might have to re mail a board and restart. So much to learn
Here is the link to download the file to make your own pcb!
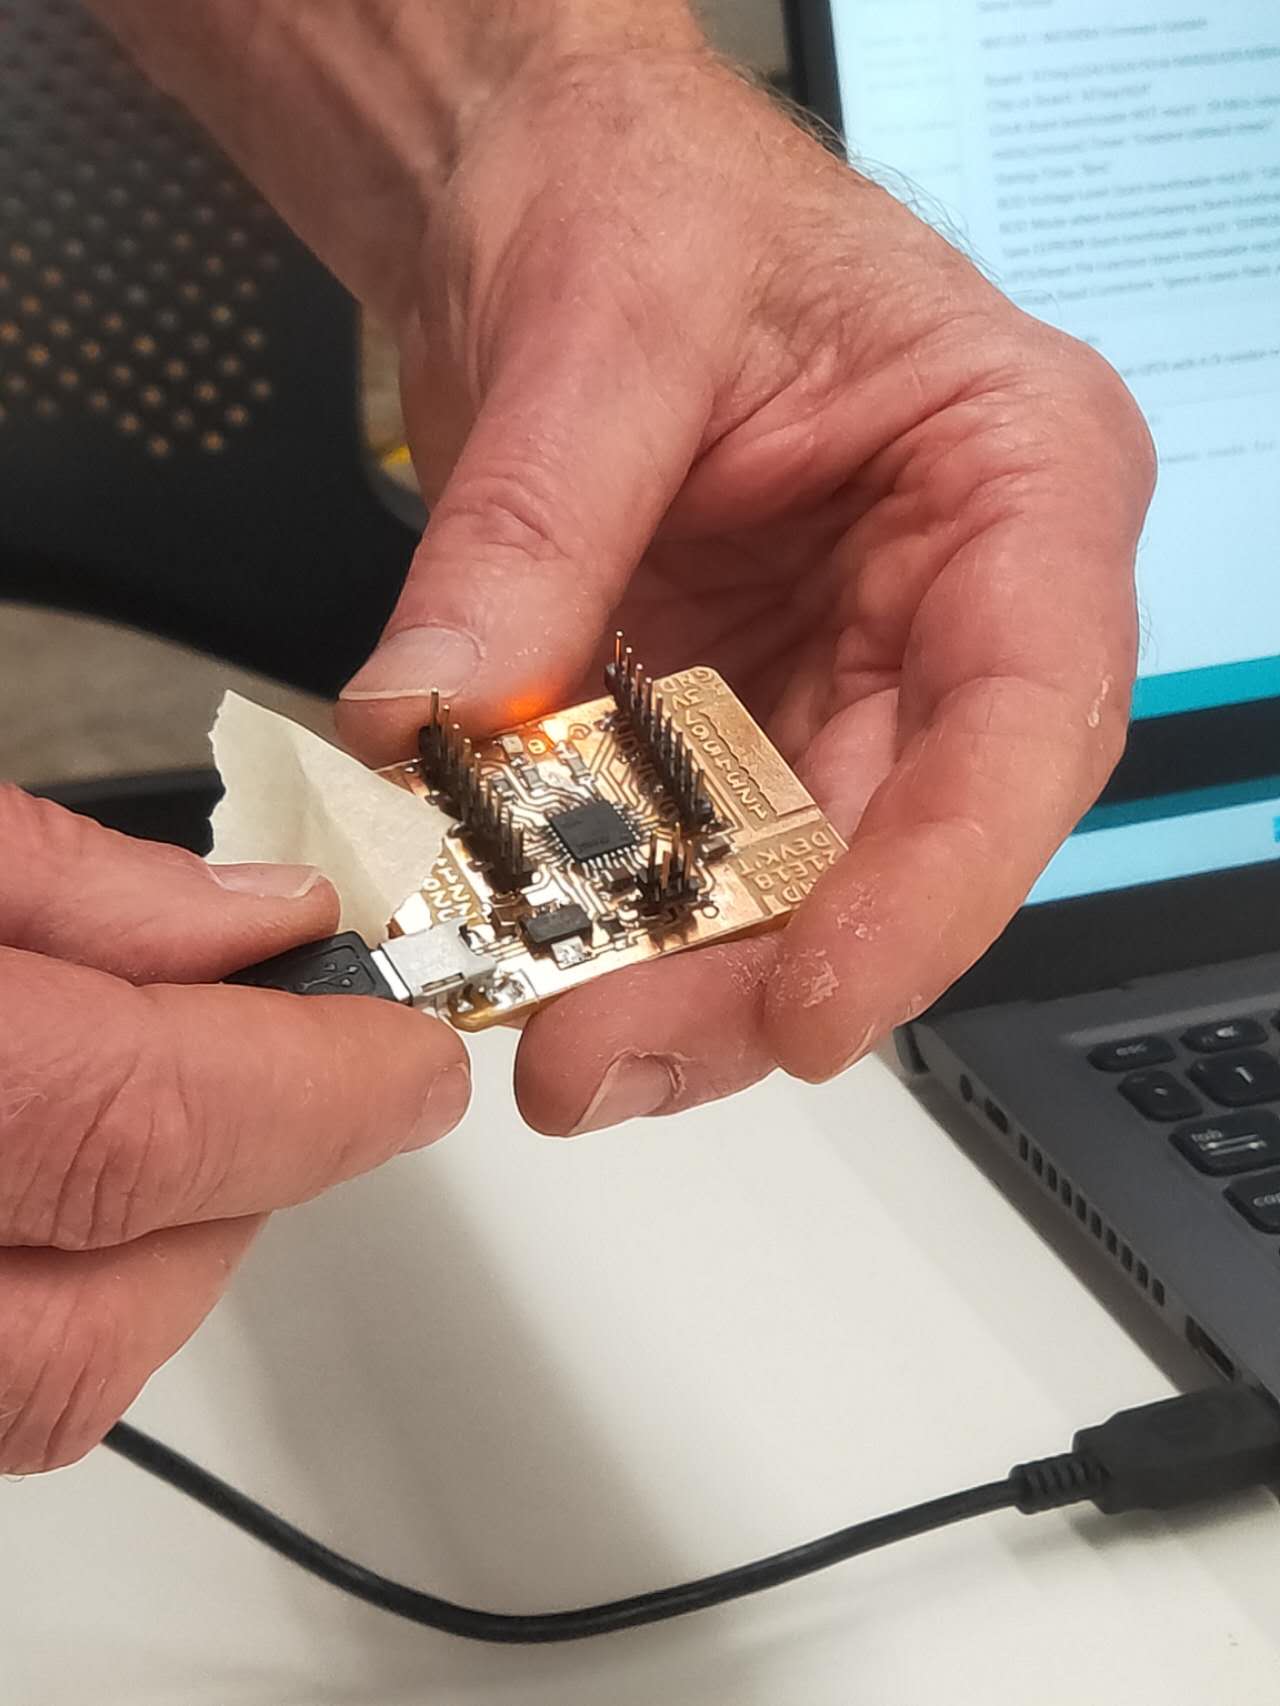
Download Template 1 Download Template 2Eventually, I asked Quentin for help the otherday. He helped me to program it successfully and bootloaded it properly. Later on, since this is a breakout board, I eventually used this old chip to control a driver to control the motion of a stepper motor. So, this week's project becomes a critical part of the final project in the last week of the class.