Computer-Controlled Cutting
Lasercutter
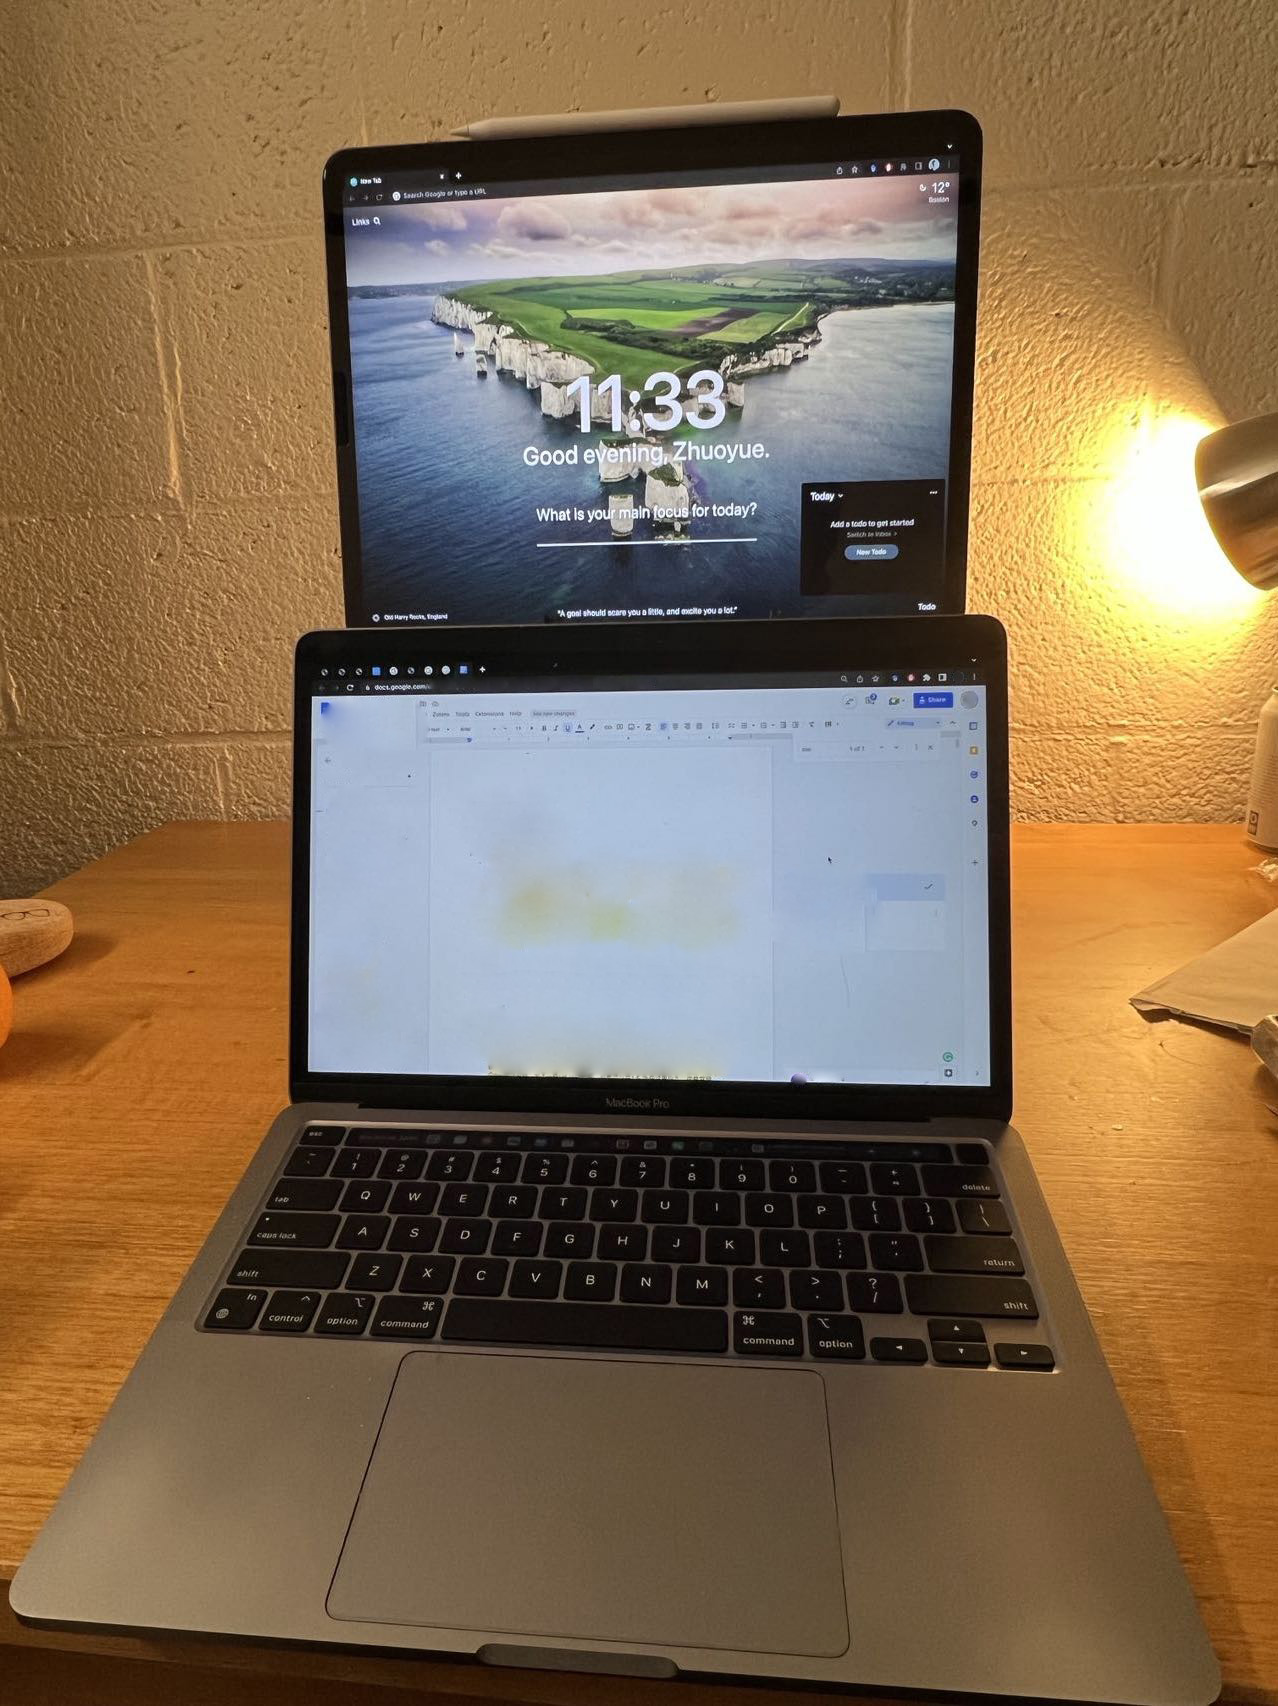
I followed this tutorial and designed an iPad stand for myself. Because I use extended screens a lot, I felt it really hurt my neck to put both screens on the table. By lifting the iPad, I can see it horizontally, achieving a better viewing posture.
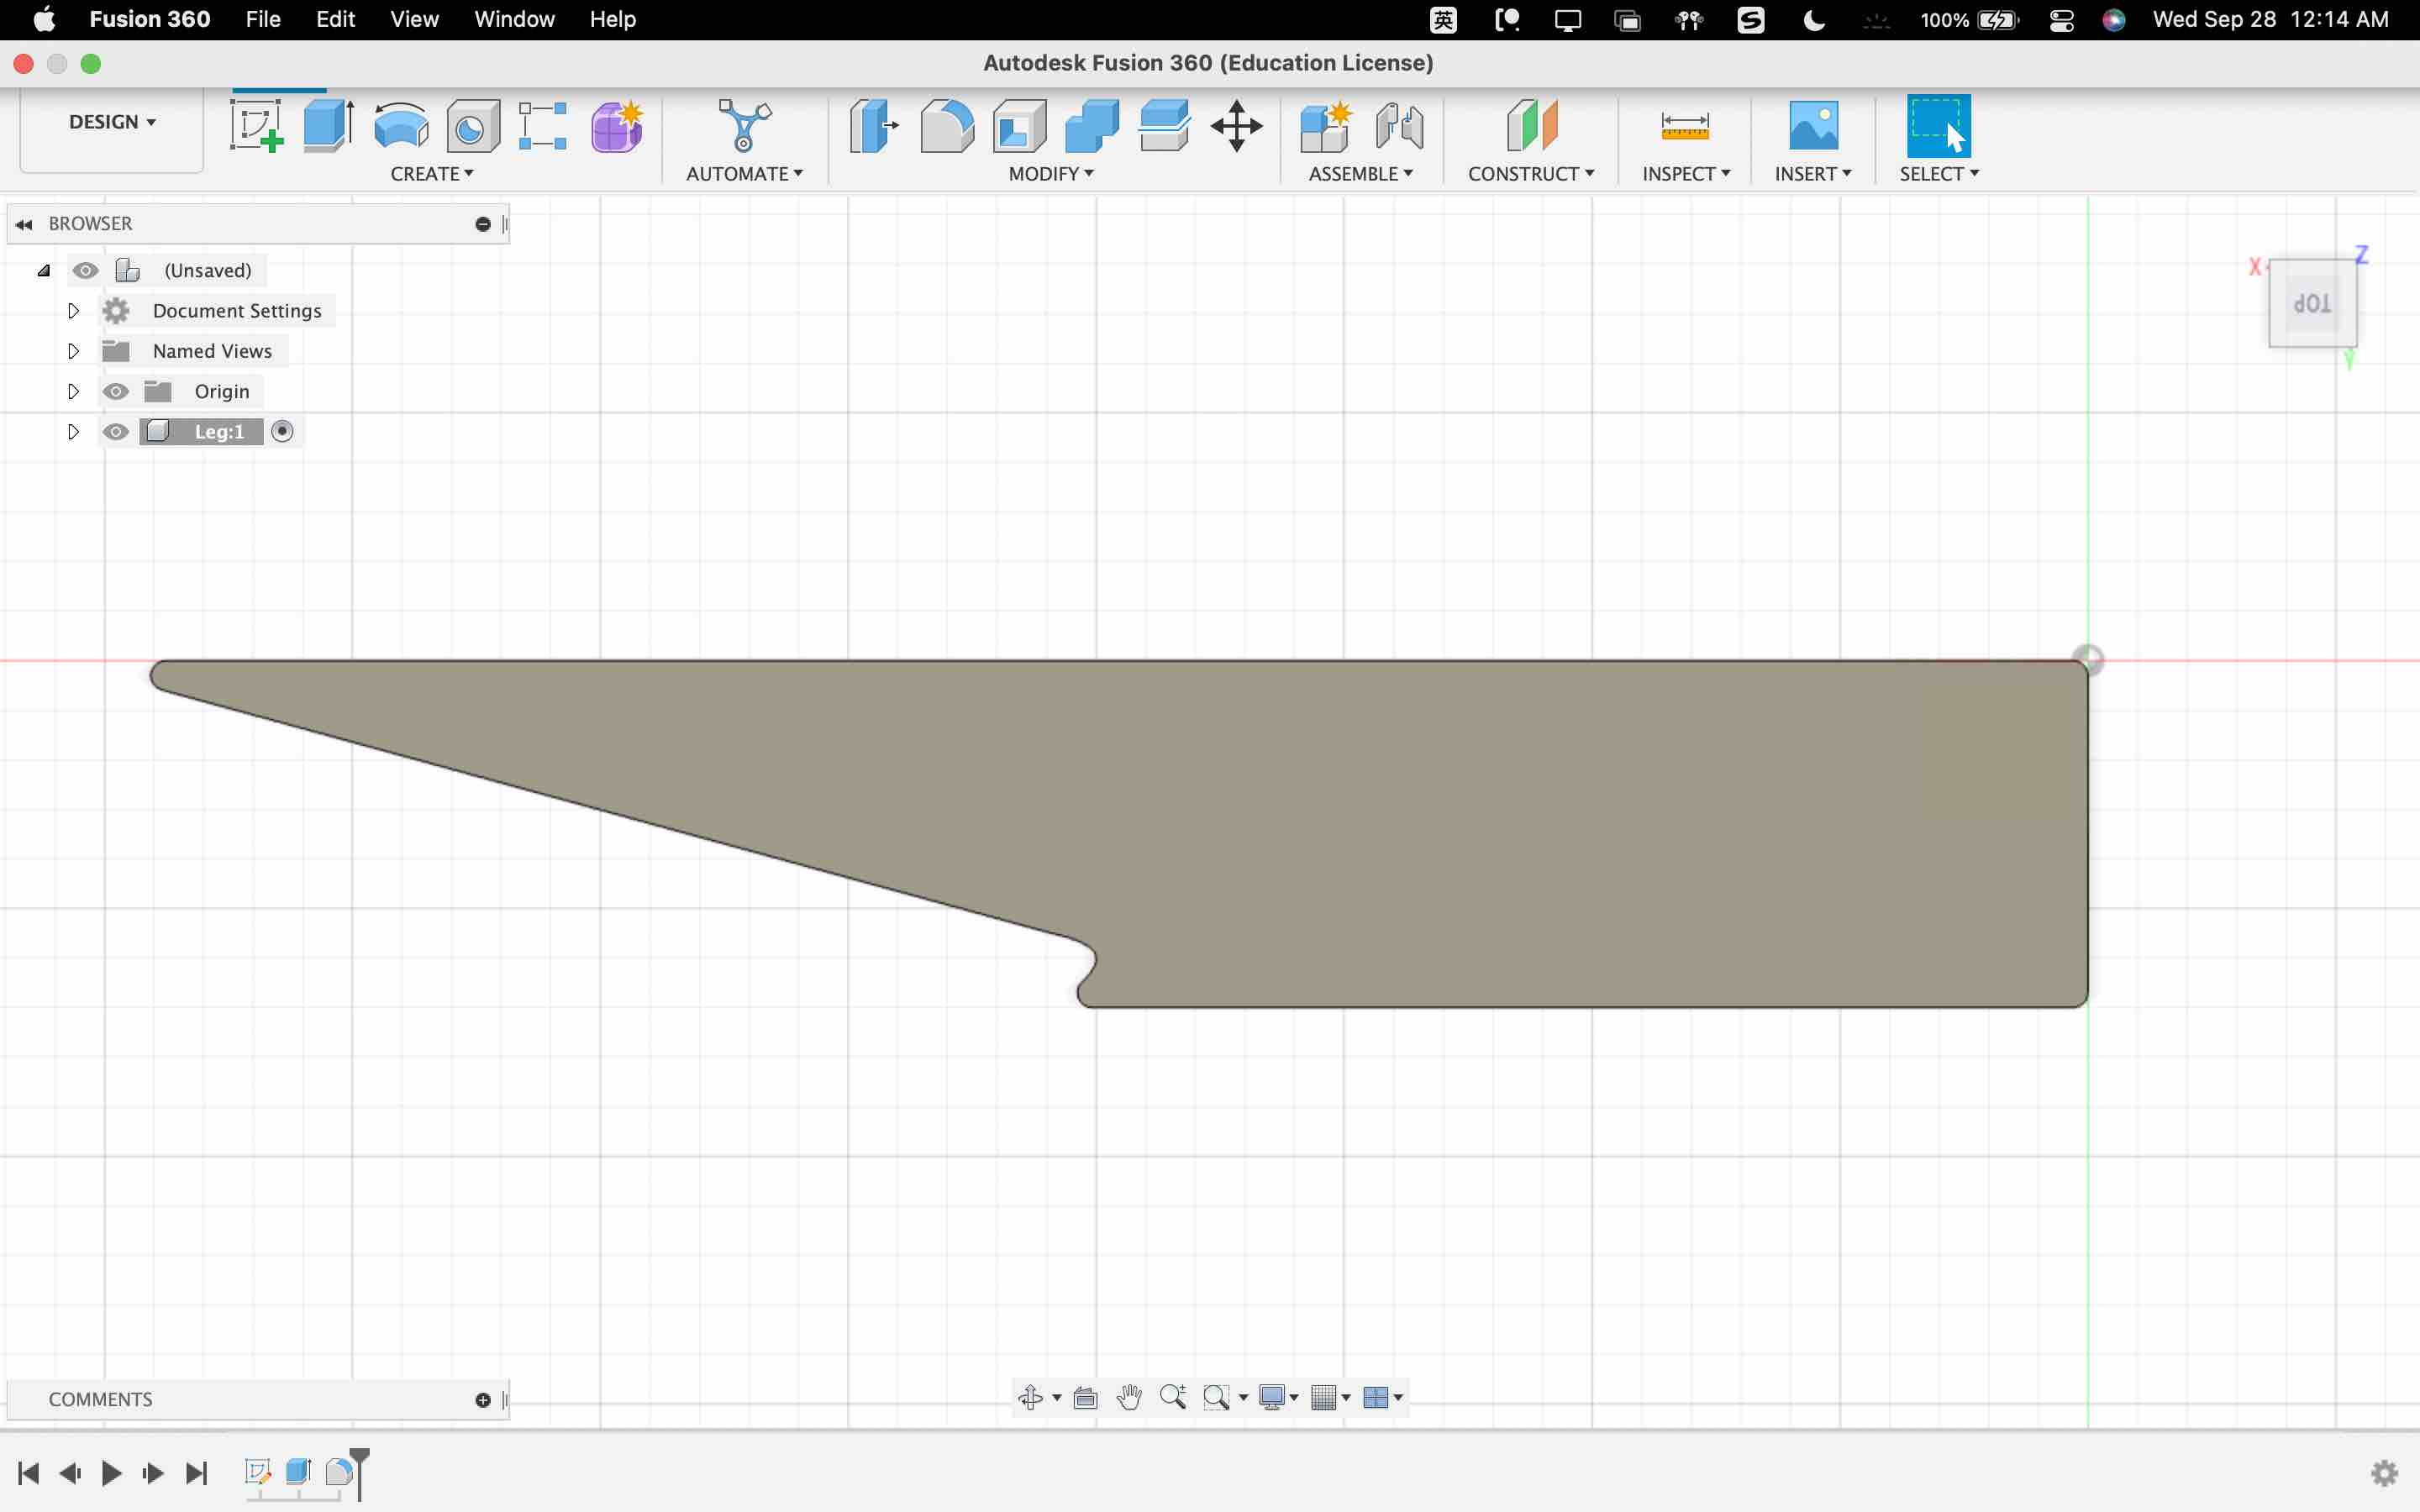
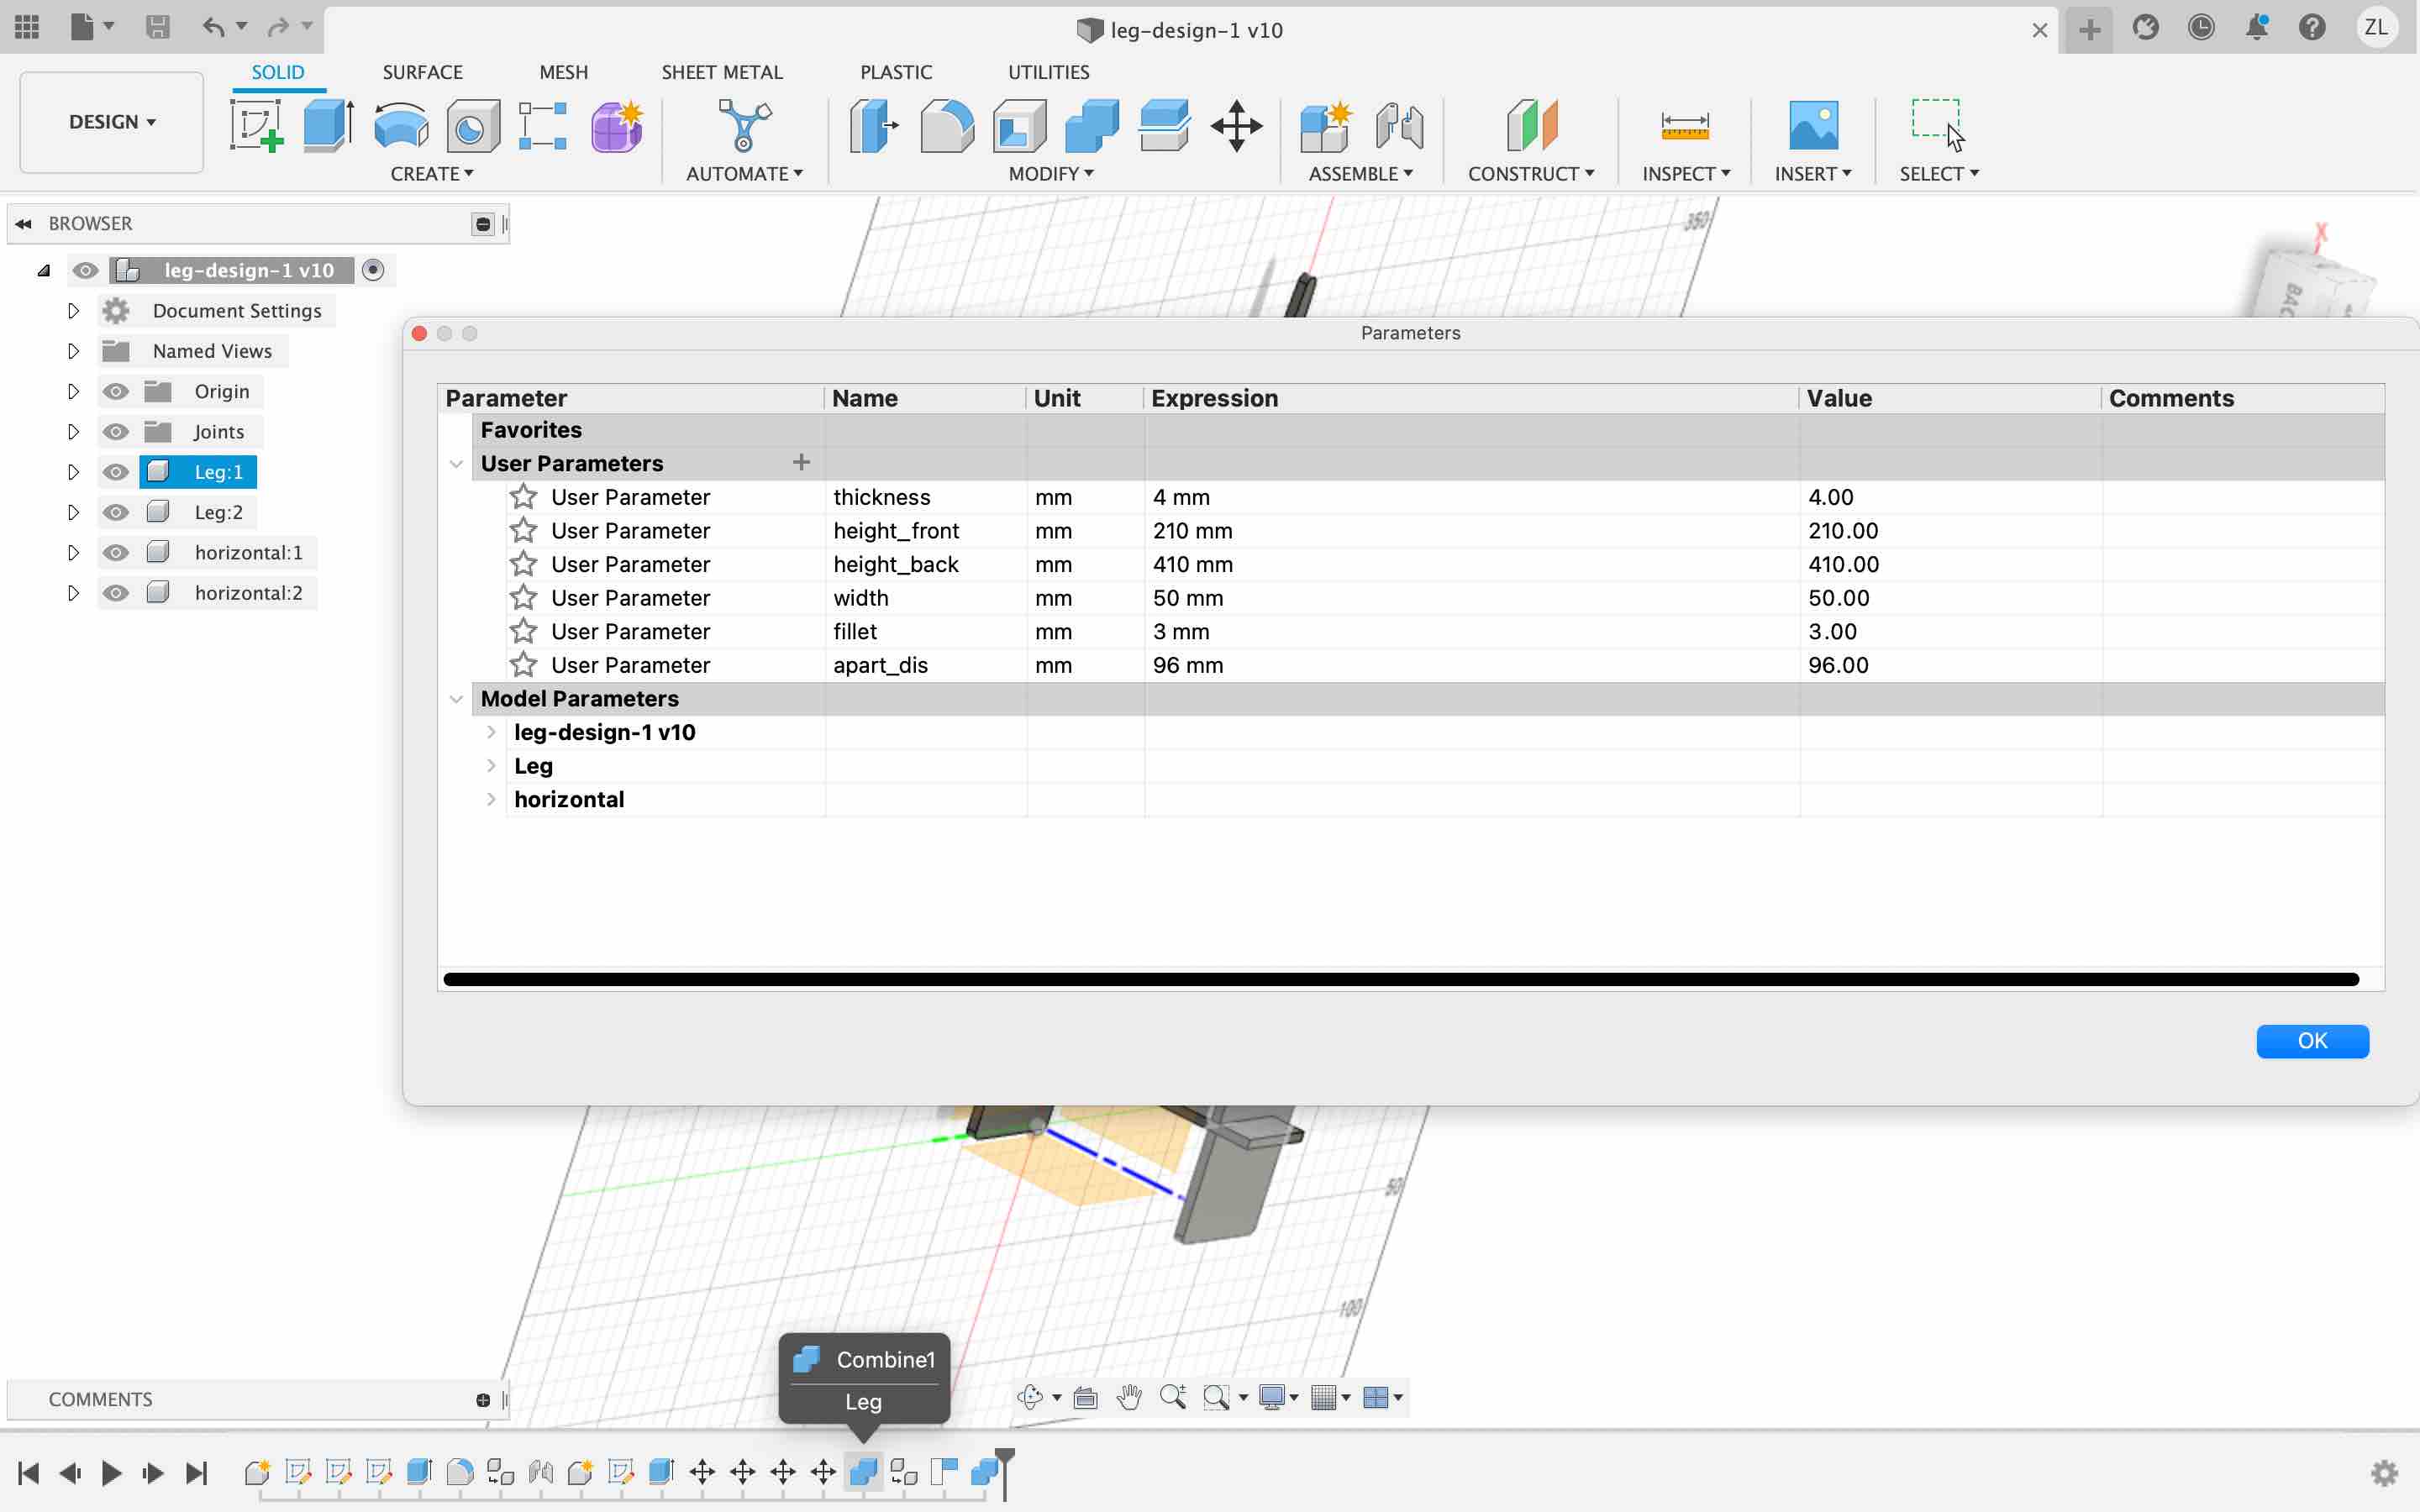
The design was parametric
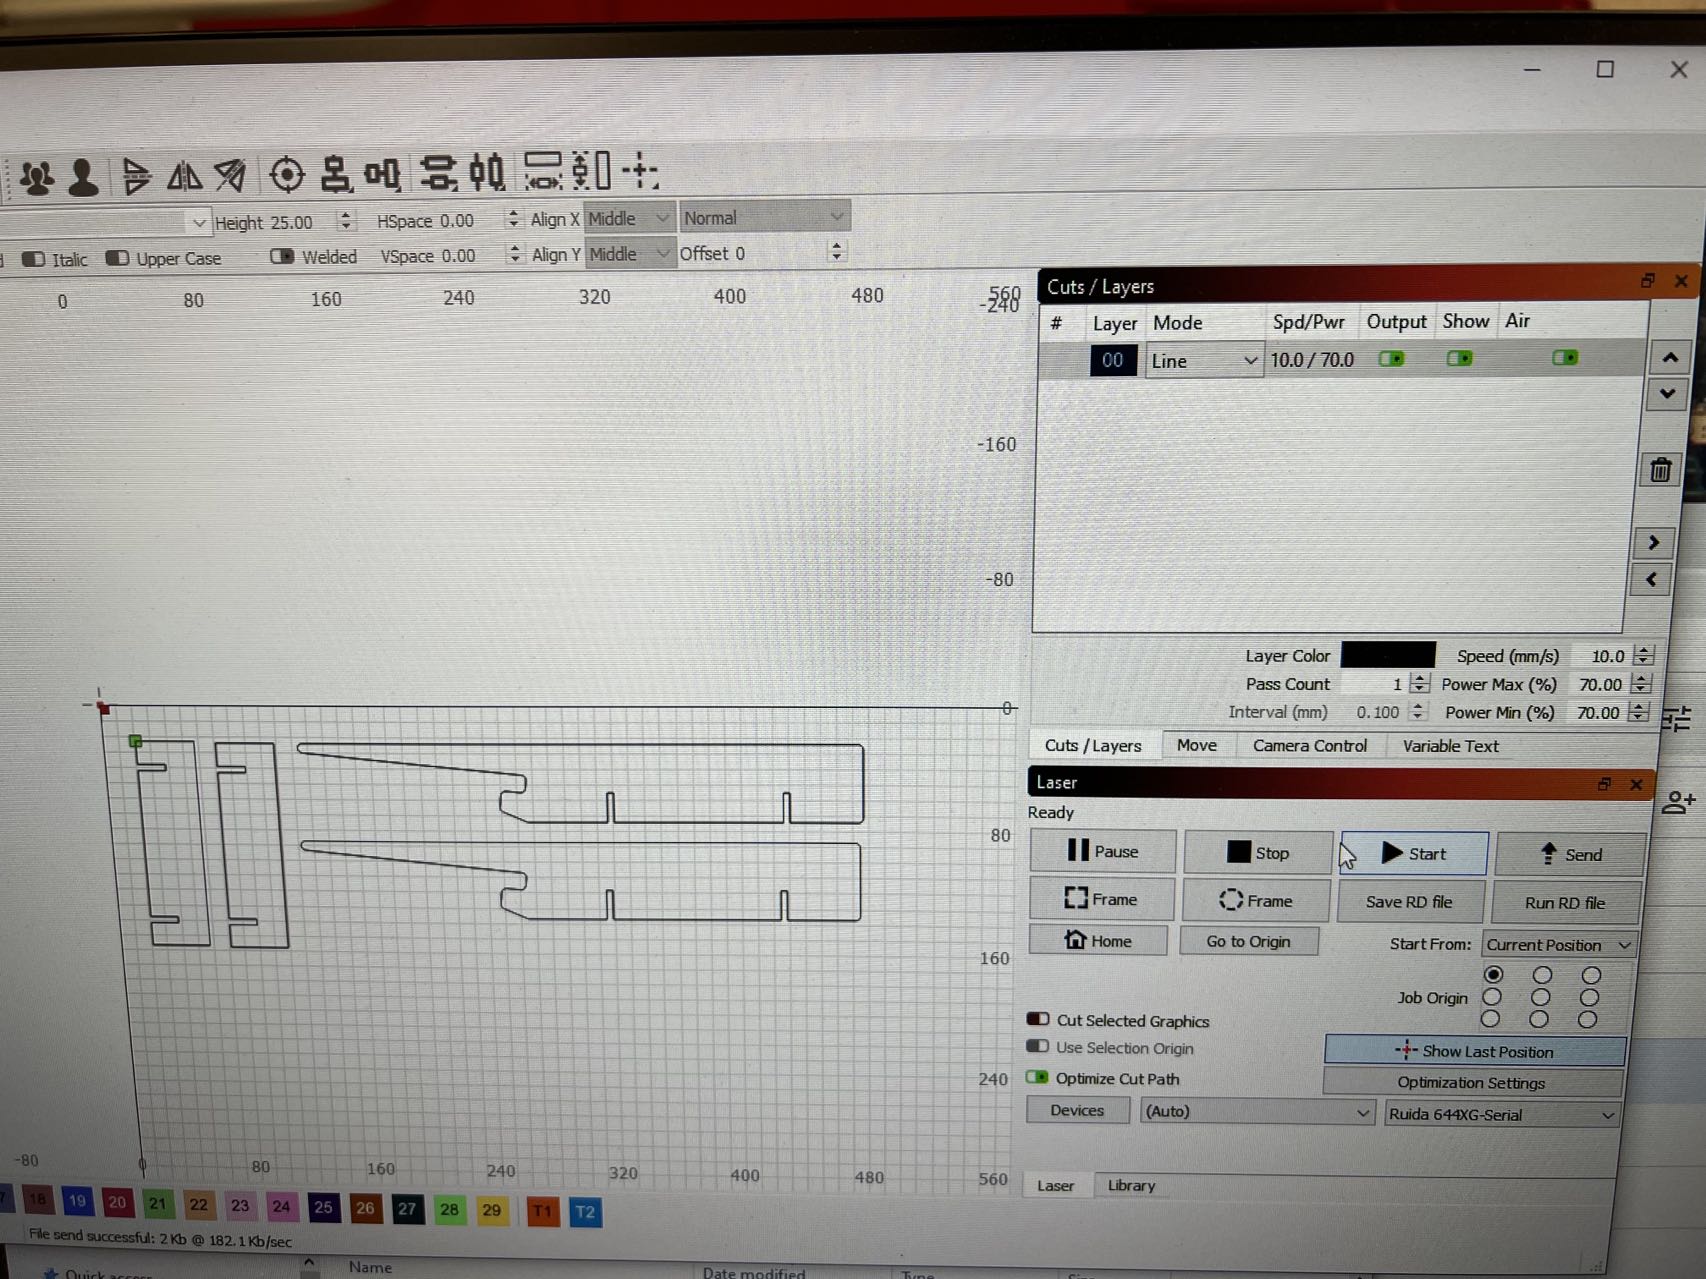
Then I loaded into the software for the laser cutter and cut it,
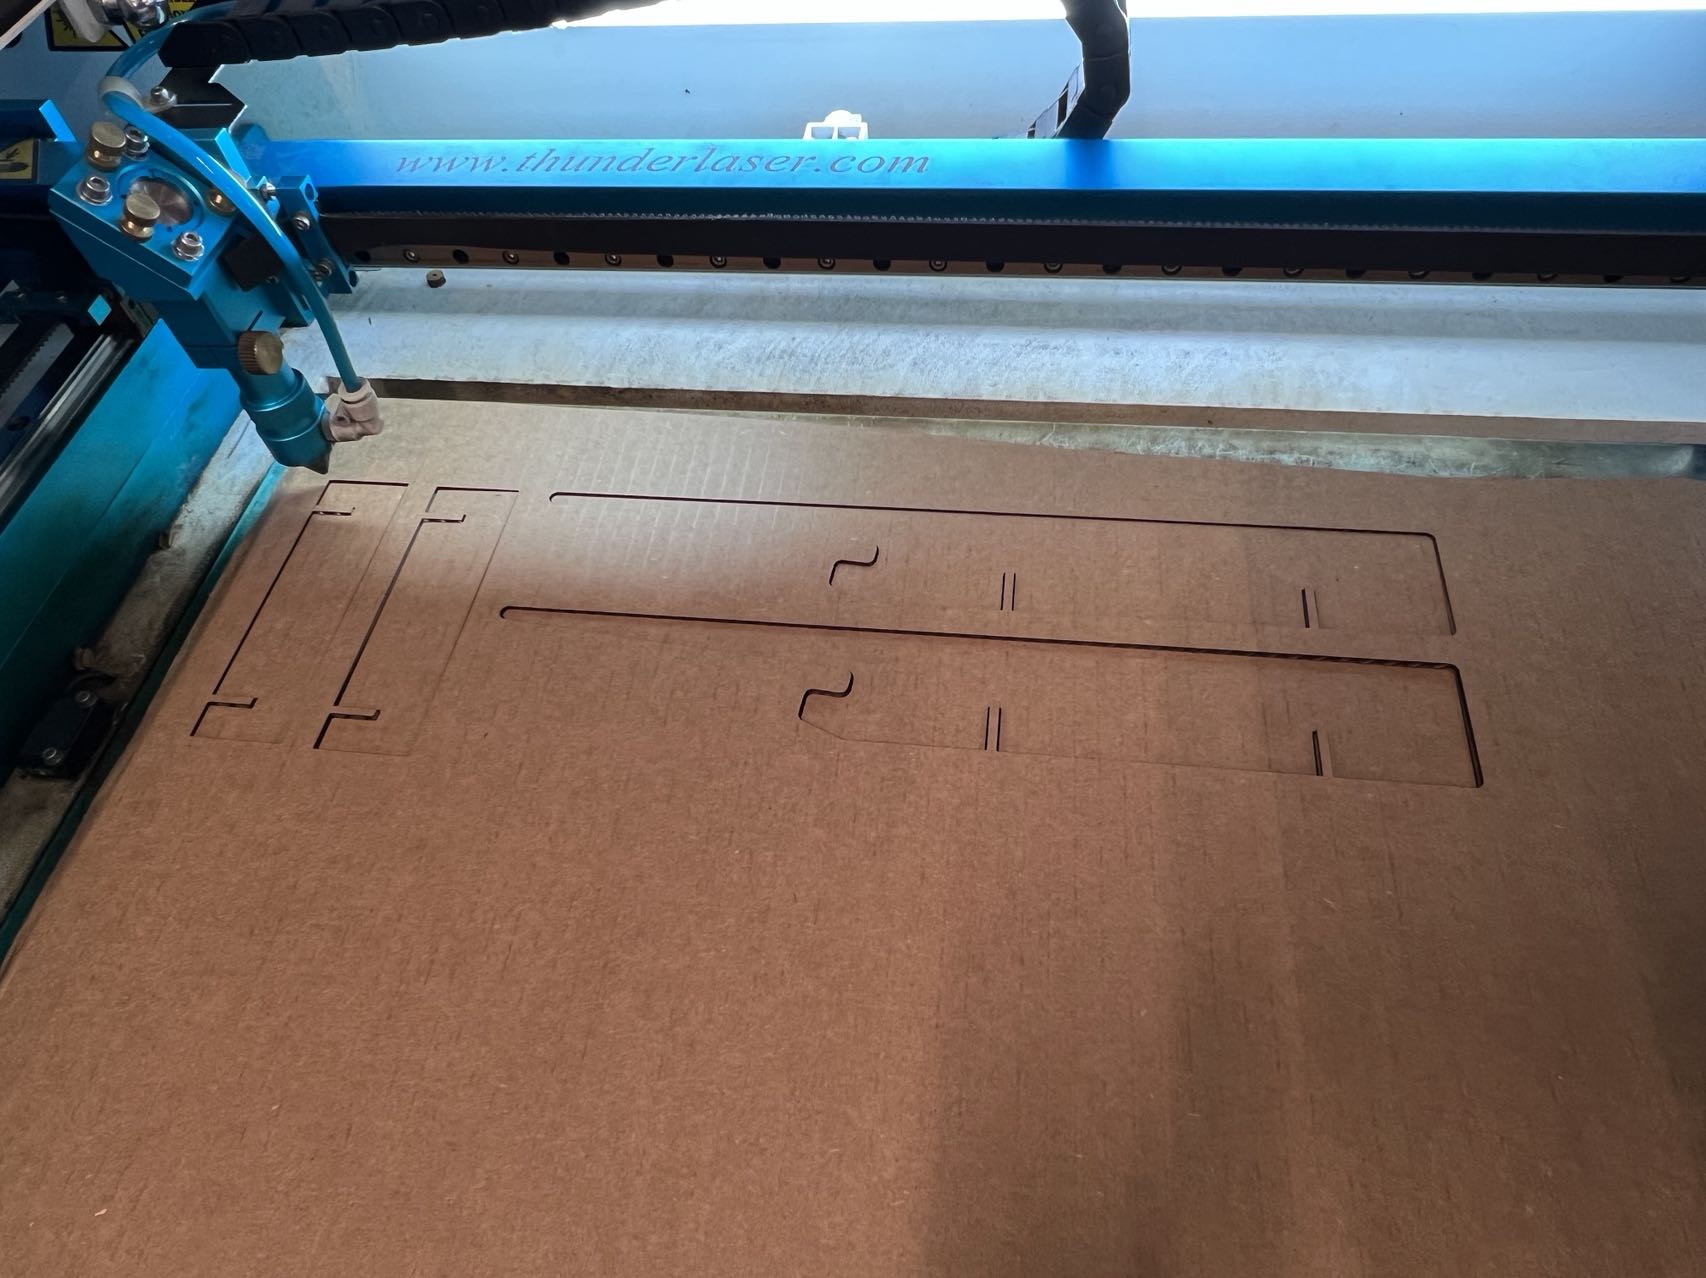
the pieces were great, but I realized because the back side is very narrow, it's not very stable
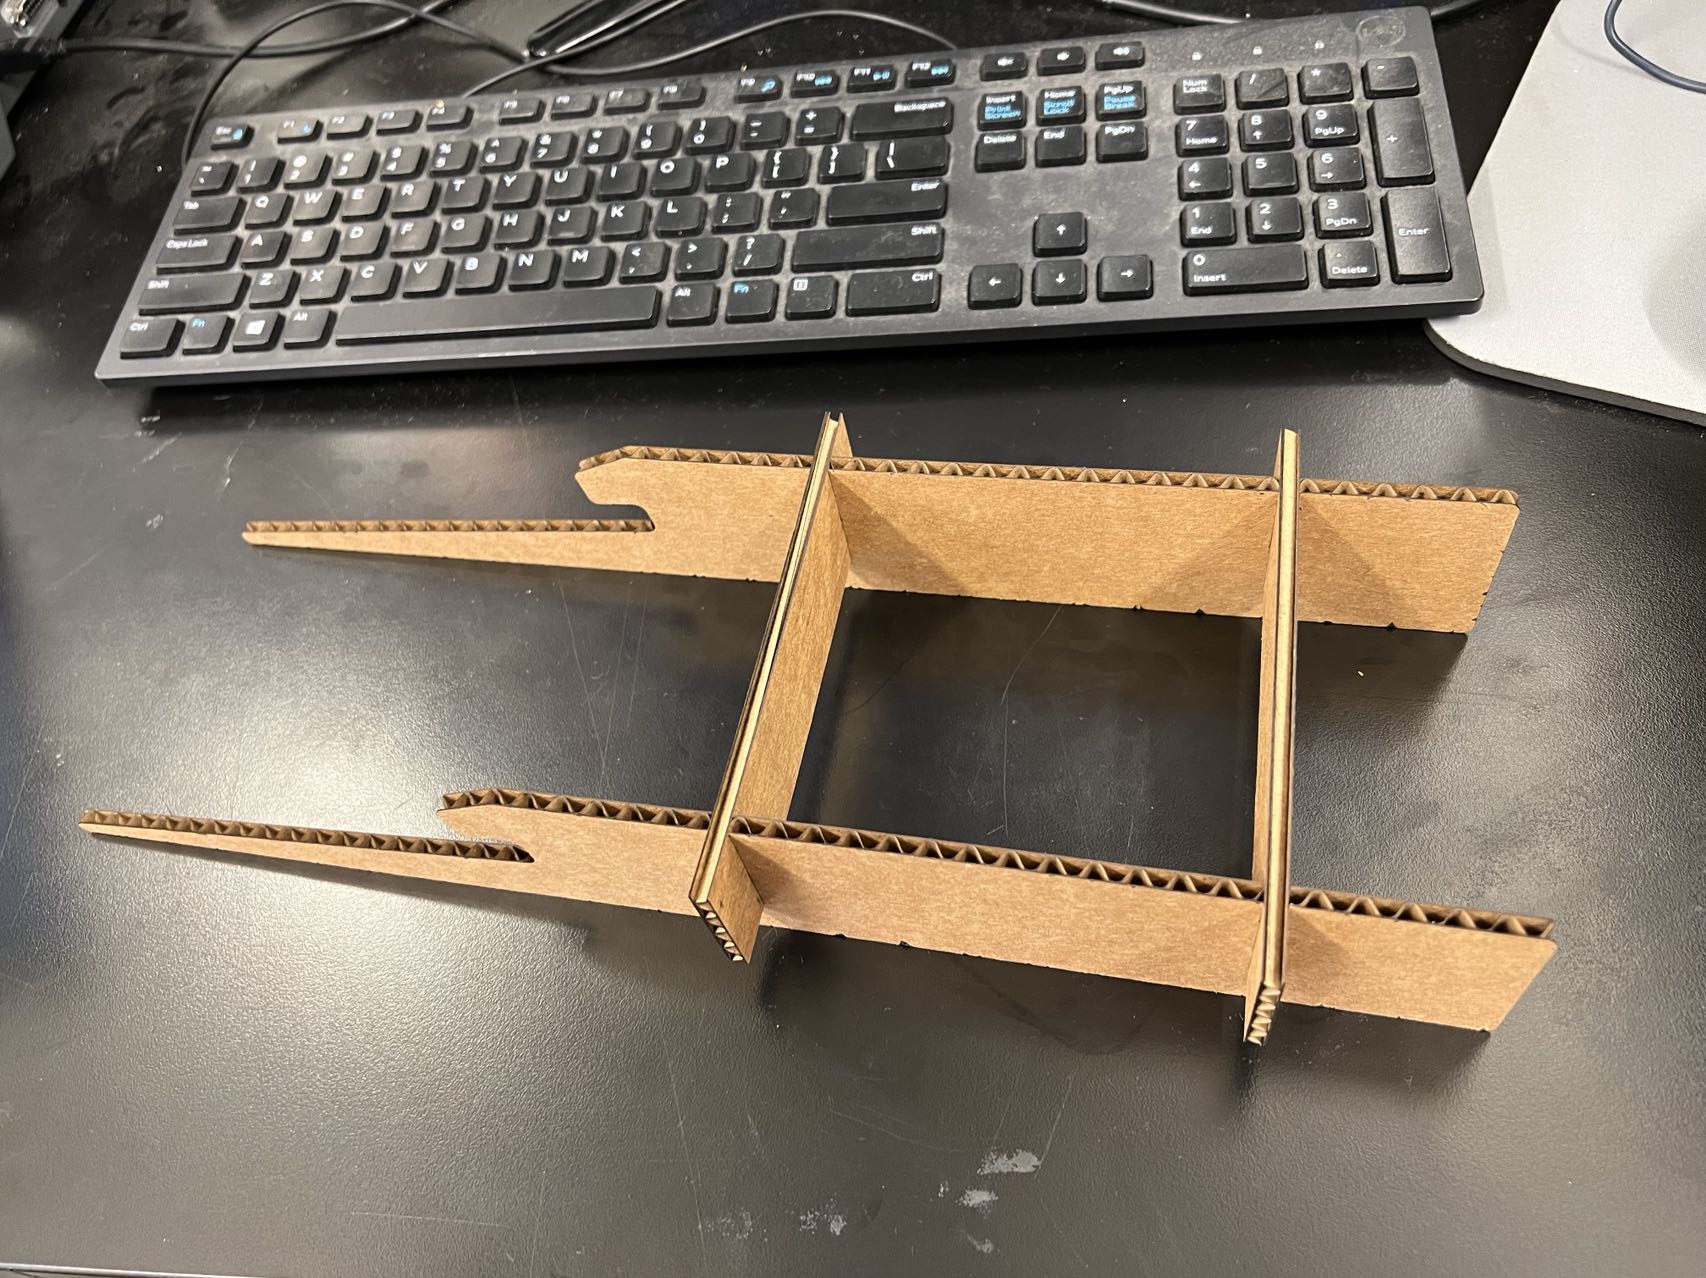
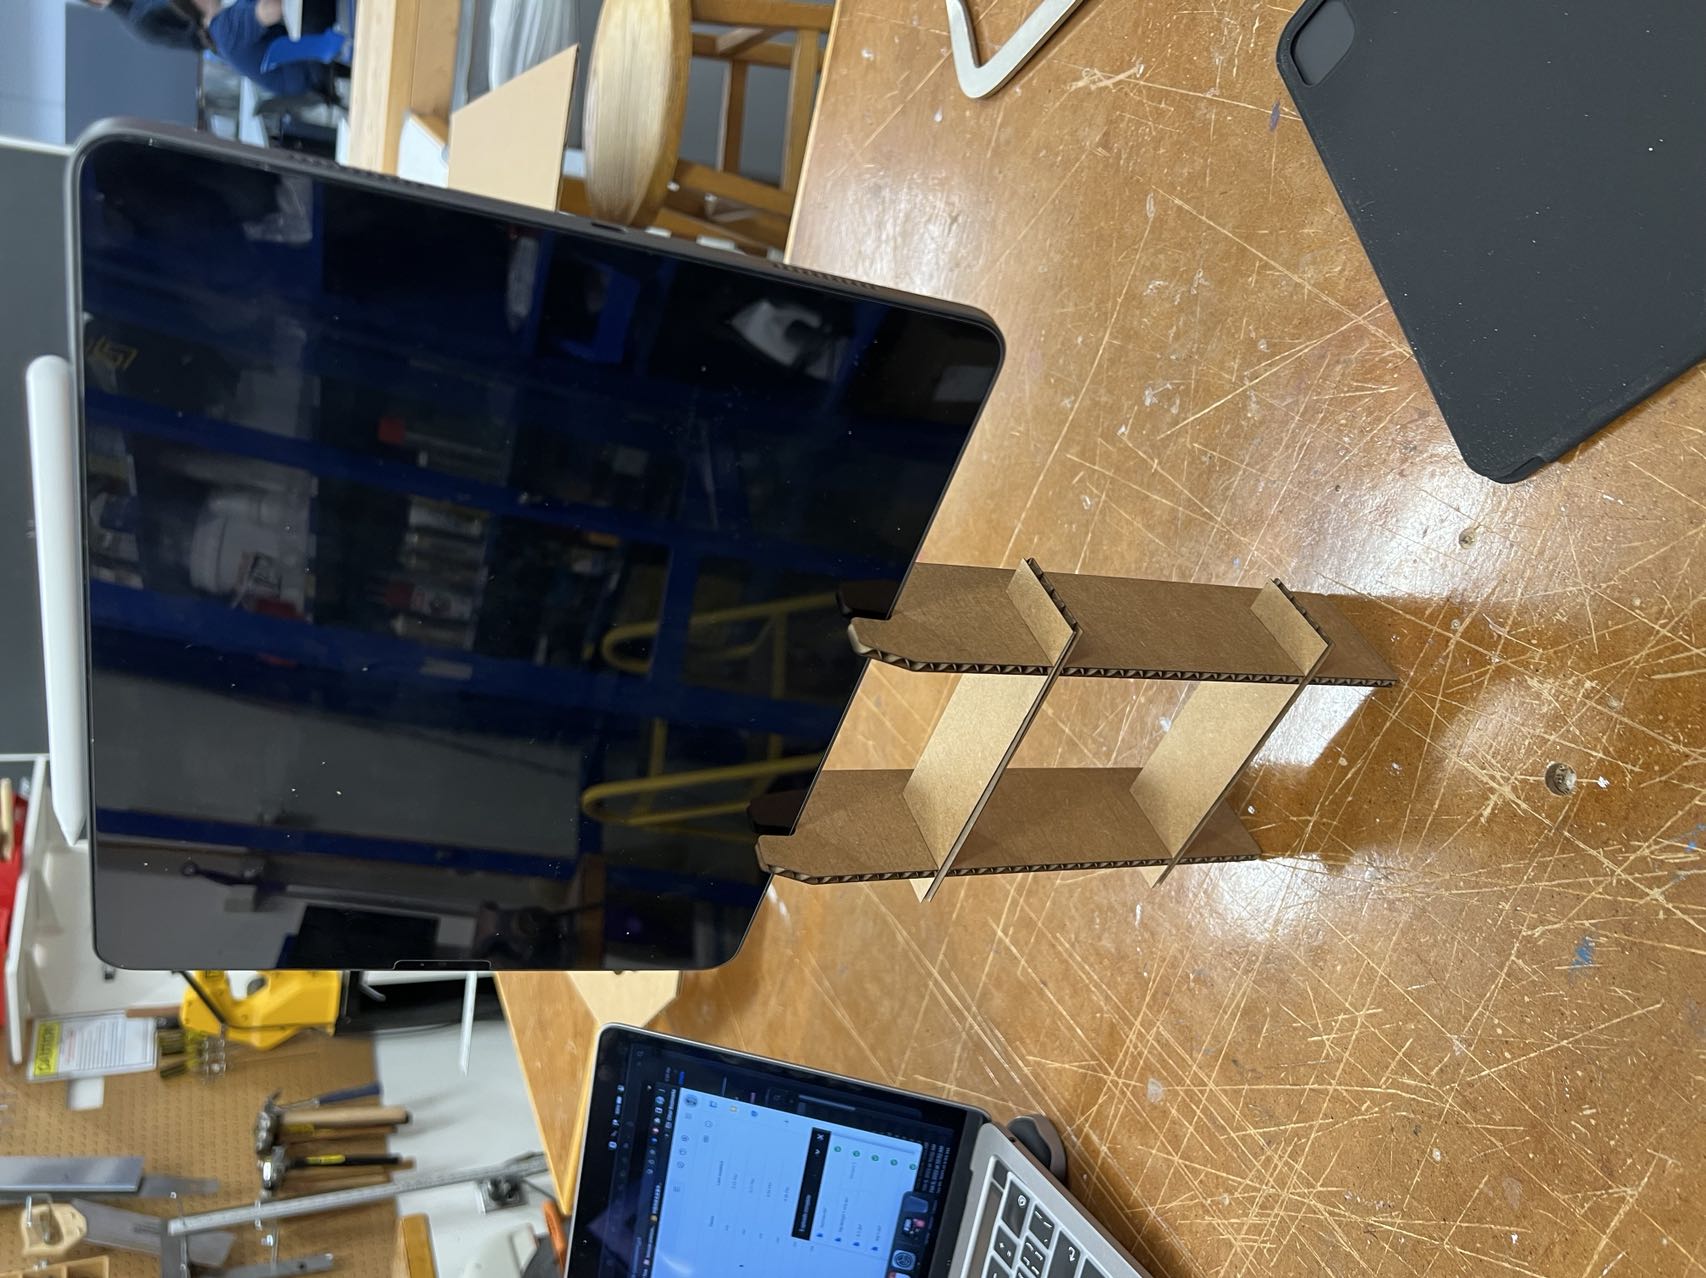
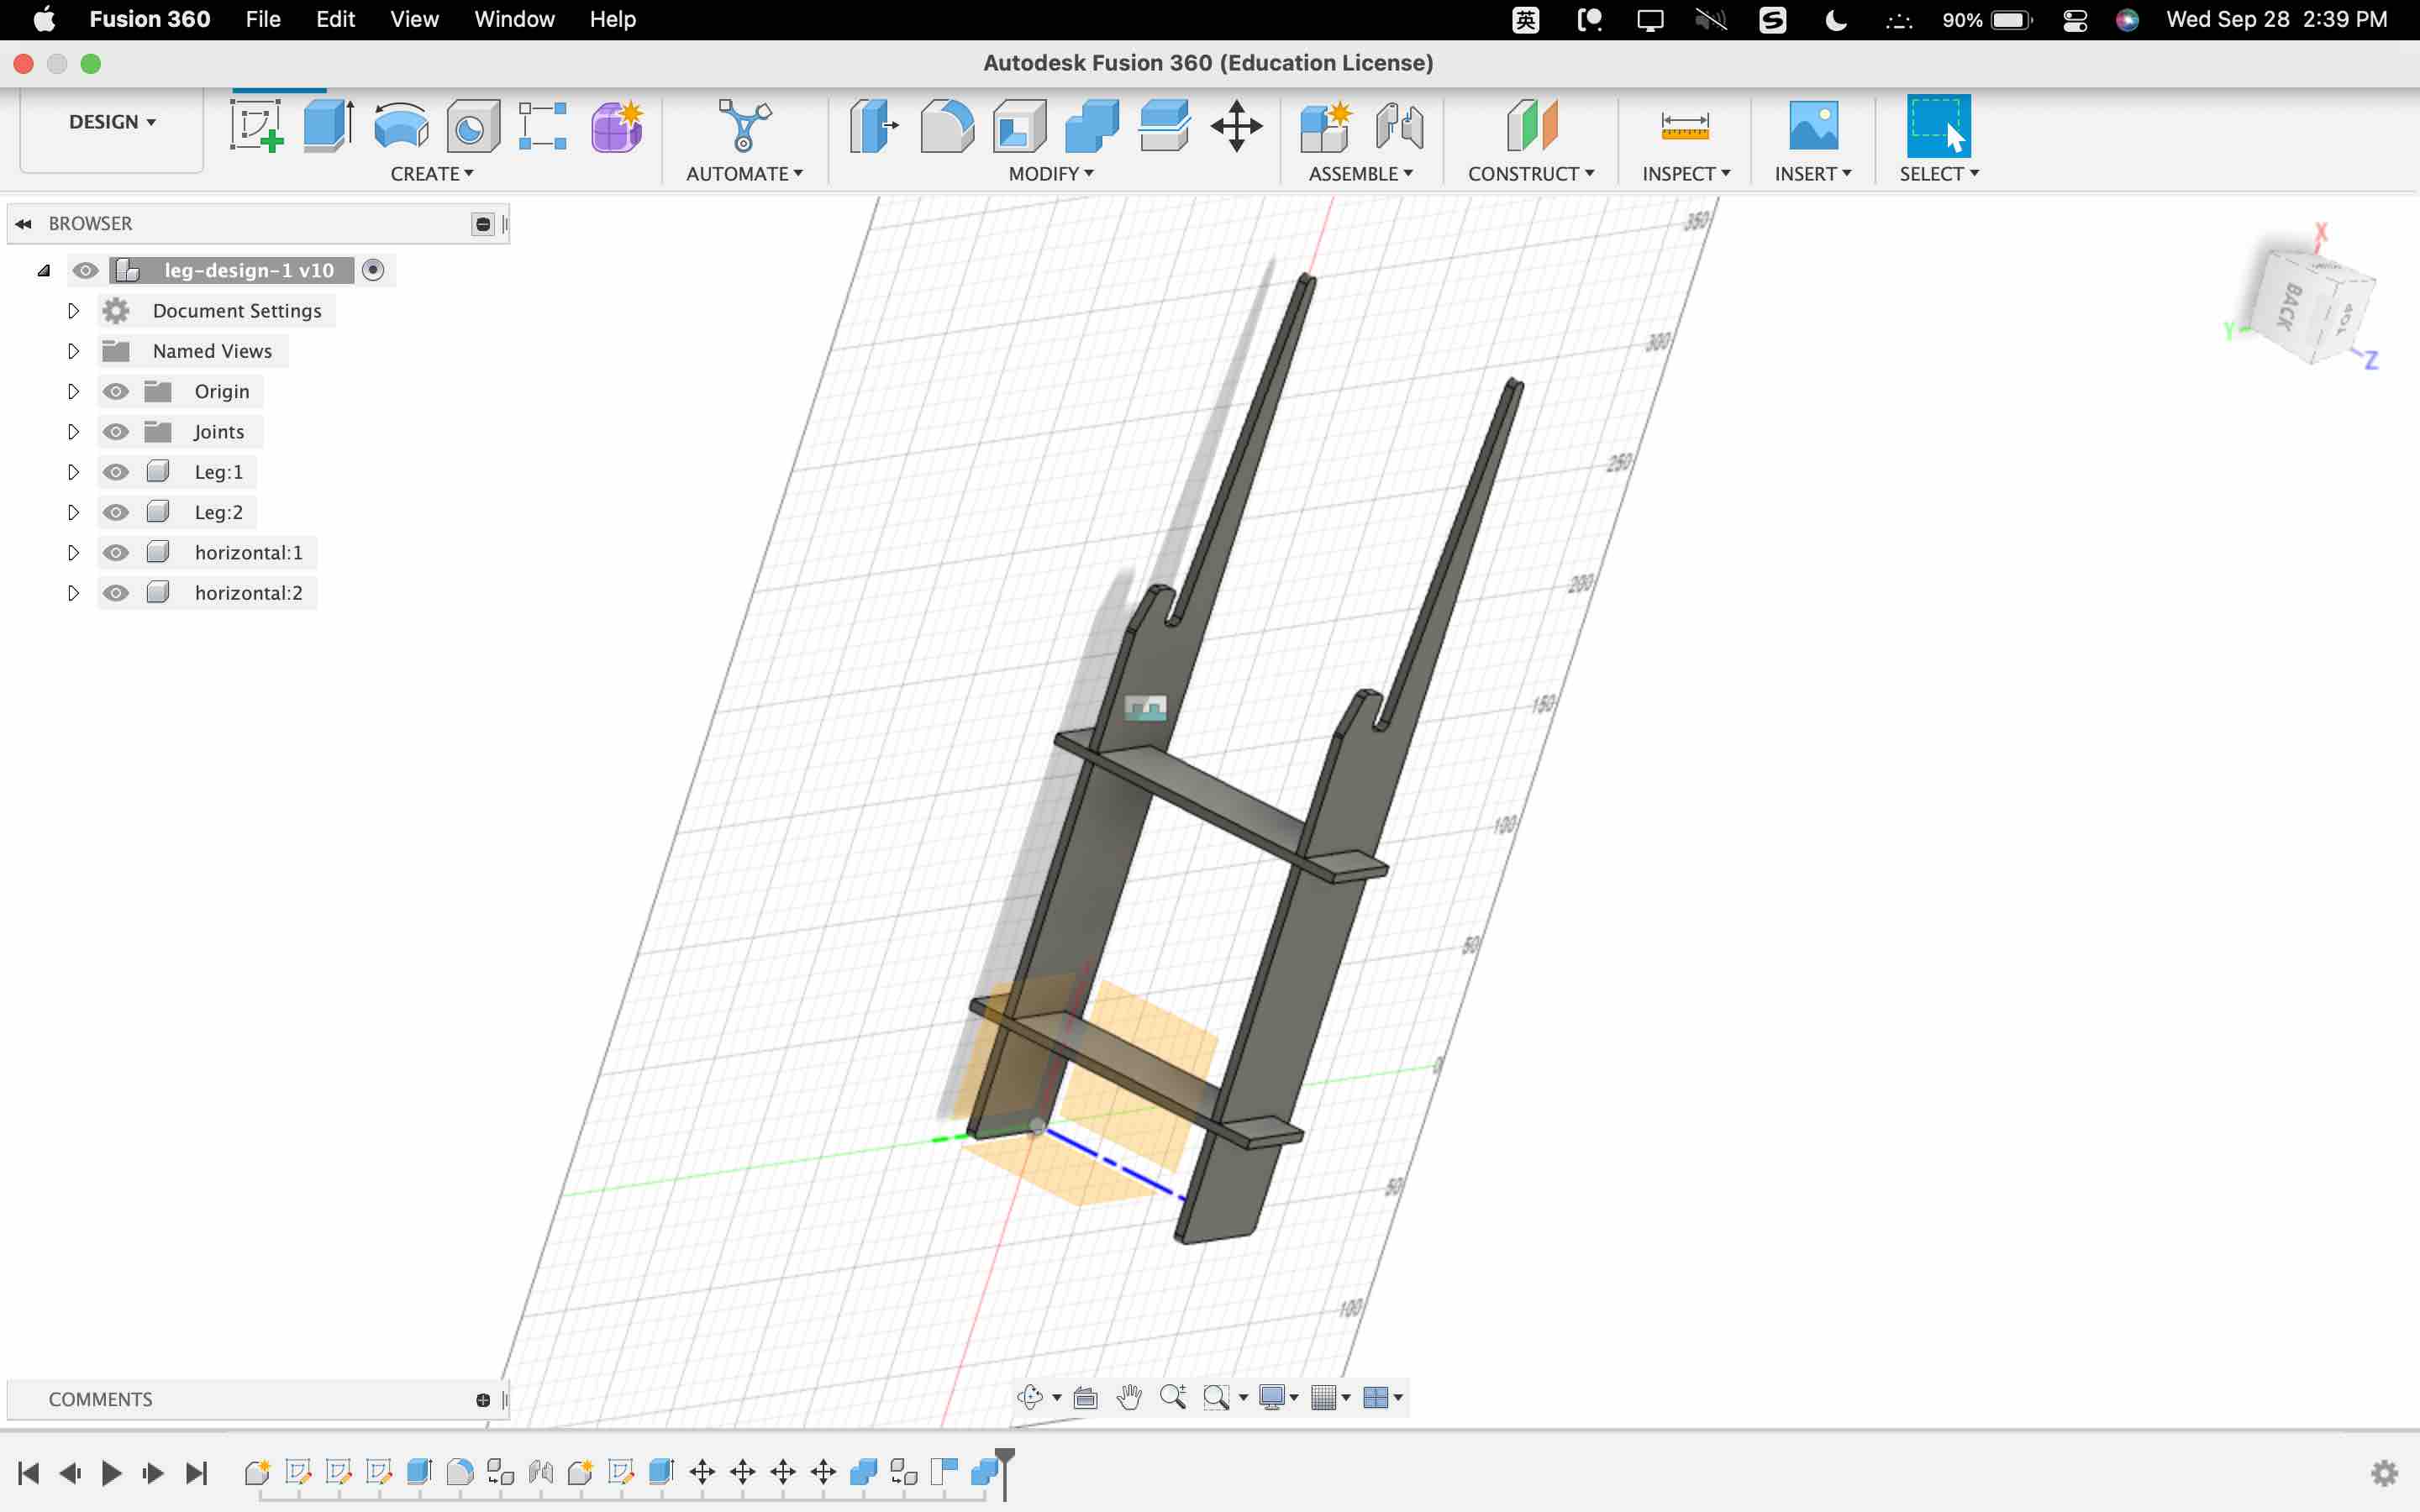
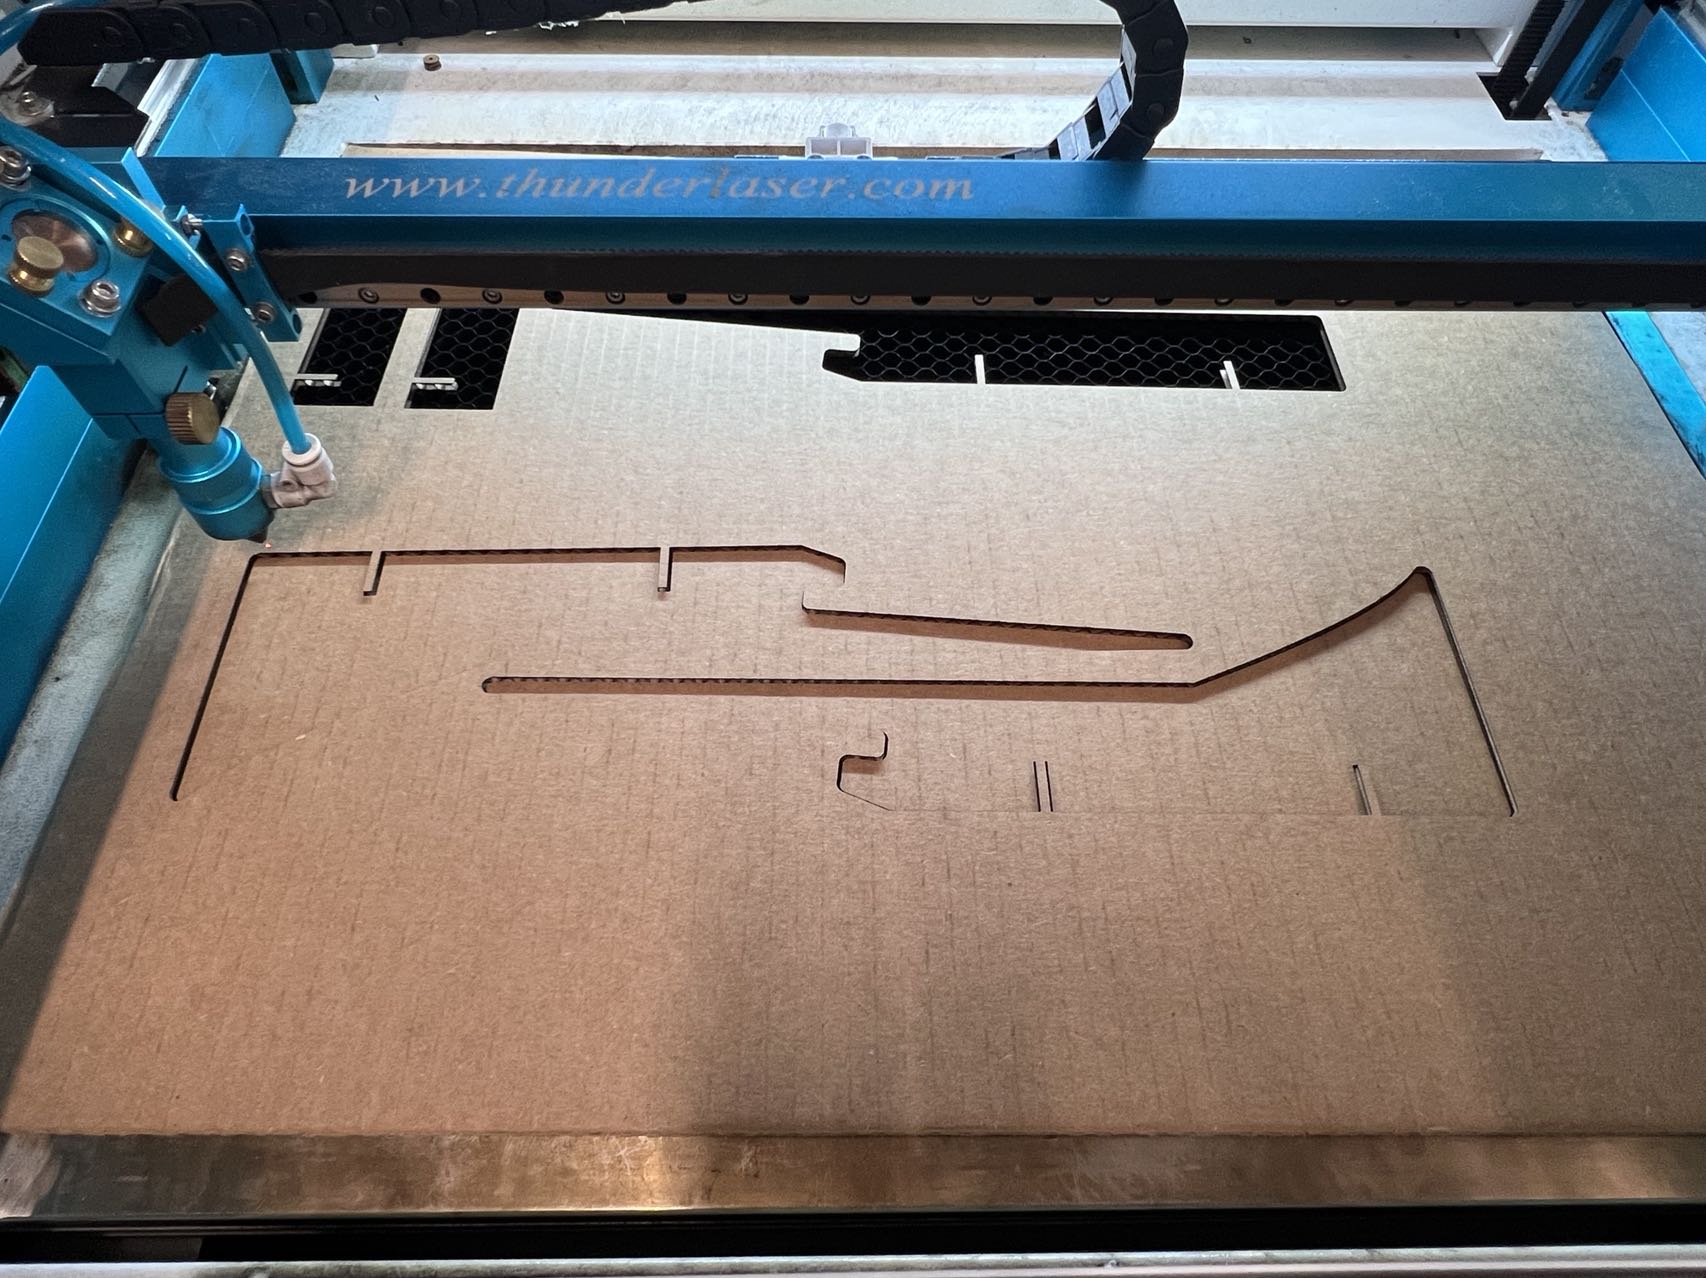
So I quickly came up with the 2nd version where the "tail" was a bit longer
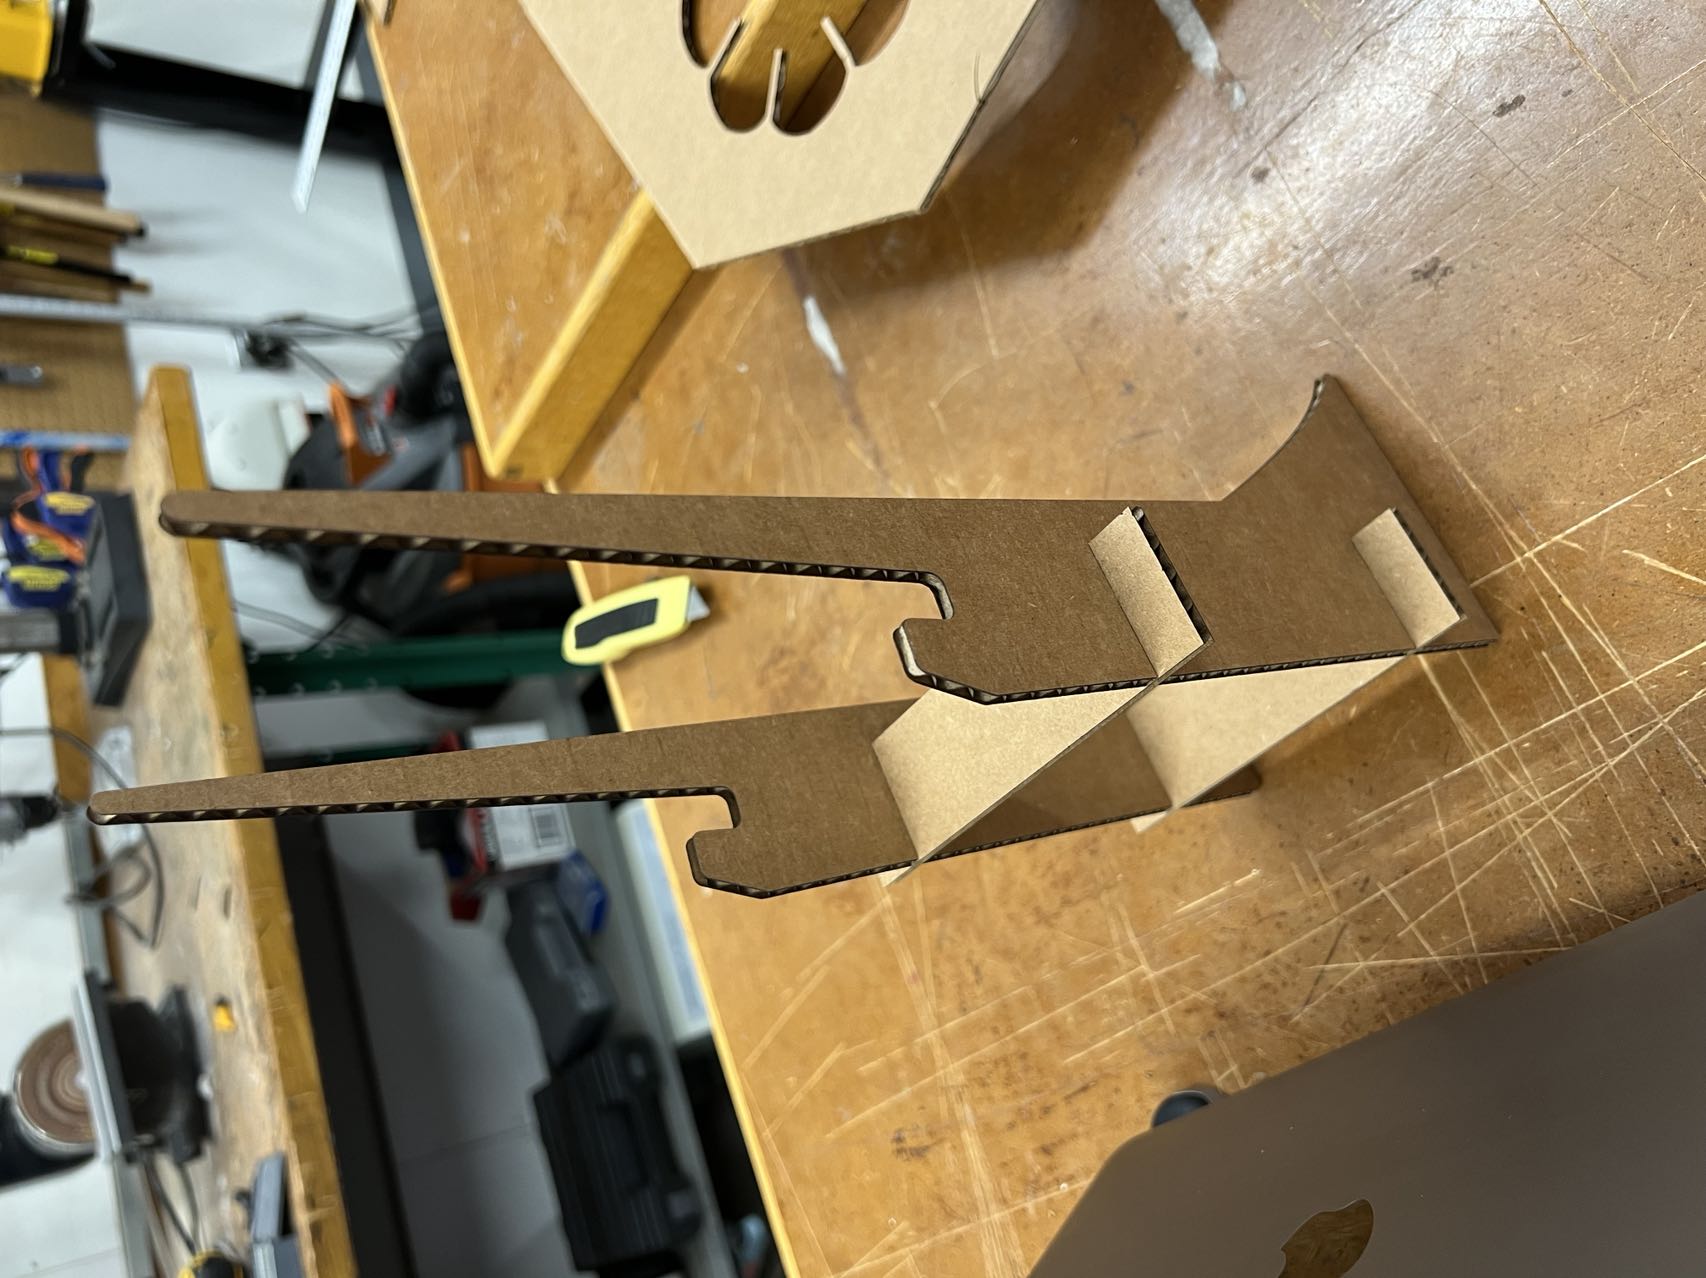
This was perfect!
Vinylcutter
 To prepare the cutter:
- Pull the trigger down
- Unload the material (waiting for the sign on the screen that says "waiting for uploading" or something like that)
- Load the material (the screen would say "...uploaded")
- Pull up the trigger to lock the material
- Click the "Origin"
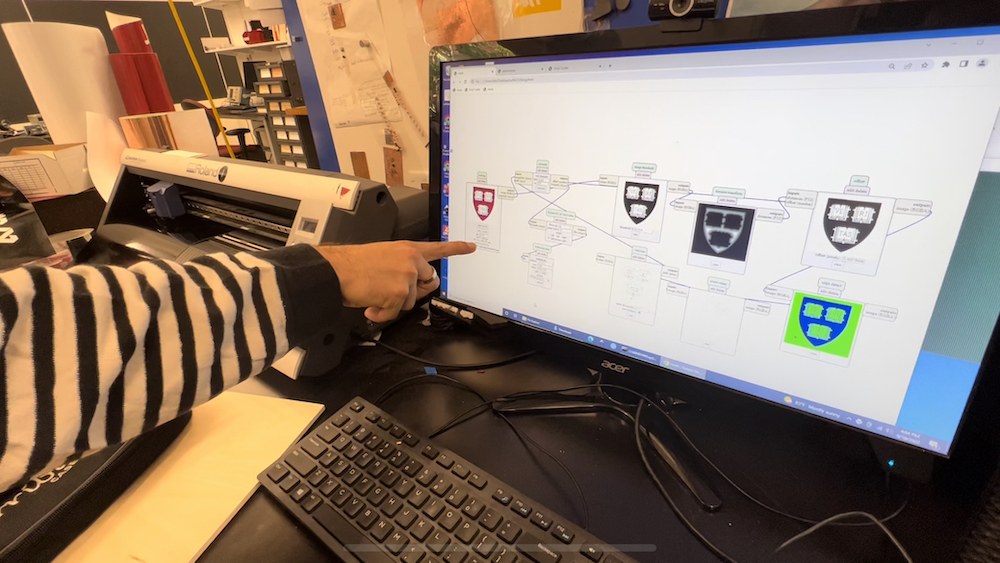
- Open that terminal thing, make sure it's connected to the cutter
- Open that workflow thing
- Drag & Import the PNG
- Make sure to click "calculate" so your images show up in all windows
- !!! to
adjust the sizeby increasing the DPI (it's going to show the size of the image) - Click "send to printer" a bit right to your png window
I didn't do step 5, so my file was too big. However, after I increased it to 600 DPI, it became 4in X 4in, which is good.
But another problem I didn't realize was that I needed to design the pattern so that it could be detached and doesn't destroy the others. Also, I might need to increase the power so it's easy to separate. Right now, it's like this...

I will try something new next time.